
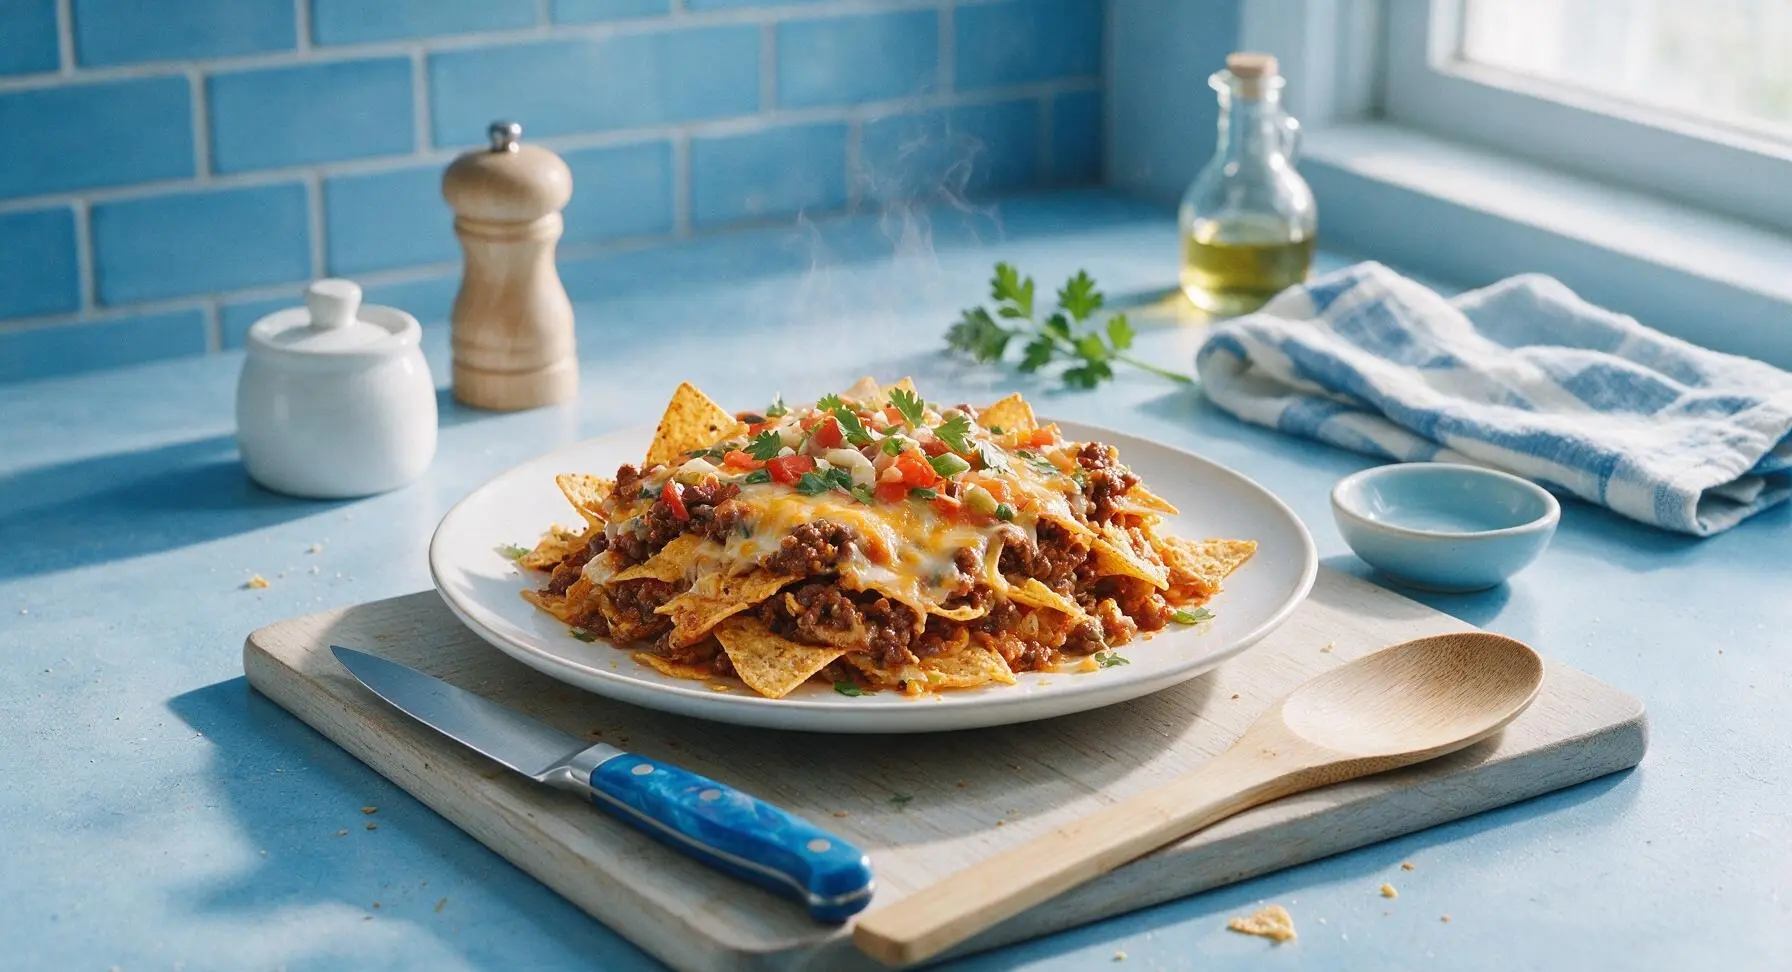
nacho casserole

title 1
nacho casserole
⏱️ cook time 25 minutes
🍽️ servings 6
⚡ Difficulty easy

intro

Layers of crispy tortilla chips, seasoned beef, melty cheese, and zesty toppings baked to bubbly perfection—this shareable, comforting casserole is made for casual group gatherings.

Ingredients
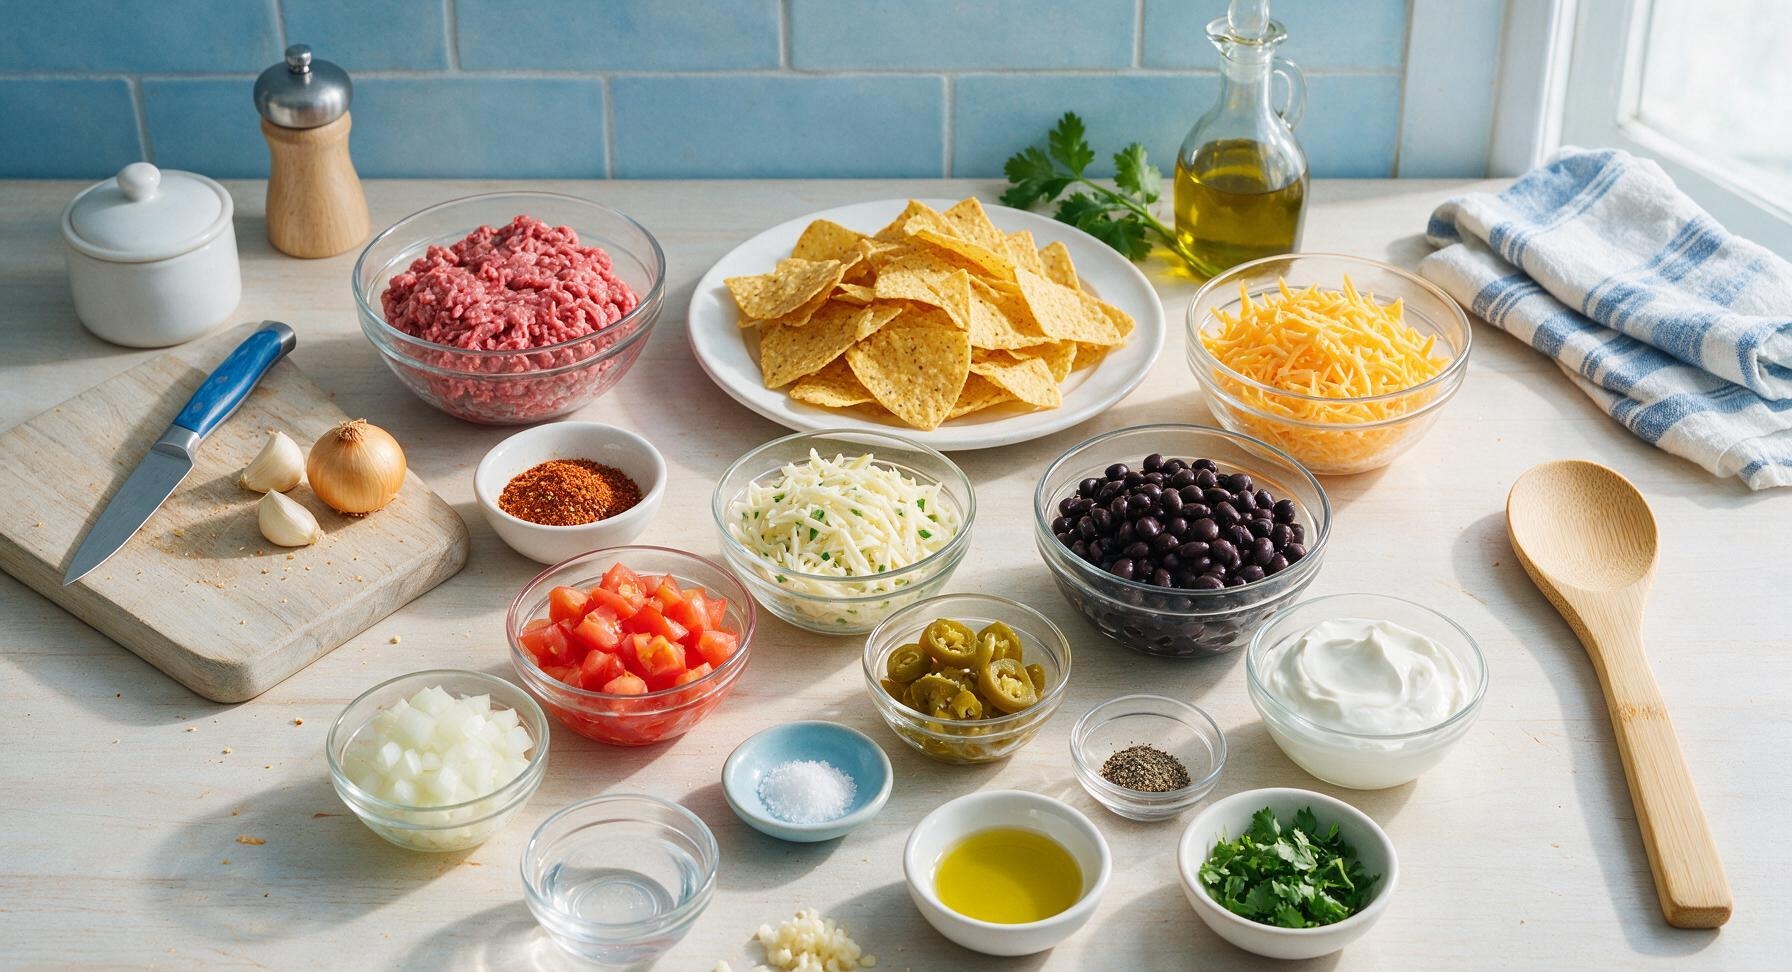
Ground beef (80/20 lean-to-fat ratio) 450g
Thick-cut yellow corn tortilla chips 200g
Sharp cheddar cheese 220g
Monterey Jack cheese 110g
Taco seasoning blend 2 tbsp
Canned black beans, rinsed and drained 425g (1 can)
Roma tomatoes, seeded and diced 2 medium (150g total)
Pickled jalapeño slices, drained 60g
Full-fat sour cream 120g
Fresh cilantro, chopped 15g
Small yellow onion, diced 1 piece (100g)
Garlic cloves, minced 2 pieces
Extra virgin olive oil 1 tbsp
Kosher salt 1 tsp
Ground black pepper 1/2 tsp

Steps

1

Preheat Oven, Prep Veggies

Preheat your oven to 190°C (375°F). Set the honey-toned beech wood cutting board on the left counter, and use the 8-inch stainless steel chef’s knife to dice the yellow onion into 1cm pieces, mince the garlic cloves, and seed and dice the Roma tomatoes, placing each prepped vegetable into separate small terracotta ramekins. Rinse the canned black beans in the stainless steel colander, shaking off all excess starchy liquid, and set aside.
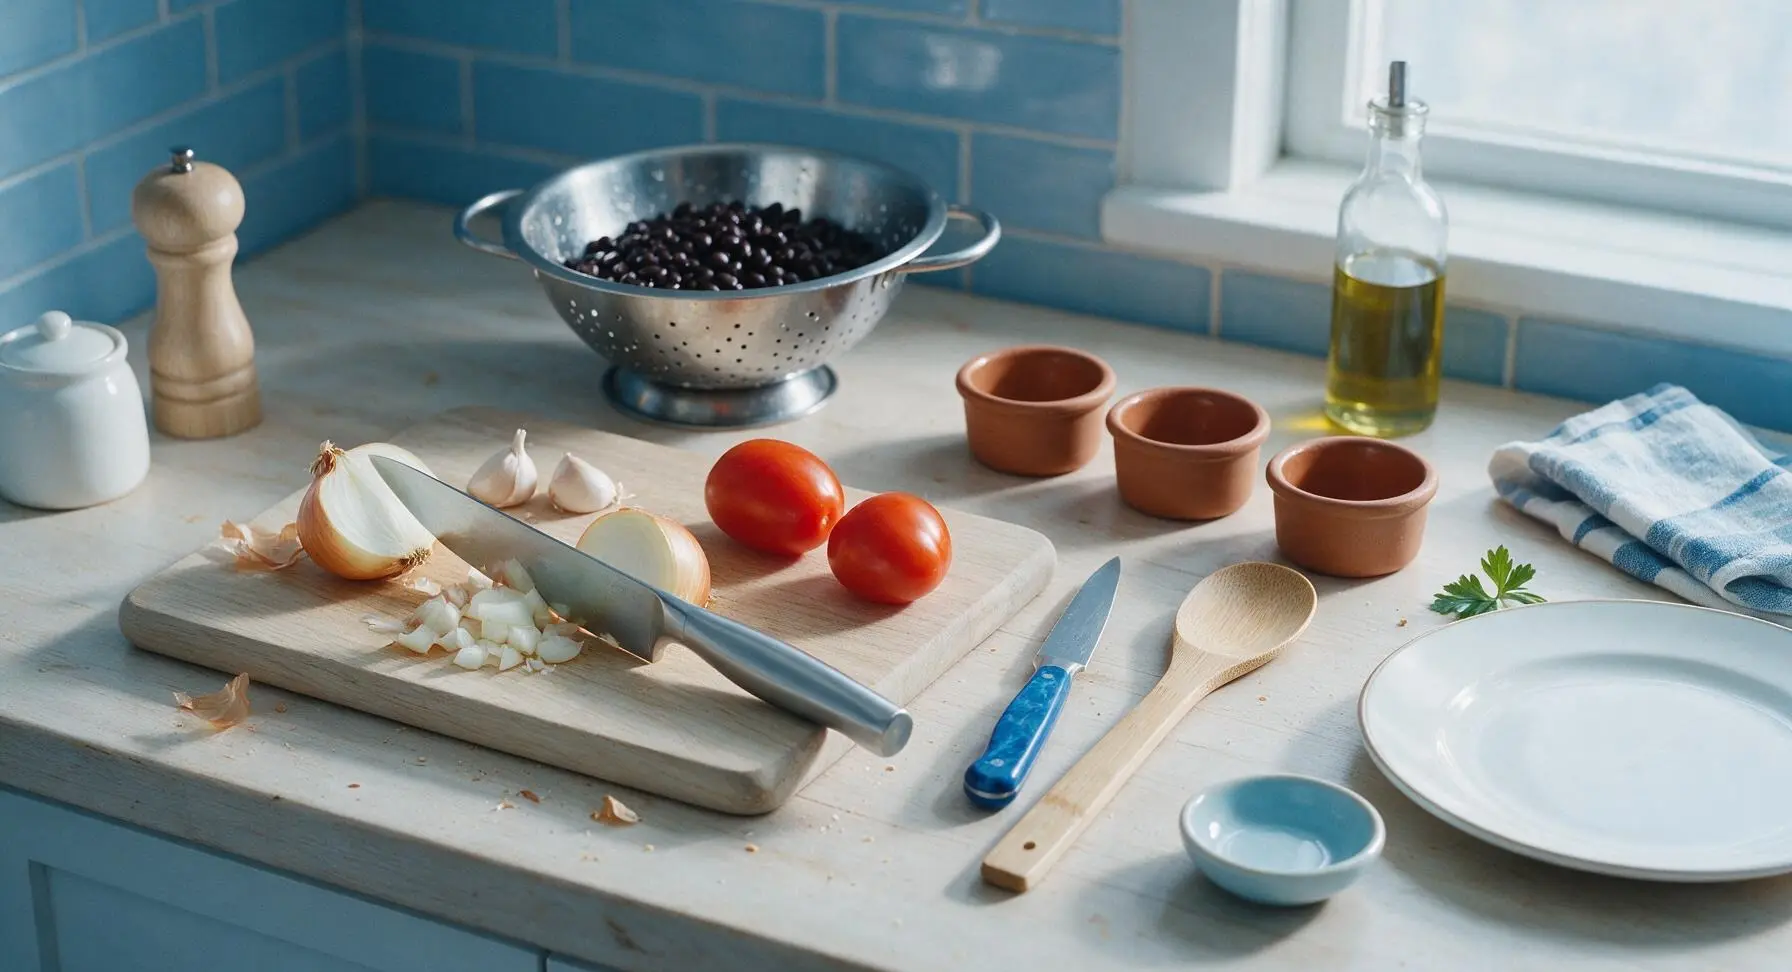
Step 1
step1:Preheat Oven, Prep Veggies
2

Brown Seasoned Ground Beef

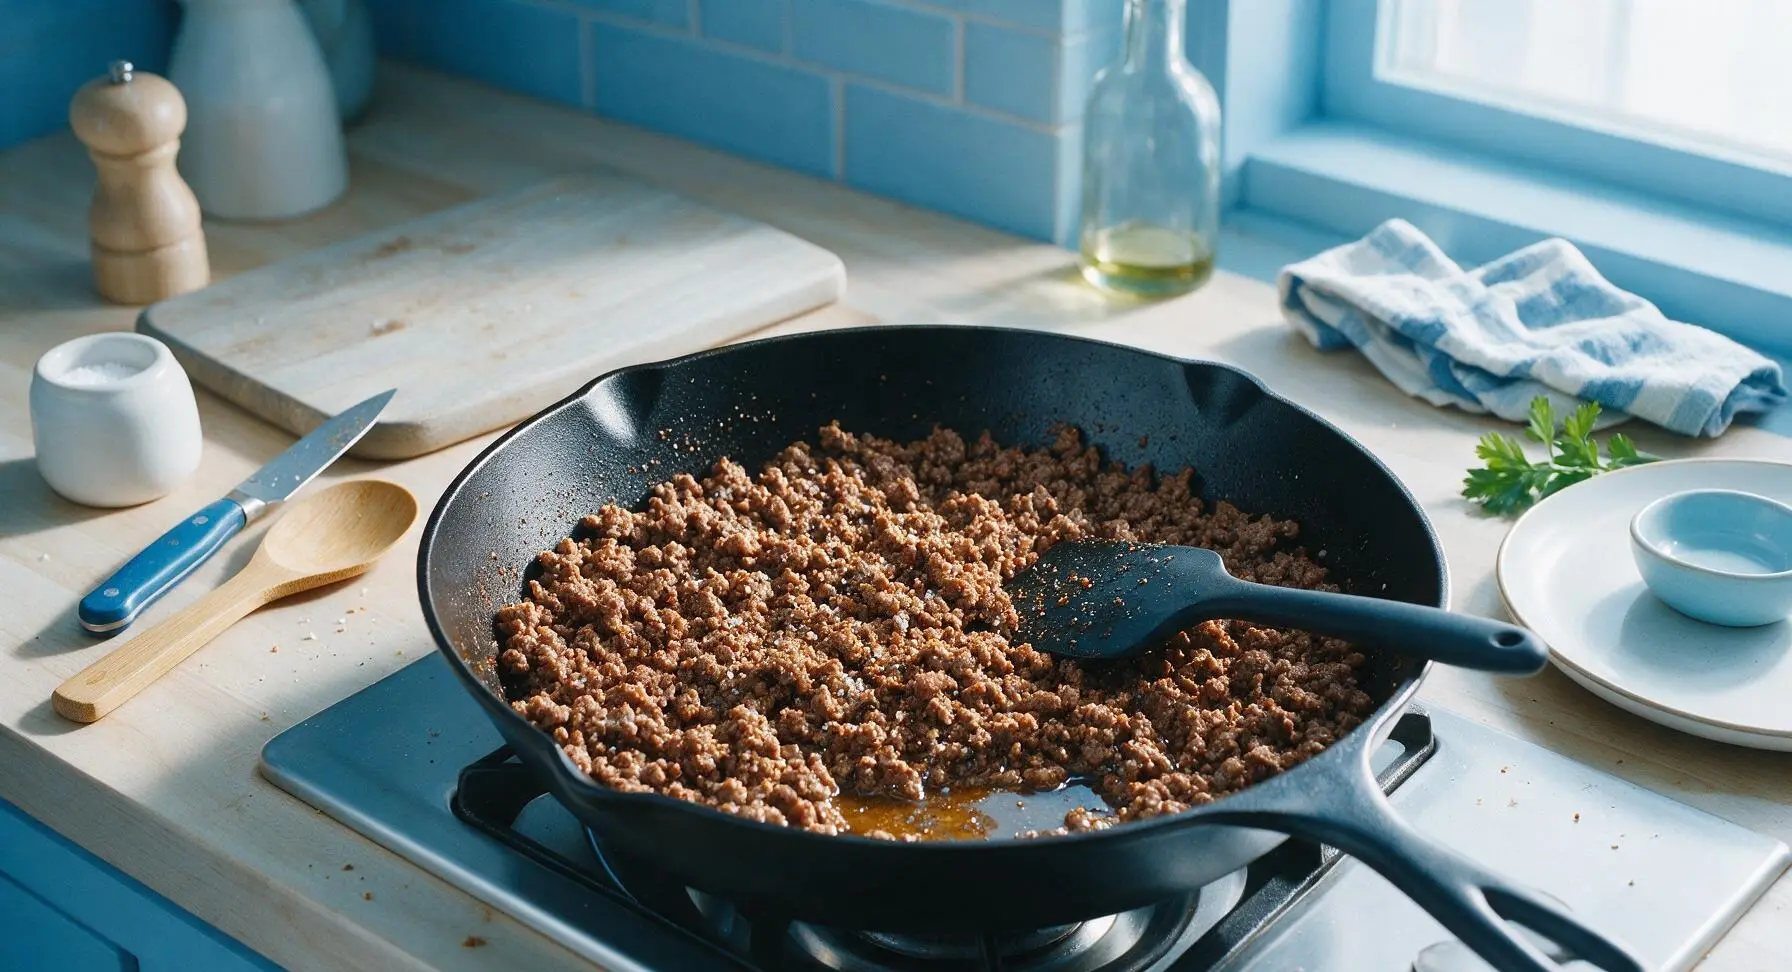
Place the 12-inch matte black carbon steel skillet on the center stovetop burner over medium heat. Add 1 tablespoon olive oil, then toss in the diced onion, sautéing for 3 minutes until soft and translucent. Add minced garlic and cook for 30 seconds until fragrant, then add the ground beef, breaking it apart into small crumbles with the matte black silicone spatula as it cooks. Sprinkle in taco seasoning, kosher salt, and black pepper, stirring to evenly coat the meat. Cook for 7-8 minutes until the beef is fully browned with no visible pink remaining, then carefully drain off excess rendered grease from the skillet.
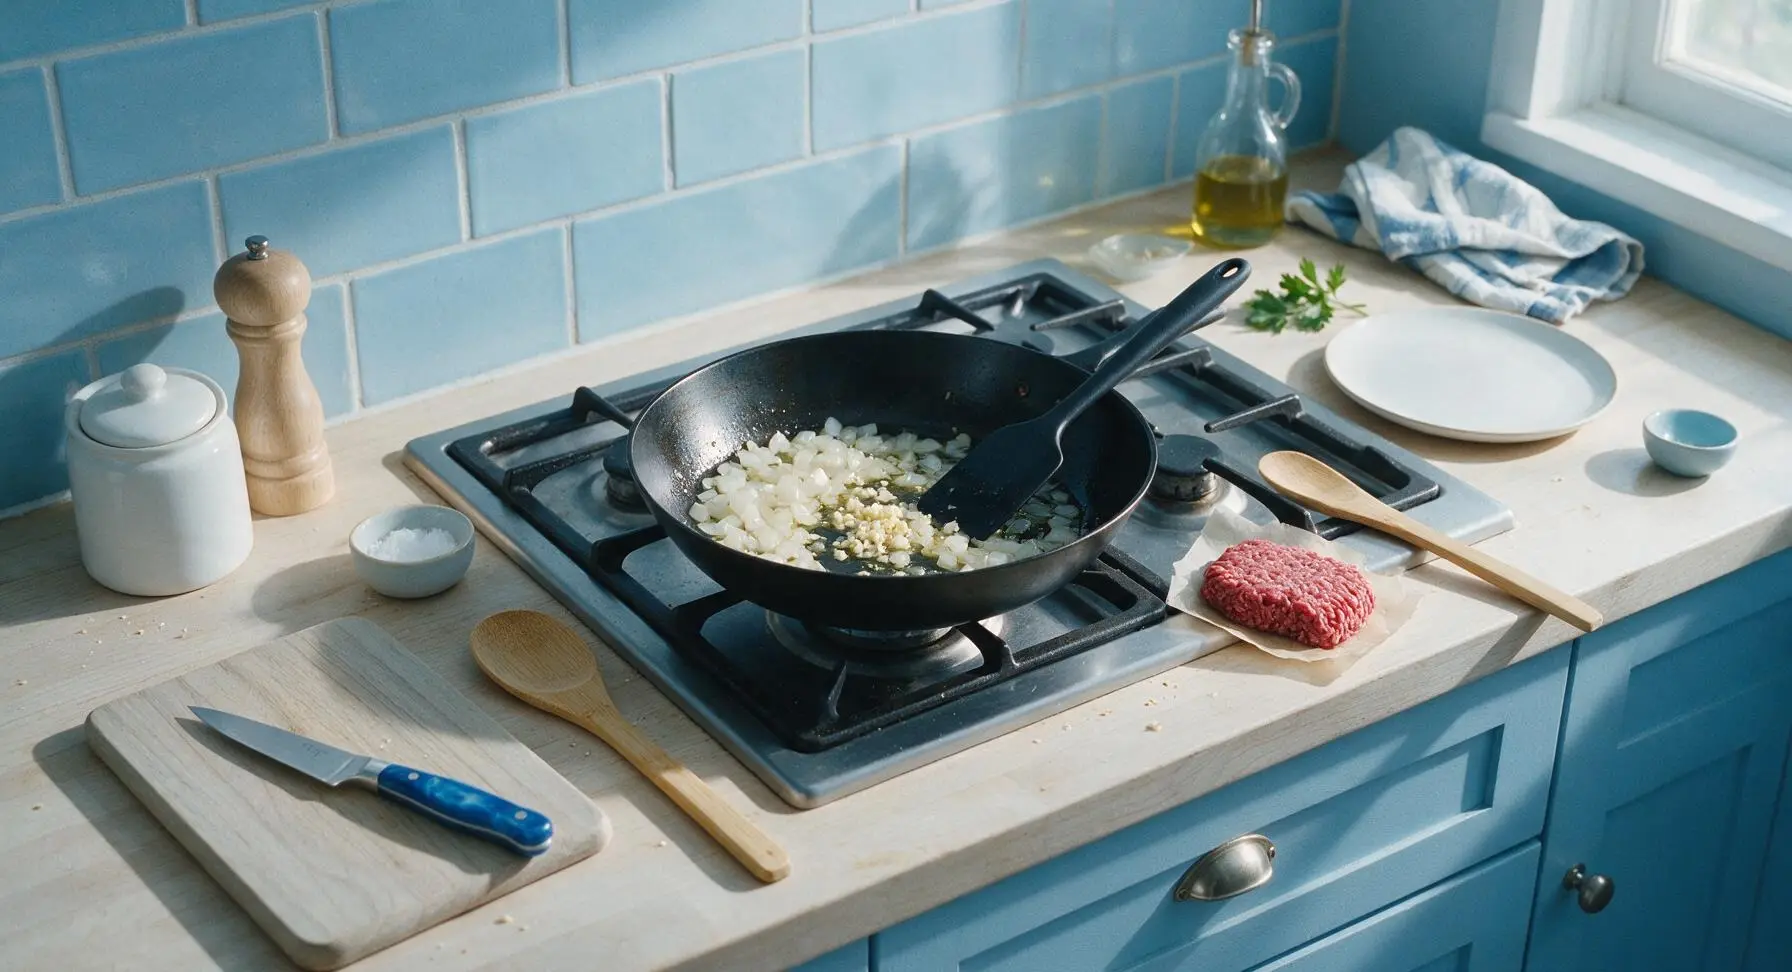
Step 2
step2:Brown Seasoned Ground Beef
Step 2
step2:Brown Seasoned Ground Beef
3

Shred Melty Cheese Blend

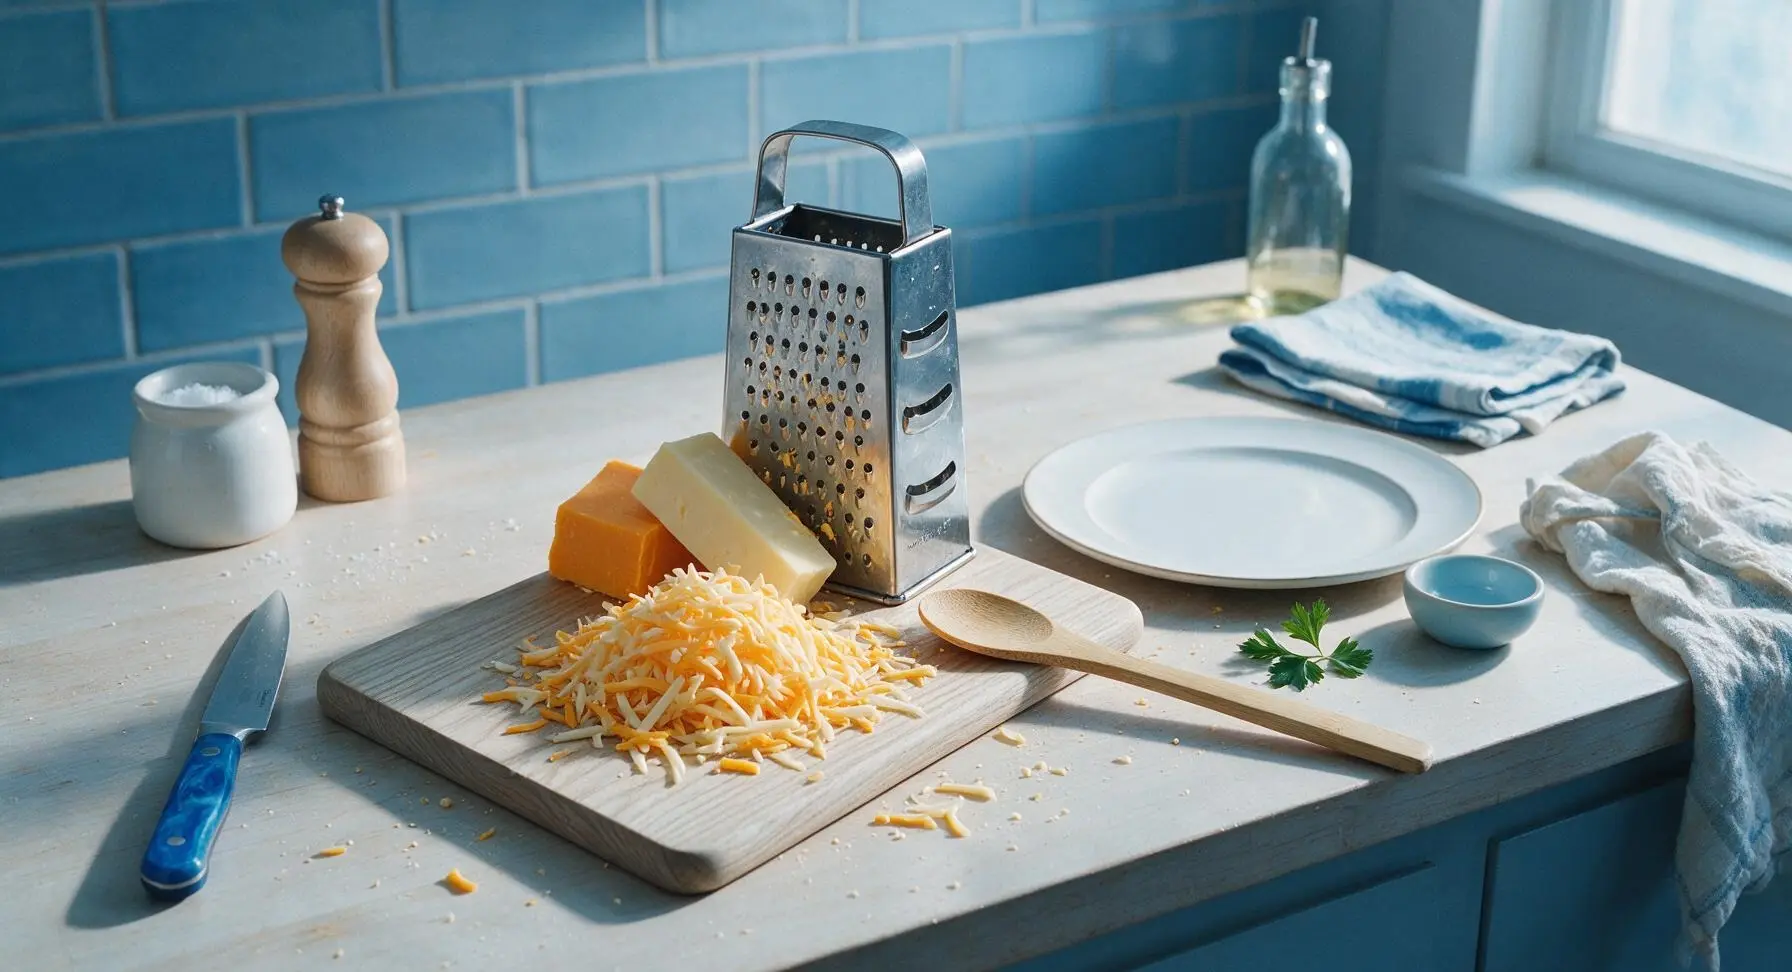
Position the stainless steel box grater to the right of the cutting board. Shred the sharp cheddar and Monterey Jack cheese into a loose pile on the cutting board, then toss lightly to combine the two cheeses for even melting. Set aside 1/2 cup of the mixed cheese to use as the final top layer of the casserole.
Step 3
step3:Shred Melty Cheese Blend
4

Layer Casserole Fillings

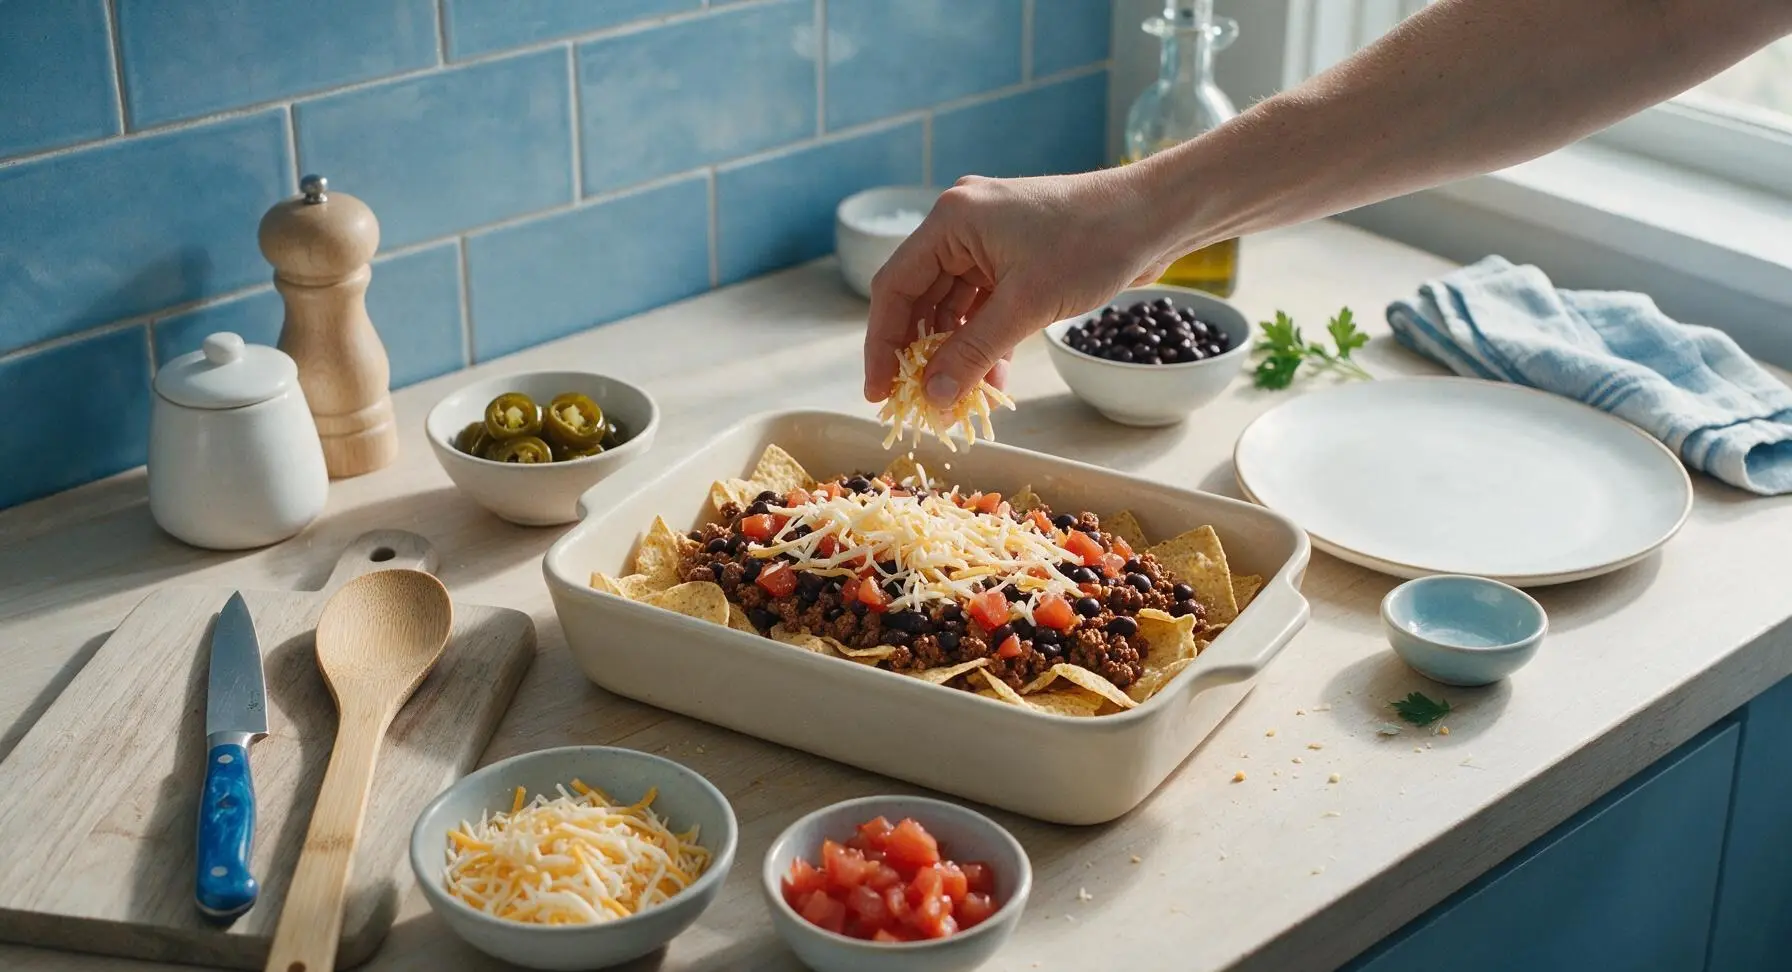
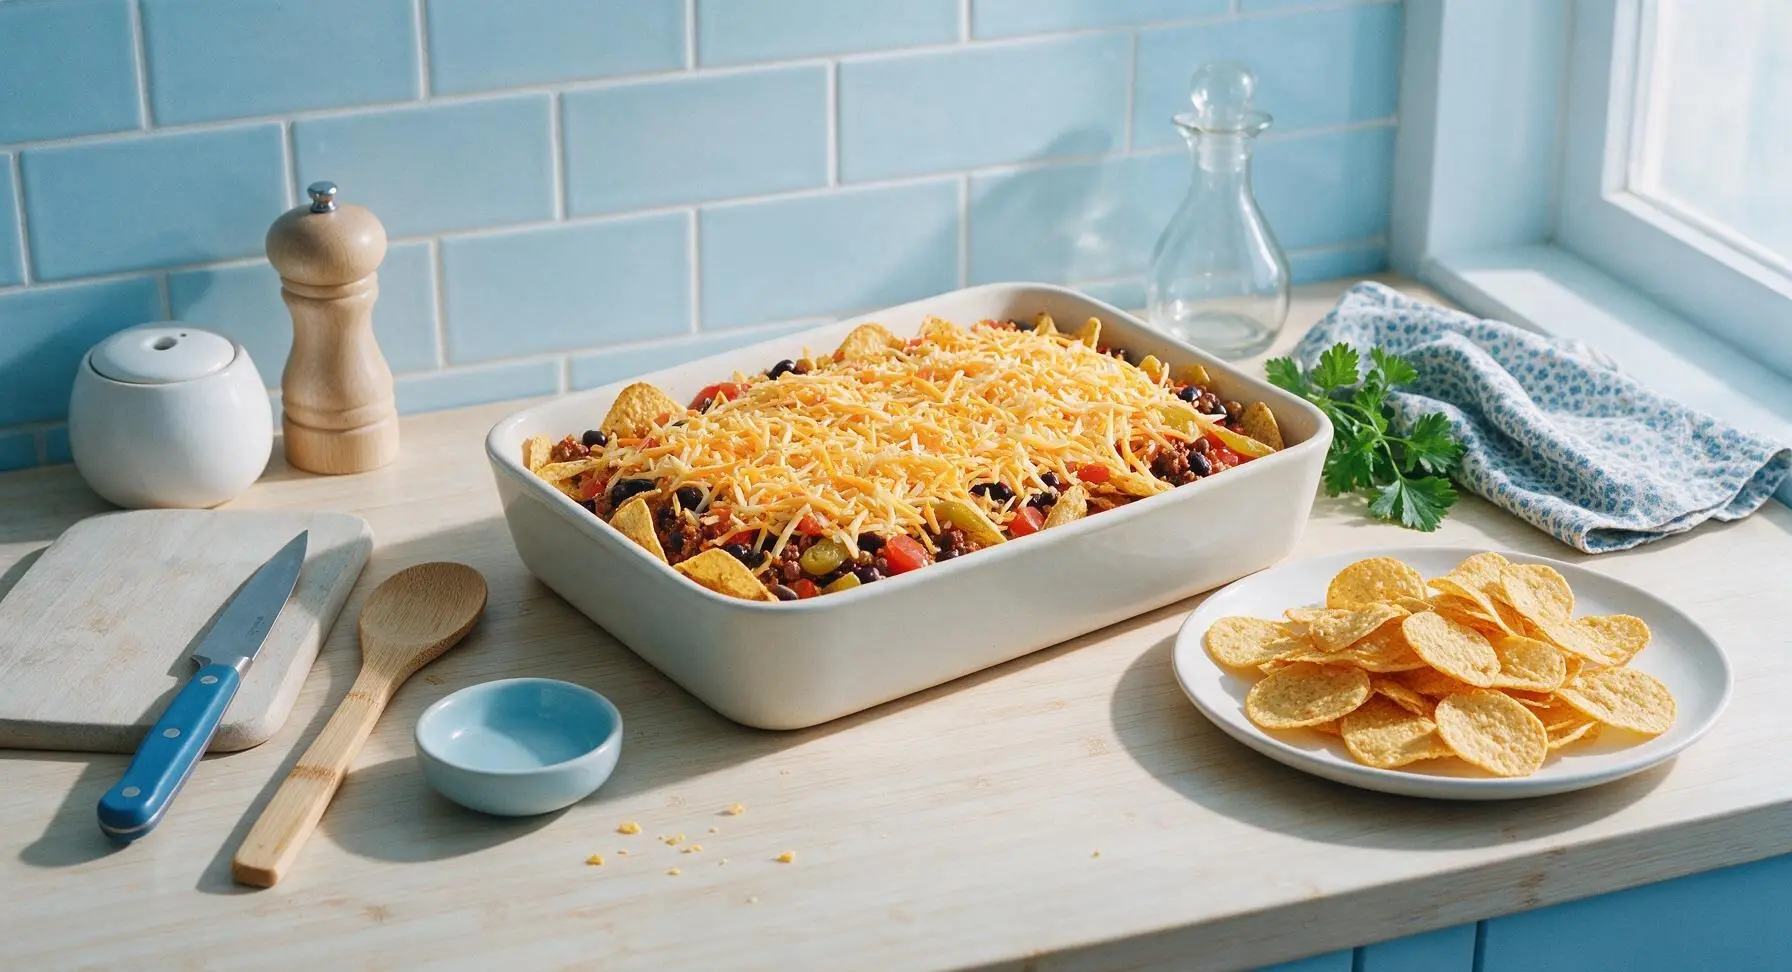
Set the 9x13 inch matte cream white ceramic baking dish on the center of the counter. Spread half of the thick-cut tortilla chips across the dish bottom in an even layer, breaking any extra-large chips into bite-sized pieces as needed. Top the chips with half of the browned ground beef, half of the drained black beans, half of the diced tomatoes, half of the pickled jalapeños, and half of the mixed shredded cheese. Repeat the layering sequence with the remaining chips, beef, beans, tomatoes, and jalapeños, then spread the reserved 1/2 cup of cheese evenly across the very top to cover all fillings.
Step 4
step4:Layer Casserole Fillings
Step 4
step4:Layer Casserole Fillings
5

Bake Until Bubbly

Carefully transfer the assembled baking dish to the preheated 190°C (375°F) oven. Bake for 20 minutes, until the cheese is fully melted, bubbling vigorously around the dish edges, and the top cheese layer is dotted with light golden brown spots. Check the casserole at the 15 minute mark to ensure the edge chips are not burning, covering with a loose sheet of foil if they brown too quickly.
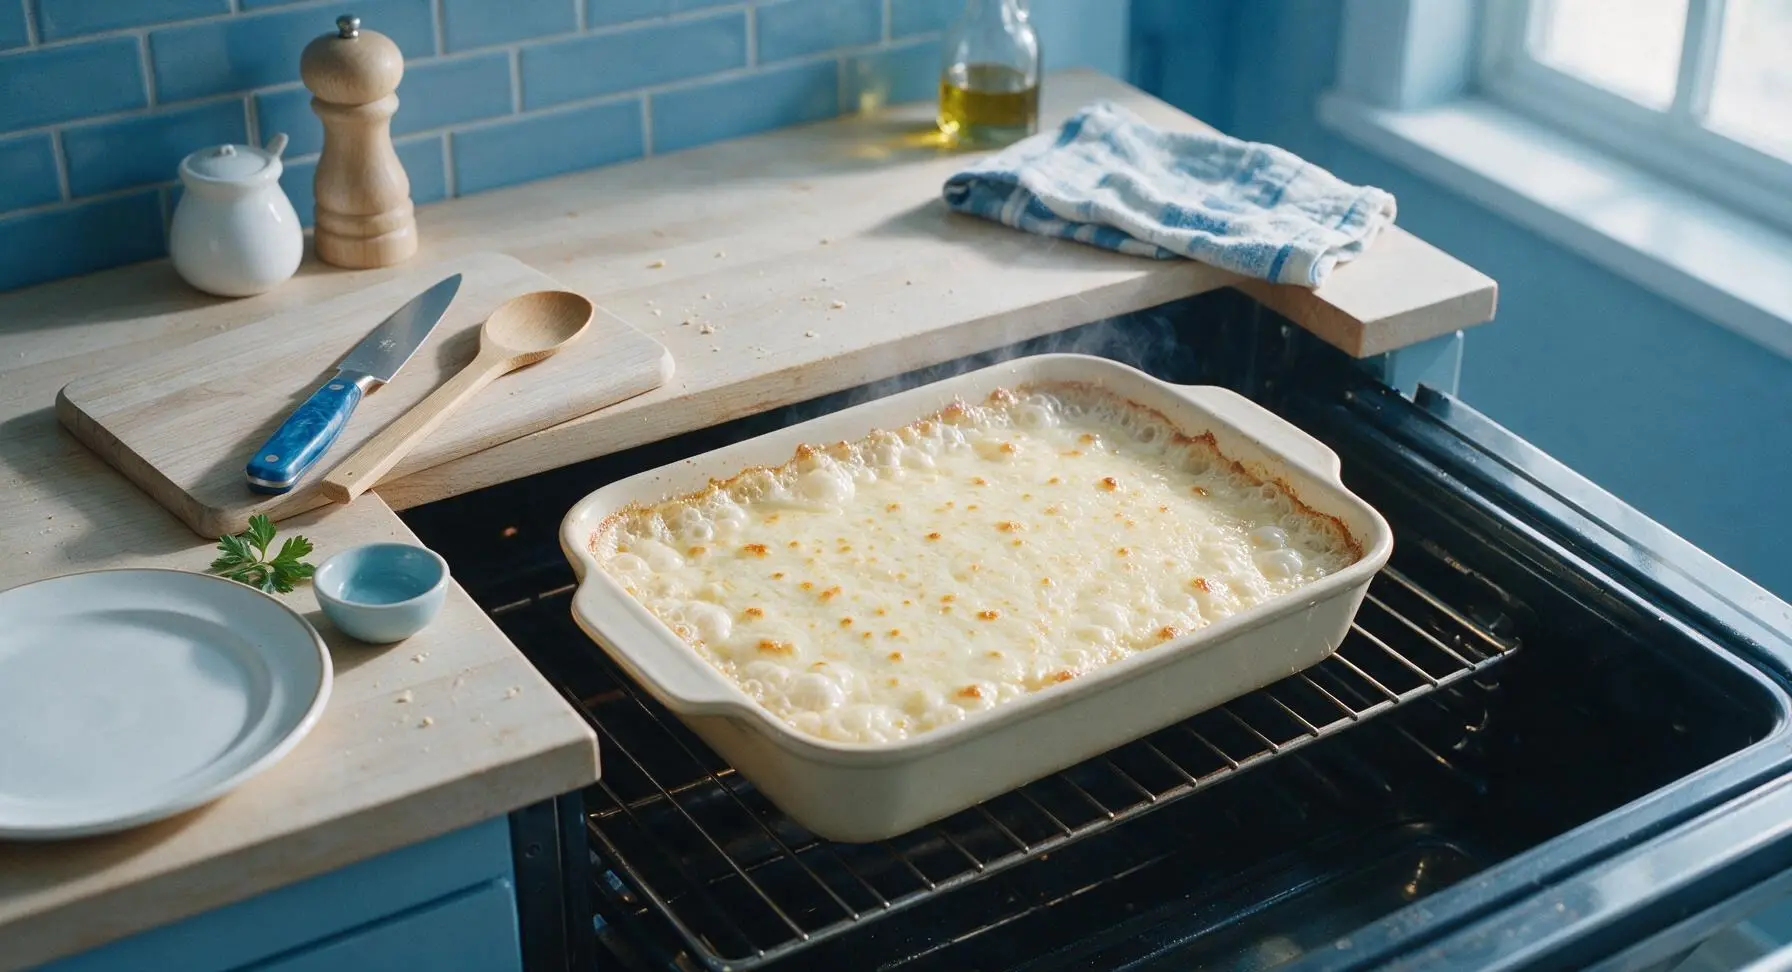
Step 5
step5:Bake Until Bubbly
6

Garnish and Serve

Use oven mitts to carefully remove the hot baking dish from the oven, setting it back on the center counter. Let the casserole rest for 5 minutes to set, then dollop spoonfuls of sour cream across the top, scatter the remaining pickled jalapeño slices, and sprinkle chopped fresh cilantro evenly over the surface. Serve warm, scooping directly from the baking dish.
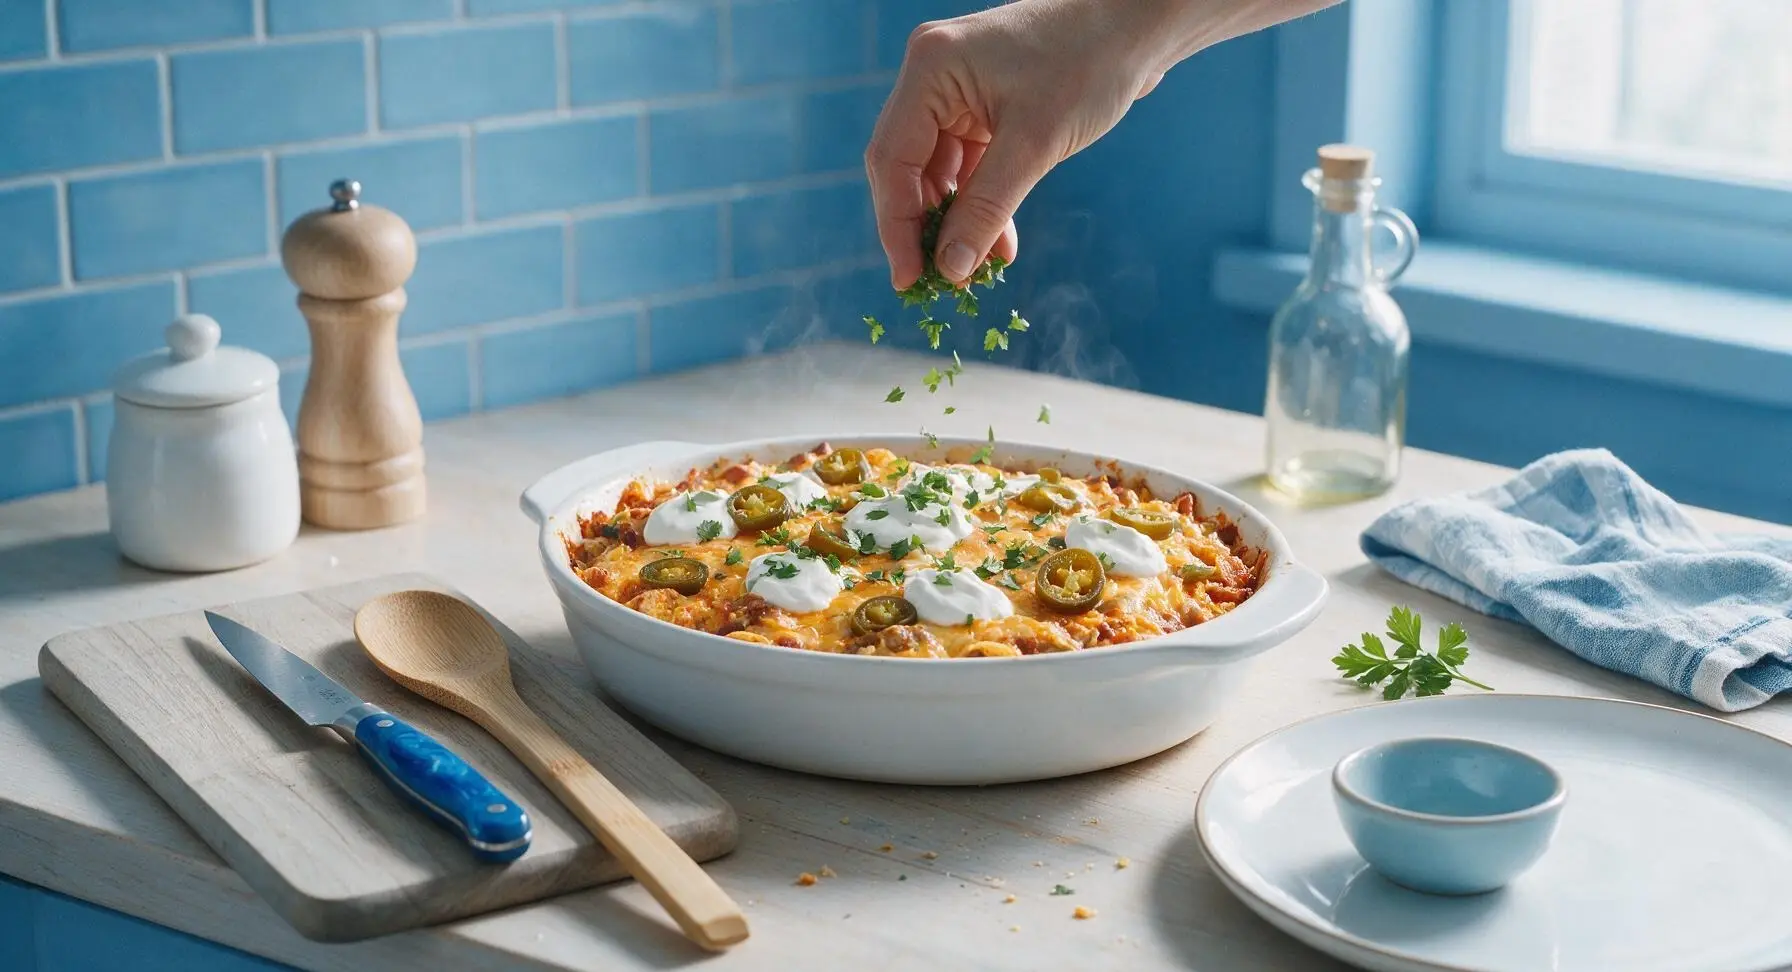
Step 6
step6:Garnish and Serve

Tips

1.Opt for thick-cut, restaurant-style tortilla chips instead of thin, delicate deli chips: thin chips will quickly turn soggy under the weight of fillings and melted cheese, while thick chips retain a satisfying crunch even after baking.
2.Reserve 1/3 of your shredded cheese blend for the very top layer of the casserole: this creates a continuous, melty seal that prevents the chips underneath from drying out in the oven, and delivers that iconic bubbly, golden cheese crust.
3.Let the casserole rest for a full 5 minutes after removing it from the oven: this short rest allows the melted cheese to set slightly, so scoops hold their shape instead of sliding off chips and oozing across the dish when served.


✨ You May Also Like

Main Course
🍜 United Kingdom

A showstopping classic of tender seared beef, savory mushroom duxelles, and crisp prosciutto wrapped in flaky golden puff pastry, baked to juicy perfection.

⏱️ 2 hours 1Main Course ★ 4.7
Main Course
🍜 India

Tender charred marinated chicken simmered in a rich, spiced creamy tomato sauce, this iconic Anglo-Indian curry pairs perfectly with basmati rice or warm naan.

⏱️ 50 minuteMain Course ★ 4.6
Main Course
🍜 Thailand

Classic tangy, sweet, and savory Thai stir-fried rice noodles with shrimp, tofu, and crunchy garnishes, balancing all five core Thai flavor profiles.

⏱️ 30 minuteMain Course ★ 4.5
Main Course
🍜 United Kingdom

Crispy golden beer-battered cod and fluffy double-fried chips, served with tangy tartar sauce and malt vinegar: the timeless, beloved British pub comfort classic.

⏱️ 45 minuteMain Course ★ 4.7
Main Course
🍜 Mexico

Smoky, chile-marinated pork tacos with caramelized pineapple, fresh cilantro, and lime: a beloved classic Mexican street food perfect for casual summer gatherings.

⏱️ 1 hour 45Main Course ★ 4.8
Main Course
🍜 United States

Crunchy Fritos corn chips layered with savory beef chili and melted cheddar, topped with cool, zesty fixings for a beloved, cozy Tex-Mex comfort food.

⏱️ 35 minuteMain Course ★ 4.8

nacho casserole:Frequently Asked Questions

1.Why do you recommend 80/20 ground beef instead of a leaner blend for this casserole? ▾
The 20% fat content adds rich, deep beefy flavor without making the casserole greasy, and it keeps the meat moist as it bakes. Leaner blends like 90/10 tend to dry out during cooking and lack the classic taco meat savoriness that pairs so well with chips and cheese. If you do use leaner beef, add a tablespoon of olive oil when browning to make up for missing fat.
2.Can I use thin tortilla chips instead of the recommended thick-cut yellow corn tortilla chips? ▾
Thin chips will turn soggy almost immediately once layered with wet beef and melted cheese, so thick-cut chips are strongly recommended for structure and crunch. If you only have thin chips on hand, bake the casserole in thinner, shallower layers, and serve immediately right out of the oven to avoid a mushy, unappetizing texture.
3.Is pre-shredded cheese an okay substitute for freshly shredded sharp cheddar and Monterey Jack? ▾
Pre-shredded cheese works in a pinch, but it’s coated in anti-caking agents that keep it from melting as smoothly and evenly as freshly shredded cheese. For that perfect gooey, stretchy, bubbly cheese pull across every layer, I recommend shredding your own cheeses right before assembling the casserole.
4.Can I assemble this casserole ahead of time for a party or game day gathering? ▾
You can prep all components—browned taco-seasoned beef, shredded cheese, measured toppings—1 to 2 days ahead and store them separately in airtight containers in the fridge. Wait to assemble and bake until 20 minutes before you plan to serve, though, so the chips stay crisp instead of getting soft from sitting with wet ingredients.
5.How do I keep the bottom layer of tortilla chips from getting soggy as it bakes? ▾
First, make sure you drain any excess grease from your cooked taco beef before layering to cut down on excess moisture. Next, add a thin base layer of cheese directly on top of the bottom chip layer before adding beef—it acts as a moisture barrier so the chips stay crisp instead of soaking up meat juices as it bakes.
6.Can I swap the ground beef for a different protein to fit dietary preferences? ▾
Absolutely! Ground turkey, ground chicken, or even crumbled plant-based meat crumbles work great as a 1:1 swap. If using very lean ground turkey or chicken, add a tablespoon of tomato paste and a pinch of extra salt when browning to match the depth of flavor you get from 80/20 ground beef.
7.What temperature and bake time gives the perfect bubbly casserole without burnt chips? ▾
Bake uncovered in a preheated 375°F oven for 18 to 22 minutes, until the cheese is fully melted, bubbly around the edges of the dish, and the top layer of chips is lightly golden. Keep a close eye on it after the 15 minute mark—overbaking will make chips turn tough, while underbaking leaves cold, unmelted cheese in the middle layers.
8.When should I add fresh, zesty toppings so they stay bright and flavorful? ▾
Wait to add cold, fresh toppings until right after you pull the casserole out of the oven to keep them crisp and bright. Top picks include diced Roma tomatoes, sliced pickled jalapeños, fresh cilantro, a dollop of sour cream, a squeeze of fresh lime, diced red onion, sliced black olives, or a drizzle of your favorite salsa.
9.Can I add extra mix-ins like beans or veggies to the casserole layers? ▾
Definitely! Rinsed black beans, drained pinto beans, fire-roasted corn, or diced sautéed bell peppers make fantastic, flavorful additions that fit the classic nacho vibe. Just make sure you drain any canned ingredients really well before adding them to layers—extra can liquid is a top cause of soggy, mushy casserole.
10.What size baking dish works best for this loaded nacho casserole? ▾
A 9x13 inch glass or ceramic baking dish is ideal for this recipe, as it gives you enough space to build 2 to 3 even layers of chips, beef, and cheese without overcrowding. If you use a smaller dish, you’ll end up with overly thick layers that trap moisture; a larger dish spreads layers too thin for that hearty, loaded bite.
11.How should I store leftovers, and do they reheat well? ▾
Store leftover casserole in an airtight container in the fridge for up to 3 days. Note that chips will soften as it sits, so for the best texture when reheating, spread portions on a baking sheet and warm in a 350°F oven for 8 to 10 minutes, instead of microwaving, which makes chips chewy and rubbery. Top with fresh garnishes after reheating.
12.How can I adjust the recipe to make the casserole spicier? ▾
It’s easy to turn up the heat to match your group’s taste! Add a 1/4 teaspoon of cayenne pepper or a diced chipotle pepper in adobo to your taco meat as it cooks, swap some Monterey Jack for pepper Jack cheese, and top with sliced fresh jalapeños or a drizzle of hot sauce right after baking.
13.Do I need to grease my baking dish before assembling the casserole? ▾
A light coating of nonstick cooking spray or a quick rub of butter on the bottom and sides of your dish is a smart, 10-second step. It keeps melted cheese from sticking and burning to the edges of the pan, and makes serving much easier so you can scoop out neat, fully loaded portions without leaving half the bottom layer stuck to the dish.

Comments (12)

2 days ago

OMG, this was such a game changer for our busy weeknight family dinner! My three picky boys devoured every last bite, even the one who swears he hates anything with beans. It was so easy to throw together after work, 25 minutes total is no joke. I added a little extra pickled jalapeños on top for a kick and it was chef’s kiss. 10/10 will be making this again for our next game night!

yesterday

So happy to hear your picky eaters loved it! Extra pickled jalapeños sound like the perfect add—great call. Thanks for sharing!

1 week ago

Bro, this is the perfect dorm meal. No fancy equipment needed, cheap ingredients, feeds me and my three roommates for like two days. I used crushed tortilla chips I had left over from a party, dumped in a can of Rotel, ground beef, shredded cheese, and threw it in the oven. Absolute chaos but SO good. Didn’t even measure anything and it still slapped.

5 days ago

Wait I did the same with leftover chips last week! Game changer when you’re on a college budget, right? I added a dollop of sour cream on top when it came out, 10/10

3 days ago

Brought this to my neighborhood potluck last Saturday and people were lining up for seconds! I swear half the group asked me for the recipe before they even finished their first plate. I topped it with diced avocado, cilantro, and a drizzle of sour cream right before serving so it didn’t get soggy. Only complaint? I didn’t make enough—people were scraping the dish clean!

2 days ago

Ugh I made the mistake of adding sour cream too early once and it got so weird, pro tip for sure! Did you use ground turkey or beef for yours?

2 days ago

Love that it was a potluck hit! The avocado and cilantro add such a fresh pop of flavor, I’ll have to remember that trick for serving a crowd. So glad everyone enjoyed it!

1 week ago

I’ve been looking for easy meal prep recipes that hold up all week in the fridge and this is IT! I divided it into individual containers on Sunday, added a little side of salsa, and it reheated perfectly for lunch every day this week. No sogginess, the chips still had a little crunch even after microwaving? Wild. Saved me so much time and money instead of buying takeout for lunch.

30 minutes ago

Wait, can I make this vegetarian? My partner doesn’t eat red meat and we’ve been looking for fun shared meals for our Friday movie nights. I was thinking of swapping the ground beef for lentils or plant-based crumbles, would that work? Don’t want to mess it up because it looks so good!

5 minutes ago

Absolutely! Plant-based crumbles work perfectly as a 1:1 swap for ground beef here, and seasoned lentils are delicious too—just make sure they’re cooked through before adding them to the layers. You could even toss in some black beans for extra protein. Hope you both love it for movie night!

5 days ago

Made this for the Sunday football watch party and it was gone before halftime. I added a layer of queso in between the chips and meat because, duh, queso makes everything better. My friend who’s a total nacho snob said it was better than the ones we get at our local sports bar. Win for me!

3 days ago

Wait the queso layer is genius! Did you use store-bought queso or homemade? I’m making this for the next tailgate and need to know

2 days ago

Store bought queso works amazing for this, I did that last month! Just warm it up a little before spreading so it layers evenly

2 weeks ago

Made this for my grandkids when they came to visit last weekend and they asked for seconds before they finished their first helping! I added a little extra taco seasoning to the meat because we like things flavorful around here, and topped each serving with a dollop of guacamole. Easy enough for this old guy to make without fumbling with a million steps. Will definitely be a regular on the rotation when the grandkids are over.

yesterday

This was so easy I made it half-asleep on Sunday after a late night out. I didn’t even have fresh toppings so I just used a jar of salsa and a bag of shredded cheese I had in the fridge, and it still banged. Way better than ordering takeout nachos that show up soggy and cold. 10/10 for lazy days when you don’t want to put in effort but want something tasty.

2 hours ago

Same! I made this after a concert last weekend and it was the perfect late night bite. No fancy ingredients required, just pure comfort food

2 hours ago

So happy this recipe is naturally gluten free if you use corn tortilla chips! I have celiac and I’m always nervous about casserole recipes having hidden gluten, but this was totally safe for me. I did make sure to use a taco seasoning that didn’t have wheat filler, and it turned out perfect. Finally, a fun weeknight meal I don’t have to modify a million ways to eat!

30 minutes ago

Oh thanks for the tip about the taco seasoning! I almost forgot some of those have hidden wheat, that would’ve messed me up. Can’t wait to make this this weekend

5 minutes ago

So glad this worked for your gluten-free needs! Great call double-checking the taco seasoning labels—we always recommend that for folks with dietary restrictions. Hope you love it when you make it!

5 minutes ago

I dumped a whole can of diced green chiles and a handful of crushed red pepper into the meat mixture and it had the perfect amount of heat. If you’re a spice wimp you might want to scale back, but for anyone who loves that burn, it’s chef’s kiss. I also topped it with hot honey right when it came out of the oven and the sweet-spicy combo was insane. Next time I’m adding pickled red onions too.

just now

Wait, this is way better than regular loaded nachos! Because it’s a casserole, every single bite has cheese and toppings, no sad dry chips at the bottom of the plate like you get with regular nachos. My roommate thought I was crazy for baking nachos in a casserole dish but now she’s begging me to make it every Tuesday. Total win.

just now

Right?! The layered structure means no sad bare chips! I always make mine in a 9x13 pan so every layer is evenly cheesy, no misses

1 week ago

This recipe cost me under $12 to make and fed my whole family of four for dinner, plus we had leftovers for lunch the next day. Ground beef was on sale, chips were BOGO at the grocery store, I already had cheese and salsa at home. Can’t beat that price for a meal everyone actually gets excited about. Way cheaper than takeout and tastes way better too.



