
Navajo Taco
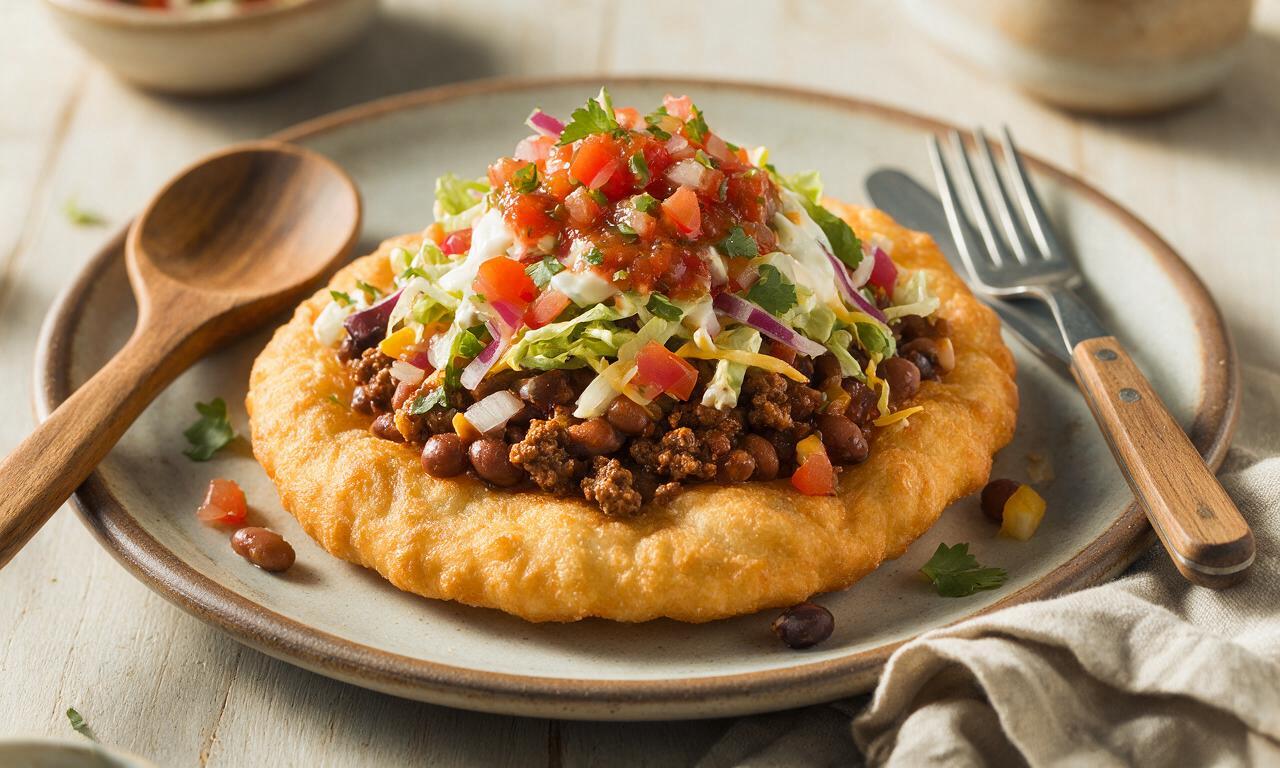
intro
Crispy golden fry bread piled high with seasoned beef, beans, fresh toppings, and zesty salsa—a beloved, comforting Indigenous Southwestern American staple.
Ingredients
Steps
Mix fry bread dough
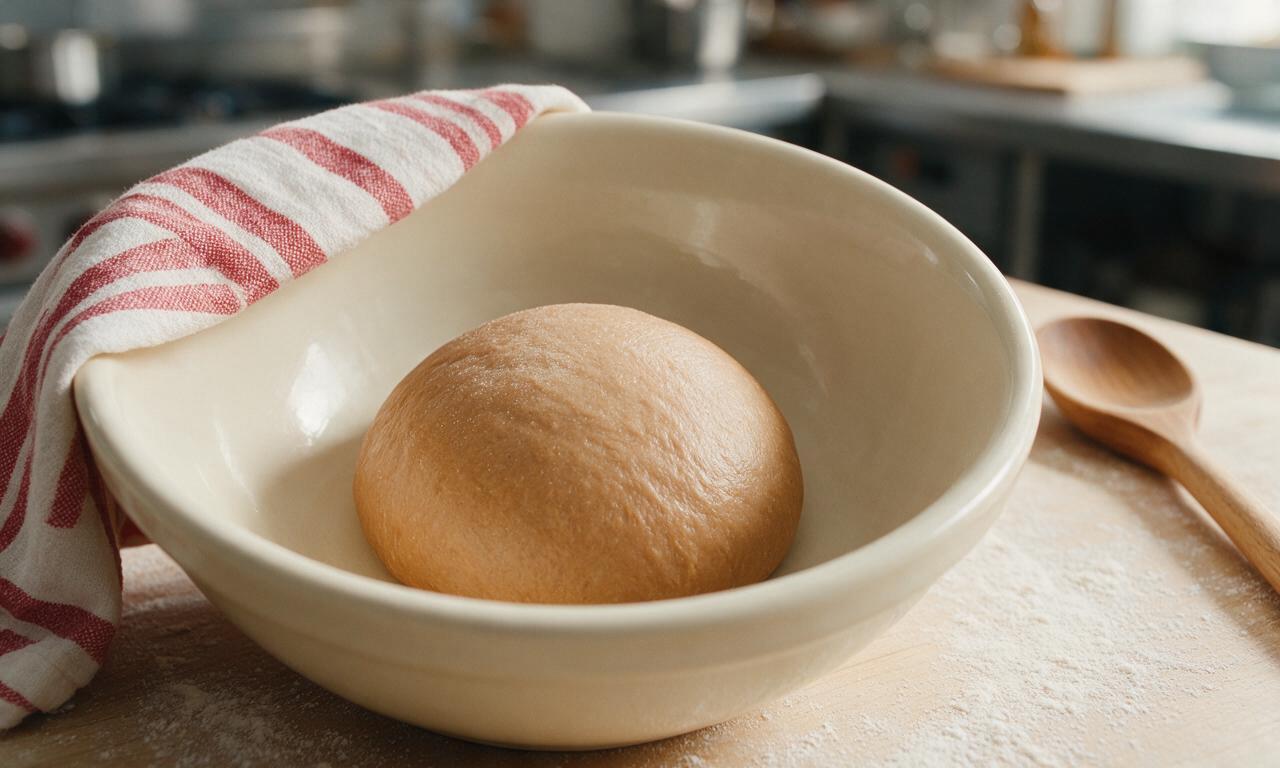
In a large mixing bowl, whisk together 2 cups (240g) all-purpose flour, 1 tbsp baking powder, and 1 tsp fine salt. Pour in 3/4 cup (180ml) warm 110°F (43°C) whole milk and 1 tsp vegetable oil, stirring with a wooden spoon until a shaggy, soft dough forms. Turn dough onto a lightly floured surface and knead gently for 2 minutes until smooth, then cover with a clean kitchen towel and let rest for 15 minutes at room temperature.
Cook seasoned beef filling
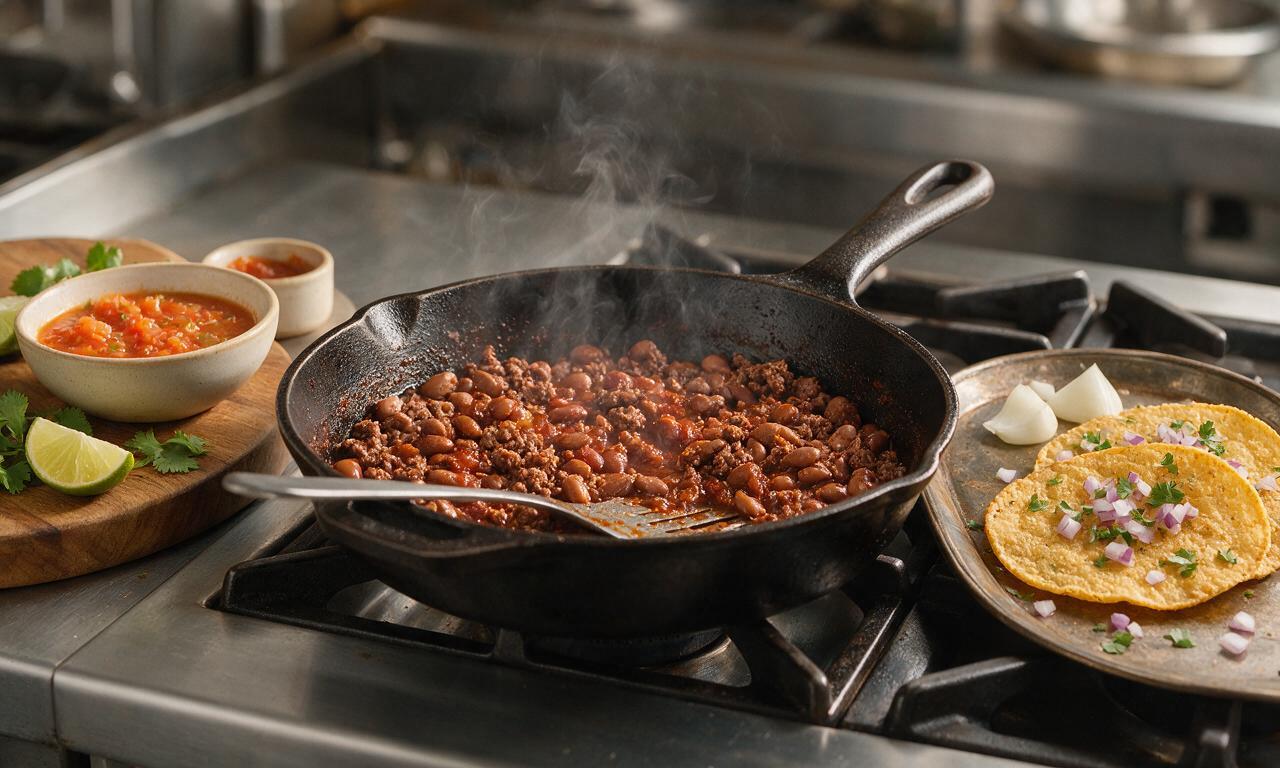
Heat a 12-inch cast iron skillet over medium heat (350°F / 175°C surface temperature). Add 1 lb (450g) 80/20 ground beef, breaking it apart with a stiff spatula as it cooks for 6-7 minutes until fully browned with no pink remaining. Drain excess rendered fat from the skillet, then stir in 2 tbsp low-sodium taco seasoning, 1/2 cup (120ml) water, and the drained, rinsed pinto beans. Bring to a gentle simmer, then reduce heat to low and cook for 5 minutes until the sauce thickens slightly; keep warm on the stovetop until serving.
Shape fry bread portions
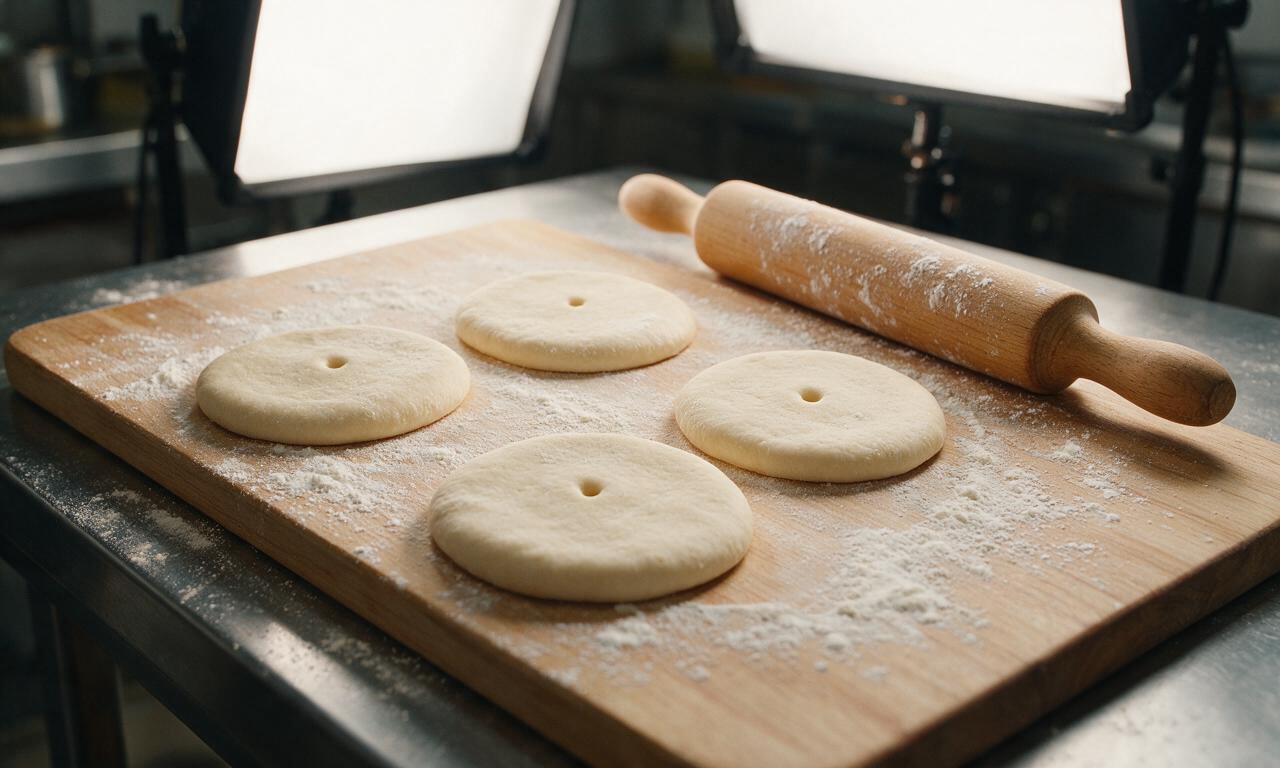
After the 15-minute dough rest, divide the fry bread dough into 4 equal 100g portions. Roll each portion between your palms into a smooth ball, then use a floured rolling pin to roll each ball into a 6-inch (15cm) wide, 1/4-inch (6mm) thick circle. Poke a small 1/2-inch (1cm) hole in the center of each dough circle to prevent uneven puffing during frying.
Fry bread to golden crisp
Pour 2 cups (480ml) vegetable oil into a deep 10-inch Dutch oven or heavy-bottomed pot, heating over medium-high heat until the oil reaches 375°F (190°C) on a candy thermometer. Carefully lower one dough round into the hot oil at a time, frying for 1 minute on the first side until deep golden brown, then flip with long metal tongs and fry for 45-60 seconds on the second side. Transfer cooked fry bread to a wire rack lined with paper towels to drain excess oil, sprinkling lightly with a pinch of fine salt immediately after removing from oil. Repeat with remaining dough rounds, maintaining oil temperature between 360-375°F (180-190°C) between batches to avoid greasy bread.
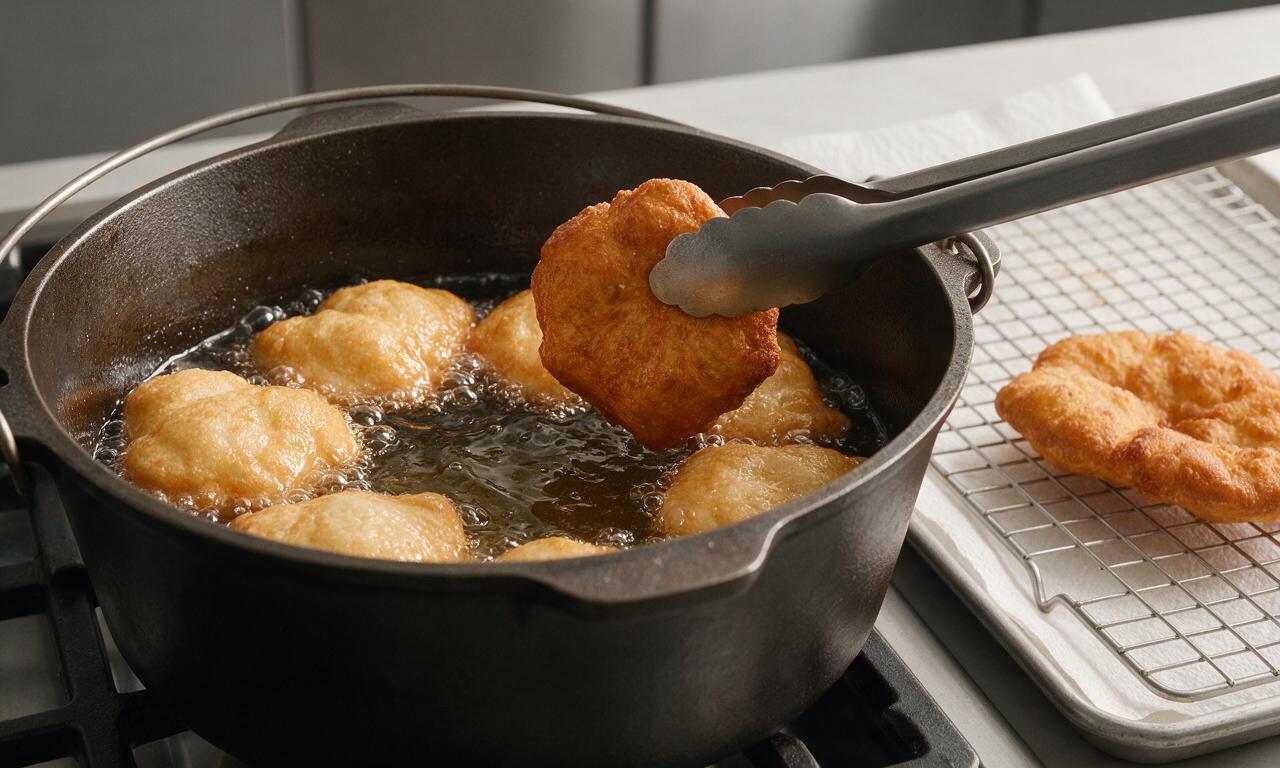
Prep fresh taco toppings
While the fry bread drains, arrange all topping components in small serving bowls for easy assembly: 2 cups (140g) shredded iceberg lettuce, 1 cup (180g) diced Roma tomatoes, 1 cup (113g) shredded sharp cheddar, 1/2 cup (120g) full-fat sour cream, 1/2 cup (75g) diced yellow onion, and 1/2 cup (130g) medium red salsa. Let toppings sit at cool room temperature for 5 minutes to provide the best texture contrast with the hot fry bread and warm beef filling.
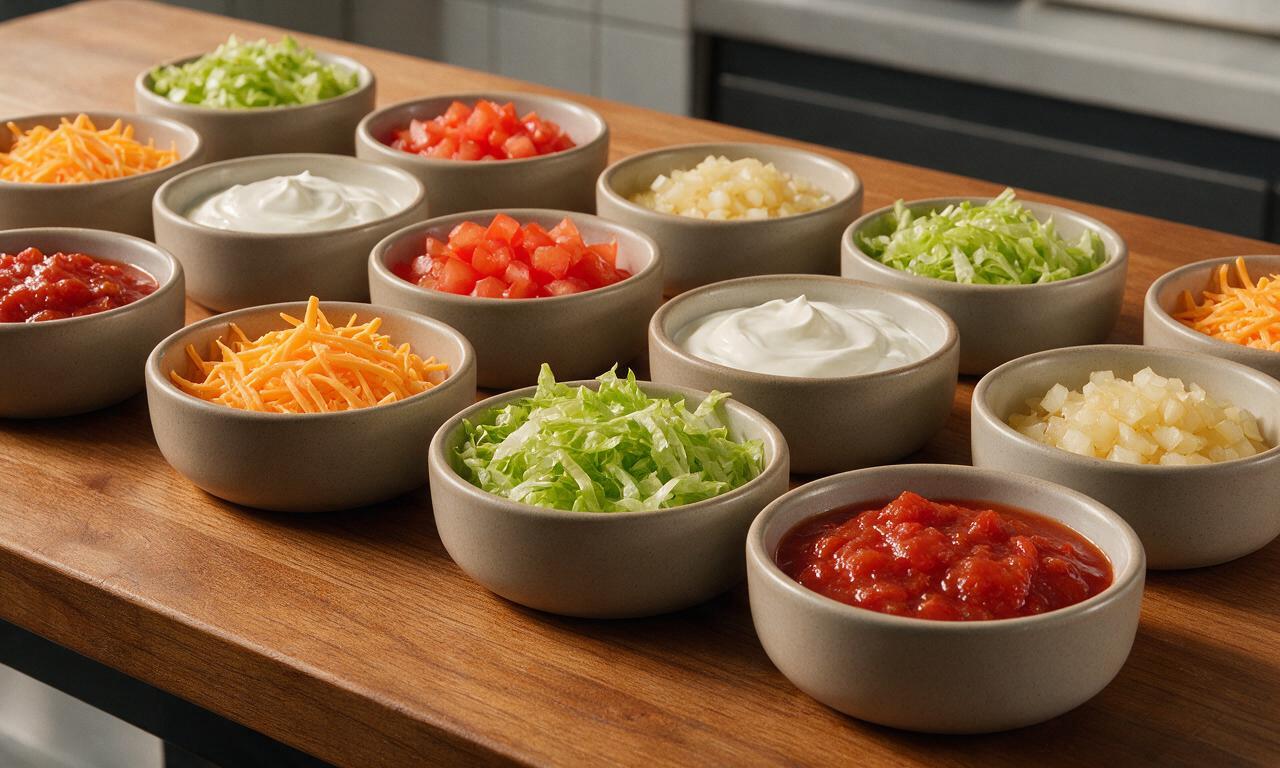
Assemble finished tacos
Place one warm, crispy fry bread on each of 4 dinner plates. Spoon 1/4 of the warm beef and bean mixture evenly over the center of each fry bread, leaving a 1-inch (2.5cm) border around the edge. Top each with shredded cheddar first (so it melts slightly from the residual heat of the beef), followed by shredded lettuce, diced tomatoes, diced onion, a dollop of sour cream, and a spoonful of salsa. Serve immediately while the fry bread remains crisp and hot.
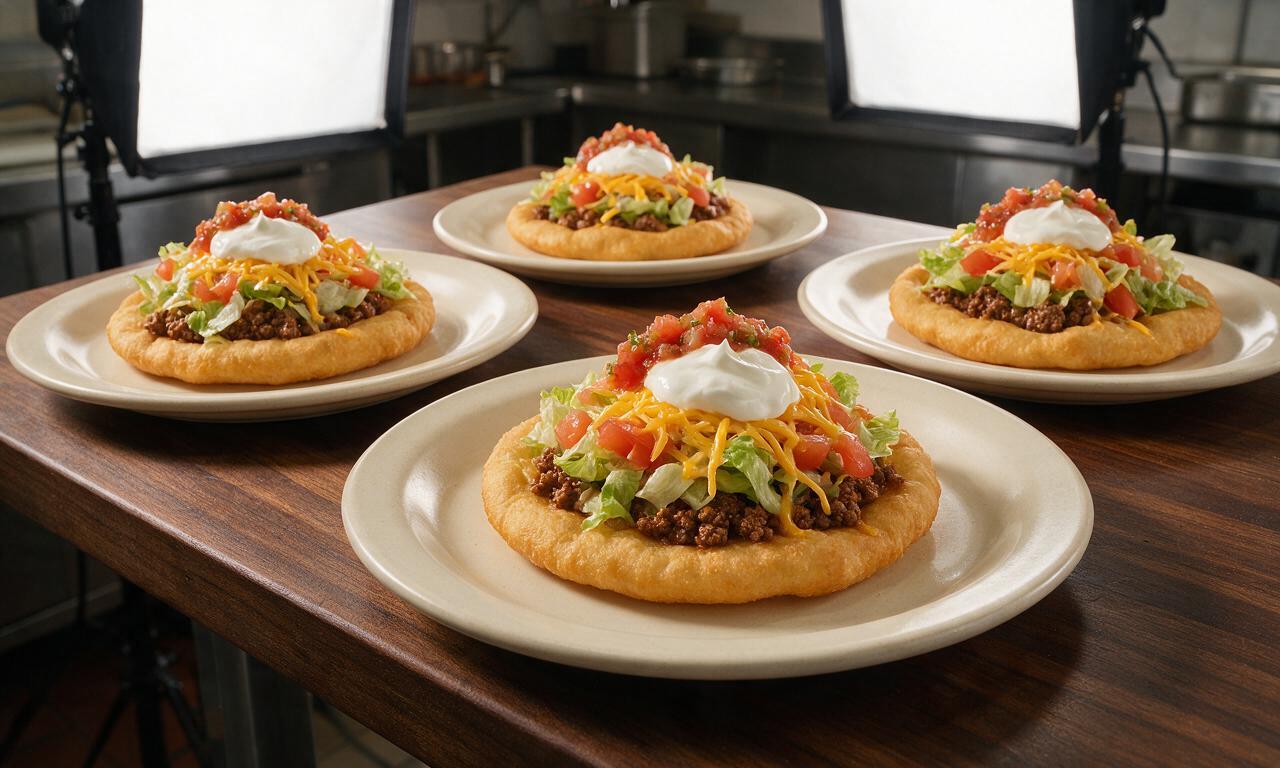
Tips
2.Use a candy or frying thermometer to monitor oil temperature consistently: oil below 360°F (180°C) will make fry bread absorb excess grease, while oil above 385°F (195°C) will burn the bread exterior before the center cooks through.
3.Don’t skip the small center hole in each dough round before frying: this prevents the dough from puffing into a large, hollow balloon shape during cooking, which makes it difficult to pile toppings evenly on the finished bread.






OMG these fry bread tacos were an absolute game changer for our family taco night! My kids usually turn their nose up at anything new, but they went back for SECONDS. I topped them with seasoned ground beef, shredded lettuce, cheese, and a little dollop of sour cream, just like the recipe said. The fry bread got so perfectly crispy on the edges but soft in the middle — 10/10 will be making these for our next potluck too!
Made these after a long day hiking in Sedona and they hit SO hard. I used ground bison instead of beef for a little extra gamey flavor that pairs perfect with the crispy fry bread. Only note is I had to add a tiny bit more flour to my dough because it was sticking to my counter pretty bad, but that was an easy fix. Cook time was right around 45 minutes like the recipe said, no surprises.
Brought these to our neighborhood block party last weekend and people were literally asking me for the recipe before they even finished their first taco! I made a big batch of the fry bread ahead of time and kept them warm in the oven, then set out a topping bar with beans, salsa, guac, pickled onions, all the good stuff. So much more fun than regular hard shell tacos. Only thing is I wish I made double, they were gone in 20 minutes flat!
I was so nervous I couldn’t make these work with my gluten allergy, but I swapped the all purpose flour for a 1:1 gluten free baking flour and they turned out SO good! The fry bread was still crispy and fluffy, no weird gritty texture like a lot of gluten free fried breads have. My whole family (who eats regular gluten) didn’t even notice a difference! Will be adding this to our weekly meal rotation.
First time ever making fry bread and I only messed up the first piece because I had the oil too hot, oops. The rest came out perfect! Super cheap to make too, which is perfect for my college student budget. Topped mine with leftover chili, cheese, and green onions, chef’s kiss.
Added a little taco seasoning and a pinch of cayenne right into the fry bread dough and it took these to the NEXT level. That little extra kick in the crispy bread pairs so well with all the creamy, cool toppings. 10/10, will be making these every other taco night from now on.
Wait, has anyone tried making the dough ahead of time for meal prep? I’d love to make a big batch on Sunday to have these ready for quick dinners during the work week, but I don’t want the dough to get weird in the fridge.
My grandma used to make fry bread very similar to this when I was a kid growing up in Window Rock, and this recipe tastes exactly like I remember! The texture is perfect, not too greasy, just crispy outside and soft inside. I made these for my grandkids this weekend and they begged me to make them again next weekend. Thank you so much for sharing this traditional recipe, it means a lot.
Threw these on the menu for our game day watch party last Sunday and they were a total hit. I fried the bread up on my side burner outside so I didn’t make the whole house smell like oil, then loaded them up with smoked pulled pork, coleslaw, and a drizzle of BBQ sauce for a little twist. Don’t @ me, it was delicious.
SO good. I was a little worried because medium difficulty recipes usually stress me out, but the steps were super easy to follow and I didn’t run into any issues at all. The fry bread was way simpler to make than I thought it would be! Topped mine with pinto beans, ground turkey, cilantro, and a squeeze of lime, so fresh.
Pretty good! I think I rolled my dough a little too thick so the middle was a bit doughy for my taste, but the edges were perfect and crispy. Next time I’ll roll it a little thinner and make sure the oil is hot enough all the way through. Still ate two of them though, no regrets.
Made these for our family dinner last night and my husband said they’re better than the ones we had at the state fair last summer! I added a little honey butter to a few of the extra fry bread pieces for dessert and that was chef’s kiss too. Who knew fry bread worked for both dinner and dessert?