1.How thick of a New York strip steak works best for this pan-sear method?
▾
This recipe is calibrated for a 1-inch thick New York strip, which is the sweet spot for building that signature crispy, browned crust without overcooking the tender center to perfect medium-rare. If you use a 1.5+ inch thick steak, plan for a 2–3 minute 400°F oven finish after searing to avoid a burnt crust before the center cooks through.
2.Do I need to salt my steak in advance, or can I salt it right before searing?
▾
For the juiciest, most evenly seasoned result, salt your 1-inch strip 45 minutes to an hour before cooking if you can. That lets drawn-out surface moisture reabsorb into the meat, tenderizing it and seasoning deep into the cut. If you’re crunched for time, salt immediately before searing—just avoid salting 10–15 minutes early, when beaded surface moisture will prevent a crispy crust.
3.What type of pan works best for searing New York strip steak?
▾
Reach for a heavy-bottomed cast iron or carbon steel pan if you have one—they hold consistent, high heat far better than thin pans, which is non-negotiable for that steakhouse-worthy crispy crust. If you only have stainless steel, that works too; just make sure it’s fully preheated before adding oil to reduce sticking. Skip nonstick pans, which can’t handle high searing heat without degrading.
4.How do I tell when my steak hits perfect medium-rare without cutting into it?
▾
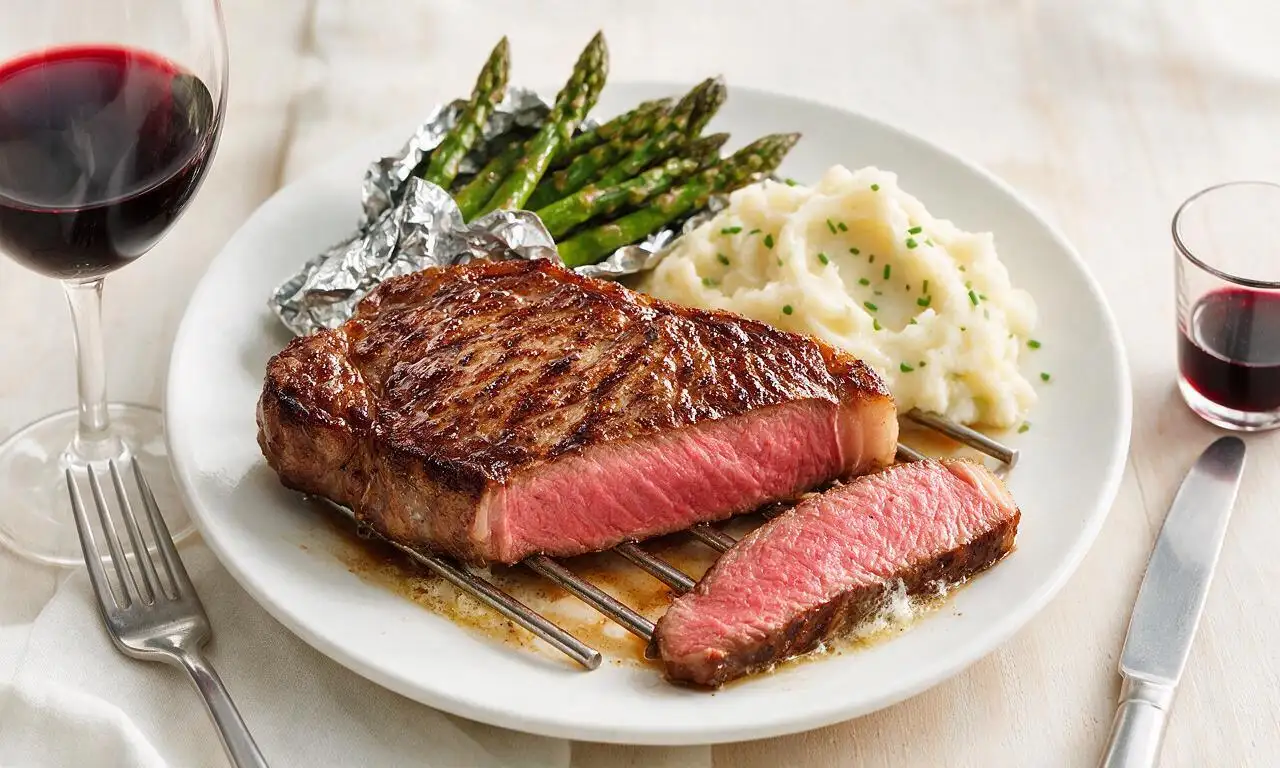
The most reliable method is an instant-read thermometer: stick it into the thickest part of the steak, and pull it when it hits 130°F. It will rise 5°F as it rests to land at a perfect 135°F medium-rare, with that even warm pink center. If you don’t have a thermometer, the cooked steak will have a soft, springy press similar to the pad of your relaxed thumb.
5.Why is the butter added at the end of searing instead of at the start?
▾
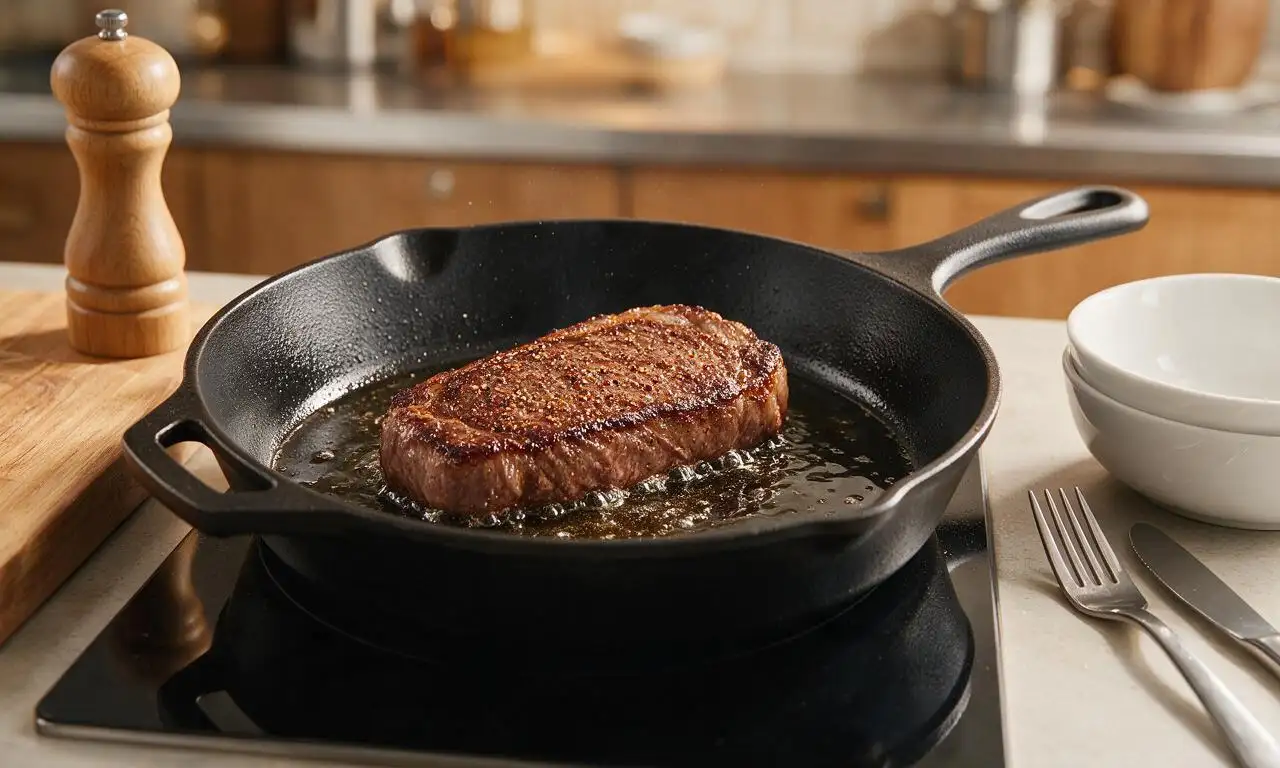
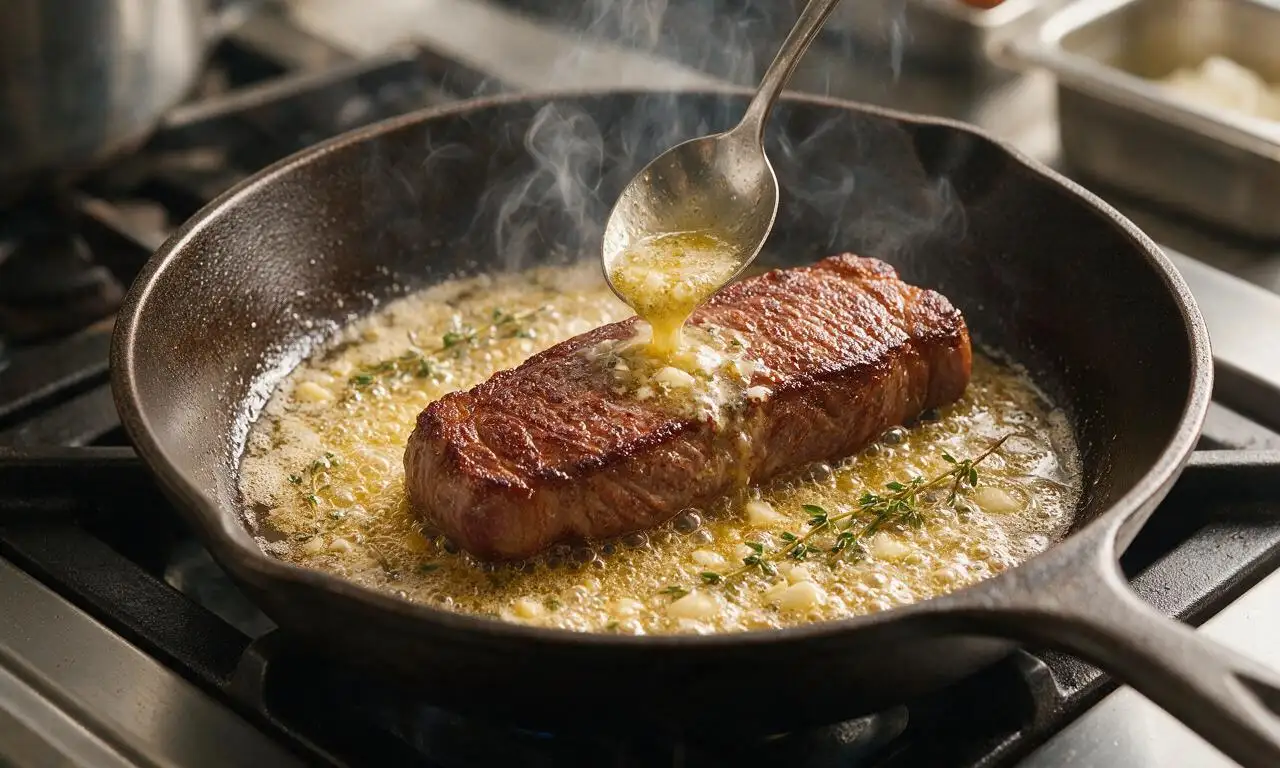
Butter has a low smoke point, so adding it at the start would burn before you build that deep, golden steak crust, leaving a bitter, acrid aftertaste. Adding it during the last 1–2 minutes of cooking lets it melt, foam, and mix with browned steak bits for that rich, luxe basting liquid, without burning the delicate milk solids that give butter its sweet, nutty flavor.
6.How long should I let my steak rest after cooking, and is that step really necessary?
▾
Resting is non-negotiable for a juicy steak! Let your 1-inch strip rest for 5 full minutes on a cutting board, tented loosely with foil, before slicing. When you cook steak, juices race to the hot outer edges; resting lets those liquids redistribute evenly through the meat, so they don’t all pour out onto your cutting board the second you make your first slice.
7.My steak always sticks to the pan when I try to sear it—what am I doing wrong?
▾
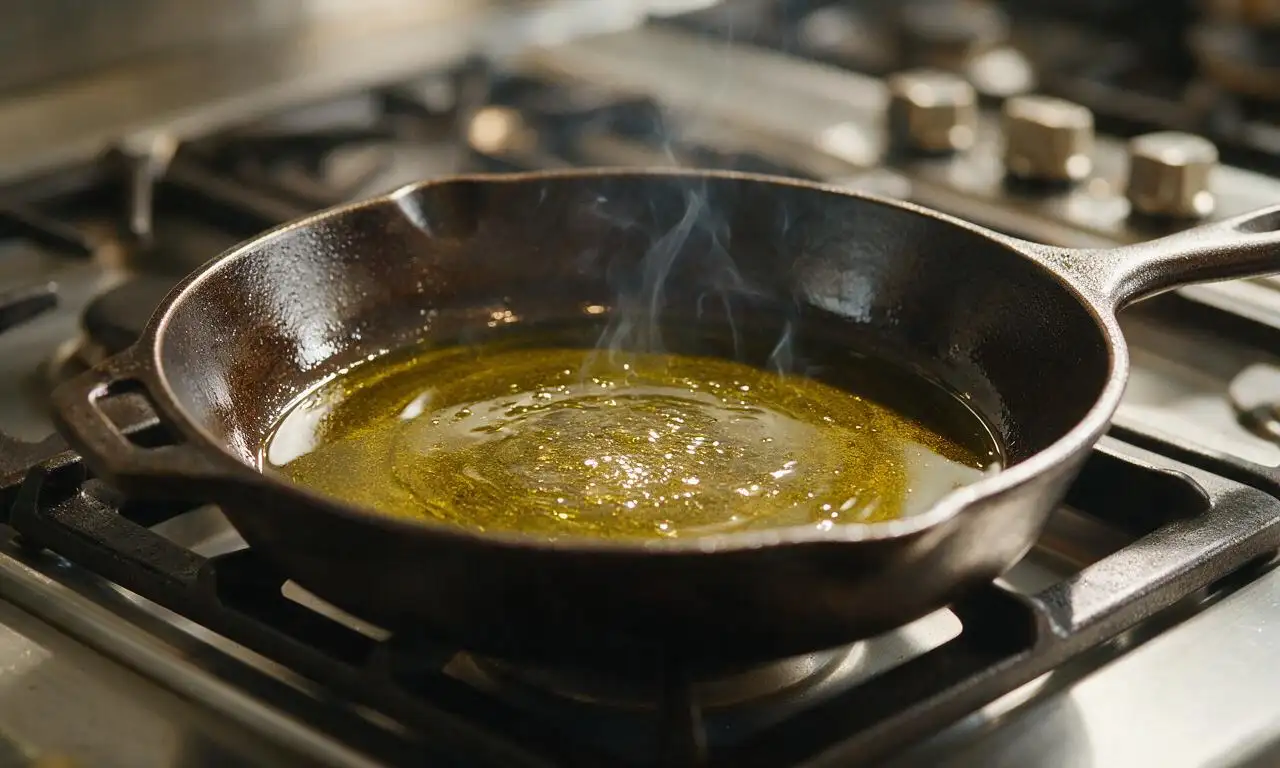
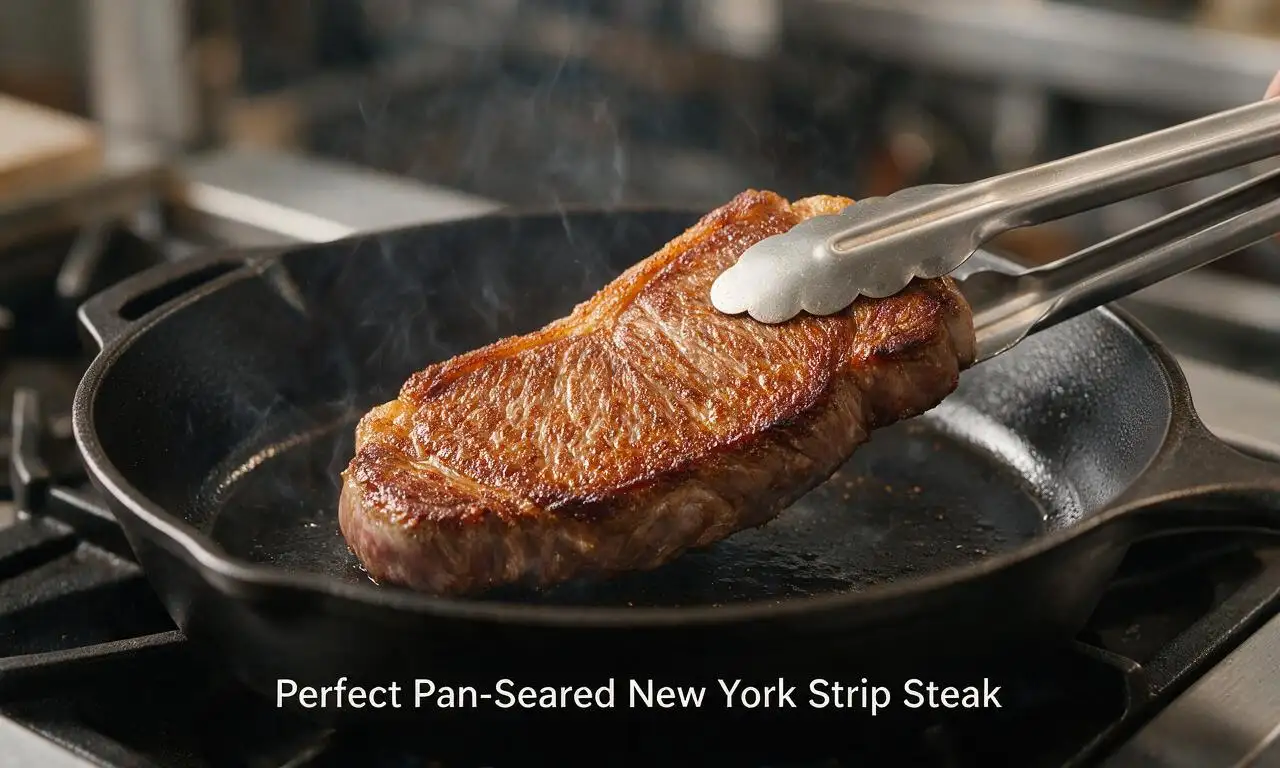
Sticking almost always comes down to two issues: your pan isn’t hot enough, or you’re flipping the steak too early. Heat your pan until the olive oil is shimmering and just starting to smoke before laying the steak down, and don’t poke or prod it for the first 3 minutes. Once the deep crust is fully formed, the steak will release easily from the pan on its own without tearing.
8.Can I add garlic, rosemary, or thyme to the butter when I baste the steak?
▾
Absolutely! Those add-ins are a classic steakhouse upgrade, just toss them in when you add the butter during the last 1–2 minutes of cooking so they don’t burn and turn bitter. Crushed garlic cloves, a couple sprigs of fresh rosemary or thyme, or even a sliced shallot will infuse the basting butter with warm, aromatic flavor that pairs perfectly with rich, beefy New York strip.
9.The recipe uses extra-virgin olive oil for searing—won’t that burn at high heat?
▾
Good question! We only use a thin layer of extra-virgin olive oil to kick off the searing process, and we don’t heat it so high that it hits its smoke point before the steak goes down. If you prefer, swap in a higher-smoke-point neutral oil like avocado or canola for the initial sear, then add butter for basting to get that same rich flavor with zero risk of burnt oil.
10.Do I really need to pat my steak dry with paper towels before searing it?
▾
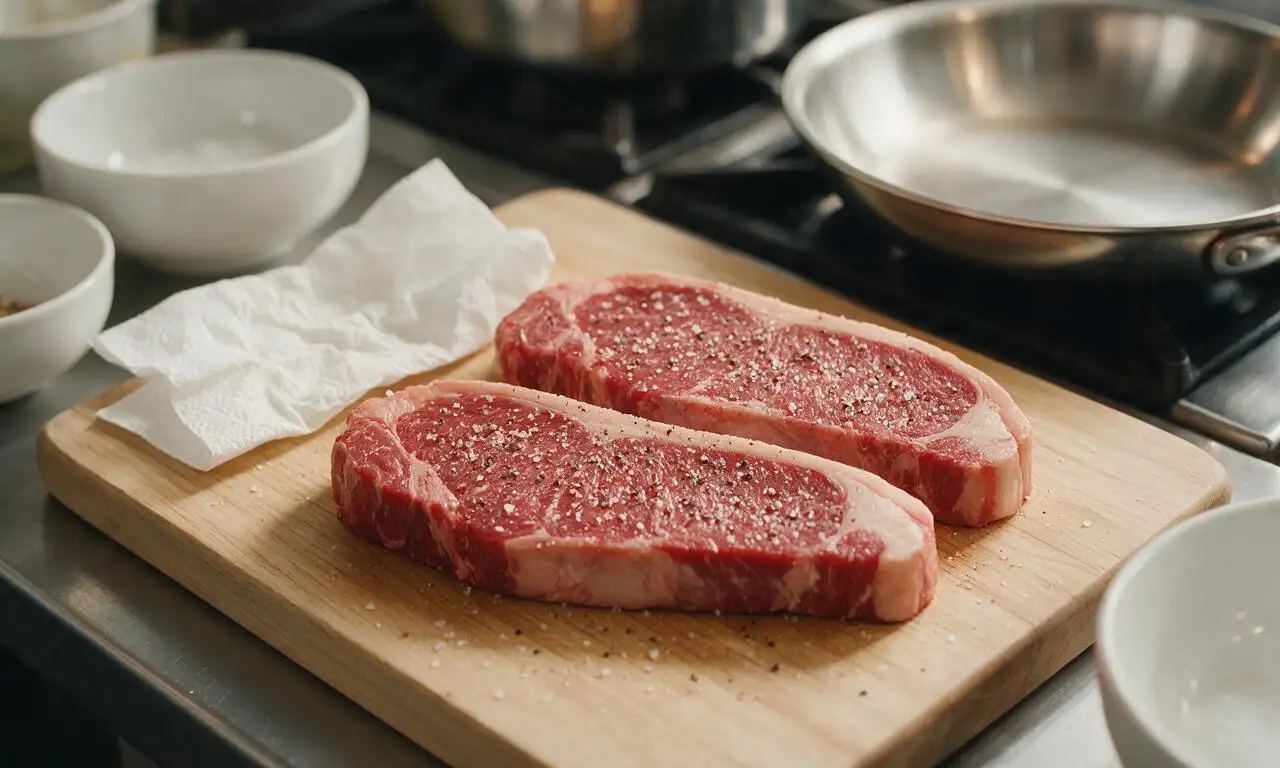
That step is non-negotiable for a perfect crispy crust! Any surface moisture on the steak will steam instead of sear when it hits the hot pan, leaving you with a pale, soggy outer layer instead of that deep, crackly, browned crust you want. Give both sides a firm pat with paper towels right before the steak goes into the pan, right after you season it with salt and pepper.
11.Do I only need to flip the steak once while searing, or can I flip it multiple times?
▾
The old rule of only flipping once works, but flipping every minute after the initial 3-minute sear on the first side actually helps the steak cook more evenly, with a thinner overcooked gray band around the pink center. Just don’t flip too early before the crust sets on each side, and use tongs instead of a fork to avoid poking juice-leaking holes.
12.Can I use salted butter instead of unsalted butter for the basting step?
▾
You can, just cut back slightly on the kosher salt you use to season the steak upfront to avoid over-salting. Salted butter has a variable amount of added salt depending on brand, so it’s easier to control final seasoning when you start with unsalted. If you use salted, skip adding extra salt during basting, and taste a tiny edge of the crust after cooking to adjust if needed.
13.Can I use this exact pan-sear method for other steaks like ribeye or filet mignon?
▾
This method works beautifully for most 1-inch thick steaks, including ribeye, filet mignon, and top sirloin! The only small adjustment is for extra-marbled cuts like ribeye, which render more fat as they cook: just pour off a little excess fat mid-sear if it starts to splatter too much before adding butter for basting. Cook times shift slightly for thicker or thinner cuts, but the core process stays identical.
14.How do I avoid setting off my kitchen smoke alarm when searing steak at home?
▾
Start by turning your stovetop vent on high before you heat the pan, and crack a nearby window for extra cross-ventilation if you can. Don’t overheat the oil—you want it shimmering, not billowing smoke, before adding the steak. Pour off excess rendered fat halfway through searing, and turn the heat down slightly once you add butter for basting to keep milk solids from burning and smoking.
15.Should I trim the thick fat cap on the edge of my New York strip before searing?
▾
Leave most of that fat cap on! It renders as the steak cooks, adding rich, beefy flavor and helping to crisp up the edge of the steak for extra texture. You can trim it down to a 1/4-inch thick layer if it’s extra bulky, but don’t remove it entirely. For extra crispy fat, hold the steak upright with tongs to sear the fat cap edge for 1 minute before searing the flat sides.
16.What temperature should I pull the steak at if I want it cooked to medium or medium-well instead of medium-rare?
▾
For medium doneness with a soft pink center, pull the steak at 140°F, which will rise to 145°F as it rests. For medium-well, with just a faint hint of pink in the very center, pull at 150°F, which will rest up to 155°F. I don’t recommend cooking New York strip past medium-well, as it will turn tough and dry, losing the tender, juicy texture the cut is known for.
17.Do I need to let my steak come all the way to room temperature before searing it?
▾
You don’t need to let it sit out for an hour to hit full room temp—that’s a food safety risk if left out too long. Just take it out of the fridge 20–30 minutes before cooking to take the sharp chill off. This helps it cook more evenly, so you don’t end up with a cold, undercooked center when the crust is perfectly browned on the outside.
18.What’s the right way to slice the steak after it rests to keep it as tender as possible?
▾
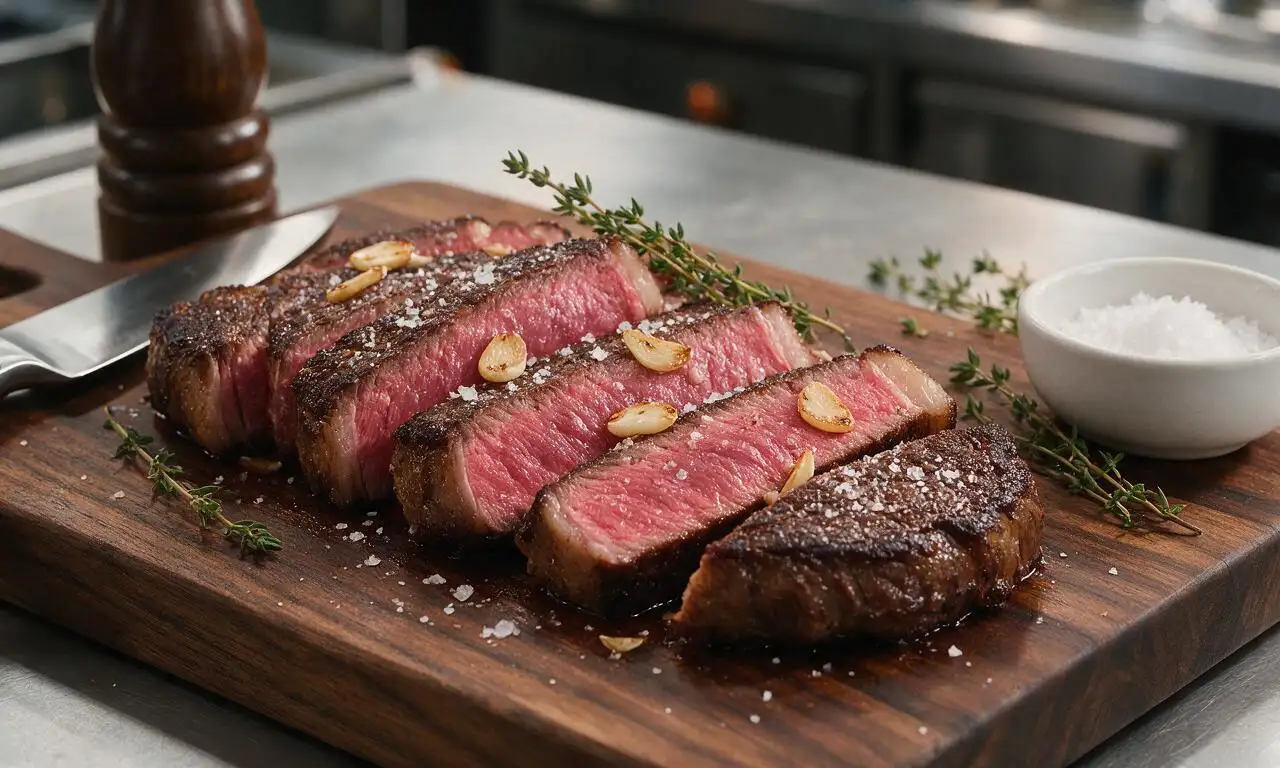
Always slice your New York strip against the grain, into 1/4-inch to 1/2-inch thick slices. New York strip has long, visible muscle fibers running the length of the cut; cutting across those fibers shortens them, so every bite is tender instead of chewy, even if you cooked the steak perfectly. Slice on a slight bias for extra-wide, restaurant-style slices that look great on a plate.







OMG y’all, this recipe is a total game changer! I’ve been grilling NY strips for years but never thought pan-searing could hit this hard. Made it for my family dinner last Sunday, my wife and two kids devoured theirs in 10 minutes flat. The butter baste with garlic and thyme? CHEF’S KISS. SO good, I’m ditching the grill for date night steaks from now on.
This turned out really tasty! My only note is that 55 minutes total time felt a little long for a weeknight, but I get that the resting time is non-negotiable. My 8 year old said it’s the “fanciest restaurant steak” he’s ever had at home, so that’s a win in my book. Will definitely make again for Sunday supper.
Game changer for my weekly meal prep! I cook up two of these strips on Sunday, slice them thin, and toss them in salads, wraps, and grain bowls all week. They stay juicy even when reheated quick in the pan, which I was shocked by. Way better than the sad pre-cooked steak I used to buy from the grocery store. 10/10.
Okay so flavor was great, but I totally messed up the cook time on my first try. I have a super thick cut (almost 2 inches!) and pulled it when the recipe said for medium, but it was still totally rare in the middle. Had to pop it in the oven for extra time, which made the crust a little soggier than I wanted. Any tips for extra thick cuts?
Made this for my partner for our anniversary last night and they thought I ordered takeout from the fancy steakhouse downtown! I added a little rosemary to the butter baste because I had it on hand, served it with roasted garlic mashed potatoes and roasted broccoli. Zero leftovers, they asked when I’m making it again already. OMG so good.
Brought sliced pan-seared strip to my neighborhood potluck last weekend and people were hounding me for the recipe all night! Even the guy who swears he only eats steak cooked on a wood-fired grill went back for seconds. The crust is perfectly salty, the inside is juicy, I don’t think I’ll ever cook steak another way again.
Really solid recipe! I usually buy cheaper cuts of steak because NY strip can be pricy, but I splurged for my husband’s birthday and used this method. Only thing is I used regular salted butter instead of unsalted and it was a touch too salty for my taste, but that was totally my bad, not the recipe’s fault. Still turned out way better than I expected.
As someone who eats a ton of protein for lifting, this recipe is a total staple now! It’s so simple, no fancy ingredients, just steak, butter, garlic, herbs, salt and pepper. I love that it doesn’t require any fancy equipment either, just a pan and a thermometer. My roommate walked in while I was cooking last night and said the whole apartment smelled like a high-end steakhouse.
Just pulled this off the stove 10 minutes ago and had to leave a review immediately. I’ve been trying to nail a pan-seared steak for literal years, always either burning the outside, overcooking the inside, or getting no crust at all. Followed this recipe step by step, got a perfect medium-rare, crust for days, juicy as can be. My jaw was on the floor how easy it was when you actually follow the directions. 10/10, no notes.
Love that this recipe is totally allergy-friendly for my family! No weird hidden ingredients, no gluten, no dairy if you swap the butter for avocado oil (we did that for my dairy-allergic kid and it still turned out amazing). My kids loved it, even the picky one who usually turns his nose up at any red meat. We had it with roasted green beans and fries, total hit.
Made this on my camp stove in a cast iron when we were camping last weekend and it worked like a charm! We didn’t have fresh thyme so we used dried, and it still tasted great. Only reason it’s not 5 stars is I wish the recipe had a note for adjusting cook time at higher altitude — we’re at 7000 feet when we camp so it took a couple extra minutes to hit temp, but that’s an easy fix next time.
Wait this is the first steak I’ve ever cooked in my life and it didn’t turn into a rubbery disaster??? I was so nervous I’d ruin the $18 strip I bought from the butcher, but I followed every direction exactly, let it come to temp, seasoned it heavy, seared it right, basted with butter, let it rest… and it’s perfect. Medium rare, juicy, crispy crust. I feel like a real chef now, OMG.
Hosted a little girls’ wine night last weekend and made these steaks for everyone, paired with a bold cabernet and crispy roasted potatoes. Everyone was raving, one of my friends said it was better than the $60 steak she had on her last vacation. I was worried cooking 4 steaks in a pan would be a hassle, but it was so straightforward, I didn’t even stress. Will absolutely be making this for my next dinner party.
I doubled the garlic in the butter baste because I’m a garlic fiend and let me tell you, life changing. I also tossed in a couple crushed red pepper flakes for a tiny kick, which paired so well with the rich, fatty steak. Served it with a side of creamed spinach and it felt exactly like the steakhouse dinners my grandpa used to take me to as a kid. So nostalgic, so delicious.
Great recipe! I saved all the garlic herb butter drippings from the pan to sauté mushrooms the next night, and it was the most flavorful side dish ever. Only tiny complaint is I wish there was a note about oil smoke point — I used olive oil at first and it started smoking like crazy before I even put the steak in, switched to avocado oil and it was fine. Still turned out delicious though.
Okay I’m the dad who is notorious for burning every single steak I make for the family, my kids used to make fun of me and say my steaks are tougher than shoe leather. Made this recipe last night, followed every single step, even bought a meat thermometer to make sure I got the temp right, and it was perfect. My kids asked for seconds, my wife gave me a high five, I feel like I redeemed my dad cook reputation. Game. Changer.
Really solid, well-tested recipe! The dry brine step is so key, I’m glad the recipe emphasizes that — it draws out moisture that evaporates to help form that perfect crust, and seasons the steak all the way through instead of just on the surface. My only note is that I found the 3 minutes per side sear was a little long on my gas stovetop which runs super hot, so I did 2.5 per side and it was perfect medium rare.
Just made this for a quick late night dinner and wow, I can’t believe how good it turned out for how little effort it felt like. I didn’t even have fresh herbs, just used garlic powder and dried thyme, and it was still so flavorful. I was expecting it to be bland because I cut corners, but nope, still juicy, still crusty, 10/10 for lazy cooks like me.
Made this last night and had the leftover sliced steak on a breakfast hash this morning with eggs, peppers, and potatoes, and it might have been better than the dinner itself. The steak is so flavorful it makes every leftover meal feel fancy, I’m never going back to boring breakfast sausage again. SO good.