
new york strip roast

title 1
new york strip roast
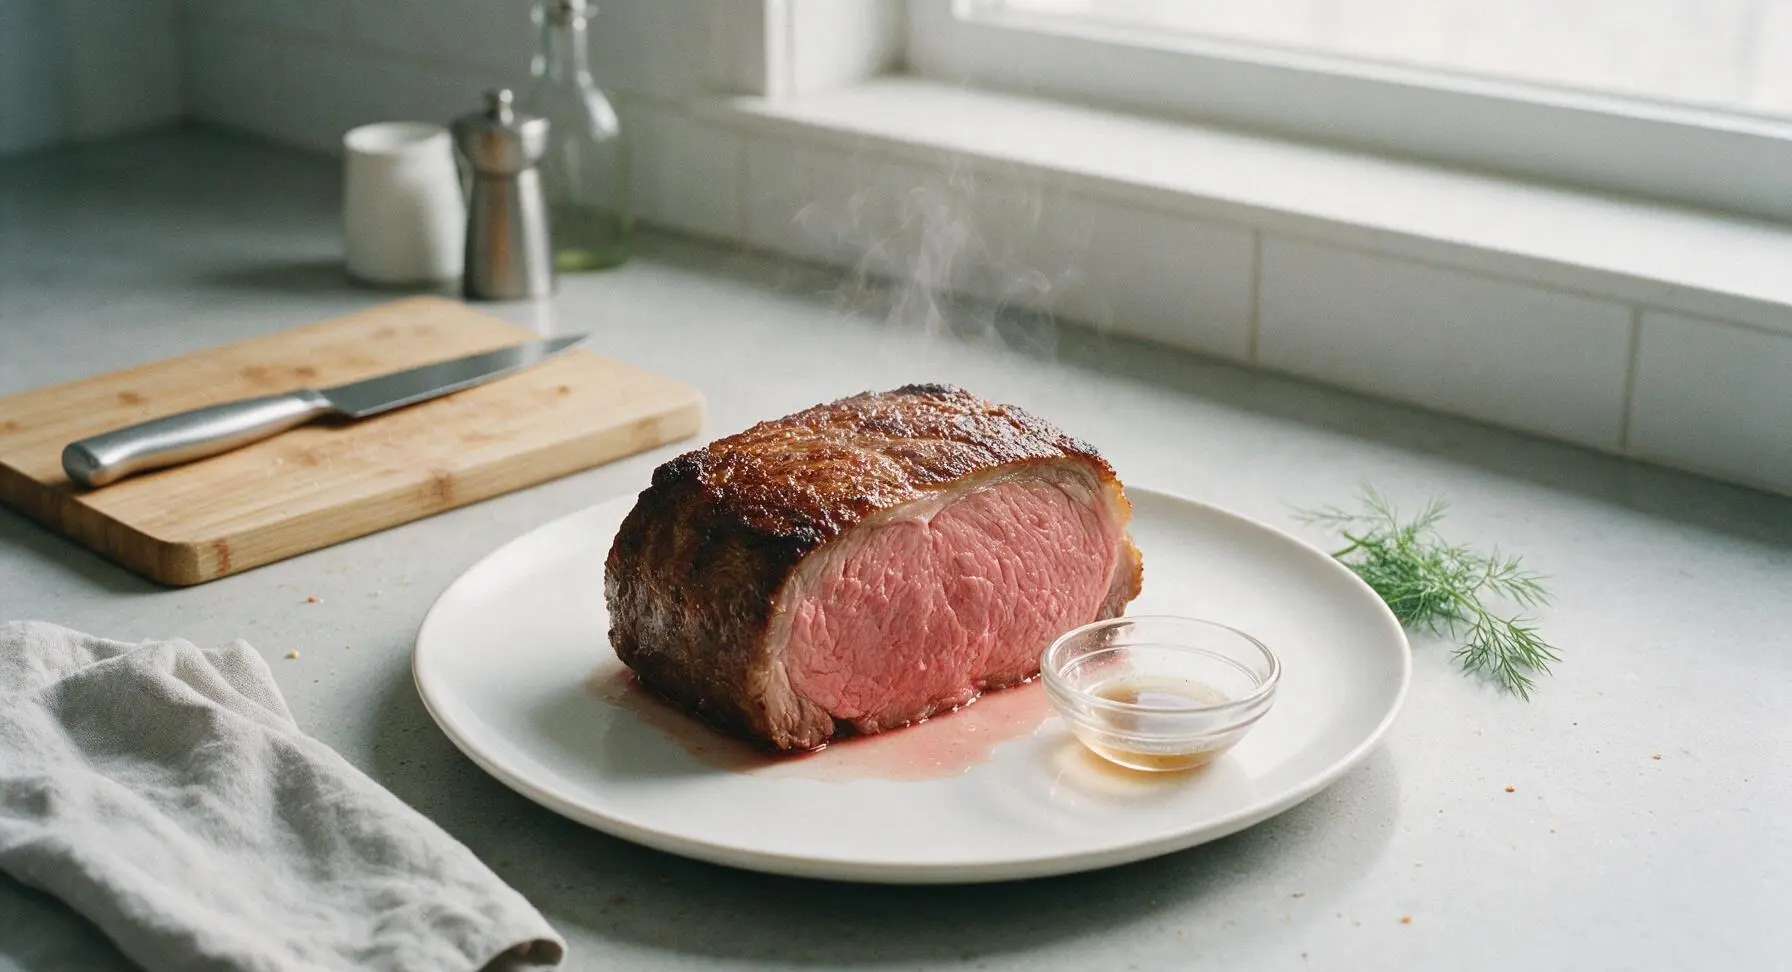
⏱️ cook time 55 minutes
🍽️ servings 4
⚡ Difficulty medium

intro

Juicy, deeply crusted New York strip roast with a tender pink medium-rare center, an elegant, low-fuss centerpiece perfect for cozy winter family gatherings.

Ingredients
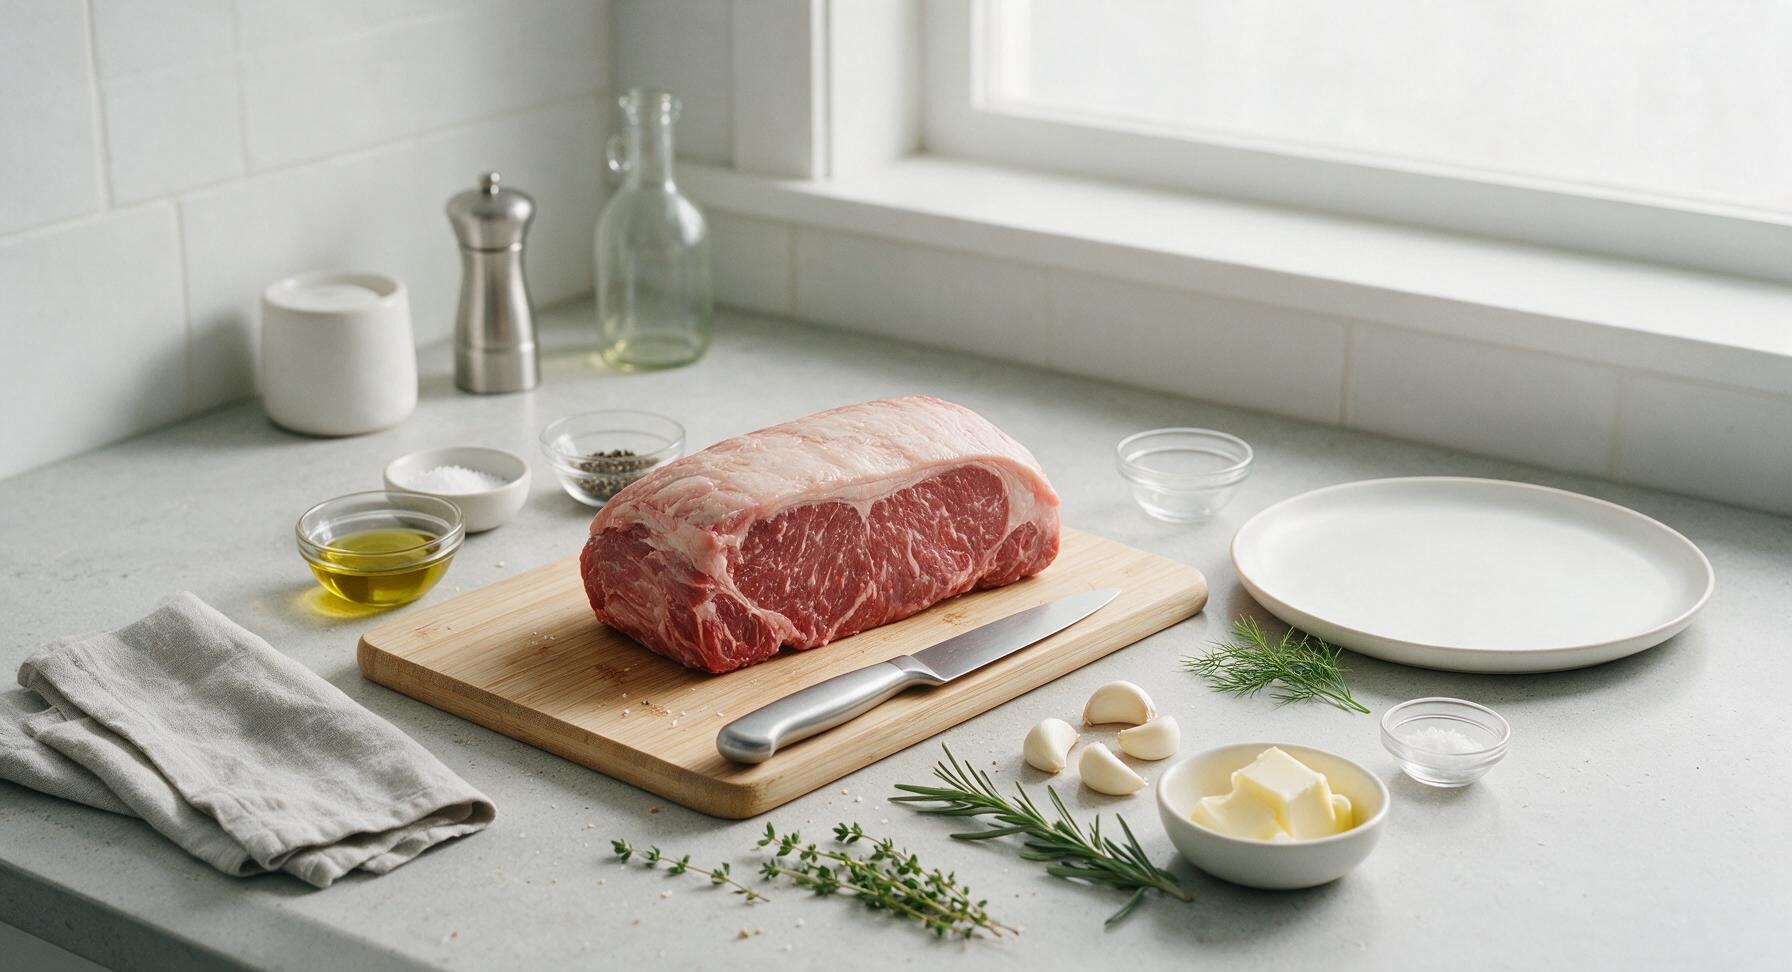
Boneless New York strip roast 3 lb (1.4 kg)
Extra-virgin olive oil 2 tbsp
Kosher salt 1 tbsp
Freshly cracked black pepper 2 tsp
Garlic cloves 4 each
Fresh rosemary 2 sprigs
Fresh thyme 4 sprigs
Unsalted butter 4 tbsp (57g)
Flaky sea salt 1 tsp

Steps

1

Temper the Roast

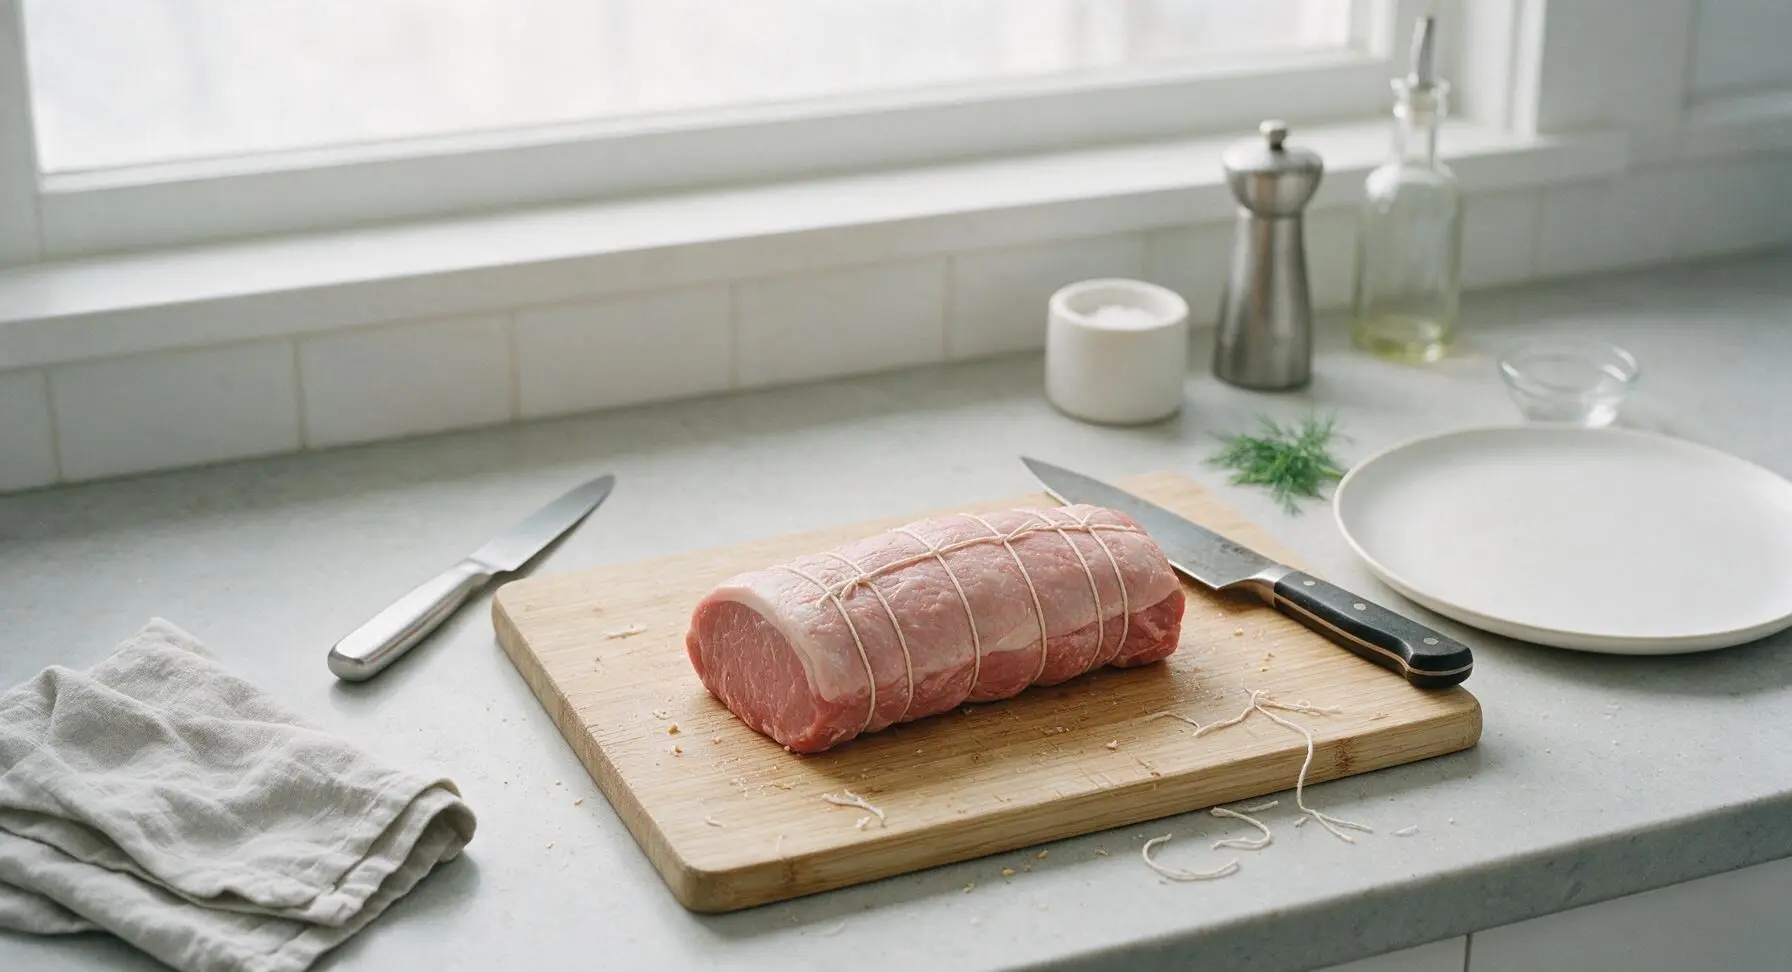
Remove the 3lb boneless New York strip roast from packaging, pat completely dry on all sides with paper towels, and tie at 2-inch intervals with cotton butcher’s twine to hold an even, compact shape. Leave it on the central maple cutting board at room temperature for 45 minutes to 1 hour to temper; this ensures even cooking throughout, with no cold center. Do not leave it out longer than 1.5 hours for food safety.
Step 1
step1:Temper the Roast
2

Season Generously

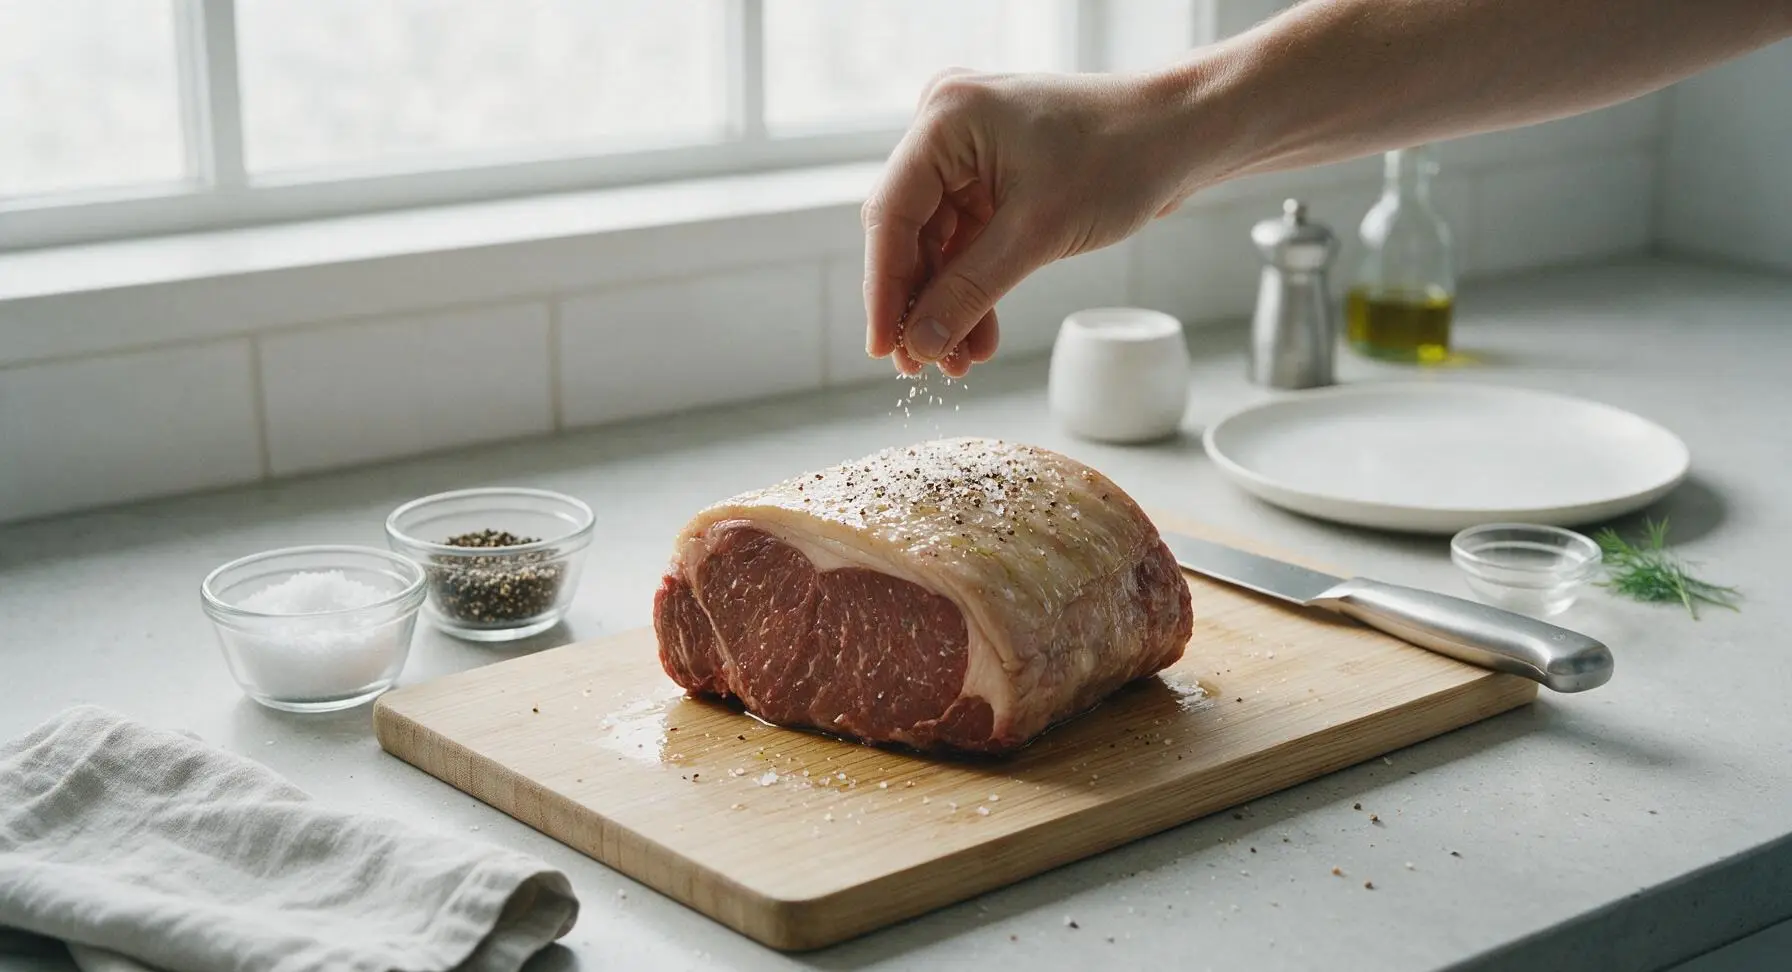
Drizzle 1 tablespoon of extra-virgin olive oil over all surfaces of the tempered roast, rubbing it in to coat evenly. Sprinkle the entire roast with 1 tablespoon kosher salt and 2 teaspoons freshly cracked black pepper, pressing the seasoning gently into the meat and fat cap to adhere. Cover the ends and sides of the roast, not just the top and bottom, for consistent flavor in every bite.
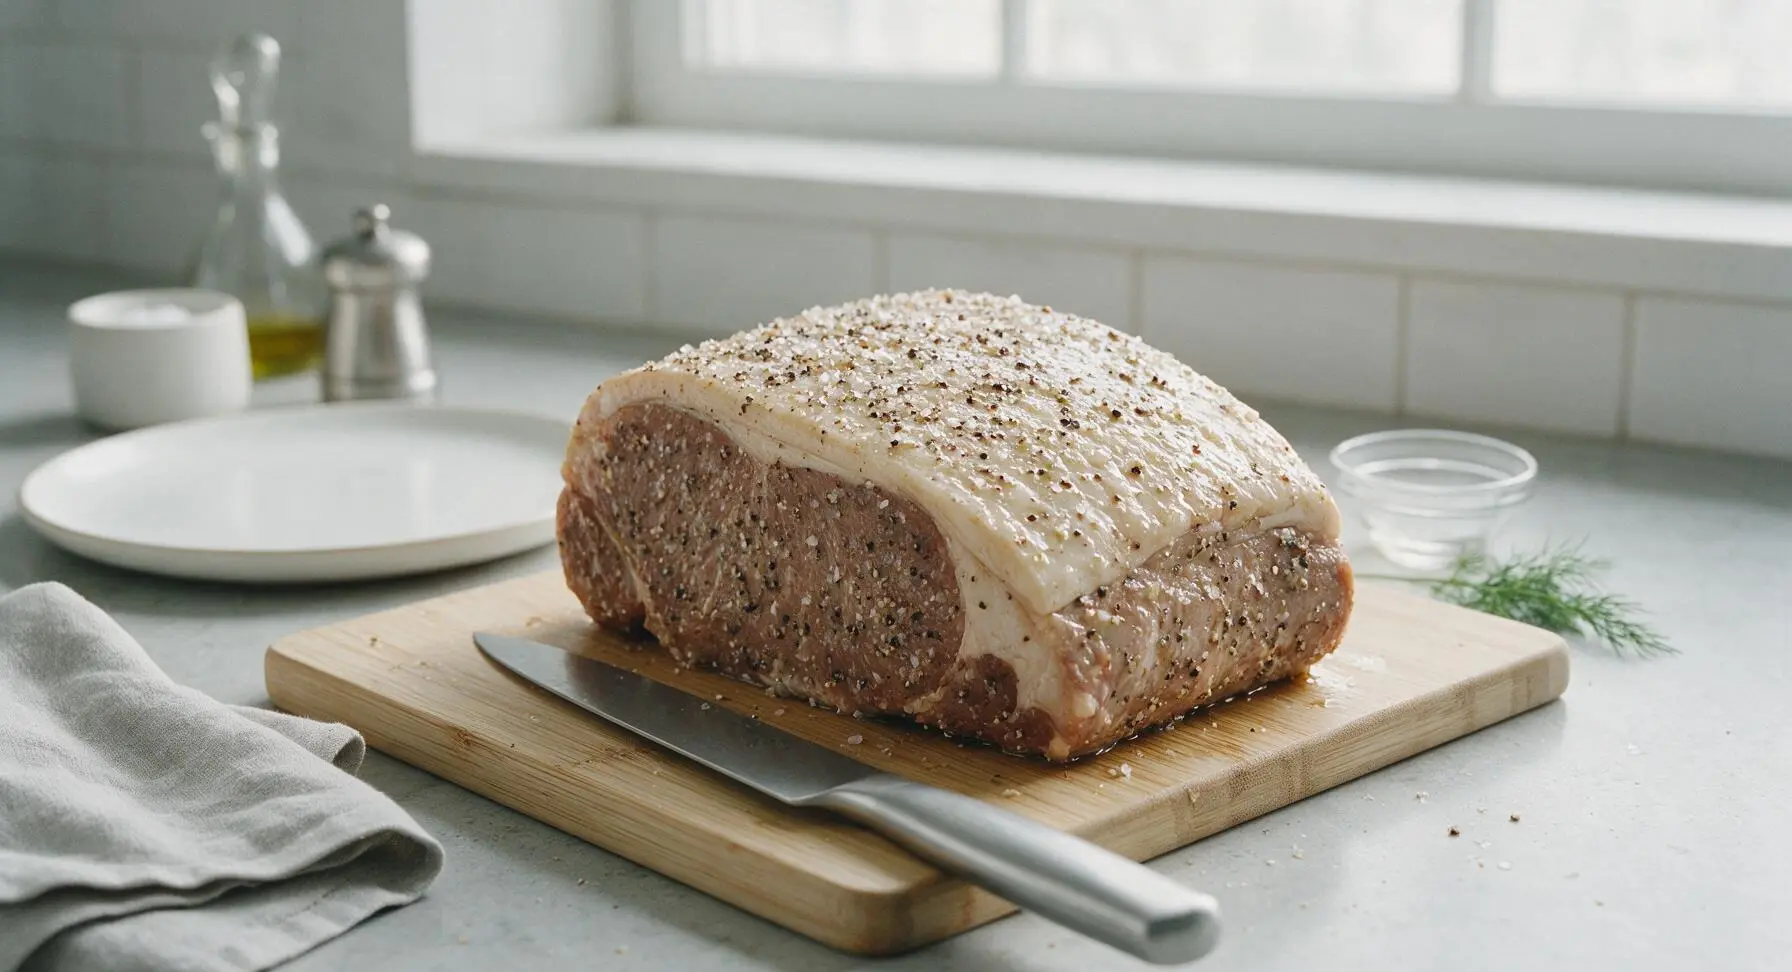
Step 2
step2:Season Generously
Step 2
step2:Season Generously
3

Preheat Oven and Pan

Adjust the oven rack to the middle position, and preheat oven to 375°F (190°C). Place the well-seasoned 12-inch cast iron skillet on the stovetop over medium-high heat, and add the remaining 1 tablespoon of olive oil. Heat the oil until it shimmers and just begins to release thin wisps of light smoke, about 3 minutes.
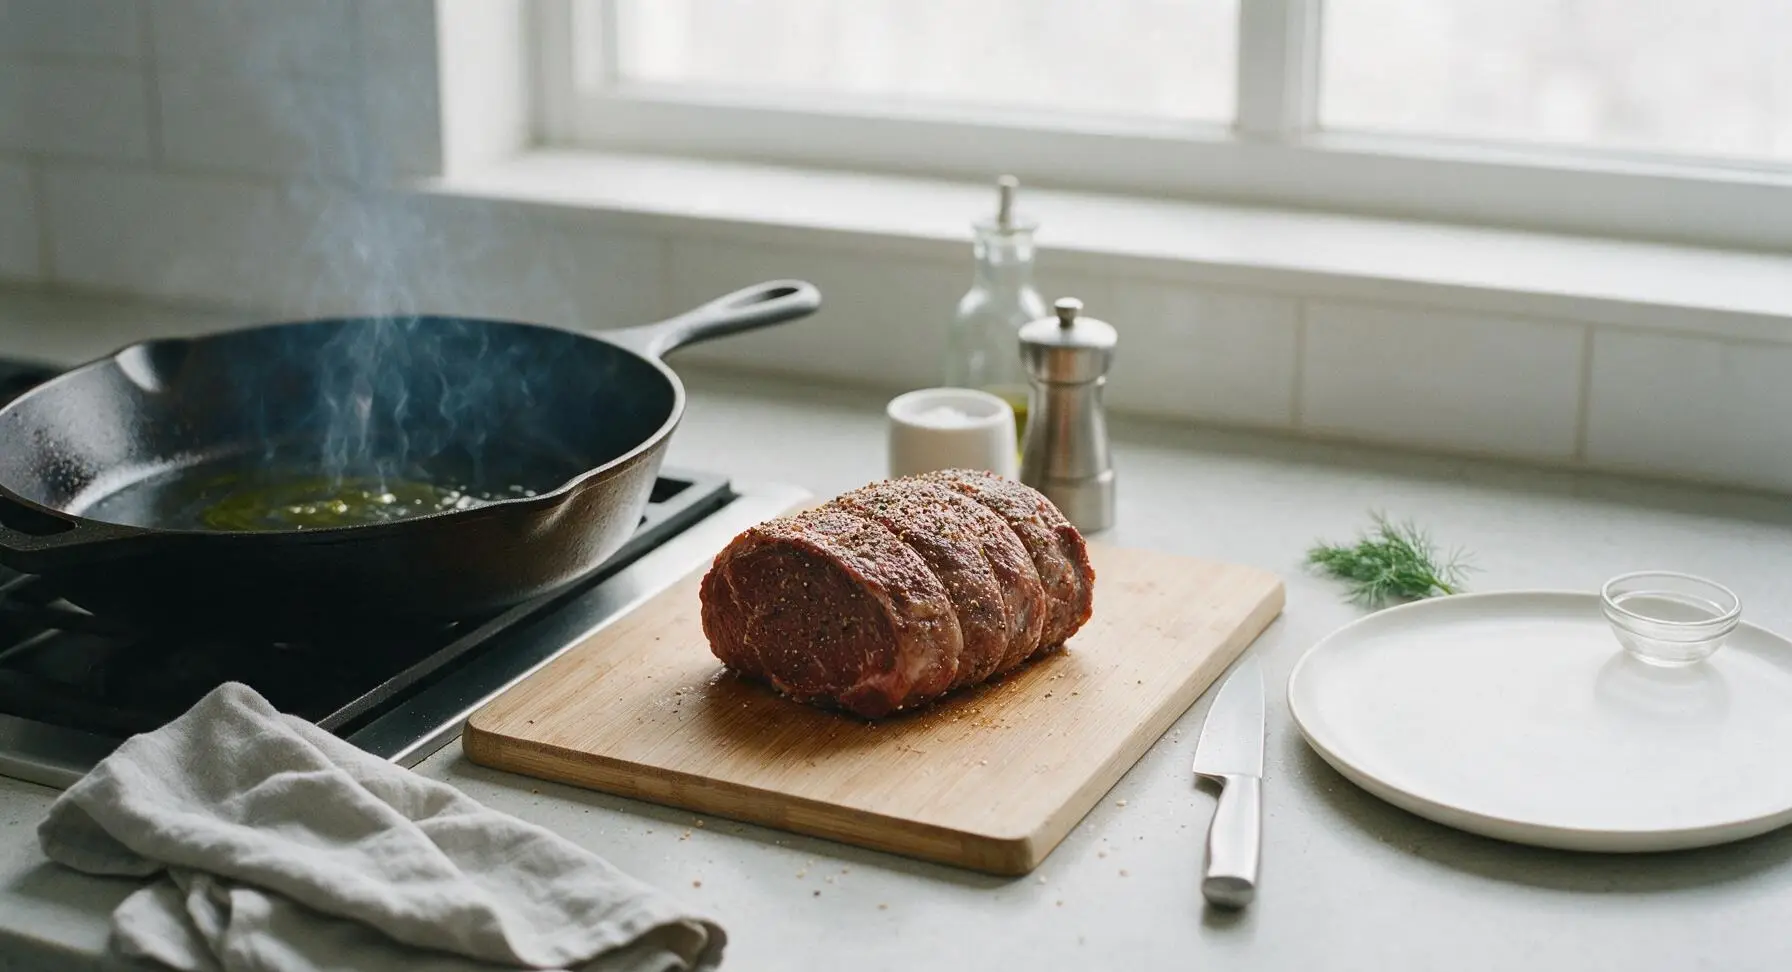
Step 3
step3:Preheat Oven and Pan
4

Sear All Surfaces

Using the silicone-tipped stainless steel tongs, carefully place the seasoned roast fat-side down in the hot cast iron skillet. Sear for 2-3 minutes per side, until a deep golden-brown crisp crust forms on every surface (top, bottom, both ends, both long sides), about 10-12 minutes total. Turn the roast gently with tongs to avoid tearing the developing crust.
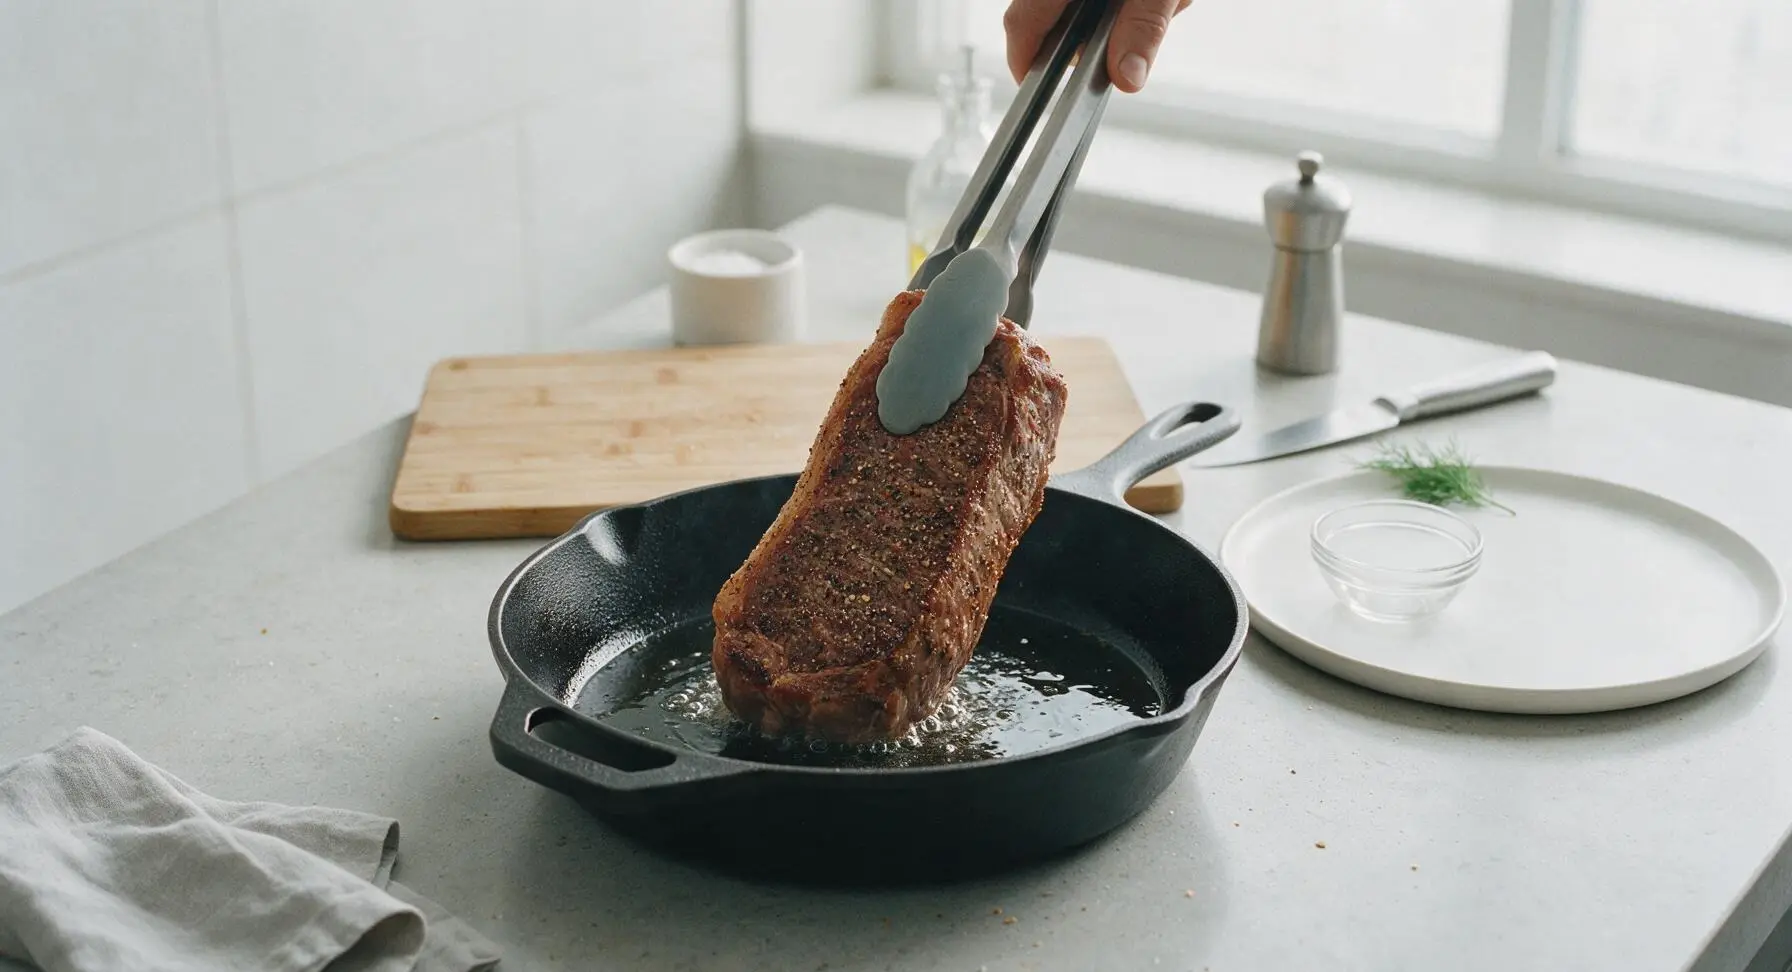
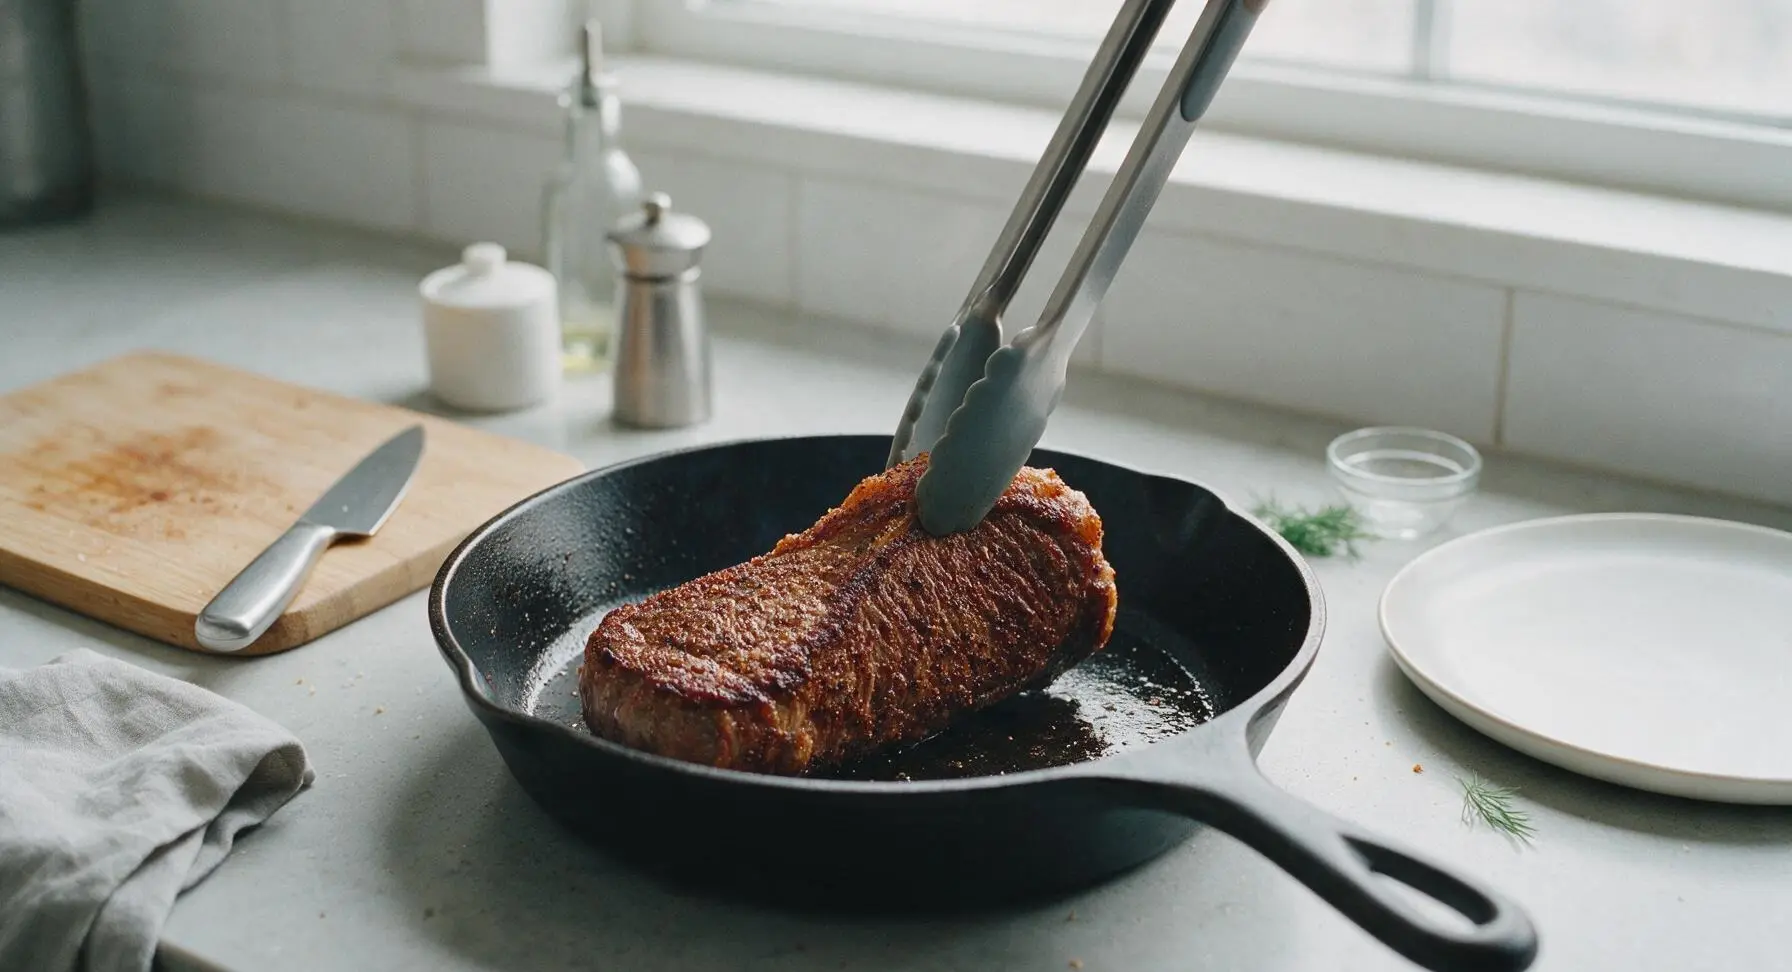
Step 4
step4:Sear All Surfaces
Step 4
step4:Sear All Surfaces
5

Add Aromatics and Butter

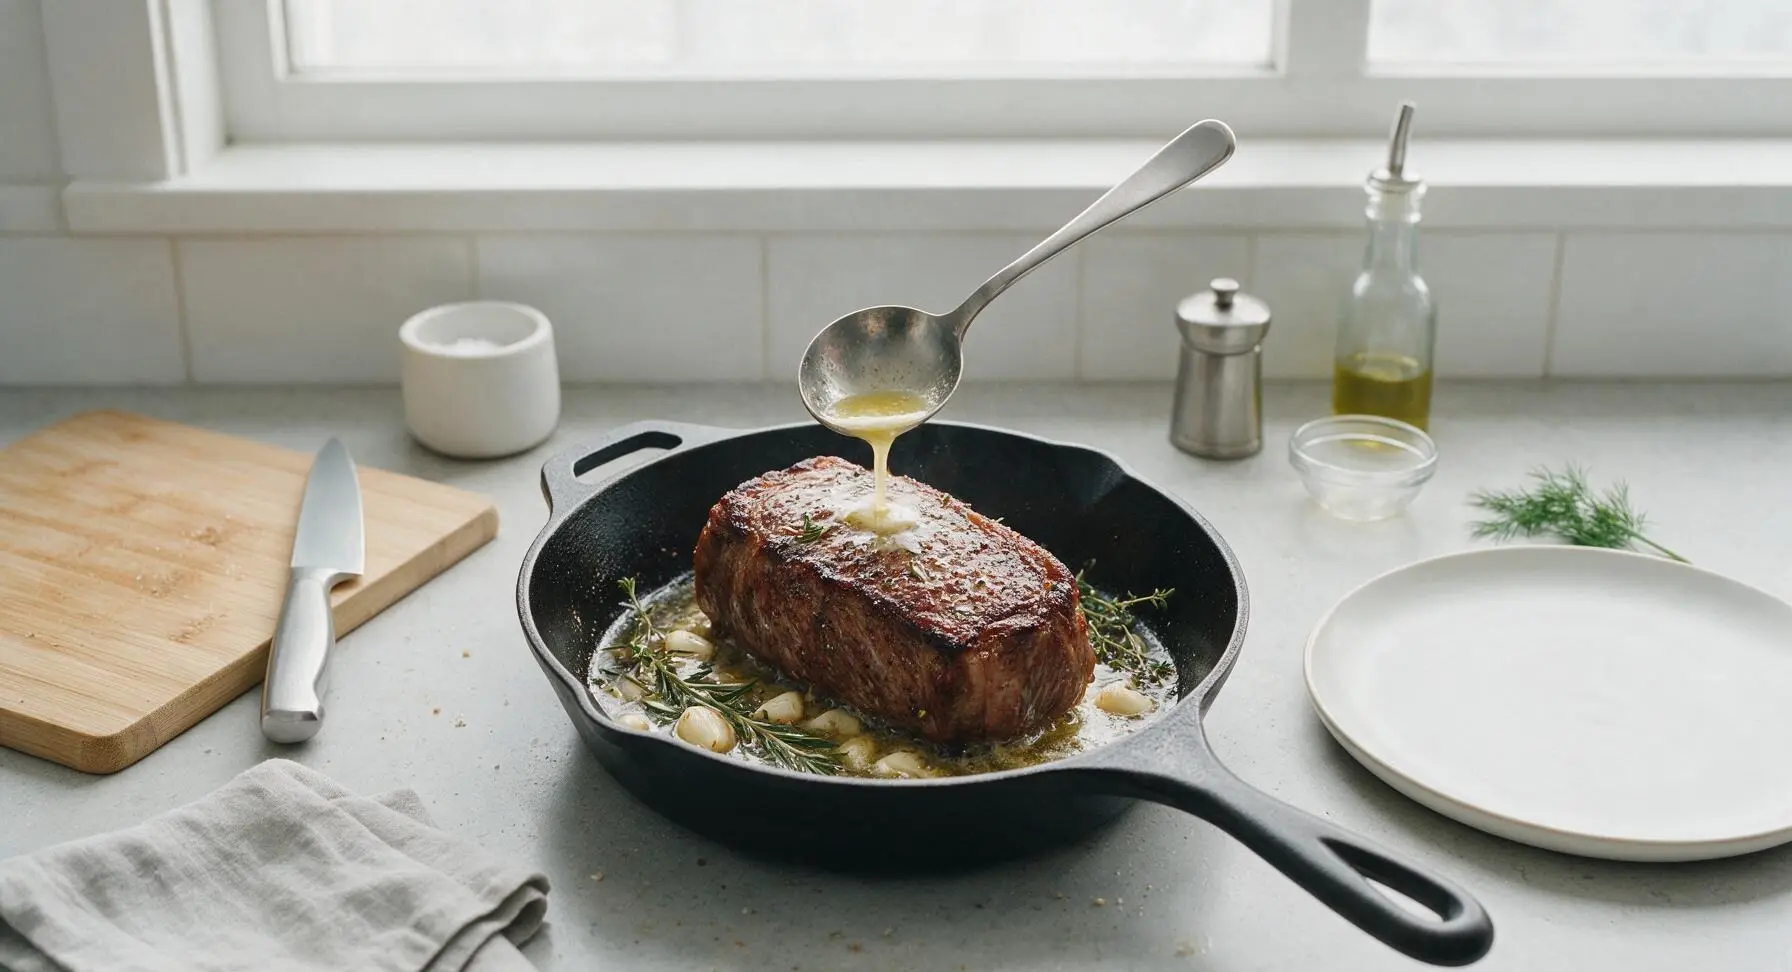
Once all sides are seared, tilt the cast iron skillet slightly, and add the 4 crushed garlic cloves, 2 rosemary sprigs, 4 thyme sprigs, and 4 tablespoons unsalted butter to the pooled oil at the lower pan edge. As the butter melts and foams, use the stainless steel basting spoon to baste the roast continuously with the fragrant herb butter for 2 minutes, spooning the liquid over the top of the roast repeatedly.
Step 5
step5:Add Aromatics and Butter
6

Roast to Doneness

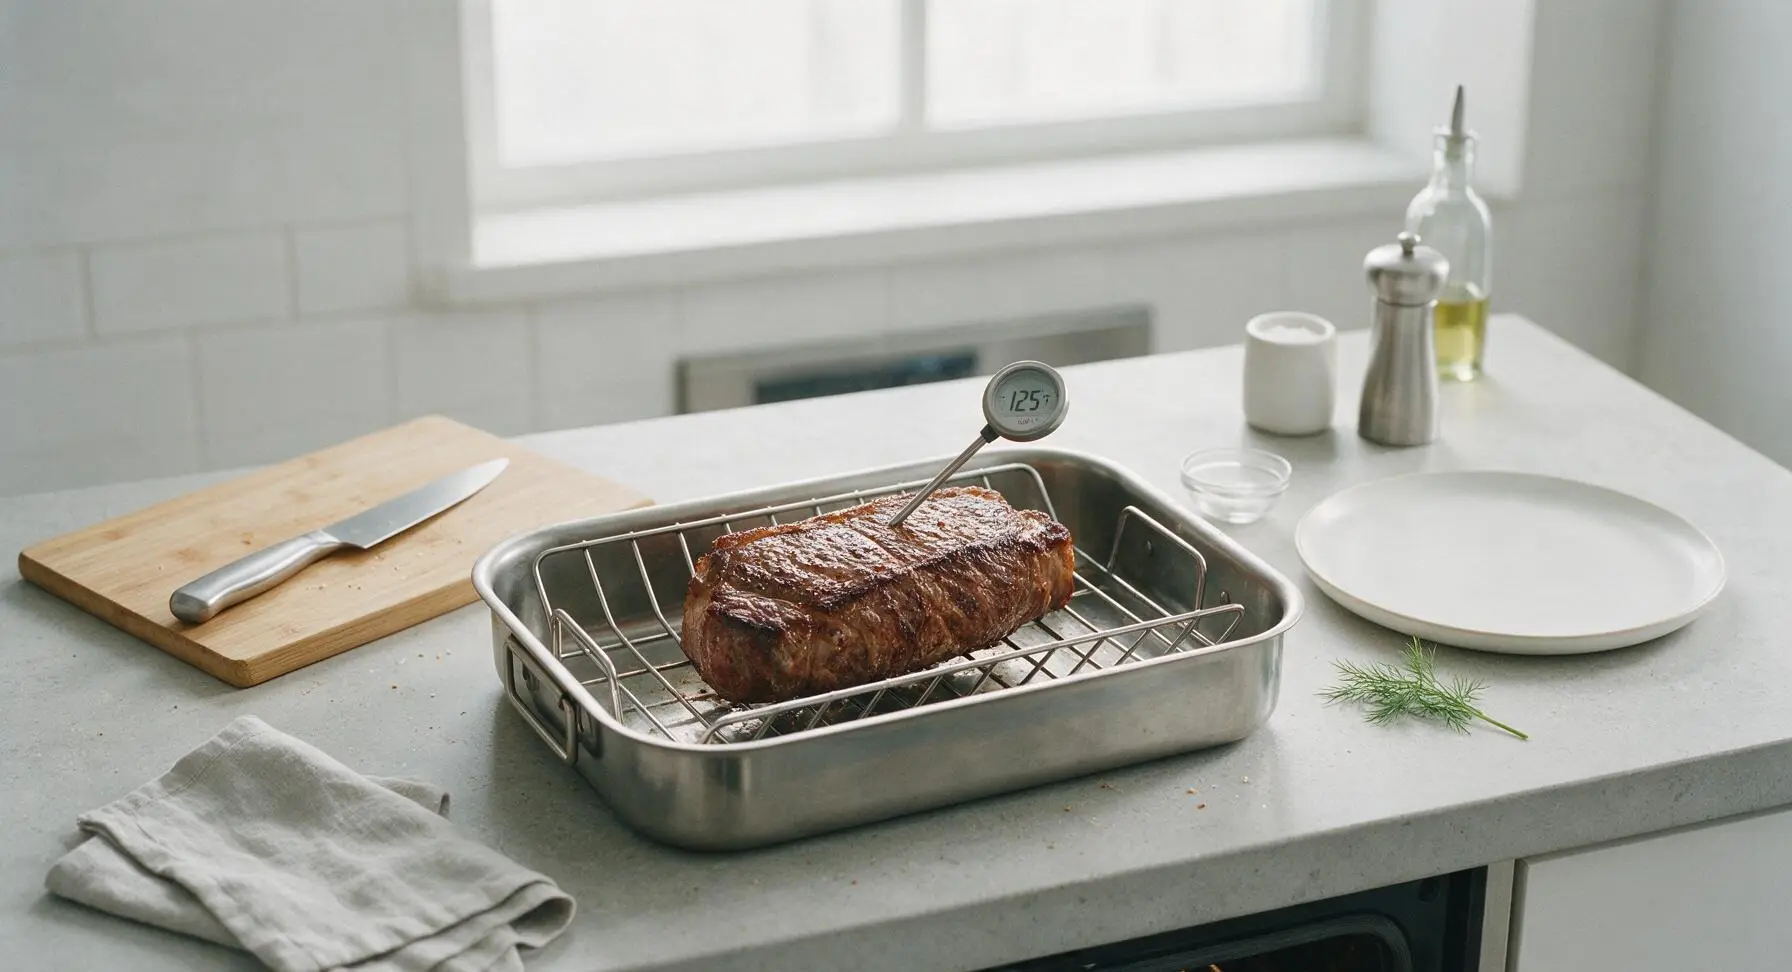
Carefully transfer the seared roast from the cast iron skillet to the stainless steel wire rack set inside the stainless steel roasting pan. Place the roasting pan in the preheated 375°F oven. Roast for 35-45 minutes, until the instant-read meat thermometer inserted into the thickest part of the roast (not touching fat) reads 125°F (52°C) for medium-rare, the ideal doneness for strip roast. The temperature will rise 5-10°F during resting to reach a perfect 130-135°F final medium-rare.
Step 6
step6:Roast to Doneness
7

Rest the Roast

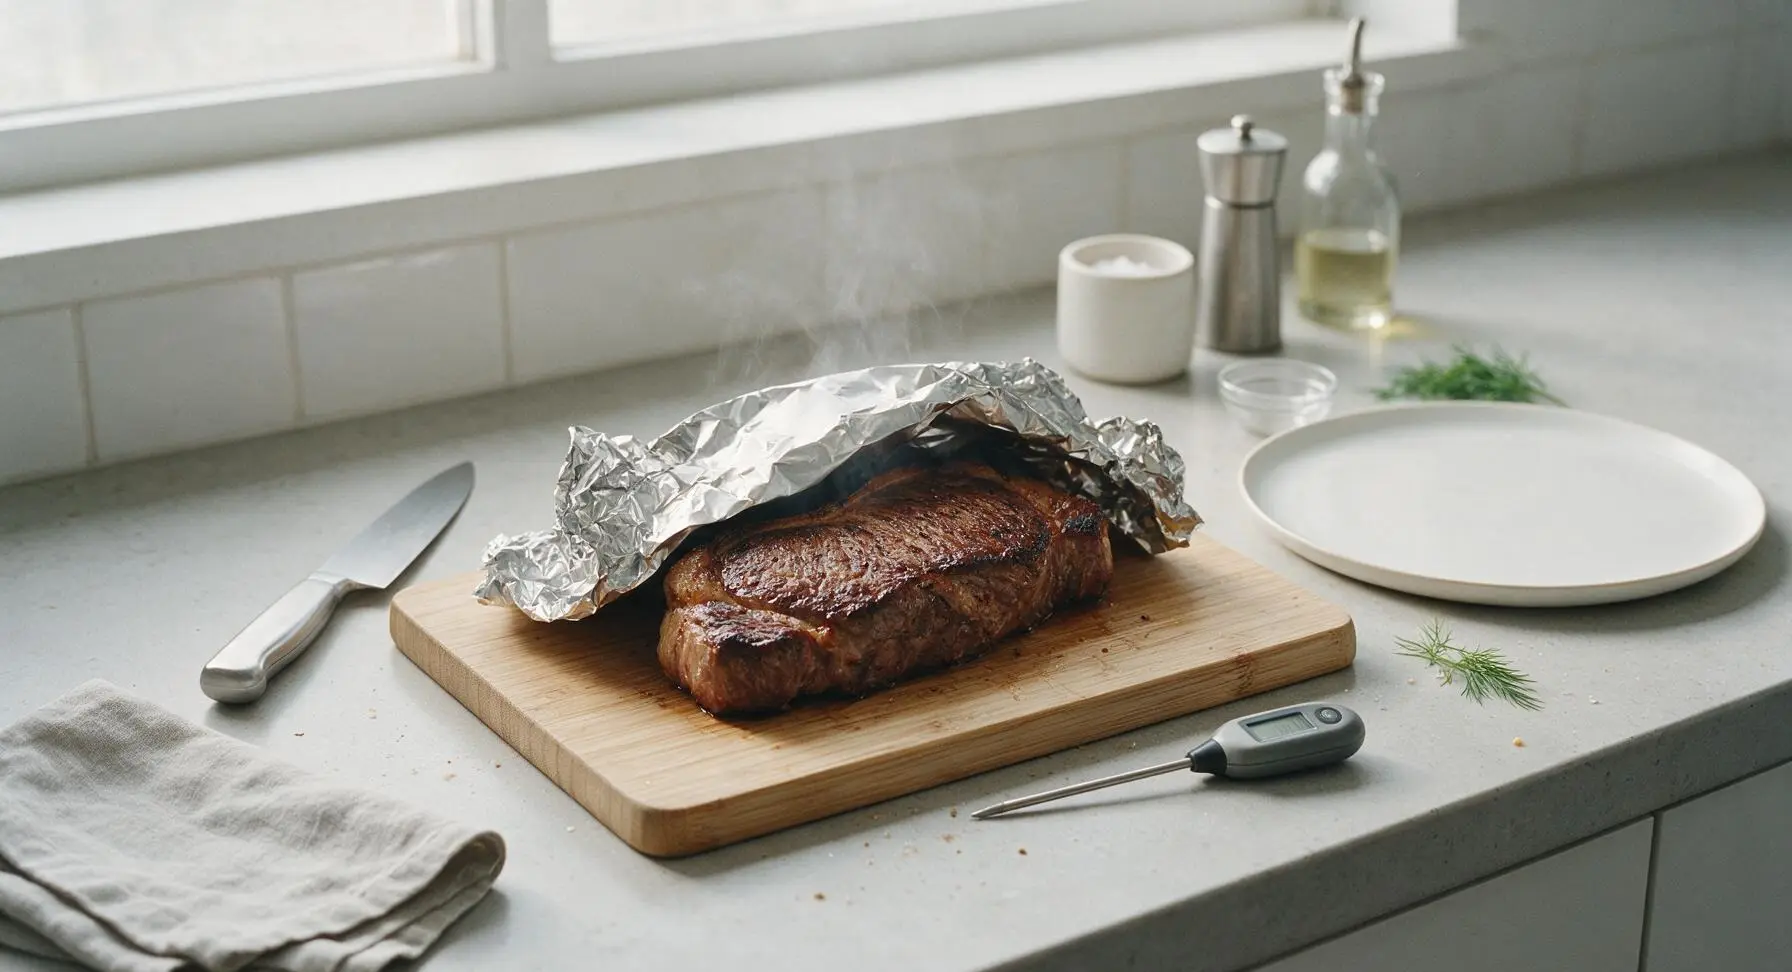
Once the roast reaches target temperature, remove it from the oven, transfer it back to the central maple cutting board, and tent loosely with a small sheet of crinkled aluminum foil. Let it rest for 15 full minutes before slicing. This allows the muscle fibers to relax and reabsorb juices, so every slice is juicy instead of leaking liquid onto the plate when cut.
Step 7
step7:Rest the Roast
8

Slice and Plate

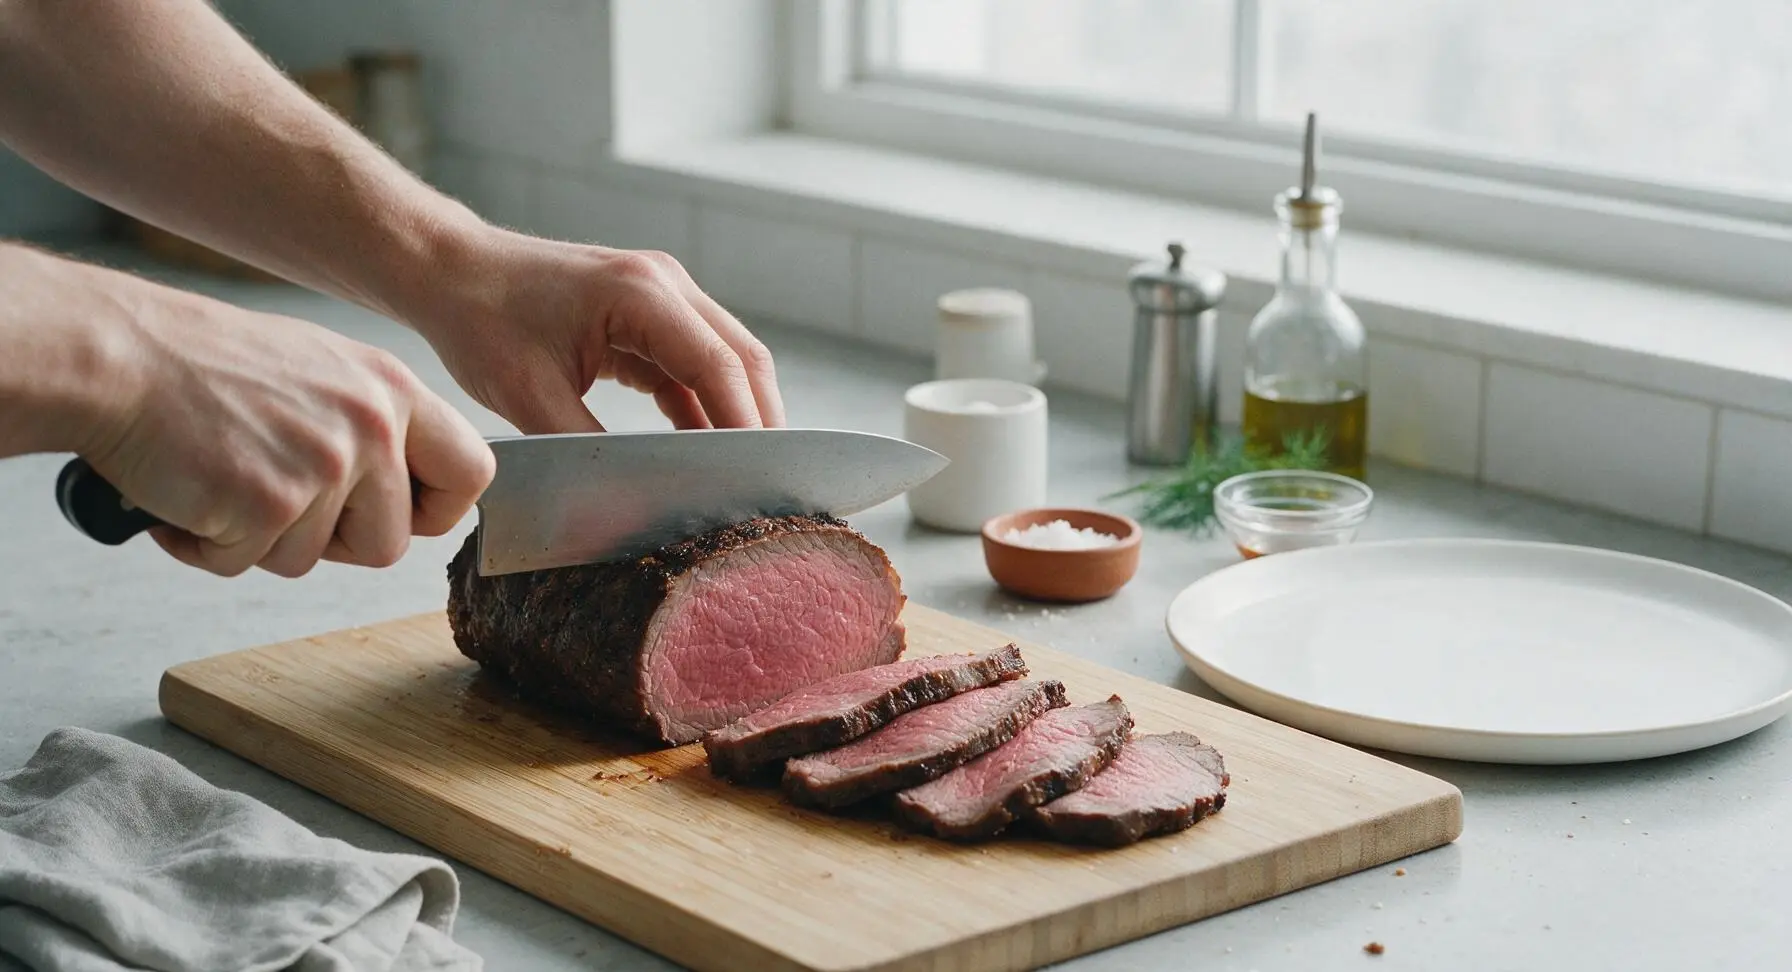
After resting, remove the butcher’s twine from the roast. Using the 10-inch carbon steel chef’s knife, slice the roast against the grain into 1/2-inch thick even slices. Arrange slices on the warm cream matte stoneware dinner plate, spoon a small amount of the reserved herb butter pan drippings over the top, and finish with a light sprinkle of flaky sea salt from the terracotta ramekin.
Step 8
step8:Slice and Plate

Tips

1.Sear on the stovetop instead of using a high-heat oven sear: Direct contact with the preheated cast iron skillet builds a far deeper, crispier, more flavorful crust than circulating oven air, which can steam the meat surface instead of crisping it.
2.Temper the roast at room temperature for 45 minutes before cooking: Cold meat cooks unevenly, leading to an overcooked gray outer ring and undercooked cold center even with careful thermometer use. Room-temperature meat cooks evenly from edge to center.
3.Rest the roast for a full 15 minutes before slicing: Cutting into hot roast immediately causes all the loose, hot muscle juices to run out onto the cutting board, leaving dry, flavorless slices. Resting lets fibers relax and reabsorb moisture for juicy, evenly pink slices.


✨ You May Also Like

Main Course
🍜 United Kingdom

A showstopping classic of tender seared beef, savory mushroom duxelles, and crisp prosciutto wrapped in flaky golden puff pastry, baked to juicy perfection.

⏱️ 2 hours 1Main Course ★ 4.7
Main Course
🍜 India

Tender charred marinated chicken simmered in a rich, spiced creamy tomato sauce, this iconic Anglo-Indian curry pairs perfectly with basmati rice or warm naan.

⏱️ 50 minuteMain Course ★ 4.6
Main Course
🍜 Thailand

Classic tangy, sweet, and savory Thai stir-fried rice noodles with shrimp, tofu, and crunchy garnishes, balancing all five core Thai flavor profiles.

⏱️ 30 minuteMain Course ★ 4.5
Main Course
🍜 United Kingdom

Crispy golden beer-battered cod and fluffy double-fried chips, served with tangy tartar sauce and malt vinegar: the timeless, beloved British pub comfort classic.

⏱️ 45 minuteMain Course ★ 4.7
Main Course
🍜 Mexico

Smoky, chile-marinated pork tacos with caramelized pineapple, fresh cilantro, and lime: a beloved classic Mexican street food perfect for casual summer gatherings.

⏱️ 1 hour 45Main Course ★ 4.8
Main Course
🍜 United States

Crunchy Fritos corn chips layered with savory beef chili and melted cheddar, topped with cool, zesty fixings for a beloved, cozy Tex-Mex comfort food.

⏱️ 35 minuteMain Course ★ 4.8

new york strip roast:Frequently Asked Questions

1.What size New York strip roast do I need to serve 6 people? ▾
Plan for ½ pound of boneless roast per adult guest for a satisfying serving, so a 3-pound roast works perfectly for 6 people. If you want leftovers for roast beef sandwiches or hash the next day, size up to a 4-pound roast, and look for evenly marbled meat with no thick, hard fat caps for best results.
2.Do I need to bring the roast to room temperature before cooking? ▾
Absolutely! Let your trimmed roast sit out on the counter for 45 to 60 minutes before you season and cook it. This removes the chill from the center so it cooks evenly, preventing a thick band of overcooked gray meat around the perfect pink medium-rare center you want.
3.How far in advance can I salt the roast for the best crust? ▾
For the deepest, crispiest savory crust and juiciest meat, salt the roast generously with kosher salt 12 to 24 hours before cooking, leaving it uncovered on a wire rack in the fridge. If you’re short on time, salt right before you put it in the oven—just don’t salt 30 to 60 minutes ahead, which draws out moisture that ruins good crust development.
4.What oven temperature gives the juiciest medium-rare result? ▾
Start by roasting at 450°F for 15 minutes to jumpstart that deep, browned crust, then drop the oven temperature to 325°F for the remaining cook time. This high-heat sear followed by low, slow roasting cooks the meat evenly without drying out the exterior before the center reaches your target temp.
5.How do I know when the roast is perfectly medium-rare? ▾
Skip guesswork and use an instant-read meat thermometer inserted into the thickest part of the roast, away from any fat. Pull it when the internal temp hits 125°F, because the meat will keep cooking 5 to 10 degrees as it rests, landing you at a perfect 130 to 135°F tender pink medium-rare center.
6.How long do I need to let the roast rest after cooking? ▾
Let your roast rest for a full 20 to 25 minutes, tented loosely with a small piece of aluminum foil, before you slice it. Resting lets all the hot, juicy muscle fibers relax and reabsorb moisture, so you won’t lose all that delicious juice onto your cutting board when you cut into it.
7.Can I add extra seasonings beyond salt, pepper, garlic, and olive oil? ▾
You absolutely can, but keep it simple so the rich, beefy flavor of the strip roast shines. Mix a teaspoon of smoked paprika, dried thyme, or chopped fresh rosemary into your olive oil and garlic rub if you like, but skip heavy, sugary rubs that will burn during the high-heat initial sear and leave a bitter crust.
8.Why is my roast coming out tough instead of tender? ▾
Tough roast almost always comes from one of two mistakes: cooking it too far past medium-rare, or slicing it too thick with the grain. Stick to the 125°F pull temp for medium-rare, and cut thin ¼-inch slices across the visible grain of the meat to break up tough muscle fibers for melt-in-your-mouth tender bites.
9.Do I need to use a roasting rack to cook this? ▾
A wire roasting rack set inside your baking sheet or roasting pan is ideal, because it lets hot air circulate all around the roast for an even crust on every side, instead of letting the bottom steam in its own juices. If you don’t have a rack, prop the roast up on thick-cut onion or carrot slices to lift it off the pan.
10.How do I get that super crispy, deeply browned crust everyone loves? ▾
Pat the entire surface of the roast completely dry with paper towels before you rub it with olive oil and season, because moisture on the meat surface will steam instead of sear. The initial 15 minutes at 450°F, plus pre-salting the roast ahead of time, will build that crackling, flavorful crust without burning.
11.Can I cook this roast from frozen if I forget to thaw it? ▾
I don’t recommend cooking a strip roast straight from frozen, because it will cook extremely unevenly, leaving you with a burnt exterior and raw, cold center. Thaw it in the fridge for 24 hours per 2 pounds of roast, or do a quick cold-water thaw (sealed in a plastic bag) for 30 minutes per pound if you’re short on time.
12.What’s the best way to store leftover roast? ▾
Let leftover roast cool completely within 2 hours of cooking, then wrap it tightly in plastic wrap or an airtight container and keep it in the fridge for up to 4 days. Skip freezing if you can, as it will change the tender texture of the meat, but leftover slices make incredible sandwiches, hash, or quick weeknight beef meals.
13.How do I prep the garlic for the rub so it doesn’t burn? ▾
Either crush the garlic cloves into a fine paste to mix with the olive oil, or tuck whole, lightly smashed garlic cloves into the crevices of the roast after the initial high-heat sear. Finely minced loose garlic will burn quickly at 450°F, turning bitter and leaving unpleasant black flecks on your beautiful roast crust.
14.Can I make this roast ahead of time for a holiday or family gathering? ▾
You can prep the seasoned roast (salted, rubbed with oil, pepper, and garlic) on a wire rack in the fridge up to 24 hours ahead, which actually builds better crust flavor. I don’t recommend cooking it fully ahead and reheating, though, because reheating will push the meat past medium-rare and dry out those tender, juicy pink slices.

Comments (6)

yesterday

OMG this New York Strip Roast was the star of our Sunday family dinner last night! I was nervous because medium difficulty had me worried I’d mess it up, but the cook time was spot on — 55 minutes exactly for perfect medium-rare, just how my husband and teens like it. My picky 12 year old even asked for seconds! SO good, I’m already planning to make this for our next potluck with the neighbors. Total game changer for holiday roasts too.

2 hours ago

Wait did you let it rest the full time after cooking? I tried a strip roast last month and it was so juicy when I pulled it but all the juices ran out when I sliced it too early 😅

30 minutes ago

So glad it was a hit with your family! Just a quick tip for anyone reading — make sure to let the roast rest 15-20 minutes tented with foil before slicing to lock in all those juices, that’s the trick to avoiding that runoff SteakLover99 mentioned!

2 days ago

Okay, color me impressed! I usually save roasts for weekends since I thought they took forever, but 55 minutes is totally doable even on a busy weeknight. I prepped the rub the night before, popped it in the oven when I got home from work, and had a gorgeous, tender roast ready by the time the kids finished homework. Only note: I wish I’d grabbed a meat thermometer earlier, I almost overcooked the end closest to the oven element! Still turned out amazing though, already added this to my weekly meal rotation.

yesterday

Great call prepping the rub ahead — that’s such a smart time saver for weeknights! Totally agree a meat thermometer is non-negotiable here, aim for 135°F in the thickest part for perfect medium-rare before resting, it’ll carryover cook a few degrees while it sits.

3 days ago

Made this for my partner’s birthday dinner and he said it was better than the steakhouse we went to for our anniversary! The crust was perfectly crispy, the inside was melt-in-your-mouth tender, and I didn’t even have to spend a fortune on a takeout roast. I paired it with roasted garlic mashed potatoes and roasted asparagus, 10/10 would make again for any special occasion. Only reason I’m not giving it 5 stars is I wish the recipe had a suggested rub variation for people who don’t love black pepper as much as I do — I cut it in half and it was still great, just a heads up for other pepper wimps like me!

5 days ago

Brought this roast to my office potluck last week and people were literally coming up to me for the recipe all afternoon! I was worried it would be cold by the time lunch rolled around but I wrapped it tight in foil after resting and it stayed perfectly warm for almost 2 hours. I was a little intimidated by the medium difficulty rating but the steps were super straightforward, no fancy equipment needed. Will absolutely be making this for our family Christmas dinner this year!

3 days ago

Pro tip for next time: slice it right before you serve it at the potluck instead of slicing at home, it stays even juicier! I learned that the hard way after bringing a roast to a potluck a couple years ago that dried out on the drive over 😂

1 week ago

I made this for my post-hike dinner with friends this weekend and it was chef’s kiss! The cook time was exactly right even at my high altitude (I’m at 7,000ft so usually I have to add 10-15 mins to everything, but 55 minutes was perfect somehow? Wild). The only adjustment I made was adding a little smoked paprika to the rub because I love that smoky flavor with beef. My friends all thought I ordered it from a fancy restaurant, little do they know how easy it was!

5 days ago

Wait you didn’t have to adjust cook time at 7k feet? I’m in Denver and I always have to tweak roast recipes, I’m so glad to hear this one works as written! I’ve been looking for a no-fuss strip roast recipe for Thanksgiving

3 days ago

So cool to hear this works at high altitude without tweaks! That smoked paprika add sounds delicious, I’ll have to test that variation for the recipe soon — thanks for the great idea!

2 weeks ago

Okay, as someone who literally burns toast half the time, I was shocked I pulled this off! The medium difficulty rating made me super nervous, but the instructions were so clear I didn’t mess up a single step. It came out juicy, flavorful, and my roommate said it’s the best thing I’ve ever cooked. I’m feeling so proud right now, next time I’m making this for my parents when they come visit next month! 10/10, even beginner cooks can nail this if they follow the directions.



