
ninja foodi air fryer chicken breast

title 1
ninja foodi air fryer chicken breast
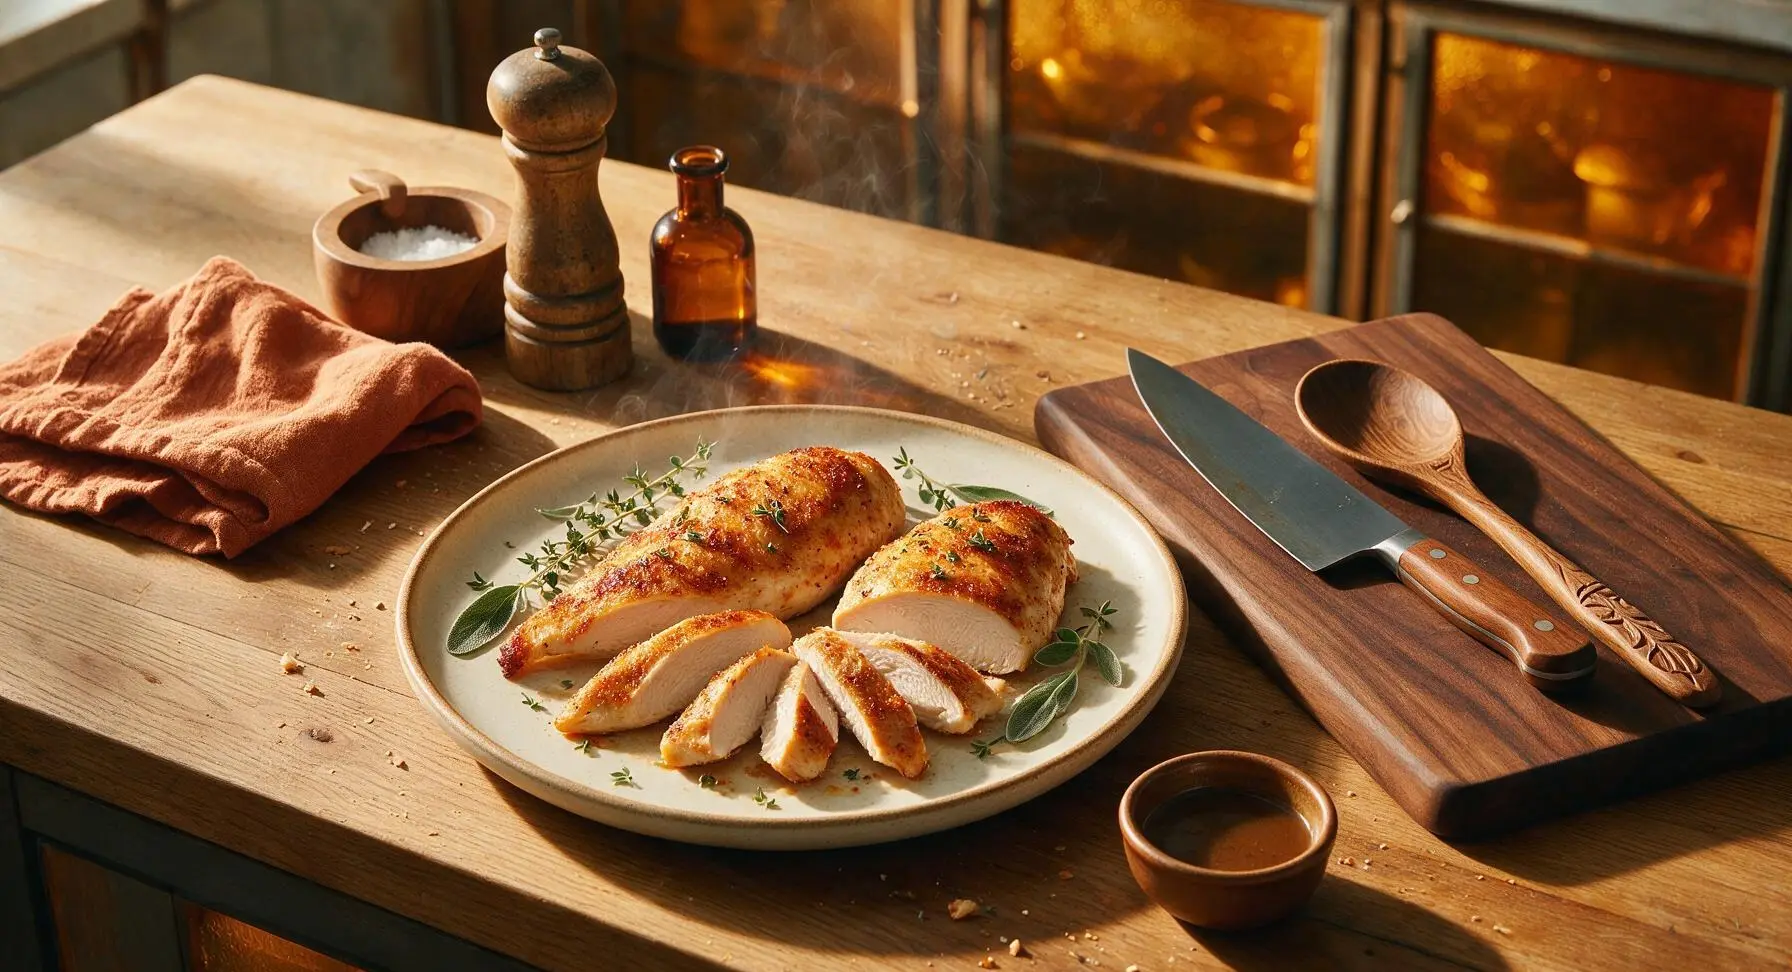
⏱️ cook time 18 minutes
🍽️ servings 4
⚡ Difficulty easy

intro

Juicy, crisp-edged chicken breast made fast in the Ninja Foodi air fryer, with a tender, never-dry interior, perfect for quick weeknight dinners and weekly meal prep.

Ingredients
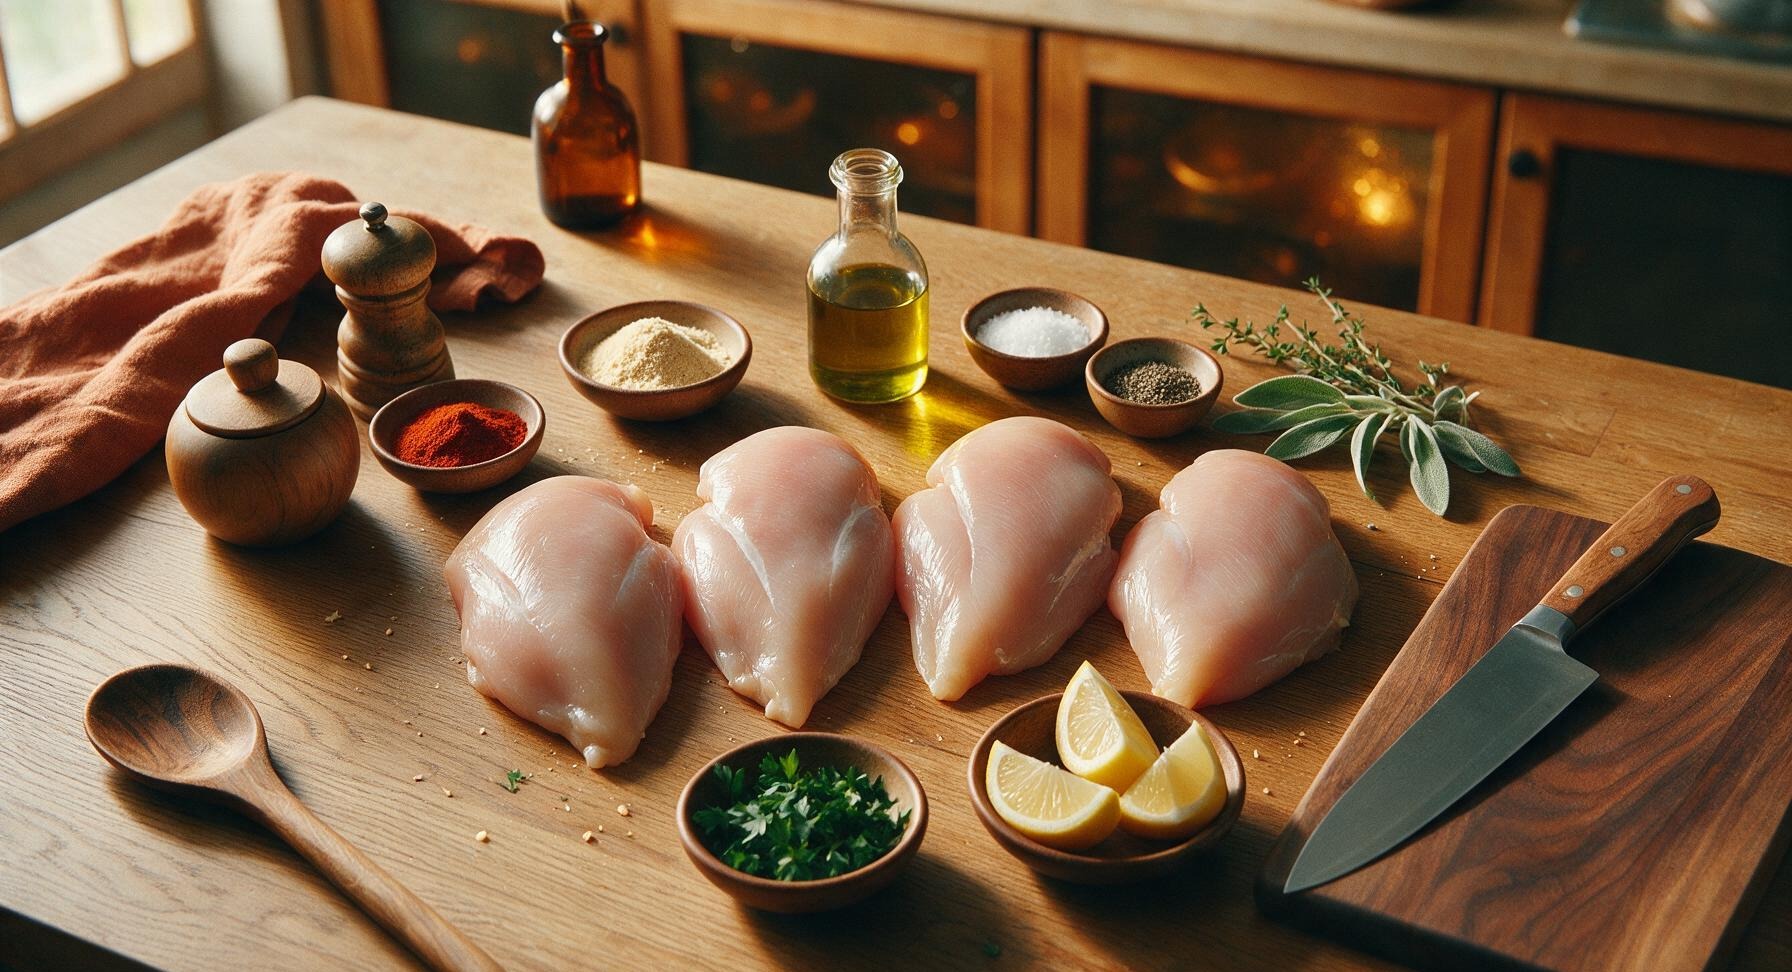
Boneless skinless chicken breasts 4 pieces (≈170g each, 680g total)
Extra-virgin olive oil 2 teaspoons
Garlic powder 1 teaspoon
Smoked paprika ½ teaspoon
Kosher salt 1 teaspoon
Freshly ground black pepper ½ teaspoon
Fresh flat-leaf parsley 2 tablespoons (chopped, for garnish)
Small lemon 1 (cut into 4 wedges, for serving)

Steps

1

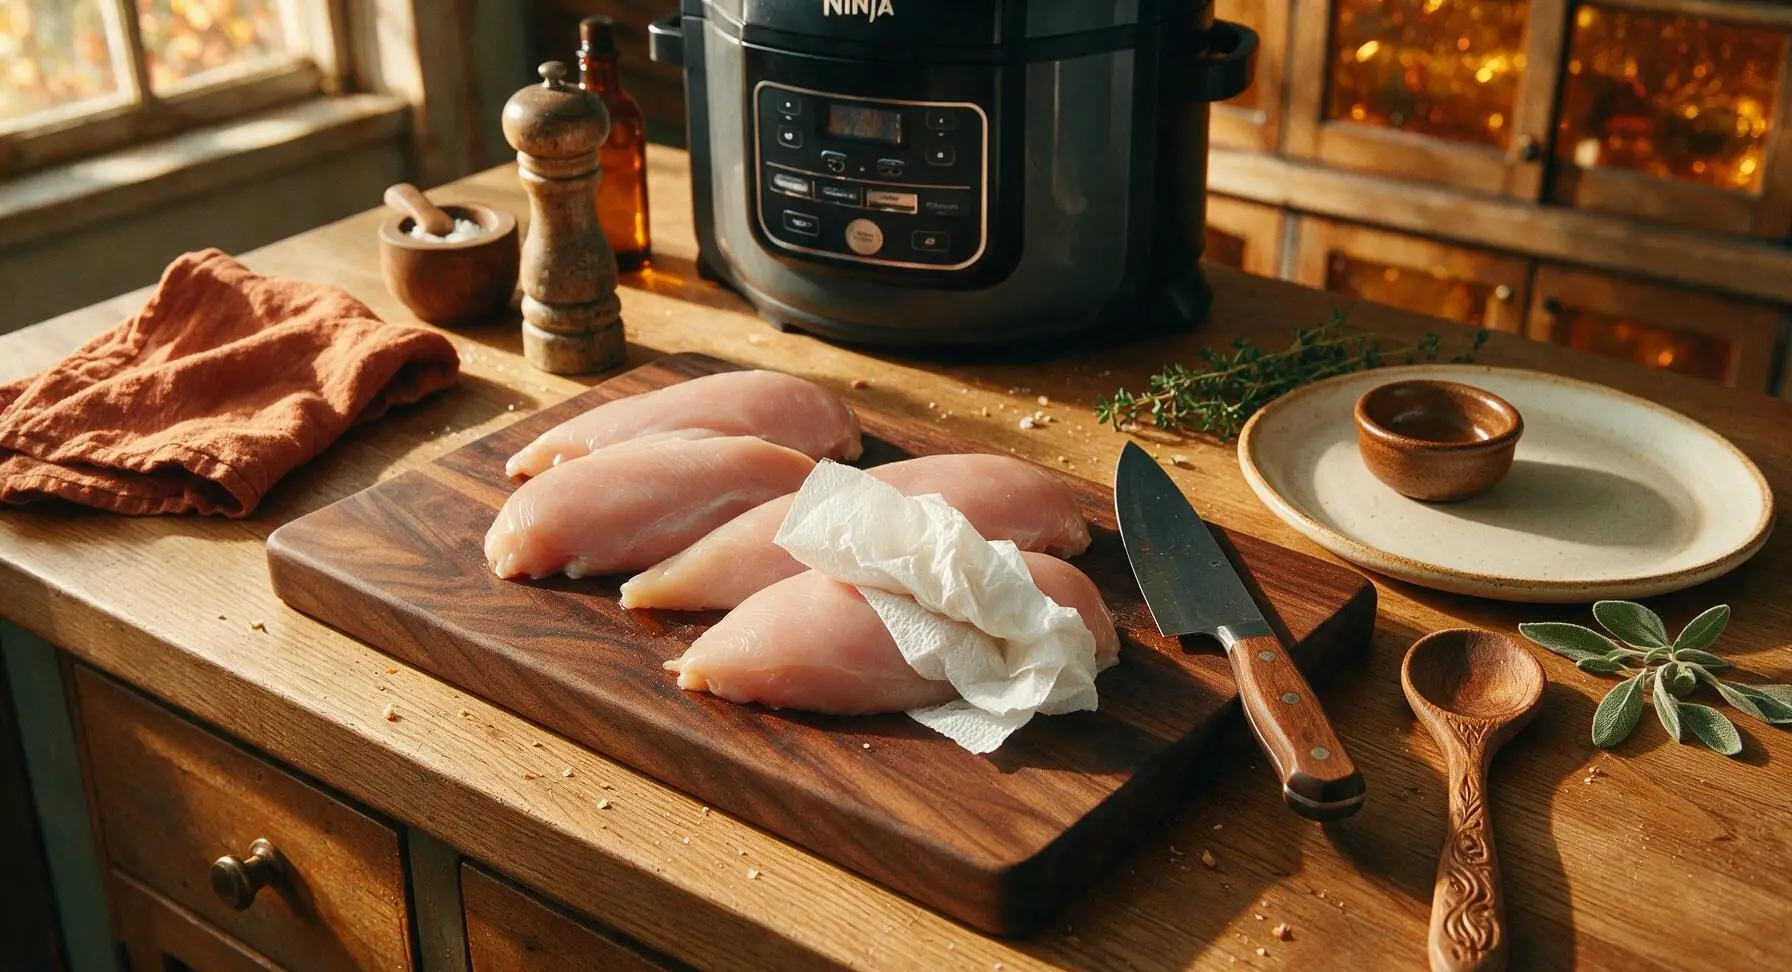
Pat Chicken Dry

Remove chicken breasts from packaging and place on the acacia wood cutting board. Pat all surfaces completely dry with paper towels, paying extra attention to remove excess moisture from tops and sides to ensure crispy edges during cooking. If any breast is thicker than 1.5 inches at its widest point, use the chef knife to gently butterfly the thick section to create even thickness across every piece, so all breasts cook at the same rate.
Step 1
step1:Pat Chicken Dry
2

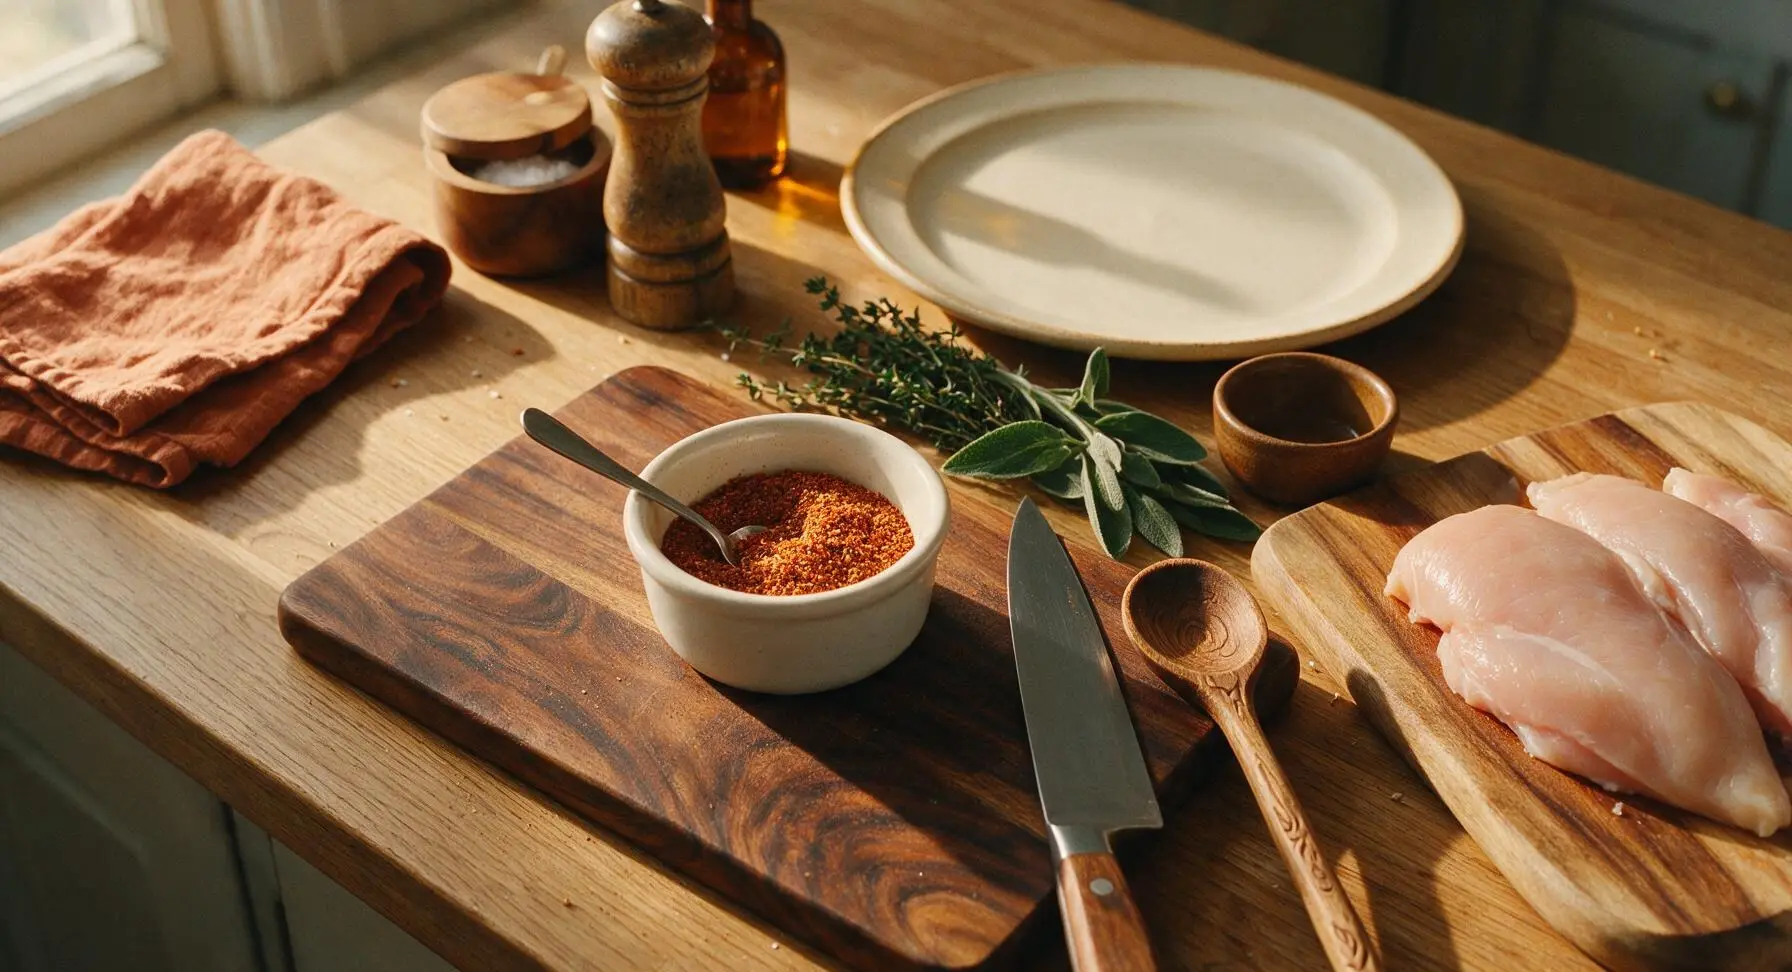
Mix Seasoning Blend

In the small matte white ceramic ramekin, combine 1 teaspoon garlic powder, ½ teaspoon smoked paprika, 1 teaspoon kosher salt, and ½ teaspoon freshly ground black pepper. Stir with the small stainless steel spoon until all spices are evenly mixed, with no clumps of paprika or garlic powder remaining.
Step 2
step2:Mix Seasoning Blend
3

Coat Chicken With Oil

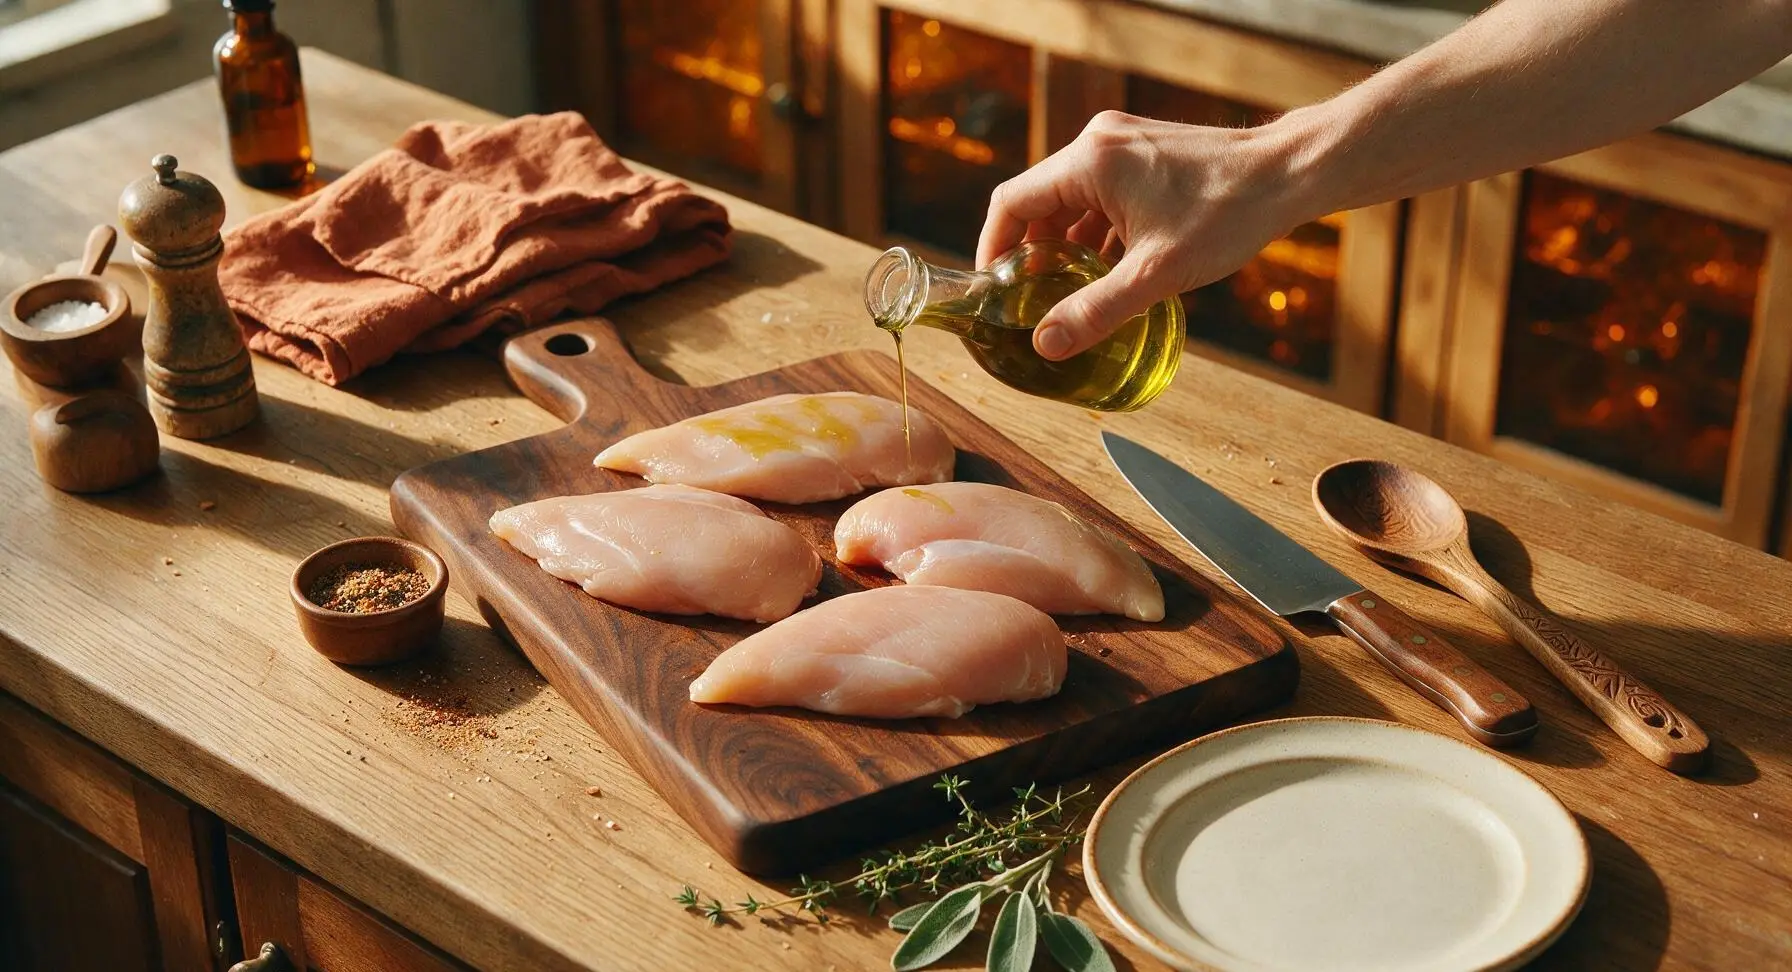
Drizzle 2 teaspoons of extra-virgin olive oil evenly over all four chicken breasts on the cutting board. Use clean hands to rub the oil over every surface of the chicken, including the sides, so each breast has a thin, even coating of oil with no dry spots. The oil helps seasoning stick and creates a crisp outer layer during air frying.
Step 3
step3:Coat Chicken With Oil
4

Season Chicken Evenly

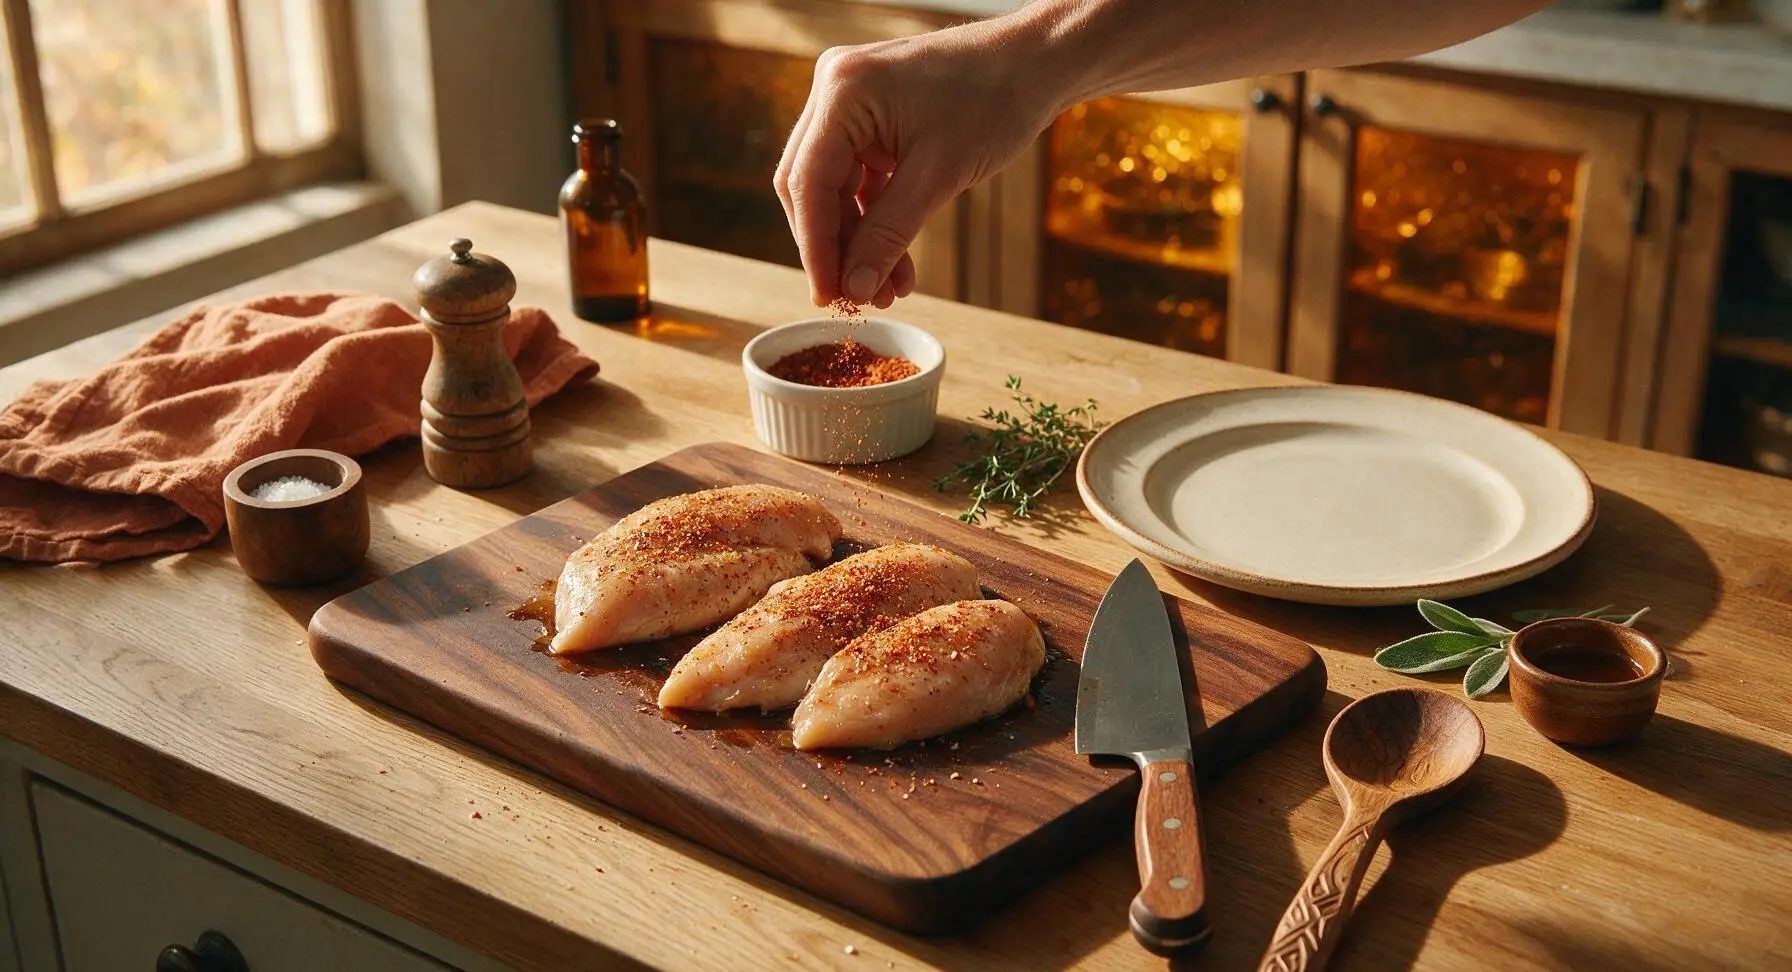
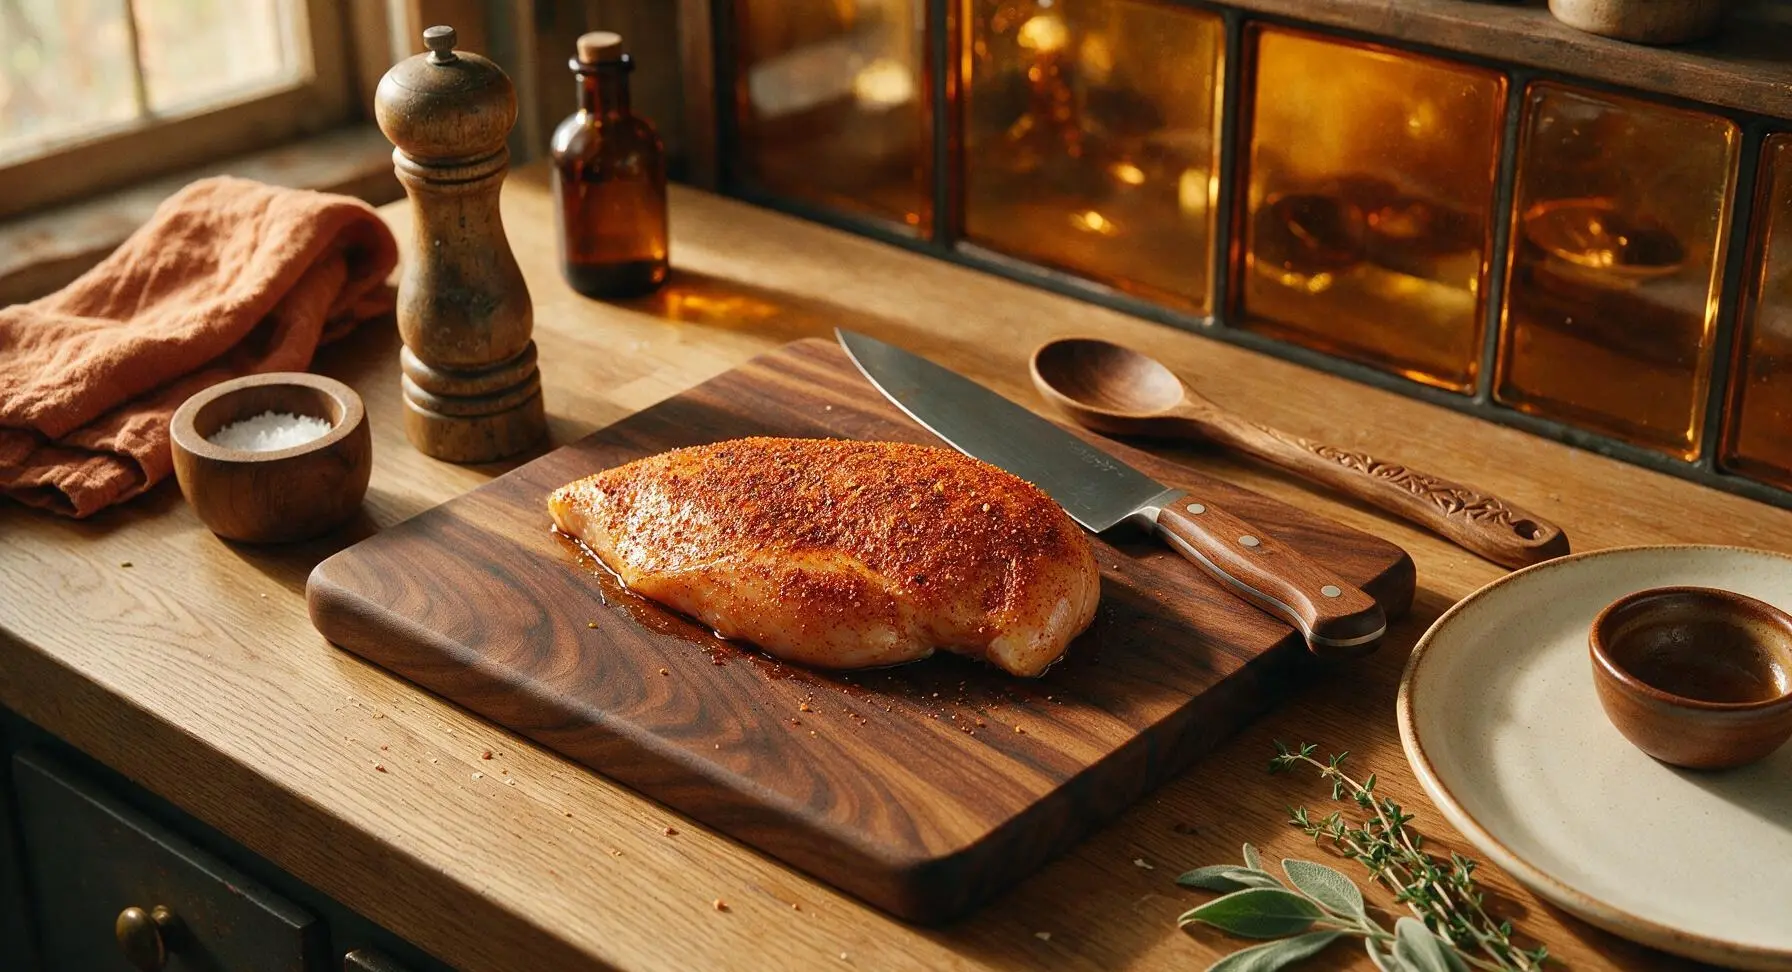
Sprinkle the mixed seasoning blend from the ramekin over all sides of the oiled chicken breasts, using approximately ¼ of the blend per breast. Use your fingers to gently press the seasoning into the chicken surface so it adheres, making sure to cover the sides as well as the top and bottom. No large patches of unseasoned chicken should remain.
Step 4
step4:Season Chicken Evenly
Step 4
step4:Season Chicken Evenly
5

Preheat Air Fryer

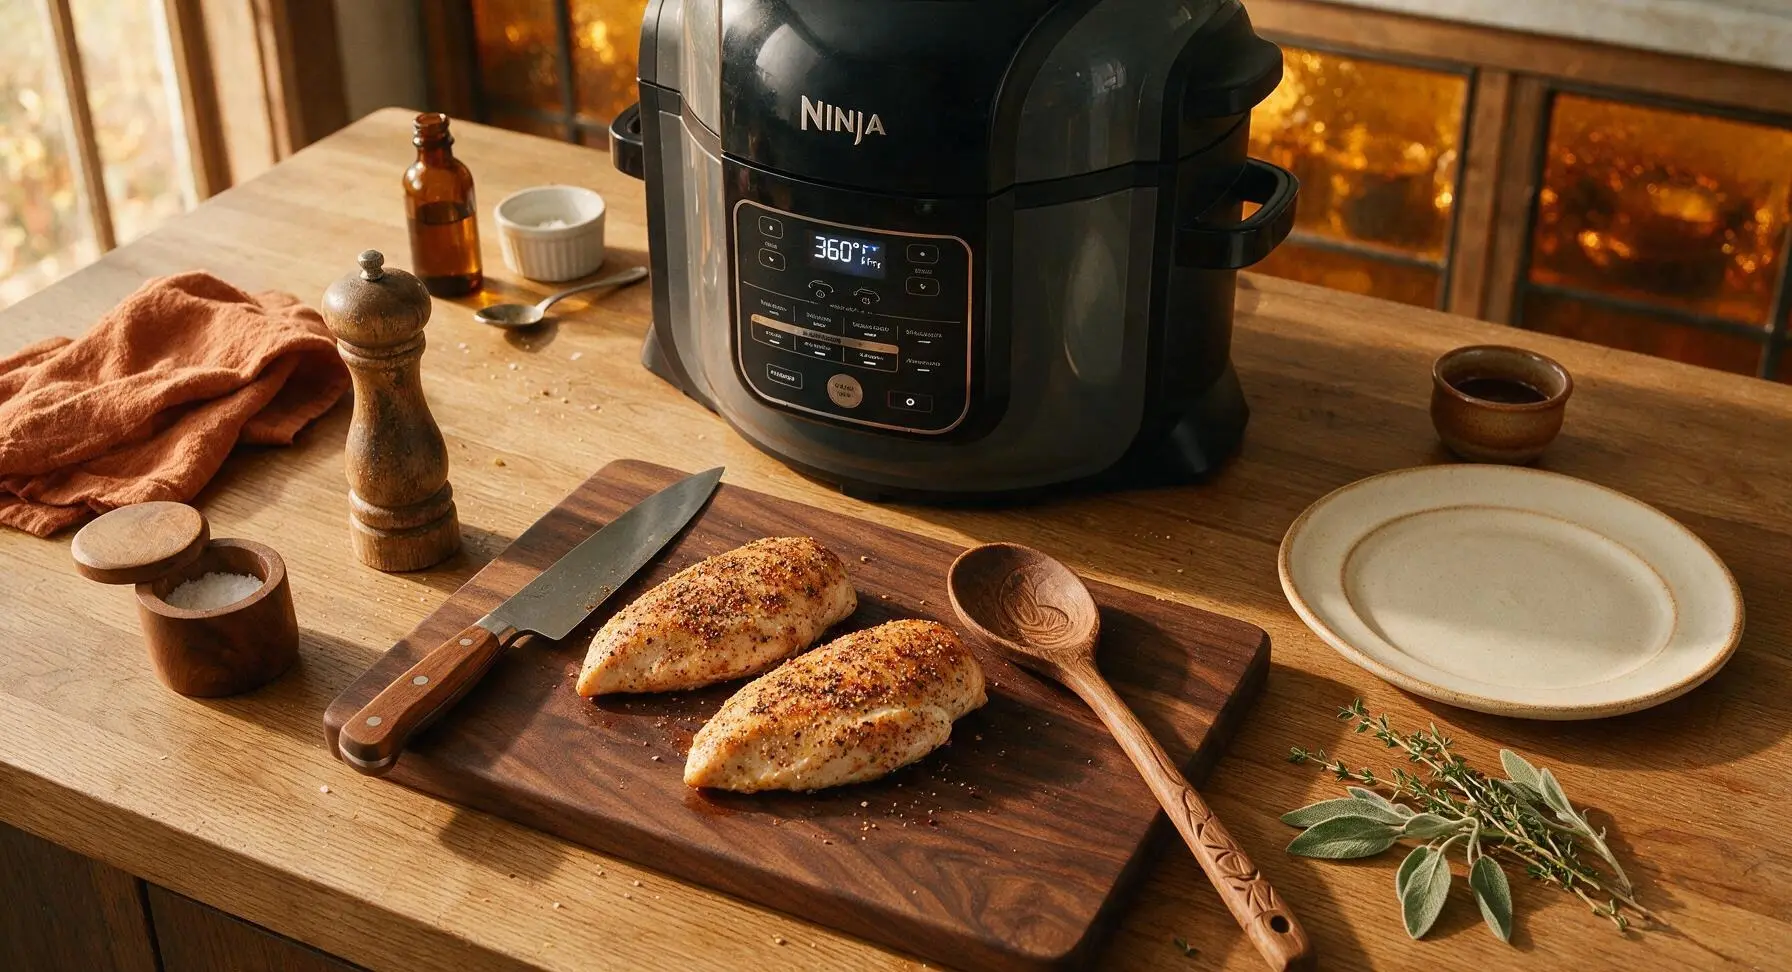
Close the lid of the Ninja Foodi, select the Air Fry function, and set the temperature to 360°F (180°C). Preheat for 3 minutes, until the unit indicates it is preheated and ready for food. Preheating ensures the chicken starts searing immediately, locking in moisture and creating crisp edges.
Step 5
step5:Preheat Air Fryer
6

Air Fry Chicken Breasts

Once preheated, pull open the Ninja Foodi air fryer basket, use the silicone-tipped stainless steel tongs to arrange the seasoned chicken breasts in a single layer in the basket, leaving ½ inch of space between each piece for unobstructed air flow. Close the lid, and air fry at 360°F for 9 minutes. After 9 minutes, use the tongs to flip each chicken breast, then close the lid and cook for an additional 7-9 minutes, until the internal temperature nears 160°F (71°C).
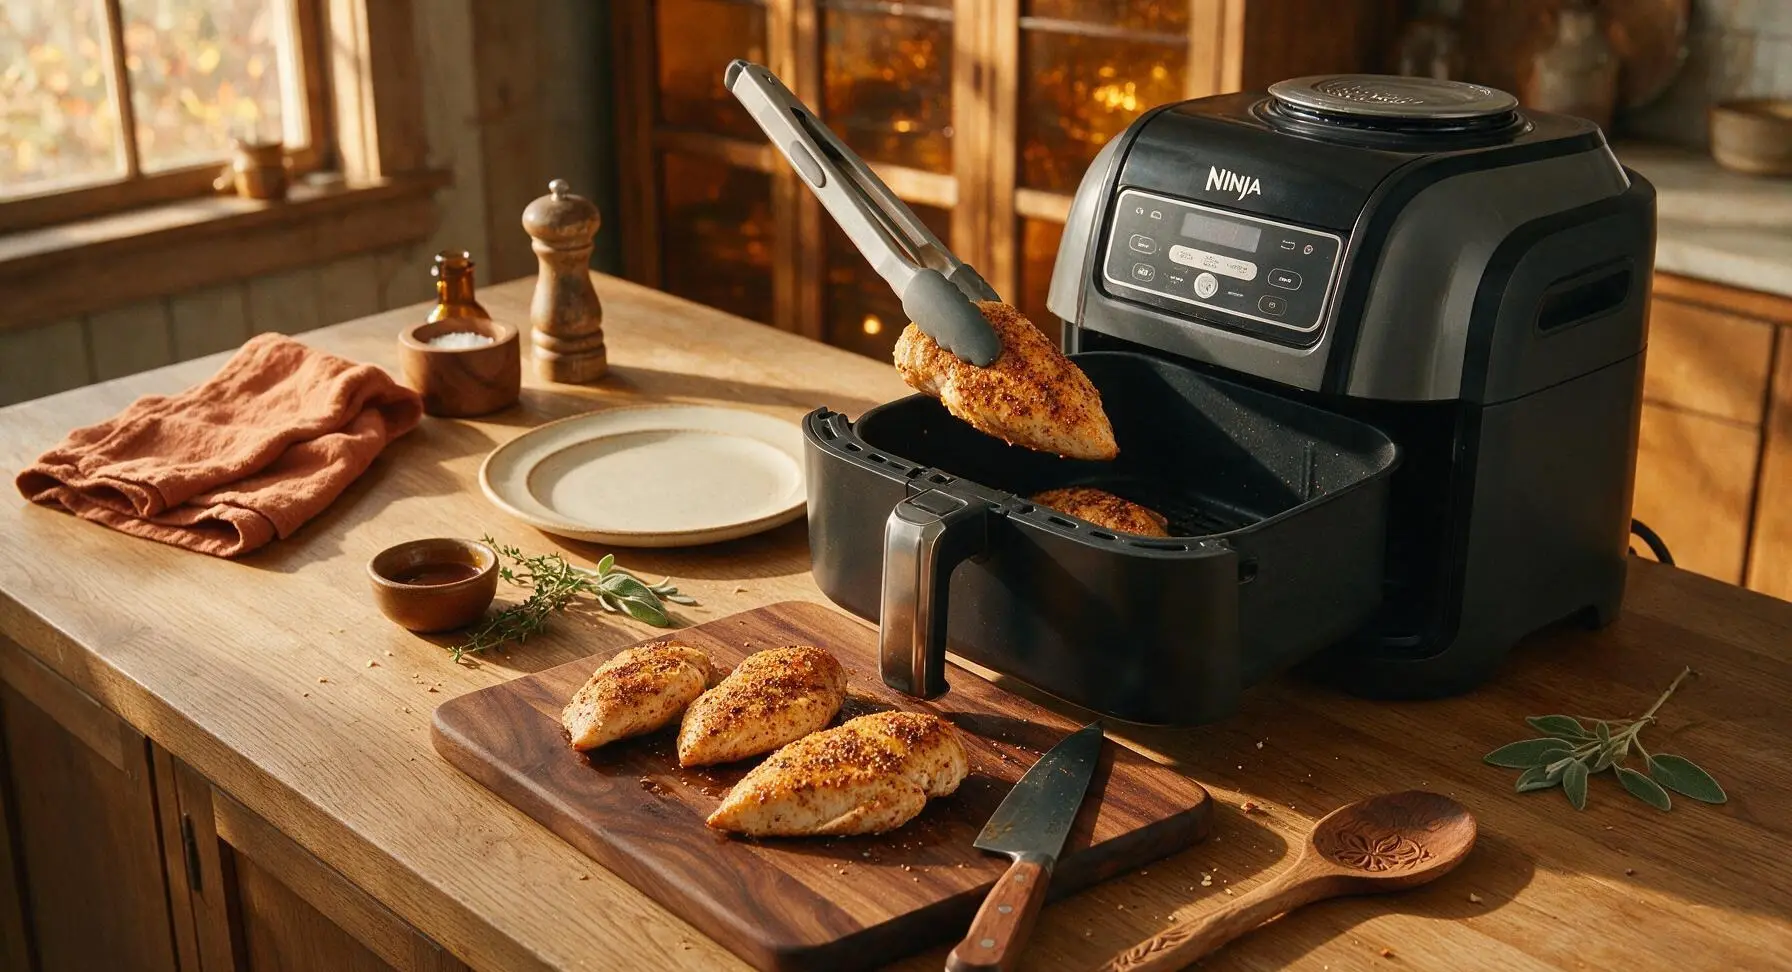
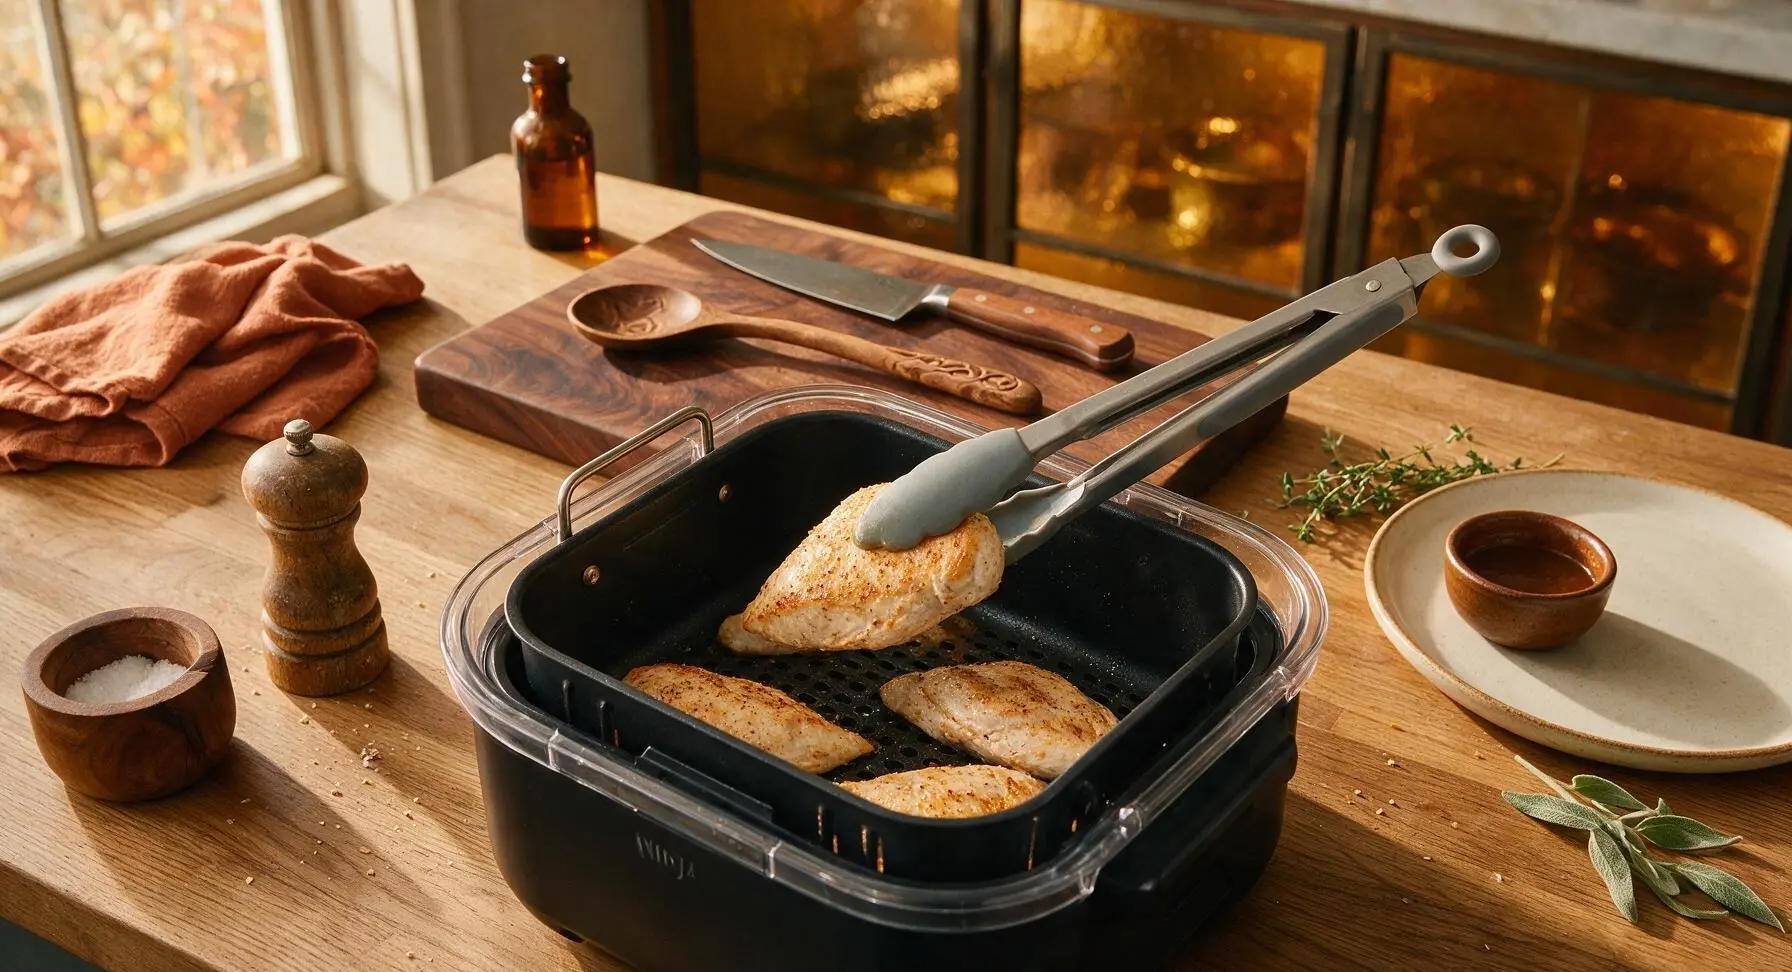
Step 6
step6:Air Fry Chicken Breasts
Step 6
step6:Air Fry Chicken Breasts
7

Check Temp and Rest

When cooking time is complete, use the digital instant-read thermometer to confirm the thickest part of each breast reads 160°F (71°C)—the temperature will rise 5°F to reach the food-safe 165°F (74°C) during resting, a process called carryover cooking that keeps chicken juicy instead of overcooked. Use the tongs to transfer chicken to the top warm cream stoneware plate, then tent loosely with a small piece of aluminum foil for 5 minutes to allow juices to redistribute. Do not skip resting, as cutting immediately will cause all juices to run out and leave chicken dry.
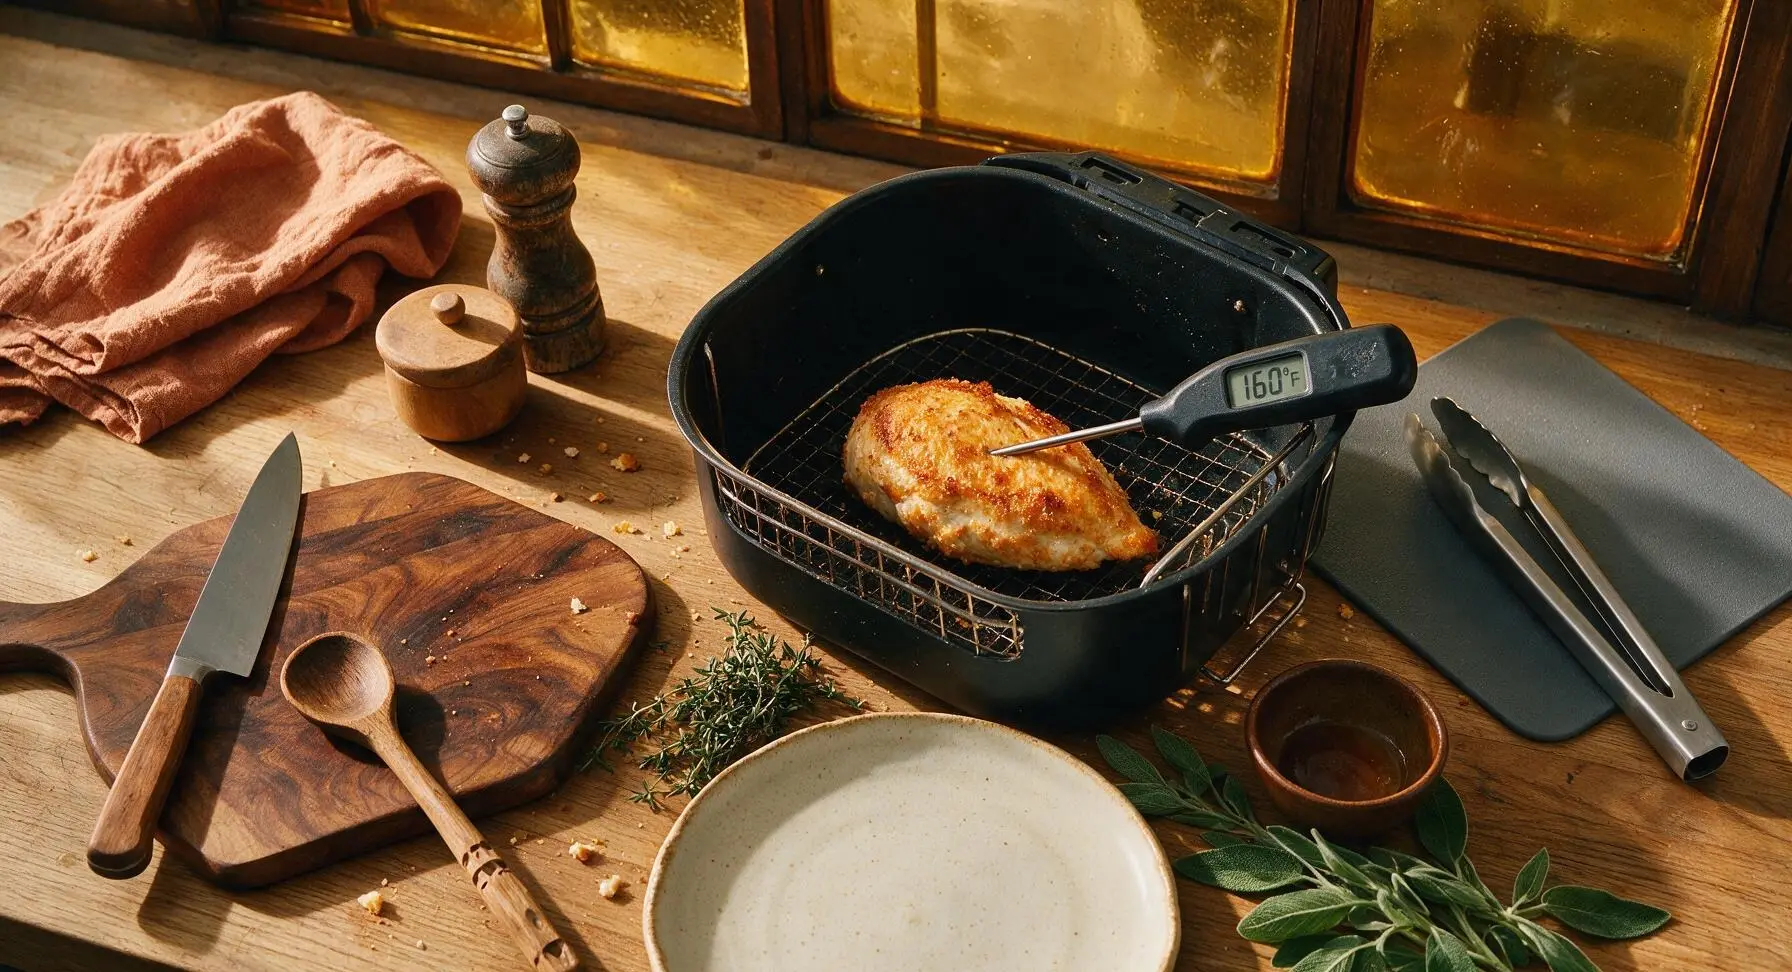
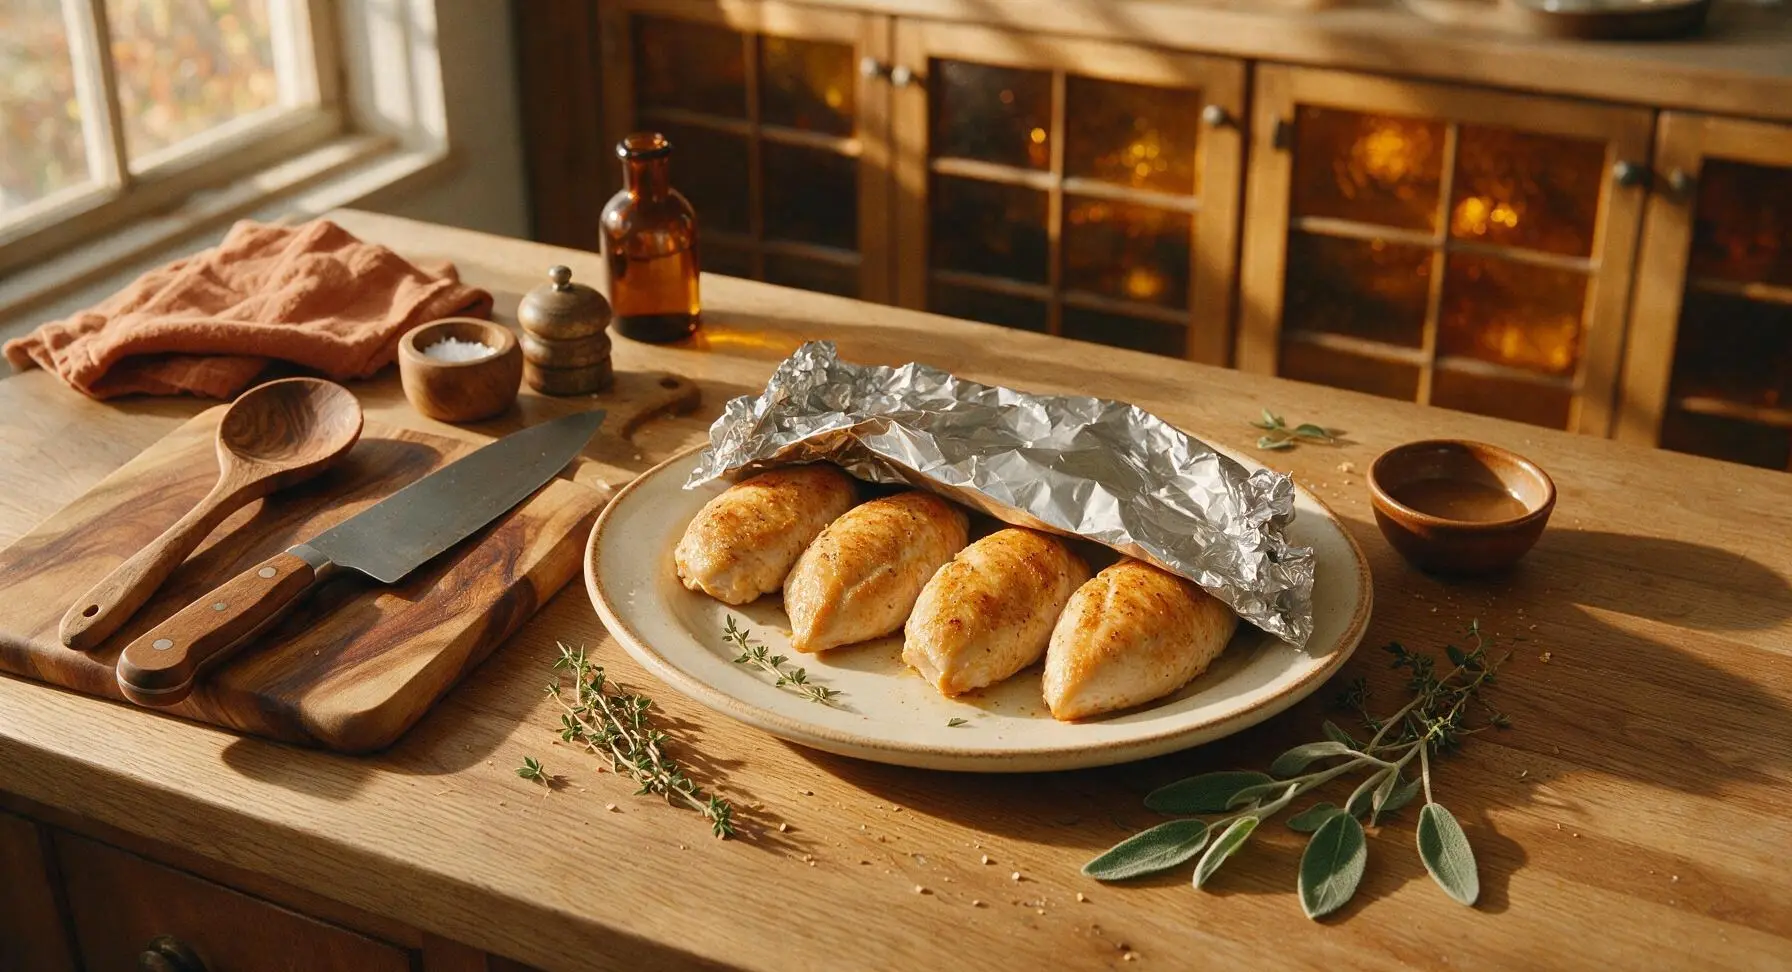
Step 7
step7:Check Temp and Rest
Step 7
step7:Check Temp and Rest
8

Slice and Plate Chicken

After 5 minutes of resting, transfer one chicken breast at a time back to the acacia wood cutting board. Use the chef knife to slice each breast against the grain into ½-inch thick slices. Arrange sliced chicken back on the warm cream stoneware plate, garnish with chopped fresh flat-leaf parsley, and serve with lemon wedges for squeezing over top.
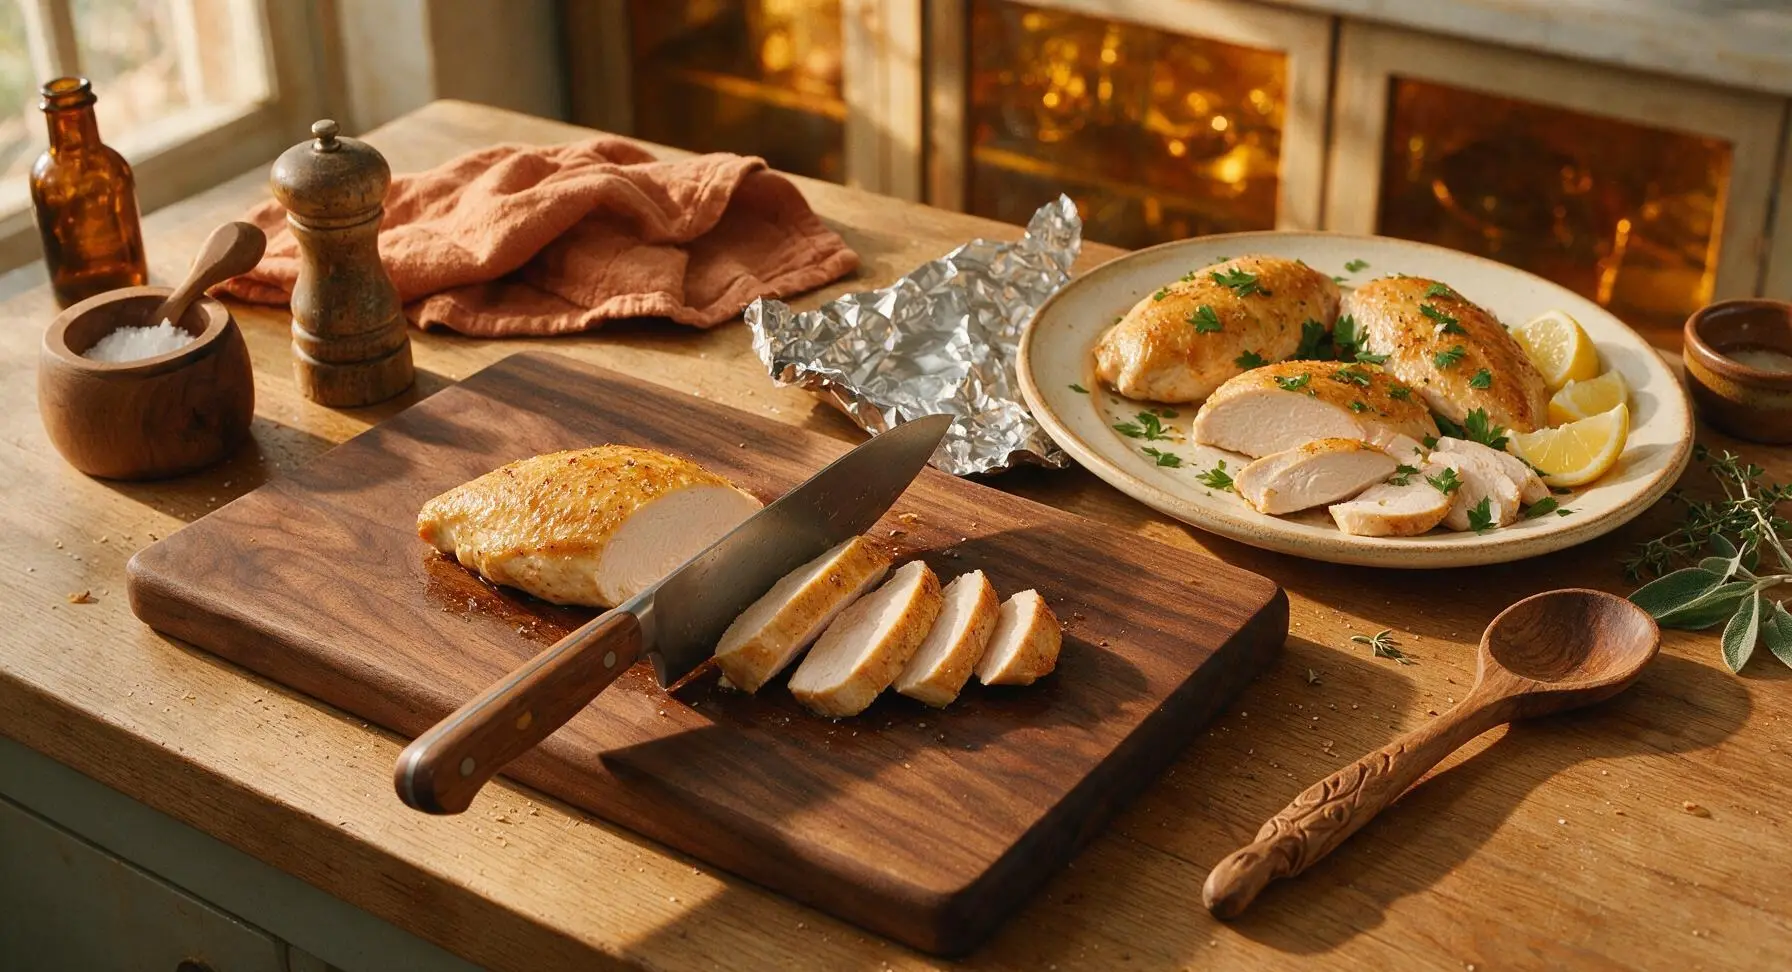
Step 8
step8:Slice and Plate Chicken

Tips

1.Always pat chicken completely dry before adding oil and seasoning: excess surface moisture will create steam in the air fryer instead of a light crisp, leading to rubbery, soggy edges rather than the golden, textured crust this recipe is known for.
2.Avoid overcrowding the air fryer basket: leaving ½ inch of space between breasts allows hot circulating air to reach every surface, so chicken cooks evenly with consistent browning, no undercooked spots, and no steamed, mushy areas. If cooking for a larger group, work in small batches.
3.Resist the urge to cook chicken to 165°F directly in the air fryer: carryover cooking will raise the internal temperature by 5°F as the chicken rests, so pulling it at 160°F prevents overcooking and dry, stringy meat. Always insert the thermometer into the thickest part of the breast for the most accurate read.


✨ You May Also Like

Main Course
🍜 United Kingdom

A showstopping classic of tender seared beef, savory mushroom duxelles, and crisp prosciutto wrapped in flaky golden puff pastry, baked to juicy perfection.

⏱️ 2 hours 1Main Course ★ 4.7
Main Course
🍜 India

Tender charred marinated chicken simmered in a rich, spiced creamy tomato sauce, this iconic Anglo-Indian curry pairs perfectly with basmati rice or warm naan.

⏱️ 50 minuteMain Course ★ 4.6
Main Course
🍜 Thailand

Classic tangy, sweet, and savory Thai stir-fried rice noodles with shrimp, tofu, and crunchy garnishes, balancing all five core Thai flavor profiles.

⏱️ 30 minuteMain Course ★ 4.5
Main Course
🍜 United Kingdom

Crispy golden beer-battered cod and fluffy double-fried chips, served with tangy tartar sauce and malt vinegar: the timeless, beloved British pub comfort classic.

⏱️ 45 minuteMain Course ★ 4.7
Main Course
🍜 Mexico

Smoky, chile-marinated pork tacos with caramelized pineapple, fresh cilantro, and lime: a beloved classic Mexican street food perfect for casual summer gatherings.

⏱️ 1 hour 45Main Course ★ 4.8
Main Course
🍜 United States

Crunchy Fritos corn chips layered with savory beef chili and melted cheddar, topped with cool, zesty fixings for a beloved, cozy Tex-Mex comfort food.

⏱️ 35 minuteMain Course ★ 4.8

ninja foodi air fryer chicken breast:Frequently Asked Questions

1.How do I keep chicken breasts from drying out in the Ninja Foodi air fryer? ▾
Start by pounding breasts to a uniform 1-inch thickness so they cook evenly, coat lightly with extra-virgin olive oil to lock in surface moisture, and avoid overcooking. Pull breasts when the internal temp hits 160°F, as they’ll carryover cook to the food-safe 165°F while resting for juicy results every time.
2.What temperature and cook time works best for 1-inch thick chicken breasts? ▾
Set your Ninja Foodi air fryer to 375°F, and cook 1-inch thick breasts for 10 to 12 minutes total, flipping halfway through at the 5 to 6 minute mark. Always verify doneness with an instant-read meat thermometer instead of relying solely on time, since breast sizes vary widely.
3.Do I need to preheat my Ninja Foodi before air frying the chicken? ▾
Yes, a quick 3-minute preheat is well worth it for consistent, crisp edges and even cooking. Preheating ensures hot air starts circulating immediately the second you add the chicken, cutting down on uneven cook times and preventing seasoning from sliding off as the chicken slowly warms up.
4.Can I use frozen chicken breasts for this recipe without thawing them first? ▾
You can, but you’ll need to adjust your cook settings: add 8 to 10 minutes of total cook time at 360°F, and flip every 7 minutes to ensure even heating. I still recommend thawing first for the juiciest result, as frozen breasts release excess moisture that softens the crisp outer edge.
5.Why do you call for kosher salt instead of table salt in the seasoning? ▾
Kosher salt has larger, flakier grains that distribute more evenly across the chicken surface, so you don’t get random overly salty bites. It sticks better to oiled chicken than fine table salt, and its clean, mild salty flavor doesn’t overpower the smoked paprika and garlic powder in the rub.
6.Is it really necessary to pound chicken breasts before air frying? ▾
Absolutely—pound breasts to an even 1-inch thickness, especially if one tapered end is significantly thinner than the thick center. This stops the thin end from overcooking and turning dry while the thickest part finishes cooking, and it helps seasonings stick evenly across every bite.
7.How long should I let the chicken rest after cooking, and does it actually matter? ▾
Let the chicken rest on a clean plate or cutting board for 5 full minutes after you pull it from the Ninja Foodi. This lets hot, redistributed juices settle back into the meat instead of running all over your plate when you cut into it, which is an easy trick for juicy, not dry, chicken.
8.Is this chicken recipe good for weekly meal prep? ▾
Definitely—this recipe is ideal for weekly meal prep, since it stays juicy for 3 to 4 days stored in an airtight container in the fridge. Let the cooked chicken cool completely before storing, and slice it only right before you eat it to keep the tender interior from drying out in the fridge.
9.Can I skip the olive oil to cut calories, or is it necessary? ▾
The light coating of extra-virgin olive oil isn’t just for crispness—it helps the garlic powder, smoked paprika, and kosher salt stick to the chicken instead of blowing off in the air fryer fan, and it locks in surface moisture to prevent toughness. You can cut it back to 1 teaspoon per breast, but don’t skip it entirely.
10.Why does my seasoned chicken turn out bland even when I measure the rub correctly? ▾
The most common culprit is seasoning only one side of the breast, or seasoning too far in advance. Pat the chicken dry first, coat with oil, then season all sides—top, bottom, and edges—with the spice mix right before cooking for evenly flavored, delicious results every time.
11.Can I customize the seasoning blend without ruining the recipe? ▾
Of course! The simple base of garlic powder, smoked paprika, and kosher salt is extremely versatile. Add a pinch of cayenne for heat, dried oregano for Italian flair, a sprinkle of brown sugar for a sweet smoky crust, or lemon pepper to match whatever side dish you’re serving.
12.How do I get extra crispy edges on the chicken without overcooking it? ▾
First, pat the chicken completely dry with paper towels before coating it in oil and seasoning—excess surface moisture will steam instead of crisp. Don’t overcrowd the air fryer basket (cook in batches if needed), and the short preheat will build a golden crisp edge without extra cook time that dries out the tender interior.

Comments (4)

2 days ago

OMG this is such a game changer for my Sunday meal prep! I’ve been struggling to make juicy chicken breast that doesn’t turn out rubbery in my old air fryer, but the Ninja Foodi method worked perfectly at 18 minutes total? Are you kidding? SO good, I seasoned mine with garlic powder, paprika, and a little black pepper, and it came out tender enough that my 7 year old asked for seconds. 10/10 will be making this every week for school lunches!

3 days ago

Tried this last night for family dinner and man, was I impressed. I’ve always been a grill-only guy for chicken, but it was pouring rain so I gave this a shot. Cook time was exactly as the recipe said, no guesswork, super easy even for someone who burns toast half the time. Only thing I did was brine the breasts for 30 minutes first like I usually do, and they were so juicy we didn’t even need sauce. Will definitely make again.

2 days ago

So glad this worked out for you even when the weather ruined your grill plans! Brining is such a smart tip for extra juicy chicken — thanks for sharing that hack with other readers!

30 minutes ago

Wait, quick question — do I need to flip the chicken halfway through cook time? I tried making air fryer chicken last week and didn’t flip, and the bottom was all soggy. Also, does this work if the breasts are pretty thick, like almost 2 inches? I don’t want to cut them up if I don’t have to!

5 minutes ago

I made these last week with 2 inch thick breasts and flipped at the 9 minute mark, turned out perfect! No sogginess at all, just make sure you don’t overcrowd the basket.

just now

Great question! We do recommend flipping halfway through the 18 minute cook time for even crispness on both sides, and for 2-inch thick breasts, you can add 2-3 extra minutes, just check that the internal temp hits 165°F to be safe!

1 week ago

Made this for my potluck last weekend and everyone was asking for the recipe! It was so easy to throw together after work, I didn’t even have to thaw the chicken all the way — just added a couple extra minutes like the recipe notes said. SO good, even my picky husband who swears he only likes fried chicken went back for a third piece. Total win, no notes!

5 days ago

Wait you made this with partially frozen chicken? I’ve been scared to try that, how long did you add on? Mine always comes out dry if I don’t thaw fully.



