
ninja foodi casserole
intro
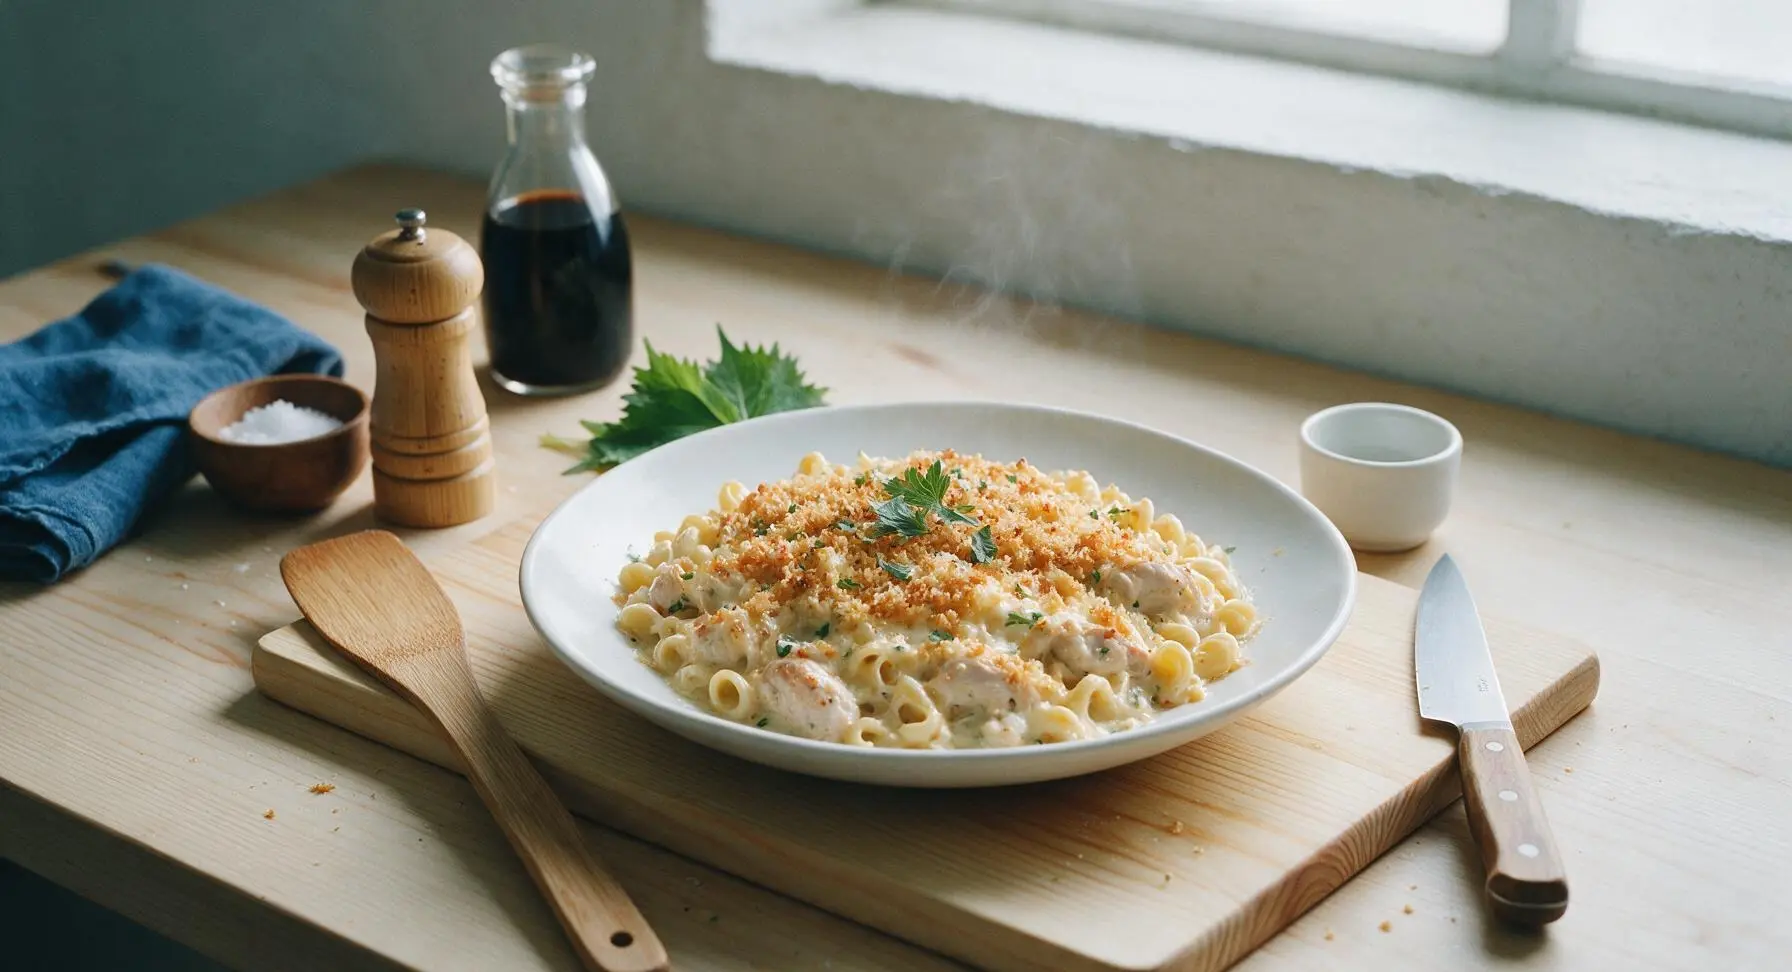
Creamy, cheesy Ninja Foodi chicken and pasta casserole with a crispy panko top, ready in under 45 minutes for cozy, low-fuss autumn weeknight meals with zero extra pots to wash.
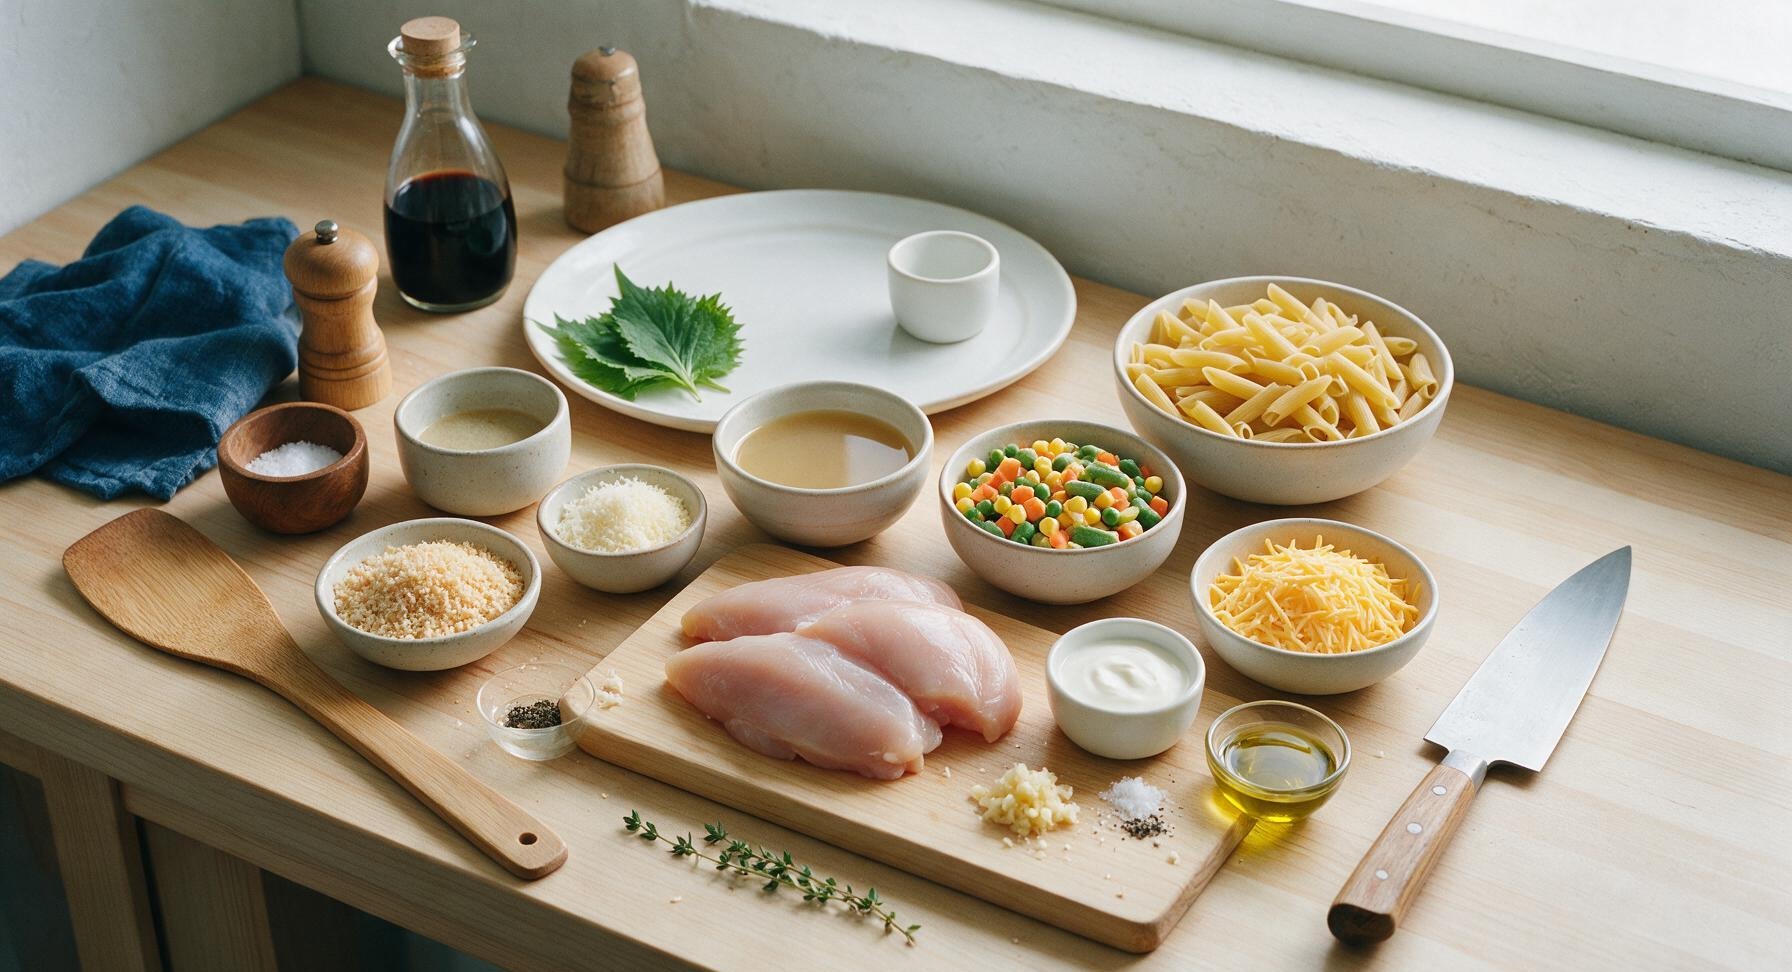
Ingredients
Steps
Prep Chicken and Aromatics
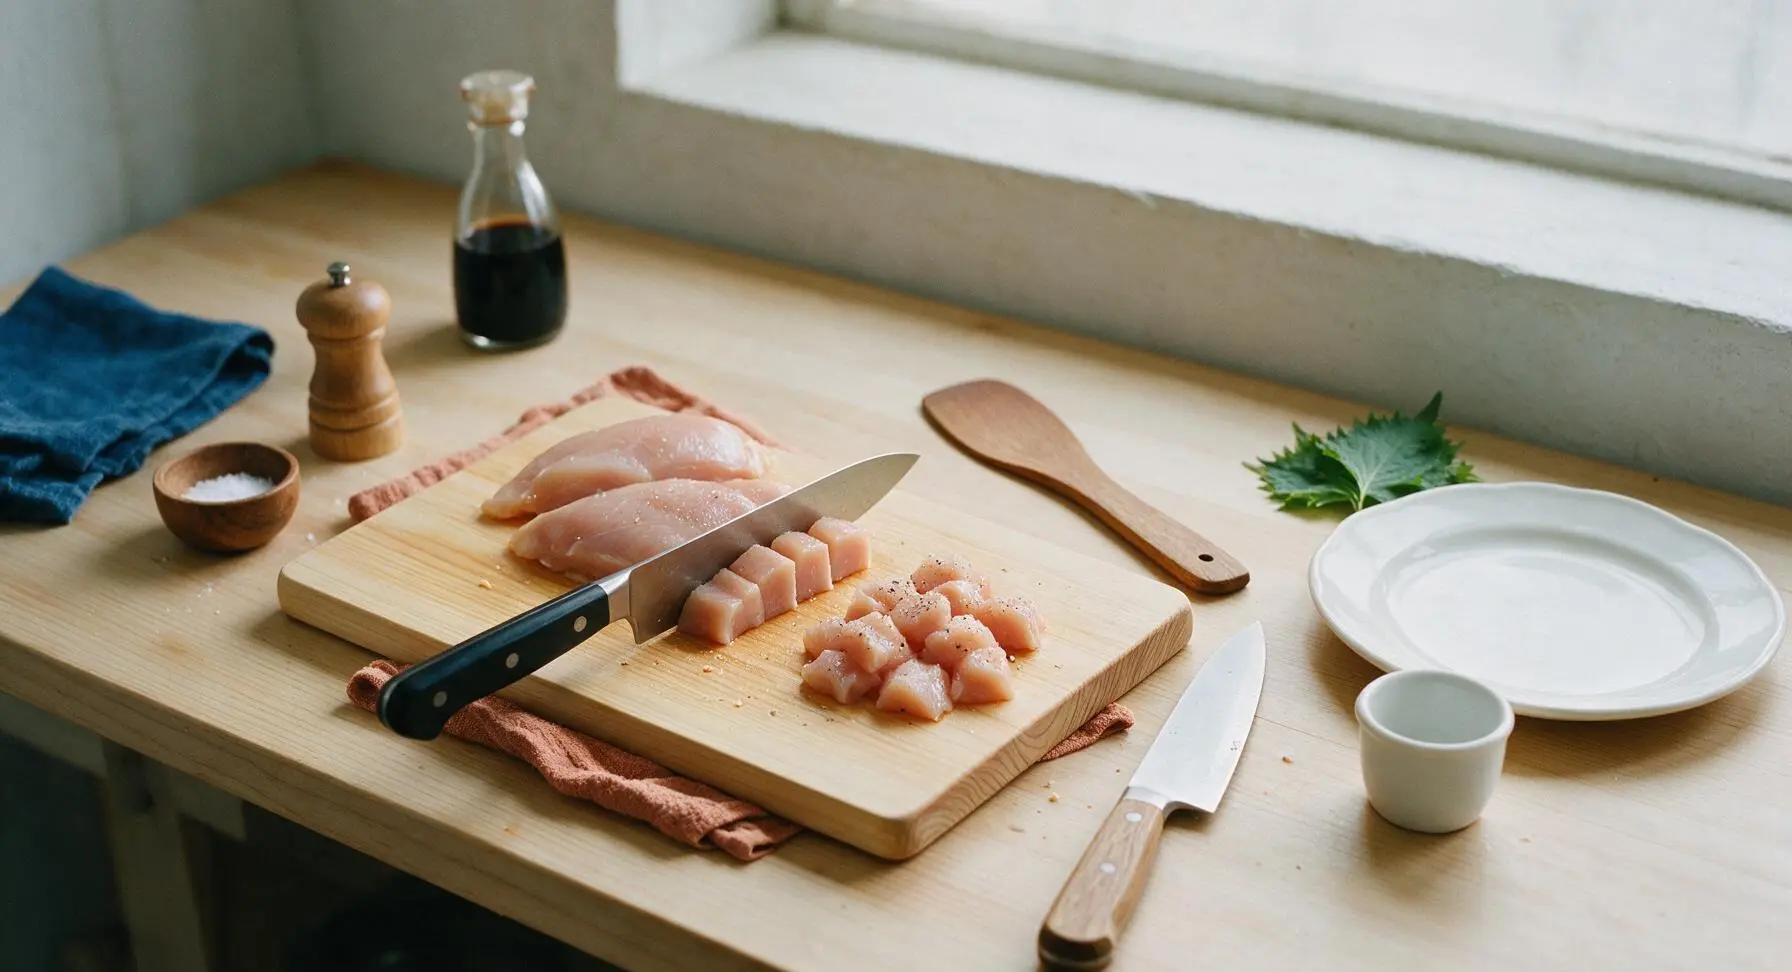
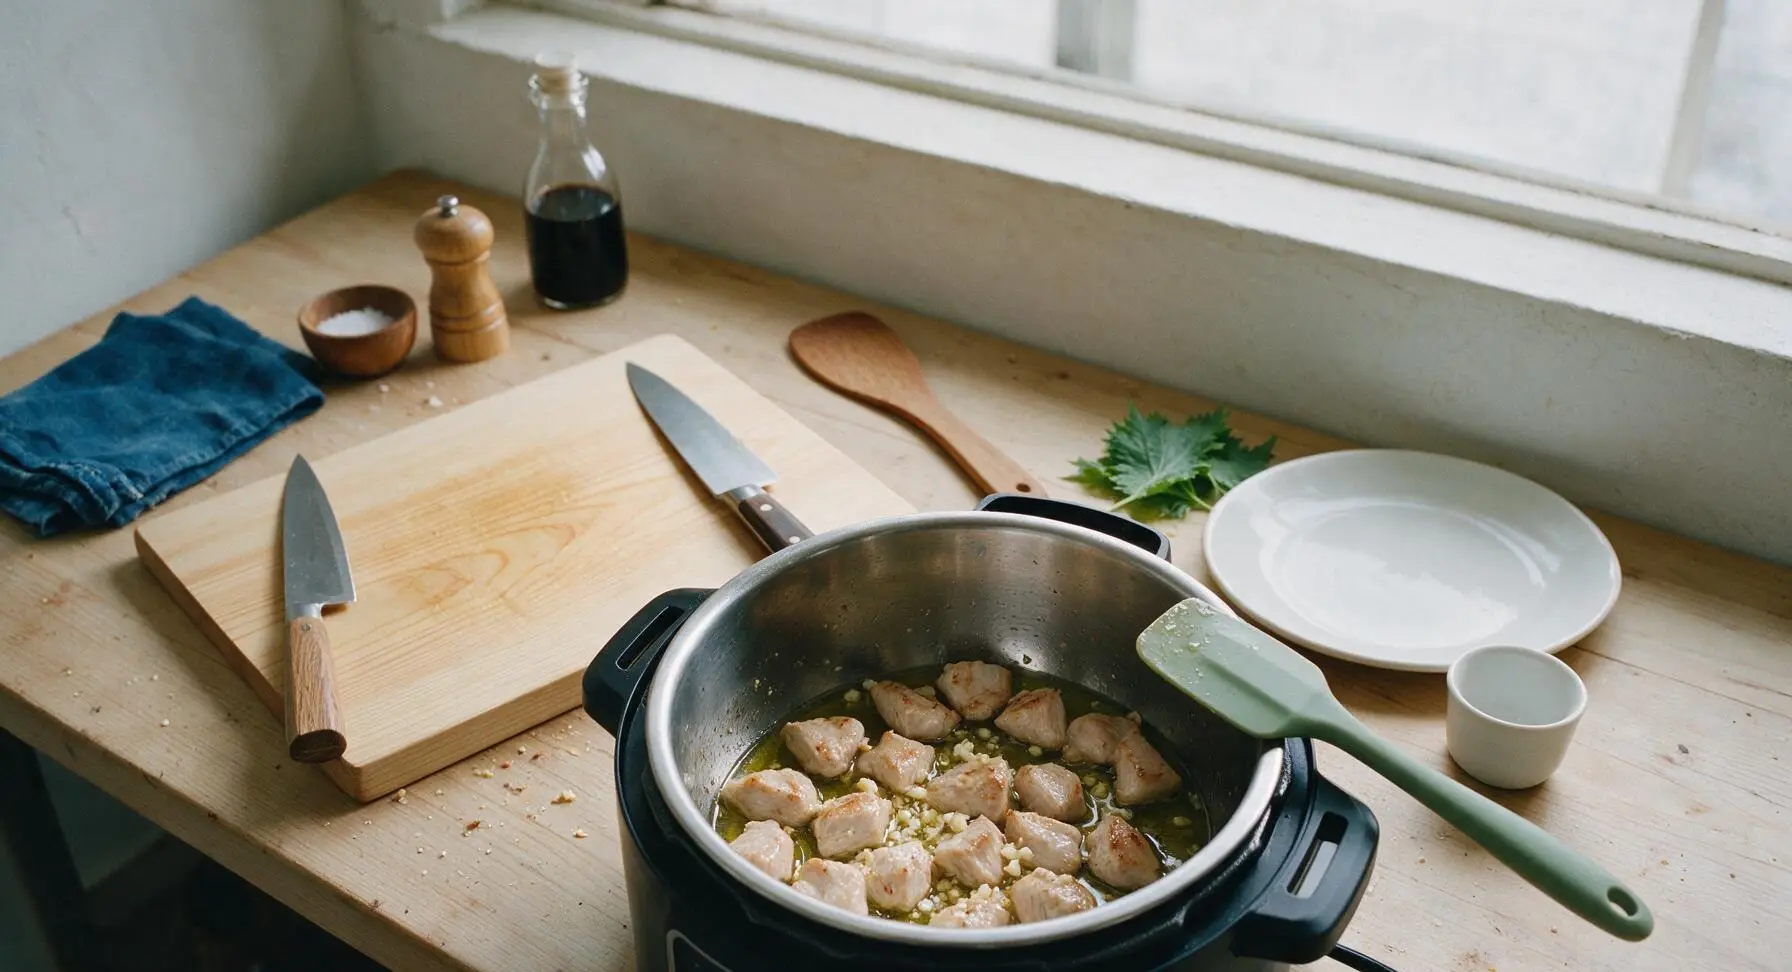
Place the Ninja Foodi on 'Sear/Sauté' mode at medium heat (175C/350F). Add 1 tablespoon olive oil to the stainless steel inner pot. While the oil heats, cut chicken breasts into uniform 2cm cubes on the maple cutting board using the chef knife, seasoning with ½ teaspoon kosher salt and ¼ teaspoon black pepper. Once oil shimmers, add minced garlic and sauté for 30 seconds until fragrant, then add cubed chicken, searing for 2 minutes until lightly golden on all sides (chicken does not need to be fully cooked through at this stage, as it will finish cooking under pressure).
Add Pasta and Broth
Turn off the Sear/Sauté function. Pour dry penne pasta evenly over the seared chicken in the inner pot, then pour in 480ml low-sodium chicken broth, ensuring all pasta is submerged under the liquid (press down gently with the silicone spatula if any pieces float above the surface—this prevents undercooked, crunchy pasta). Do NOT stir the pasta into the chicken, as this can cause starchy pasta to stick to the bottom of the pot and trigger a burn notice during pressure cooking.
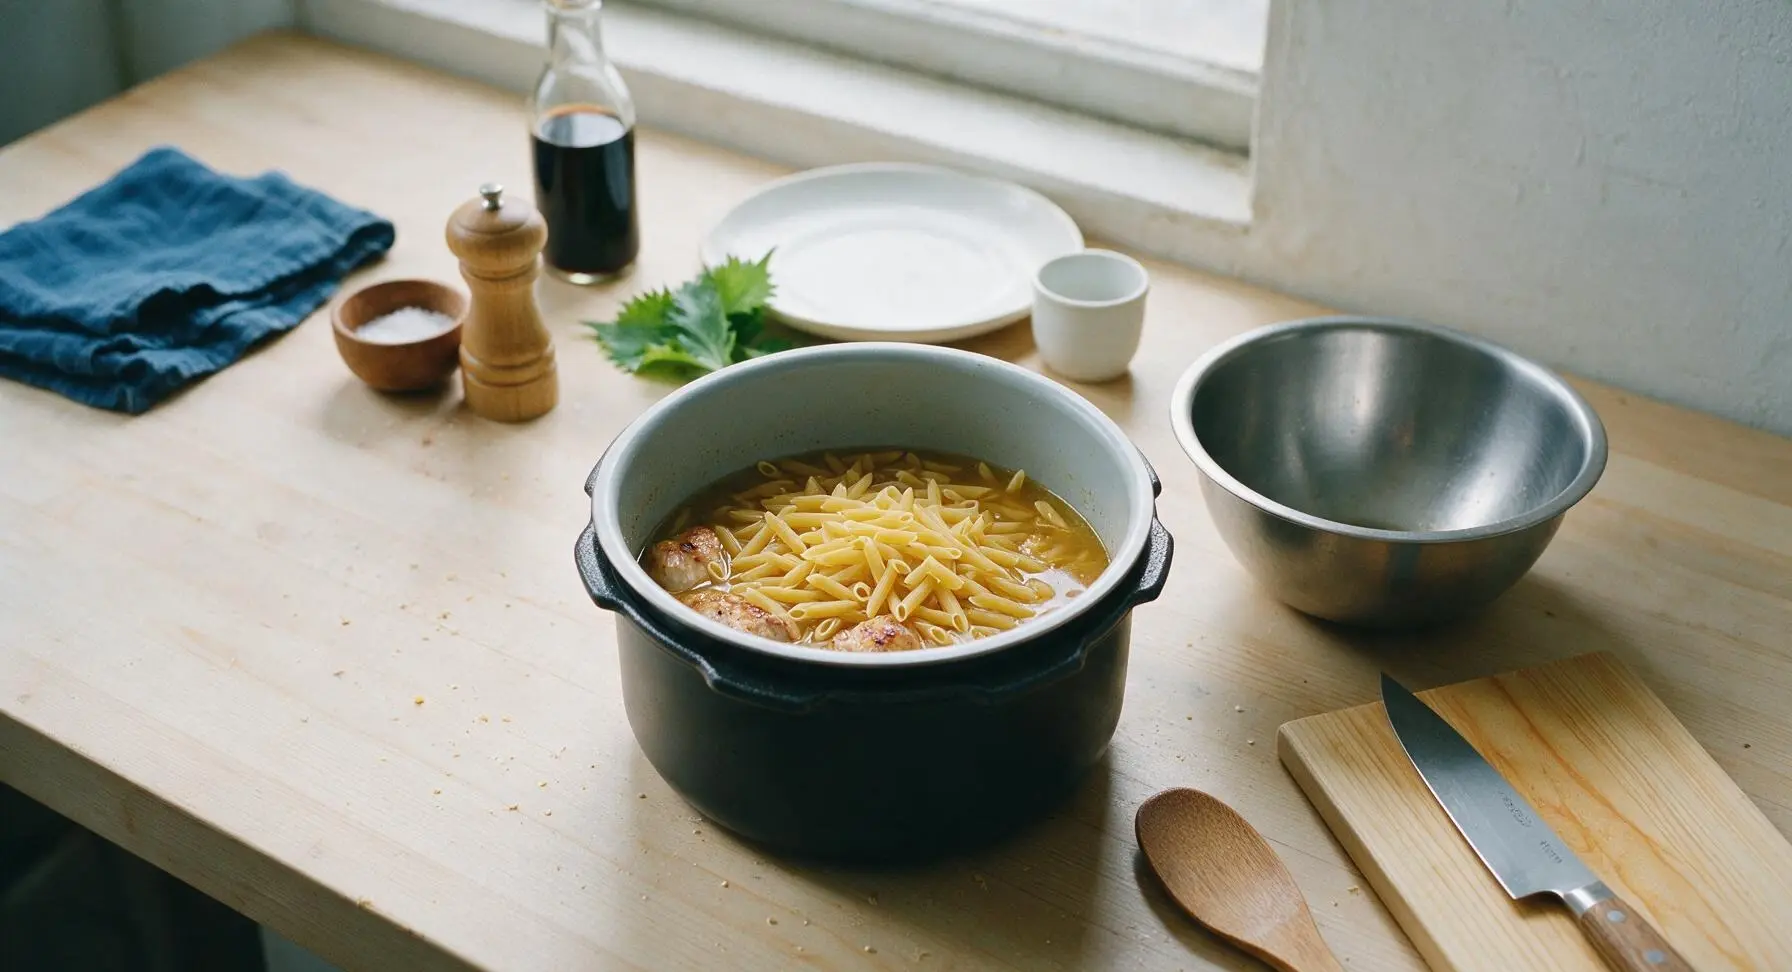
Pressure Cook Base
Secure the Ninja Foodi pressure lid, ensuring the pressure release valve is set to the 'Seal' position. Select 'Pressure Cook' on high pressure, set timer for 5 minutes. The unit will take approximately 8 minutes to come up to pressure before the countdown begins. Once the 5-minute cook time ends, perform a quick pressure release by carefully turning the valve to 'Vent' (use a long utensil to avoid steam burns), waiting until all pressure is released and the float valve drops before opening the lid.
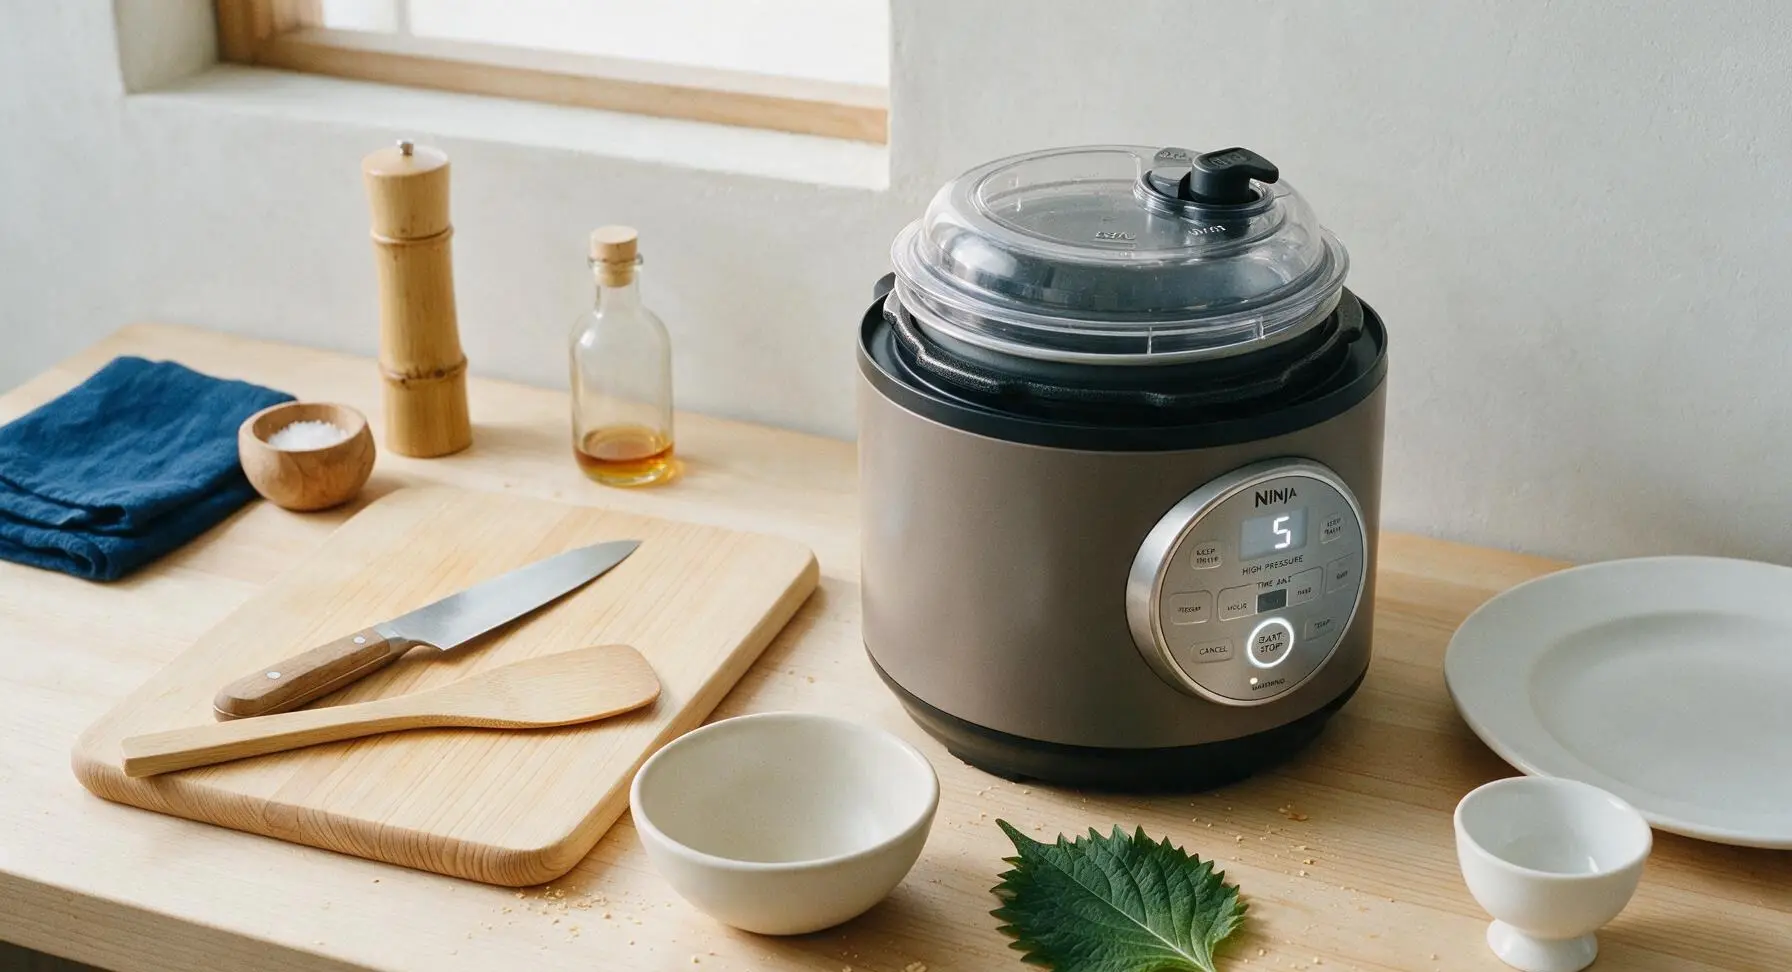
Stir in Veggies and Cheese
Once the lid is safely removed, add the frozen mixed vegetables directly to the hot pot (no need to thaw—they will cook instantly in the hot pasta mixture). Add the remaining ½ teaspoon kosher salt, ¼ teaspoon black pepper, 120g of the shredded sharp cheddar, and all 60ml heavy cream. Stir thoroughly with the sage green silicone spatula until the cheese is fully melted, the sauce is creamy, and all ingredients are evenly distributed. The pasta should be perfectly al dente, with no hard, crunchy centers when you bite into a test piece.
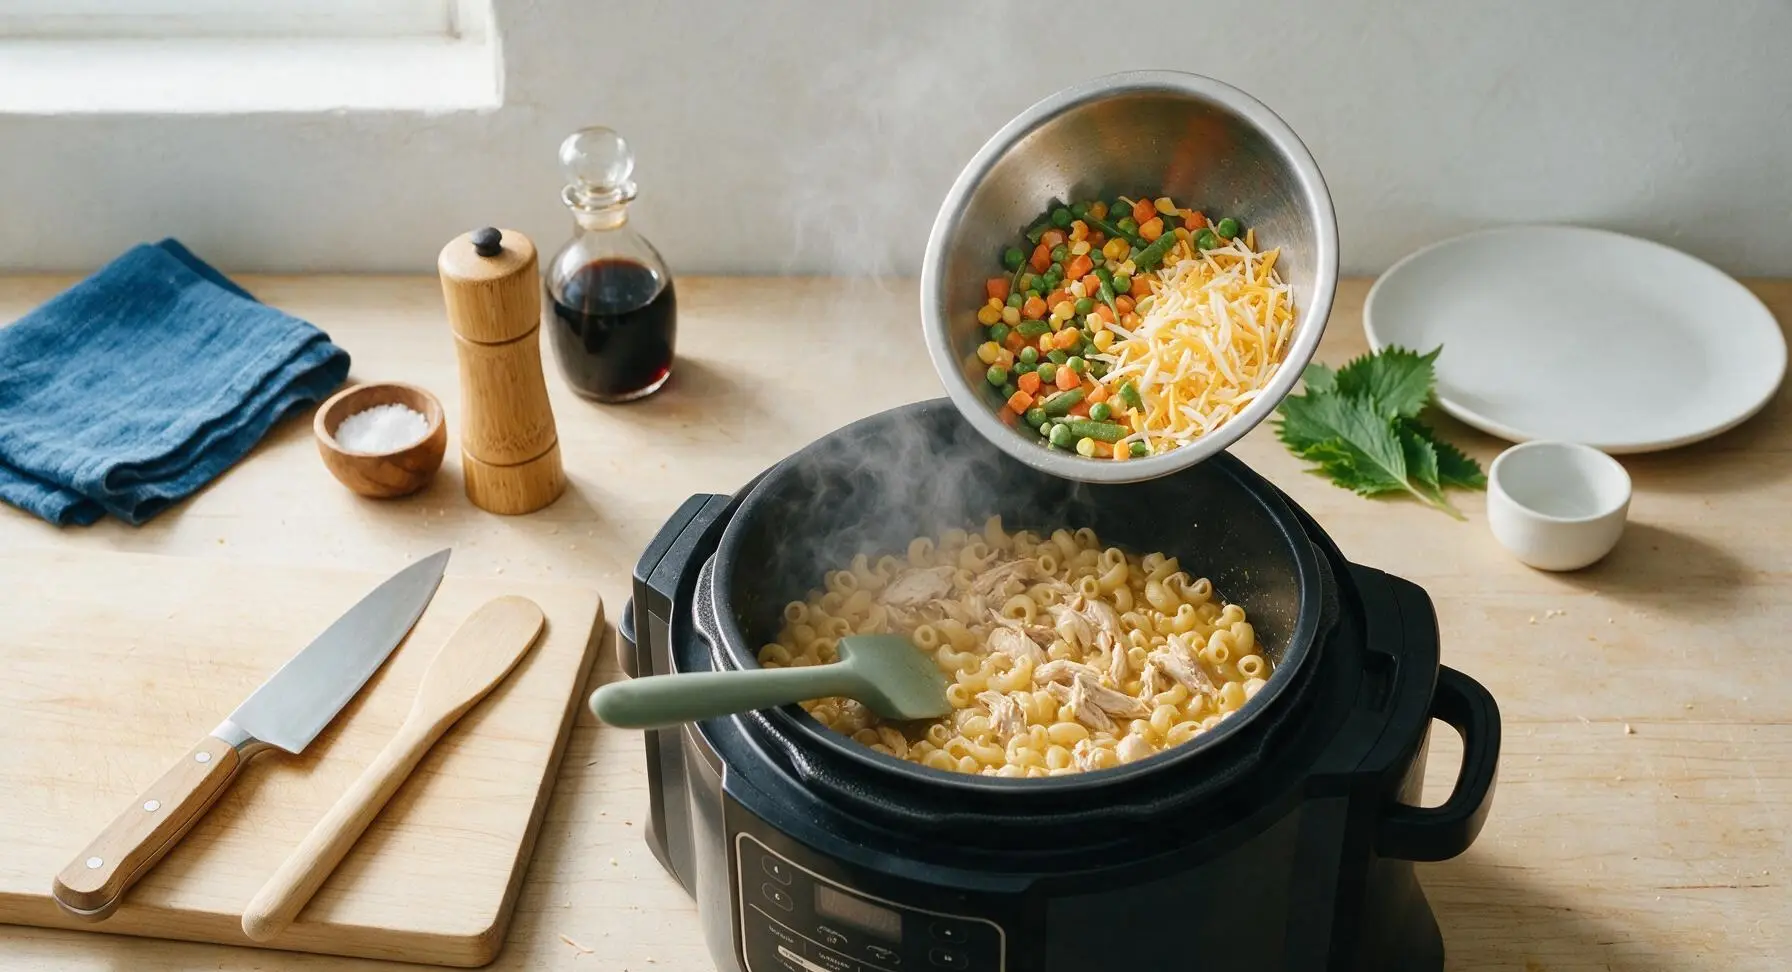
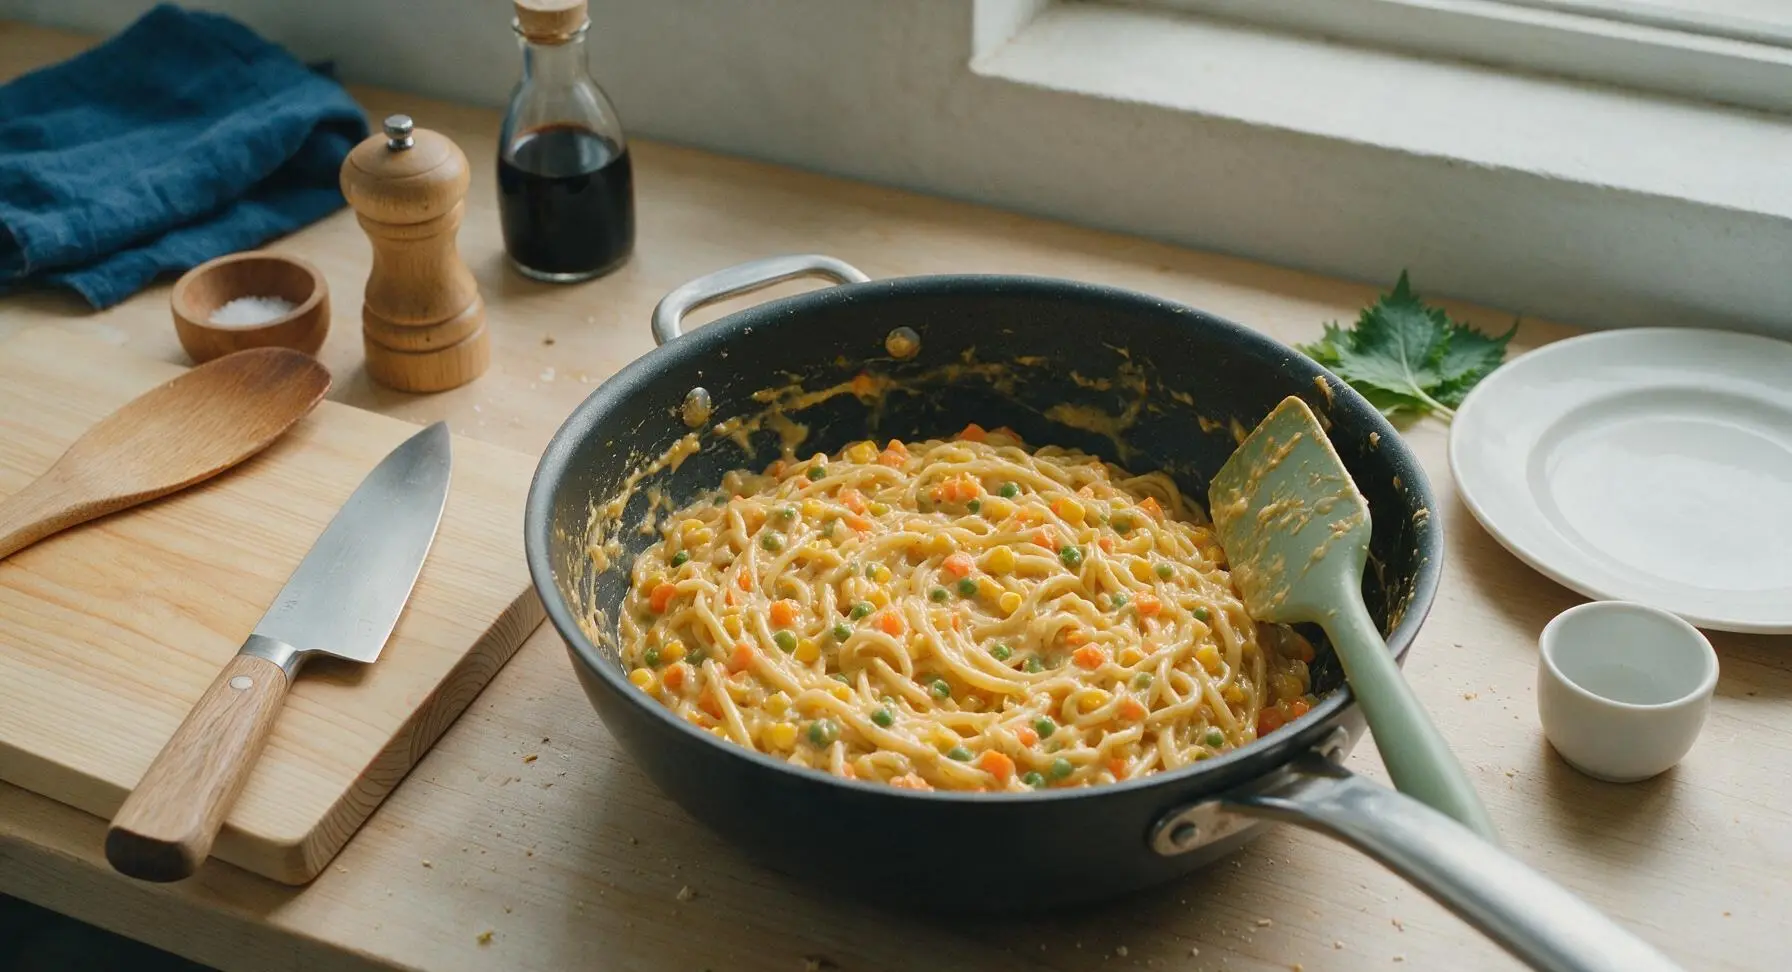
Add Crispy Topping
In the fixed terracotta ramekin, mix the panko breadcrumbs, remaining 30g shredded cheddar, and all grated parmesan cheese until evenly combined. Sprinkle this breadcrumb mixture in an even layer over the entire surface of the casserole, covering all the creamy pasta below—do not stir it in, as it will form a crispy, crunchy top layer during the air crisp step.
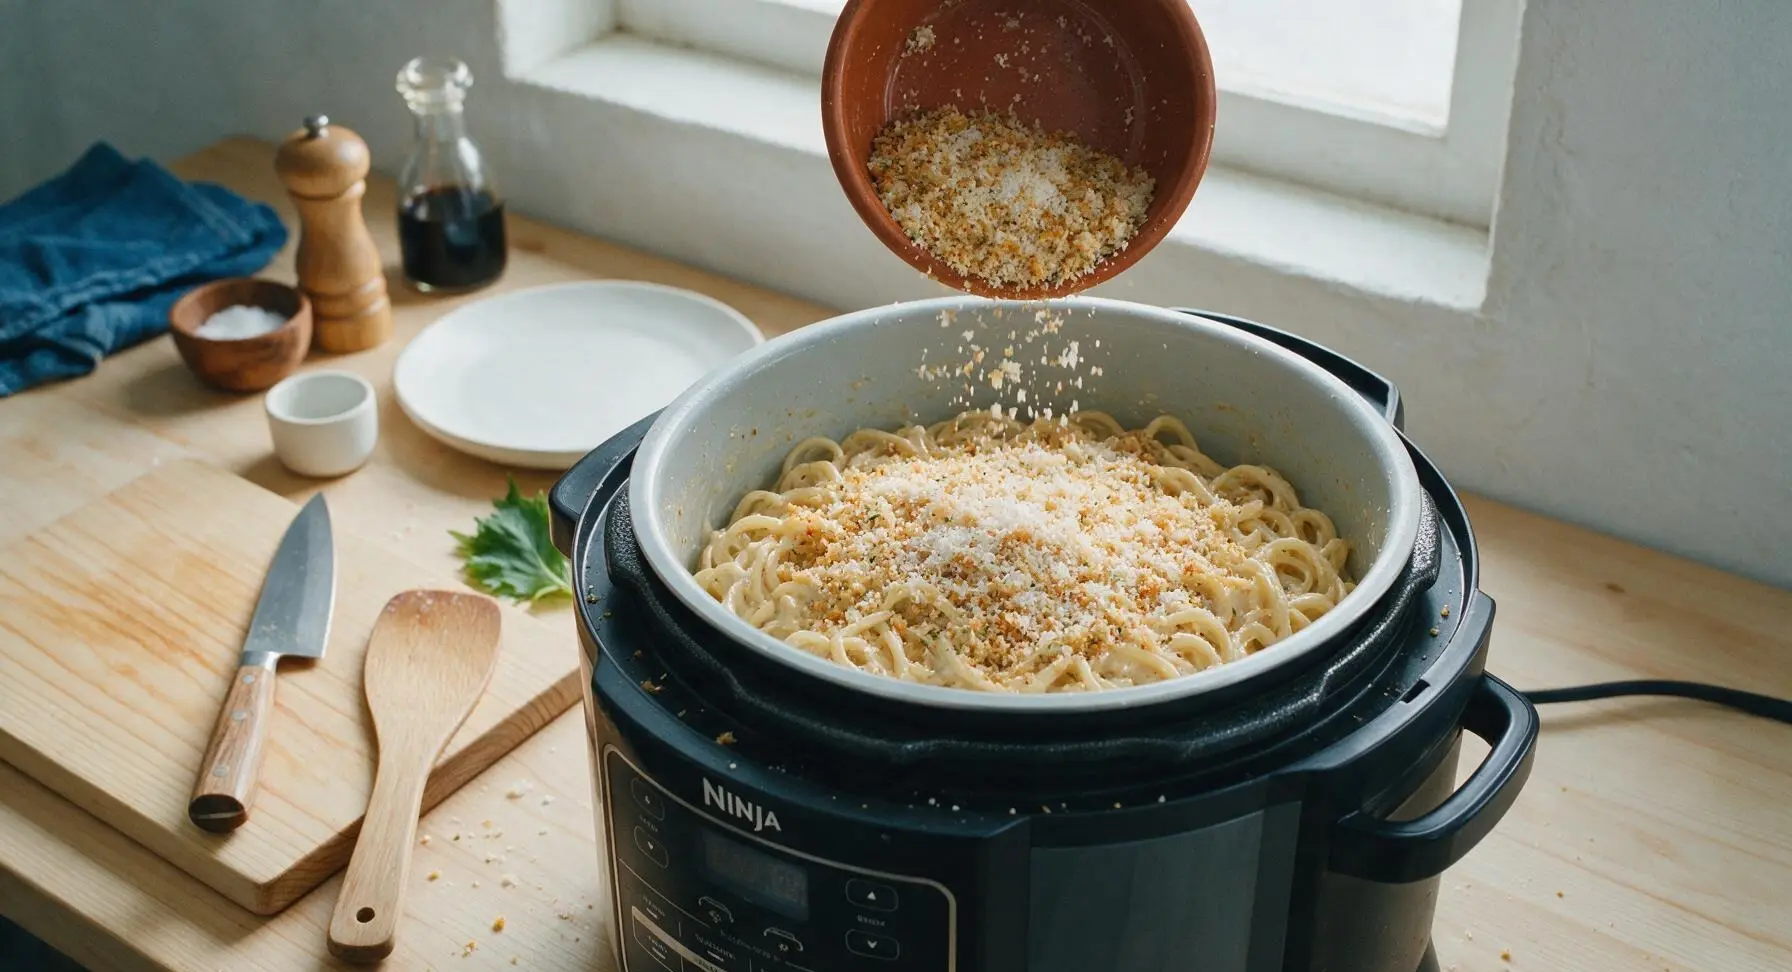
Air Crisp Topping
Close the Ninja Foodi air crisp lid (no need to seal a pressure valve for this function). Select 'Air Crisp' mode, set temperature to 200C/400F, set timer for 5 minutes. Cook until the breadcrumb topping is deep golden brown and crispy, and the cheese in the topping is fully melted and bubbly around the edges. Watch closely during the last minute to avoid burning the fine panko crumbs.
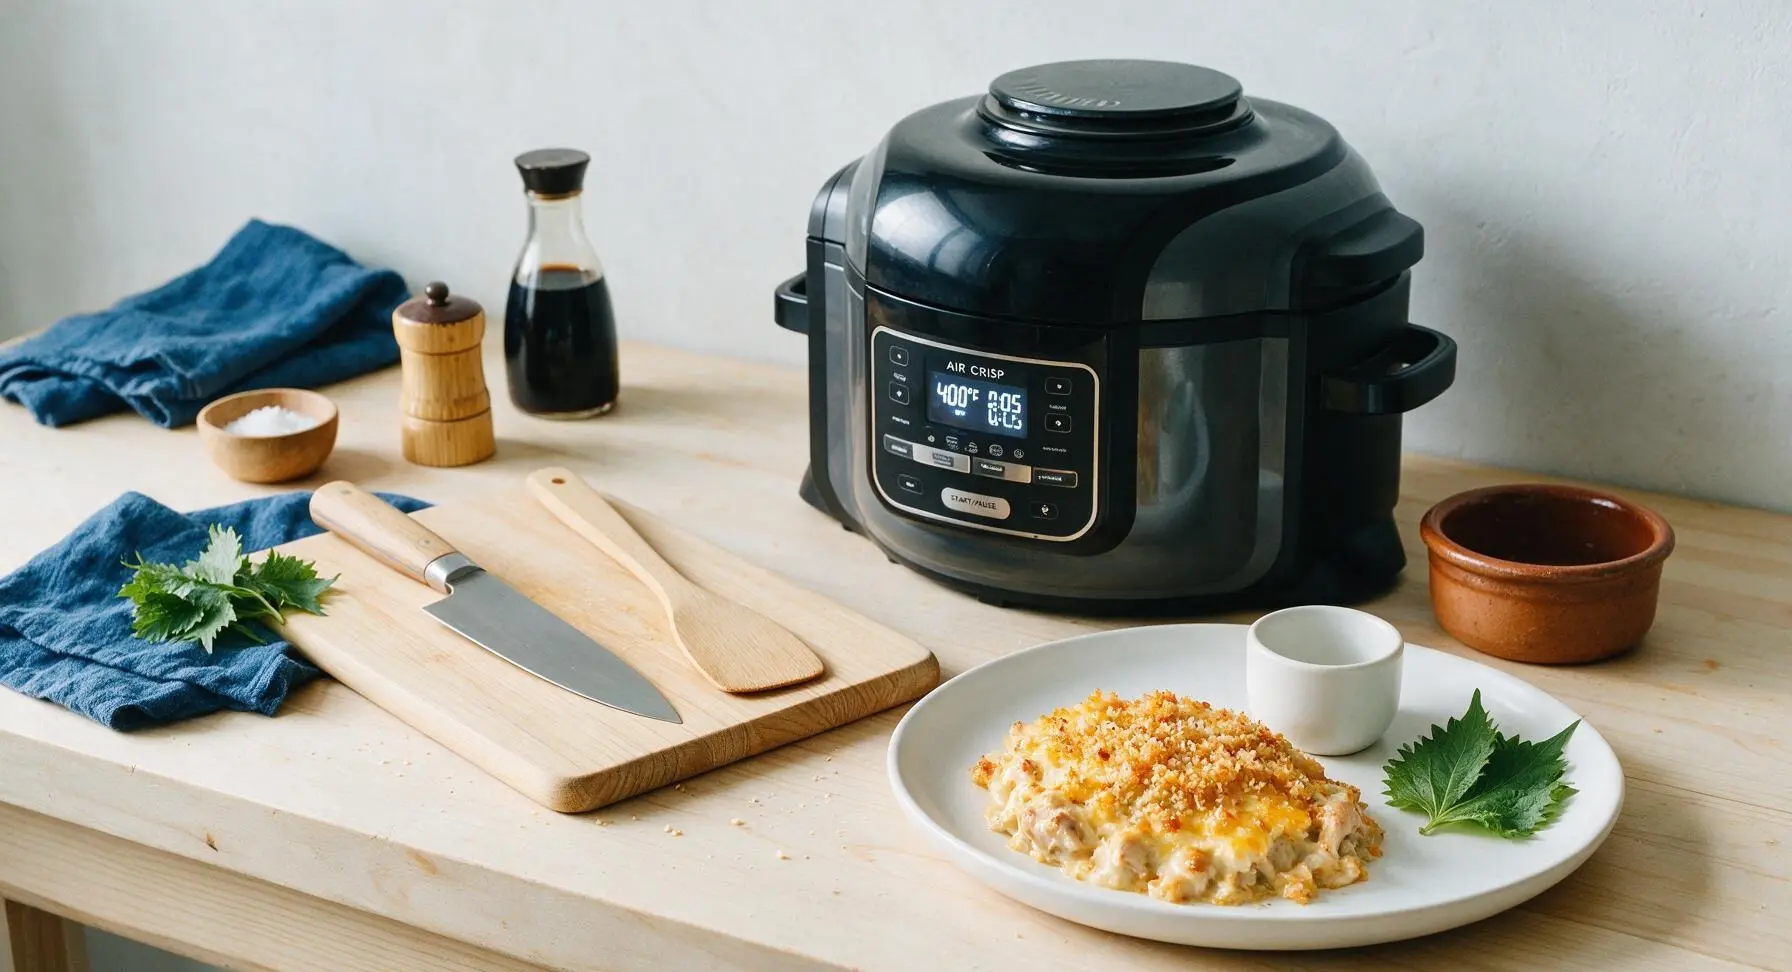
Rest and Plate
Once the air crisp cycle ends, open the lid and let the casserole rest for 5 minutes to allow the cheese sauce to thicken and set—this prevents the casserole from being runny when served. Use the fixed stainless steel serving spoon to portion a generous scoop onto the matte cream stoneware dinner plate, garnish with a fresh sprig of thyme before serving.
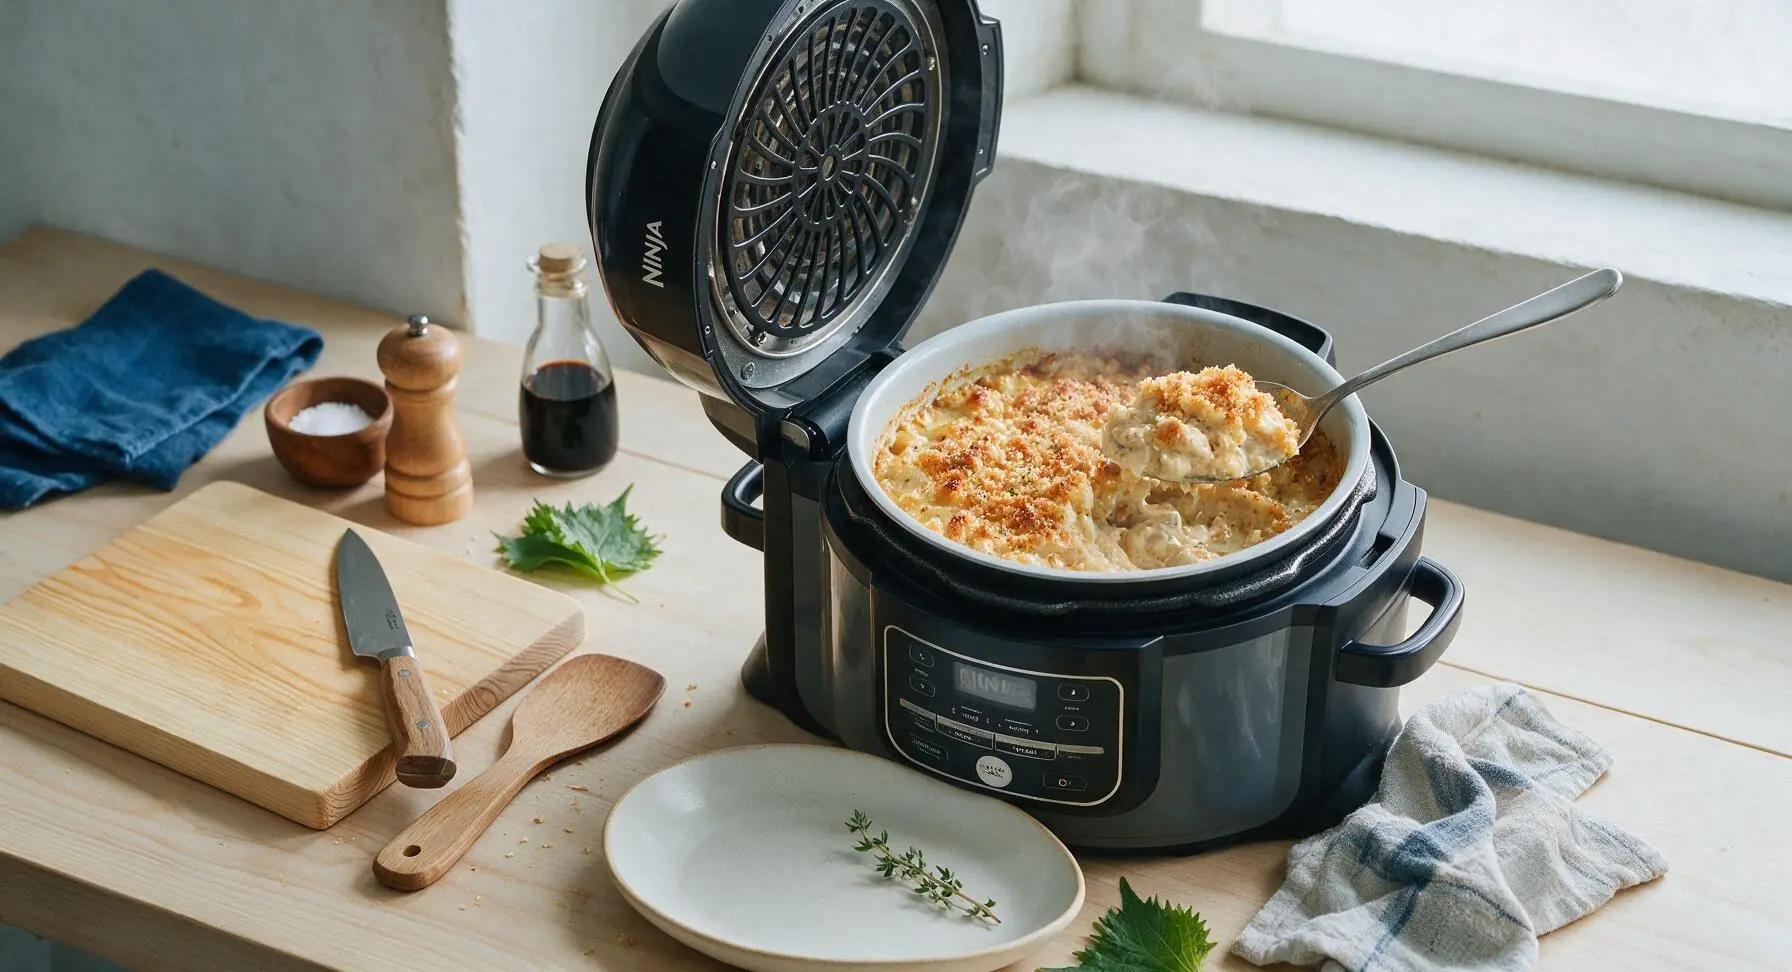
Tips
2.Avoid stirring pasta into the chicken base before pressure cooking: Starchy pasta sitting directly on the hot bottom of the inner pot can stick and scorch during the high-heat pressure cycle; layering pasta on top of the chicken and broth eliminates this common issue.
3.Let the casserole rest 5 full minutes after air crisping: The cheese sauce will be very thin and runny immediately after cooking; the short rest allows starch released from the cooked pasta to thicken the sauce for the perfect, scoopable casserole texture that holds its shape on the plate.
OMG this was so good! I threw this together last night for family dinner after soccer practice and even my super picky 7 year old cleaned his plate. The creamy sauce is chef’s kiss, no weird canned soup aftertaste like a lot of casseroles. Total game changer for busy weeknights!
Meal prep win! I made a double batch on Sunday, portioned it out for lunches all week, and it reheats like a dream in the microwave. No weird separated sauce, the chicken stays juicy, 10/10 will be in my regular rotation.
I brought this to my neighborhood potluck last weekend and people were hounding me for the recipe before we even finished eating! I topped it with a little extra crispy panko before air crisping at the end and *chef’s kiss* so much crunch. 10/10, zero leftovers.
Wait I just got my Ninja Foodi last week and this is the first recipe I’ve tried in it! It was SO easy, I was nervous I’d mess up the pressure cook setting but the directions were super straightforward. The chicken came out perfect, no rubbery texture at all. Only thing is I wish there was a little more sauce to coat the noodles, but otherwise obsessed.
I swapped the regular egg noodles for gluten free rotini and it turned out amazing! I was worried the GF noodles would get mushy in the pressure cooker but they held up perfectly. My whole family (none of whom eat GF) didn’t even notice a difference. Will make again!
I was skeptical a creamy casserole could be done in 30 minutes start to finish but holy cow, this delivered. I used chicken thighs instead of breast because that’s what I had in the fridge and it was even juicier. My wife said it’s better than the oven-baked version her mom makes. Win for dad.
Bro I’m a broke college student with basically zero cooking skills and I nailed this. All the ingredients are cheap, I didn’t have to dirty 10 different pans, and my roommates are literally begging me to make it again next week. 10/10 no notes.
I used a mix of sharp cheddar and mozzarella instead of just cheddar and OMG that cheese pull was unreal. So rich and creamy, no weird gritty cheese texture like I get when I try to make creamy sauces from scratch usually. This recipe is foolproof.
30 minute cook time is NOT a lie, y’all. I walked in the door from work at 6, had this on the table by 6:30, and there was barely any cleanup. This is going to be in my permanent weeknight rotation for nights we have back to back sports and activities. No more drive thru for us!
I’m usually the guy who won’t touch leftovers because they never taste as good as the first night, but this? I ate the leftover portion for breakfast the next day cold straight out of the container and it was still fire. Who does that? That’s how good this is.
I swapped the peas and carrots for roasted broccoli and bell peppers because that’s what I had in the crisper drawer and it was chef’s kiss. Super versatile recipe, you can really toss in whatever veggies you have lying around and it works. Only knock is that my pasta was a tiny bit al dente for my taste, but I’ll just add a minute of cook time next time. Love flexible recipes like this!
Made this for our watch party for the Sunday game and the guys demolished the whole pan in 10 minutes. Super hearty, filling, and you don’t have to fuss with it while it cooks so you don’t miss any of the game. Total game day win.
All the ingredients for this cost me under $15 total to make, and it fed my family of 4 with a little leftover. Way cheaper than takeout, way tastier too. This is going to be a staple on my monthly meal plan for sure, I love a good budget-friendly meal that doesn’t taste cheap.
I tossed in a handful of pickled jalapeños and a dash of hot sauce in the sauce to give it a little kick, and wow that was the right call. If you like a little heat, I cannot recommend that add-in enough. It cuts through the richness of the cream sauce perfectly.
Okay I’m not gonna lie, I burned the cheese a little bit when I used the broil setting at the end because I got distracted by a work call, but even the slightly crispy burnt parts were good? That’s how solid this base recipe is, even my mess up didn’t ruin it. Will pay more attention next time lol.
I made three pans of this to stash in the freezer for after the baby comes next month, it freezes so well! I did a test pan first to make sure it reheated nicely and it was just as good as fresh. Perfect easy meal for new parents who don’t have time to cook.
I tried to make this with oat milk and dairy free cheese for my lactose intolerance and the sauce separated a little bit. It still tasted fine, but the texture wasn’t as creamy as the pictures look. I might try it with canned coconut milk next time to see if that works better.
I live in a tiny studio with no oven, so my Ninja Foodi is literally my only cooking appliance. Recipes like this are a lifesaver, I don’t have to miss out on cozy comfort food just because I don’t have a full kitchen. This tastes exactly like the casserole my grandma used to make in the oven, I almost cried when I took the first bite. So good.