
ninja foodi chicken breast

title 1
ninja foodi chicken breast
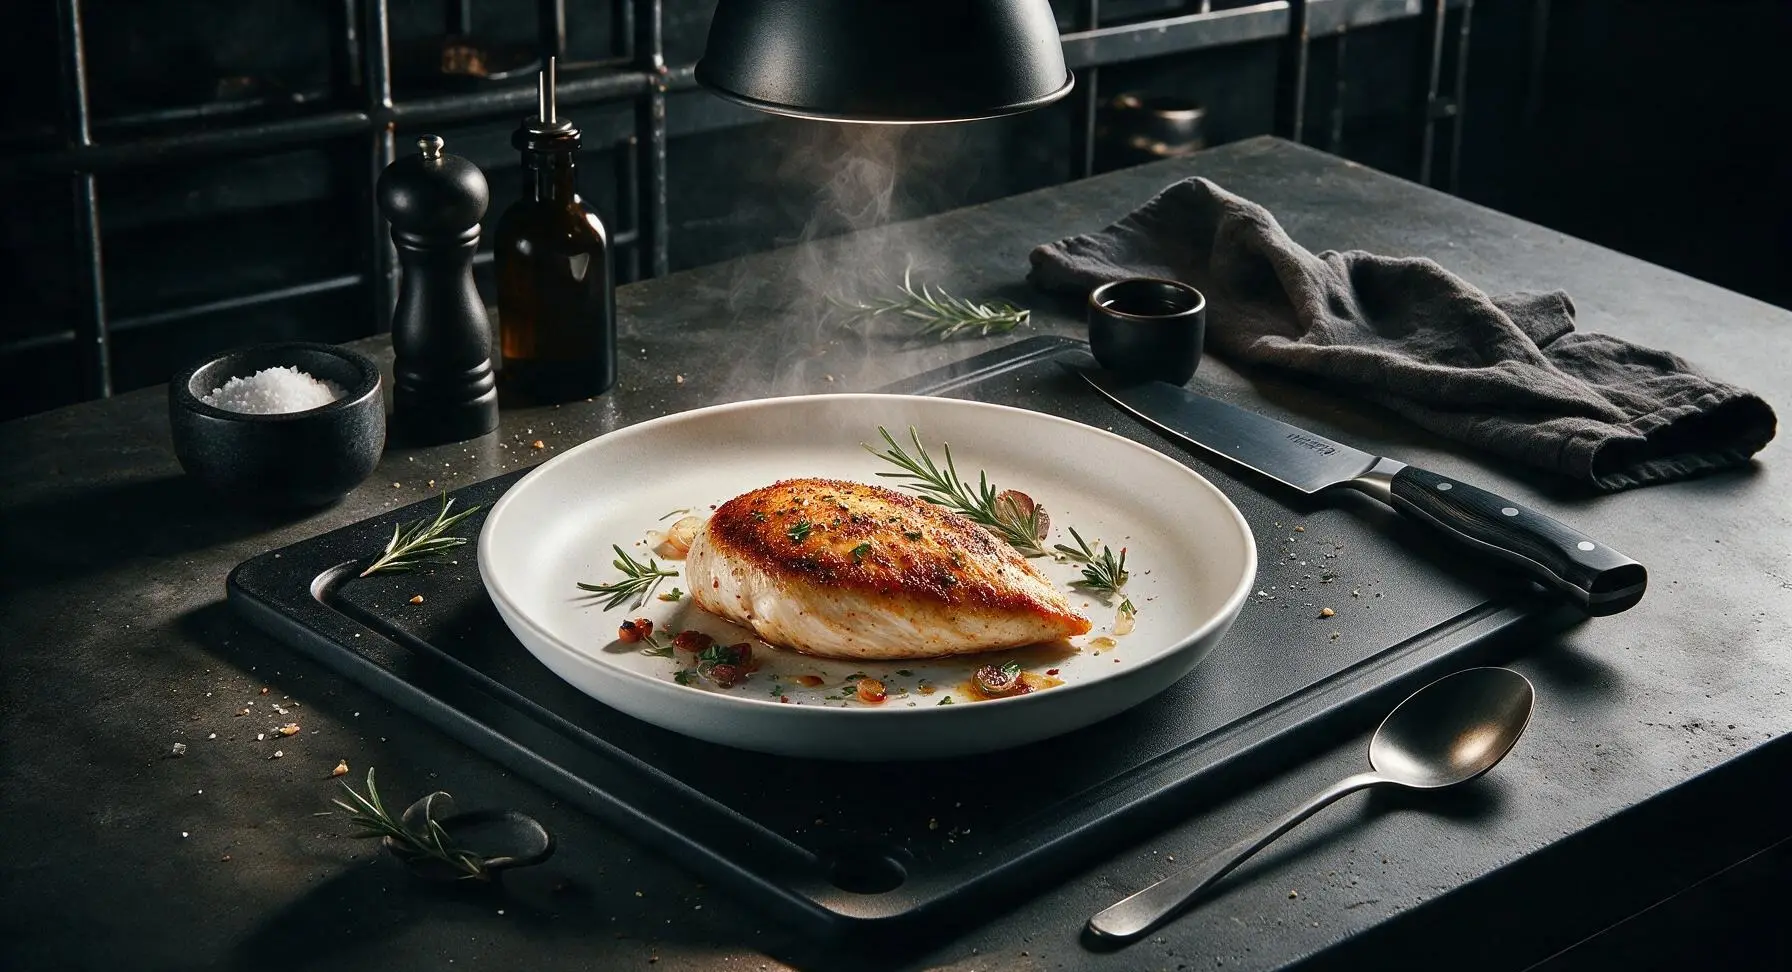
⏱️ cook time 18 minutes
🍽️ servings 4
⚡ Difficulty easy

intro

Juicy, golden-seared chicken breast made fast in the Ninja Foodi, with a tender, never-dry interior and crisp flavorful crust, perfect for low-fuss weeknight meals.

Ingredients
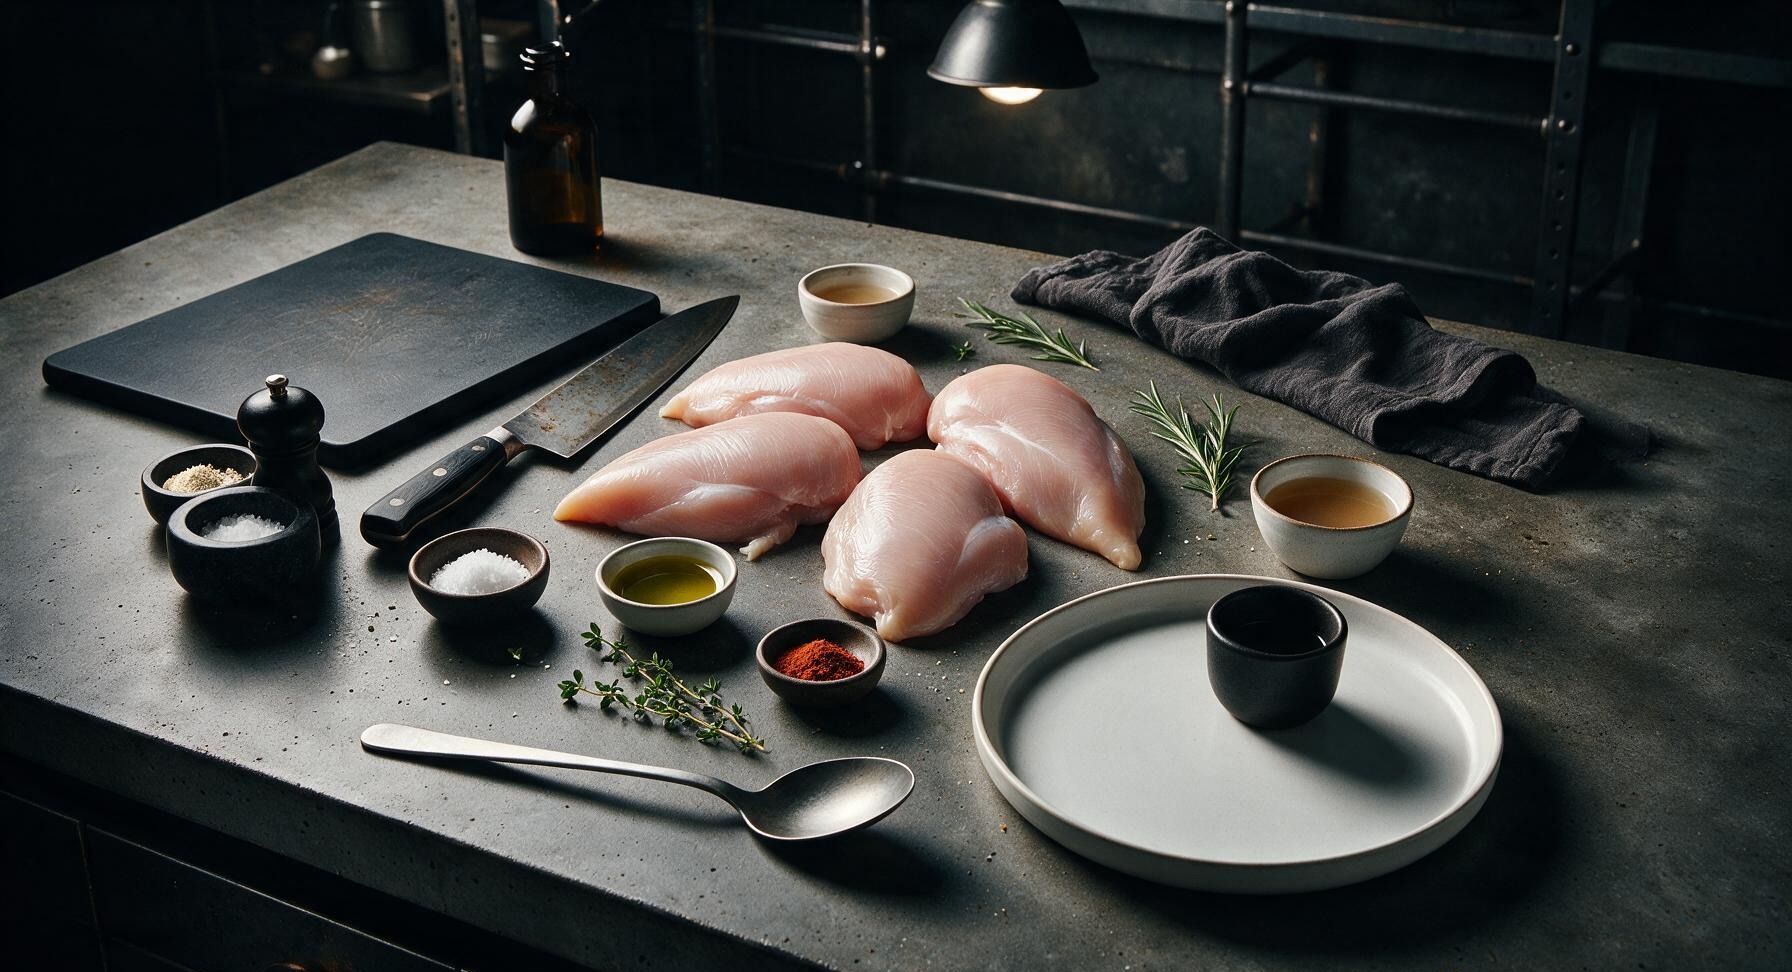
Boneless, skinless chicken breasts 4 pieces (600g total, ~150g each)
Extra-virgin olive oil 1 tablespoon
Kosher salt 1 teaspoon
Freshly ground black pepper ½ teaspoon
Garlic powder ½ teaspoon
Smoked paprika ¼ teaspoon
Fresh thyme 3 sprigs (plus extra for garnish)
Low-sodium chicken broth ¼ cup

Steps

1

Prep and Season Chicken

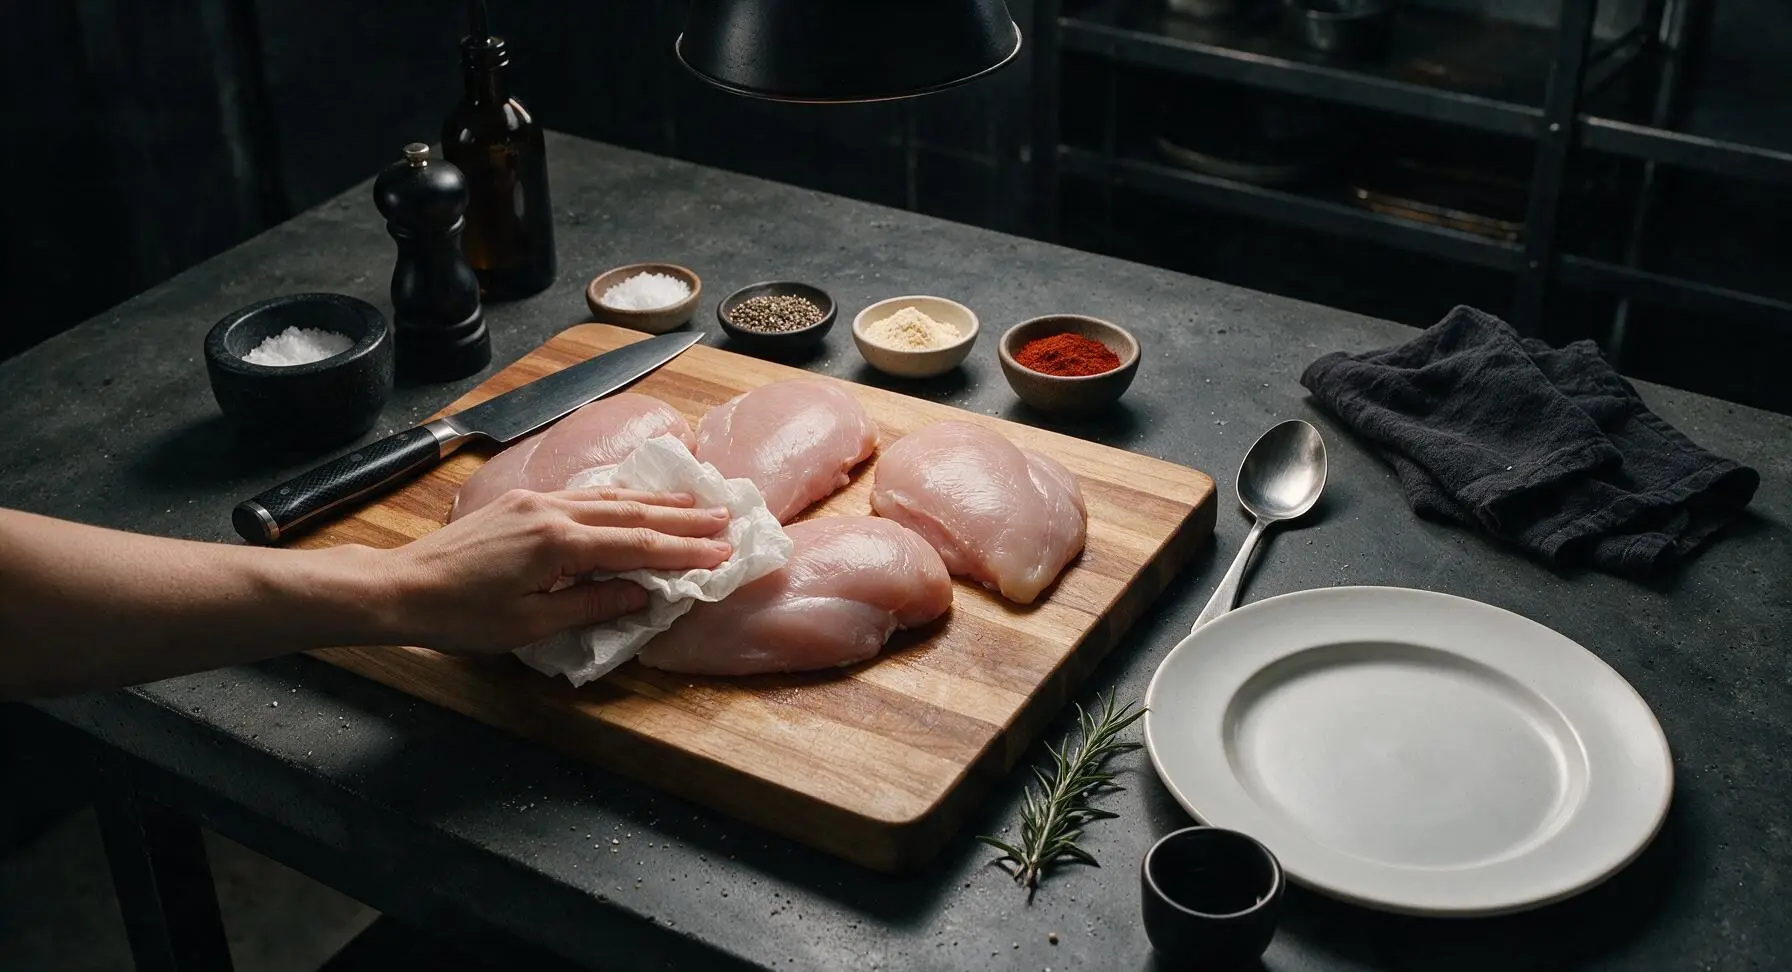
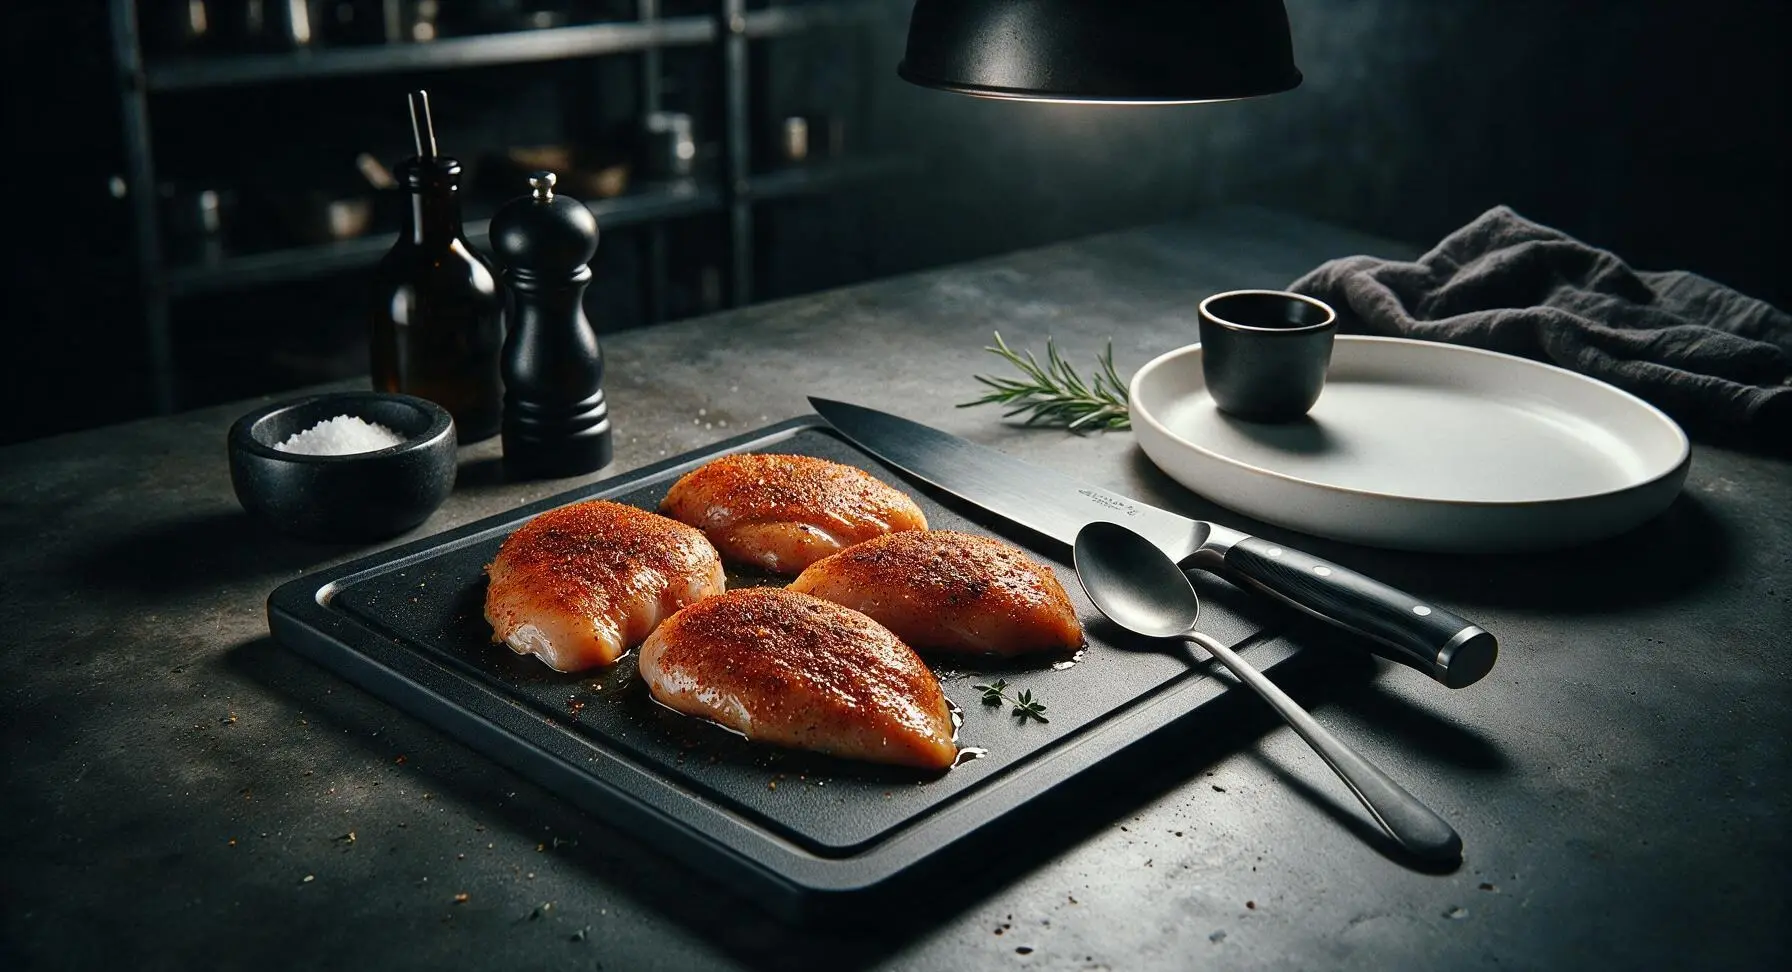
Place the four boneless, skinless chicken breasts on the honey maple cutting board. Pat all surfaces completely dry with paper towels (discard used towels off-frame). Drizzle ½ tablespoon of olive oil over the chicken, then sprinkle evenly with 1 teaspoon kosher salt, ½ teaspoon freshly ground black pepper, ½ teaspoon garlic powder, and ¼ teaspoon smoked paprika. Rub the seasoning into all sides of the breasts to create a thin, even coating, with no unseasoned pale patches remaining on the chicken surface.
Step 1
step1:Prep and Season Chicken
Step 1
step1:Prep and Season Chicken
2

Preheat for Searing

Select the 'Sear/Sauté' function on the Ninja Foodi set to high heat, and allow the empty inner pot to preheat for 2 minutes. Test the heat by sprinkling a single drop of water into the pot: the pot is ready when the drop dances across the surface and evaporates in 1-2 seconds. Add the remaining ½ tablespoon olive oil to the pot, swirling to coat the bottom evenly.
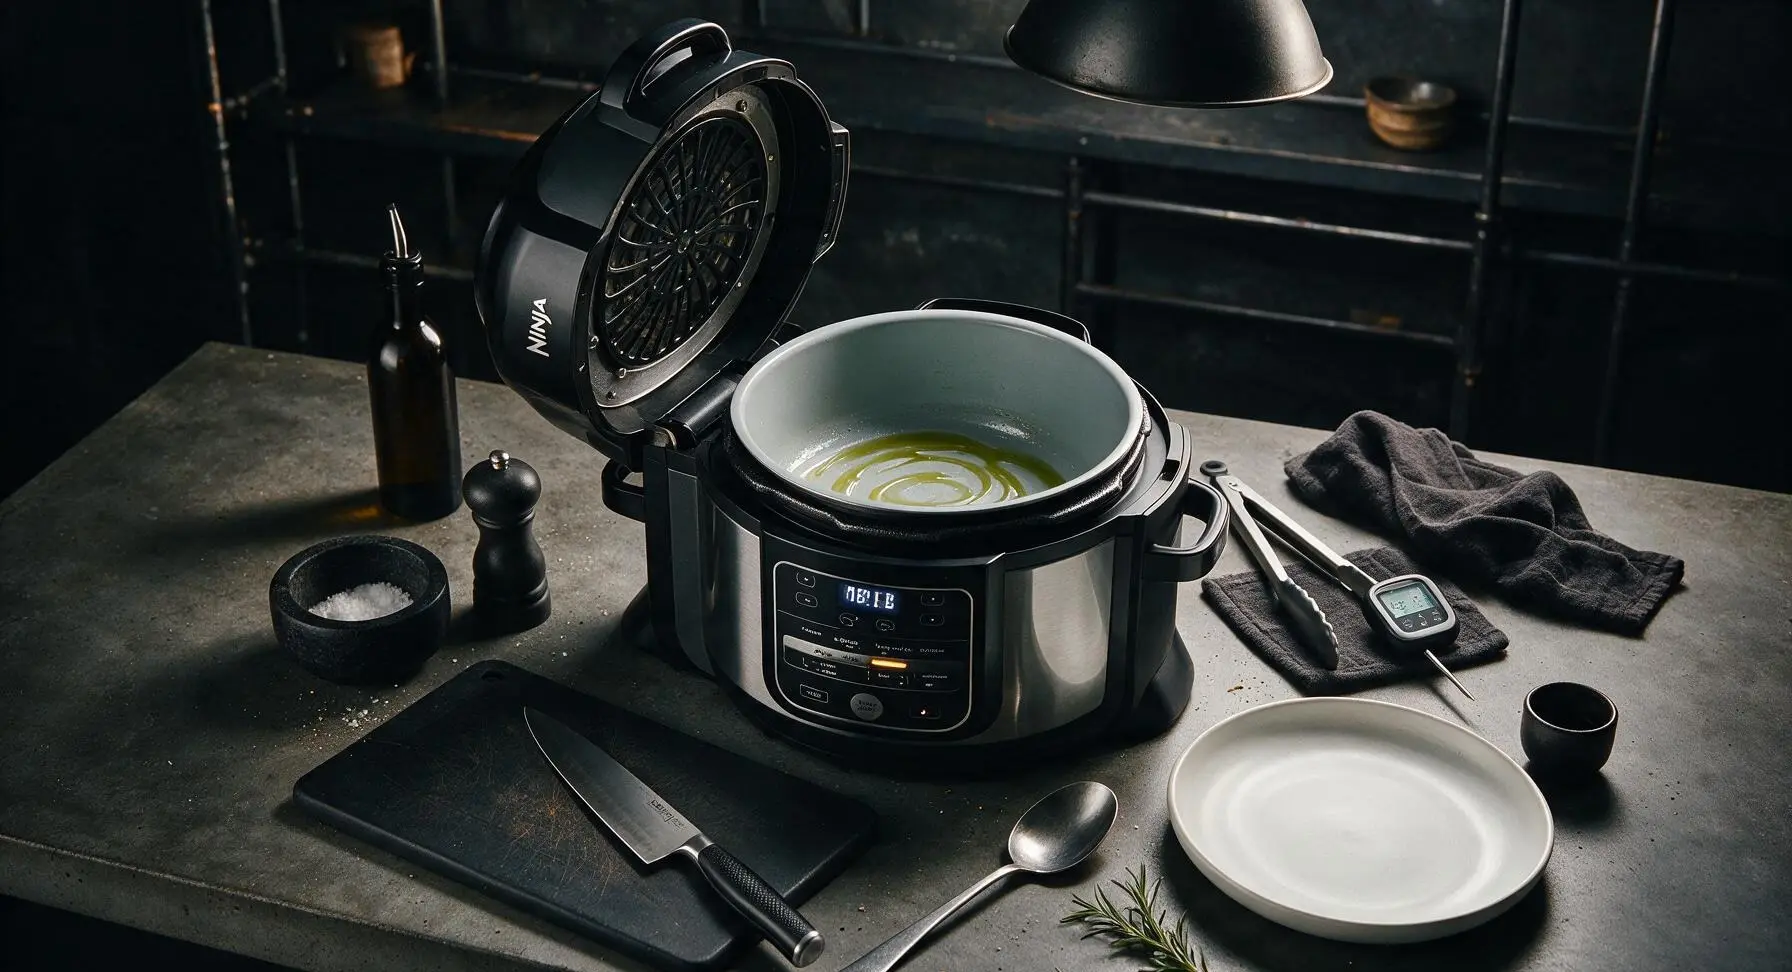
Step 2
step2:Preheat for Searing
3

Sear Chicken Surfaces

Use the silicone-tipped stainless steel tongs to carefully place the seasoned chicken breasts in a single layer in the hot oiled pot, working in two batches if needed to avoid overcrowding. Sear the first side for 3 full minutes without moving the chicken, until a deep golden-brown crisp crust forms. Flip each breast with the tongs and sear the second side for 2 additional minutes. The seared surface should be deep golden, not pale gray, and release easily from the pot without sticking.
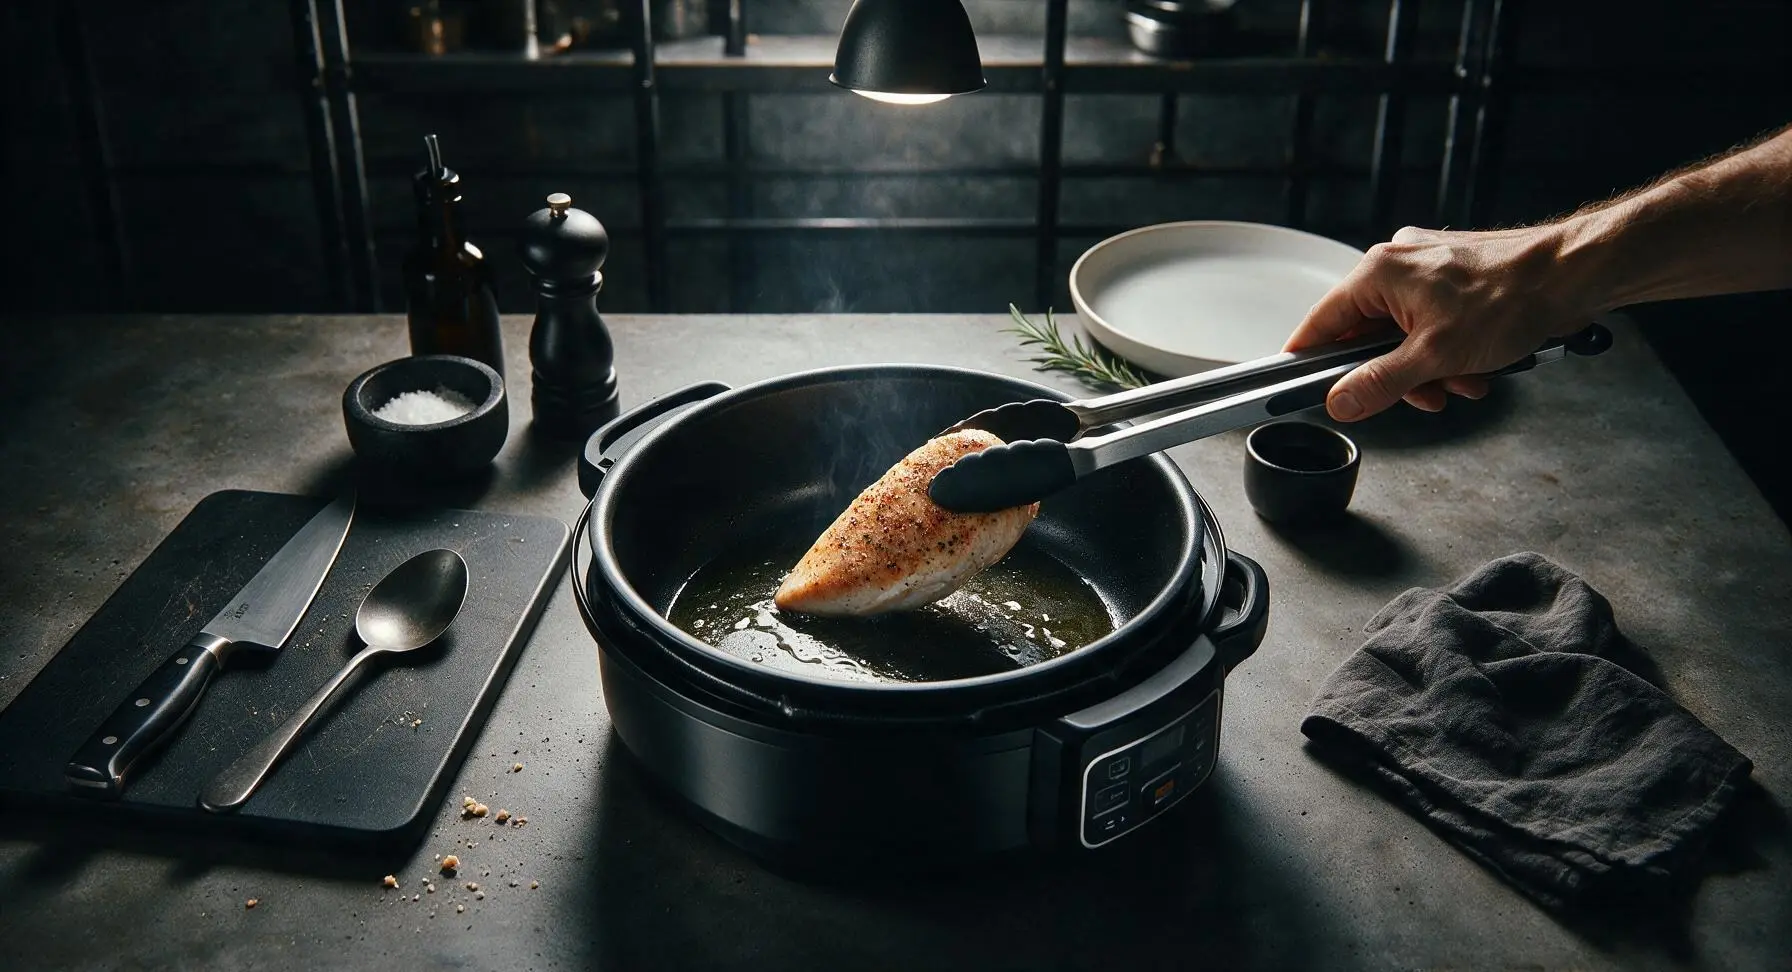
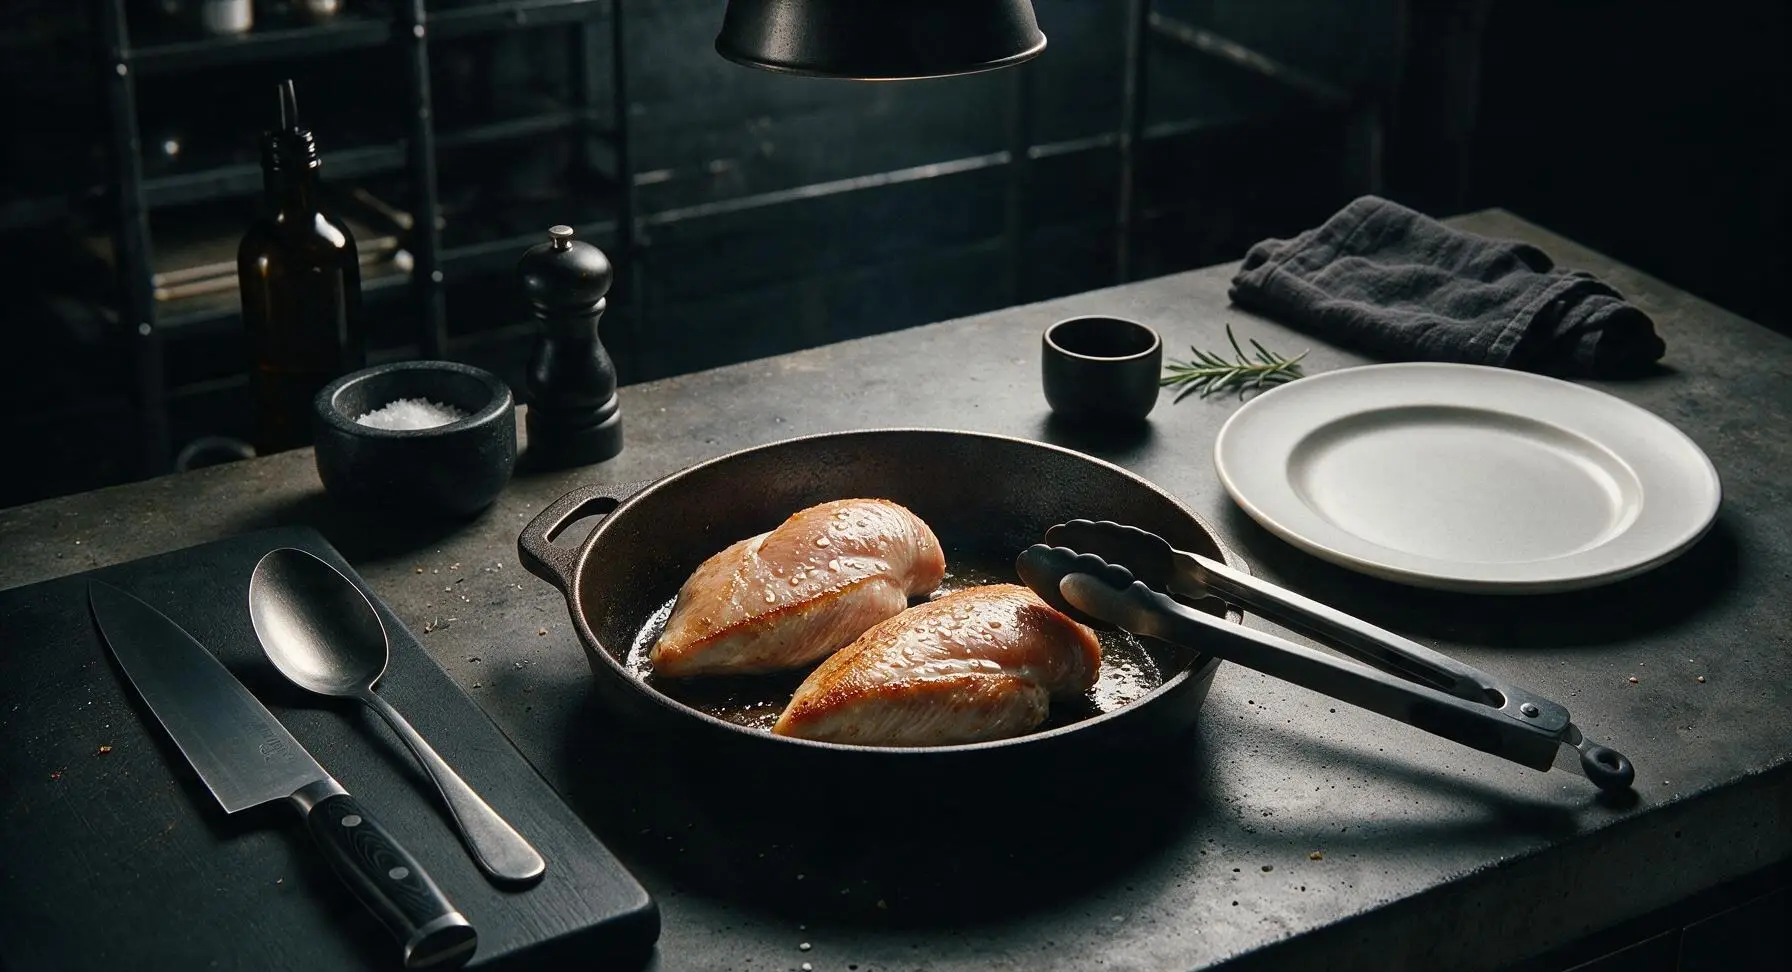
Step 3
step3:Sear Chicken Surfaces
Step 3
step3:Sear Chicken Surfaces
4

Add Broth and Herbs

Once both sides of all chicken breasts are seared, pour the ¼ cup low-sodium chicken broth into the inner pot. Use the tip of the tongs to gently scrape any browned fond bits from the bottom of the pot, mixing them into the broth to prevent burn notices during pressure cooking. Tuck 2 fresh thyme sprigs into the broth around the chicken, ensuring no chicken is pressed firmly against the pot bottom.
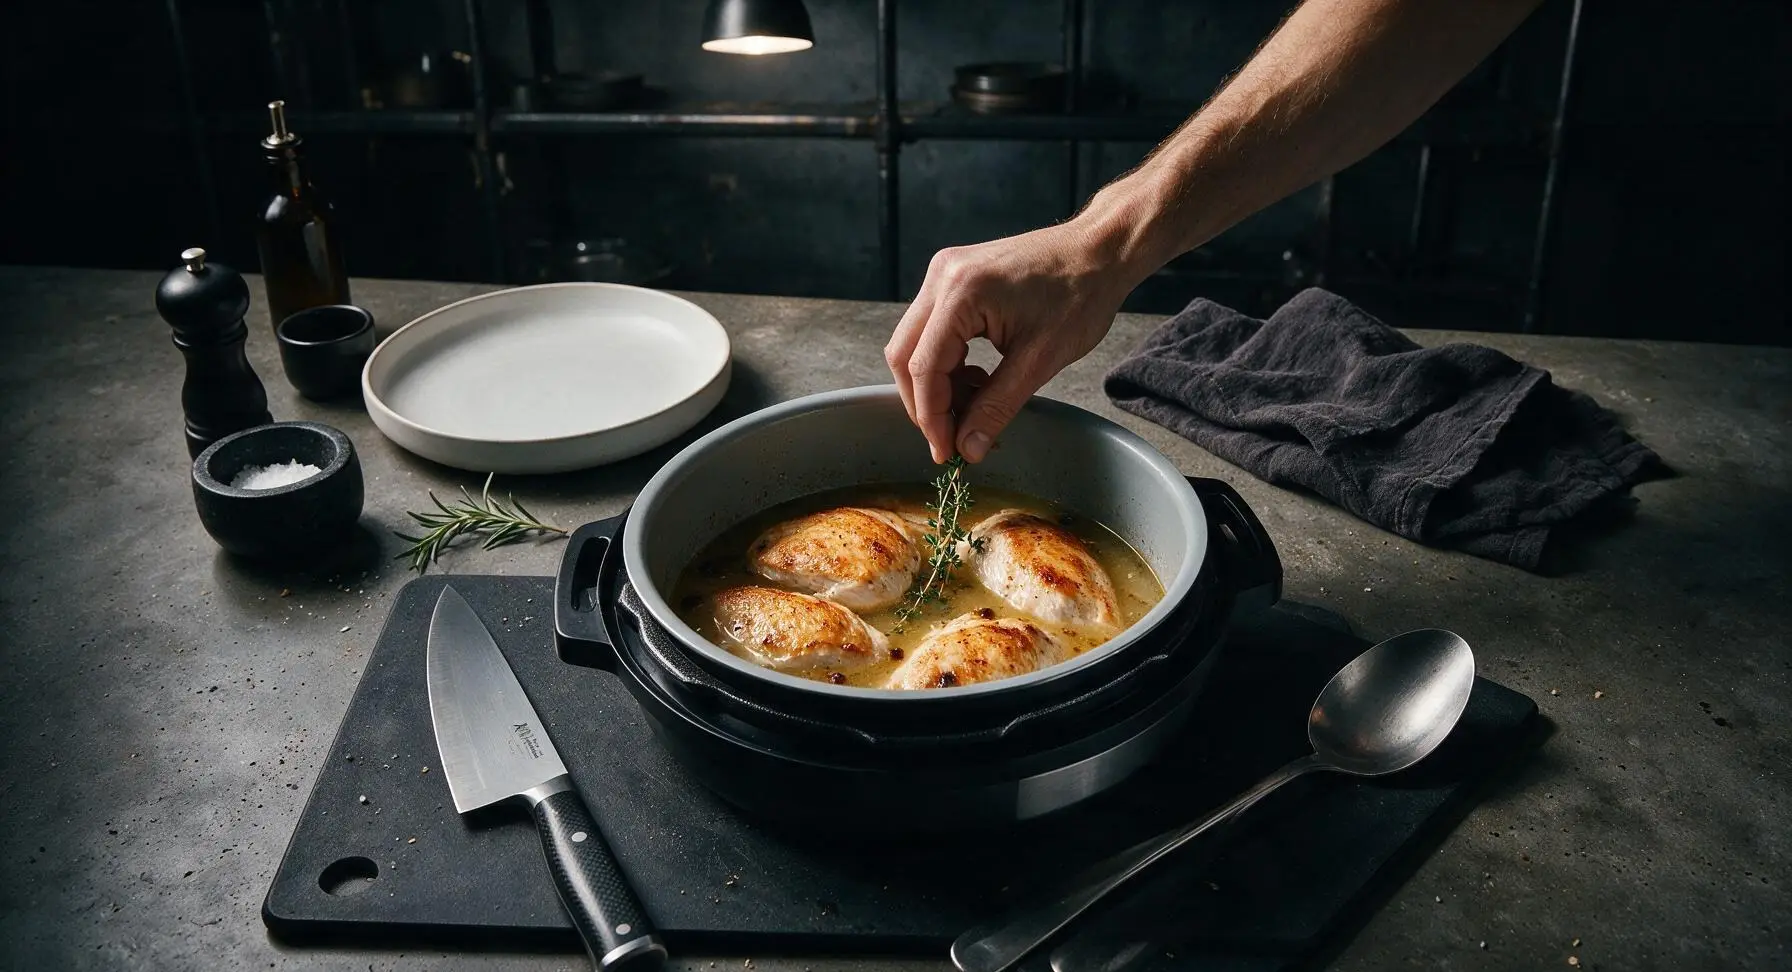
Step 4
step4:Add Broth and Herbs
5

Pressure Cook Chicken

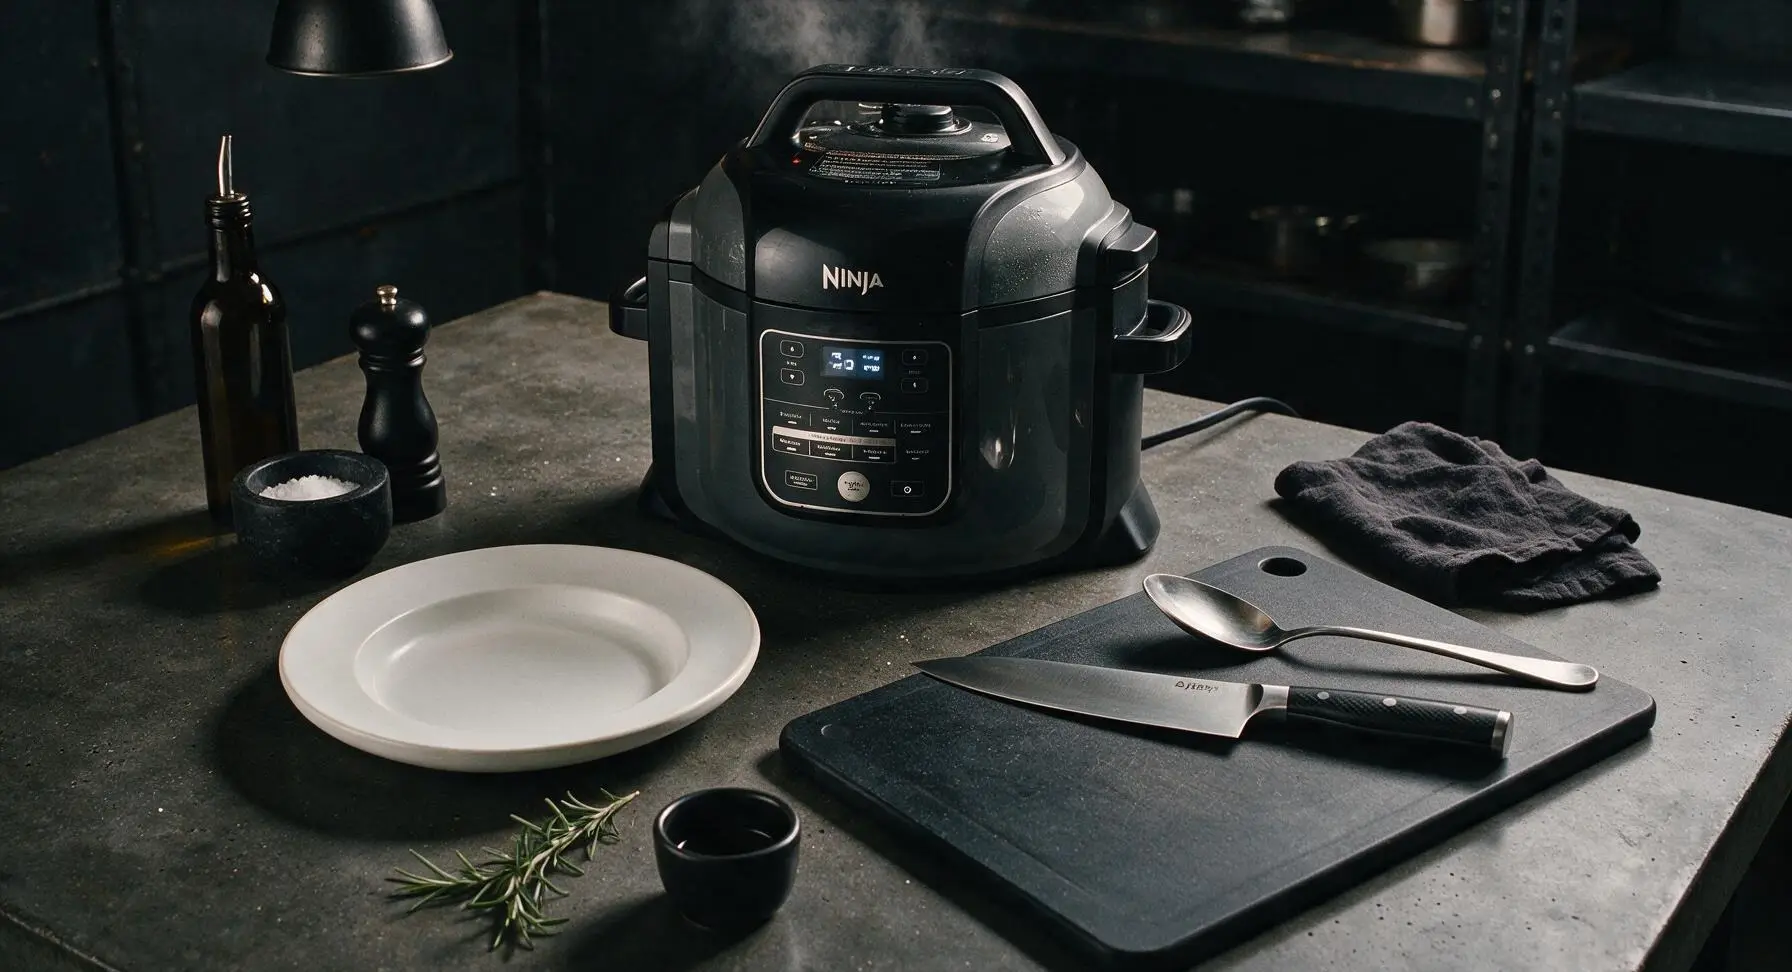
Close and lock the Ninja Foodi pressure lid, turning the pressure release valve to the fully sealed 'Seal' position. Select the 'Pressure Cook' function on high pressure, and set the timer for 5 minutes. The pot will take 3-4 minutes to build full pressure before the countdown timer activates; avoid opening the lid during this process.
Step 5
step5:Pressure Cook Chicken
6

Release Pressure Safely

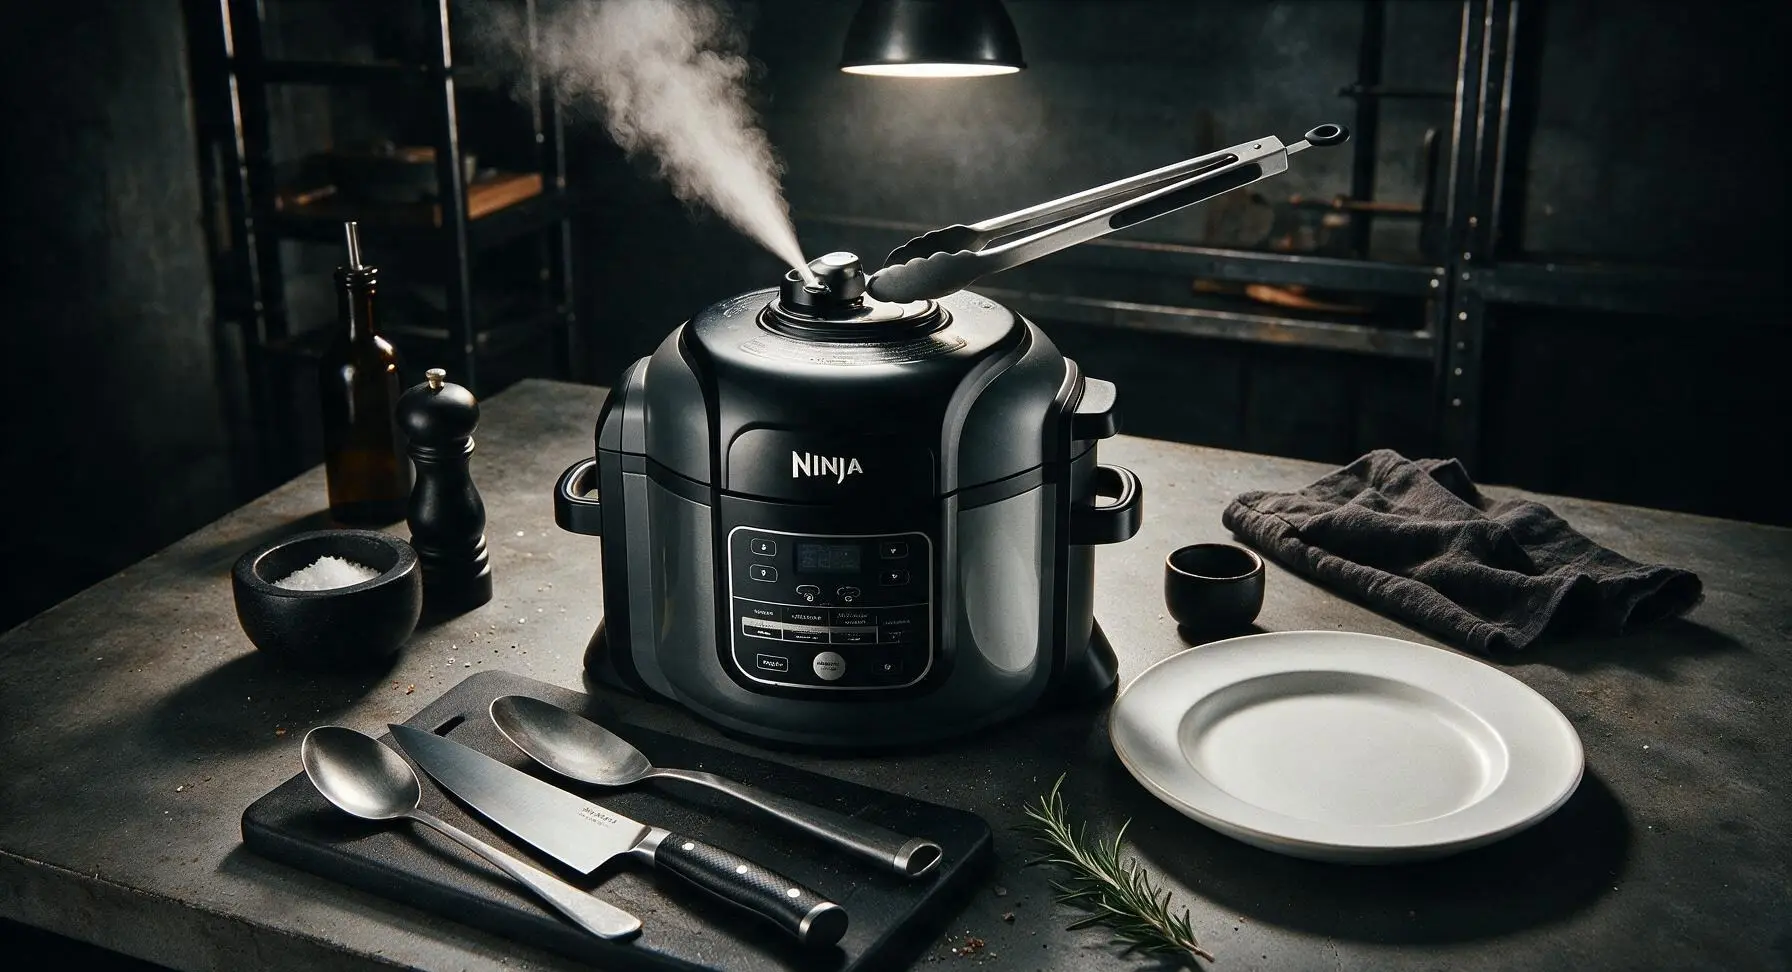
When the 5-minute pressure cook timer ends, allow the pot to release pressure naturally for 5 full minutes—do not touch the release valve during this time, as early forced release will pull moisture from the chicken and cause dry meat. After 5 minutes, use the silicone-tipped end of the tongs to carefully turn the pressure release valve to the 'Vent' position, keeping your hands and face clear of the hot steam jet, until all remaining pressure escapes and the silver float valve drops fully to indicate the lid is safe to unlock.
Step 6
step6:Release Pressure Safely
7

Check Internal Temperature

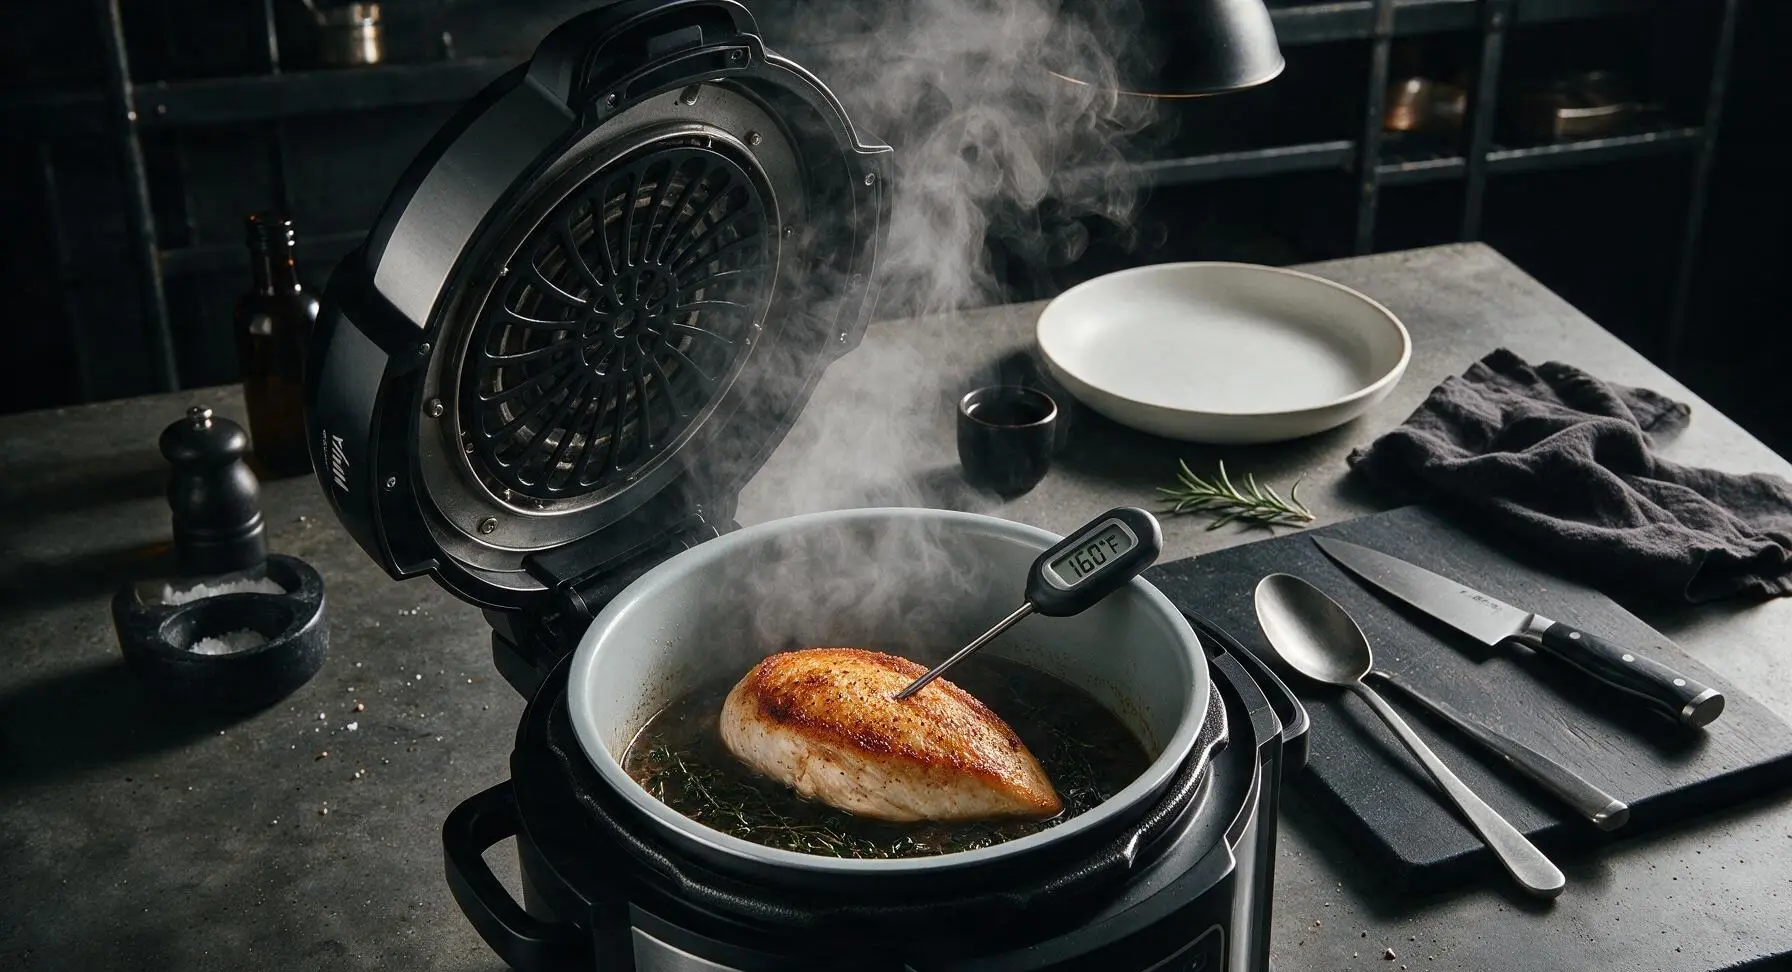
Carefully unlock and open the Ninja Foodi lid, angling it away from your face to avoid burns from escaping steam. Insert the instant-read meat thermometer into the thickest part of the largest chicken breast, taking care not to touch the metal pot bottom. The chicken is perfectly cooked when the thermometer reads 160°F (71°C); residual heat will raise the internal temperature to the food-safe 165°F (74°C) during resting.
Step 7
step7:Check Internal Temperature
8

Rest, Slice, and Serve

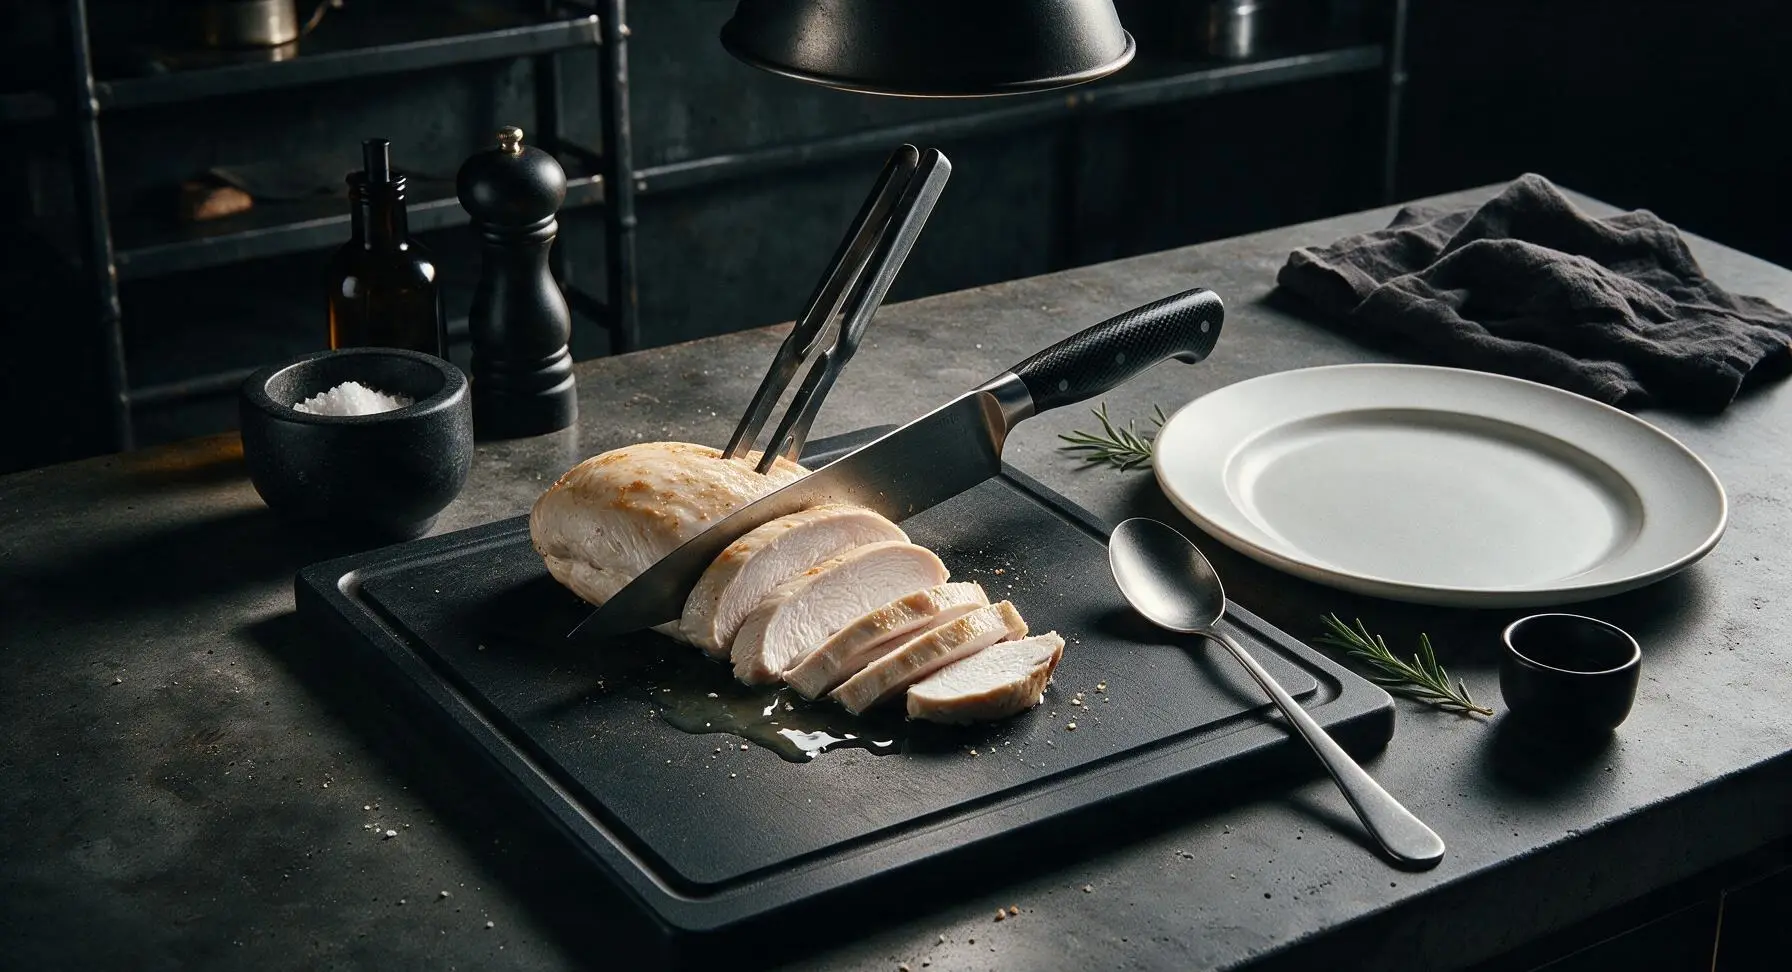
Use the tongs to transfer all cooked chicken breasts to the reserved matte warm white ceramic dinner plate. Loosely tent the chicken with a small sheet of aluminum foil, and allow it to rest for 3 full minutes to let muscle fibers relax and juices redistribute. After resting, transfer the chicken back to the maple cutting board, and slice against the grain into ½-inch thick slices. Return sliced chicken to the plate, garnish with fresh thyme leaves, and serve immediately.
Step 8
step8:Rest, Slice, and Serve

Tips

1.Always pat chicken completely dry before seasoning: excess surface moisture prevents a crisp, golden sear from forming and causes the chicken to steam instead of developing a flavorful browned crust in the hot pot.
2.Stick to the 5-minute natural pressure release: quick-releasing all pressure immediately after cooking forces moisture out of the chicken muscle fibers, leading to dry, rubbery chicken even if cooked to the correct internal temperature.
3.Avoid overcrowding the pot when searing: if using extra-large chicken breasts (over 170g each), sear them in two batches. Overcrowding drops the pot temperature too quickly, leading to pale, steamed chicken without the rich, savory seared flavor.


✨ You May Also Like

Main Course
🍜 United Kingdom

A showstopping classic of tender seared beef, savory mushroom duxelles, and crisp prosciutto wrapped in flaky golden puff pastry, baked to juicy perfection.

⏱️ 2 hours 1Main Course ★ 4.7
Main Course
🍜 India

Tender charred marinated chicken simmered in a rich, spiced creamy tomato sauce, this iconic Anglo-Indian curry pairs perfectly with basmati rice or warm naan.

⏱️ 50 minuteMain Course ★ 4.6
Main Course
🍜 Thailand

Classic tangy, sweet, and savory Thai stir-fried rice noodles with shrimp, tofu, and crunchy garnishes, balancing all five core Thai flavor profiles.

⏱️ 30 minuteMain Course ★ 4.5
Main Course
🍜 United Kingdom

Crispy golden beer-battered cod and fluffy double-fried chips, served with tangy tartar sauce and malt vinegar: the timeless, beloved British pub comfort classic.

⏱️ 45 minuteMain Course ★ 4.7
Main Course
🍜 Mexico

Smoky, chile-marinated pork tacos with caramelized pineapple, fresh cilantro, and lime: a beloved classic Mexican street food perfect for casual summer gatherings.

⏱️ 1 hour 45Main Course ★ 4.8
Main Course
🍜 United States

Crunchy Fritos corn chips layered with savory beef chili and melted cheddar, topped with cool, zesty fixings for a beloved, cozy Tex-Mex comfort food.

⏱️ 35 minuteMain Course ★ 4.8

ninja foodi chicken breast:Frequently Asked Questions

1.How do I keep my chicken breast from turning out dry in the Ninja Foodi? ▾
The #1 trick is to pull chicken the second its thickest part hits 160°F on an instant-read thermometer—carryover cooking will bring it to the food-safe 165°F as it rests. Pat breasts completely dry before seasoning, don’t overcrowd the pot, and let it rest 5 full minutes after cooking so juices don’t run out when you slice.
2.Do I need to pound my chicken breasts to an even thickness before cooking? ▾
Absolutely, for consistent, even cooking! Uneven breasts will have dry, overcooked thin edges long before the thick center is done. Use a meat mallet or heavy skillet to pound the thick end to a uniform 1-inch thickness all over—this takes 2 minutes max, eliminates raw spots, and helps seasoning stick evenly.
3.Can I use frozen chicken breasts for this recipe instead of thawed? ▾
You can, but you’ll get a far juicier, crispier golden crust with fully thawed chicken. If you’re in a pinch, add 3-4 minutes to the high pressure cook time, skip the initial sear until after pressure releases, and double-check internal temp hits 160°F before resting. Expect a softer, less crisp crust with frozen chicken.
4.What Ninja Foodi settings do I use to get that crisp, golden crust? ▾
Start with the high ‘Sear/Sauté’ setting, preheated for 2 minutes with your extra-virgin olive oil. Lay seasoned, dry chicken breasts in a single layer and sear 2-3 minutes per side until deep golden, then switch to high ‘Pressure Cook’ for 3-4 minutes, followed by a quick pressure release. That initial sear builds that craveable, flavorful crust.
5.How much kosher salt should I use for the best, well-seasoned flavor? ▾
For four average 6-oz boneless, skinless breasts, use 1 tsp of kosher salt total, split evenly across both sides of the chicken. If you only have finer table salt on hand, cut that amount in half to avoid over-salting. Season right before searing—don’t salt more than 15 minutes ahead unless you’re doing a longer dry brine.
6.Why won’t my chicken develop a crispy crust when I cook it? ▾
9 times out of 10, this happens because you didn’t pat the chicken completely dry with paper towels before seasoning and searing. Any surface moisture will steam instead of sear, leaving you with a pale, soft crust. Also make sure your oil is fully preheated before adding chicken, and don’t move the breasts for the first 2 minutes of searing.
7.Can I add extra seasonings beyond the garlic powder, salt, and pepper? ▾
Absolutely! This base recipe of garlic powder, salt, and black pepper is super versatile. Try adding ½ tsp of smoked paprika, dried oregano, or onion powder for a warm, savory kick, or a pinch of cayenne for subtle heat. Just skip heavy, wet seasonings like barbecue sauce before searing—those burn quickly and ruin the crisp crust; add those at the very end if you like.
8.How long do I pressure cook the chicken for perfectly juicy results? ▾
For 1-inch thick, 6-oz boneless, skinless breasts, cook on high pressure for exactly 3 minutes, then do an immediate quick pressure release as soon as the timer goes off. If your breasts are closer to 8 oz and 1.25 inches thick, bump that to 4 minutes high pressure before quick releasing. Any longer and you’ll get dry, rubbery chicken.
9.Do I need to add extra liquid to the pot before pressure cooking? ▾
Yes, you need ½ cup of water or low-sodium chicken broth in the bottom of the inner pot before pressure cooking—this is required to build the steam that creates pressure. The olive oil used for searing won’t be enough on its own, and skipping the liquid will trigger the Foodi’s frustrating burn error before the chicken finishes cooking.
10.How long will leftover cooked chicken breast stay fresh in the fridge? ▾
Stored in a sealed airtight container, these cooked chicken breasts will stay fresh in the fridge for up to 4 days, making them perfect for low-fuss weeknight meal prep. Slice them for salads, wraps, or grain bowls all week. Reheat in the Foodi’s air fry setting at 350°F for 3 minutes to keep the crust crisp; freezing isn’t recommended, as texture turns mushy when thawed.

Comments (16)

2 days ago

OMG y’all, this recipe is a total game changer! I’ve been struggling to make chicken breast that isn’t dry and rubbery in my Ninja Foodi forever, and this came out perfectly juicy in exactly 18 minutes like it said. I seasoned it with a little extra paprika for my family dinner last night and even my super picky 7 year old asked for seconds. 10/10, adding this to my weekly meal prep rotation for sure!

yesterday

Wait did you use the pressure cook setting first or air crisp? I’ve been messing up the order every time and mine still comes out dry!

yesterday

So glad you and your family loved it, Jess! Quick tip for TexasMomof3: we recommend pressure cooking on high for 10 minutes first, then a quick 8 minute air crisp to get that perfect golden outside without drying out the inside. Works every time!

1 week ago

SO good. I made this for our neighborhood potluck last weekend and people were asking me for the recipe left and right. Didn’t even need to marinate it for long, just threw on the basic seasoning from the recipe and it was packed with flavor. Way easier than firing up the grill for a weeknight dinner.

5 days ago

Love hearing it was a potluck hit! This recipe is perfect for feeding a crowd because it’s so low-fuss, no babysitting the grill required.

5 minutes ago

Super easy, perfect cook time! I was worried 18 minutes would be too short but the chicken hit 165 internal temp exactly when the timer went off. Juicy, no weird chewy bits, great for slicing up on salads for lunch all week.

3 days ago

Took me two tries to get the sear right the first time I made it, but the second batch? *Chef’s kiss.* I added a little garlic powder and parmesan to the seasoning mix and it slapped. Will be making this every time I need a quick protein source after the gym.

2 days ago

The parmesan addition sounds insane! I’m definitely trying that next batch, I usually just stick to salt and pepper and it’s good but needs a little extra oomph.

2 weeks ago

Wait this is the juiciest chicken breast I’ve ever made in any appliance, no cap. I cook for 4 every Sunday for the week and I used to have to douse my chicken in hot sauce to make it edible because it was so dry. This recipe? No sauce needed! My husband even thought I picked it up from the grocery store deli at first lmao.

1 week ago

Wait how long does this stay good in the fridge? I’m trying to prep for my dorm week and don’t want it to go bad!

1 week ago

So happy this is working for your meal prep routine! Stored in an airtight container, this chicken stays fresh in the fridge for up to 4 days – perfect for quick lunches or easy dinners all week.

yesterday

I don’t even like chicken breast that much usually, I’m more of a thigh girl, but this was so tender I didn’t even miss the dark meat. Made it before a big day hike yesterday and it kept me full for hours. 10/10, so easy even someone who burns toast could make this (aka me).

2 hours ago

That’s the best compliment we could get! We designed this recipe to be totally foolproof even for total cooking newbies, so we’re stoked it worked out for your hike.

30 minutes ago

Made this last night for date night, served it with roasted broccoli and mashed cauliflower and my partner was convinced I spent an hour cooking. Little does he know it took 18 minutes total and I barely had to clean anything. Obsessed.

5 days ago

Wait a second, why did I spend money on fancy chicken brines and marinades for years when this recipe exists? I followed the directions exactly, no brining, no fancy prep, and the chicken was juicier than any brined breast I’ve ever made. Game. Changer.

3 days ago

Right?! I was a total brine stan before this too, now I just throw this in the Foodi while I make my sides and it’s done before I know it.

3 days ago

We love cutting out unnecessary steps! The high pressure cooking locks in all that natural juice so you don’t need to wait hours for a brine to work. So glad you’re loving it!

1 week ago

My kids loved it! Let’s be real, getting two 4 year olds to eat protein without a fight is basically a miracle, and they both ate a full serving and asked for more. I added a little honey to the seasoning to make it slightly sweet for them and it was perfect. Will be on our weekly dinner rotation from now on.

5 days ago

The honey trick is genius! My boys are super picky about savory food too, I’m definitely going to add that next time I make this.

2 hours ago

Solid recipe, no notes. Cook time was spot on, chicken was juicy, clean up was a breeze because I just used the inner pot of the Foodi. Way better than pan searing which always makes a mess all over my stovetop.

3 days ago

Made this for my book club potluck a couple days ago and every single person asked for the recipe! I sliced it thin and served it with little slider buns and dipping sauces and it was gone in 10 minutes. Can’t believe how easy it was to make for a crowd.

2 days ago

Wait I was at that potluck! This was the chicken you brought?! I’ve been thinking about it for days, I need to make this ASAP for my family.

yesterday

Slider serving idea is brilliant, Patty! We love seeing people adapt this recipe for parties and gatherings, so happy it was a hit with your book club.

just now

Perfect easy recipe for a broke college kid with a Ninja Foodi. I didn’t have all the fancy seasonings, just used garlic salt, pepper, and a little paprika, and it still turned out so juicy. Way cheaper than buying takeout chicken every night.

5 days ago

I was skeptical because every Ninja Foodi chicken recipe I’ve tried before came out so dry I could barely choke it down, but this one delivered! The chicken was so juicy it was dripping when I cut into it. 18 minutes is no joke, I didn’t have to add any extra cook time at all.

3 days ago

We get that skepticism all the time! The mix of pressure cooking to lock in moisture then quick air crisp to get that nice outer texture makes all the difference. So glad you gave it a shot!

1 week ago

Okay, I have a confession: I overcooked chicken so badly last week that my smoke alarm went off. I was scared to even try another chicken recipe, but this was so easy and impossible to mess up! I set the timer exactly like the recipe said and it came out perfect. My roommate even said it’s better than the chicken from our favorite takeout spot down the street.

5 days ago

LOL I feel this, I set off my smoke alarm making frozen fries last week. If you didn’t mess this up I know I can do it too, adding it to my meal plan for next week!

5 days ago

We designed this recipe specifically to be impossible to overcook as long as you follow the timer, so it’s perfect for anyone who’s had a few kitchen mishaps! Can’t wait to hear how it turns out for you, Carl.

2 weeks ago

This is such a budget friendly win! Chicken breast is usually the cheapest protein at my grocery store but I avoided buying it because I could never make it taste good. Now I buy family packs every week, make this recipe, and save so much money on lunch during the work week.

2 days ago

I usually smoke chicken for hours to get it juicy, but when I don’t have time this is my new go-to. It’s not quite smoked level, but for 18 minutes? It’s insane how much flavor and juiciness you get. I rubbed it with a little BBQ seasoning before cooking and it tasted like summer.

yesterday

The BBQ seasoning rub idea is chef’s kiss! I did that last night with a little brown sugar in the rub and my family ate every last bite.



