
No-Knead Overnight Bread Rolls

title 1
No-Knead Overnight Bread Rolls
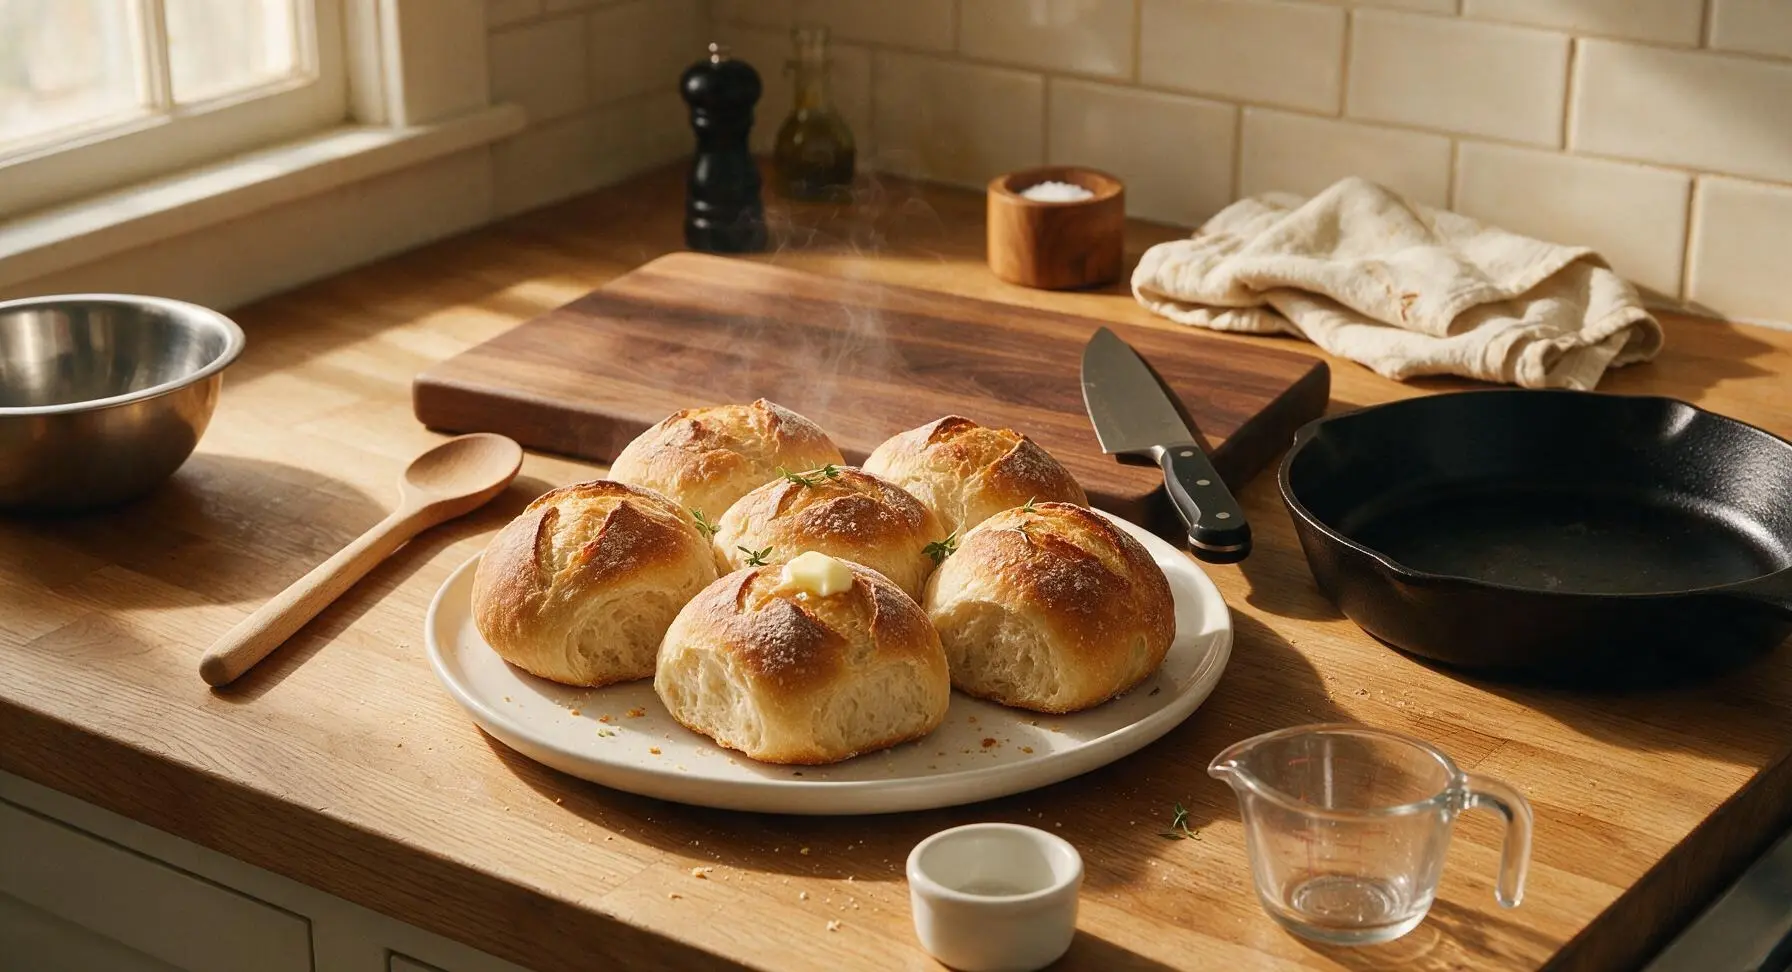
⏱️ cook time 22 minutes
🍽️ servings 8
⚡ Difficulty easy

intro

Soft, crusty golden rolls with a tender, airy crumb, made with zero kneading and slow overnight fermentation for deep, nutty wheat flavor. Perfect served warm with butter.

Ingredients
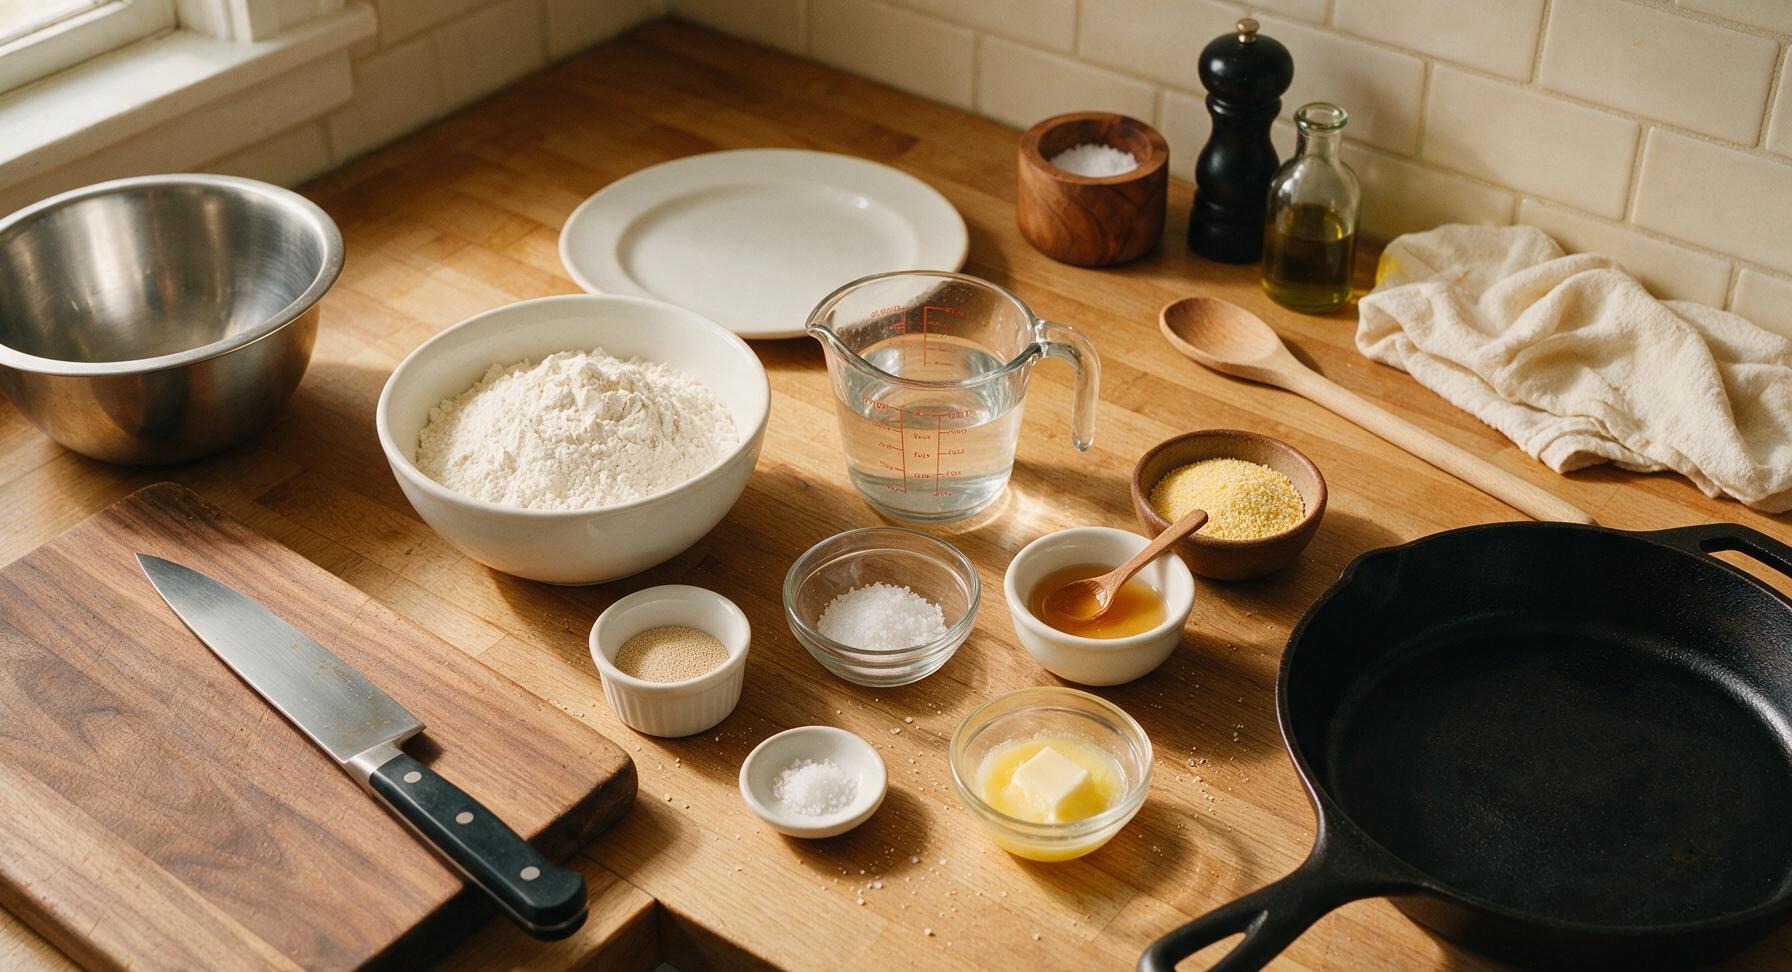
Bread flour 400g (about 3 1/4 cups)
Lukewarm filtered water 300ml (1 1/4 cups, 100°F/38°C)
Instant dry yeast 1/4 tsp
Fine sea salt 1.5 tsp
Raw honey 1 tsp
Cornmeal (for dusting) 1 tbsp
Unsalted butter (for topping, optional) 1 tbsp, melted
Flaky sea salt (for topping, optional) 1/4 tsp

Steps

1

Mix Dough Ingredients

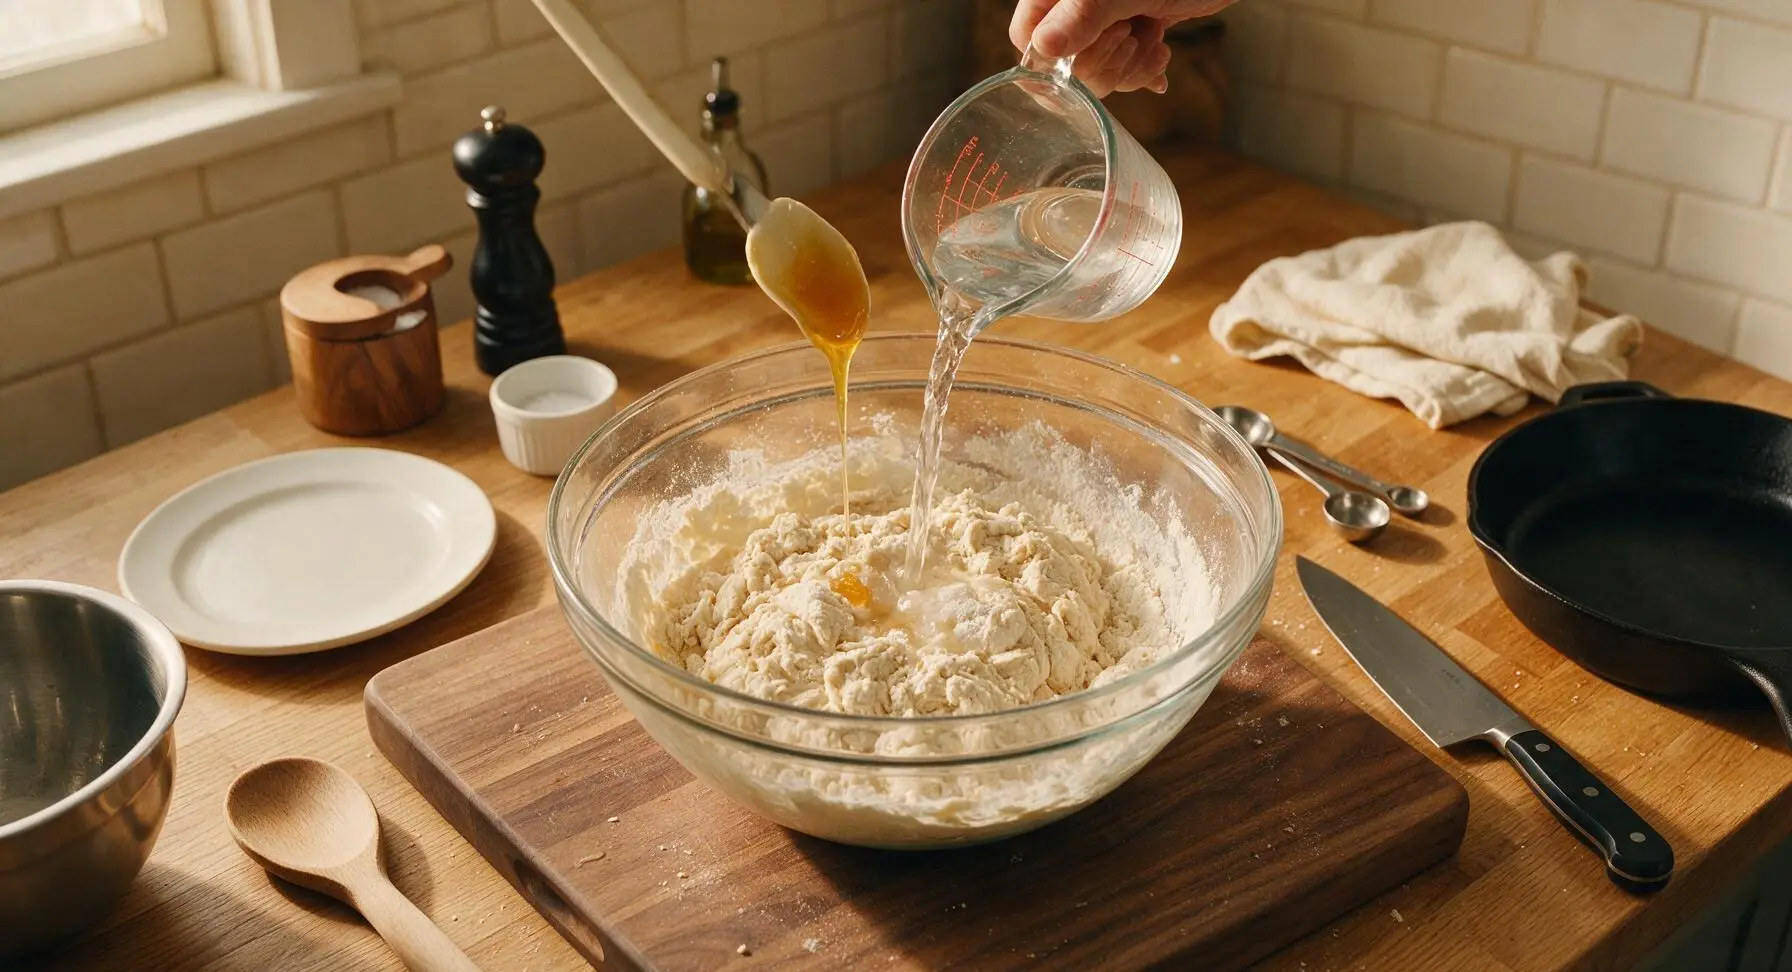
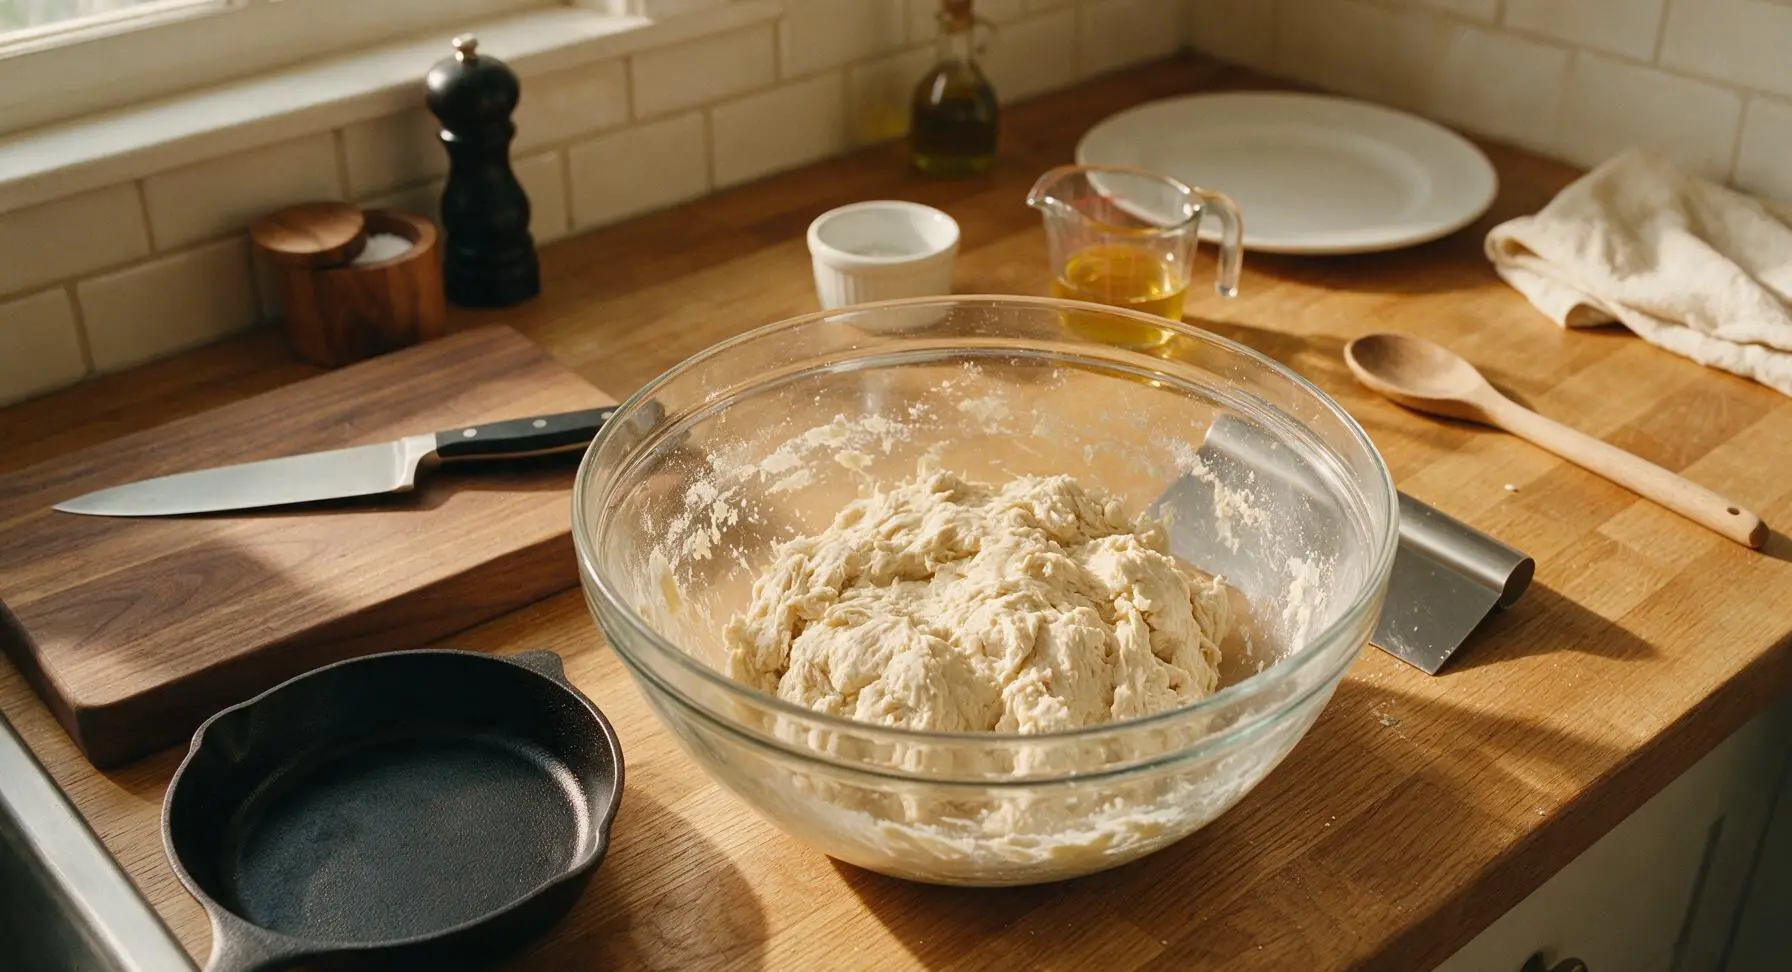
In the large 4L glass mixing bowl, combine 400g bread flour, 1/4 tsp instant yeast, and 1.5 tsp fine sea salt, stirring briefly with the dough scraper to evenly distribute. Add 1 tsp raw honey and 300ml lukewarm (100°F/38°C) water to the dry ingredients. Stir with the dough scraper until no dry flour remains, forming a shaggy, sticky, rough dough that pulls away from the bowl sides in clumps. Do not knead— the dough will look lumpy and uneven, which is completely normal.
Step 1
step1:Mix Dough Ingredients
Step 1
step1:Mix Dough Ingredients
2

Cover for Overnight Rise

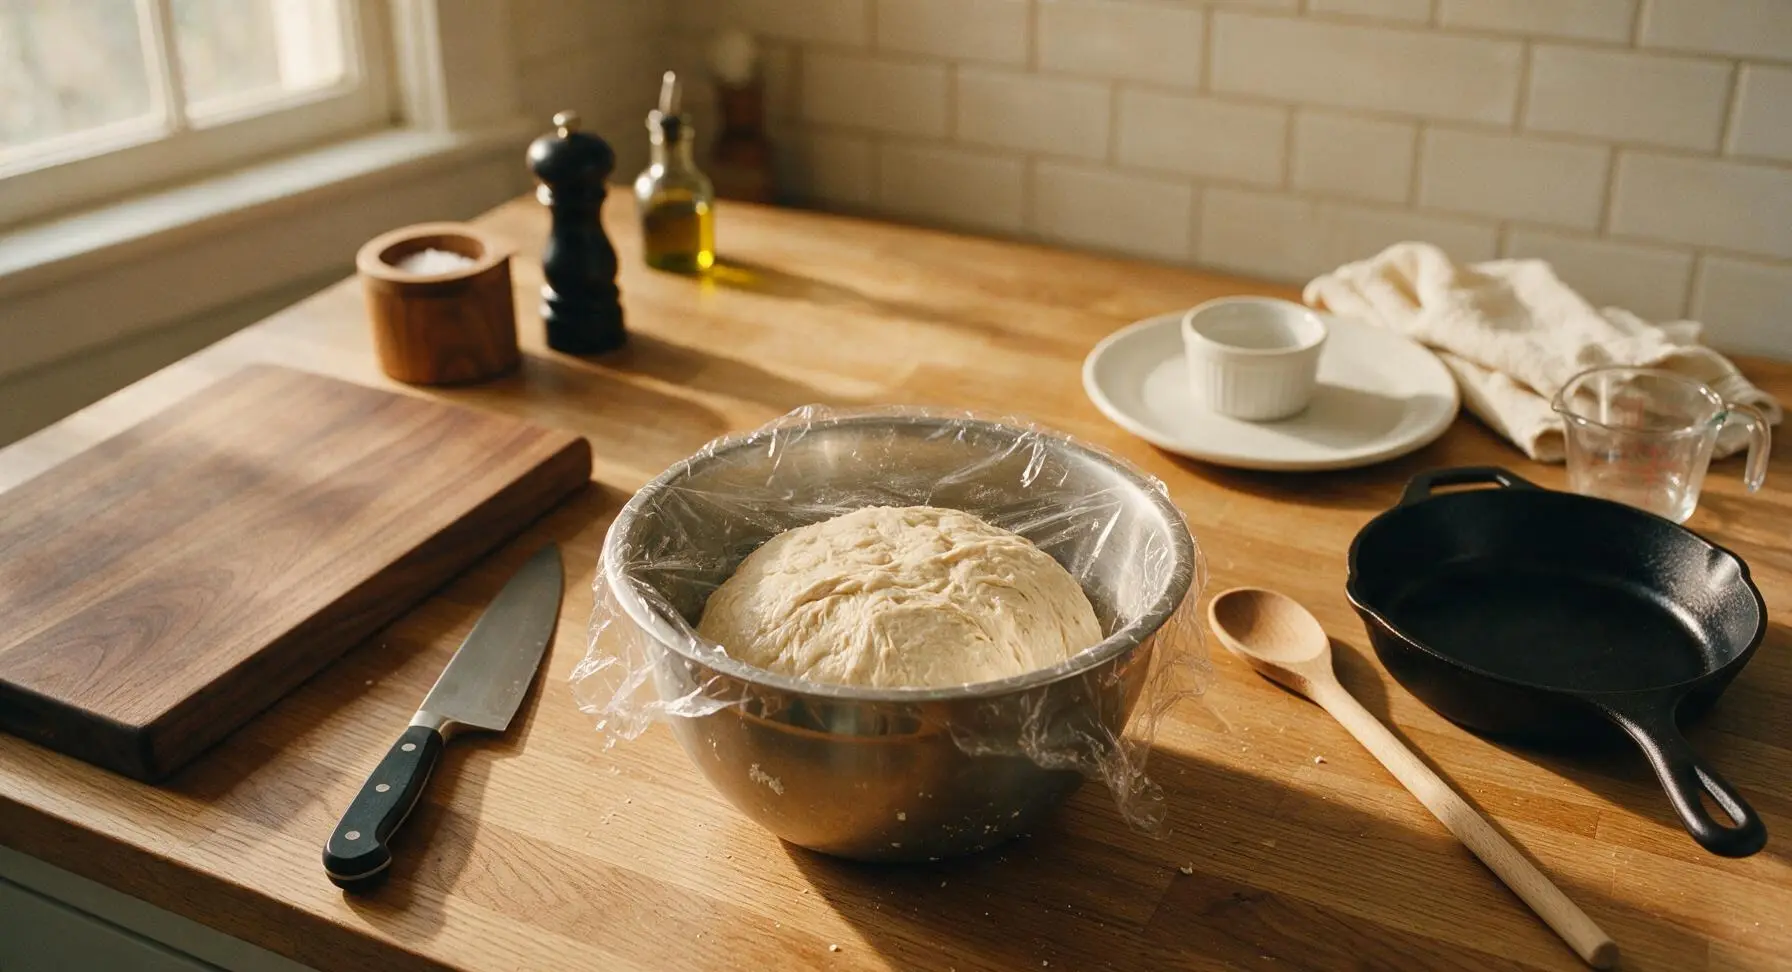
Tightly cover the mixing bowl with clear plastic wrap (pressed loosely over the bowl top to leave room for the dough to expand) and place it in a cool, draft-free spot (60-65°F/15-18°C) to rise for 12-18 hours, overnight. The dough is ready when it has doubled in size, is dotted with bubbles across the surface, and jiggles slightly when the bowl is tapped gently.
Step 2
step2:Cover for Overnight Rise
3

Deflate and Portion Dough

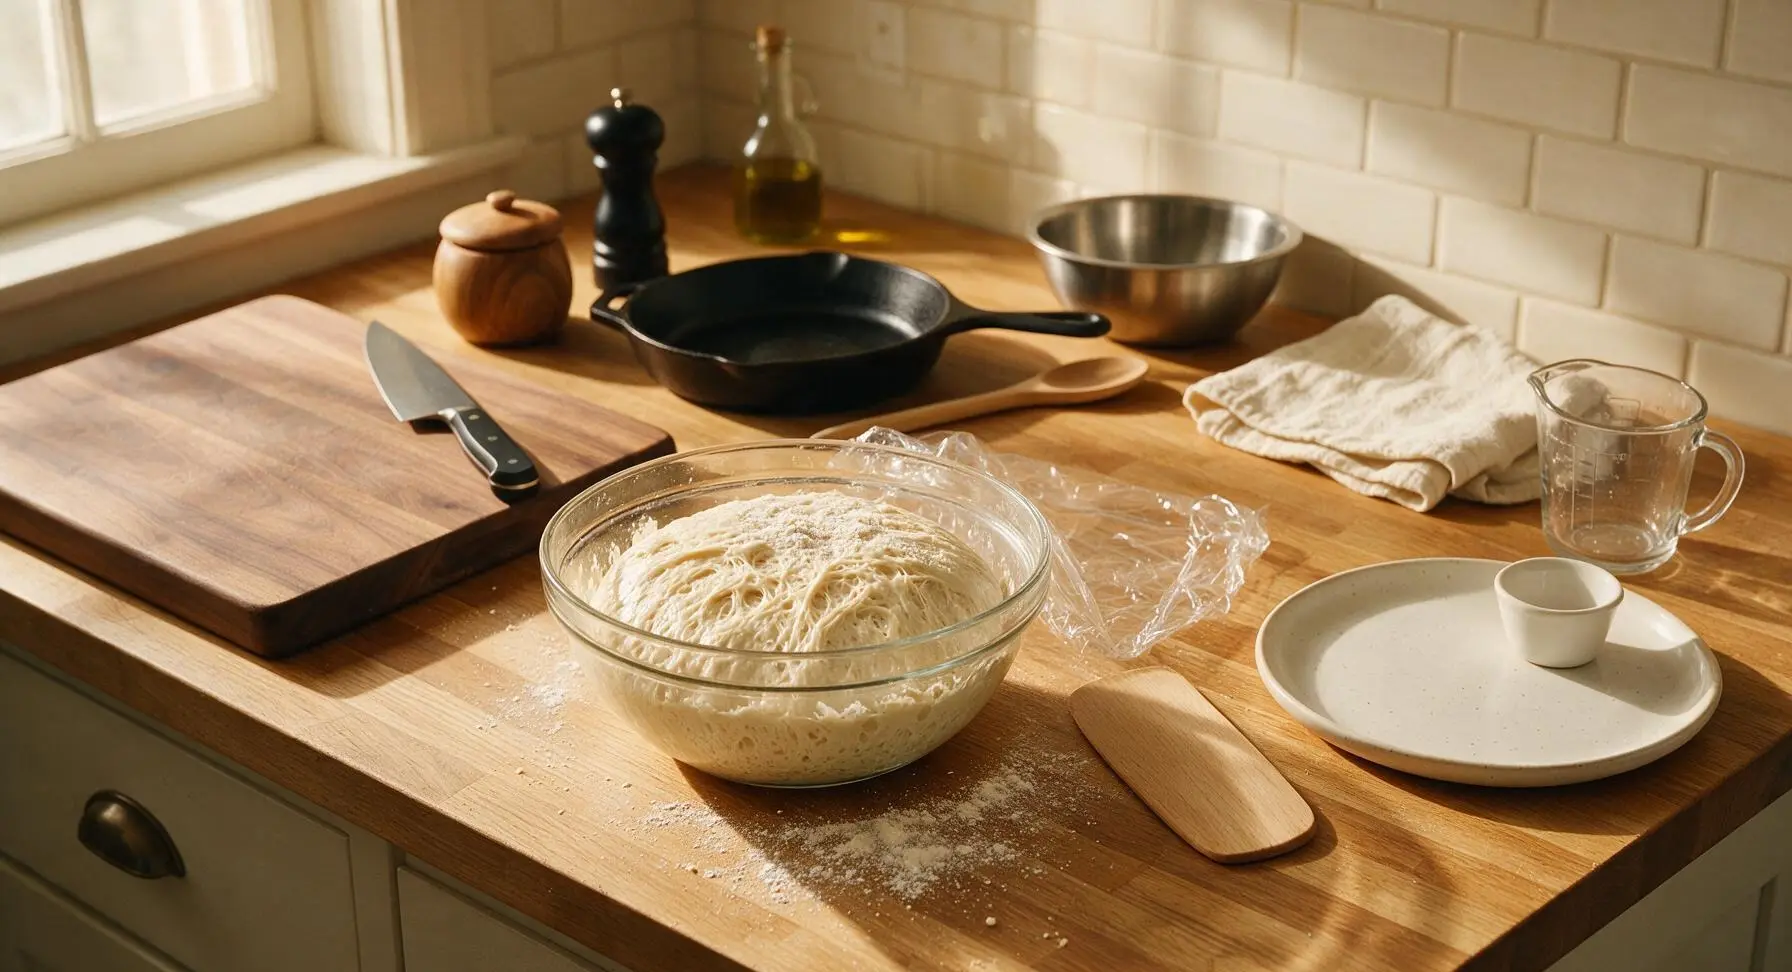
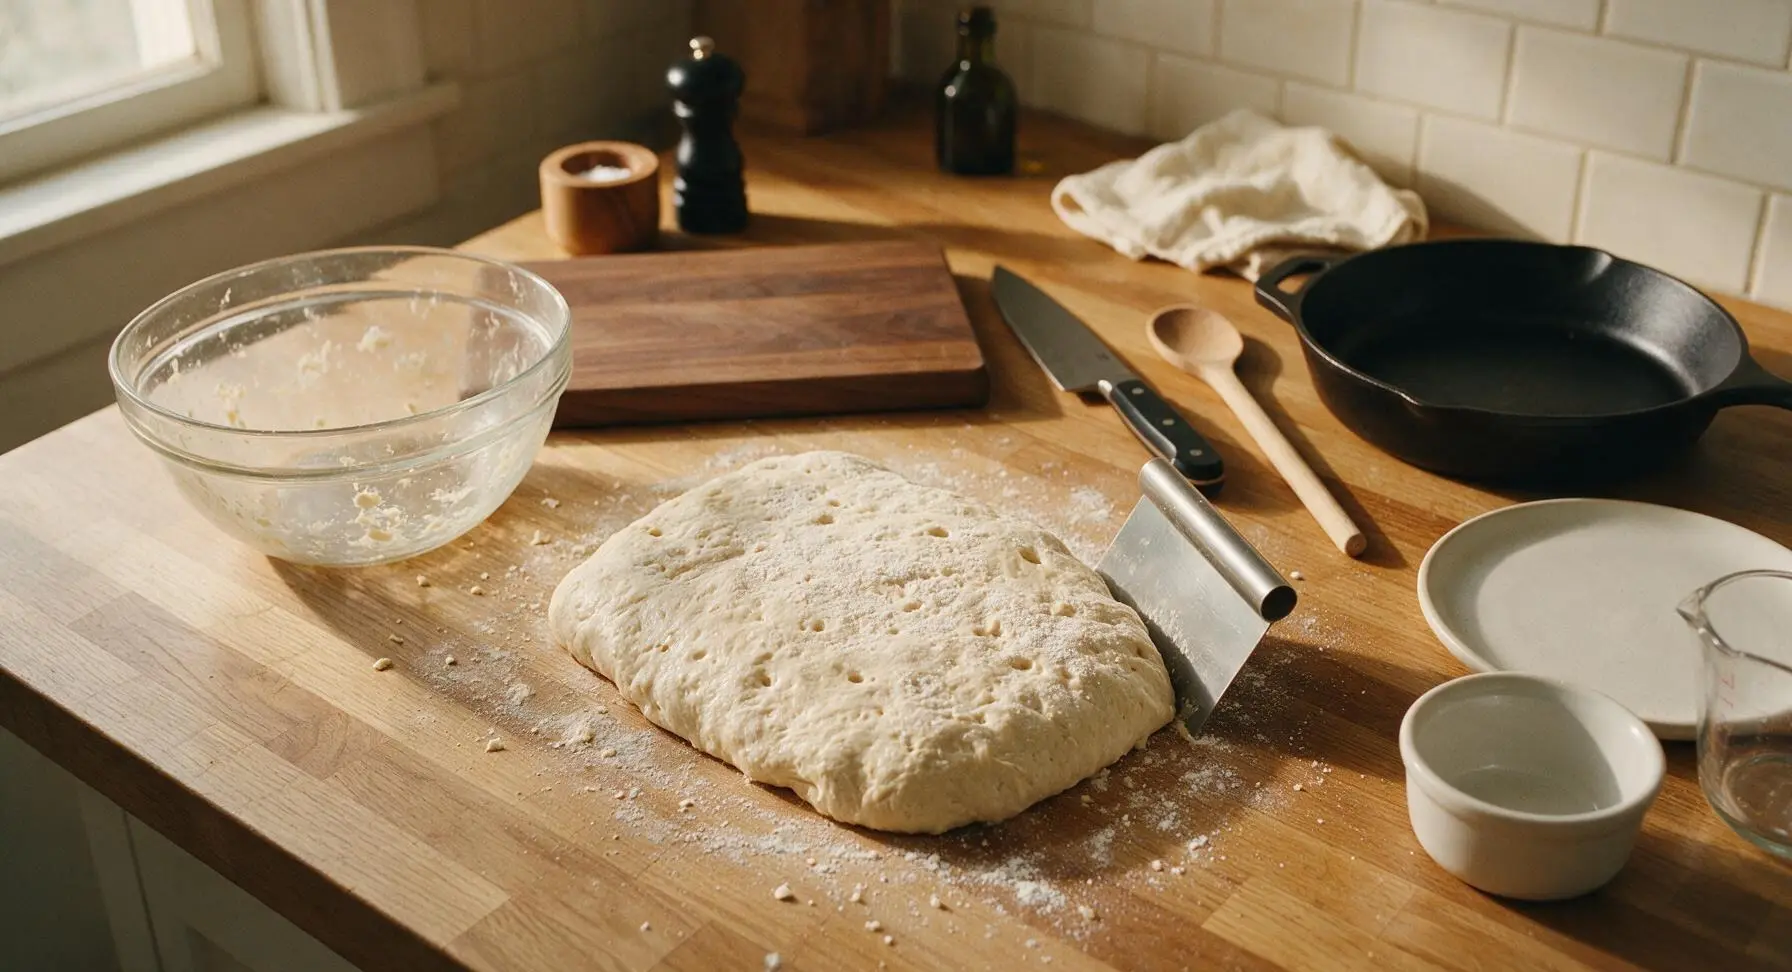
After the overnight rise, uncover the dough. It will be bubbly, stretchy, and very sticky. Lightly dust the clean counter surface with a pinch of flour, then use the silicone dough scraper to gently scrape the dough out of the bowl onto the floured surface. Do not punch the dough hard—gently press it into a rough 2cm thick rectangle, then use the scraper to cut it into 8 equal-sized portions (approximately 85g each).
Step 3
step3:Deflate and Portion Dough
Step 3
step3:Deflate and Portion Dough
4

Shape Soft Rolls

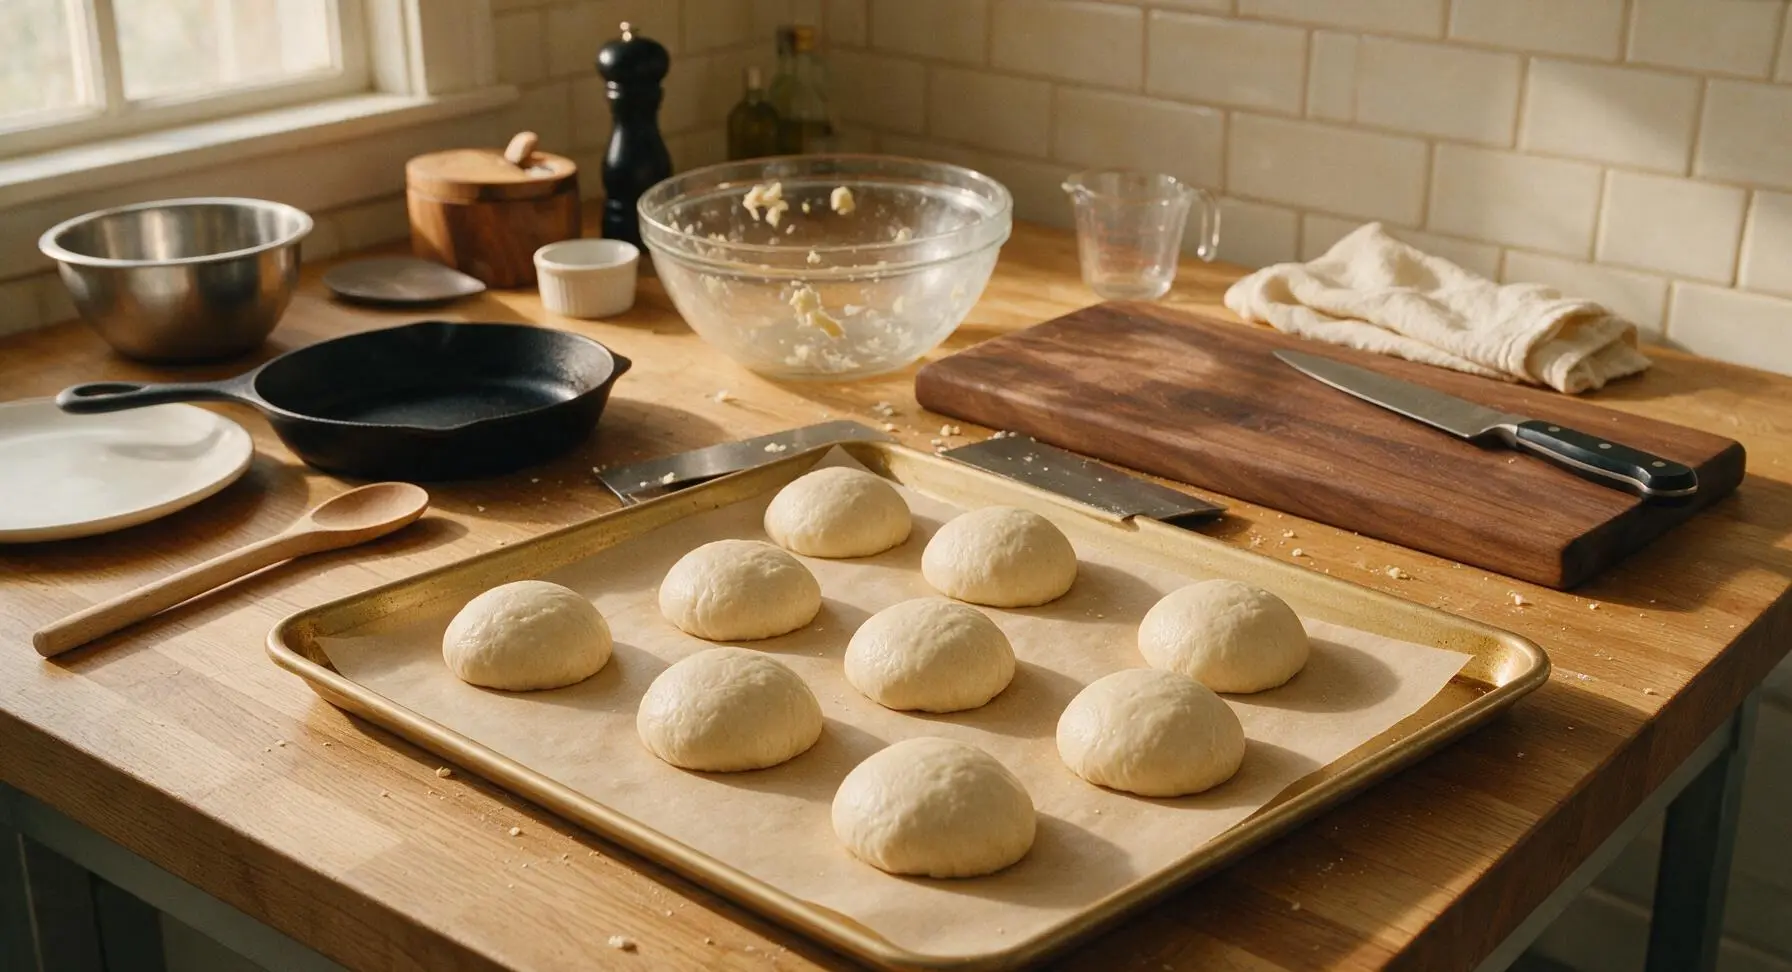
Working with one dough portion at a time, gently tuck the edges of the dough under itself to form a smooth, tight round ball, using very light flour on your fingertips to prevent sticking (do not add too much flour, as this will make the crust tough). Place each shaped roll 5cm apart on the parchment-lined light gold aluminum baking sheet, seam-side down. Once all rolls are shaped, cover them loosely with a sheet of lightly oiled plastic wrap and let them rest at room temperature for 45 minutes, until puffed and nearly doubled in size.
Step 4
step4:Shape Soft Rolls
5

Preheat Oven and Score

When the rolls have 20 minutes left in their second rise, place an oven rack in the middle position and preheat the oven to 425°F (220°C). Once the rolls are fully puffed (they will hold a slight indent when pressed gently with a floured finger), remove the plastic wrap. Use the small serrated paring knife to make a single 1cm deep slash across the top of each roll, to allow them to expand evenly in the oven. Lightly spritz the tops of the rolls with a fine mist of water to create a crispier crust.
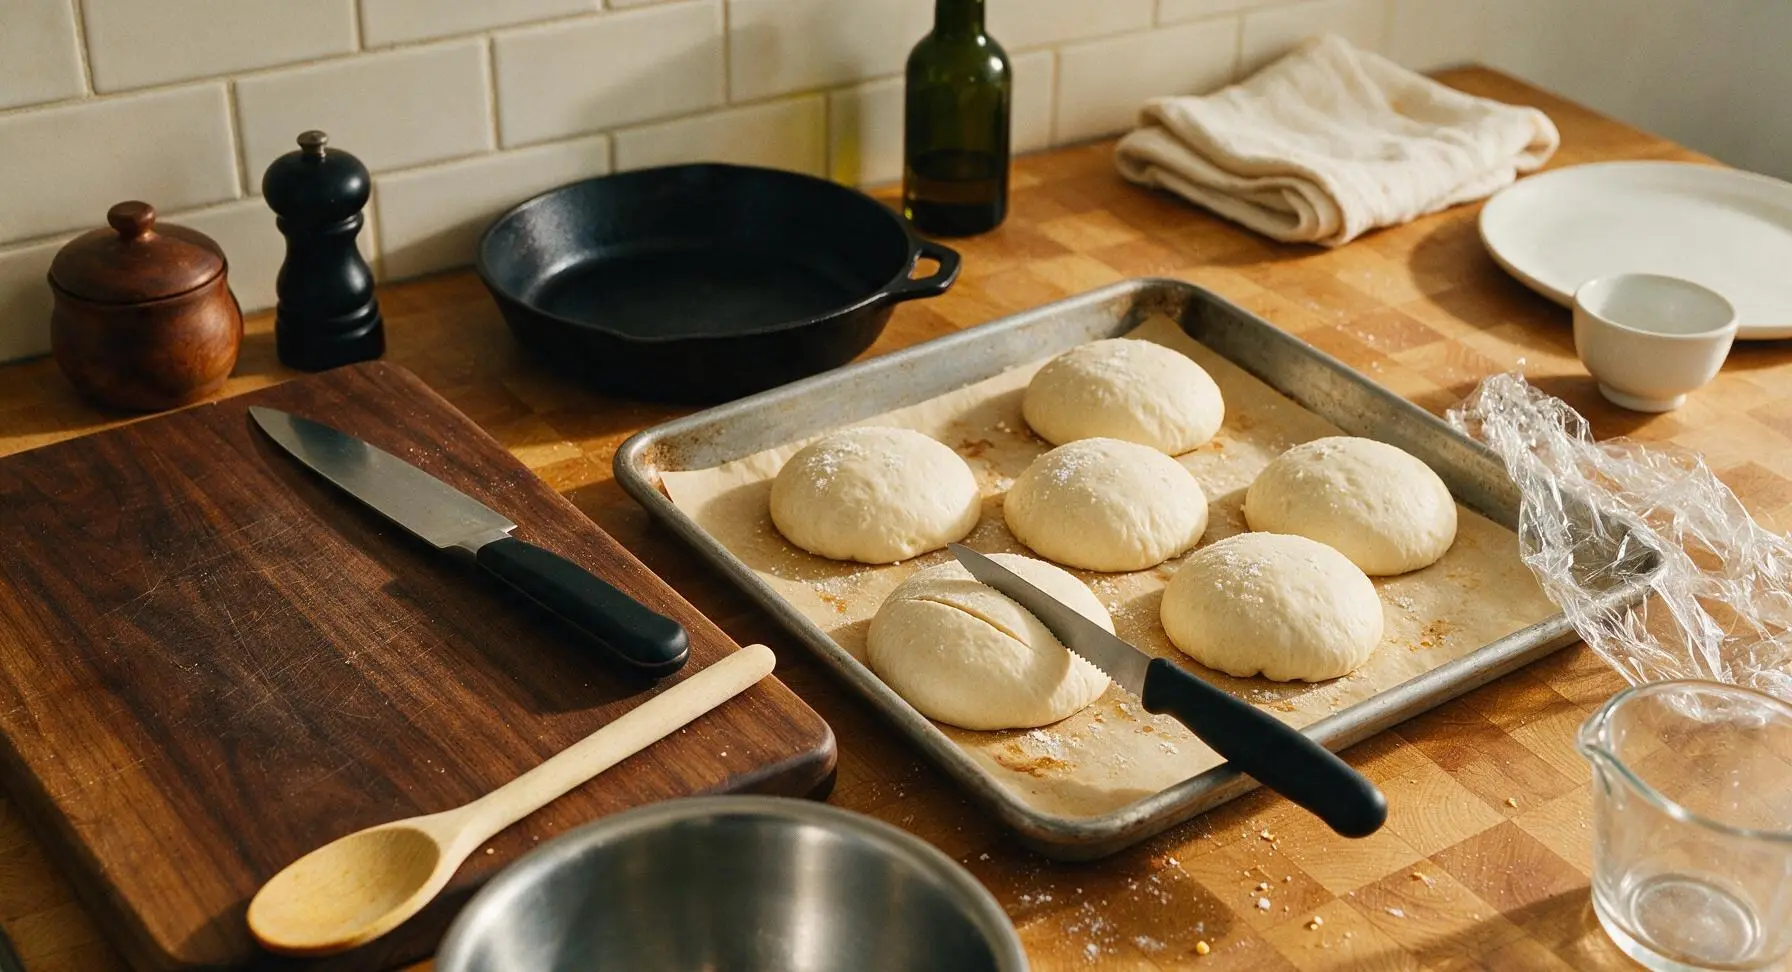
Step 5
step5:Preheat Oven and Score
6

Bake Until Golden

Carefully place the baking sheet on the middle oven rack. Bake for 20-22 minutes, rotating the sheet halfway through baking, until the rolls are deep golden brown all over, with crisp crusts, and sound hollow when tapped on the bottom. The internal temperature of the rolls should read 190-200°F (88-93°C) on an instant-read thermometer for perfectly set crumb.
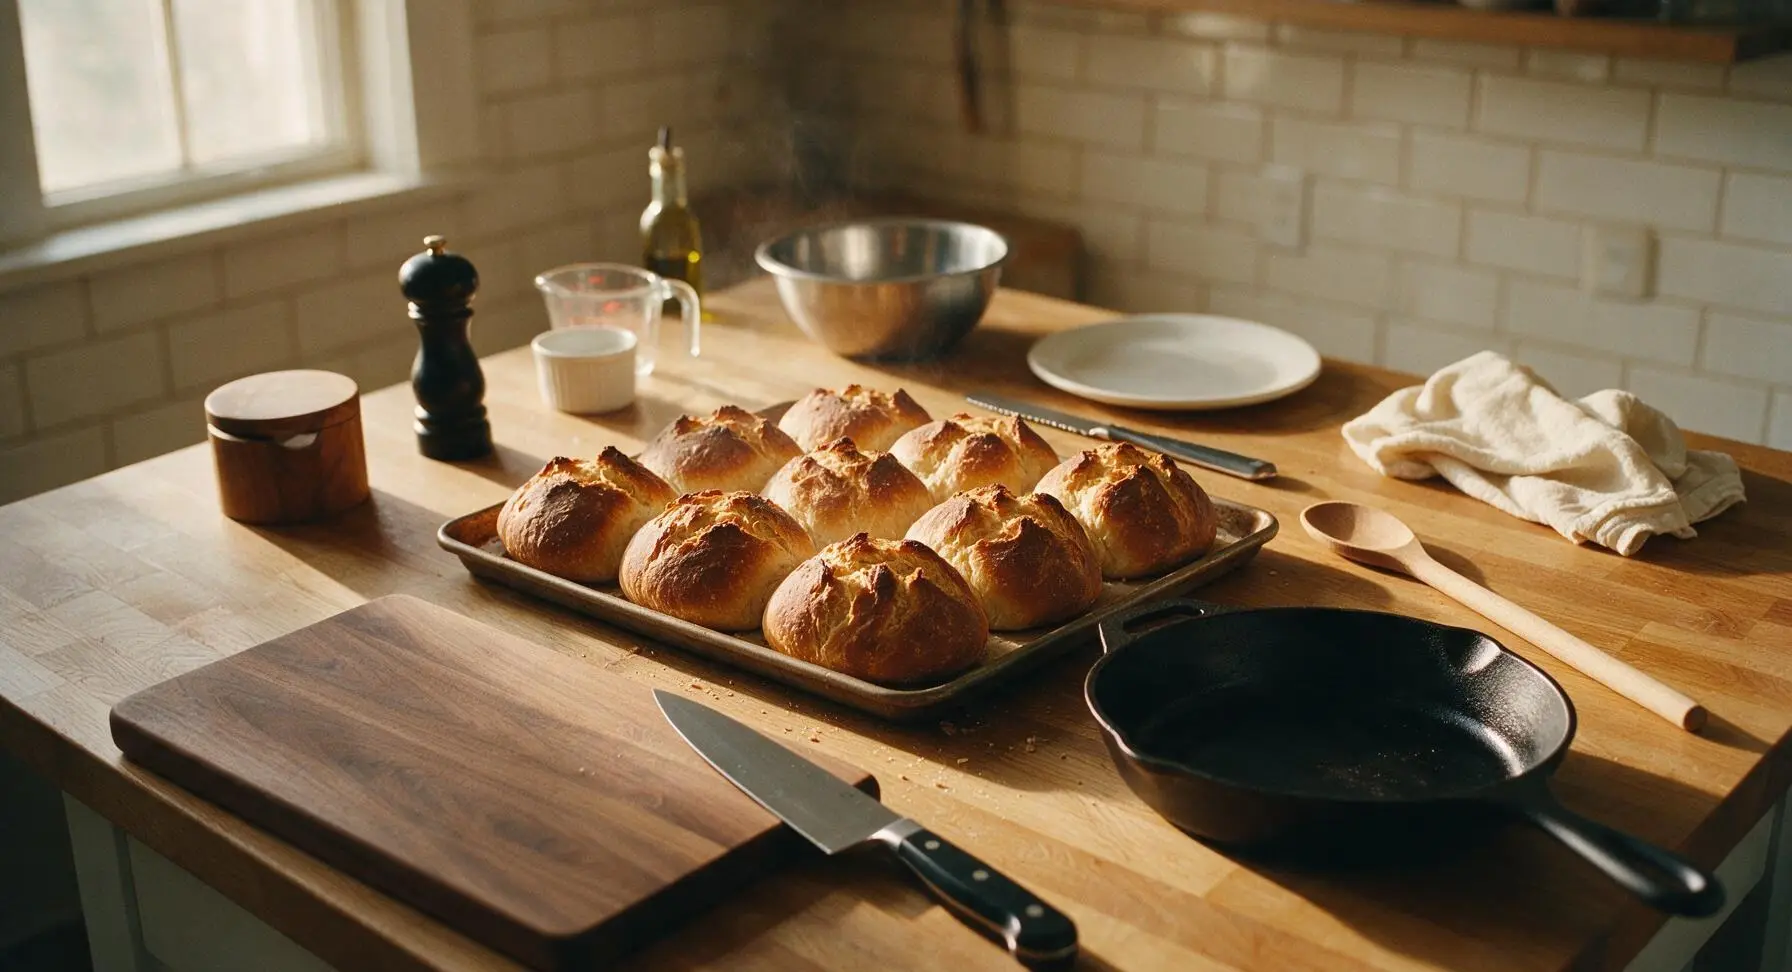
Step 6
step6:Bake Until Golden
7

Butter and Cool Slightly

Immediately after removing the rolls from the oven, use the boar bristle pastry brush to brush the tops lightly with 1 tbsp melted unsalted butter, and sprinkle with a pinch of flaky sea salt if desired. Transfer the rolls from the baking sheet to the matte chrome wire cooling rack to cool for 5-10 minutes before serving—they are best served warm, while the crust is crisp and the crumb is soft.
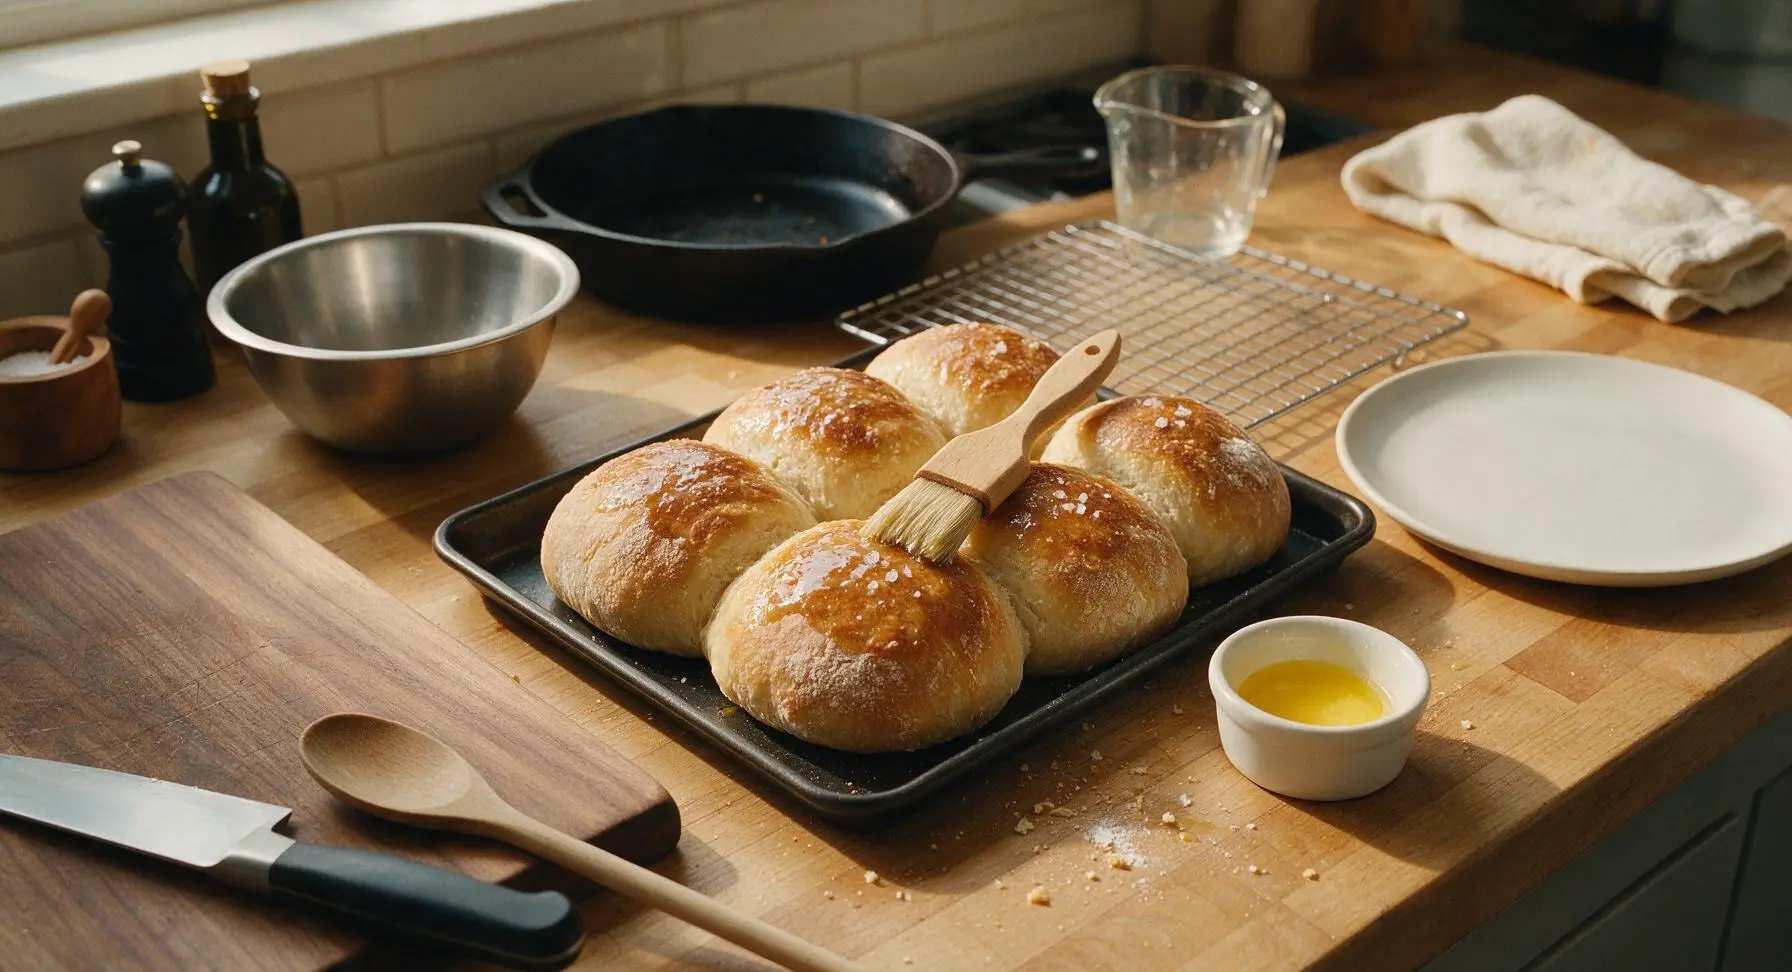
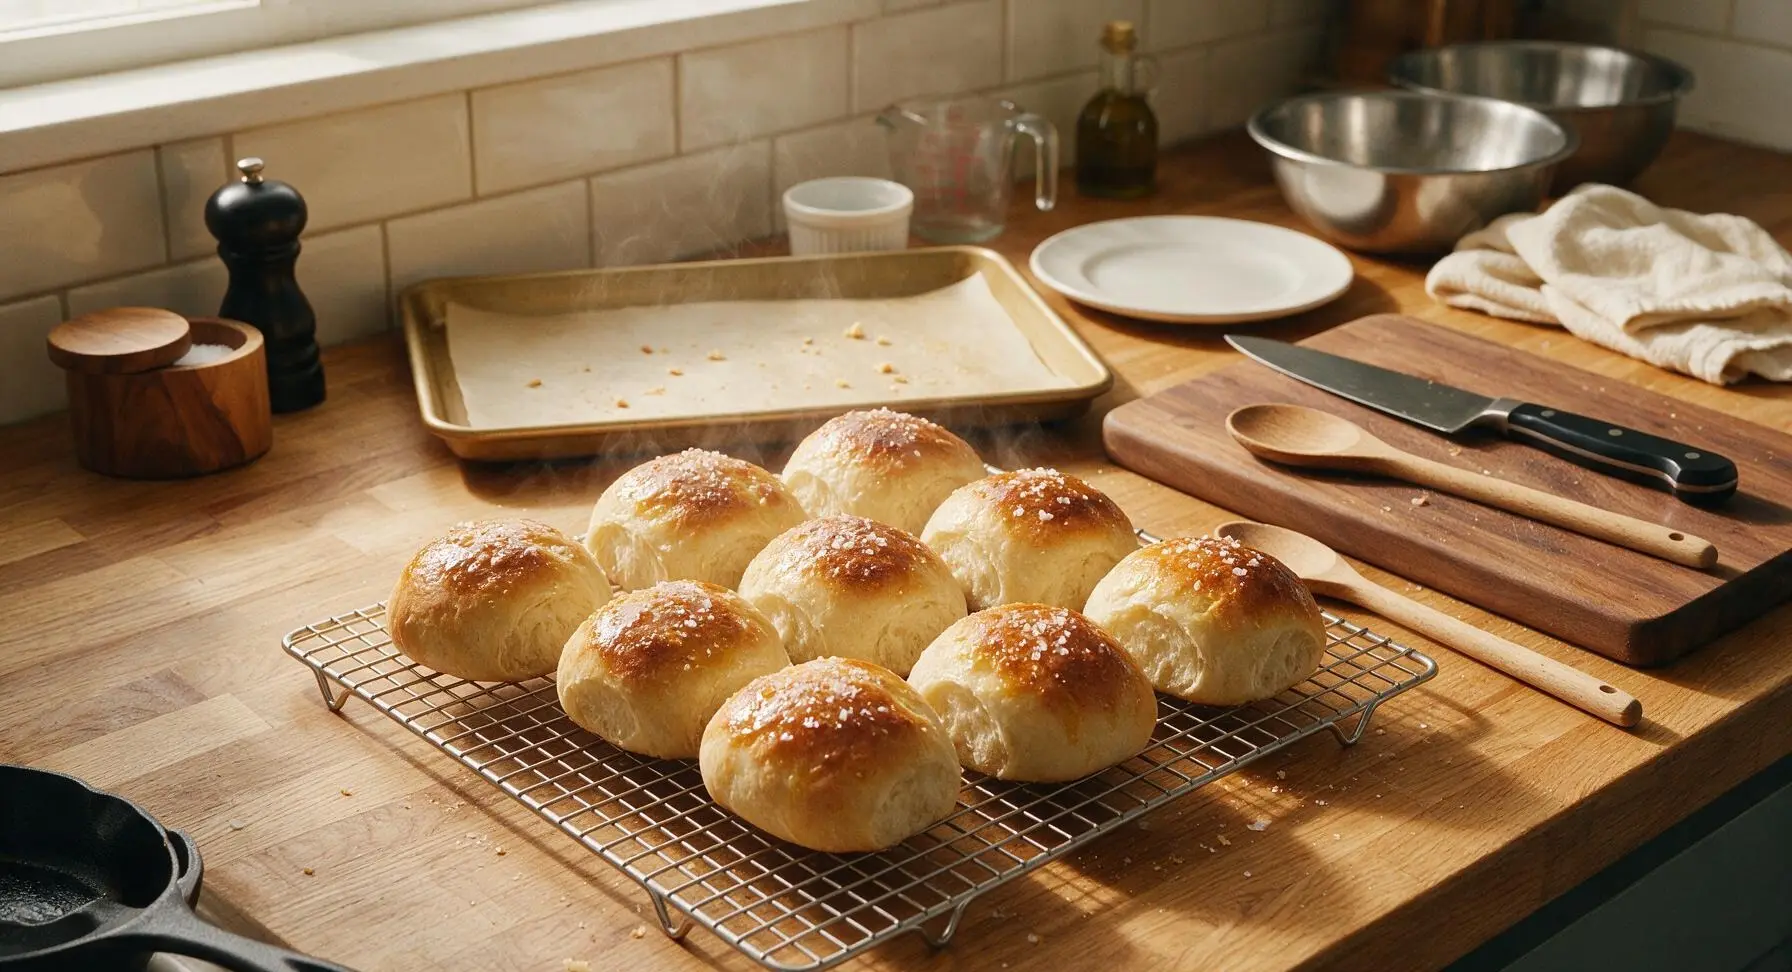
Step 7
step7:Butter and Cool Slightly
Step 7
step7:Butter and Cool Slightly

Tips

1.Avoid adding extra flour when handling the sticky dough: too much flour will create a tough, dense crumb and thick, hard crust. Lightly oil your fingertips instead of flouring heavily if the dough sticks excessively during shaping.
2.Don’t skip the long overnight rise: the slow, cool fermentation develops deep, nutty wheat flavor and creates the light, airy crumb structure without any kneading required. Rushing this step will result in bland, dense rolls.
3.For an extra-crispy, shattery crust, place a small metal baking pan on the lower oven rack while preheating, and pour 1/2 cup hot water into it immediately after adding the rolls: the burst of steam gelatinizes the dough surface, creating a shiny, crackly crust that stays crisp longer.


✨ You May Also Like

Desserts & Baking
🍜 Italy

Creamy, coffee-kissed classic Northern Italian no-bake dessert, with layers of rum-spiked mascarpone cream, soft ladyfingers, and a rich cocoa dusting.

⏱️ 4 hours 3Desserts & Baking ★ 4.7
Desserts & Baking
🍜 France

Flaky, shatteringly crisp, buttery French croissants with golden exteriors and soft, airy layered interiors, perfect for pairing with coffee for a special morning treat.

⏱️ 12 hours Desserts & Baking ★ 4.5
Desserts & Baking
🍜 United States

Warm, spiced baked apples topped with a fluffy golden biscuit crust, this cozy dessert pairs perfectly with vanilla ice cream for cool-weather comfort.

⏱️ 55 minuteDesserts & Baking ★ 4.6
Desserts & Baking
🍜 United States

A star-spangled classic American blueberry pie with buttery flaky crust and bright sweet-tart filling, perfect for summer patriotic gatherings.

⏱️ 1 hour 25Desserts & Baking ★ 4.7
Desserts & Baking
🍜 United States

A beloved no-bake regional Maine candy with a chewy coconut-potato center coated in rich dark chocolate, a New England holiday staple since the 1870s.

⏱️ 2 hours 3Desserts & Baking ★ 4.8
Desserts & Baking
🍜 France

Luxuriously creamy, floral frozen custard made with aromatic Tahitian vanilla beans, boasting a smooth, rich texture that melts slowly on the tongue.

⏱️ 3 hours 3Desserts & Baking ★ 4.5

No-Knead Overnight Bread Rolls:Frequently Asked Questions

1.Do I really not need to knead this dough at all? ▾
You don’t! The long, slow cold overnight fermentation develops gluten strands automatically, the same way 10+ minutes of kneading would for traditional rolls. All you need to do is mix the ingredients until they form a shaggy, evenly combined dough with no dry flour pockets—no folding, punching, or vigorous working required.
2.Can I use all-purpose flour instead of bread flour for these rolls? ▾
Bread flour’s higher 12-14% protein content creates that signature chewy crumb and crisp crust, but you can swap in all-purpose flour 1:1 if that’s all you have. For closest results, add 2 tablespoons of vital wheat gluten per 3 cups of all-purpose flour; without it, expect slightly softer, less chewy rolls that still taste great.
3.How warm should the lukewarm water be, and do I really need filtered water? ▾
Aim for water between 105–110°F, which feels like warm bathwater to the touch—any hotter than 120°F will kill your yeast, while too-cold water will slow fermentation drastically. Filtered water avoids chlorine that can inhibit yeast and create off-flavors; if you only have tap water, leave it out on the counter for 2 hours to let chlorine off-gas first.
4.What can I use if I don’t have raw honey on hand? ▾
Raw honey adds subtle floral sweetness and feeds the yeast for a better rise, but you can swap it 1:1 for granulated white sugar, pure maple syrup, or light brown sugar with no issues. Just skip strong, heavy sweeteners like blackstrap molasses, which will overpower the rolls’ mild nutty wheat flavor and darken the crust too quickly during baking.
5.How long is too long for the overnight cold fermentation? ▾
The sweet spot for cold ferment is 8–12 hours in a tightly covered bowl in the fridge, which builds that deep, nutty wheat flavor without overtaxing the yeast. You can go up to 18 hours with no major issues, but fermenting longer than 24 hours will leave you with flat, dense rolls with a sharp, overly yeasty, sour aftertaste.
6.Why did my rolls turn out dense instead of light and airy? ▾
Dense rolls almost always trace back to one of three easy fixes: your water was too hot and killed the yeast, you used expired or too little yeast, or you didn’t let the shaped rolls rest at room temperature for 30–45 minutes to puff up before baking. Always check that your dough doubles in size during the cold rise first.
7.Do I need a Dutch oven to bake these rolls like regular no-knead bread? ▾
No special Dutch oven required! Unlike large, dense no-knead loaves, these small rolls don’t need a sealed, heavy pot to trap steam for a crisp crust. Just bake them on a parchment-lined sheet pan, and toss 3–4 ice cubes directly on the hot oven floor right when you put the rolls in to create quick, even steam.
8.Can I freeze these rolls to enjoy later? ▾
Absolutely! Let fully baked rolls cool completely to room temperature first, then store them in a sealed, airtight freezer bag for up to 3 months. To reheat, wrap frozen rolls in aluminum foil and bake at 350°F for 10–12 minutes—no thawing needed, and they’ll come out just as soft, crusty, and fresh-tasting as the day you baked them.

Comments (9)

2 days ago

OMG these are a total game changer! I’ve always been intimidated by homemade bread because kneading feels like such a chore, but no-knead overnight? Sign me up. I made these for our Sunday family dinner last night and my kids loved them so much they devoured 2 each before we even got the main course on the table. SO soft and buttery on the inside, perfectly crusty top. Will absolutely be adding these to my weekly meal prep rotation!

1 day ago

Wait did you do any extra butter on top before baking? I’m making these tonight for a potluck and want them to turn out as good as yours!

1 day ago

So glad you and the family loved these, Sarah! A quick pro tip for Jessie too: brushing the tops with a little melted salted butter right before baking gives that perfect golden, buttery crust everyone raves about!

3 days ago

Took these to my office potluck last week and people were begging me for the recipe all afternoon. Literally zero effort — I mixed the dough right before bed, stuck it in the fridge, and baked them when I got home from work the next day. Only note is I cooked mine for 20 minutes instead of 22 because my oven runs hot, and they came out perfect. 10/10

2 days ago

Great call adjusting the cook time for your oven, Tim! So stoked these were a hit at your potluck — they’re such a crowd pleaser for work events!

1 week ago

Super easy even for someone like me who burns toast half the time! I live in a tiny dorm with a tiny countertop oven, and I was able to mix the dough in a big plastic bowl no problem. They came out fluffy and warm, way better than the store-bought dinner rolls I usually buy for cheap. Only knocked off a star because I wish the recipe made a couple more rolls, I ate three in one sitting and had none left for my roommate 😂 Will make again for sure!

2 weeks ago

These are perfect for weekly meal prep! I make a batch every Sunday, split them up for sandwich sides all week, and they hold up so much better than I expected. The only thing I changed was adding a little garlic powder and parmesan to the dough for a savory twist, and wow. Even my picky husband said these are restaurant quality.

1 week ago

Oh the garlic parmesan twist sounds insane! How much garlic powder did you add? I don’t want to overdo it and make them too strong.

6 days ago

I did about a teaspoon of garlic powder and 2 tablespoons of grated parm for the full batch! Super subtle, not overpowering at all, just adds a nice little savoriness.

30 minutes ago

Haven’t made these yet but they look amazing, so 4 stars until I test them out this weekend! Quick question though — I don’t own a Dutch oven, do I need one for these? I only have a regular rimmed baking sheet and glass mixing bowls, don’t really want to drop money on new cookware just for dinner rolls.

5 minutes ago

Great question, Hannah! You don’t need a Dutch oven at all for these rolls — just a regular rimmed baking sheet lined with parchment paper works perfectly. The no-knead dough is pretty low-fuss, no special equipment required!

yesterday

Full transparency, I forgot to cover the dough the first night I left it in the fridge and the top got a little dried out. I pinched off the dry part, let it come to room temp the next day, and they still turned out SO good. Cannot believe how forgiving this recipe is, even for people who mess up half the steps like me. Crusty outside, fluffy inside, exactly what I wanted.

5 days ago

Made these for our neighborhood block party last weekend and they were gone in 10 minutes flat! I made a double batch because I know how my neighbors eat, and I still only came home with one empty pan. People kept asking if I bought them from the fancy bakery downtown. Little do they know I spent 5 minutes mixing the dough the night before and called it a day 😂

4 days ago

Wait I was at that block party! Those were YOUR rolls? I’ve been asking everyone who brought the amazing rolls all week! So glad I found this comment, I’m making them this weekend for my kid’s soccer snack.

3 days ago

That’s the best review we could ask for! Love that these turned your neighbors into fans — and they’re the perfect easy snack for soccer games, too. Hope your kid’s team loves them!

2 hours ago

These look so good, I’m giving 4 stars upfront because I know I’ll love them once I sort out the flour question! Quick question though — has anyone tried making these with whole wheat flour? I’m trying to swap in more whole grains where I can, but I don’t want to mess up the texture since this is a no-knead dough.

1 hour ago

I did half whole wheat half all purpose last week and they turned out great! I wouldn’t do 100% whole wheat because they get a little dense, but the 50/50 mix was nutty and still super fluffy.

just now

Game. Changer. I will never buy frozen dinner rolls again. These are so cheap to make, taste 100x better, and require literally zero effort. 22 minute cook time is no joke, I popped them in the oven while my pasta was boiling and they were done right when dinner was ready. 10/10, no notes.



