
no meat tater tot casserole
intro
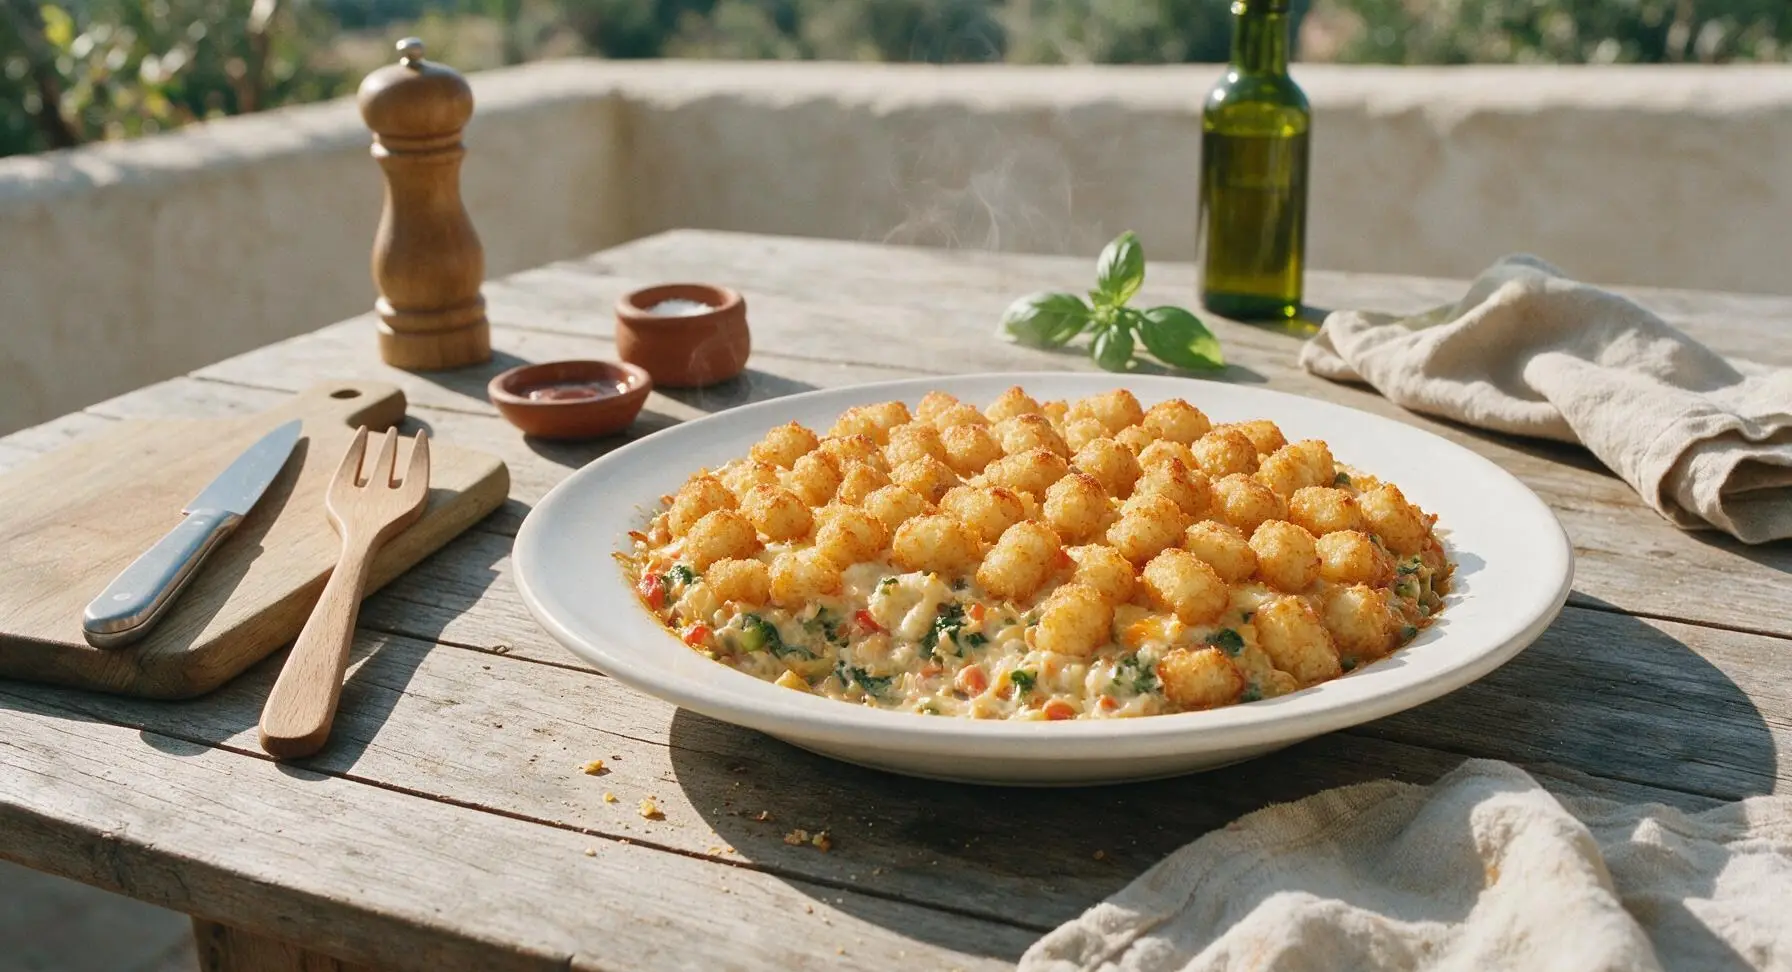
Crispy golden tater tots top a creamy, veggie-packed, cheese-filled base for this meat-free take on a classic Midwest casserole—cozy, satisfying comfort in every bite.
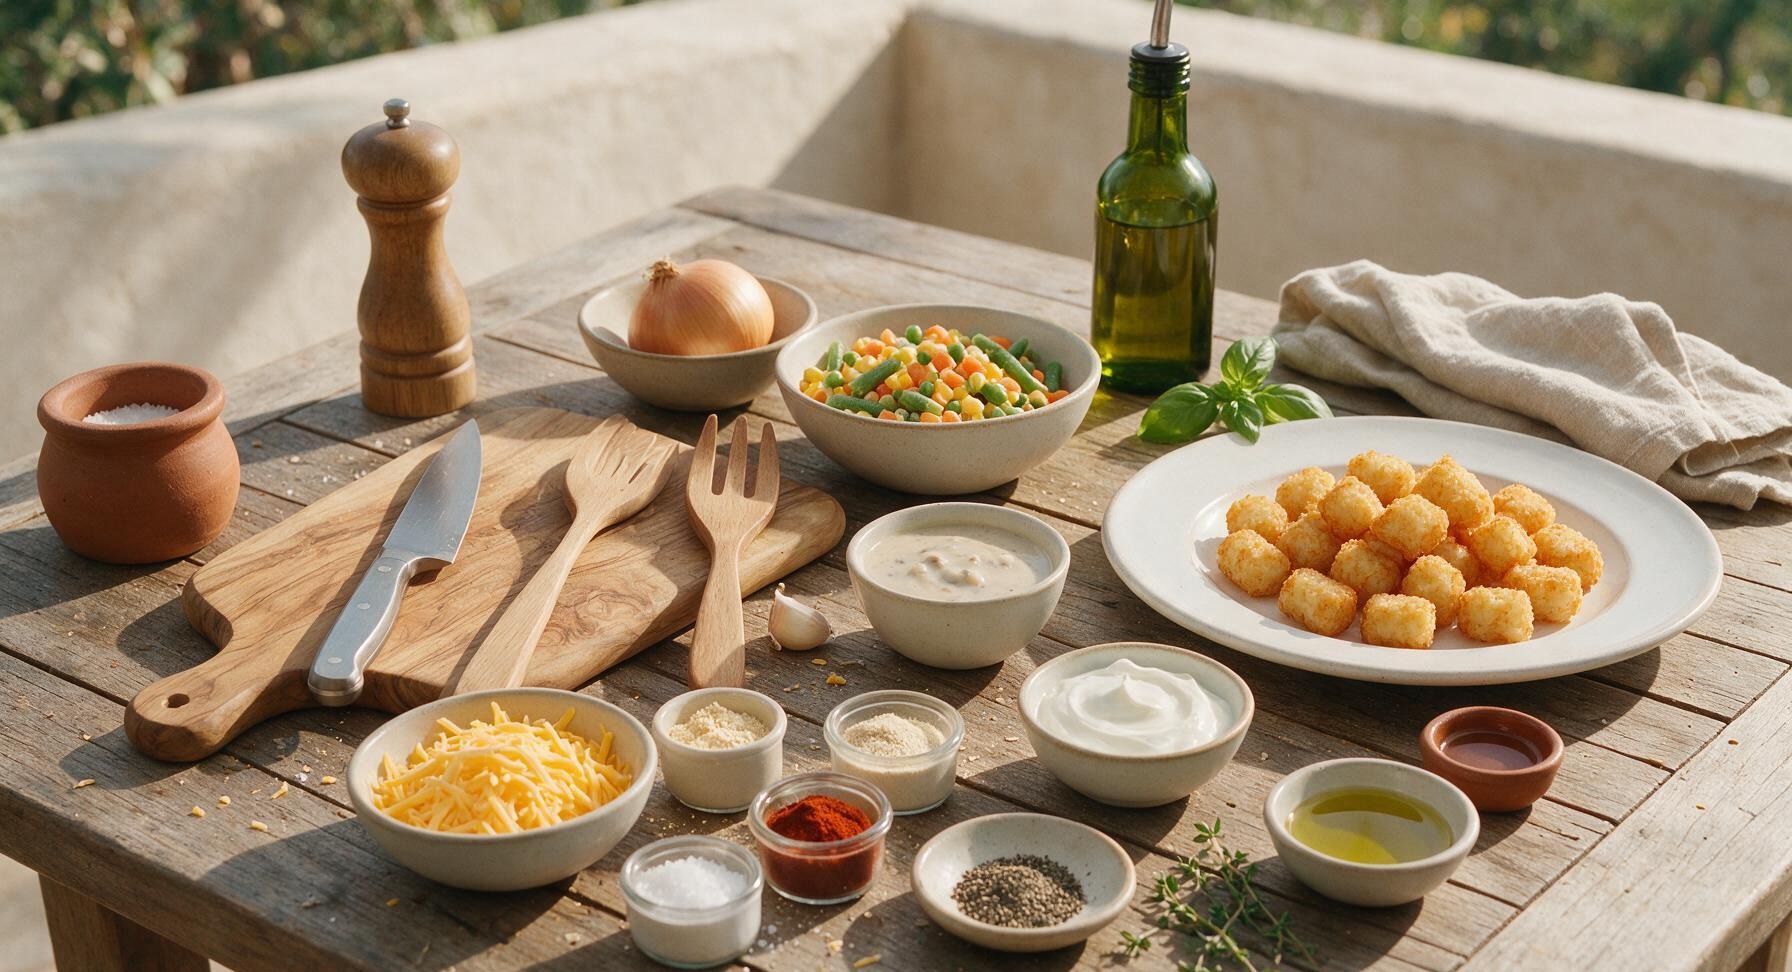
Ingredients
Steps
Preheat Oven, Prep Dish
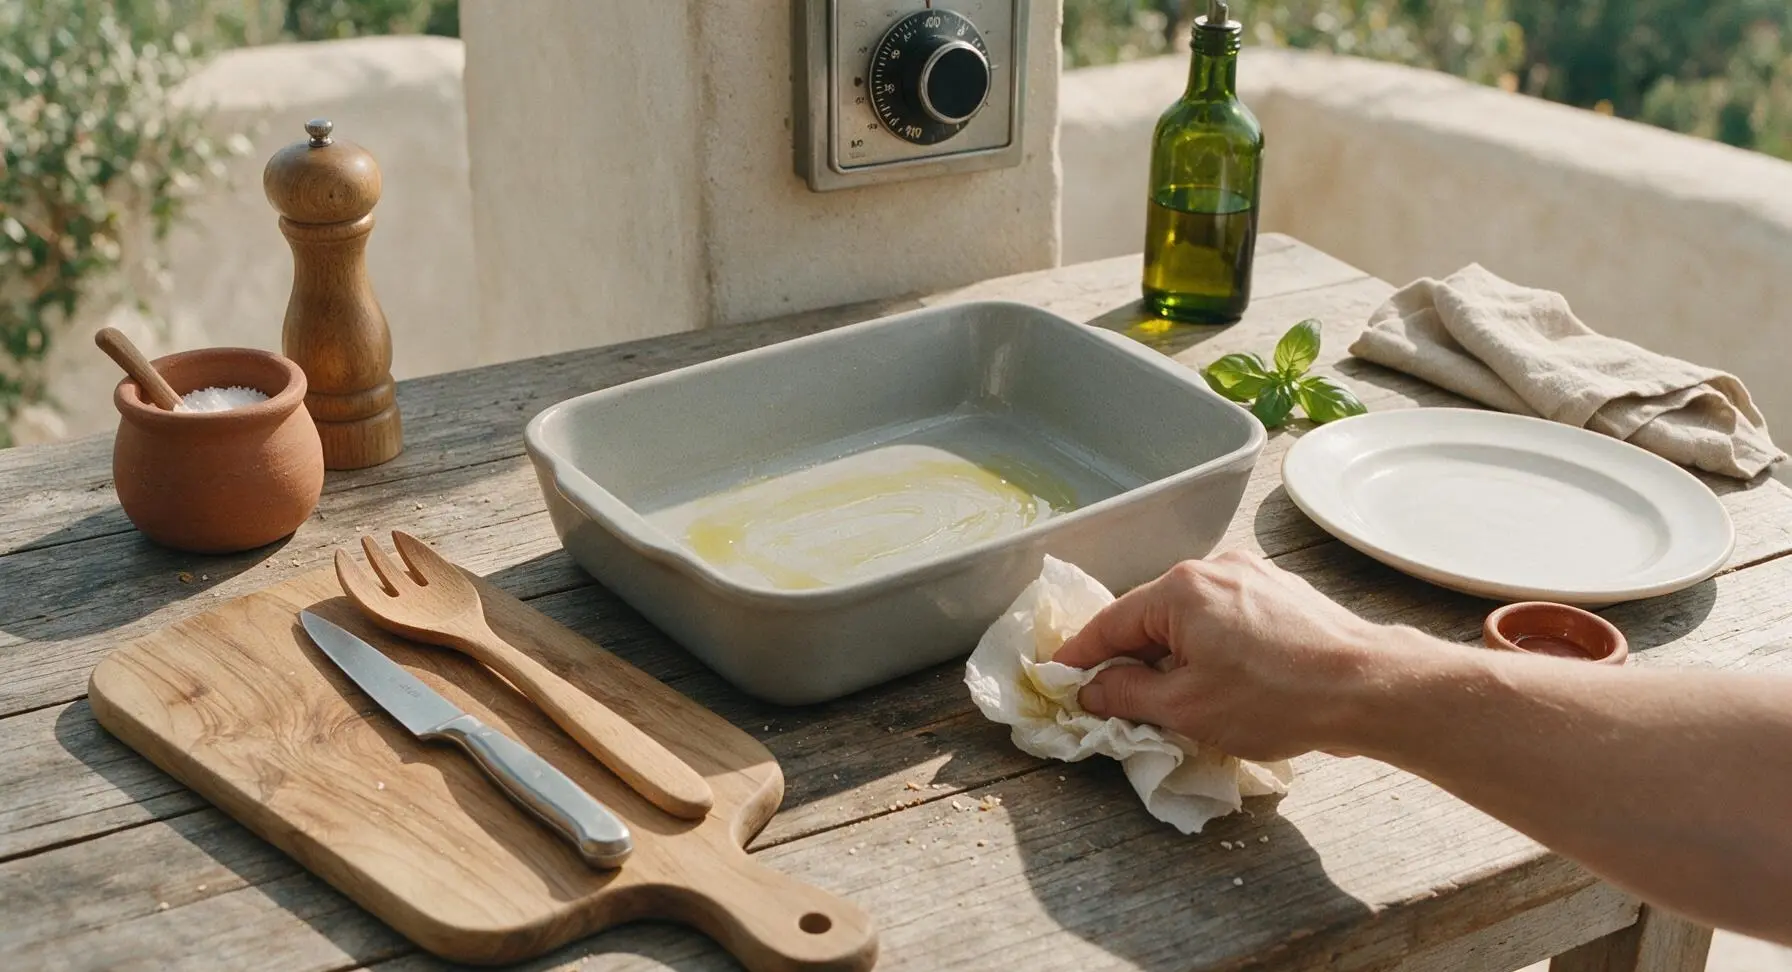
Adjust your oven rack to the middle position and preheat to 400°F (200°C). Use a crumpled paper towel to spread a thin layer of olive oil across the entire interior surface of the 9x13 inch matte light gray ceramic baking dish to prevent sticking. Return the dish to its fixed center-back position on the counter when finished.
Saute Aromatic Veggies
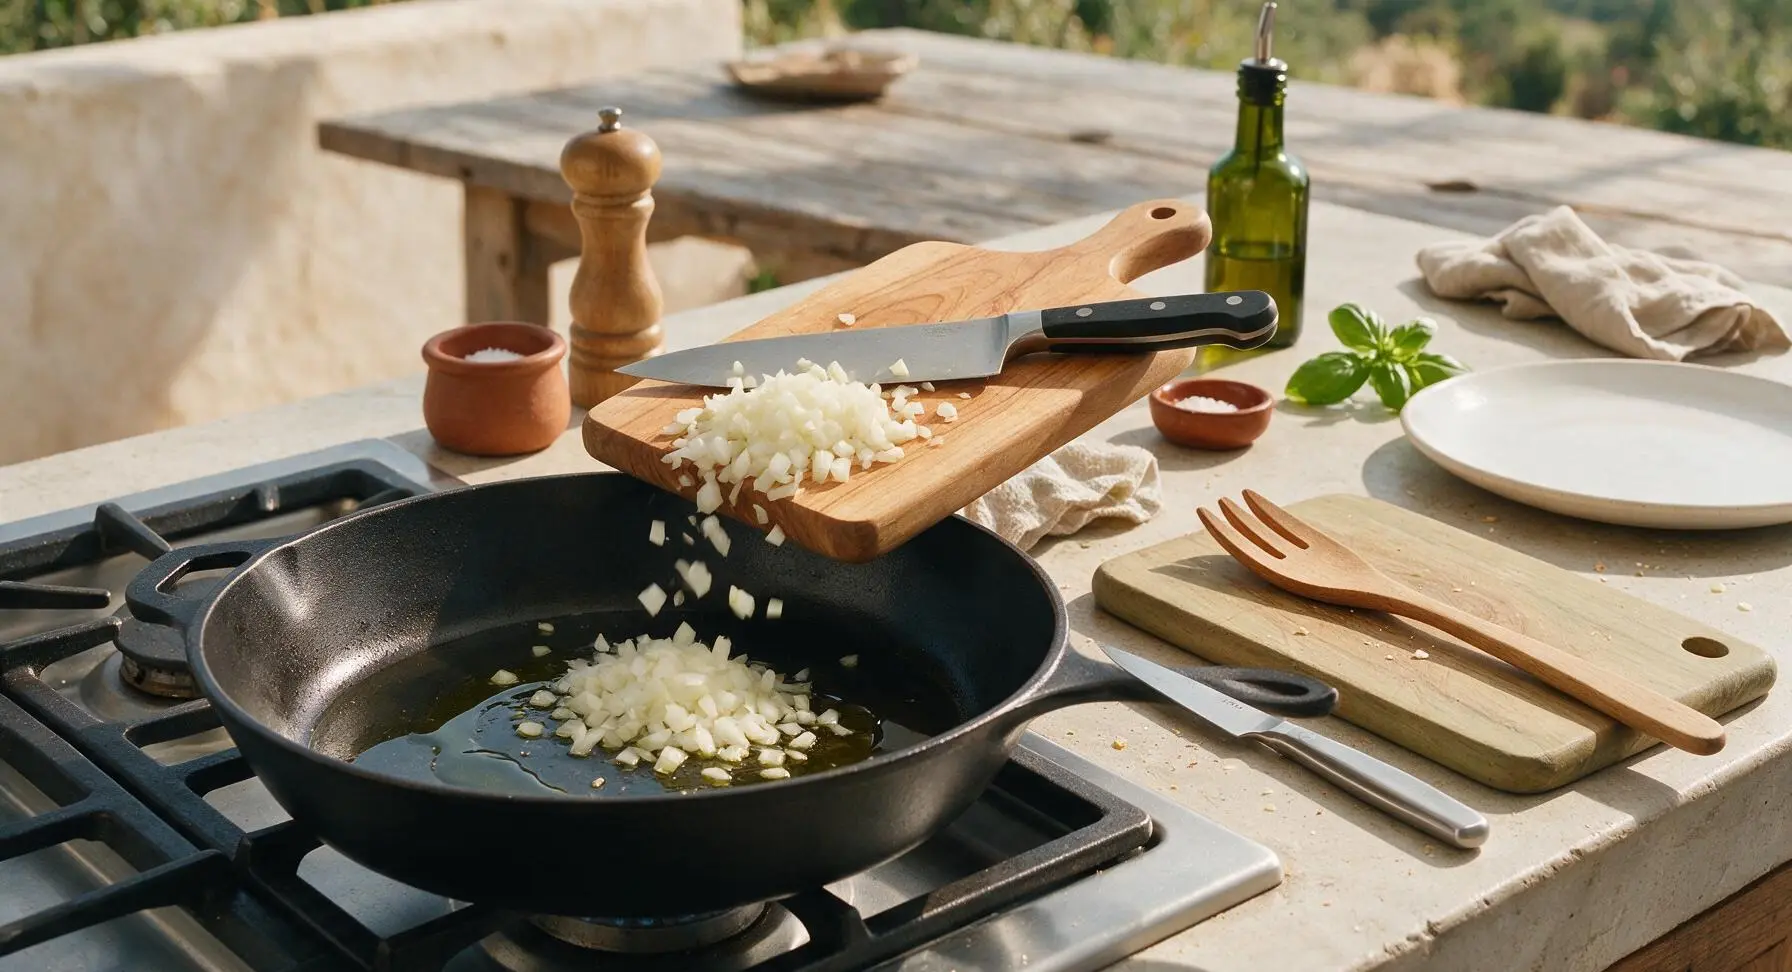
Heat 1 tablespoon of olive oil in the 12-inch matte black carbon steel skillet over medium heat. Add the diced yellow onion (chopped on the maple cutting board with the chef knife) and saute for 4-5 minutes, until soft and translucent with faint pale golden edges. Add the minced garlic and cook for 30 seconds more, until fragrant—do not let the garlic turn dark brown, as it will turn bitter. Remove the skillet from heat and let the mixture cool for 2 minutes.
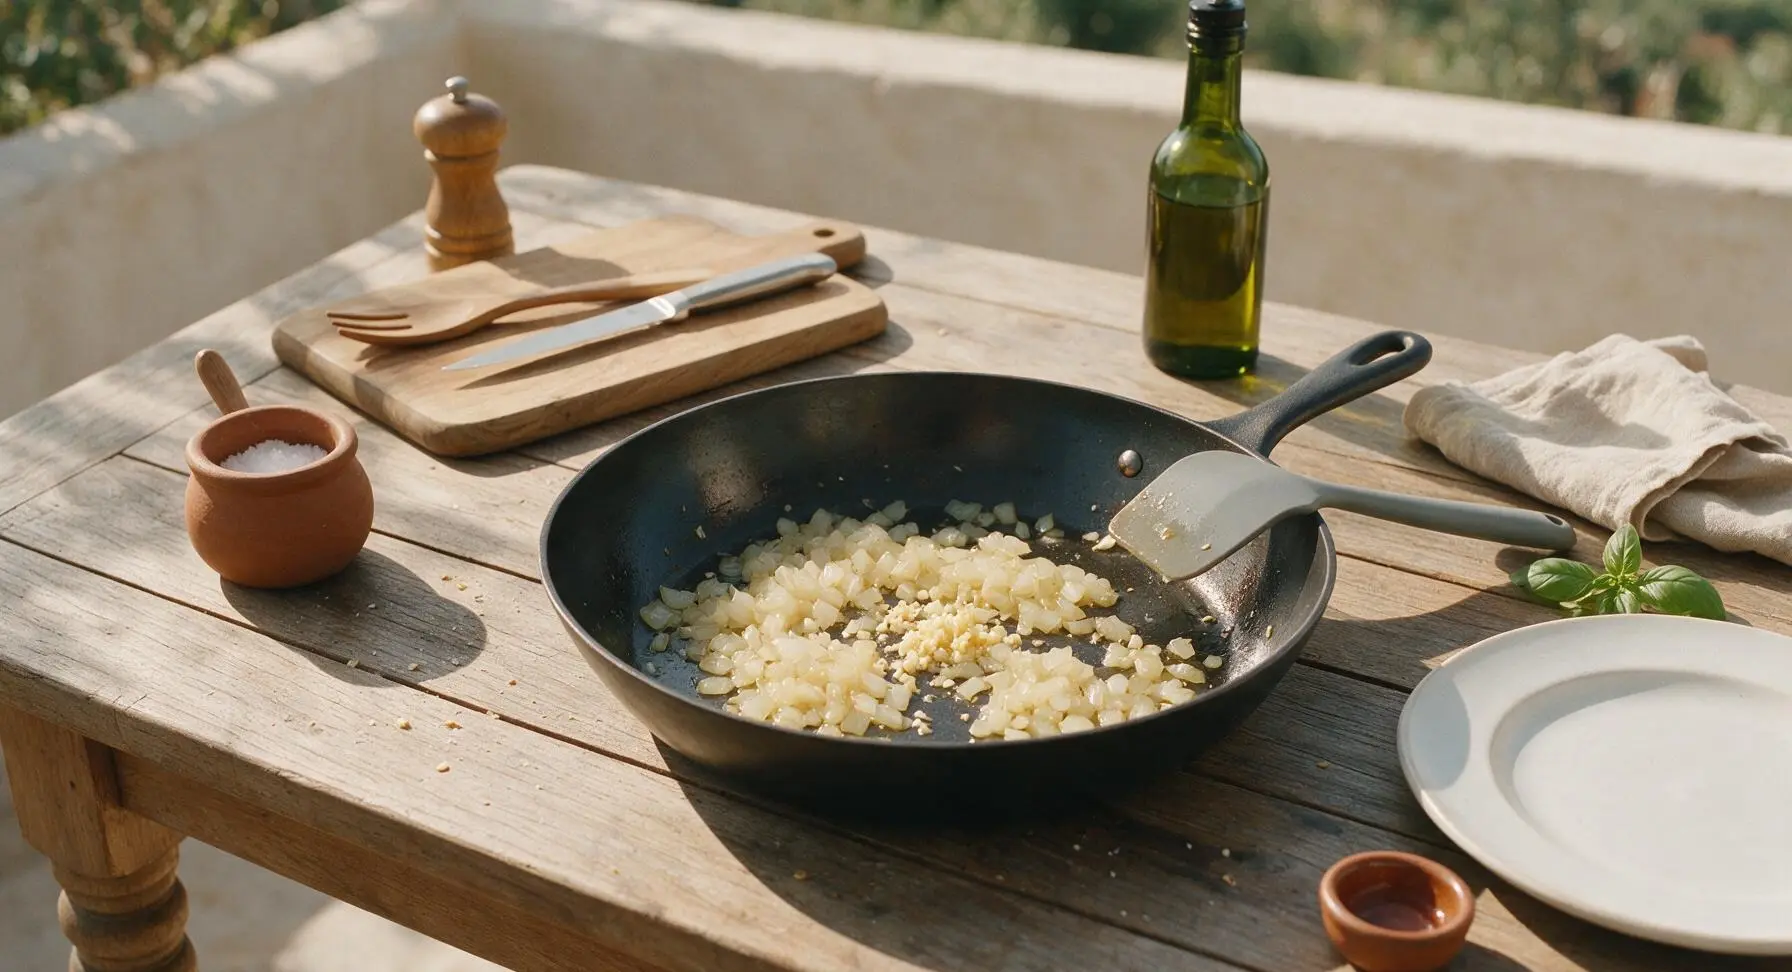
Mix Creamy Filling Base
In the 10-inch brushed stainless steel mixing bowl, combine the cooled sauteed onion and garlic, patted-dry thawed mixed vegetables, condensed cream of mushroom soup, sour cream, 1 1/2 cups of the shredded sharp cheddar, garlic powder, onion powder, smoked paprika, kosher salt, black pepper, and 1 teaspoon of fresh thyme leaves. Stir thoroughly with the gray silicone spatula until every vegetable piece is evenly coated in creamy sauce, with no visible clumps of dry spice remaining.
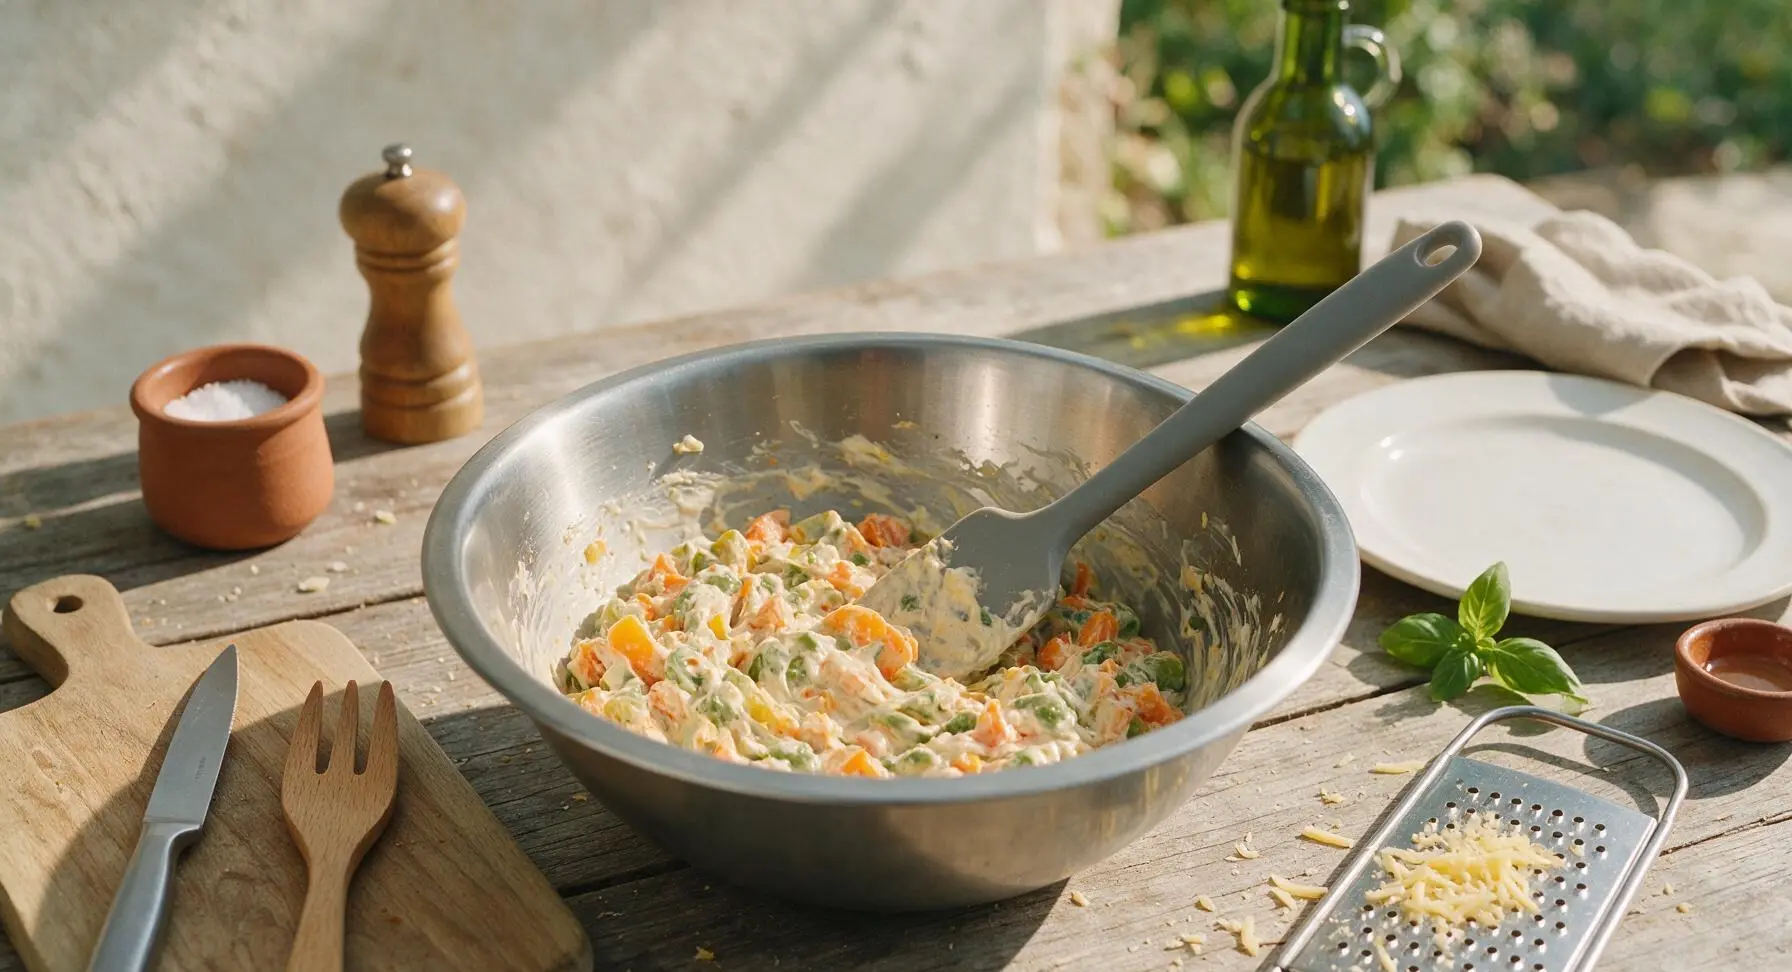
Layer Filling in Dish
Pour the entire creamy vegetable filling mixture into the oiled 9x13 inch gray ceramic baking dish. Use the silicone spatula to spread the filling into a smooth, even, flat layer across the bottom of the dish, ensuring no thin spots or gaps along the dish edges.
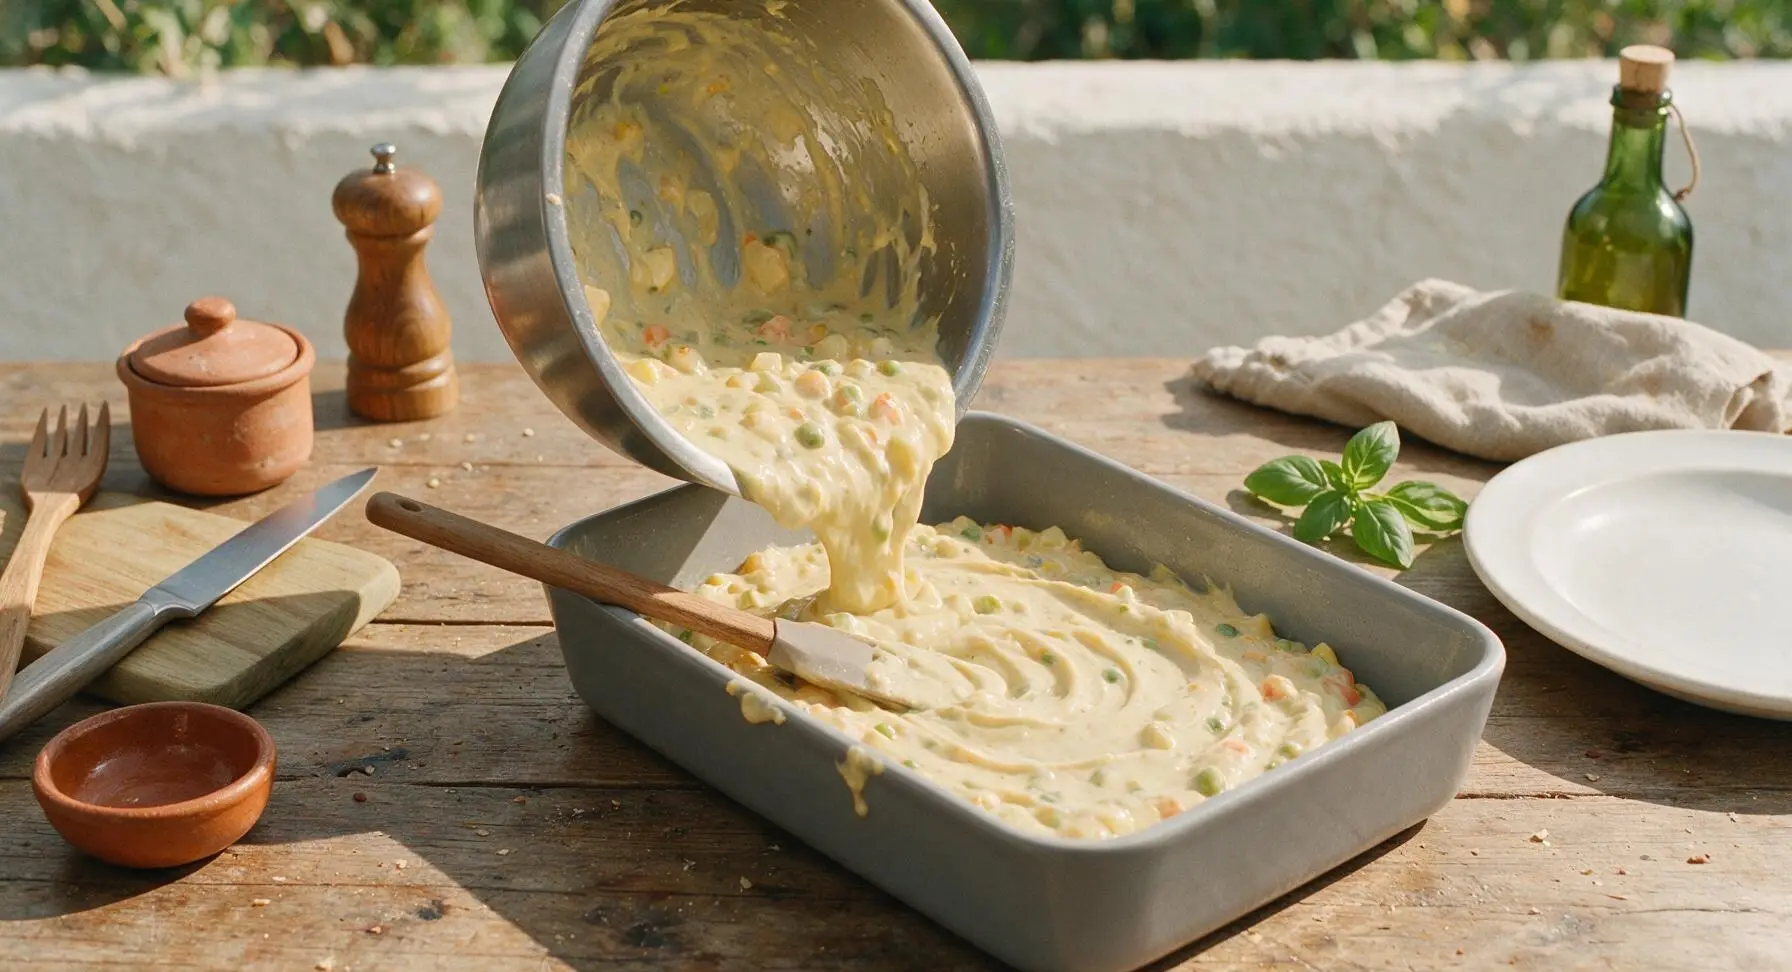
Arrange Tater Tot Topping
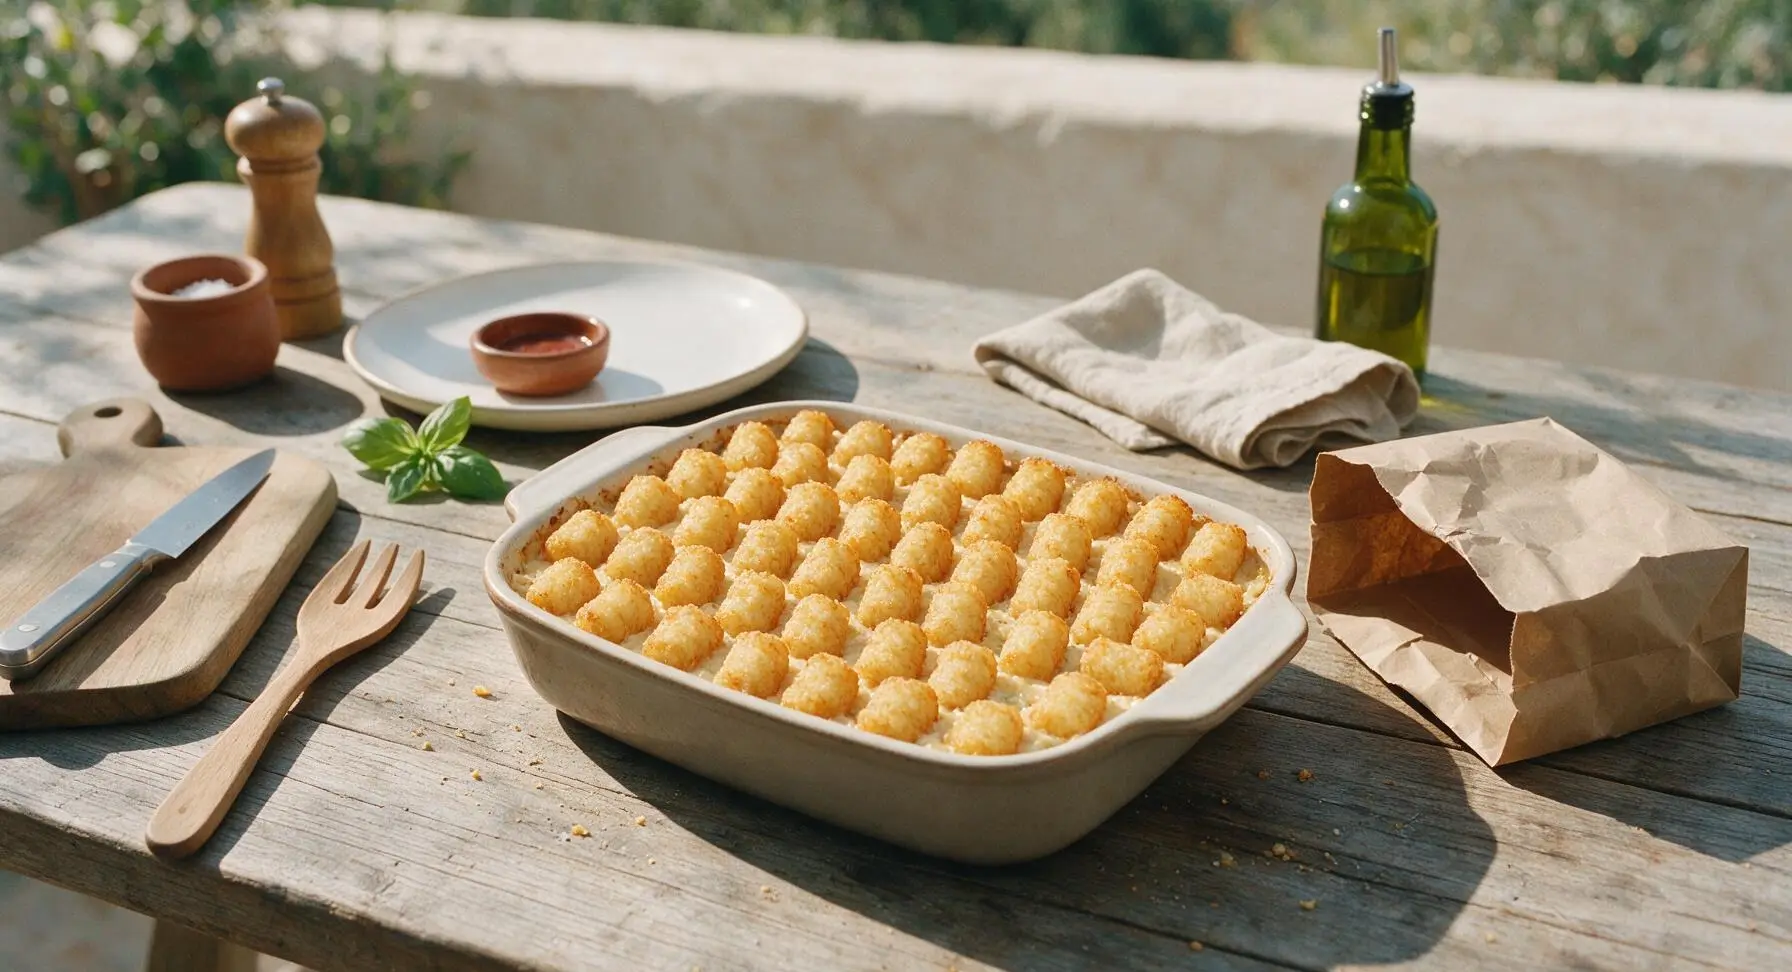
Arrange the frozen tater tots in tight, evenly spaced rows across the entire surface of the creamy filling, standing each tot on its narrow cut end for maximum crispness. Do not press the tots down into the filling—they should sit loosely on top to allow hot oven air to circulate around every side during baking.
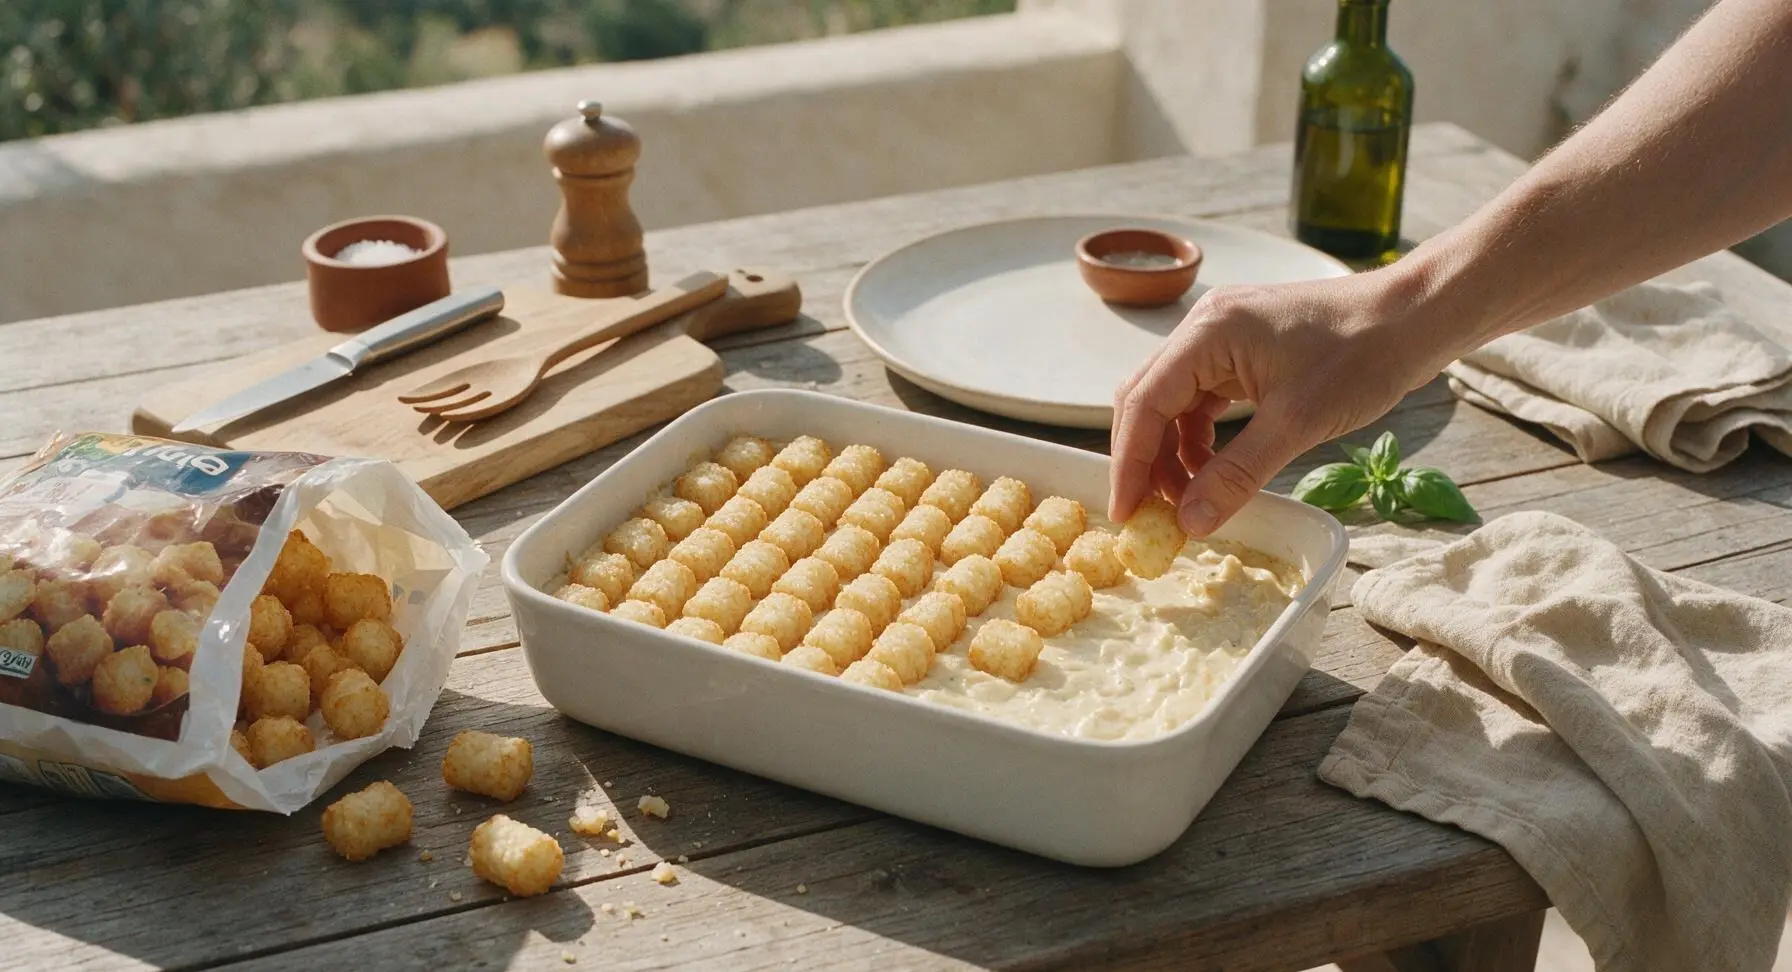
Initial Bake Uncovered
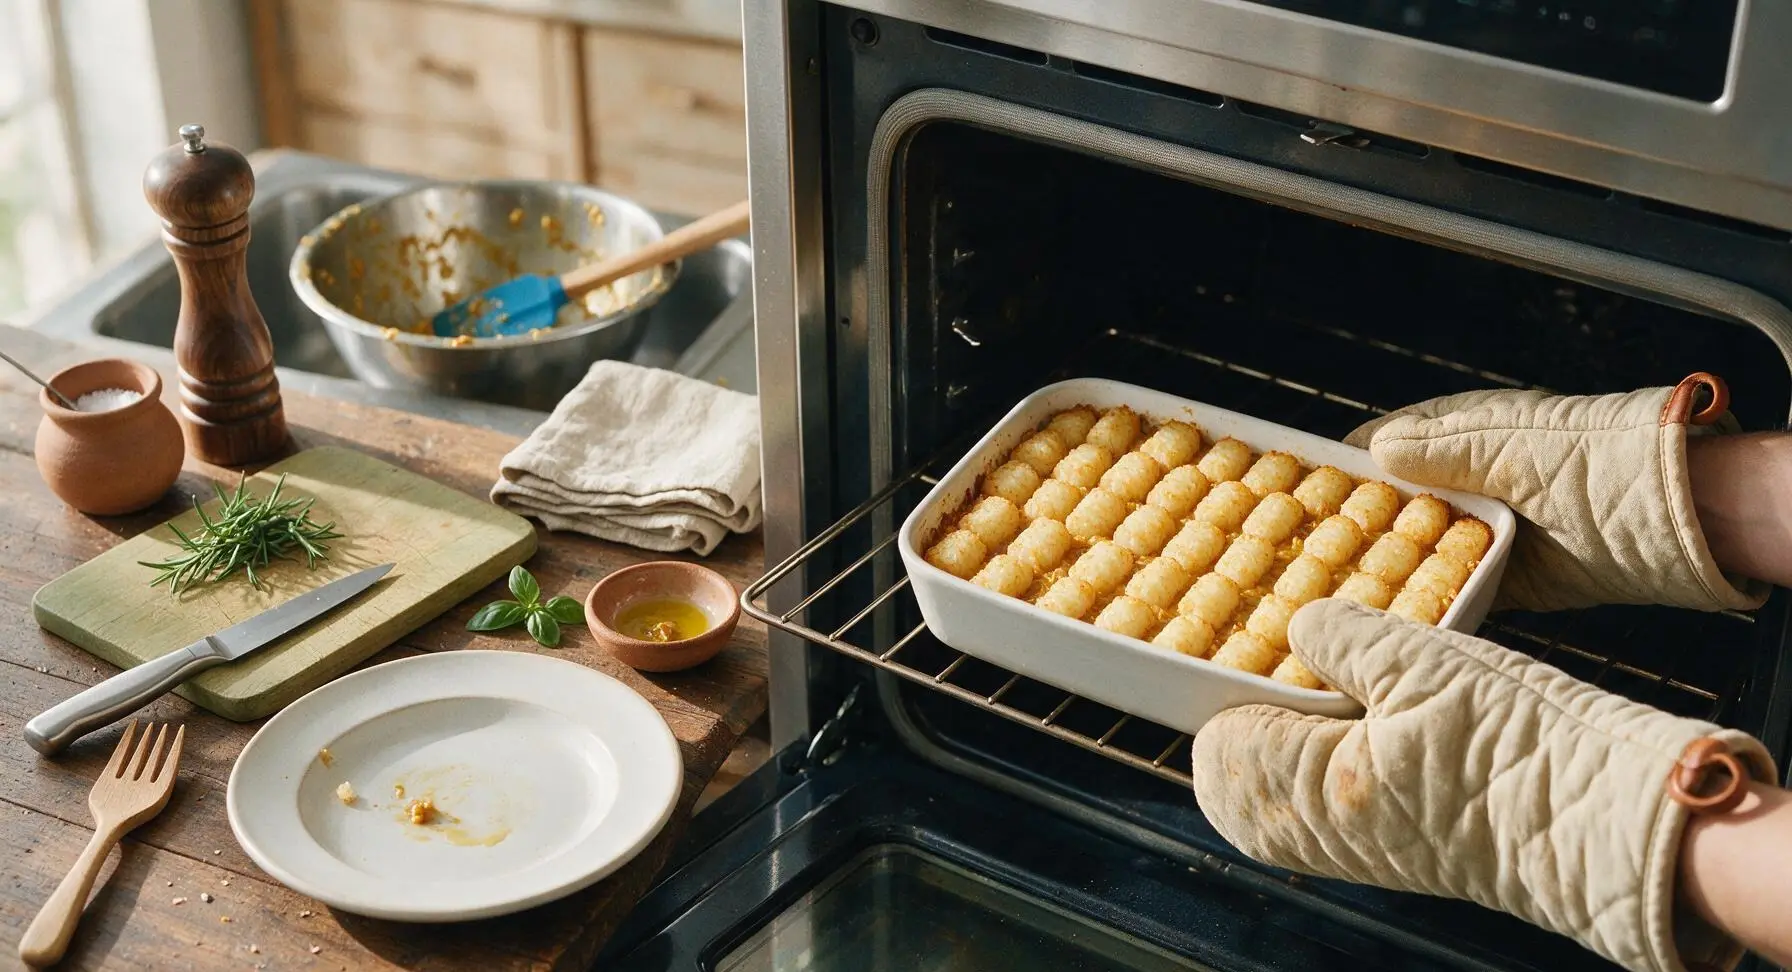
Carefully lift the assembled baking dish and place it on the middle rack of the preheated oven. Bake uncovered for 30 minutes, until the tater tots are pale golden around the edges and the filling is just starting to bubble up in small gaps between the tot rows.
Add Final Cheese Topping
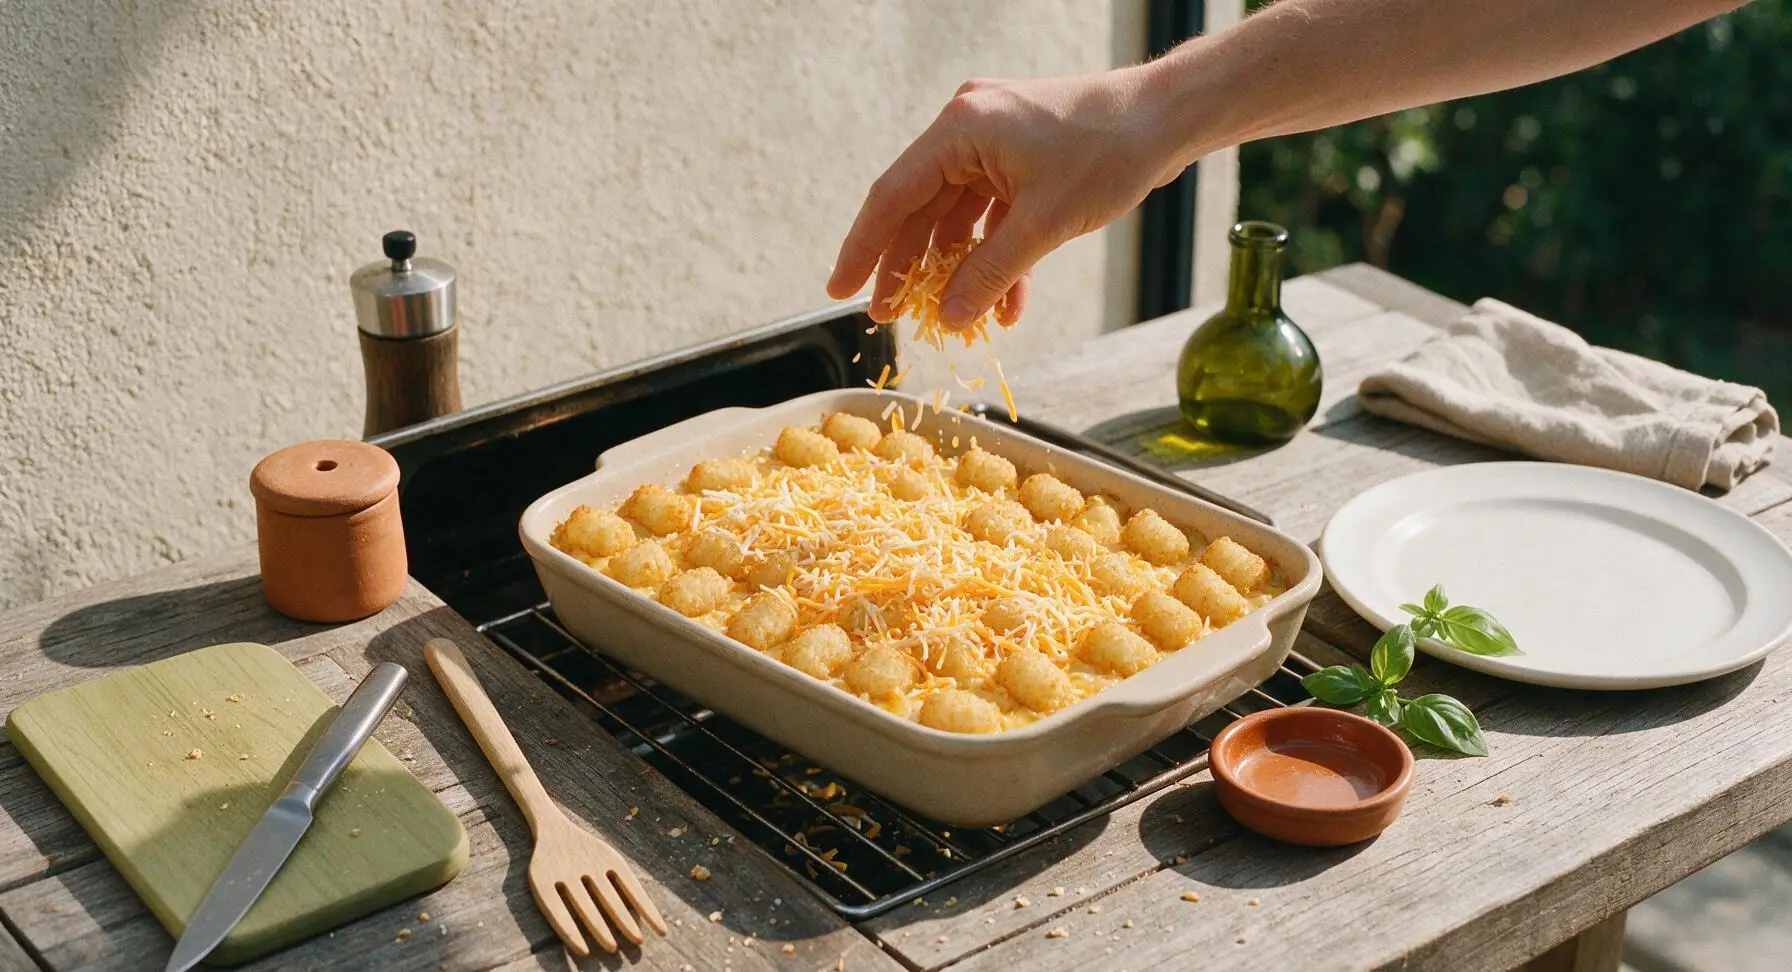
After 30 minutes of baking, carefully pull the oven rack out slightly to access the casserole. Sprinkle the remaining 1/2 cup of shredded sharp cheddar evenly across the top of the tater tots. Push the rack back into place and bake for 10 more minutes, until the tots are deep golden and crispy and the cheese is fully melted.
Rest Before Serving
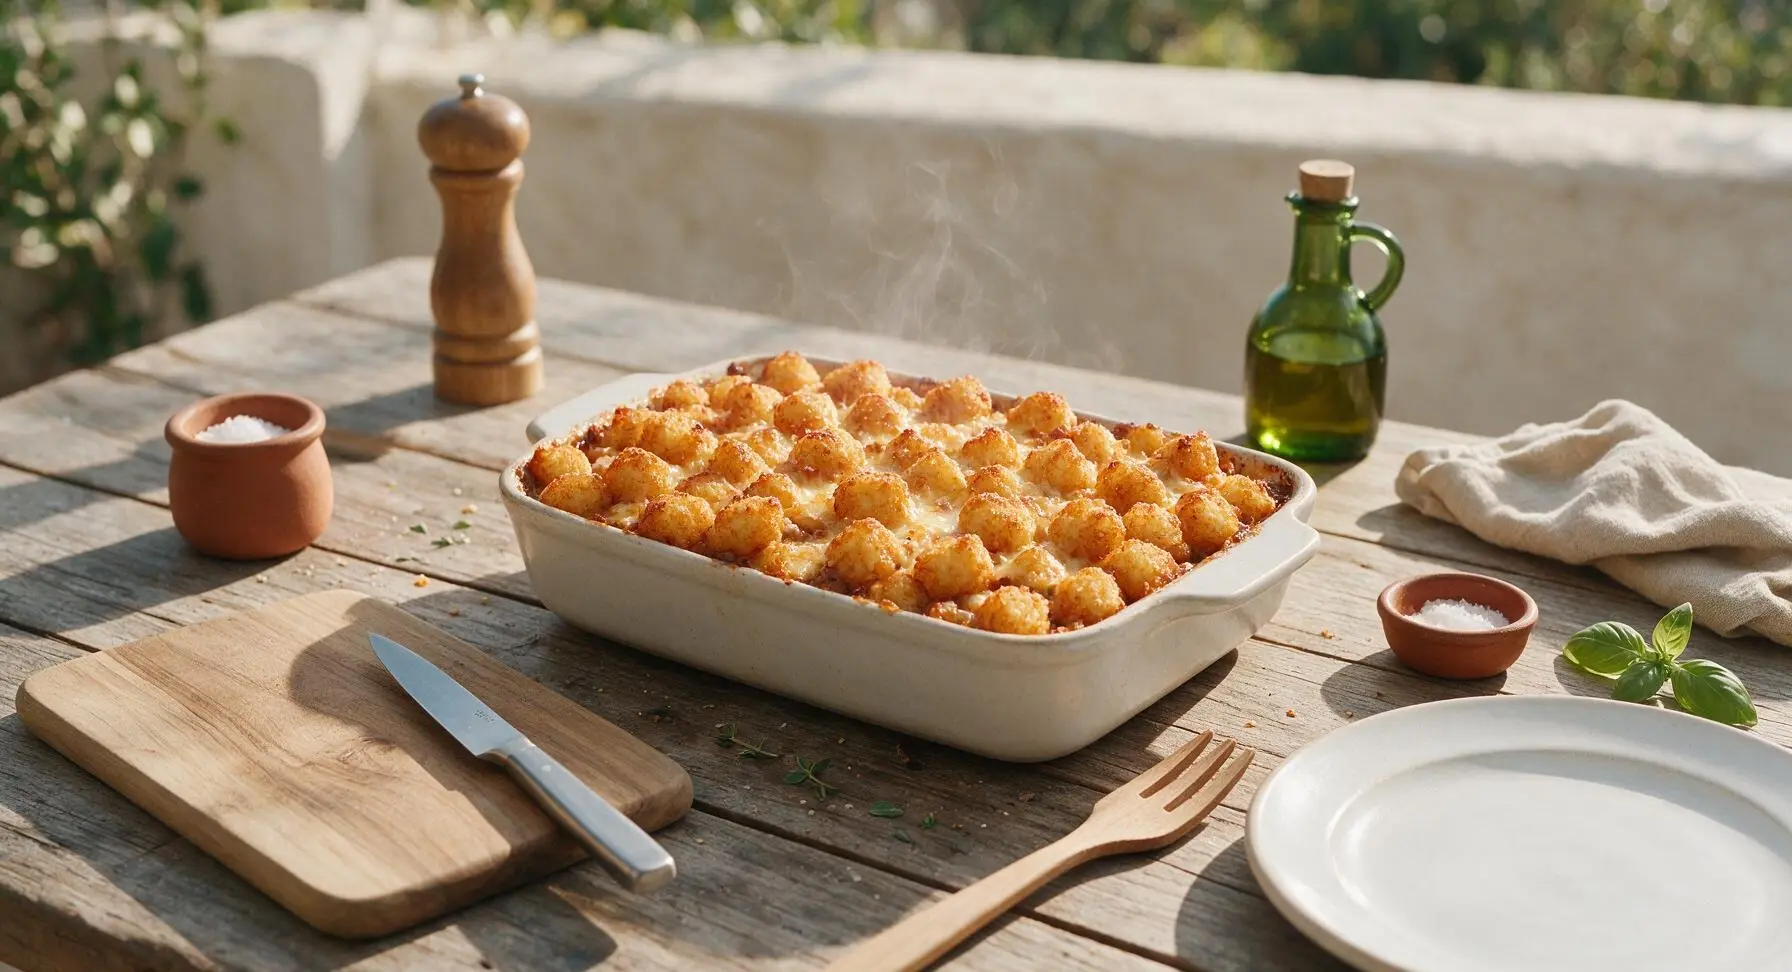
Once fully baked, use oven mitts to remove the casserole from the oven and set it back in its fixed center-back position on the counter. Let it rest for 5 full minutes to allow the creamy filling to set, which makes for clean, intact servings. Sprinkle the top with the remaining 1 teaspoon of fresh thyme leaves before serving.
Tips
2.Stand tater tots upright on their narrow end instead of laying them flat during assembly: this exposes more surface area to hot oven air, resulting in evenly crispy tots instead of soft, undercooked sides pressed against the filling.
3.Resist the urge to skip the 5-minute rest after baking: the hot creamy filling needs time to set, so scoops will hold their clean shape instead of oozing apart when served.






OMG this no meat tater tot casserole was such a game changer for our meatless Monday dinner! My three picky kids devoured it and asked for seconds, they didn’t even notice there was no ground beef in it. So easy to throw together after work too, only took 40 minutes total which is perfect for our chaotic weeknights. 10/10 will be making this on repeat!
Made this for my apartment complex potluck this weekend and it was the first dish completely gone! Everyone kept asking who brought the tater tot casserole and were low-key shocked it had zero meat. The creamy mushroom soup base with the crispy golden tots on top is SO good. I did add a little extra shredded sharp cheddar on top for the last 10 minutes of baking, zero regrets.
Added this to my Sunday meal prep rotation! Portioned it out into 5 containers for weekday lunches and it reheats like an absolute dream. No soggy tots, the flavor holds up perfectly all week. Super easy to make, minimal cleanup too since it’s all one dish. Will absolutely be a staple for me going forward.
Y’all, I’ve made this three times in the last two weeks. First for my sister’s baby shower, then for church potluck, then just for my own family because we couldn’t stop craving it. The recipe is so straightforward even my teen who’s never cooked before helped me make it last night. Only tiny thing is I wish it had a little more crunch on top, but that’s just personal preference!
As a lifelong vegetarian, I’m always on the hunt for cozy comfort food that doesn’t feel like a sad afterthought, and this totally delivered! It’s so rich and savory, I didn’t miss the meat at all. I swapped the regular cream of mushroom for the low-sodium version since I watch my salt intake, and it still tasted amazing.
Made this last night when I had 45 minutes to get dinner on the table between soccer practice and homework time. It was so simple! No fancy ingredients, I already had everything in my pantry and freezer. My husband said it’s better than the classic meat version he grew up eating. Win in my book!
Made this in my tiny dorm kitchen with just a toaster oven and it turned out perfect! Super cheap to make, feeds me and my three roommates for like $10 total. We ate the whole pan in one sitting lmao. Way better than dining hall food, will be making this nonstop this semester.
OMG y’all, I was skeptical about a no-meat tater tot casserole because my Texan family lives for the beefy version, but this blew all of us away! I added a little dash of smoked paprika and garlic powder to the cream layer to give it a little extra depth, and my dad went back for thirds. Even my super picky grandpa liked it! Can’t wait to make this for our next family cookout.