
non dairy waffle

intro
Crisp golden edges, soft fluffy centers, these dairy-free waffles skip milk and butter without losing rich, cozy flavor—quick enough for weeknights, special enough for weekend treats.
Ingredients
Steps
Preheat the Waffle Iron
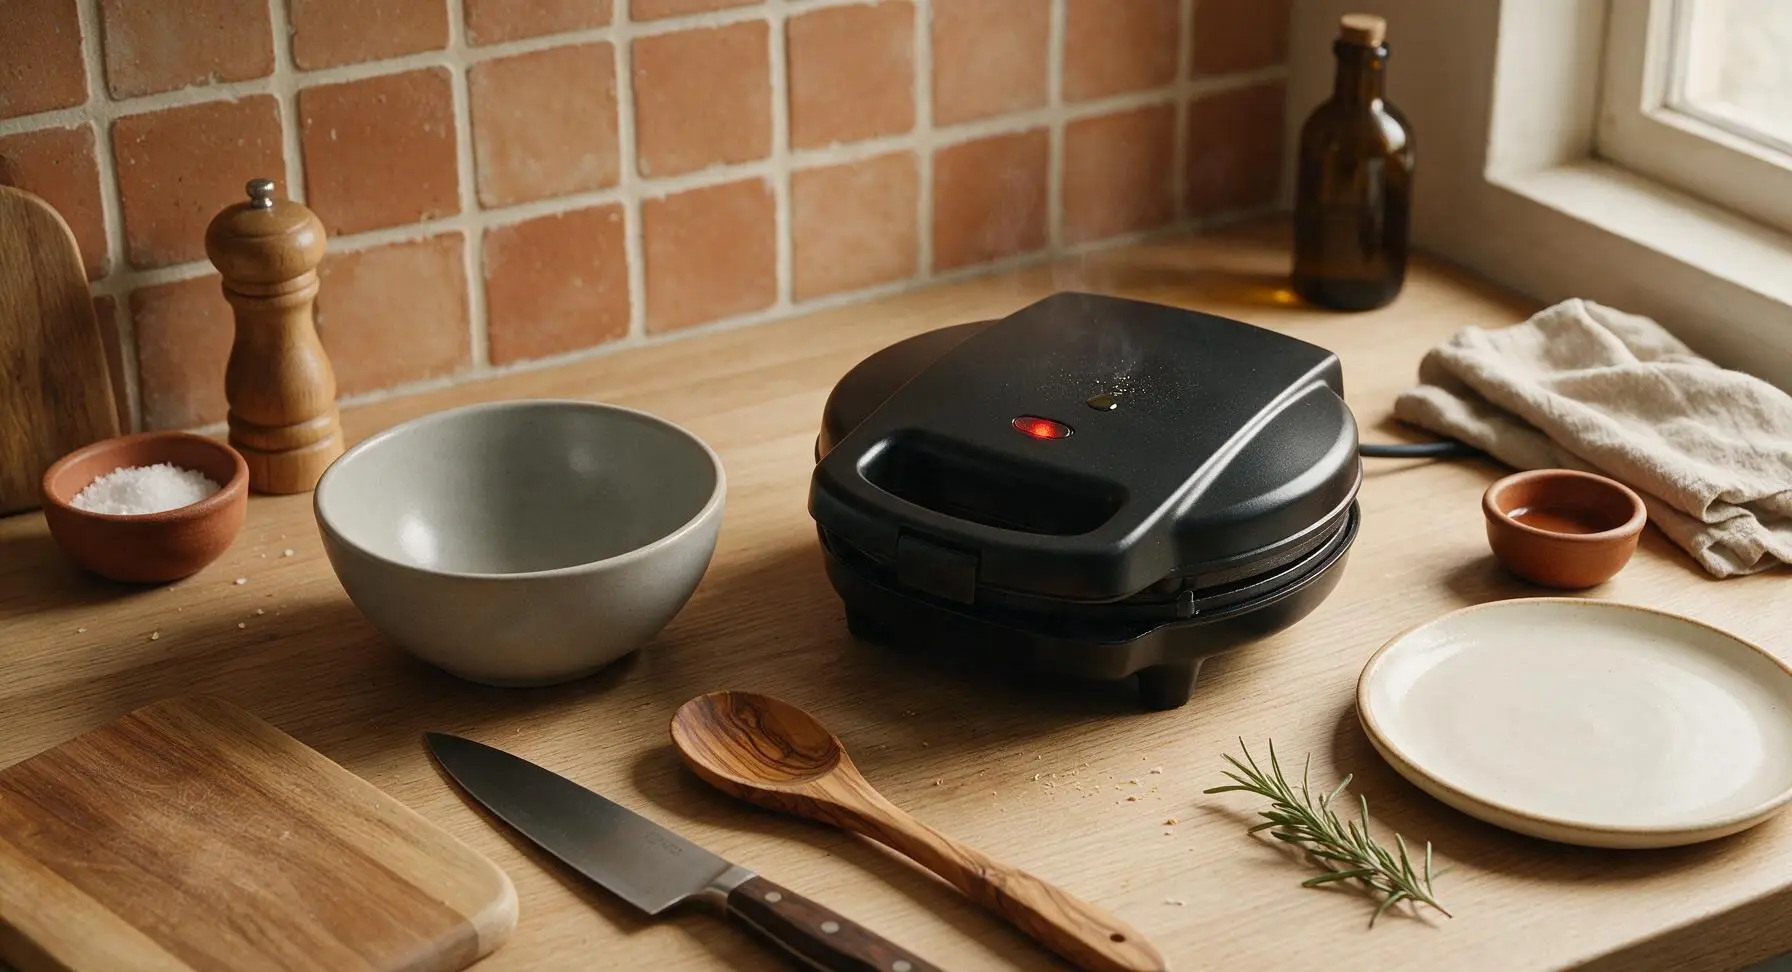
Plug in the matte black electric waffle iron and set it to medium-high heat (375°F/190°C). Allow it to preheat fully for 5 minutes, until the surface is hot enough that a single drop of water sizzles and evaporates immediately on contact. Avoid greasing the plates at this stage, as excess pooled oil will create uneven, soggy waffle edges.
Whisk Dry Ingredients
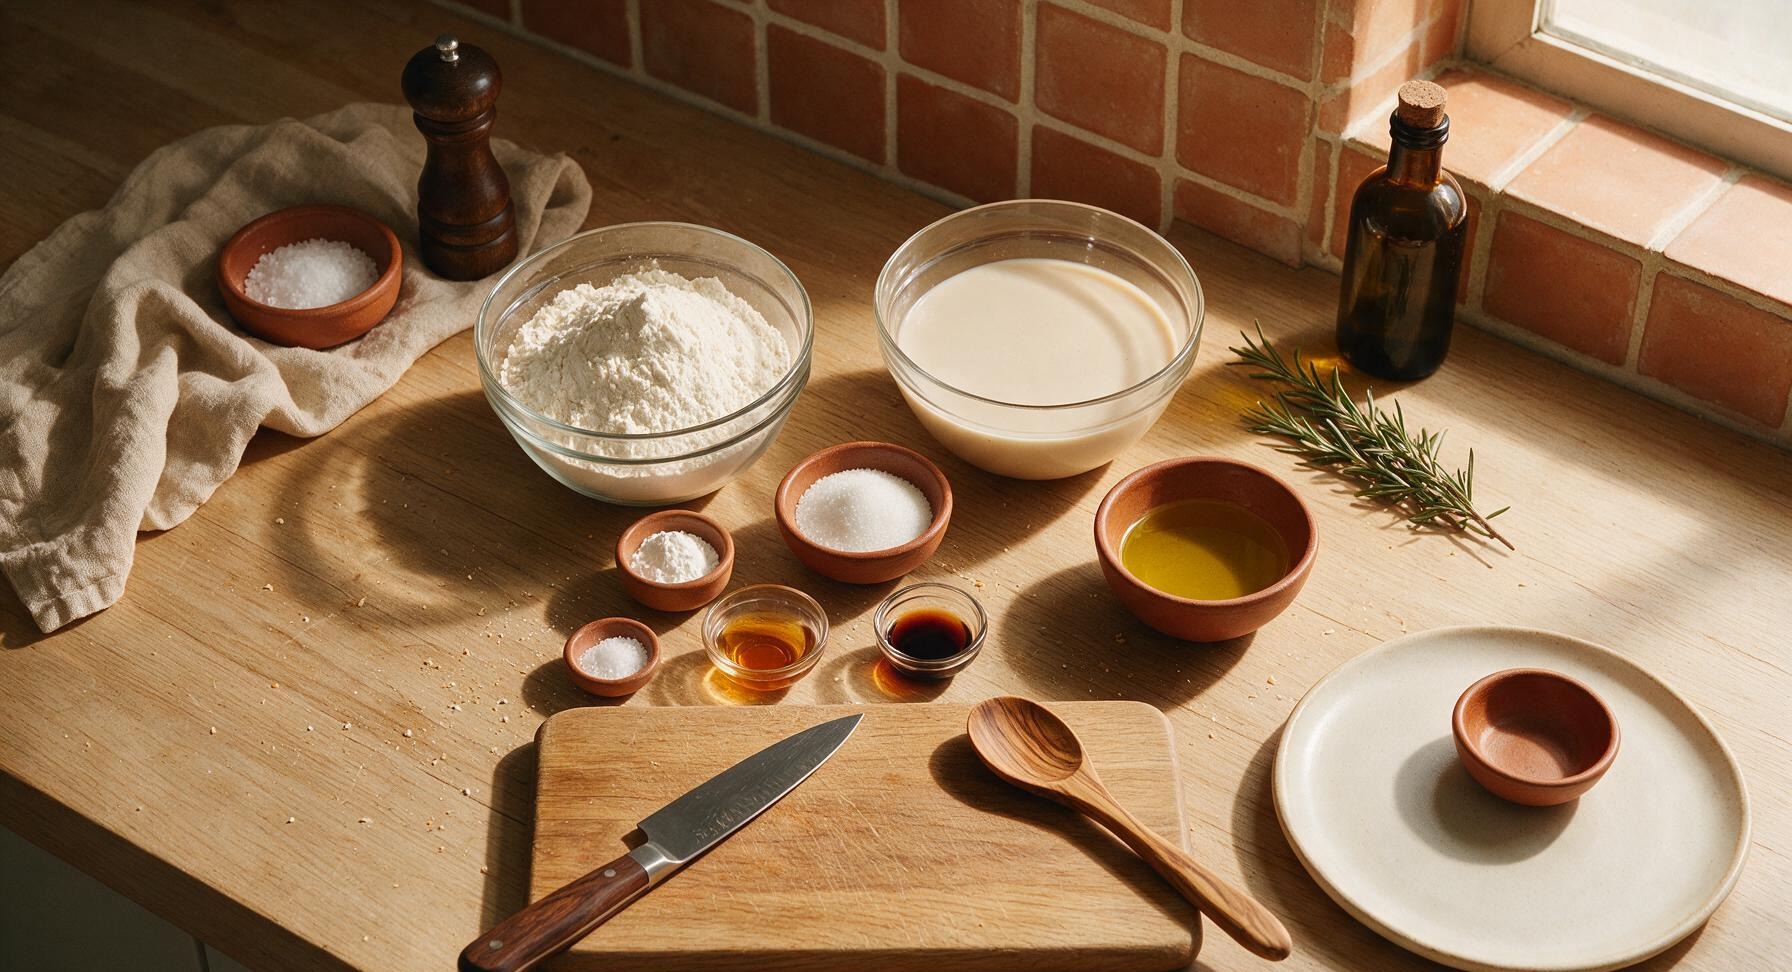
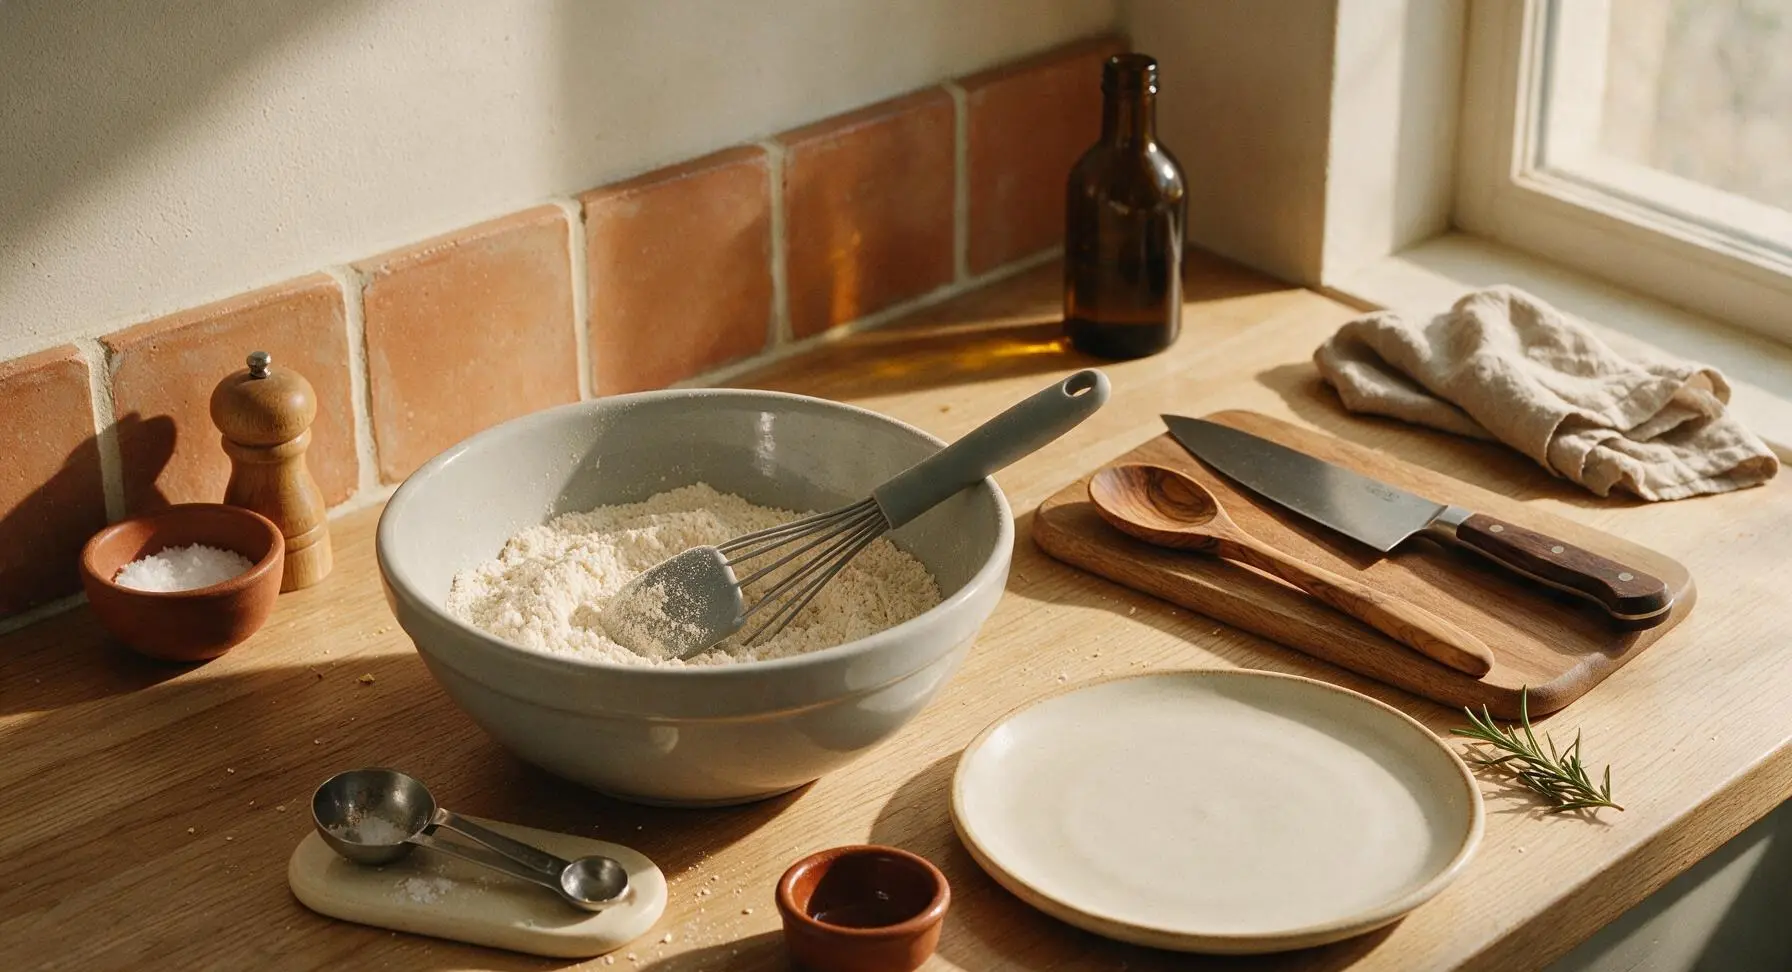
Add 2 cups (240g) all-purpose flour, 2 tsp baking powder, 1/2 tsp fine sea salt, and 2 tbsp (25g) granulated sugar to the light-grey ceramic mixing bowl. Retrieve the silicone whisk from the bamboo utensil holder, and stir the dry ingredients for 30 seconds until fully combined, with no visible clumps of baking powder remaining.
Mix Wet Ingredients
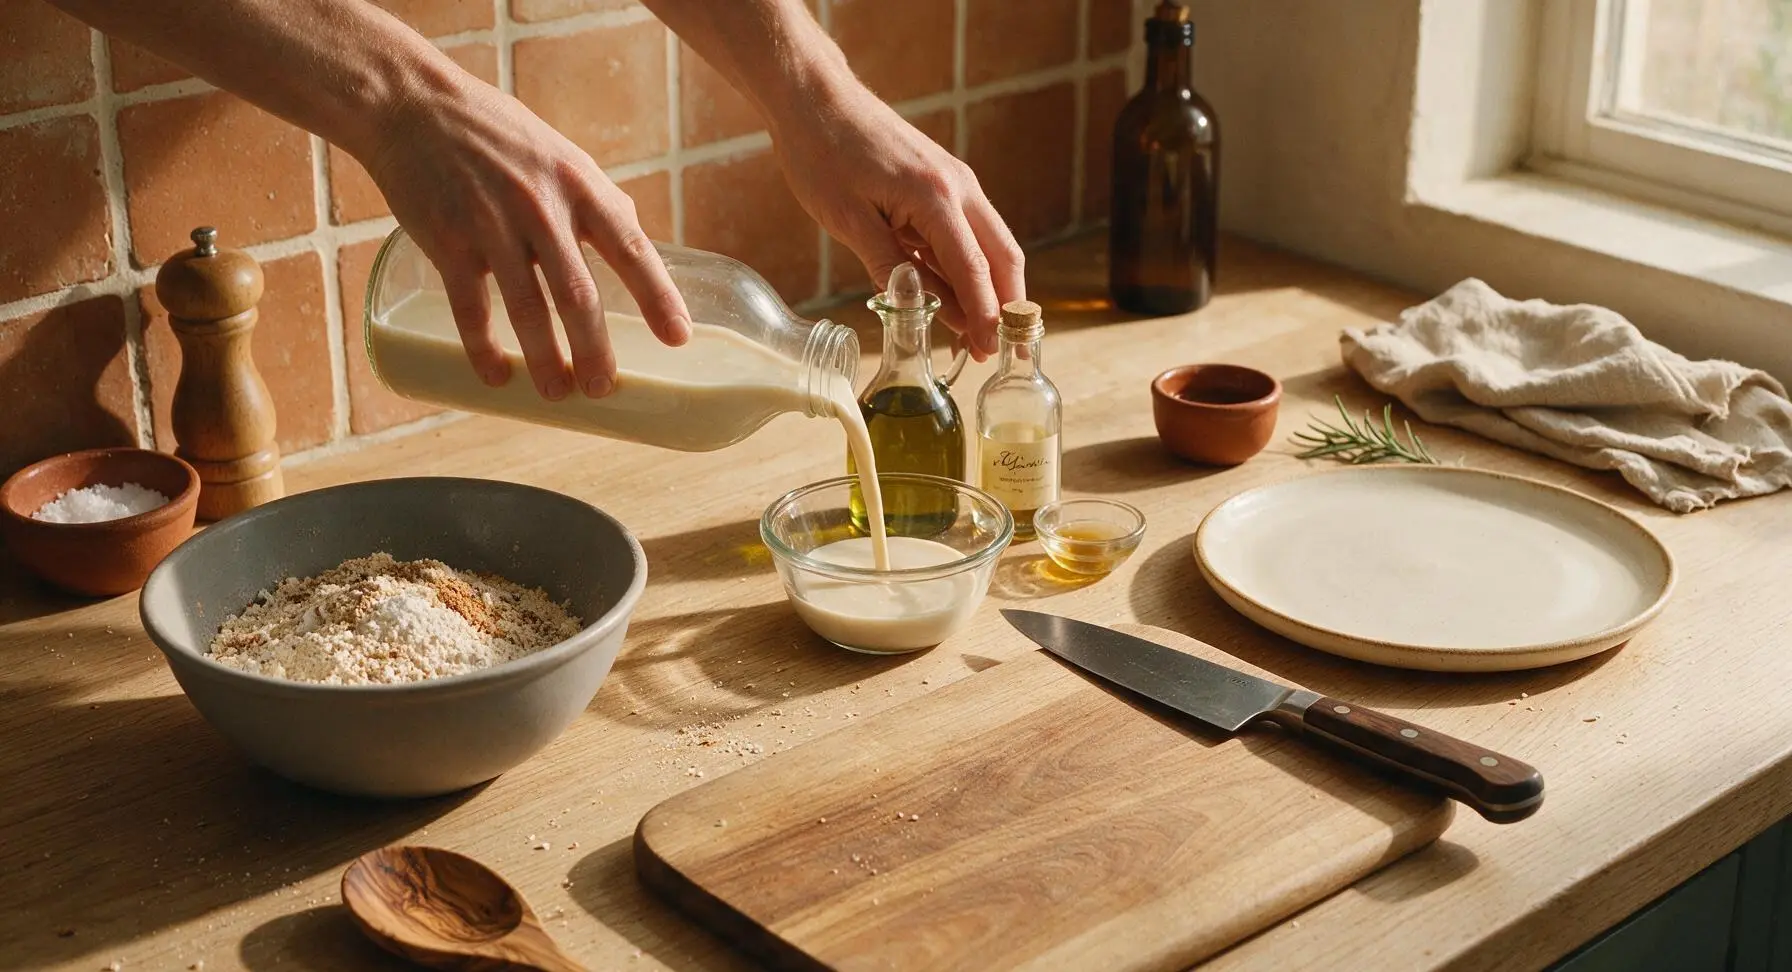
In the small clear glass prep bowl, combine 1.5 cups (360ml) unsweetened plain oat milk, 1/4 cup (60ml) avocado oil, 1 tsp apple cider vinegar, and 1 tsp pure vanilla extract. Stir briefly to combine, then let the mixture rest for 2 minutes. Tiny bubbles will form on the surface as the vinegar reacts with the oat milk to create a tangy, buttermilk-like base that lightens the waffle crumb.
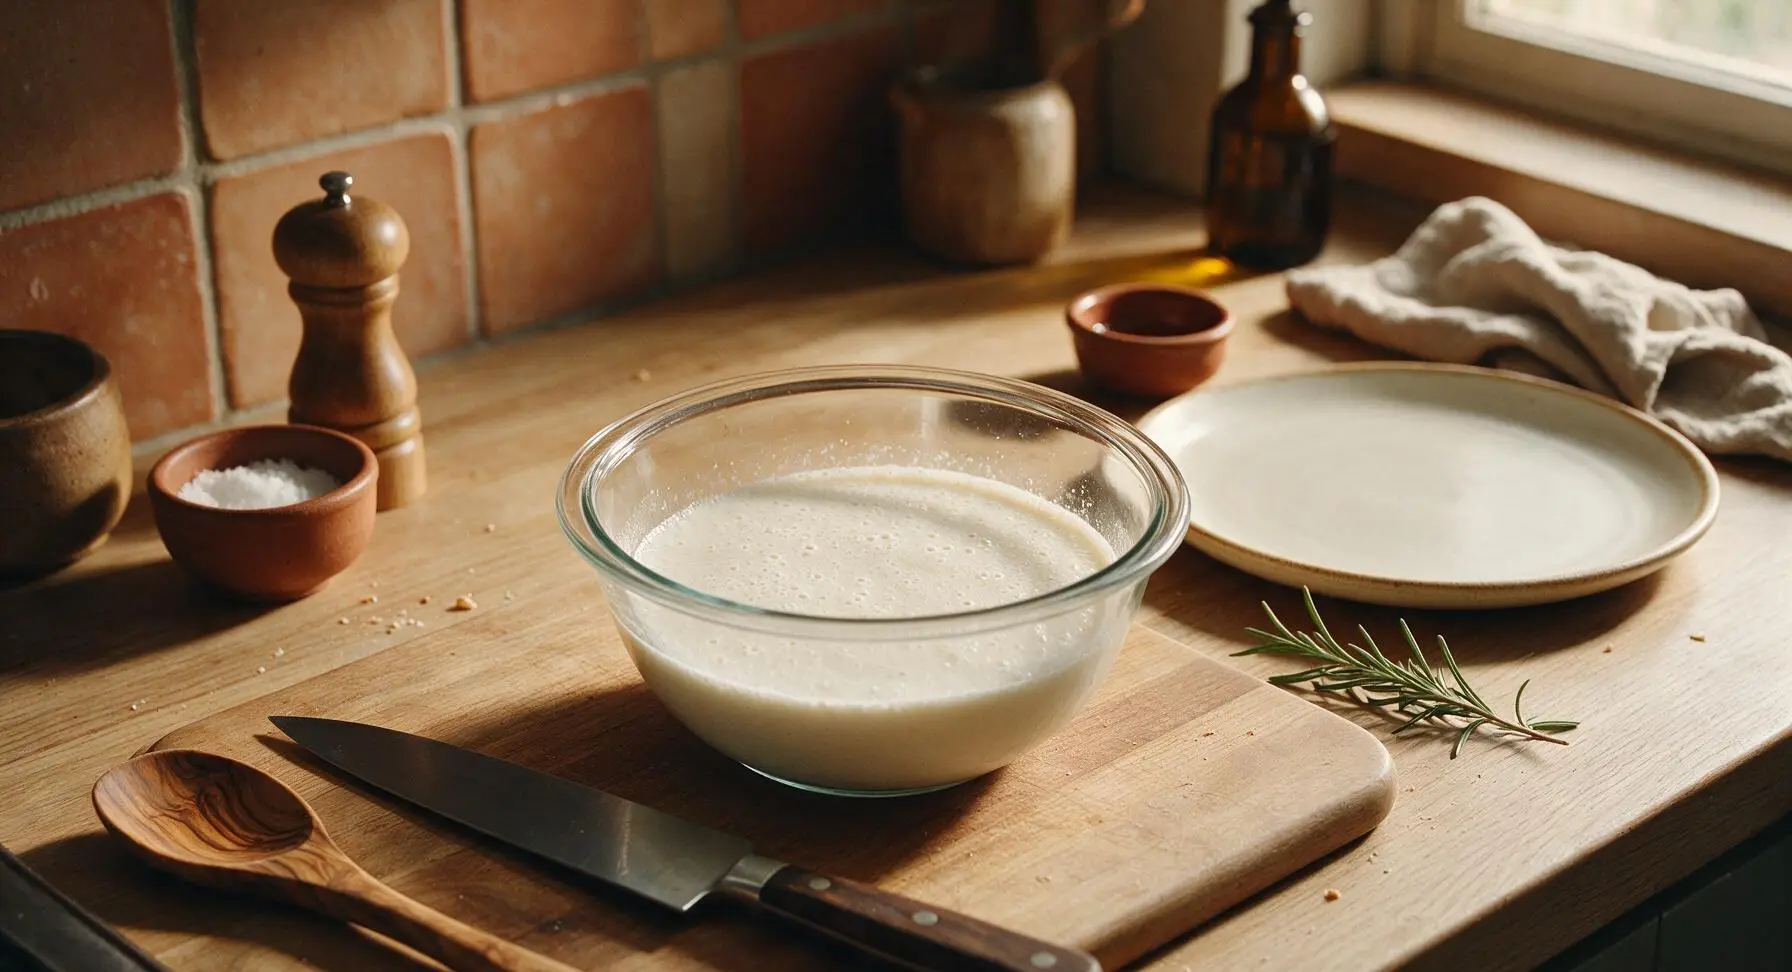
Combine Wet and Dry
Pour the entire frothy wet ingredient mixture into the mixing bowl with the dry ingredients. Retrieve the silicone spatula from the bamboo utensil holder, and use it to gently fold the ingredients together, stirring only until no large dry flour streaks remain. The batter will be thick and slightly lumpy—do not overmix, as this develops gluten and creates tough, dense waffles.
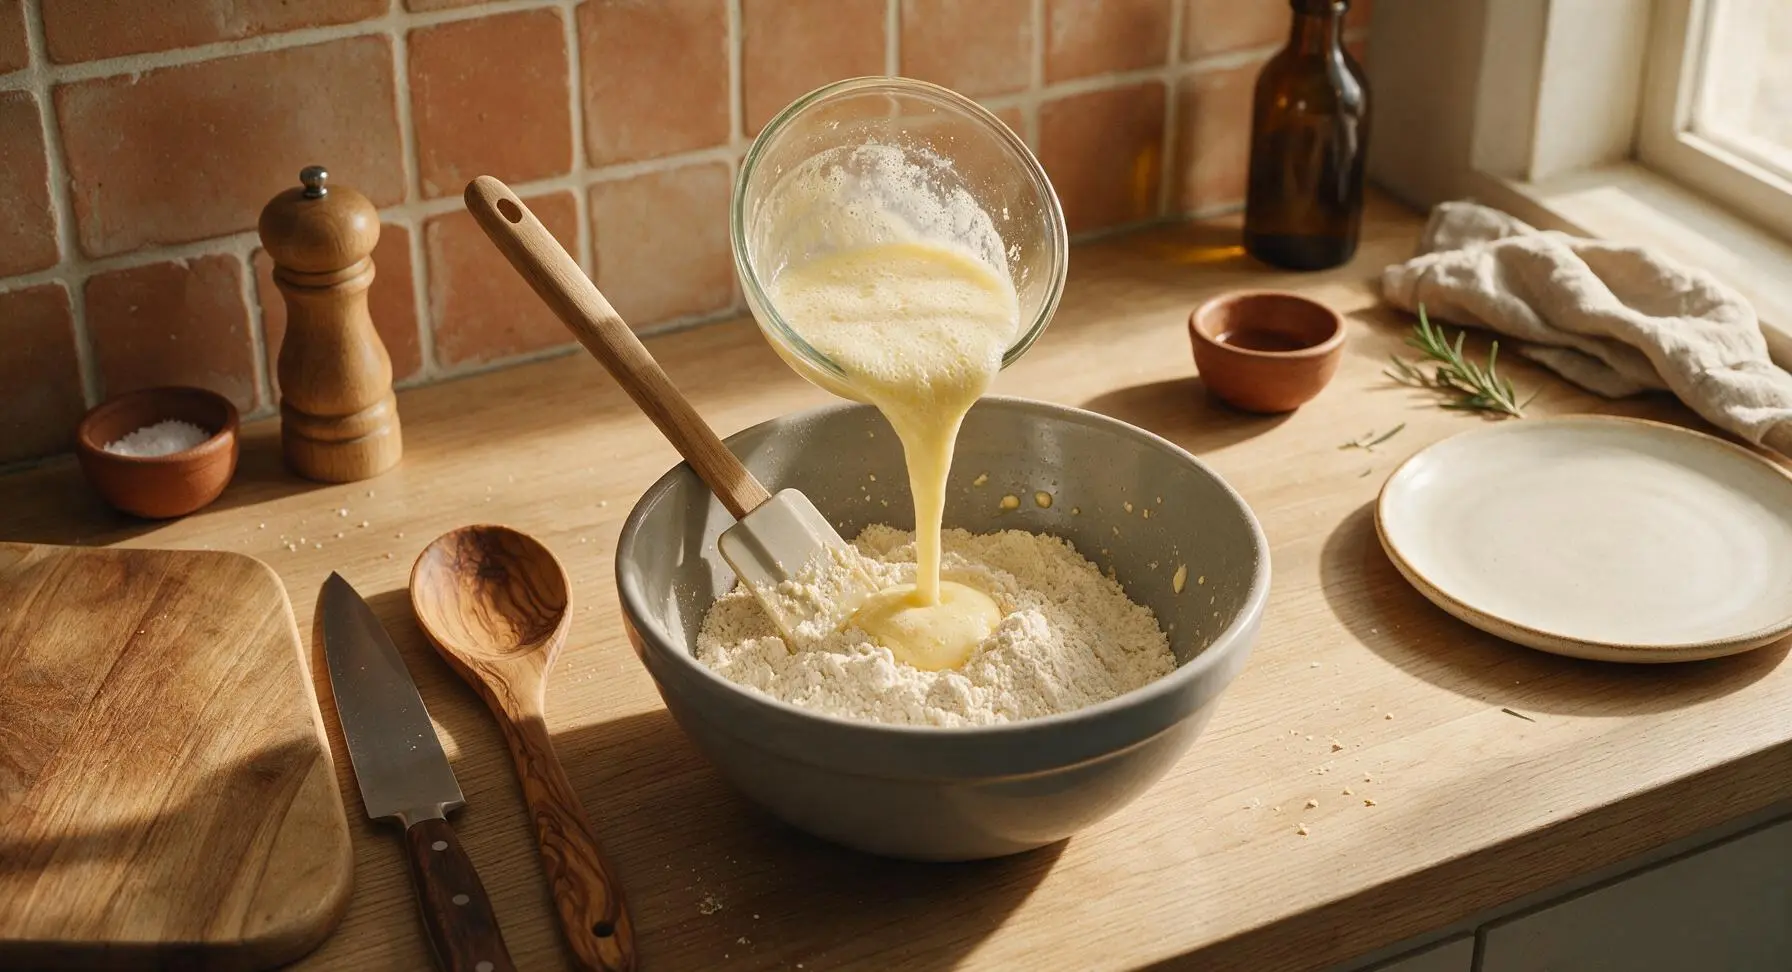
Let Batter Rest
Set the mixed, lumpy batter aside in the mixing bowl for 5 minutes at room temperature. This rest allows the flour to fully hydrate and the baking powder to activate, creating a lighter, fluffier waffle interior. Small bubbles rising across the batter surface will signal it is ready to cook.
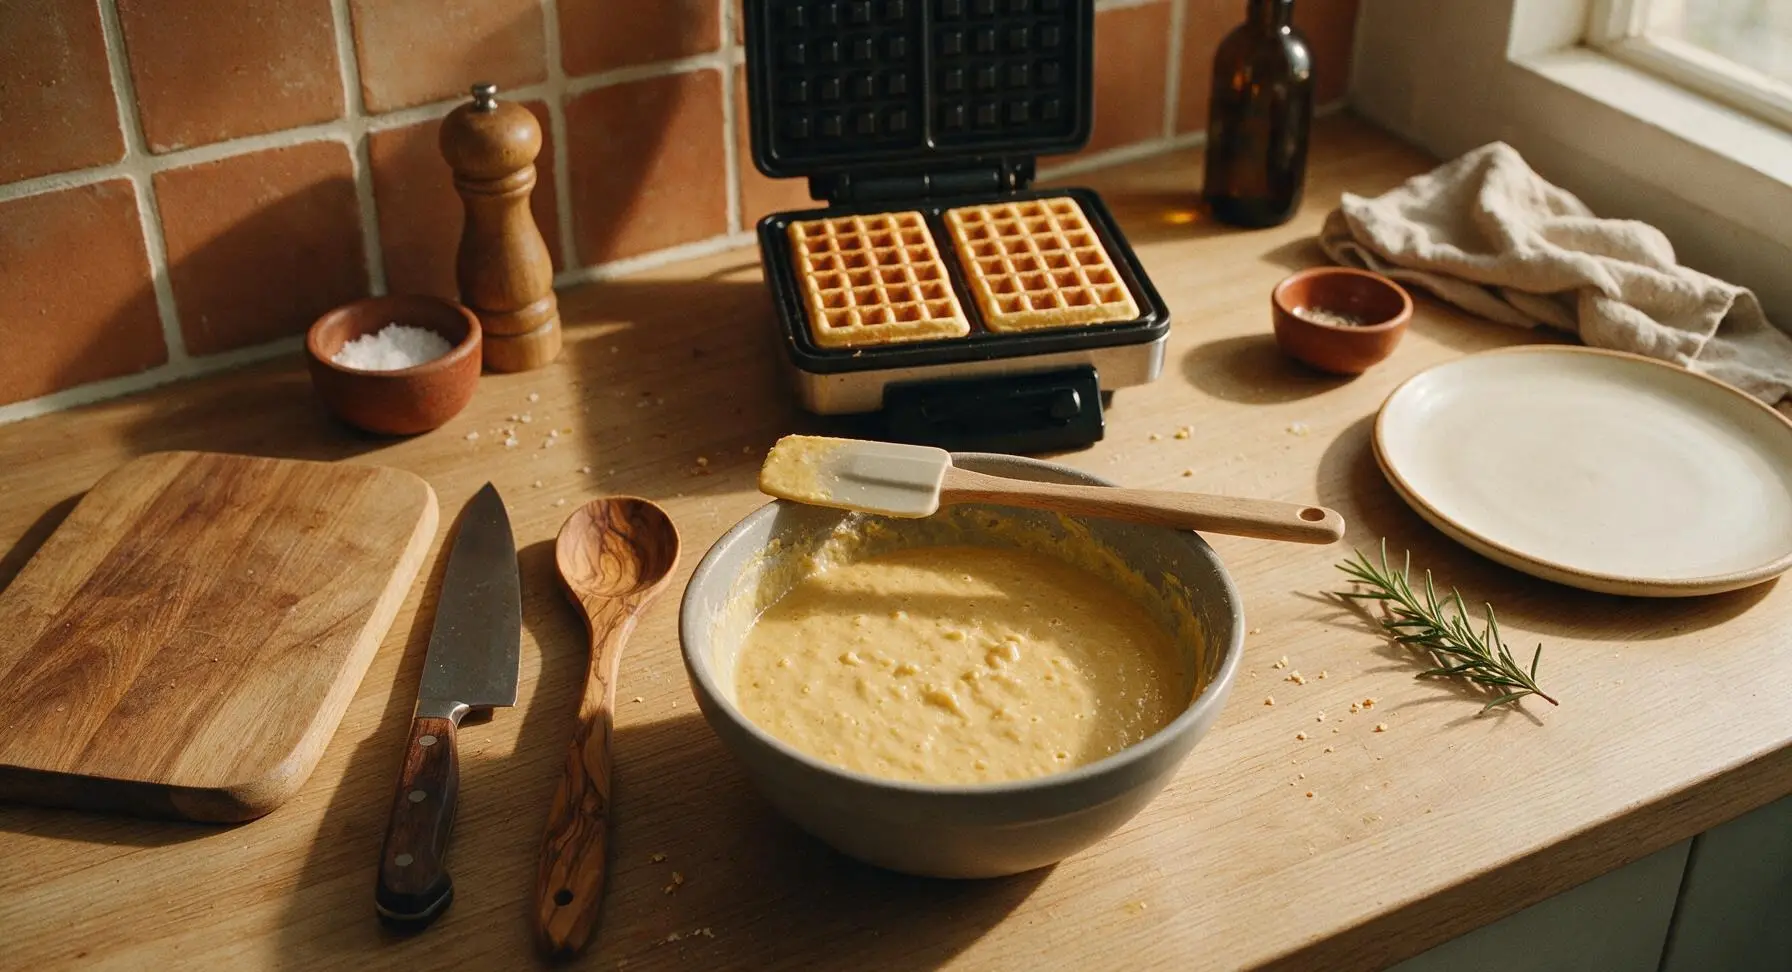
Pour Batter to Cook
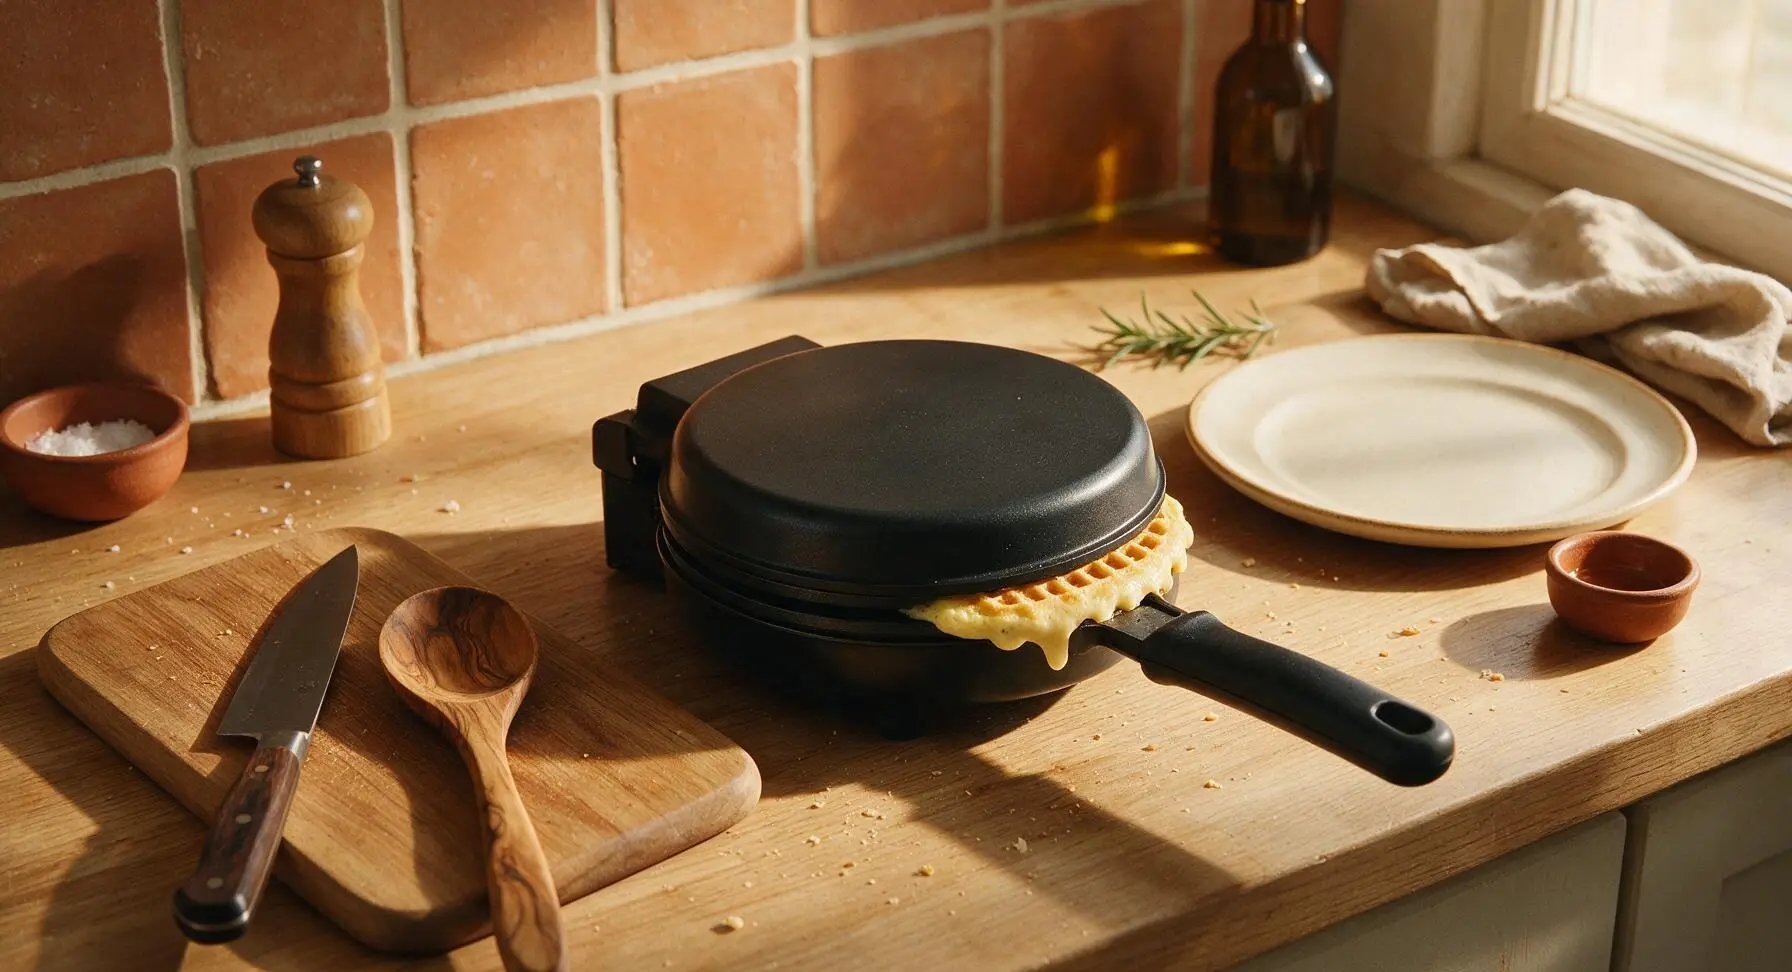
Lightly coat the preheated waffle iron plates with a thin layer of avocado oil, wiping off any excess with a corner of the cream kitchen towel. Use the 1/4 cup stainless steel measuring cup to scoop 1/2 cup of batter per waffle, pouring it directly into the center of the lower waffle plate. Close the lid immediately without pressing down hard—pressing squeezes out batter and creates thin, tough waffles instead of fluffy centers.
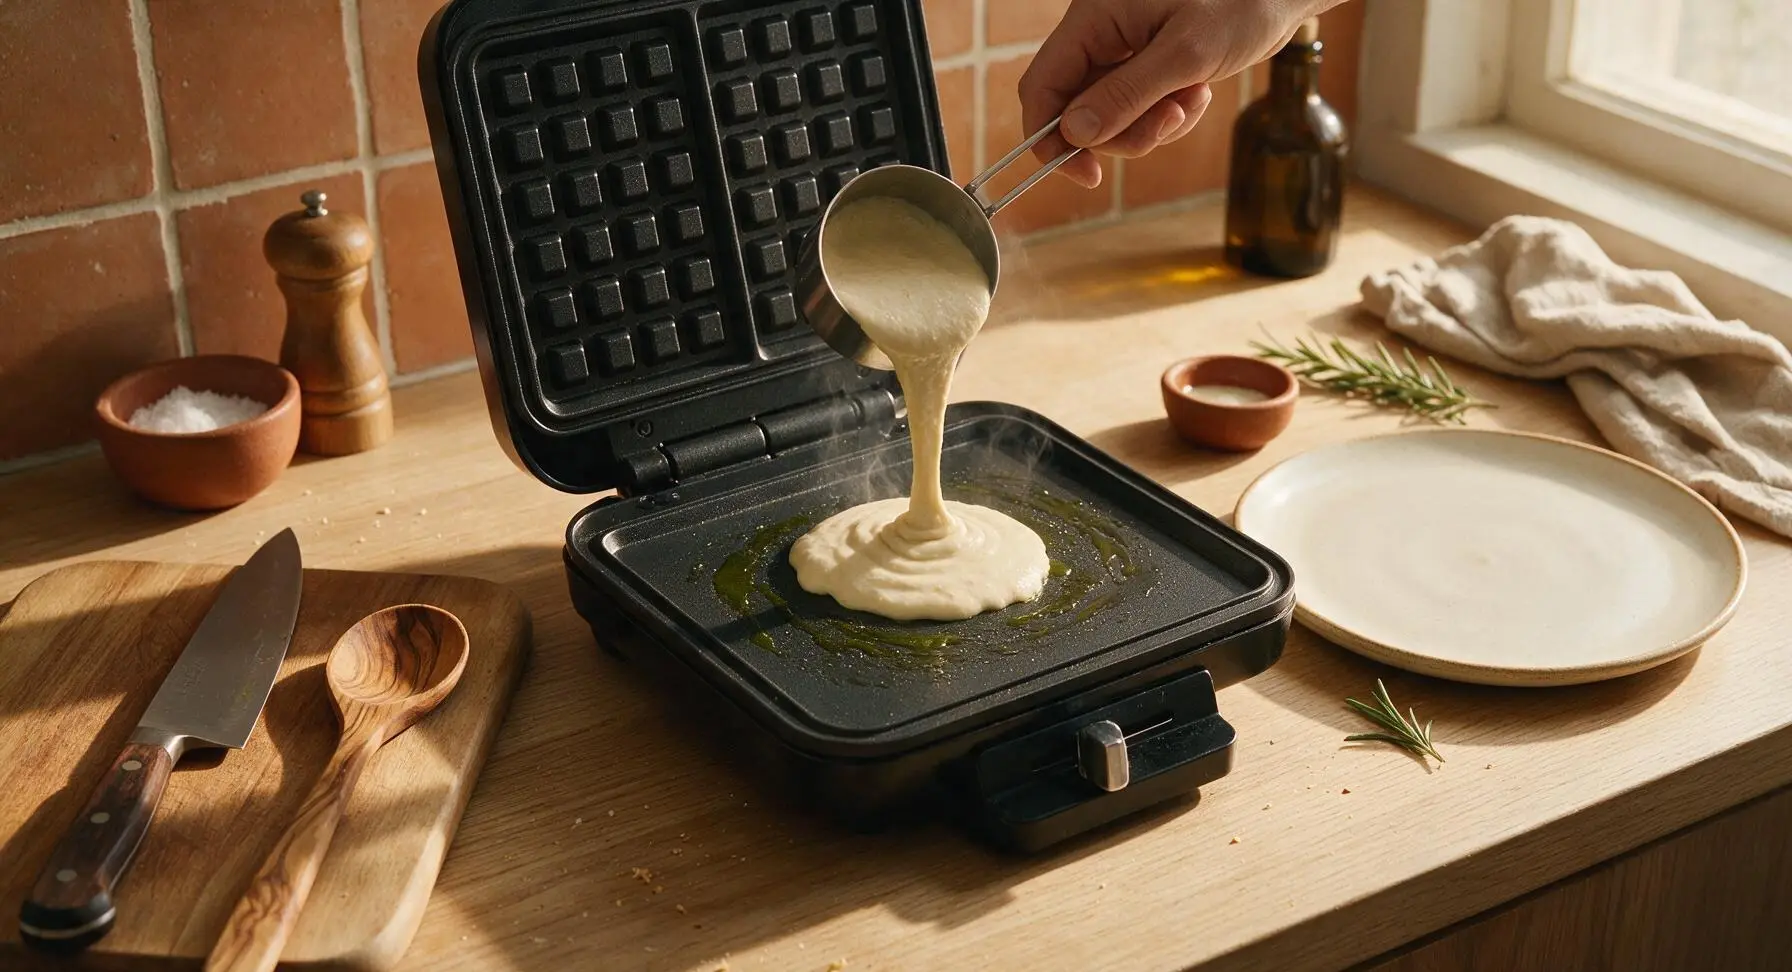
Cook Until Crisp
Cook each waffle for 3 to 3.5 minutes, until steam stops escaping from the edges of the waffle iron. Do not open the lid early, as this will cause the waffle to split and stick to the plates. A perfectly done waffle will be deep golden brown, crisp to the touch, and pull away easily from the plates with no resistance.
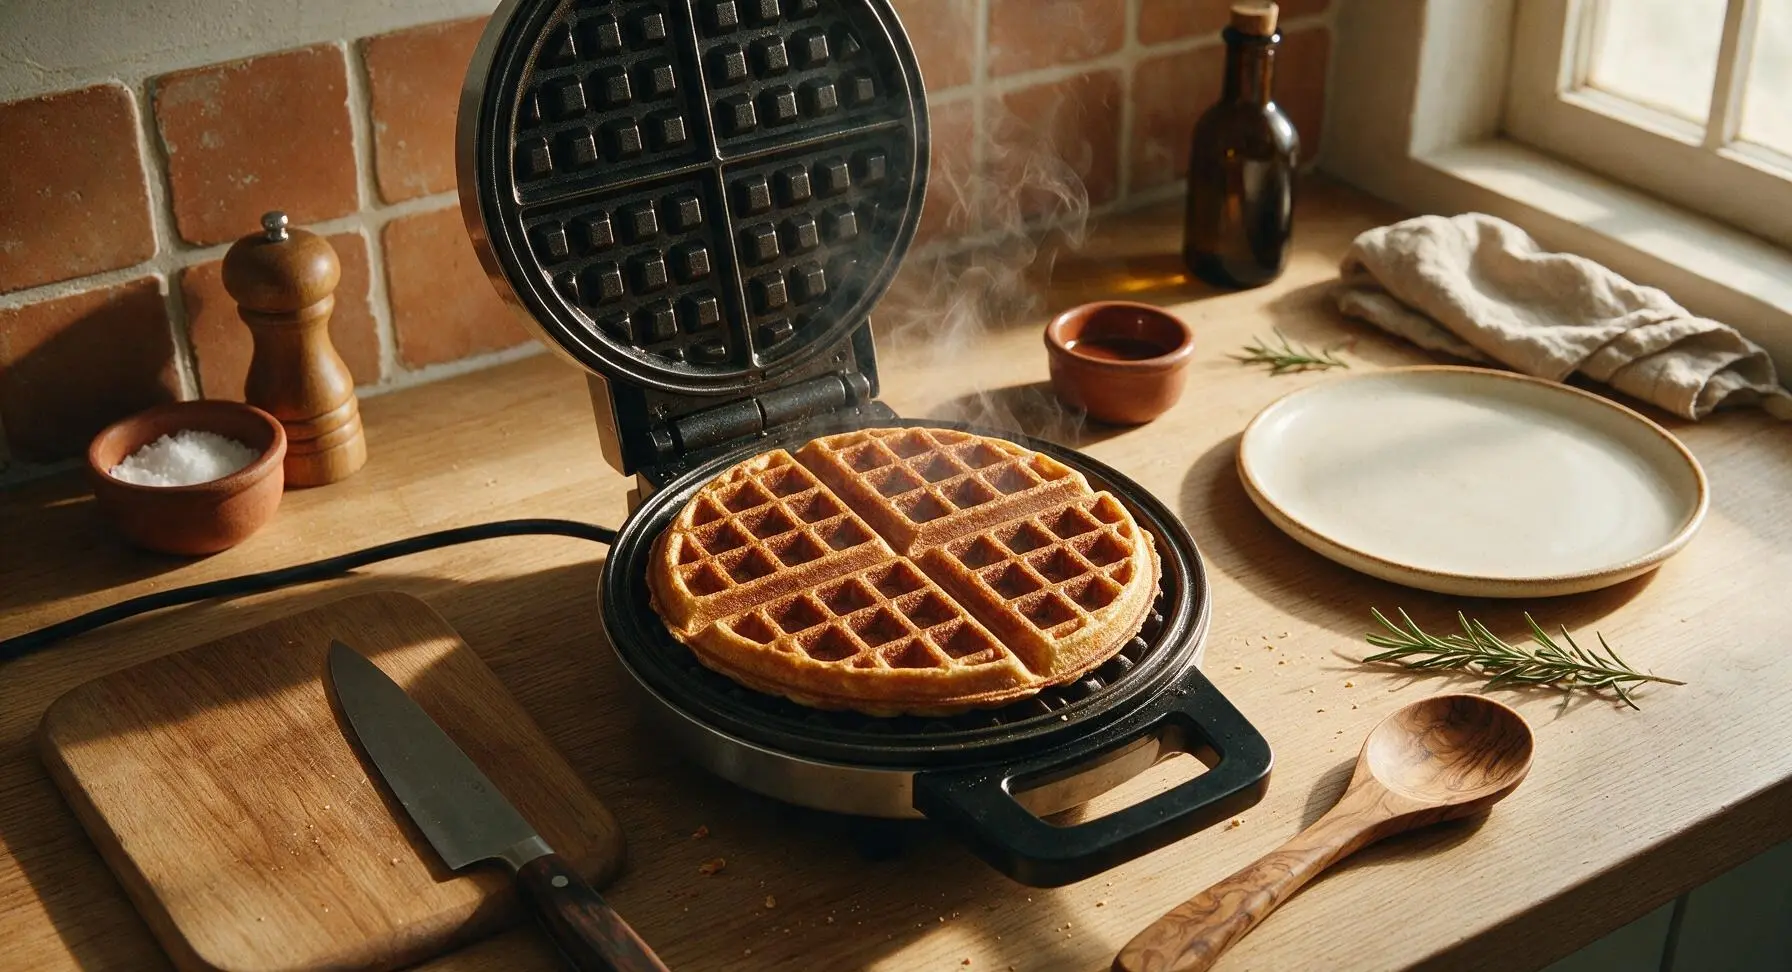
Plate and Garnish
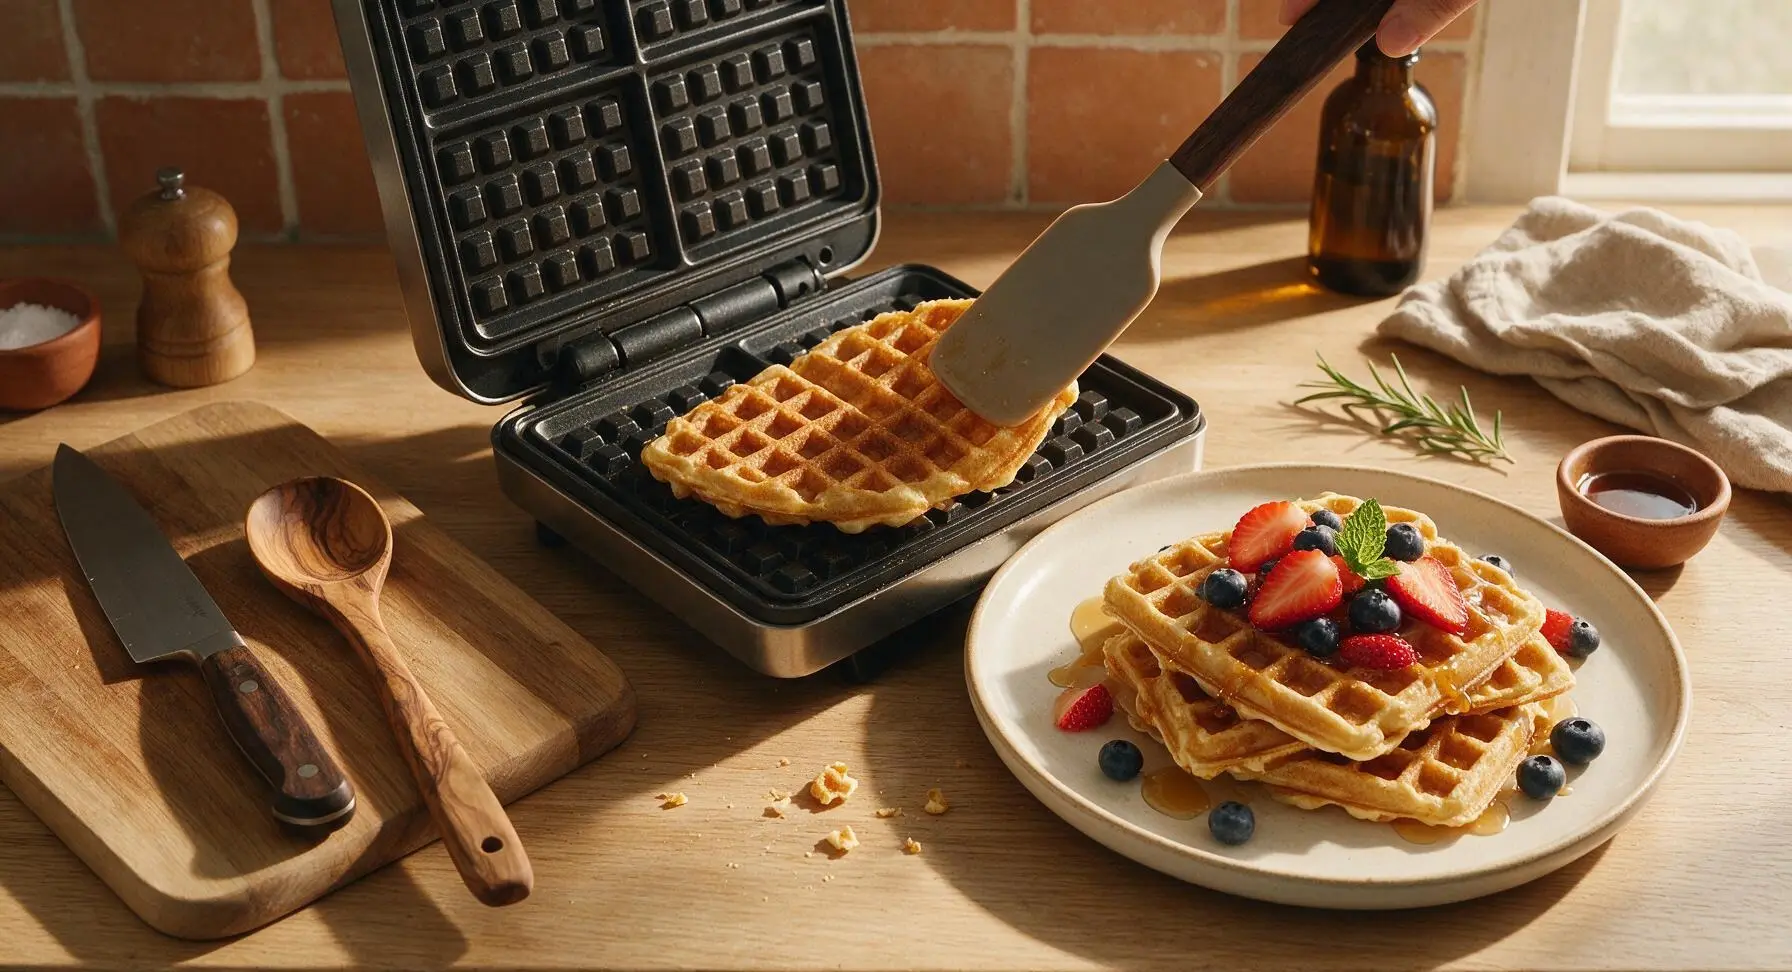
Use the silicone spatula to lift the cooked waffle from the iron and transfer it to the matte cream ceramic dinner plate. Repeat the cooking process with remaining batter, stacking cooked waffles loosely on the plate. Top with fresh sliced strawberries, blueberries, a light drizzle of maple syrup, and a single mint leaf before serving warm.
Tips
2.Keep cooked waffles crisp while making batches: Place finished waffles on a wire rack set over a baking sheet in a 200°F (95°C) oven instead of stacking them directly on a plate. Stacking traps steam between waffles, which quickly softens crisp edges into soggy, limp texture.
3.Use neutral-flavored oil for the best results: Avocado, canola, or refined coconut oil work perfectly, as they do not add overpowering flavor. Strongly flavored oils like extra virgin olive oil or toasted sesame oil will alter the classic mild waffle taste.






OMG these are SO good! My kids gobbled up a whole batch before I even could get the maple syrup on the table. I’ve tried so many non-dairy waffle recipes that come out soggy, but these stay crispy even after 10 minutes on the plate. Total game changer for our busy school morning meal prep!
Super easy recipe, whipped these up on a camping trip with my portable waffle iron. Used oat milk since that’s what I had on hand, and they came out perfectly crispy with that little golden edge I love. Only thing I added was a dash of cinnamon, would 10/10 make again.
Taste was great, but my first batch stuck really bad to my waffle maker. Did I not spray enough oil? I used avocado oil spray like I usually do for waffles, wondering if I needed to let the iron heat longer?
Made these for a potluck brunch last weekend and everyone was asking for the recipe! I topped them with fresh berries and coconut whipped cream, and even my dairy-eating friends said they were better than regular buttermilk waffles. Crispy on the outside, fluffy inside, zero sogginess. 10/10
So grateful for this recipe! My kid has a severe dairy allergy, and most waffle mixes out there have hidden milk ingredients. These were so quick to throw together after soccer practice, and he said they taste just like the ones we used to get at our old diner. Will be a weekly staple for us.
Just made these for the first time and wow, the texture is insane! I was worried non-dairy waffles would be gummy or bland, but these are crisp all the way through, even when I loaded them up with chocolate chips and peanut butter. Cook time was spot on too—12 minutes total for a full batch in my standard waffle maker, perfect for a quick weekday breakfast.