
nostalgia waffle maker
intro
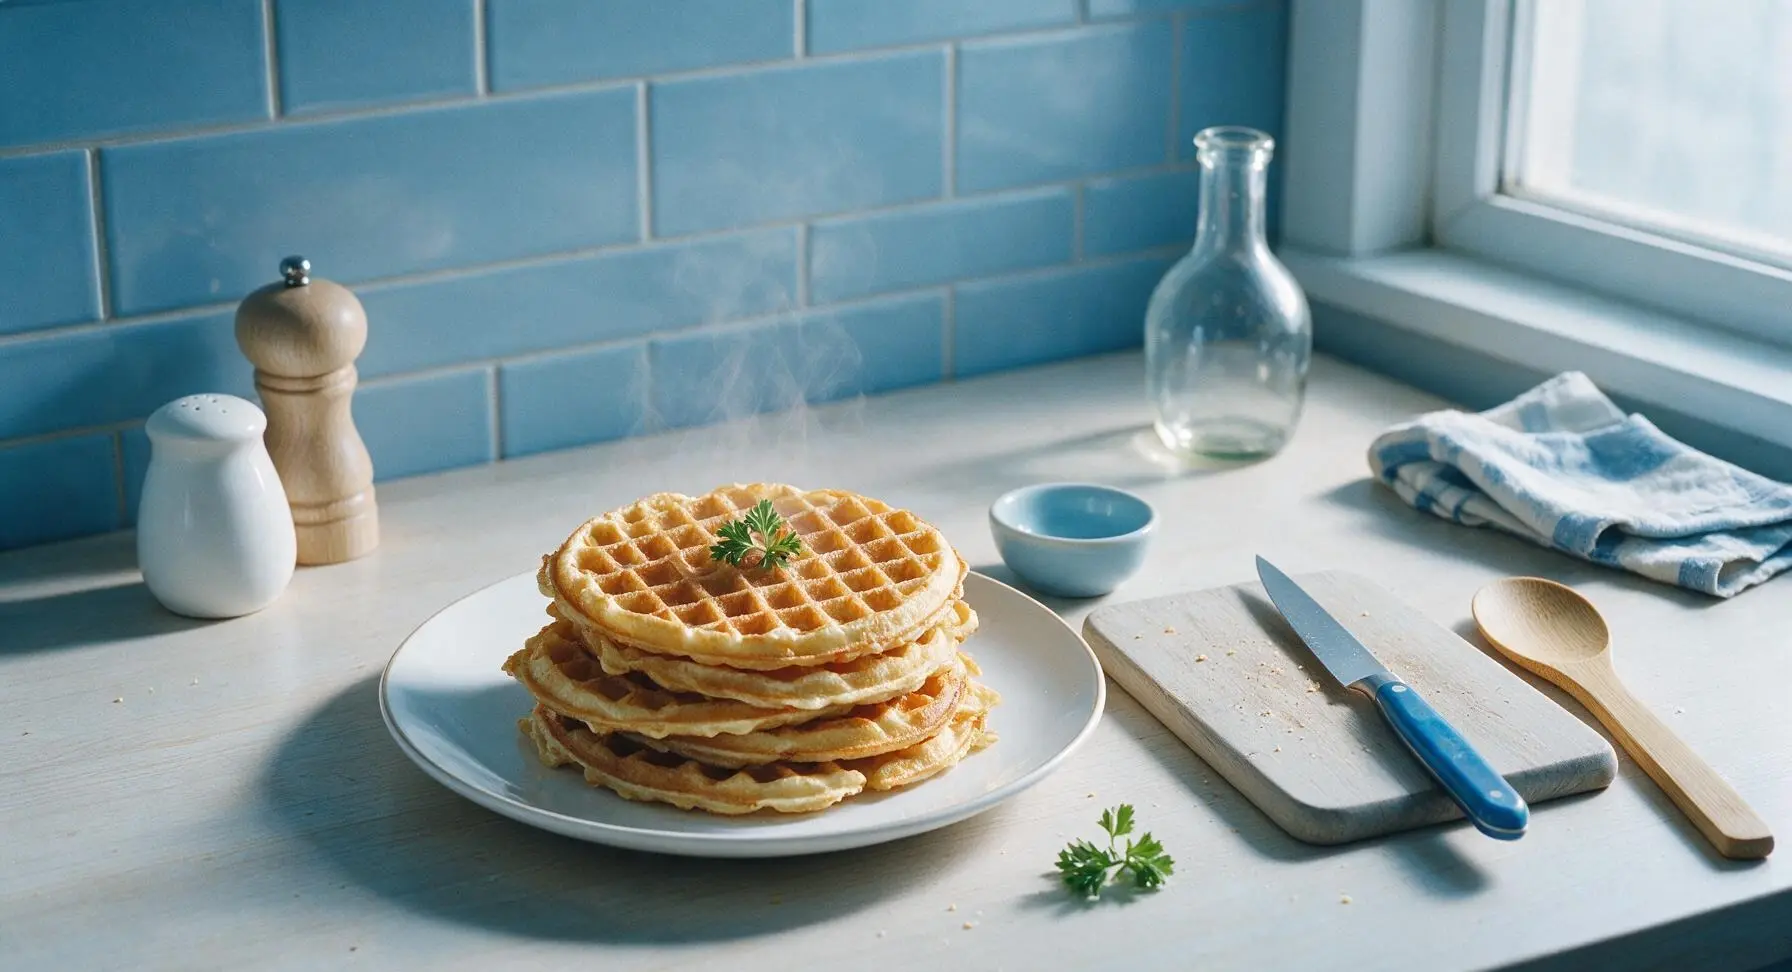
Crisp golden edges, light fluffy centers, these retro waffles made in a nostalgia waffle maker taste like cozy childhood meals, perfect for piling high with your favorite toppings.
Ingredients
Steps
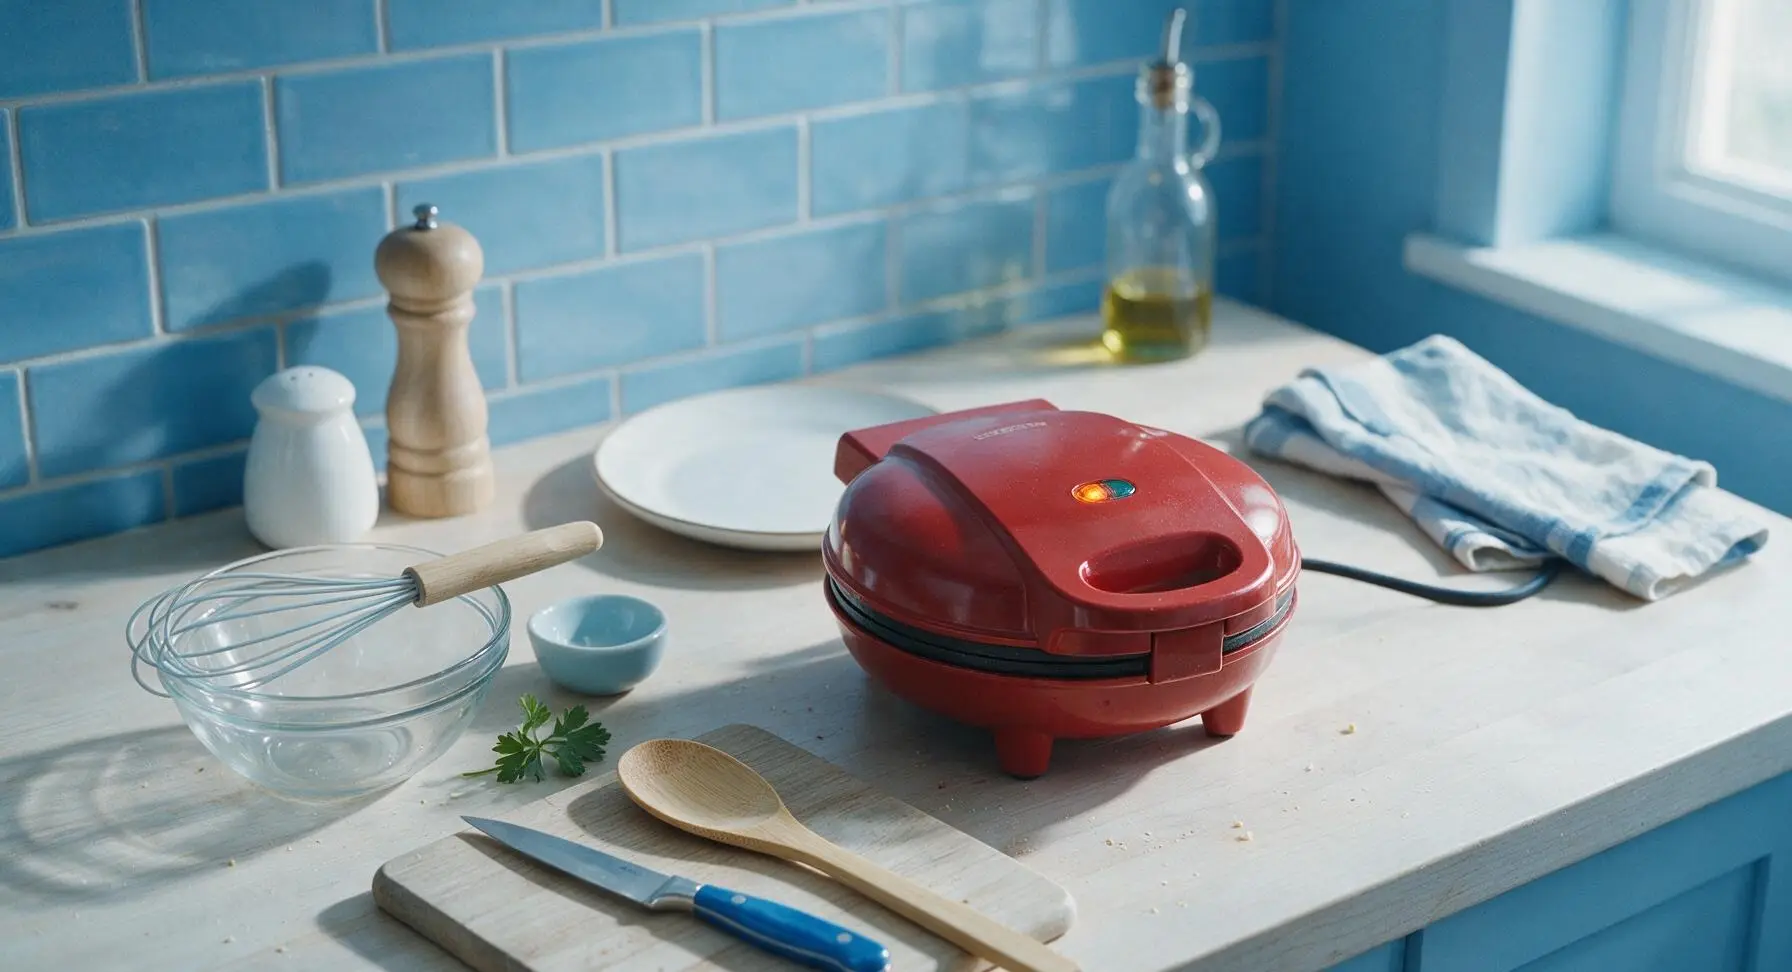
Preheat Waffle Maker
Plug in the retro nostalgia waffle maker, close the lid fully, and preheat to the medium-high setting (375°F/190°C) for 5 minutes, until the orange indicator light illuminates to signal it is fully heated. Do not grease the cooking grids at this stage; preheating dry ensures even heat distribution and prevents waffles from sticking.
Mix Dry Ingredients
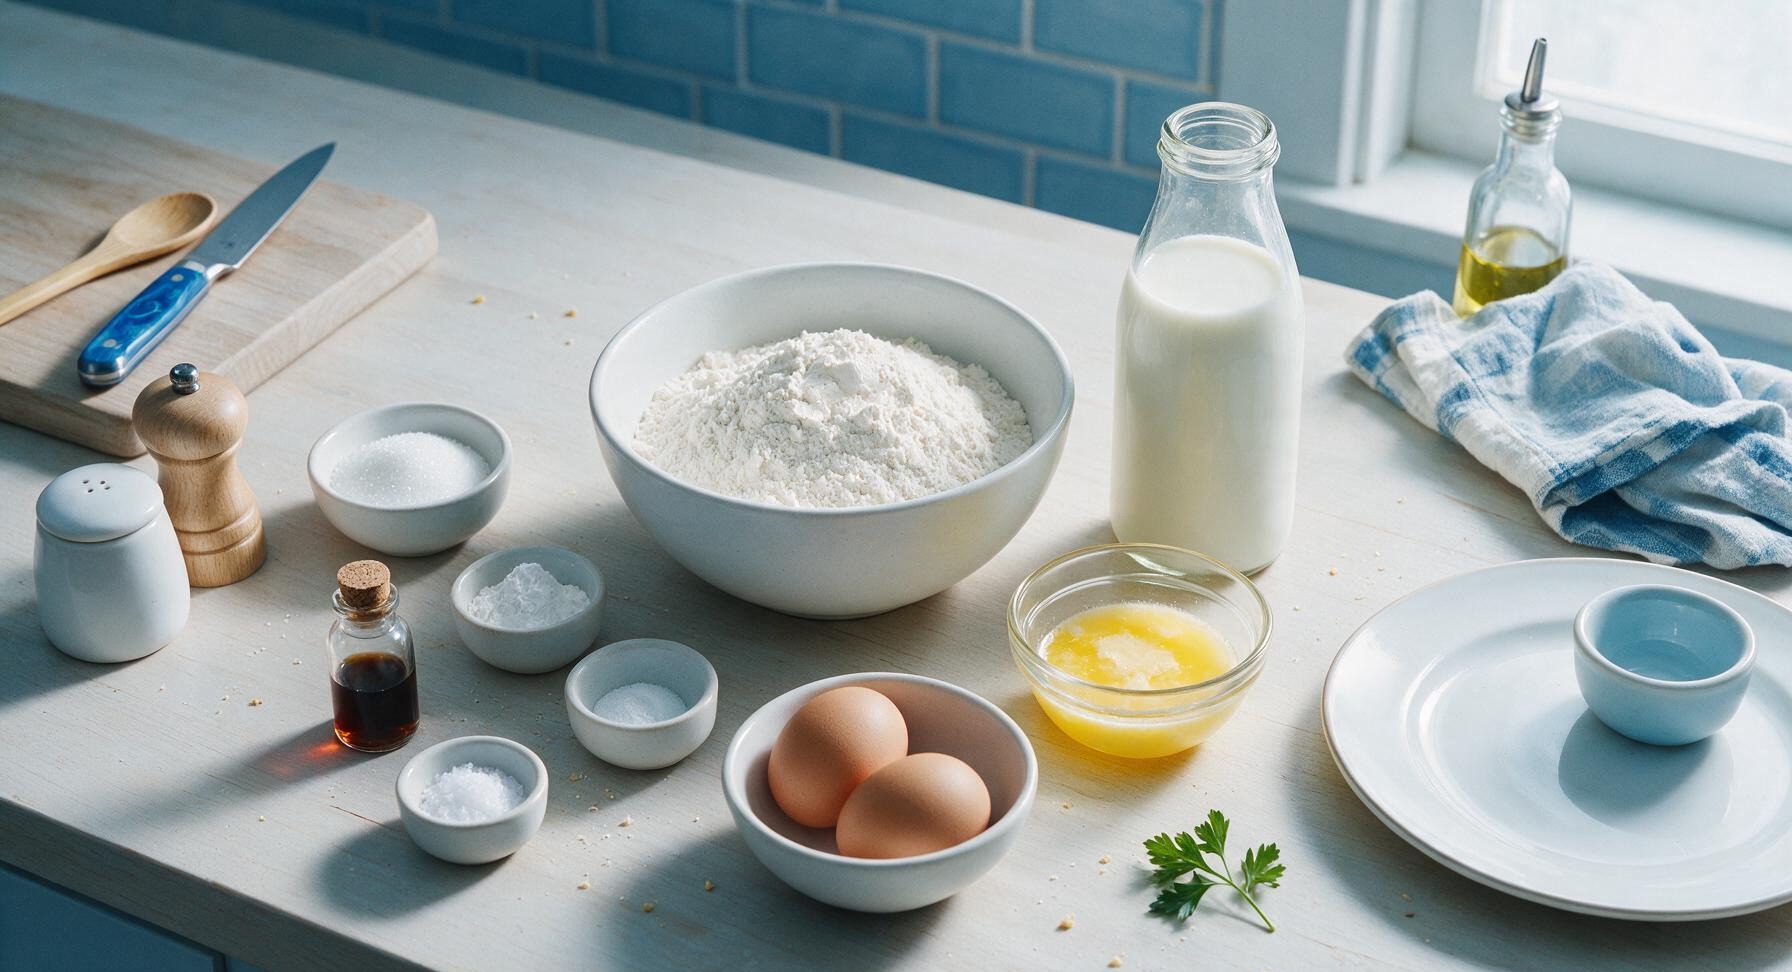
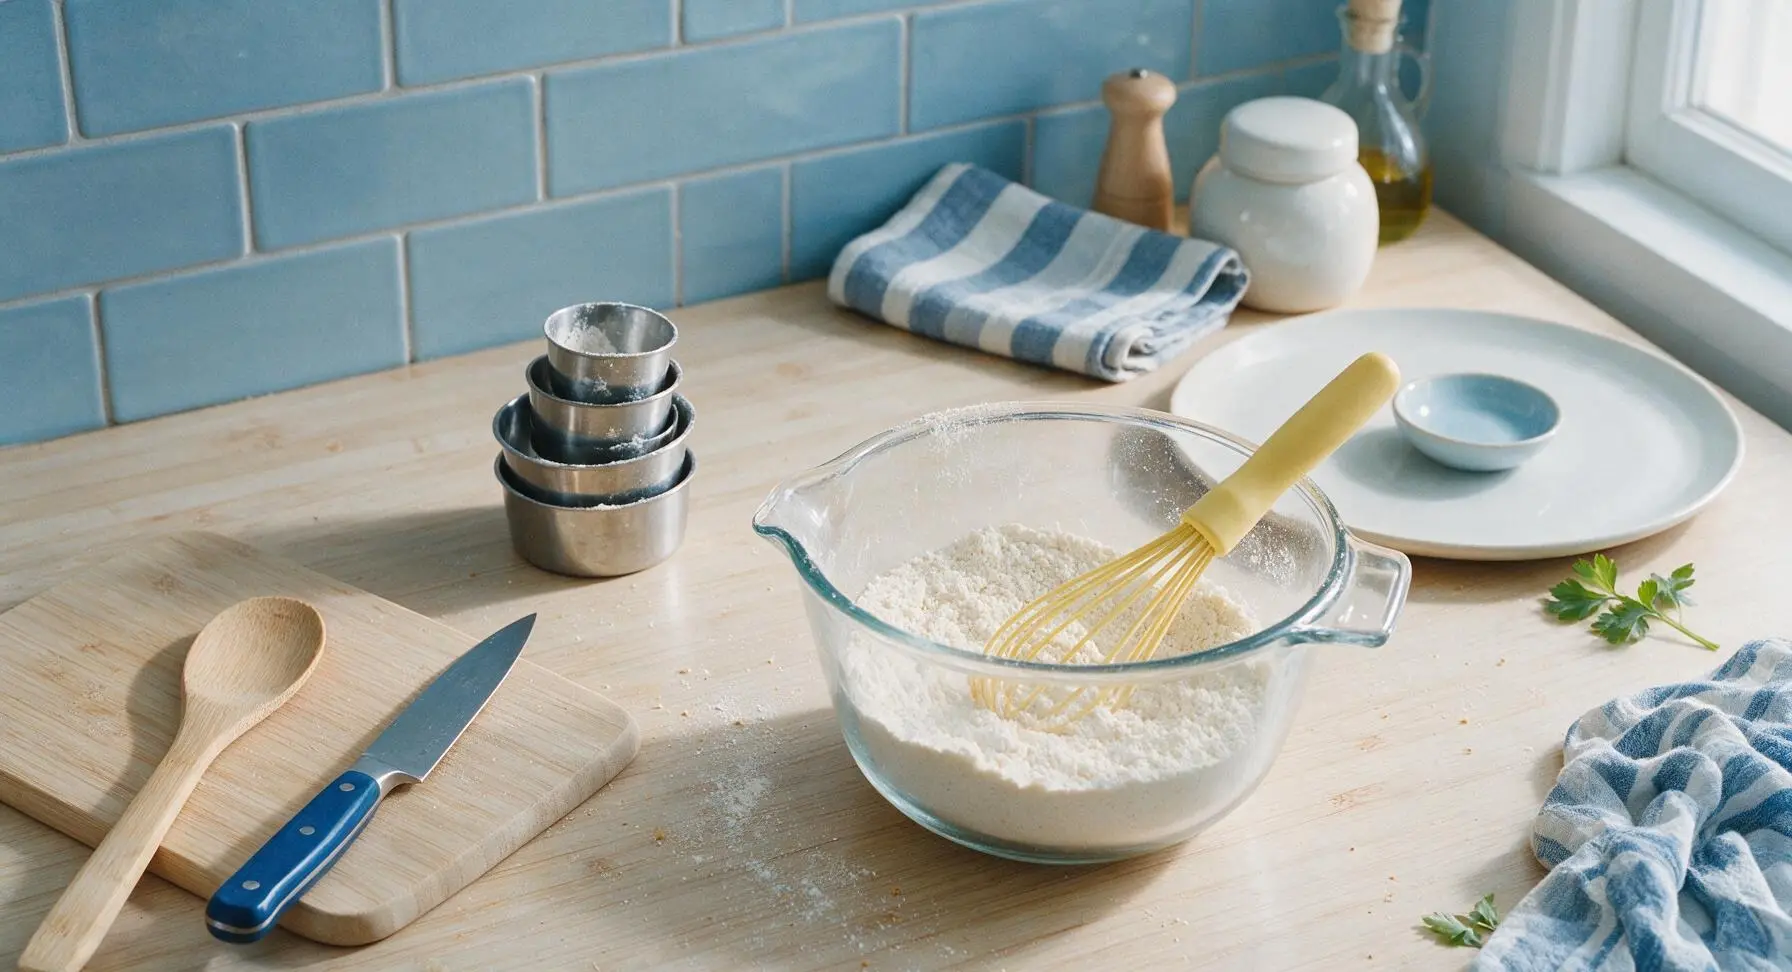
Add the measured all-purpose flour, granulated sugar, baking powder, baking soda, and fine sea salt to the clear glass mixing bowl. Use the pale yellow silicone whisk to stir the dry ingredients for 30 seconds, until fully combined with no visible clumps of leavening.
Combine Wet Ingredients
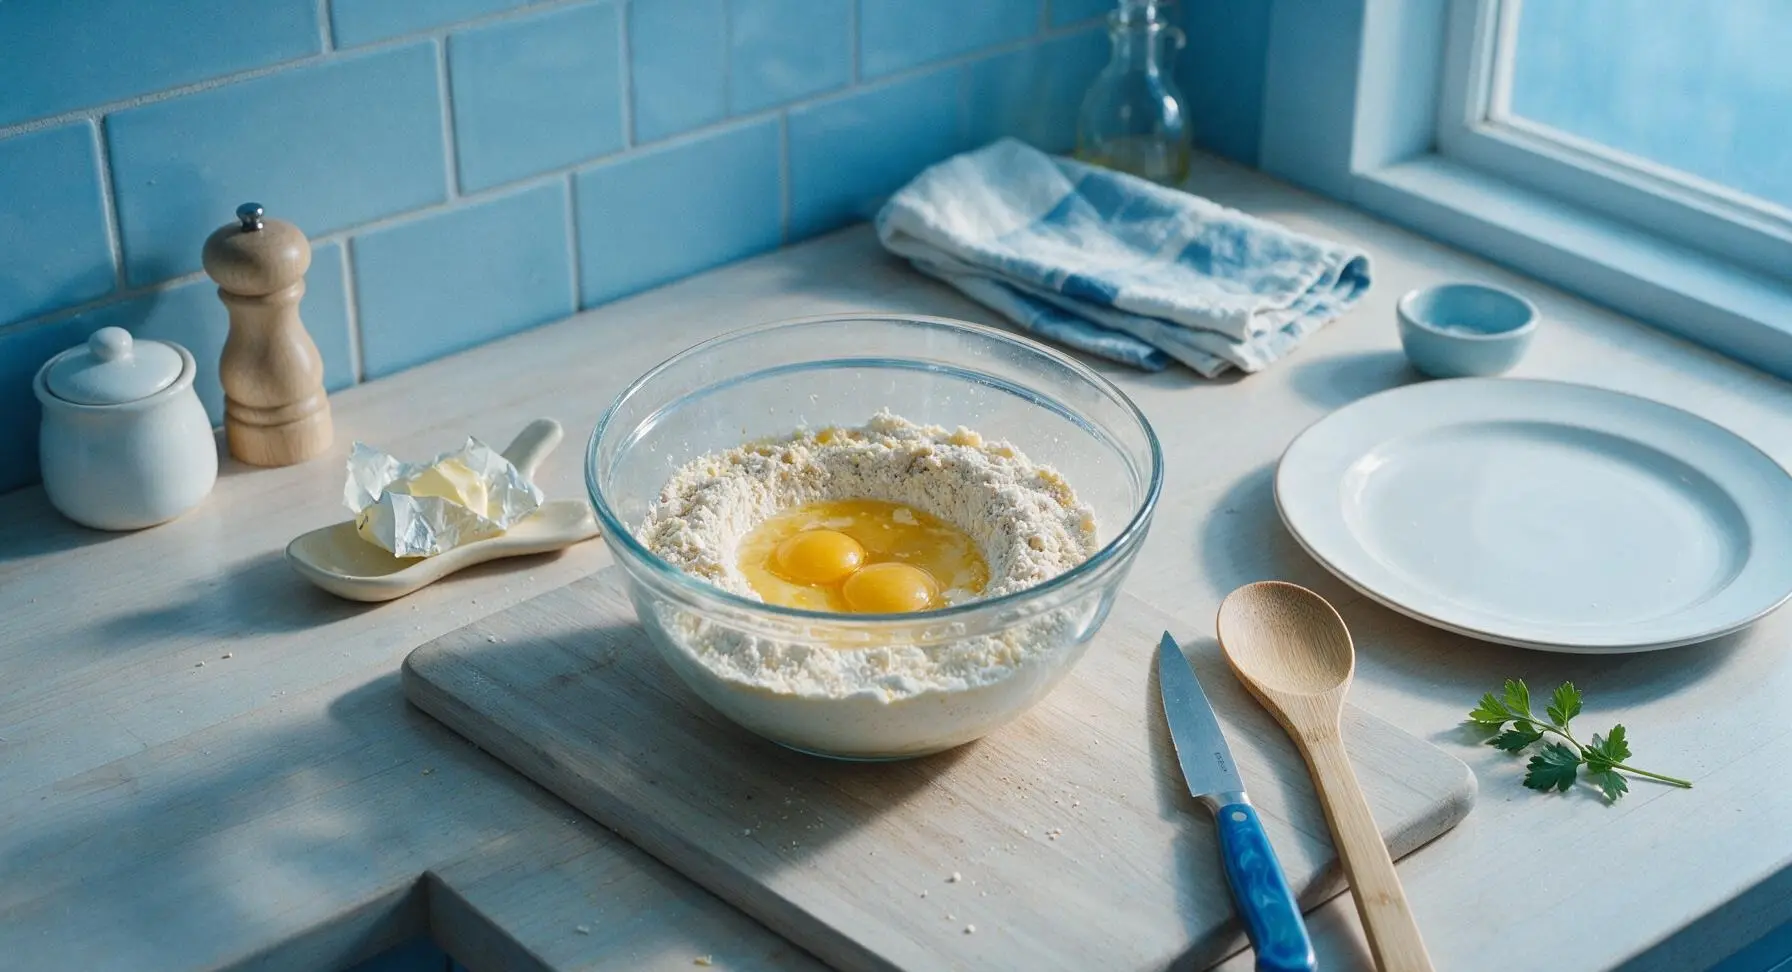
Create a 2-inch wide well in the center of the mixed dry ingredients. Crack the two large eggs into the well, then pour in the buttermilk, cooled melted unsalted butter, and vanilla extract. Do not stir at this stage to avoid accidental overmixing.
Fold Waffle Batter
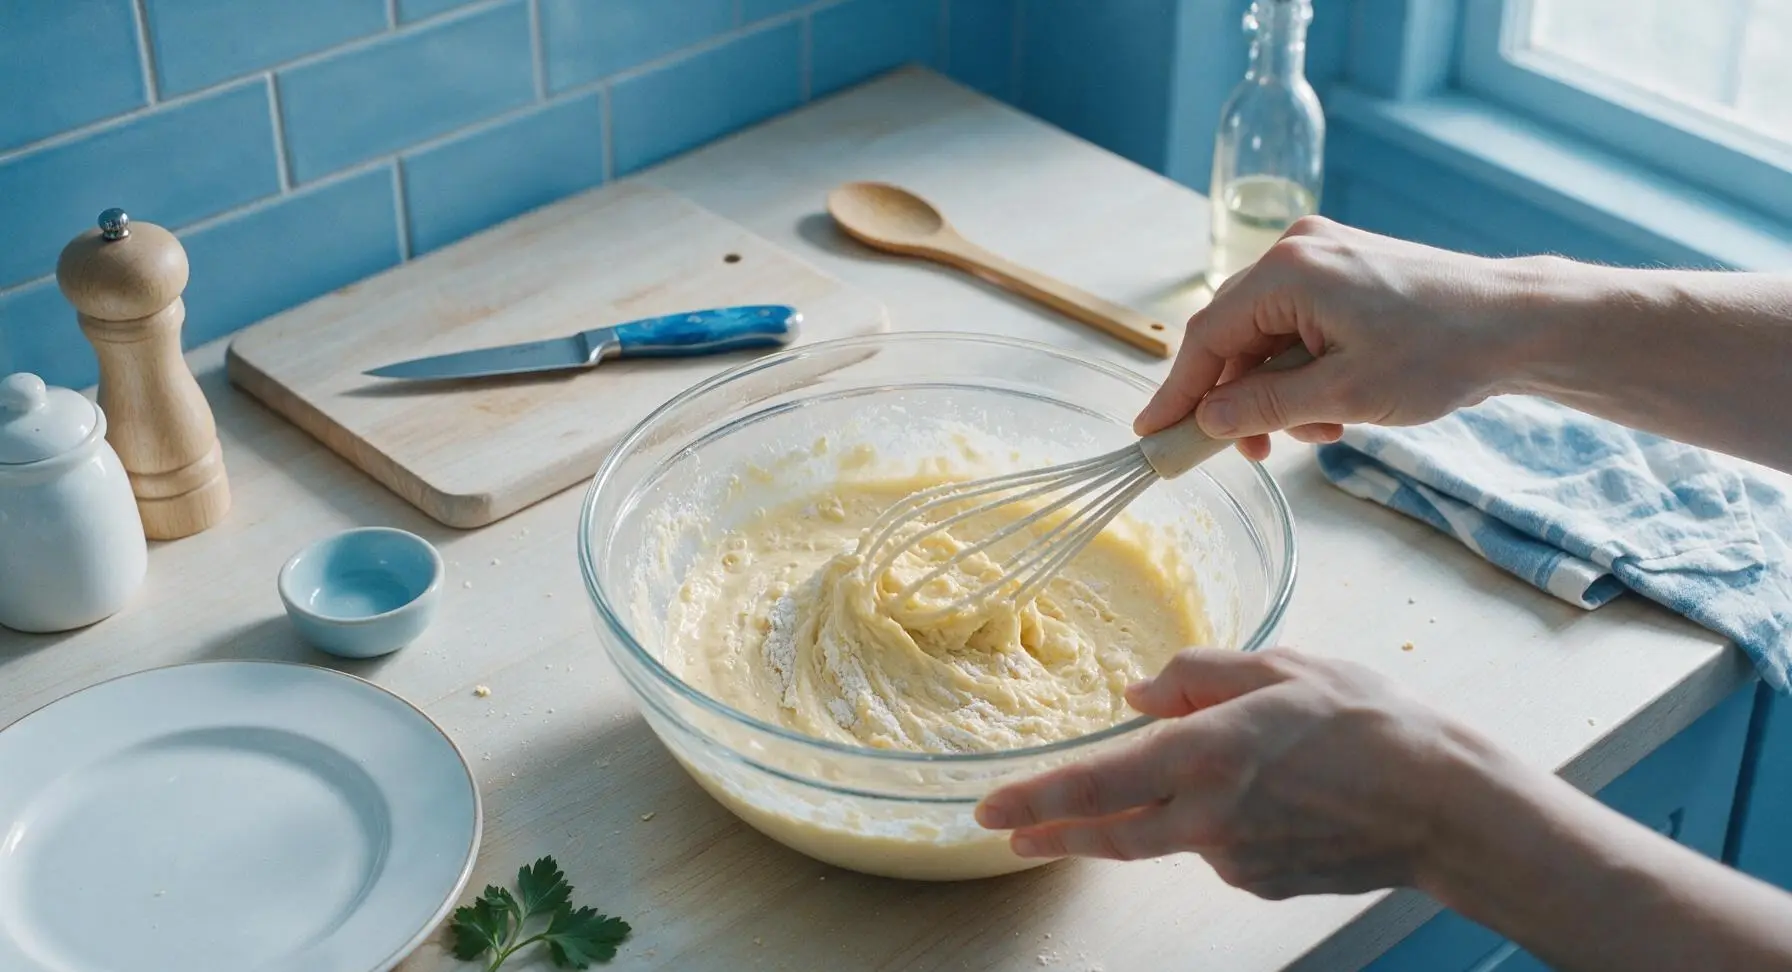
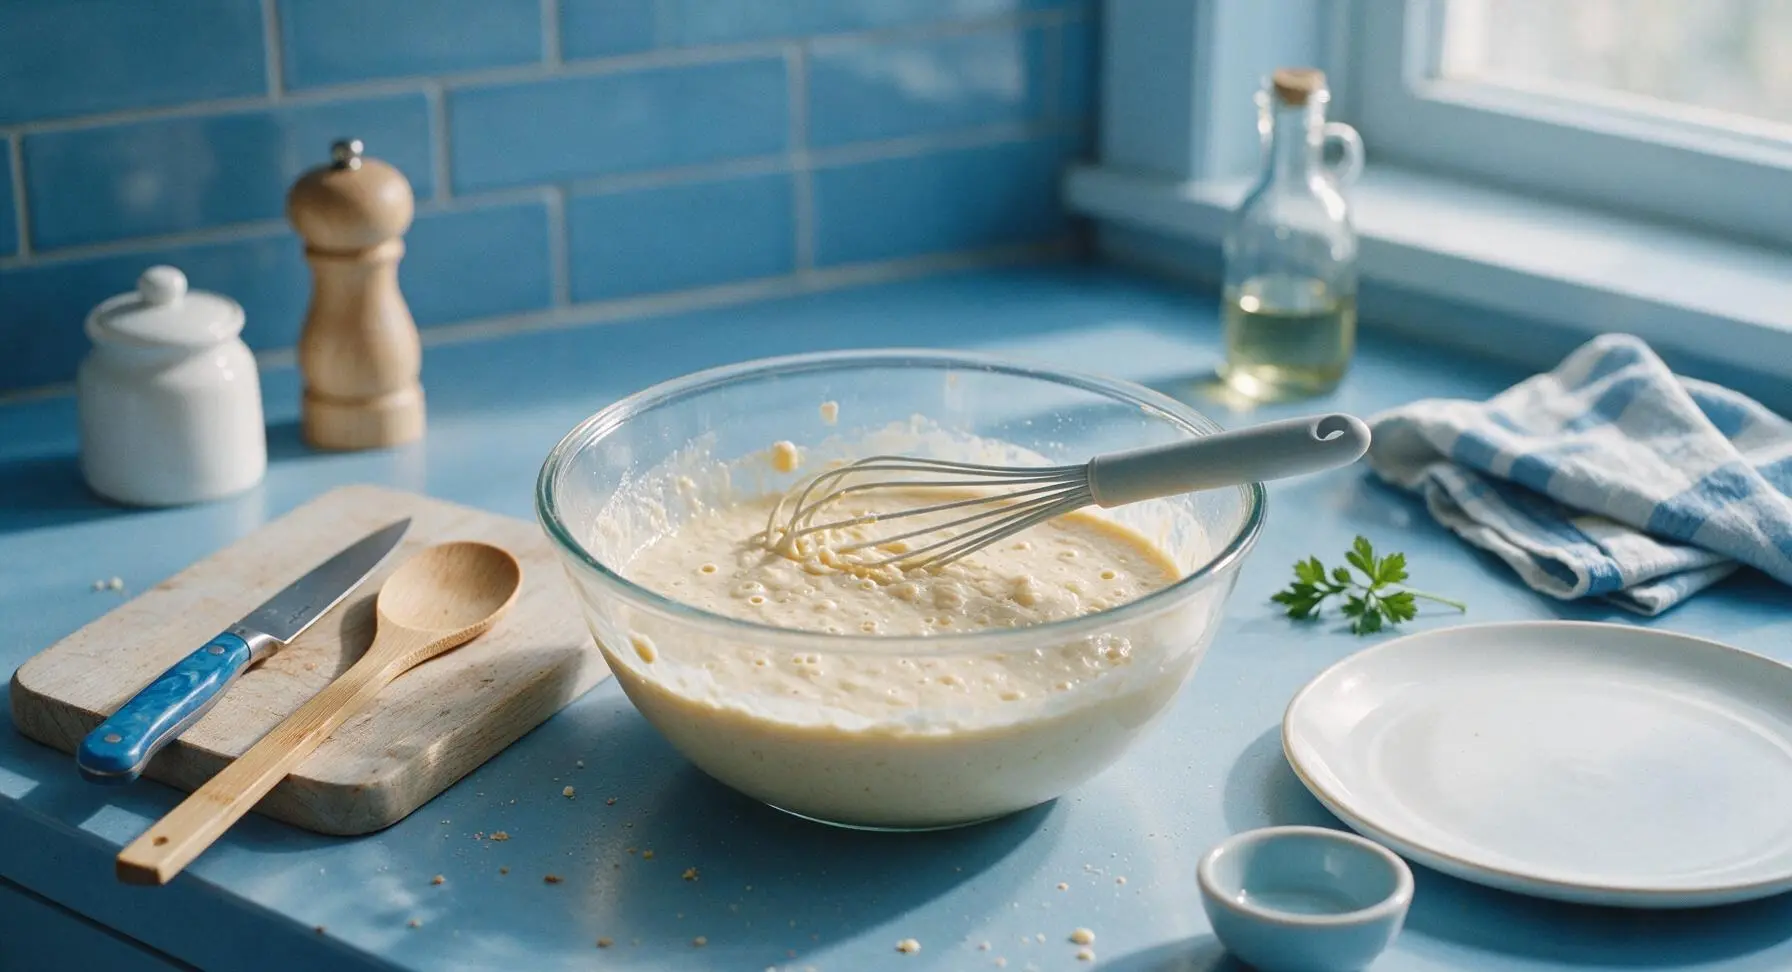
Use the silicone whisk to gently fold the wet ingredients into the dry ingredients, stirring only until no large dry flour streaks remain. The finished batter should be thick and slightly lumpy, with small pea-sized clumps visible; overmixing will develop gluten and lead to tough, dense waffles. Let the batter rest for 3 minutes at room temperature, until small air bubbles begin to pop across the surface.
Grease Waffle Plates
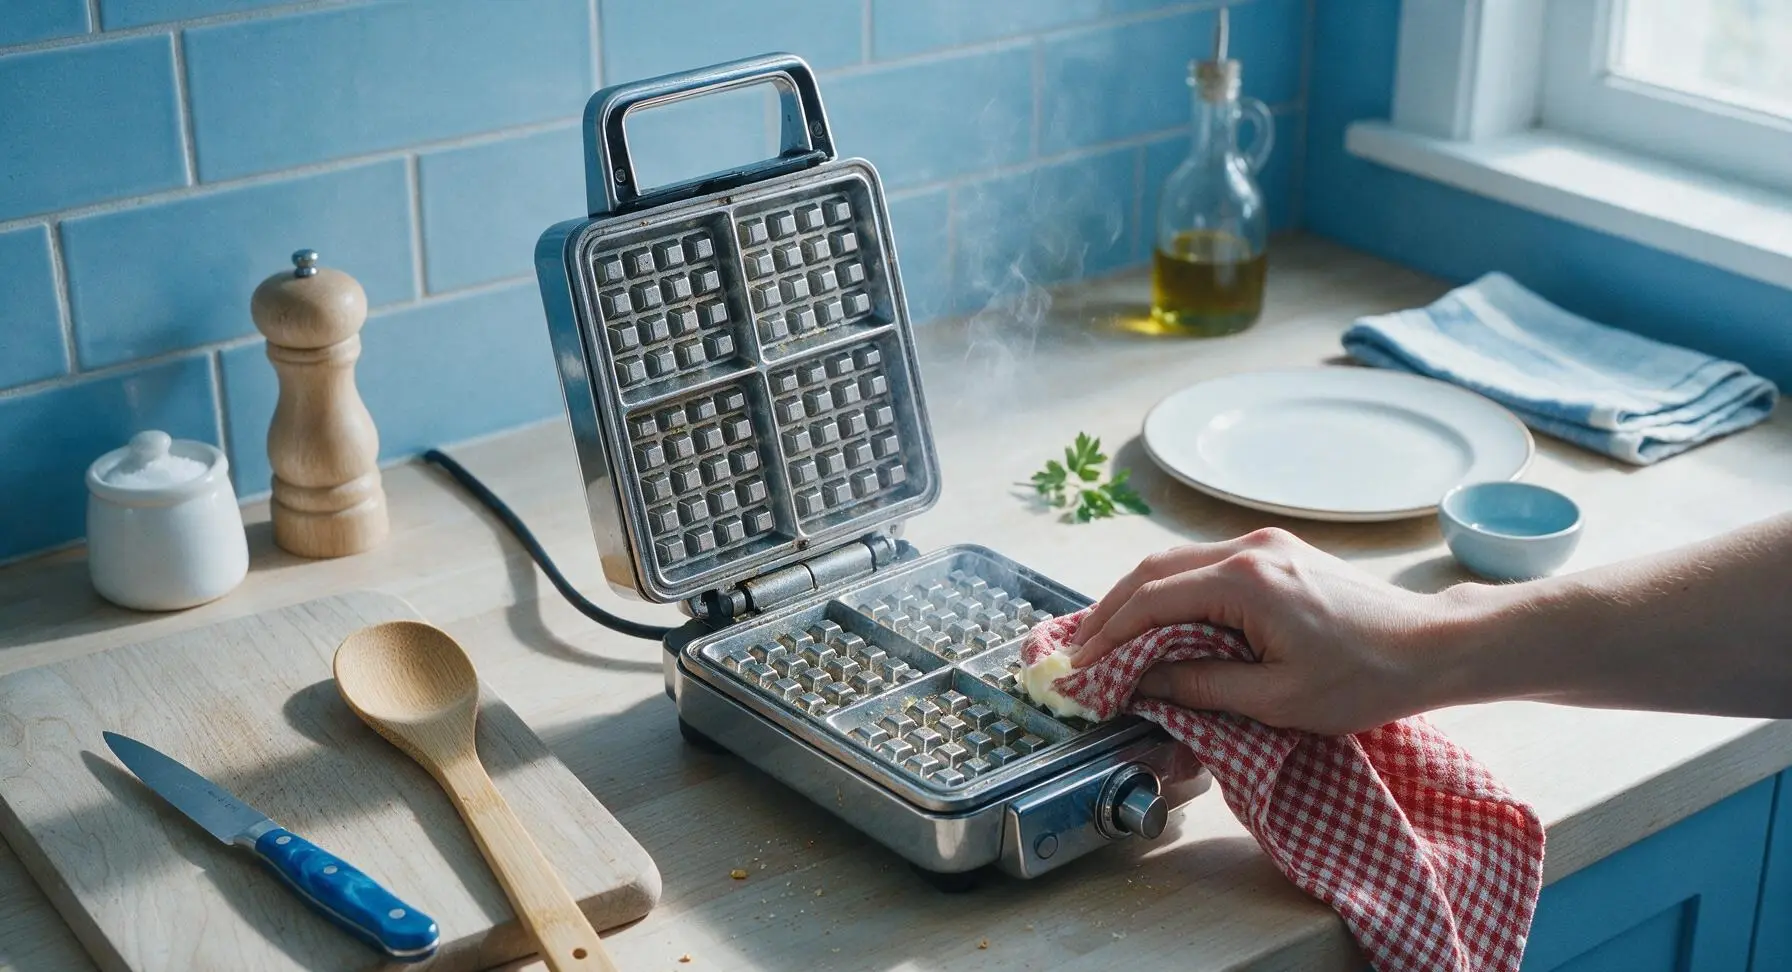
Once the waffle maker is fully preheated, carefully lift the lid (stand back to avoid hot escaping steam) and use a folded corner of the red gingham kitchen towel dipped in a tiny amount of melted butter to lightly coat both top and bottom chrome cooking grids. Avoid aerosol cooking spray, as it leaves a sticky, hard-to-clean residue on retro waffle maker plates over time.
Pour Batter Evenly
Use the 1/2 cup stainless steel measuring cup to scoop the rested batter, pouring it slowly directly into the center of the lower greased waffle grid. Use the silicone spatula to spread the batter gently to within 1/2 inch of the grid edges; the batter will spread naturally when the lid closes, so do not overfill to prevent messy overflow down the sides of the appliance.
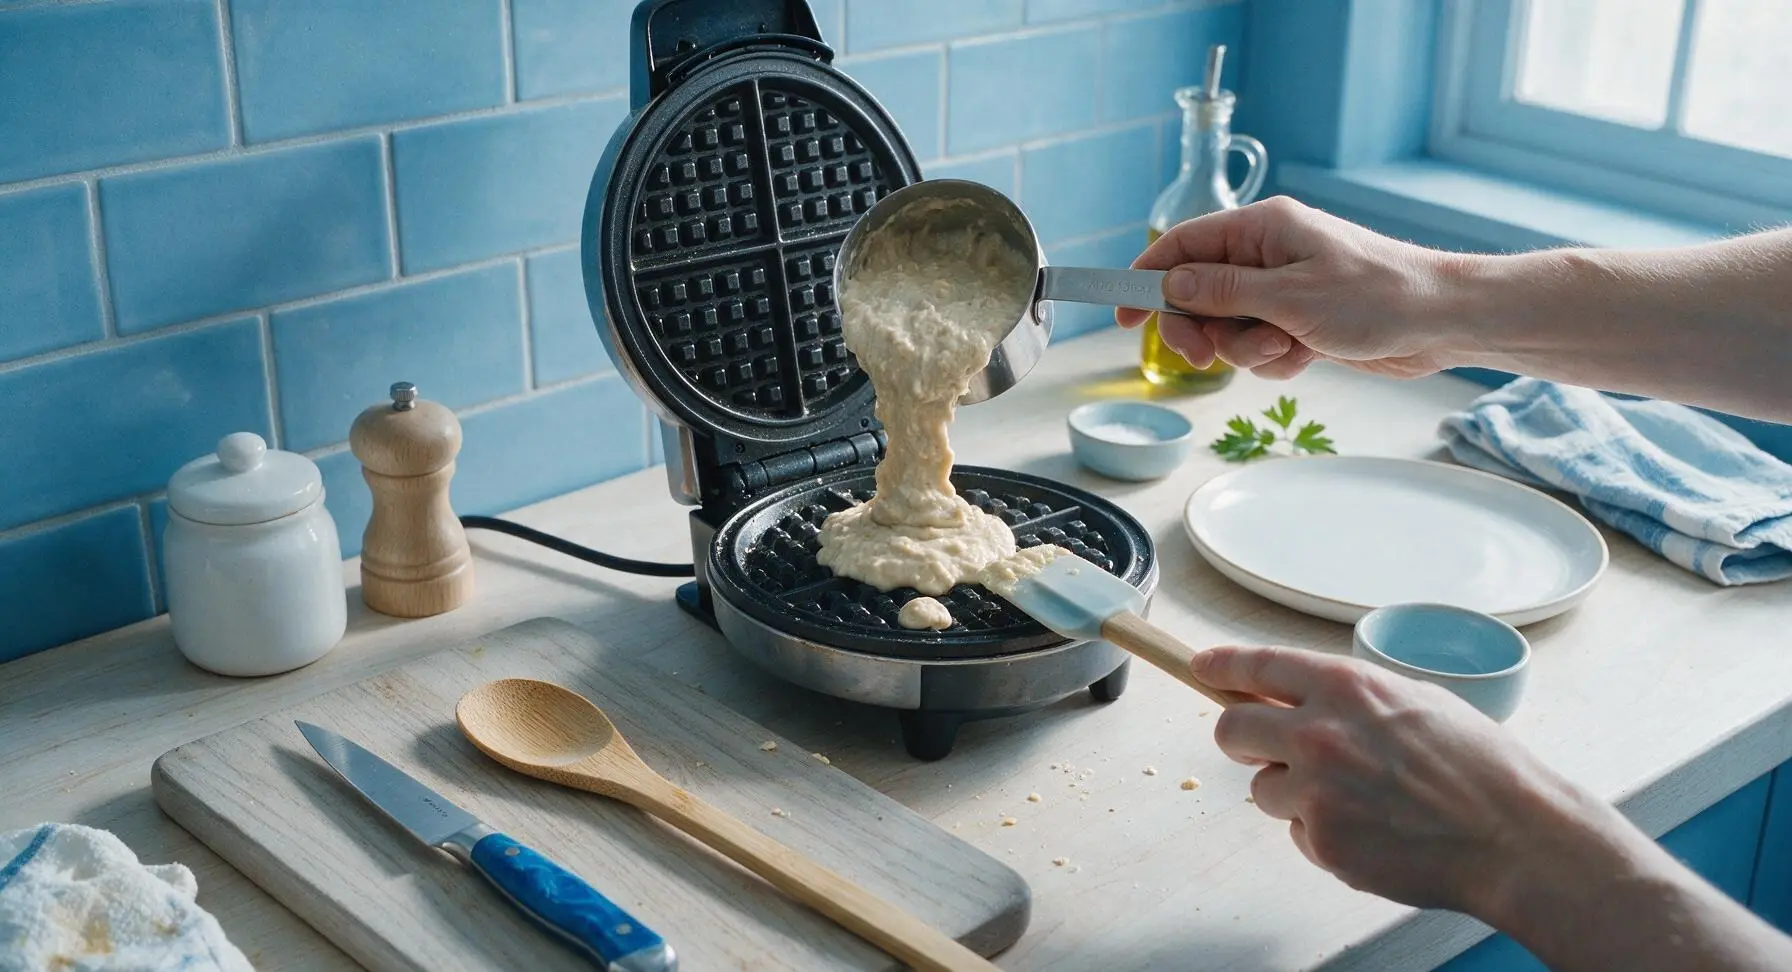
Cook Waffles Crisp
Close the waffle maker lid and latch it gently. Cook for 3 to 3.5 minutes, until steam stops curling out from the seam between the lid and base, and the indicator light signals cooking is complete. Do not lift the lid before the 3-minute mark, as this will cause the partially set waffle to split and stick to the grids. The finished waffle will be deep golden brown with crisp, defined grid edges.
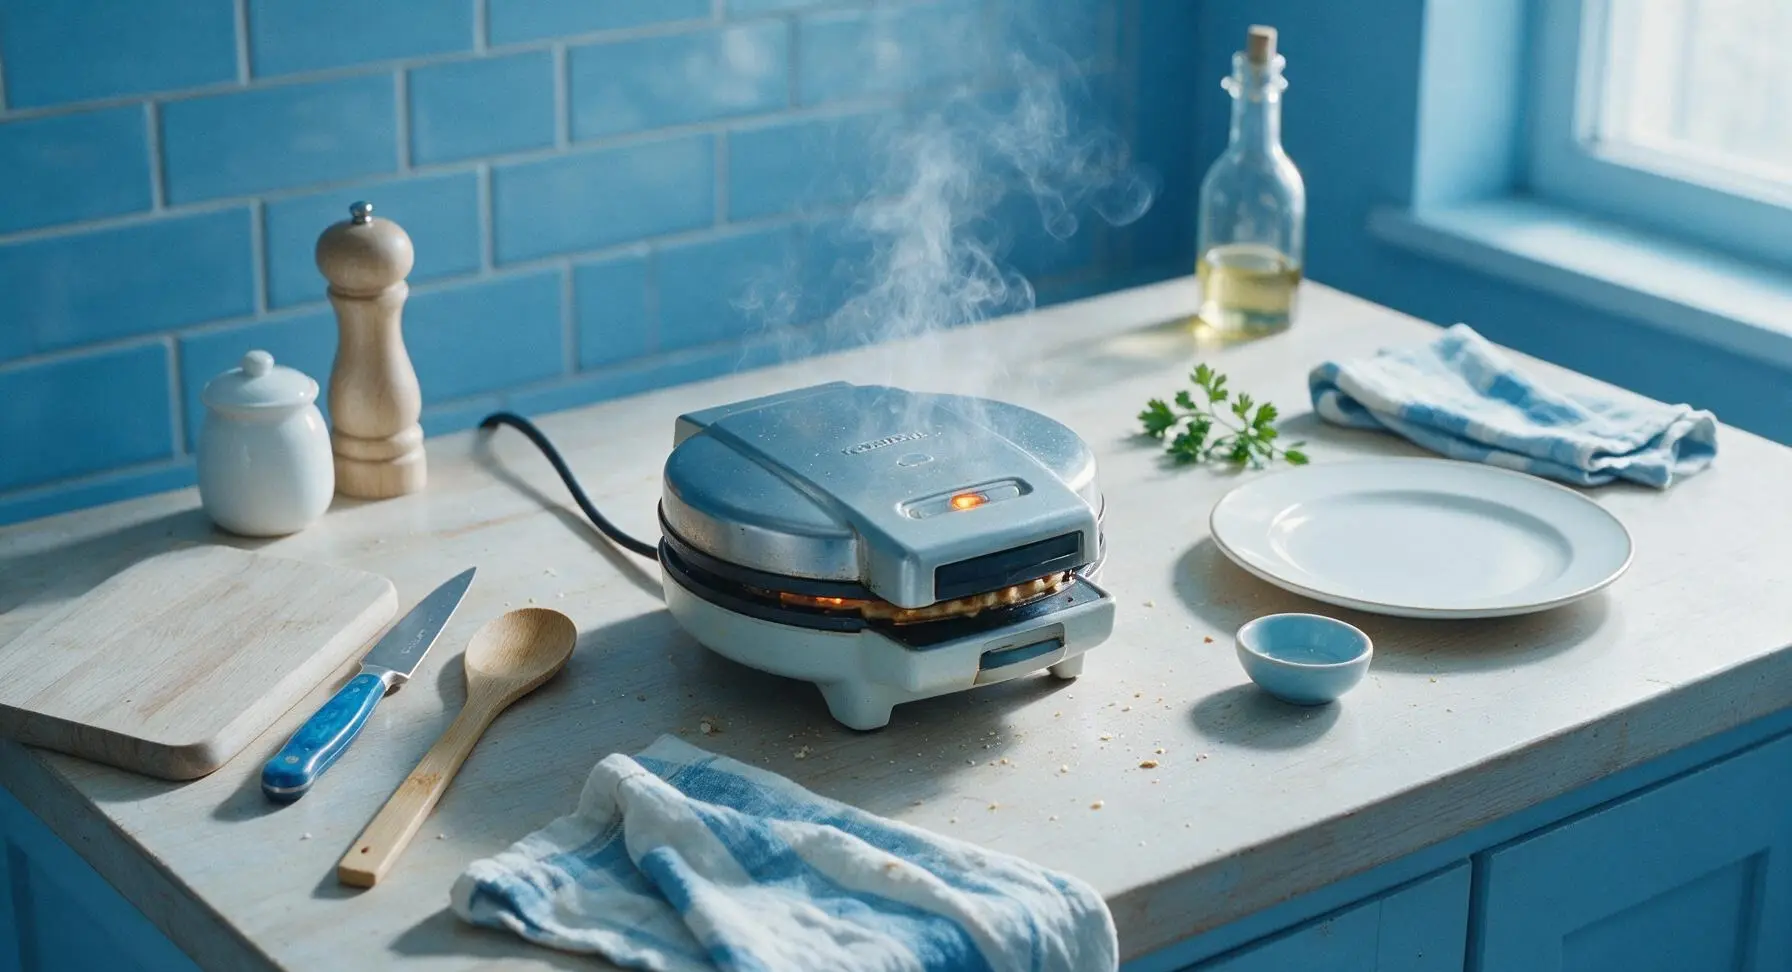
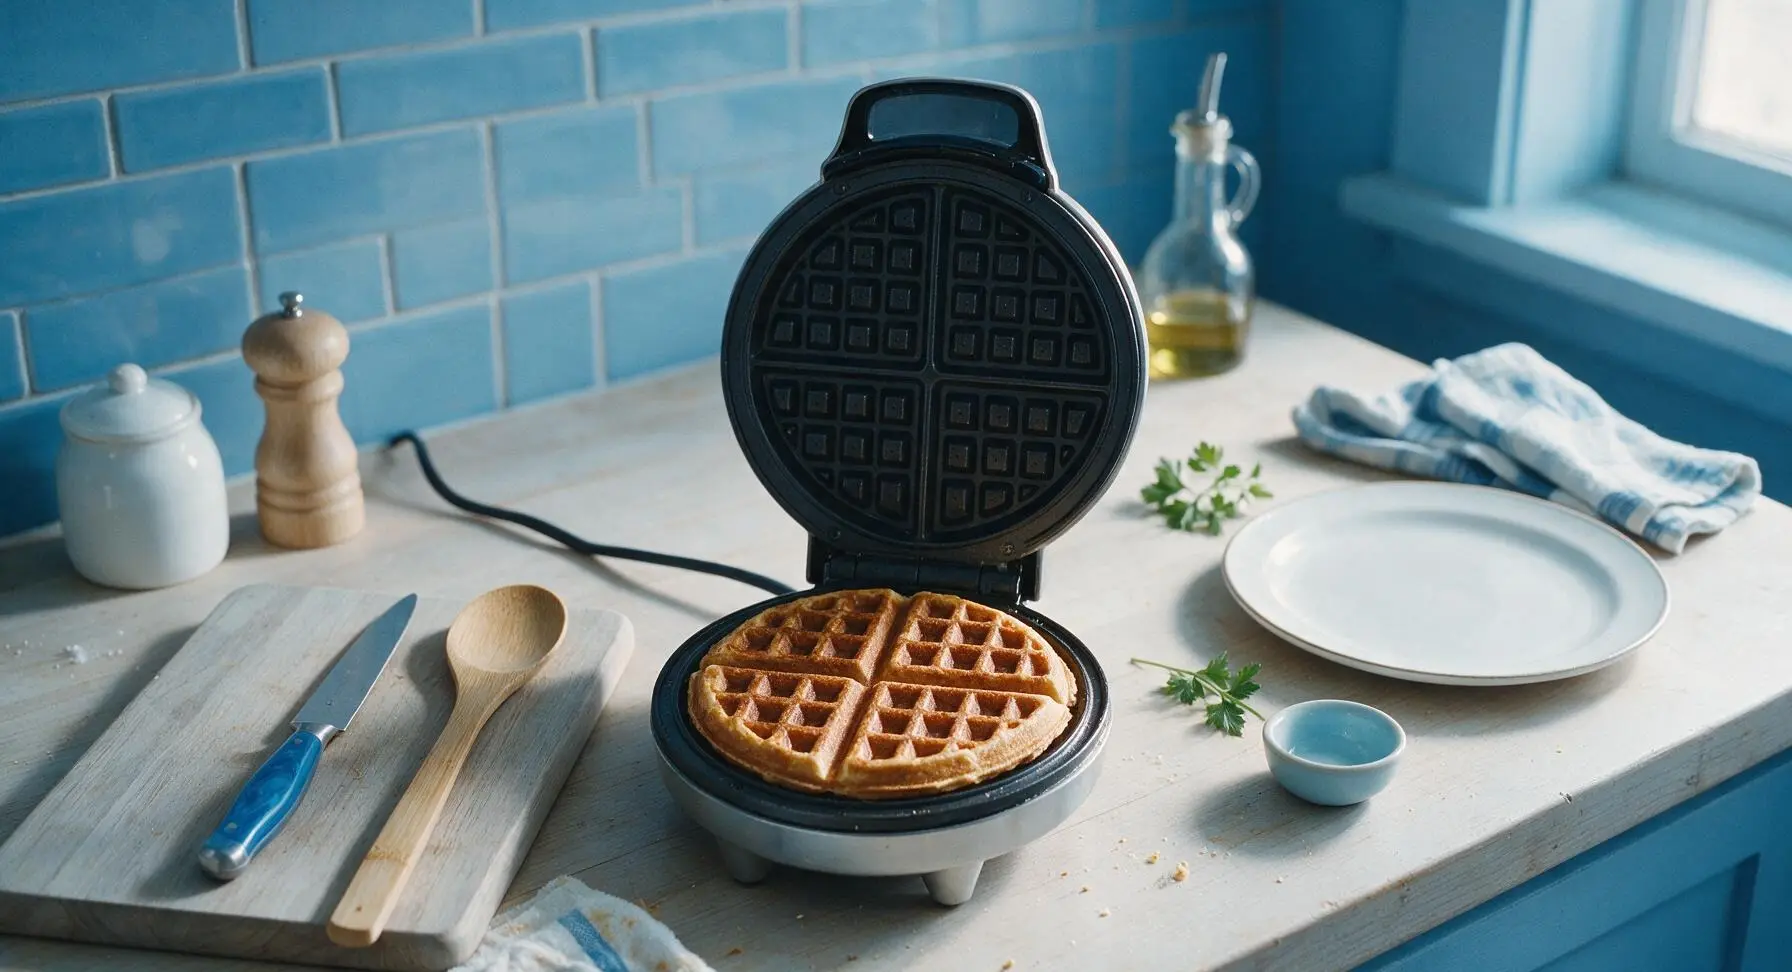
Plate Warm Waffles
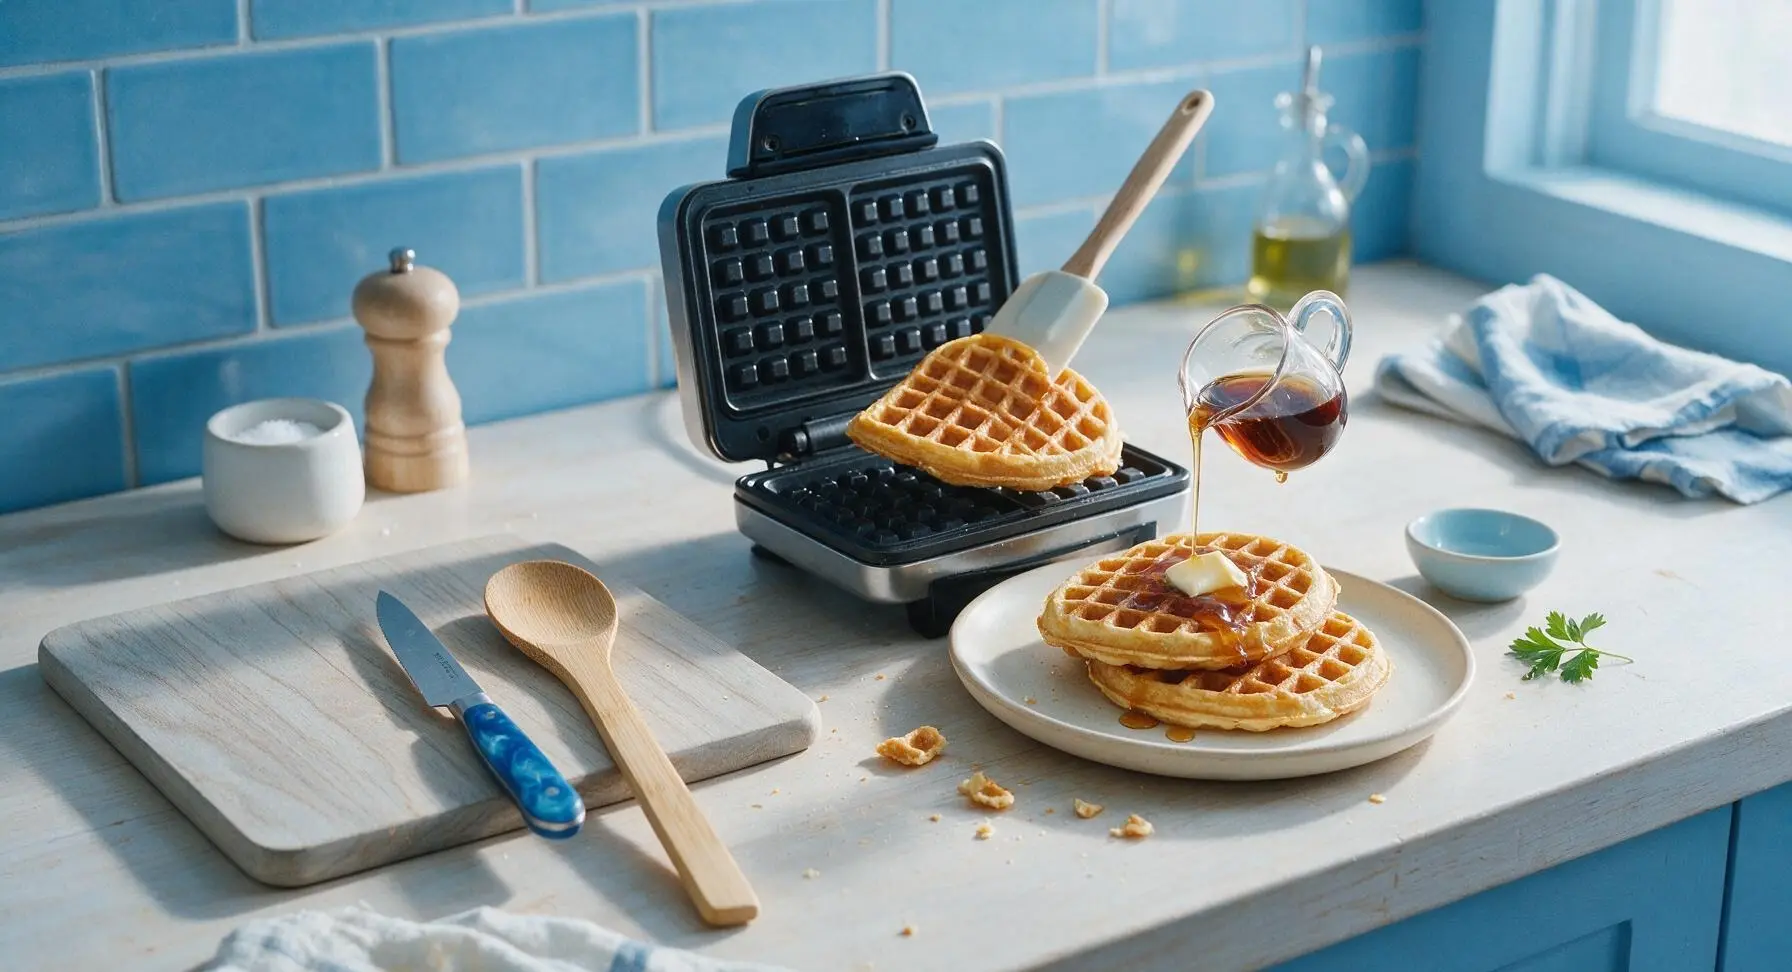
Use the silicone spatula to carefully lift the finished waffle from the grid, transferring it to the matte cream ceramic dinner plate. Repeat the greasing, pouring, and cooking process with the remaining batter, stacking finished waffles loosely on the plate to keep edges crisp. Top with a pat of salted butter, warm maple syrup, and desired toppings to serve immediately.
Tips
2.Resist the urge to mix batter until completely smooth: lumpy batter creates light, fluffy waffles with crisp edges, while over-stirred batter develops excess gluten that leads to tough, chewy waffles that don't rise properly.
3.Skip aerosol cooking spray on your nostalgia waffle maker: the propellants in spray leave a hard, sticky residue that builds up on the chrome grids over time, making waffles stick and ruining the retro finish; a light wipe of butter on a kitchen towel works just as well without buildup.






OMG these are SO good! I pulled out my old Nostalgia waffle maker I got for my wedding 8 years ago and had no idea I could get crispy diner-style waffles out of it! My kids begged for seconds before they even finished their first plate. Cook time was exactly 12 minutes total for the whole batch? Game changer for busy school mornings.
Made these for our Sunday family brunch last weekend and even my picky father-in-law asked for the recipe! Super easy to throw together, no fancy ingredients, and the crisp level is exactly like the waffles we get at our local diner down the street. 10/10 will be making these every weekend from now on.
Wait, I’ve had my Nostalgia waffle maker for 3 years and every waffle I make turns out soft and floppy? Tried this recipe last night and I swear I almost cried when I pulled out the first crispy, golden waffle. Only note: I added a tiny dash of cinnamon because I love that warm flavor, didn’t mess with the texture at all.
Okay as a broke college student with barely any kitchen supplies, this recipe was perfect. I only had a Nostalgia mini waffle maker from my dorm move-in gift, and these came out crispy as hell even on the tiny machine. Meal prepped a batch to eat all week between classes, toast em for 30 seconds and they’re good as new.
These were so yummy! Made them with a side of fresh strawberries and whipped cream for my roommate’s birthday breakfast, she said they were better than the fancy brunch spot we went to for her birthday last year. Super quick too, didn’t take forever to whip up even on a lazy Saturday.
I’ve been making waffles for my grandkids for 40 years, and I have to say this recipe is spot on for that old diner crisp I remember from my high school days. I used my vintage Nostalgia waffle iron I’ve had since the 90s and it worked like a charm. Easy enough that even my teen grandson helped me mix the batter!
Made these before a big day hike up in the Rockies, they kept me full for 4 hours of straight climbing! Nice and crispy, not heavy like some waffle recipes that leave you feeling sluggish an hour later. Packed a couple extra with some peanut butter slathered on them for the trail, perfect portable snack.
Took these to a church potluck last Sunday and the platter was empty in 10 minutes. Everyone kept asking where I got the recipe, I had to send the link to half the ladies in my Sunday school class. Only thing I changed was adding a handful of chocolate chips to half the batch for the kids, it was a hit.
Wait why have I been buying frozen waffles for years when this is so easy? 12 minutes cook time, minimal cleanup, and they crisp up way better than any store bought brand I’ve tried. My 3 year old is obsessed, he calls them “crunch waffles” now. Only tiny issue: my first batch stuck a little, did I do something wrong?
As someone who makes waffles at the coffee shop I work at on weekends, I was skeptical a home recipe could get that same diner crunch. Wow, this nails it. I tested it on my day off and I’m actually thinking of suggesting we tweak our shop recipe to match this, it’s that good. Tastes exactly like the waffles I’d get after late night study sessions in college.
I was looking for a waffle recipe that didn’t have a ton of added sugar and this was perfect! Crispy, satisfying, holds up really well to Greek yogurt and berries on top for a high protein breakfast. Super easy to make, didn’t require any weird specialty ingredients I’d have to drive across town to find.
Made these for my kid’s soccer team snack last weekend, all the parents were asking for the recipe. I cut them into sticks so the kids could dip them in syrup or Nutella without making a total mess, and they were gone before the first game even started. Crispy even after sitting in a cooler for 45 minutes on the way to the field! Total win.
Okay I’ve tried like 6 different waffle recipes since I bought my Nostalgia waffle maker last year, and this is the only one that actually gets crispy all the way through, no soggy middle. I don’t know what magic is in this batter, but I’m never using another waffle recipe again. 12 minutes is no joke too, I had a full stack on my plate faster than I could set the table.
Made these for our family movie night last week, we did a waffle bar with all the toppings – sprinkles, chocolate syrup, whipped cream, fresh fruit, even fried chicken for a chicken and waffle option. Everyone went back for seconds, even my teenager who “doesn’t like breakfast for dinner”. Easy prep, minimal mess, 10/10.
Wait I’ve always been a pancake person over waffles, but this recipe converted me. So crispy on the outside, fluffy on the inside, perfect little pockets to hold all the syrup. Cooked up in no time, didn’t make a huge mess in my kitchen. I might even bring my waffle maker out of storage more often now instead of leaving it in the back of my cabinet.