
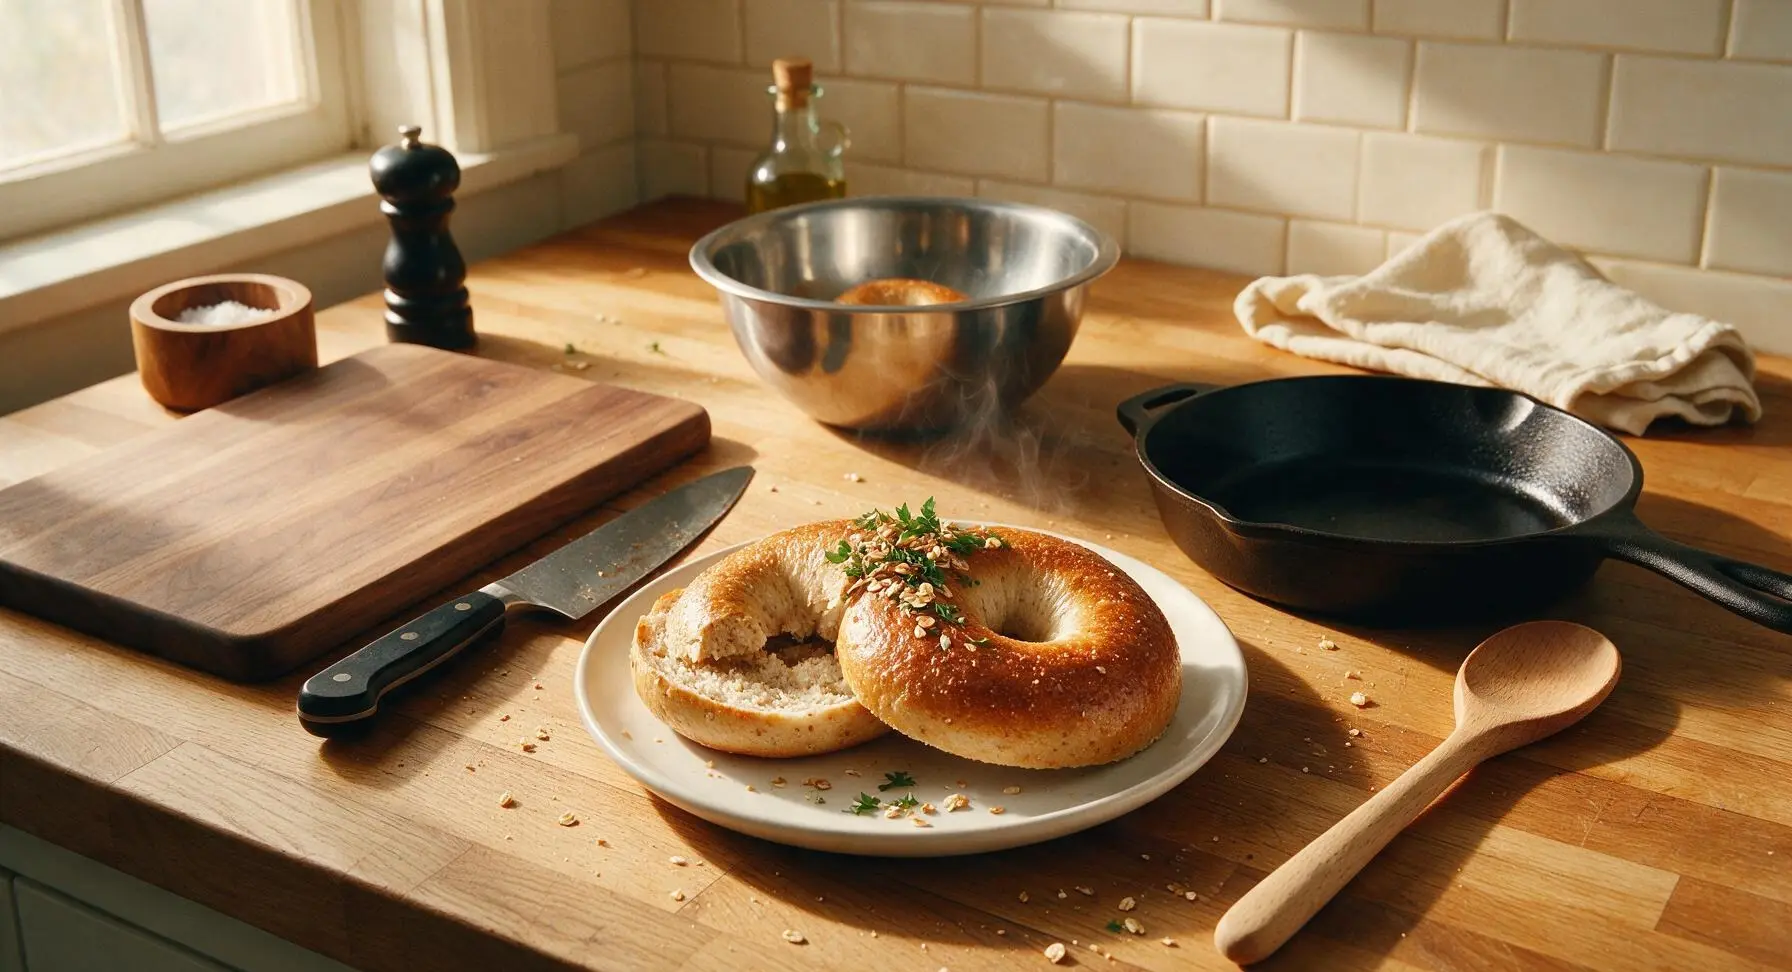
Oat Bran Bagel

title 1
Oat Bran Bagel
⏱️ cook time 25 minutes
🍽️ servings 8
⚡ Difficulty medium

intro

Chewy, fiber-dense oat bran bagels with a shiny crisp crust and soft, speckled crumb, perfect for topping with cream cheese or smoked salmon for a satisfying, portable meal.

Ingredients
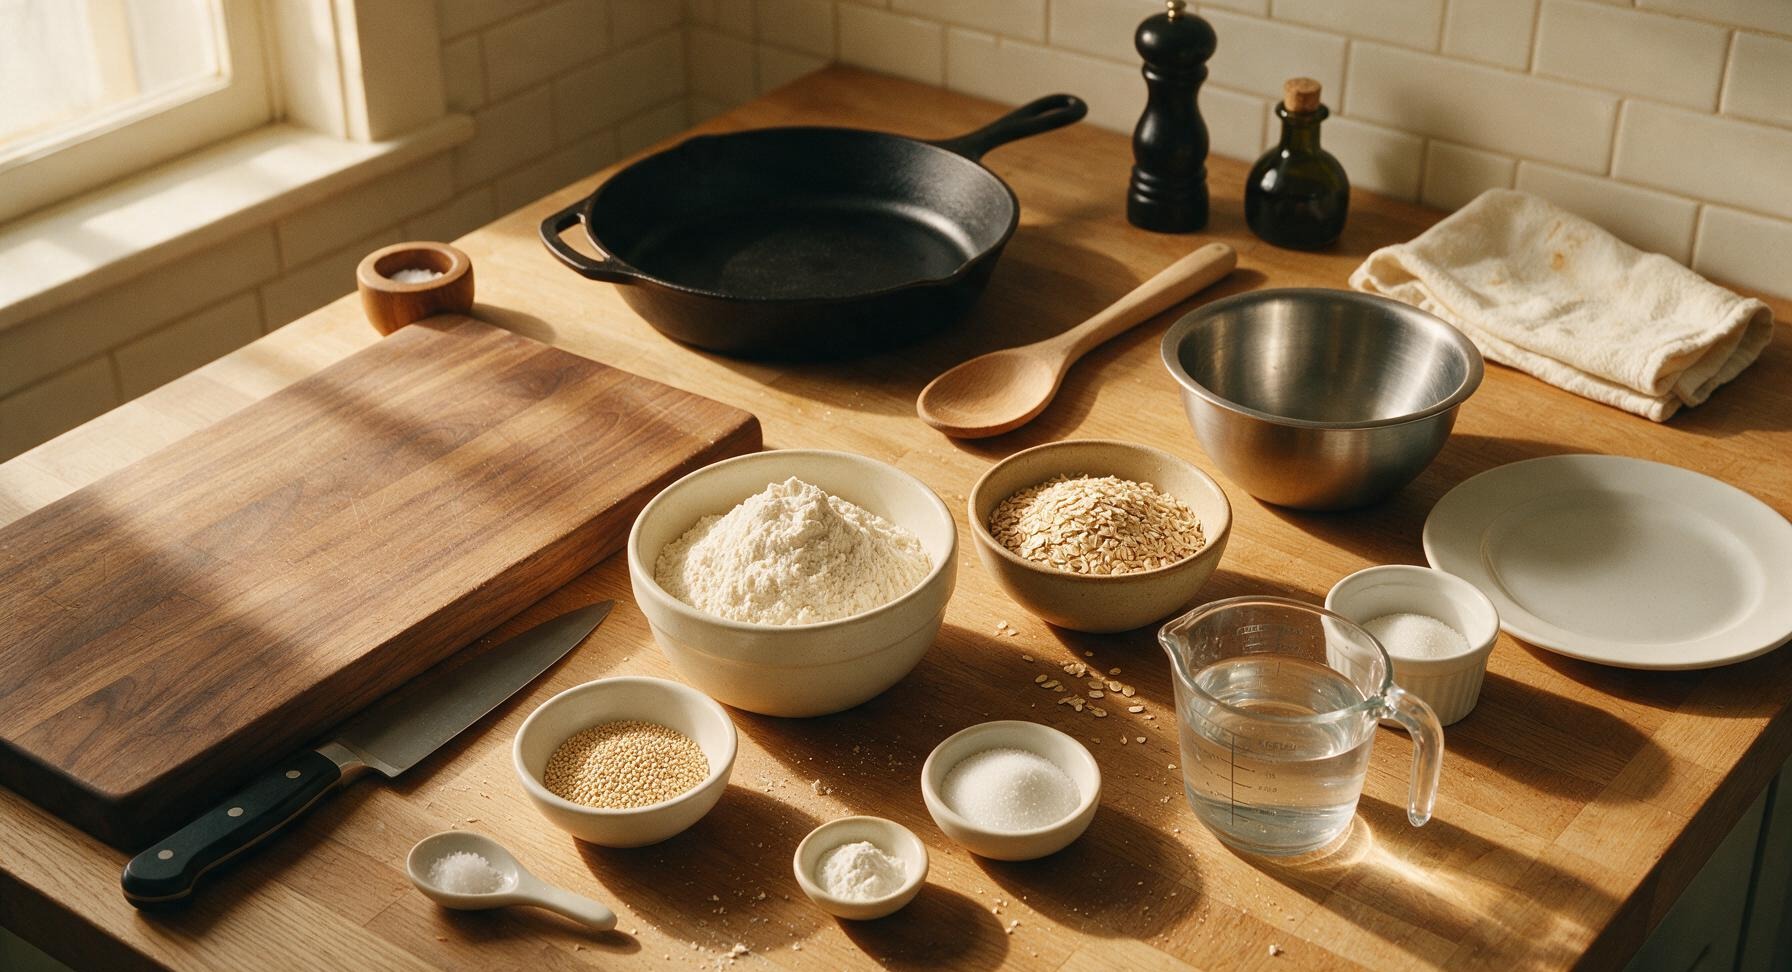
High-gluten bread flour 330g (2 3/4 cups)
Oat bran 135g (1 1/2 cups, divided; 2 tbsp reserved for topping)
Active dry yeast 7g (2 1/4 tsp, 1 standard packet)
Warm filtered water 300ml (1 1/4 cups, 40-43°C / 105-110°F)
Granulated white sugar 25g (2 tbsp, divided)
Fine sea salt 9g (1 1/2 tsp)
Baking soda 5g (1 tsp)

Steps

1

Activate the Yeast

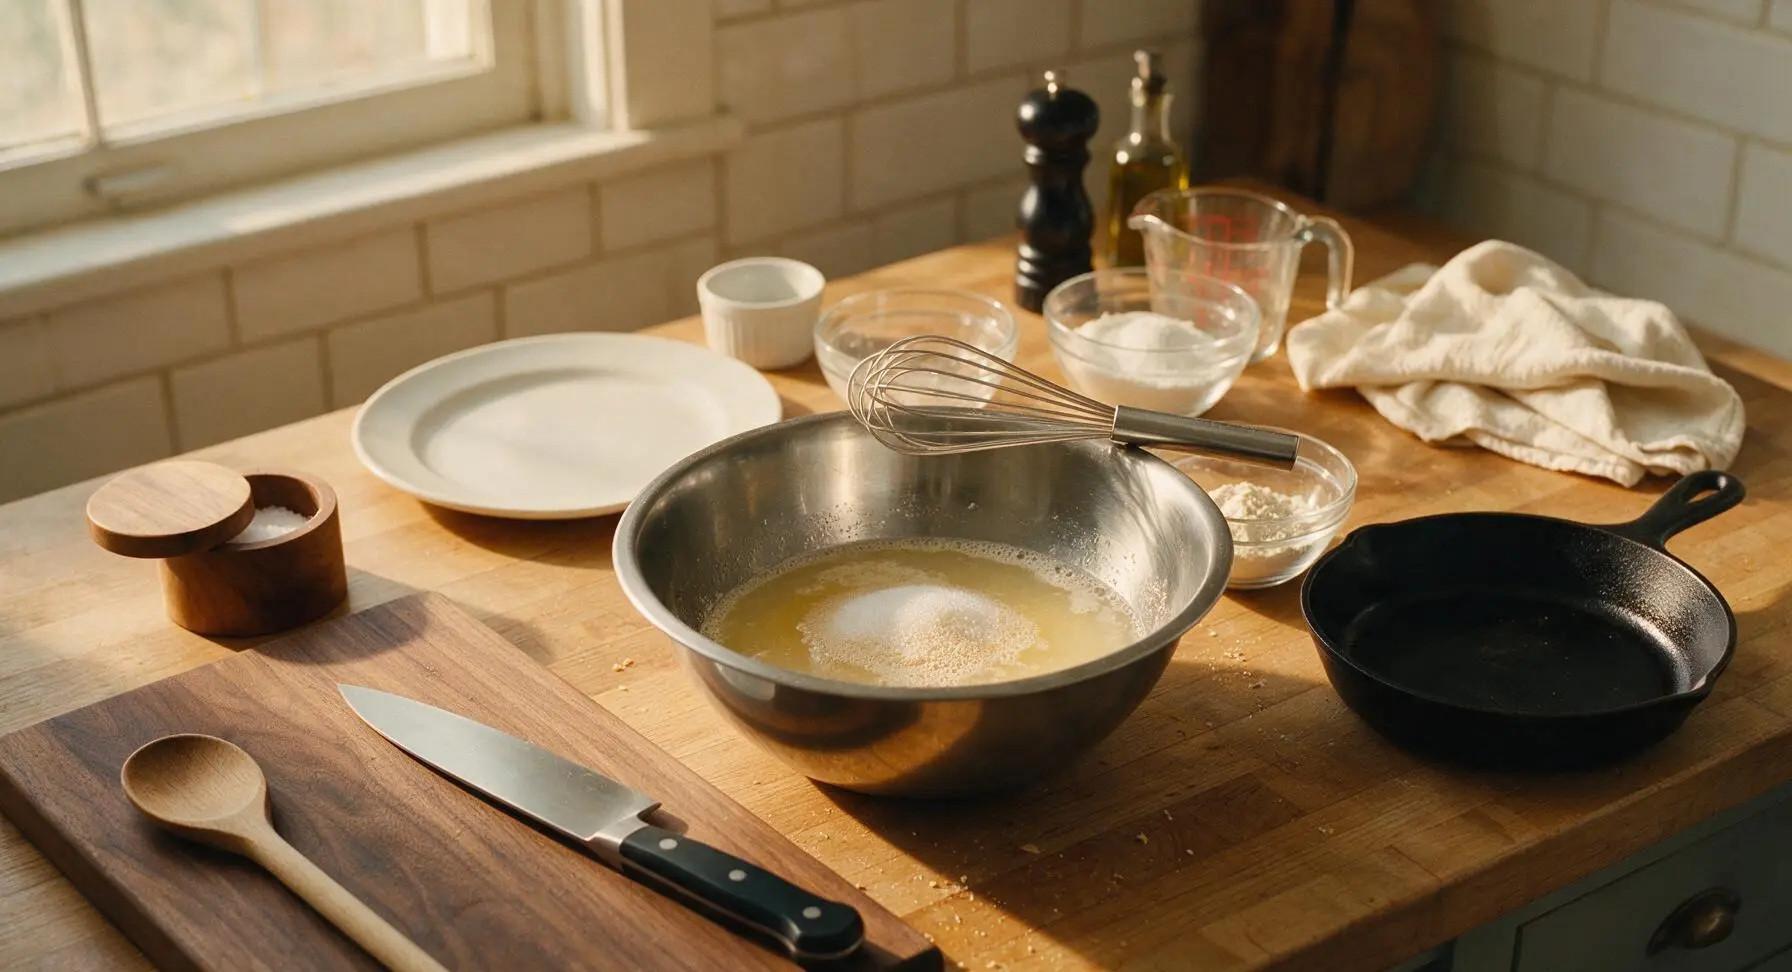
Pour 100ml of the measured warm water into the large stainless steel mixing bowl, stir in 1 tbsp of the granulated sugar and the full packet of active dry yeast with the dough whisk. Let rest for 5-7 minutes at room temperature, until the mixture forms a foamy, frothy layer on top, confirming the yeast is active. If no foam forms after 10 minutes, the yeast is expired and should be replaced.
Step 1
step1:Activate the Yeast
2

Knead the Bagel Dough

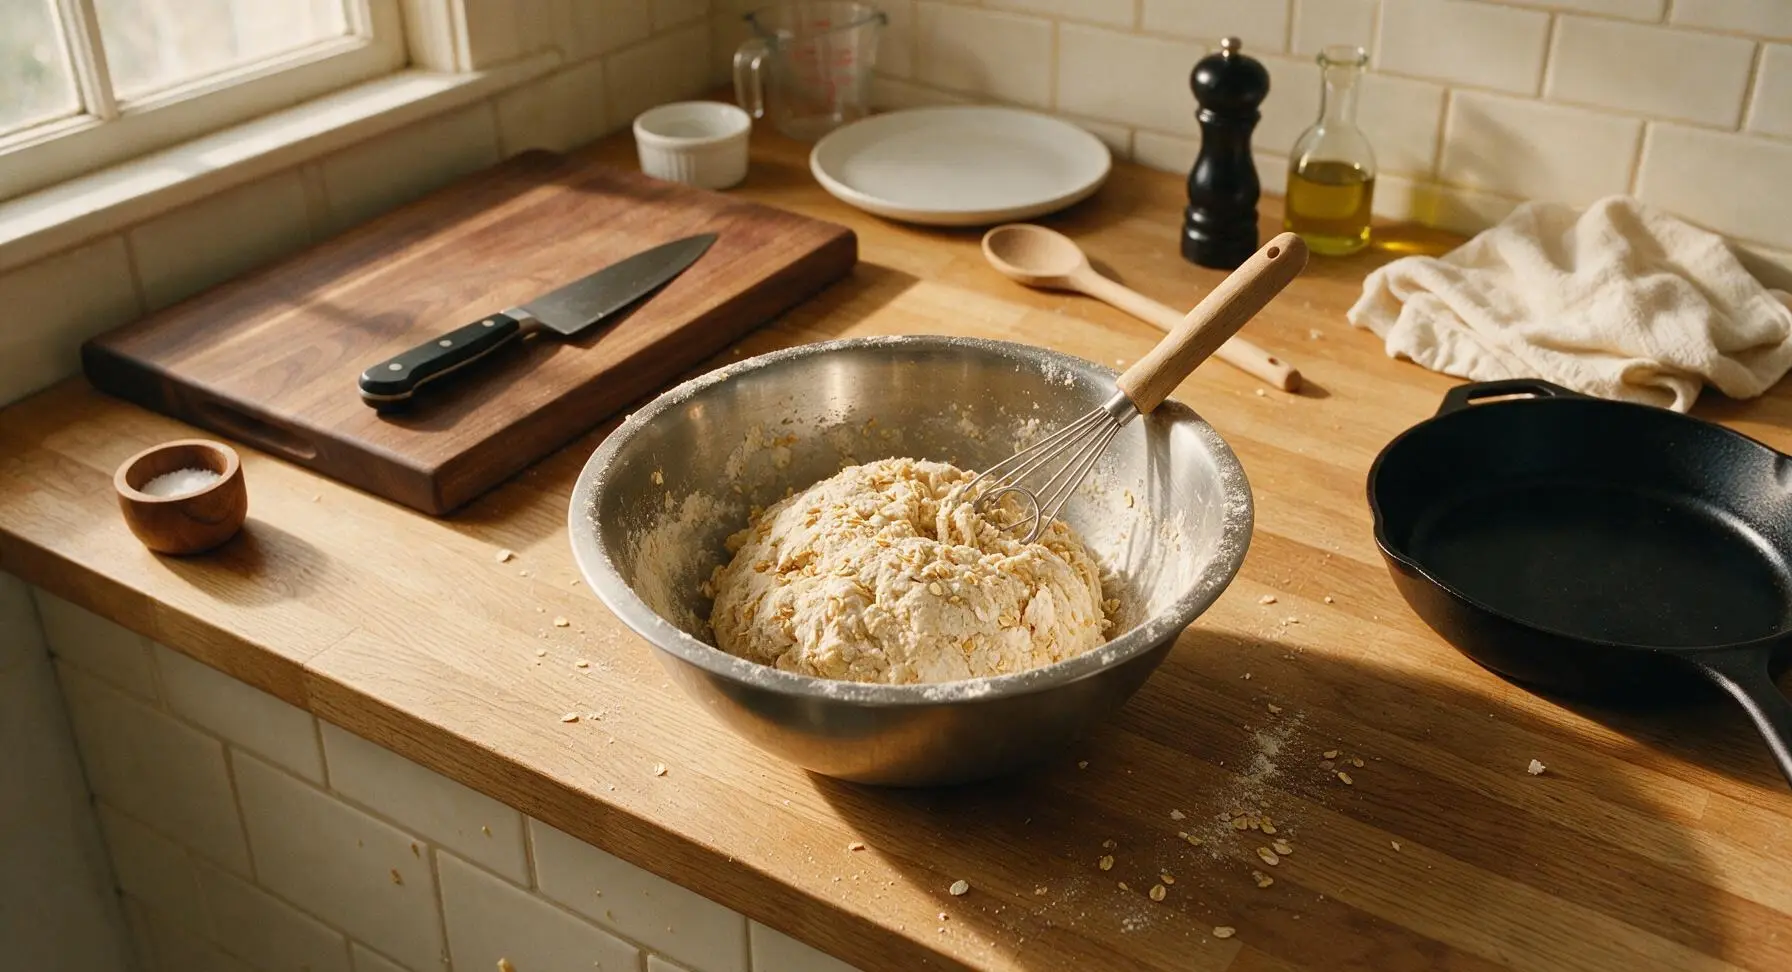
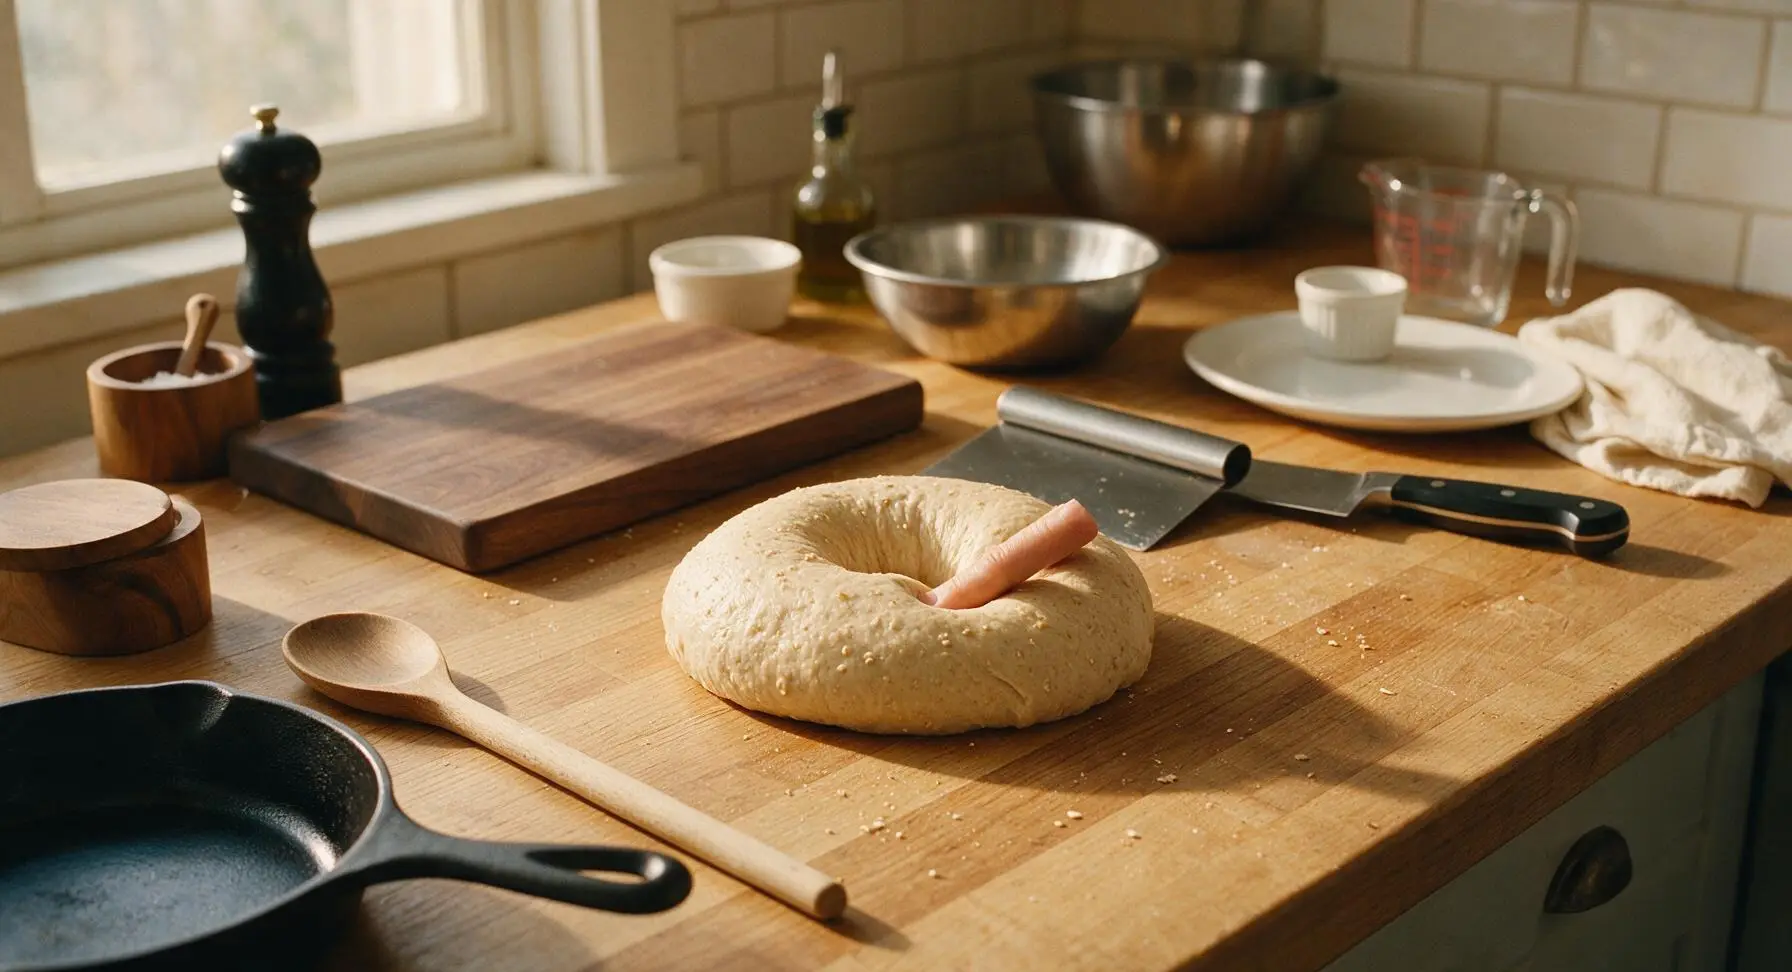
Add the remaining warm water, bread flour, 120g (1 1/3 cups) of the oat bran, and fine sea salt to the activated yeast mixture. Stir with the dough whisk until a shaggy, rough dough forms, then turn out onto the clean maple counter (no extra flour needed, as the dough will be stiff). Knead for 8-10 minutes by hand, until the dough is smooth, elastic, and no longer sticky, bouncing back slightly when poked with a finger.
Step 2
step2:Knead the Bagel Dough
Step 2
step2:Knead the Bagel Dough
3

Shape the Bagels

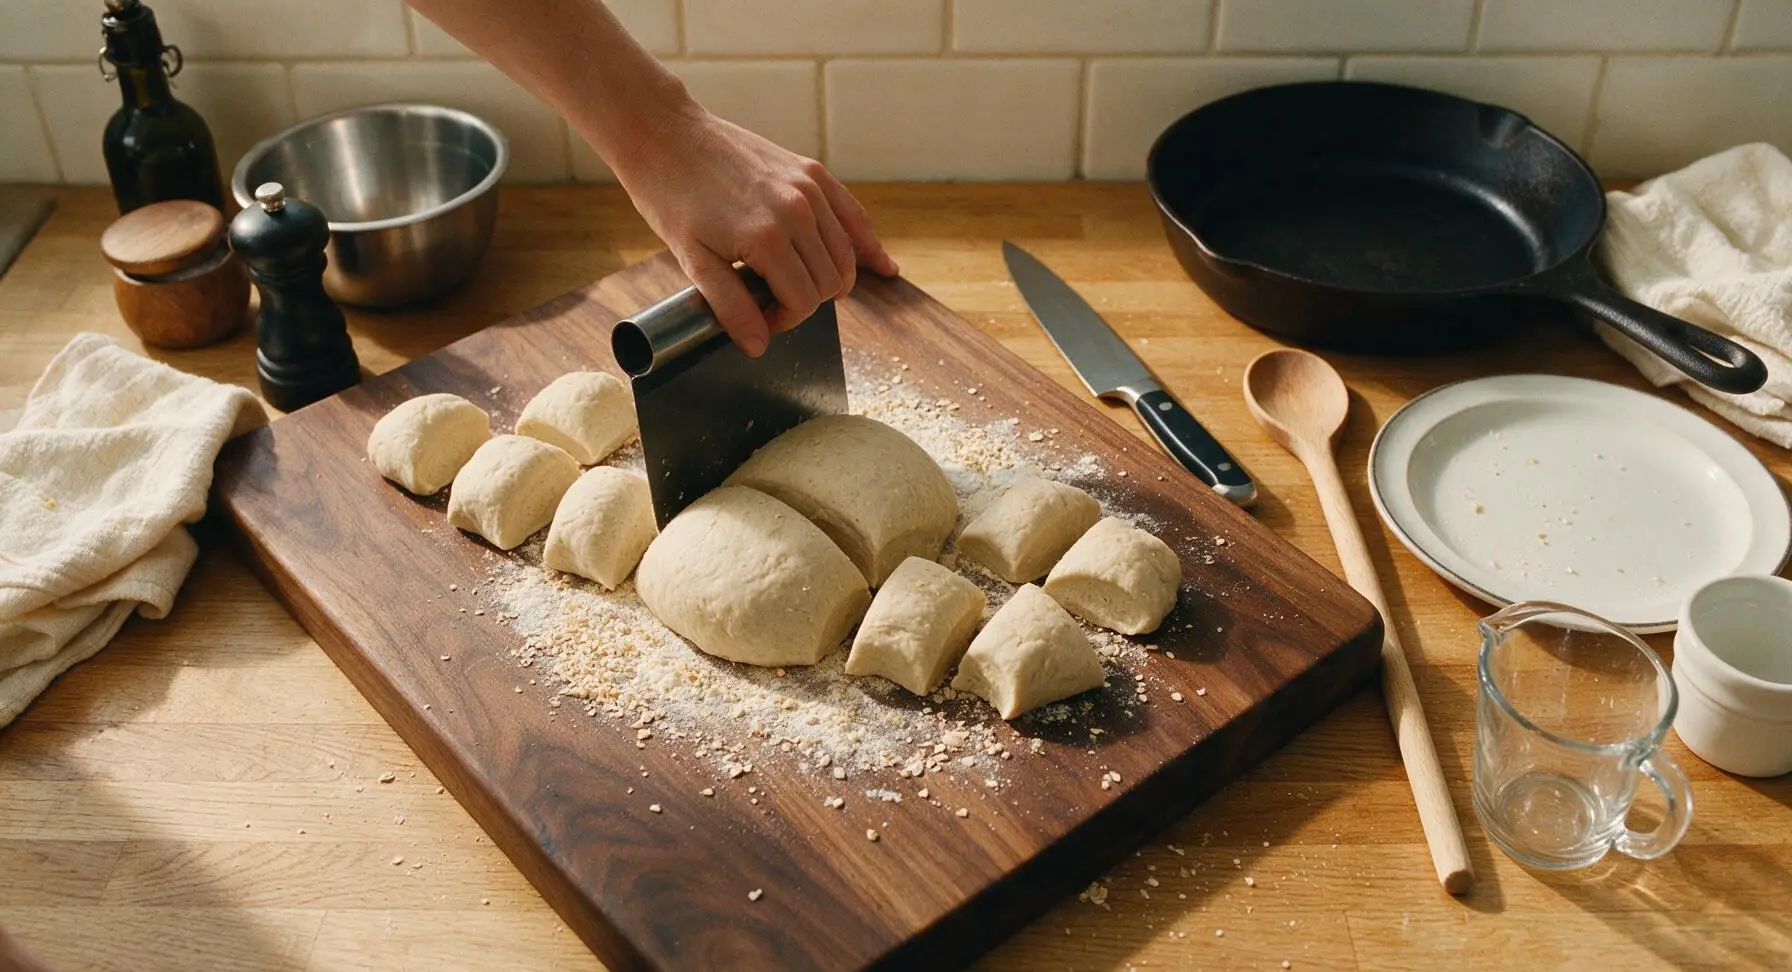
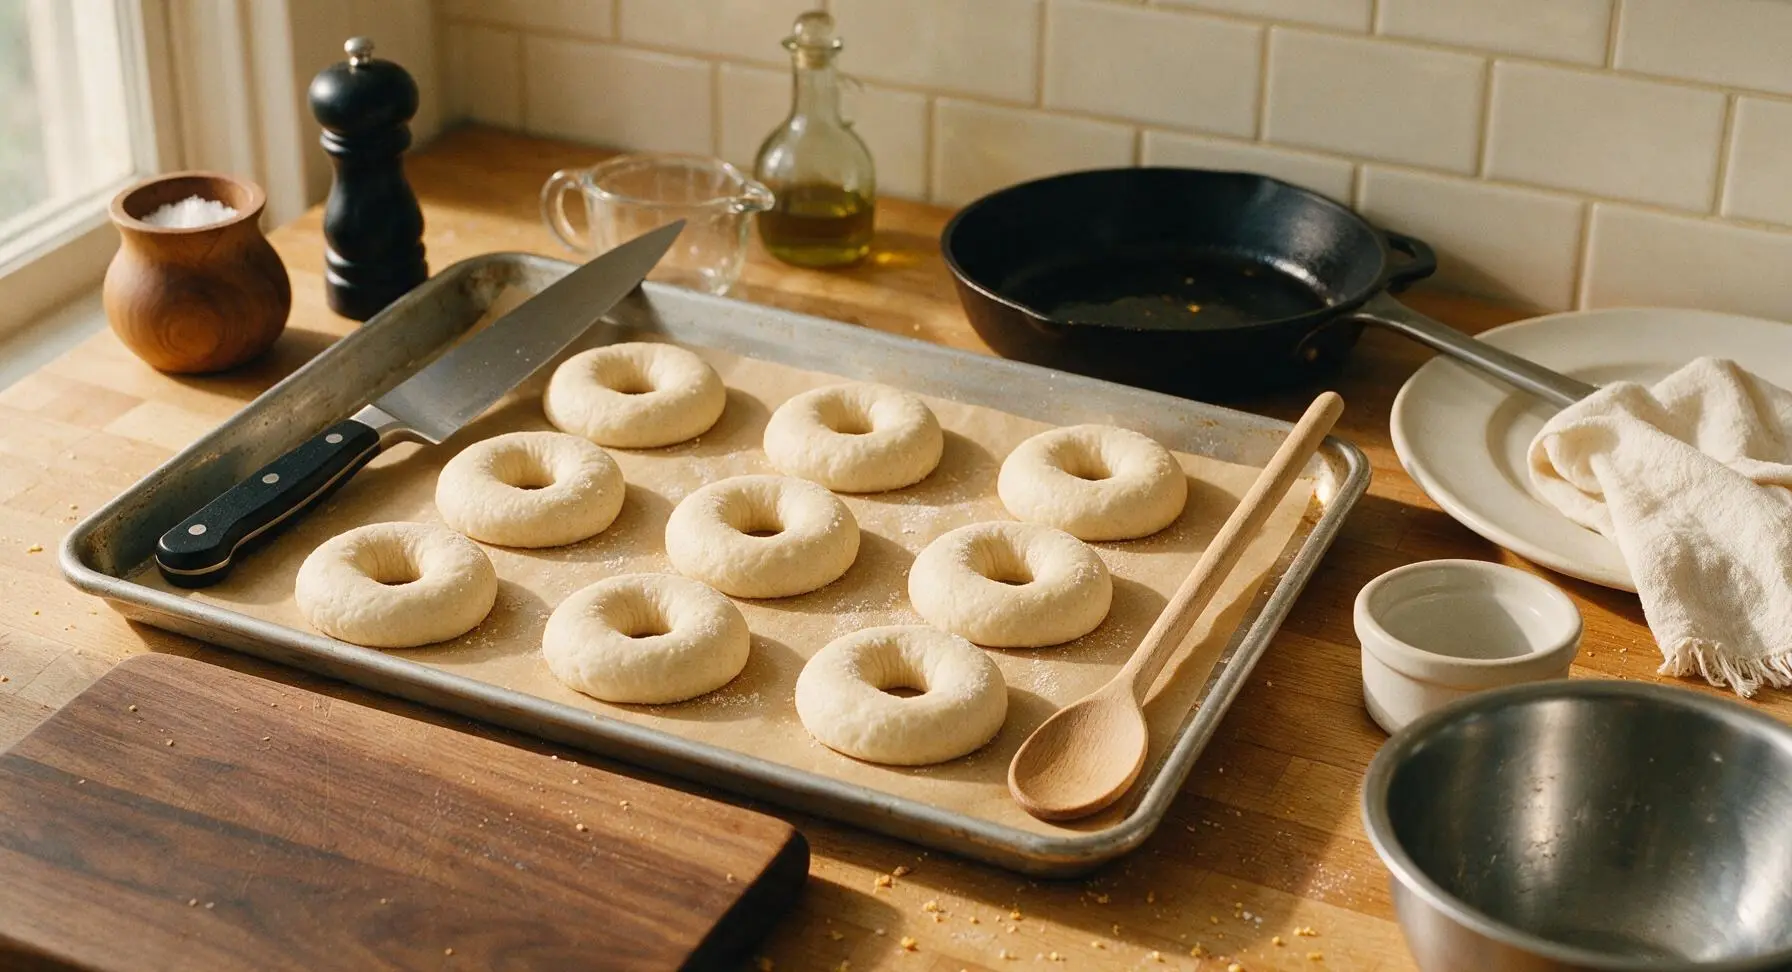
Use the bench scraper to divide the smooth dough into 8 equal portions, each roughly 95g. Roll each portion into a tight, smooth ball, then poke a floured finger through the center of each ball to form a 5cm (2 inch) wide hole. Stretch the hole slightly to ensure it does not close as the dough rises; the formed bagels should be uniform in size with even thickness around the ring.
Step 3
step3:Shape the Bagels
Step 3
step3:Shape the Bagels
4

Proof the Shaped Bagels

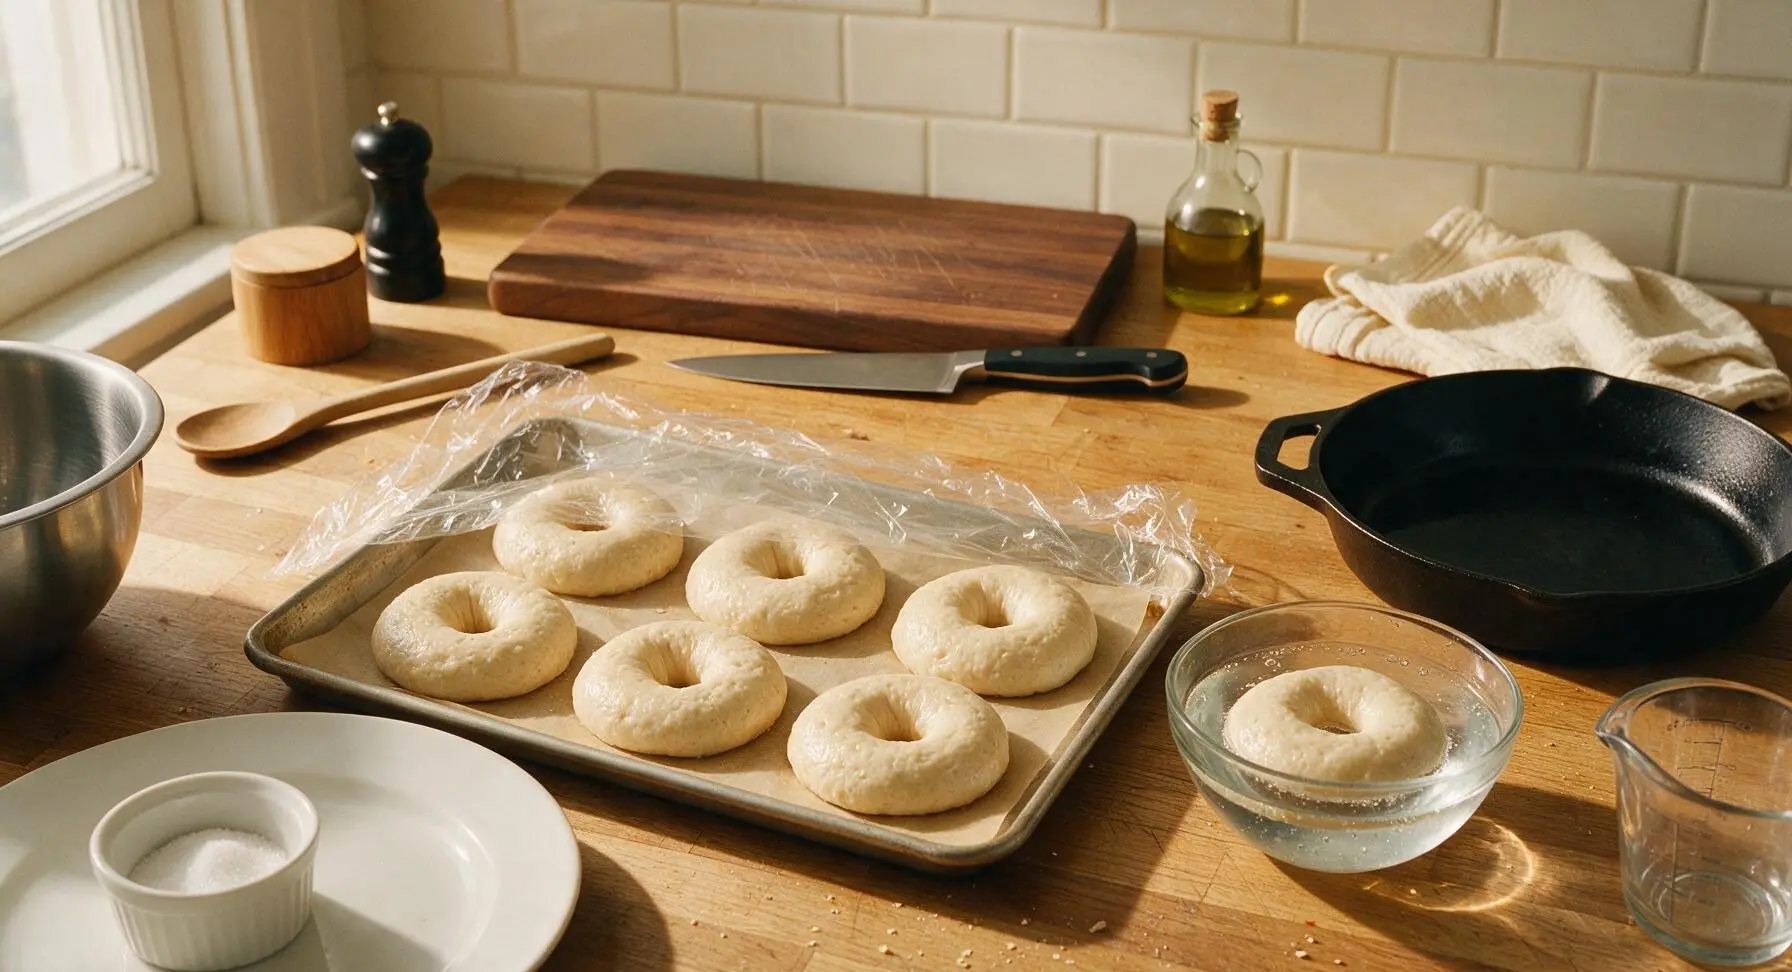
Cover the baking sheet of shaped bagels loosely with a piece of lightly oiled plastic wrap, and let rest in a warm, draft-free spot on the counter for 25-30 minutes, until the bagels are puffy and increased in size by roughly 50%. Test readiness by dropping one bagel into a small bowl of cold water: if it floats within 10 seconds, it is ready to boil.
Step 4
step4:Proof the Shaped Bagels
5

Boil the Bagel Rings

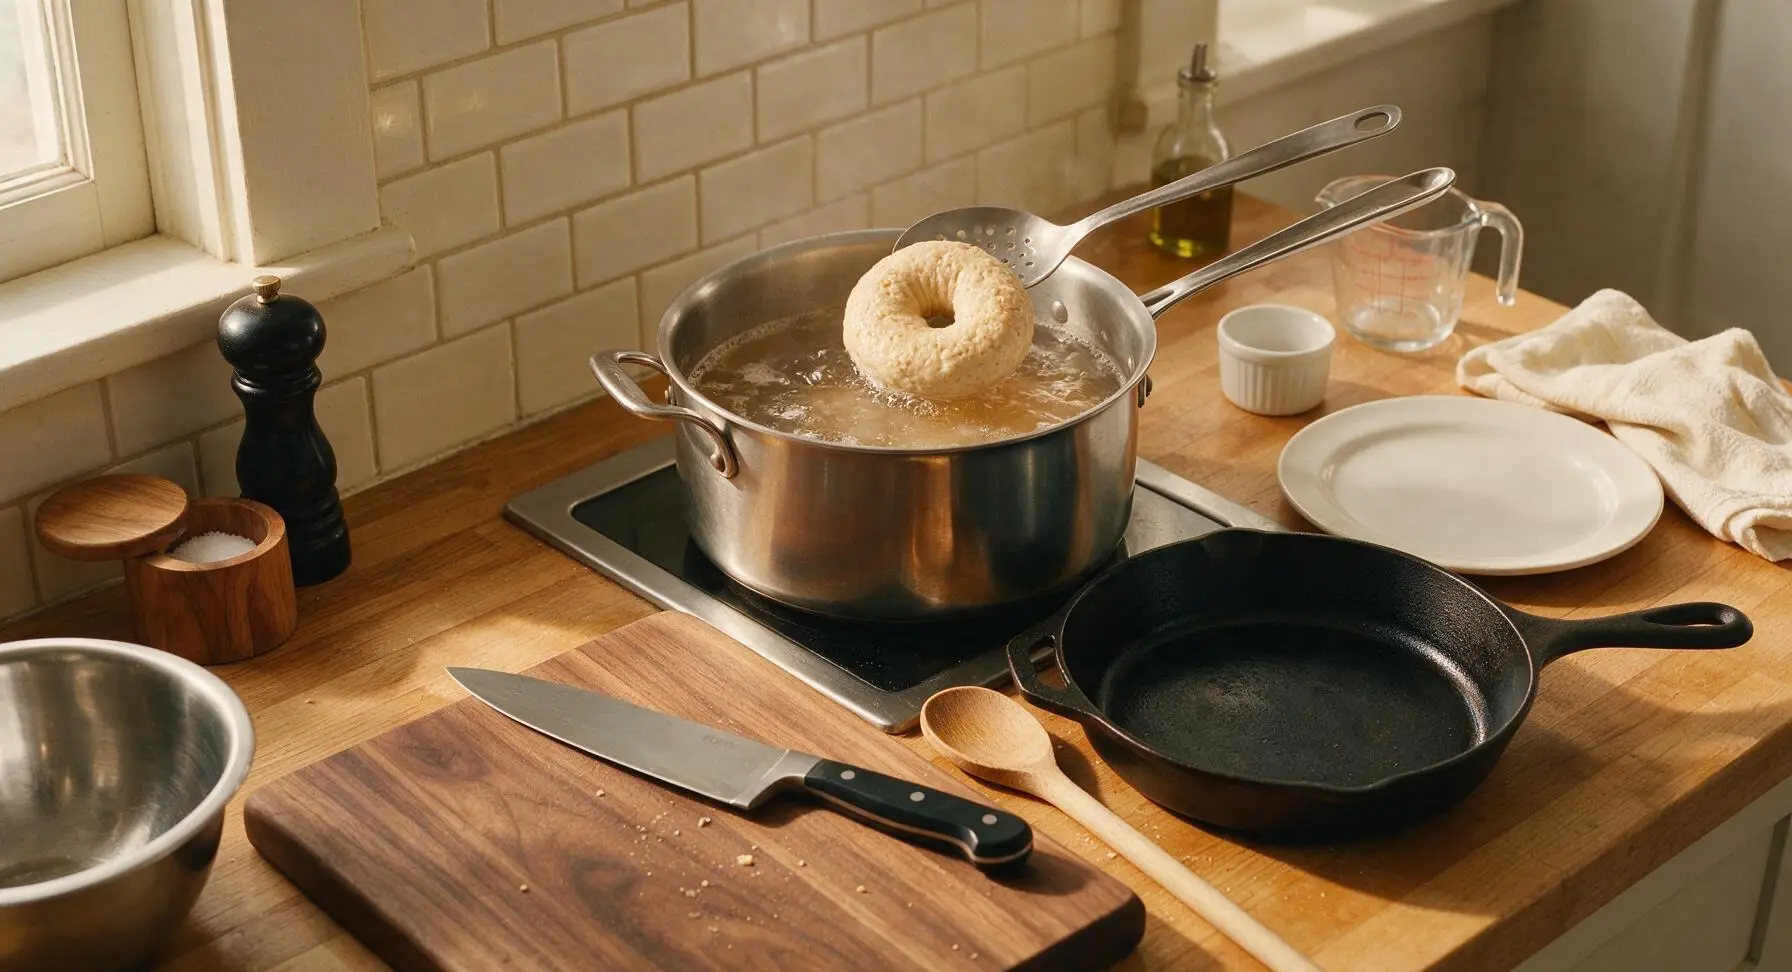
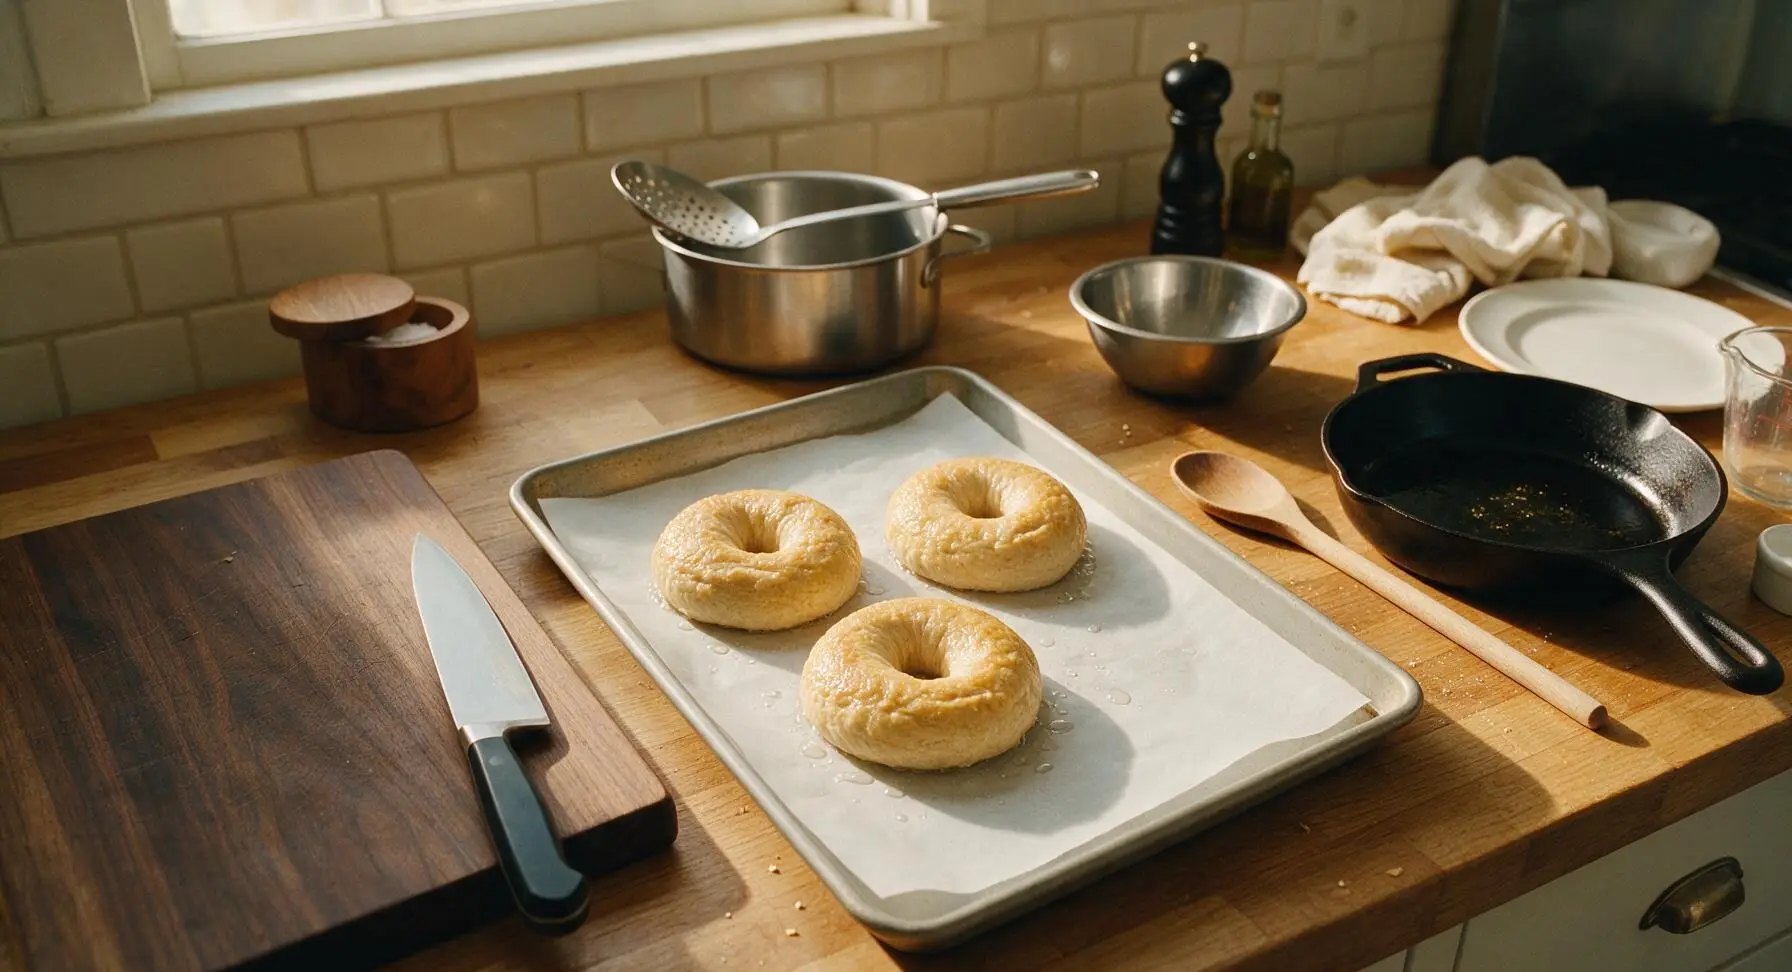
While the bagels proof, fill the medium stainless steel stock pot with 4 liters of water, bring to a rolling boil over high heat, then stir in the remaining 1 tbsp granulated sugar and 1 tsp baking soda. Once the water is at a gentle, rolling boil, use the slotted stainless steel spoon to lower 2-3 bagels at a time into the water, being careful not to overcrowd the pot. Boil for 1 minute per side, for a total of 2 minutes per bagel, then lift out with the slotted spoon, letting excess water drain off, and return to the parchment-lined baking sheet.
Step 5
step5:Boil the Bagel Rings
Step 5
step5:Boil the Bagel Rings
6

Top and Bake Bagels

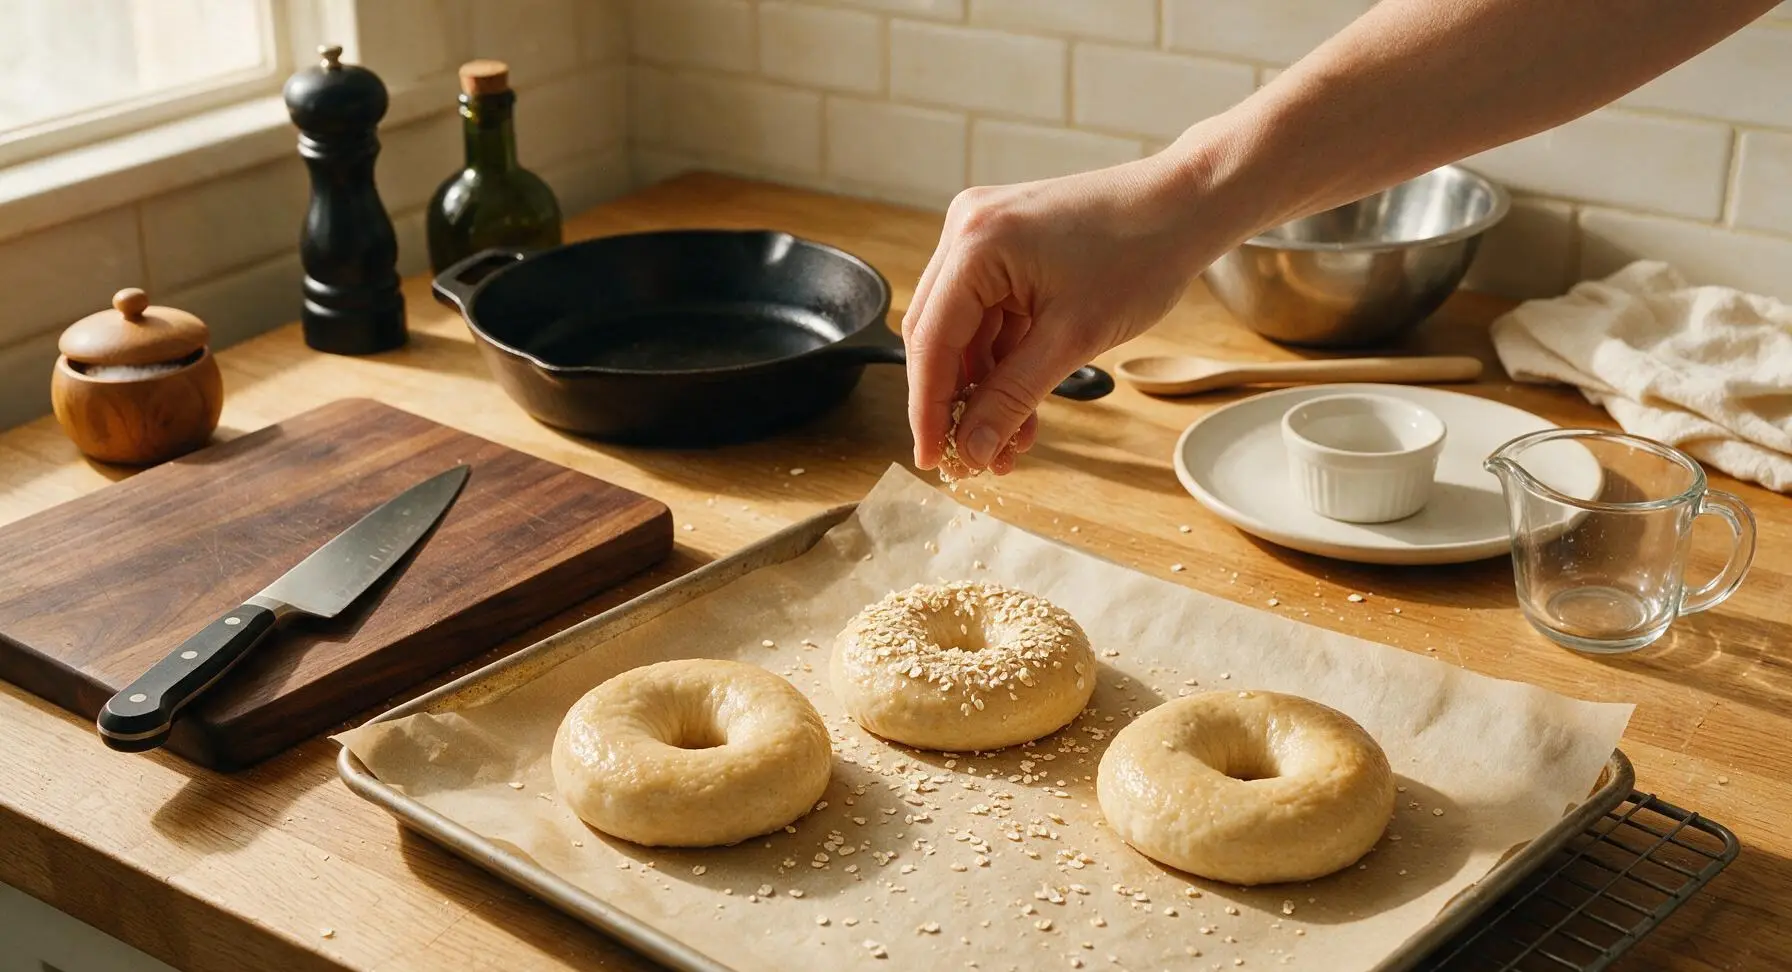
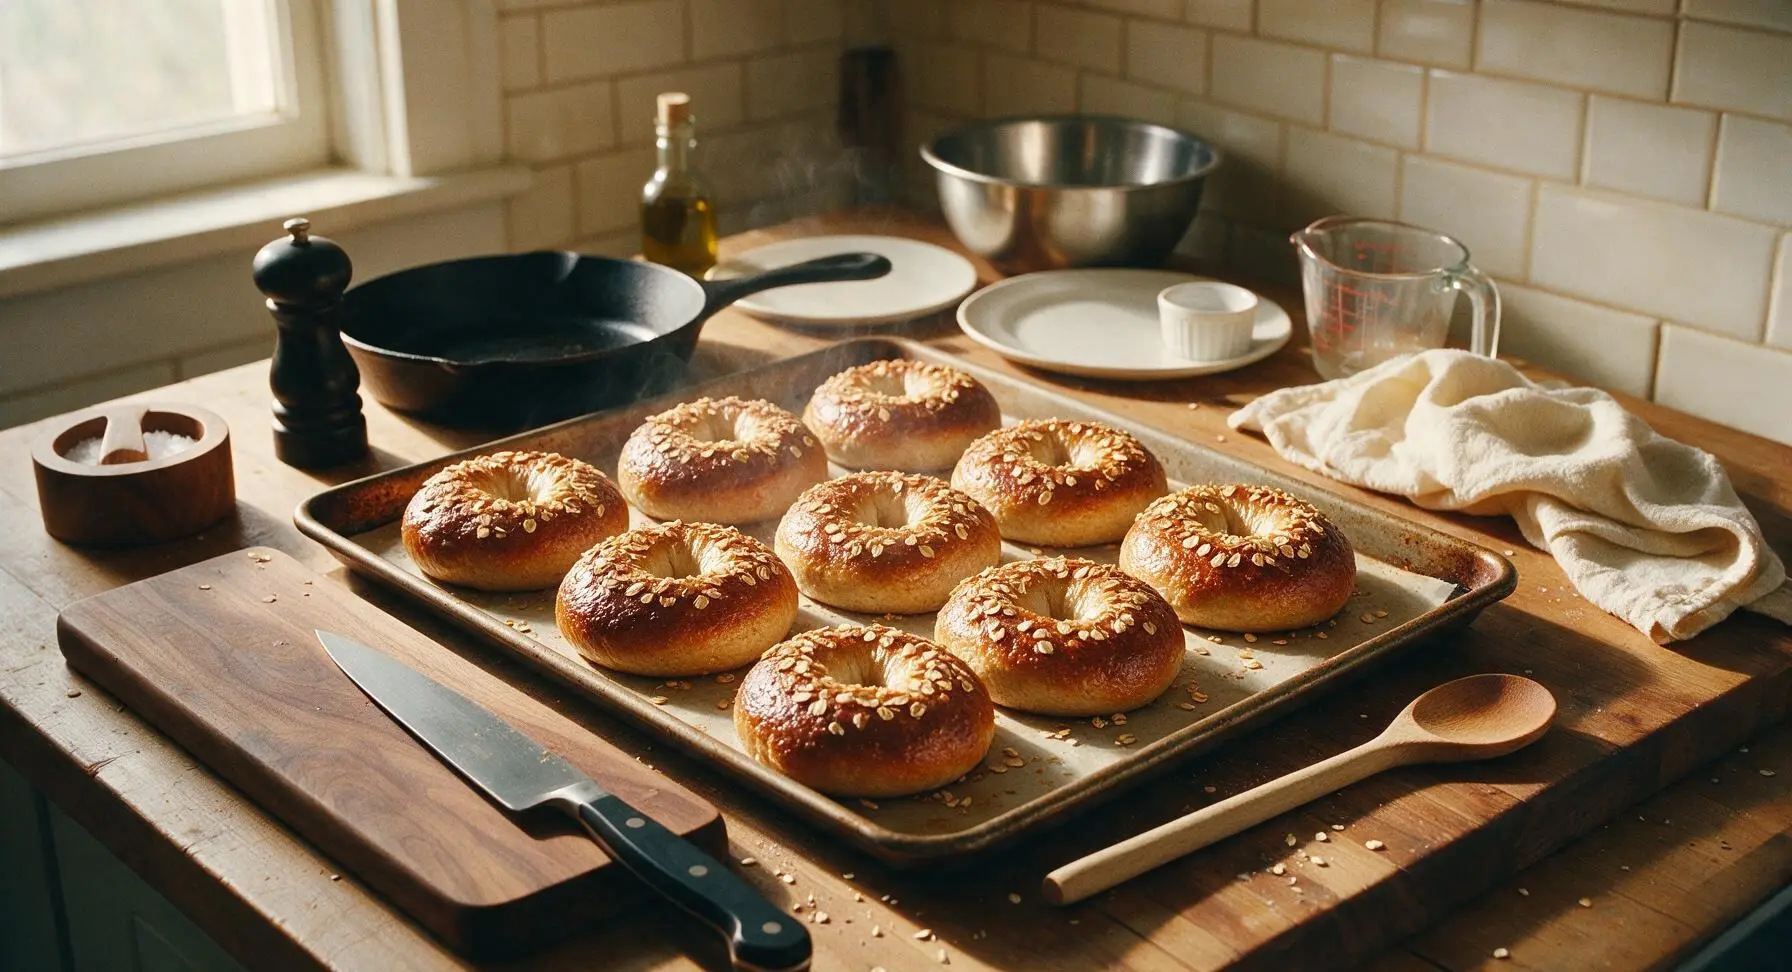
While the boiled bagels are still damp on the surface, use your fingers to sprinkle the reserved 2 tbsp oat bran evenly over the top of each bagel, pressing lightly to help the bran adhere. Slide the baking sheet into a preheated 220°C (425°F) oven, bake for 18-22 minutes, rotating the sheet 180 degrees at the 10 minute mark to ensure even browning. The bagels are done when they are a deep, shiny golden brown across the entire surface, with no pale doughy spots on the sides.
Step 6
step6:Top and Bake Bagels
Step 6
step6:Top and Bake Bagels
7

Cool Before Serving

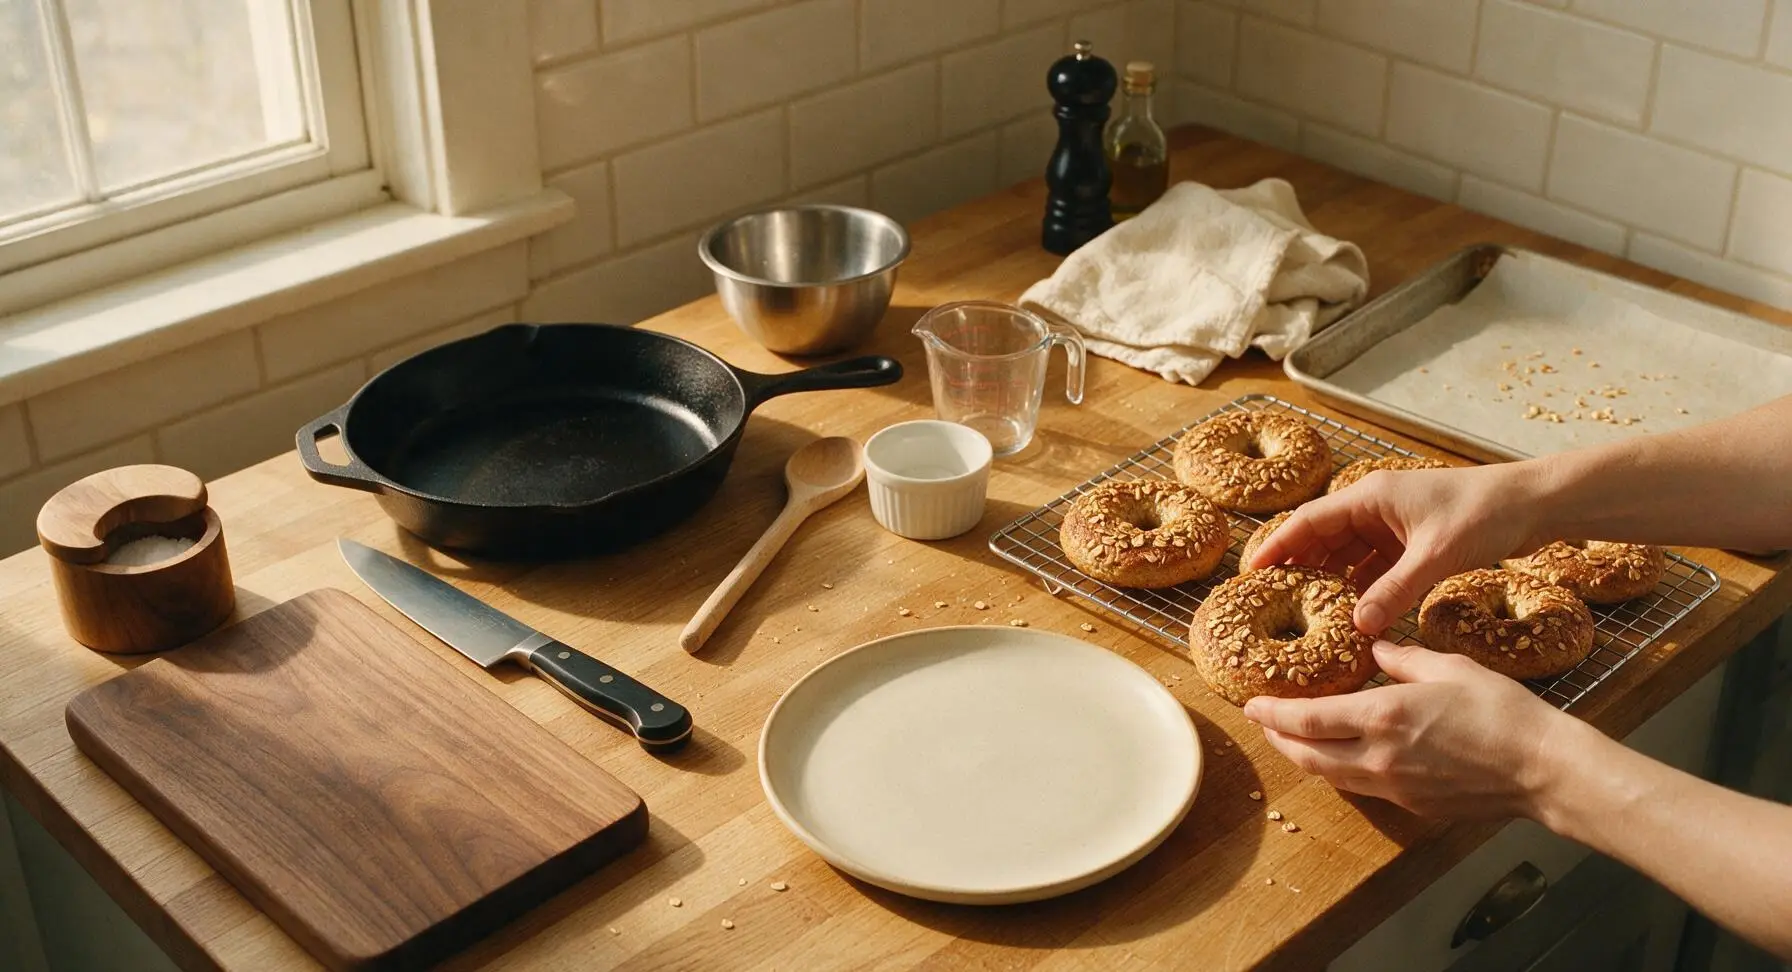
Use the bench scraper to carefully transfer the hot baked bagels from the baking sheet to the matte chrome wire cooling rack. Let cool for at least 15 minutes before slicing, to allow the crumb to set properly (cutting hot bagels will result in a gummy, dense texture). Serve with cream cheese, jam, smoked salmon, or your favorite bagel toppings.
Step 7
step7:Cool Before Serving

Tips

1.Use high-gluten bread flour instead of all-purpose flour: the 12-14% protein content creates the signature chewy, dense bagel crumb that holds up to thick spreads like cream cheese without tearing or falling apart.
2.Do not skip the boiling step: the hot baking soda water gelatinizes starches on the dough surface, creating the shiny, crisp bagel crust and preventing excessive puffing in the oven. Skipping this step will produce plain dinner rolls, not authentic bagels.
3.Wait until bagels are fully cooled (15+ minutes) before slicing or storing: cutting hot bagels compresses the soft crumb, leading to a gummy texture, while storing warm bagels traps condensation that makes the crust soggy. Cooled bagels keep for 3 days at room temperature in an airtight container, or freeze for up to 3 months.


✨ You May Also Like

Breakfast
🍜 United States

Crisp-edged, fluffy lard griddle cakes are a nostalgic homestyle staple, with rich savoriness from rendered lard, perfect topped with maple syrup or savory gravy.

⏱️ 25 minuteBreakfast ★ 4.8
Breakfast
🍜 United States

Flaky, buttery homemade buttermilk biscuits smothered in creamy, peppery pork sausage gravy: a beloved, hearty Southern American comfort food classic.

⏱️ 35 minuteBreakfast ★ 4.8
Breakfast
🍜 United States

Golden, custardy brioche stuffed with sweet cream cheese and fresh berries, pan-fried to crisp perfection. An indulgent, cozy breakfast perfect for slow weekend mornings.

⏱️ 30 minuteBreakfast ★ 4.7
Breakfast
🍜 United States

Flaky, buttery Southern-style biscuits stuffed with savory salty country ham, a portable, satisfying classic perfect for casual on-the-go meals.

⏱️ 25 minuteBreakfast ★ 4.8
Breakfast
🍜 United States

Iconic puffy baked pancake popularized in Seattle, with crisp golden edges and soft custardy center, served warm with classic sweet toppings.

⏱️ 35 minuteBreakfast ★ 4.6
Breakfast
🍜 United States

Fluffy, golden pancakes studded with juicy peak-summer mixed berries, drizzled with maple syrup for a bright, comforting, crowd-pleasing family breakfast.

⏱️ 25 minuteBreakfast ★ 4.7

Oat Bran Bagel:Frequently Asked Questions

1.Can I substitute all-purpose flour for the high-gluten bread flour in this recipe? ▾
You can, but you’ll miss that signature chewy bagel texture if you use straight all-purpose flour. For the closest result, add 1 tablespoon of vital wheat gluten per cup of all-purpose flour to boost protein content. Without that extra gluten, your bagels will turn out denser and softer, more like a dense roll than a classic chewy bagel.
2.Do I really need to boil these bagels before baking, or can I skip that step? ▾
Don’t skip the boiling step—it’s what creates that shiny, crisp crust and sets the chewy crumb these oat bran bagels are known for. Boil each bagel for 1 minute per side in gently simmering water (add a teaspoon of baking soda for extra crust shine) before transferring straight to the oven. Skipping this will leave you with plain bread rolls, not bagels.
3.How should I store leftover oat bran bagels to keep them chewy and fresh? ▾
Let fully cooled bagels rest in an airtight zip-top bag at room temperature for up to 3 days. For longer storage, slice them first, wrap individually in plastic wrap, and freeze for up to 3 months. Skip the fridge—it speeds up staling. Toast day-old or frozen bagels to bring back their crisp crust and soft, tender crumb.
4.Can I use instant yeast instead of active dry yeast for this recipe? ▾
Absolutely! To swap in instant yeast, use 25% less than the active dry yeast amount listed (for example, use ¾ teaspoon instant for every 1 teaspoon active dry). You also don’t need to proof it in warm water first—just mix it straight in with your dry ingredients. Rise times will be slightly shorter, so watch dough size to avoid over-proofing.
5.Why did my oat bran bagels turn out dense and heavy instead of soft and chewy? ▾
Dense bagels usually trace back to one of three common missteps: not kneading the dough enough to build strong gluten, under-proofing the dough before boiling, or using overly hot water that killed your yeast. Make sure your dough passes the windowpane test, doubles in size pre-shape, and uses 110°F water for proofing to get that light, speckled crumb.

Comments (6)

2 days ago

OMG these oat bran bagels are a total game changer for my weekday meal prep! I was worried they’d be dense and boring like other high-fiber bagels I’ve tried, but they’re chewy on the inside, perfectly crusty outside, and hold up so well to cream cheese and smoked salmon. My 10 year old even asked for seconds at breakfast this morning!

yesterday

Wait do they freeze well? I make a big batch of bagels every Sunday for the week and hate when they get soggy after thawing!

2 hours ago

So glad you and your kiddo love them! To answer SeattleRunnerGirl’s question too—yes, these freeze beautifully for up to 3 months! Just slice them before freezing and pop them straight in the toaster from frozen, no thawing needed.

3 days ago

Tried these for our weekend family brunch and they were a hit! Only thing I messed up was the boiling step—forgot to add the honey to the water so my first batch was a little paler than the photos, but they still tasted SO good. Next time I’m topping half with everything seasoning and half with cinnamon sugar for the picky eaters.

2 days ago

So happy they were a hit even with the little honey mishap! The honey in the boiling water just helps with that golden, shiny crust, so don’t stress if you skip it sometimes—flavor is still spot on. The cinnamon sugar topping variation sounds delicious, you’ll have to let us know how that turns out!

30 minutes ago

Brought these to my office potluck yesterday and people were begging for the recipe! I love that they’re higher in fiber than regular bagels so I don’t crash an hour after breakfast. Only note is that the medium difficulty rating is totally accurate—my first two attempts at shaping the bagels were lumpy, but I got the hang of it by the third one. 10/10 will make again.

5 days ago

I made these with regular all purpose flour last week and they were incredible! Has anyone tested this recipe with a 1:1 gluten free flour blend? I have a mild gluten sensitivity and have been chasing a good chewy bagel recipe for years—regular wheat leaves me so bloated if I eat it too often, but these are too good to give up!

3 days ago

I made them last week with Cup4Cup gluten free blend and added an extra tablespoon of xanthan gum, they came out perfect! Chewy, not crumbly at all, my husband couldn’t even tell they were GF.

2 days ago

Great question! We haven’t tested this with a full gluten free swap yet, but multiple readers have reported great results using 1:1 GF flour with a little extra xanthan gum, just like SunshineStateBaker mentioned. Start checking them 5 minutes earlier in the oven since GF flours can brown faster!

1 week ago

These are so much better than the store-bought oat bran bagels I was buying that taste like cardboard! Cook time was exactly 25 minutes for me at 425F, no adjustments needed. I topped mine with sesame seeds and a little flaky salt, chef’s kiss.

5 days ago

Totally agree about the store-bought ones being cardboard! I added a handful of raisins and a dash of cinnamon to half the batch for a sweet version, it was chef’s kiss for post-yoga breakfasts.

2 weeks ago

Made these for my kids’ after school snack this week and they devoured them! I split them and made mini bagel pizzas with a little marinara and mozzarella, and even my pickiest eater who hates all things “healthy” asked for a second one. The medium difficulty was no joke for someone who rarely bakes bread, but the step by step instructions made it super easy to follow. Will absolutely be adding these to our regular rotation!



