
Oatmeal Stout Craft Beer
intro
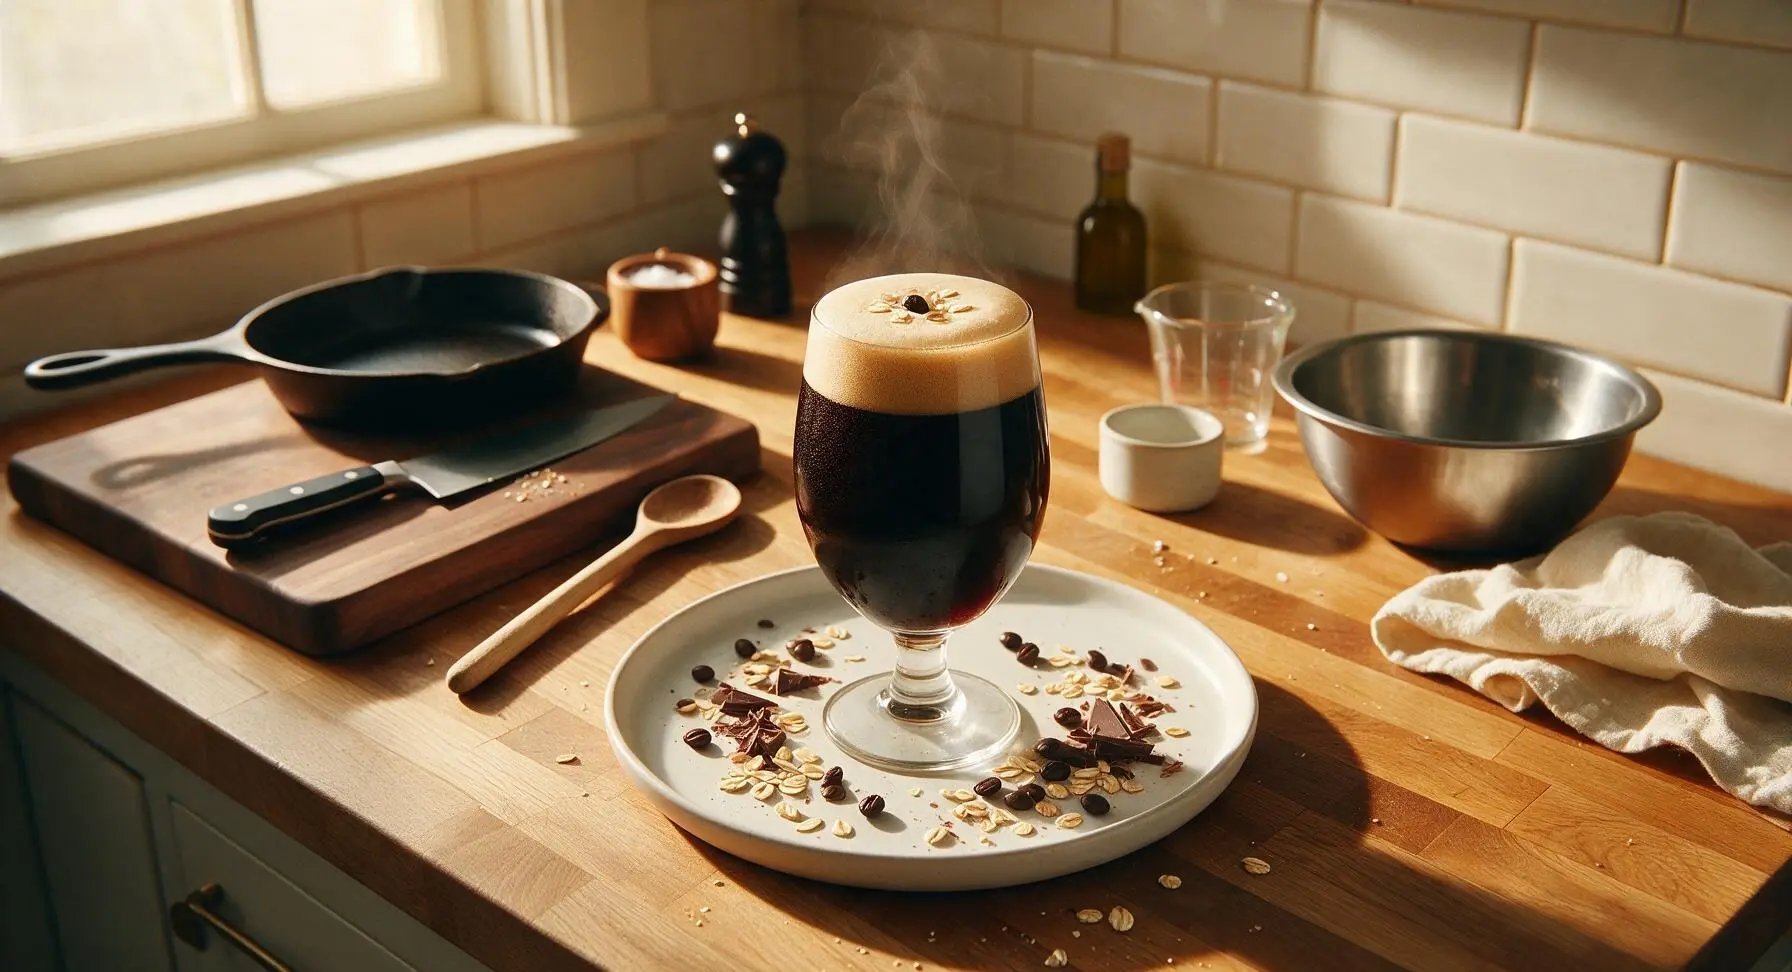
Velvety, rich oatmeal stout with notes of dark roasted coffee, bittersweet chocolate, and toasted oat, balanced by soft earthy hop bitterness for a smooth, cozy craft brew perfect for cool evenings.
Ingredients
Steps
Sanitize Brewing Equipment
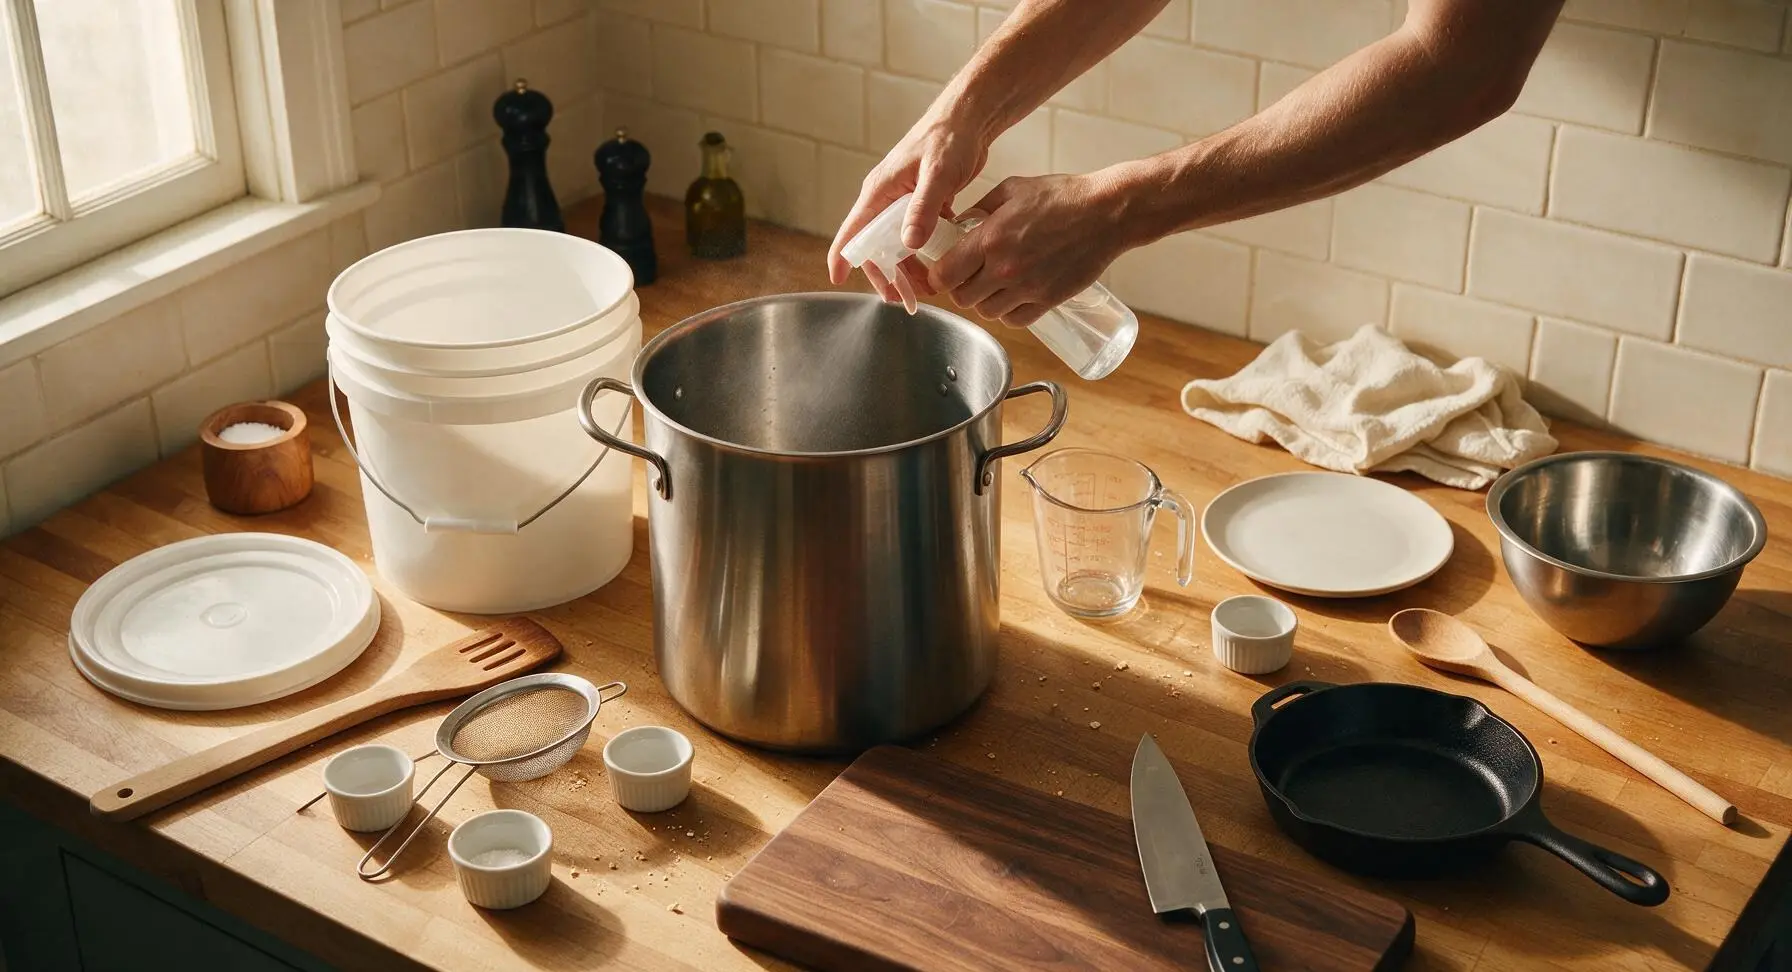
Start by spraying all food-contact surfaces of the brew kettle, fermentation bucket, mash paddle, mesh strainer, and measuring cup with no-rinse food-grade sanitizer. Wipe surfaces with a clean corner of the burnt orange cotton towel, ensuring no sanitizer puddles remain to avoid off-flavors. Allow all equipment to air dry for 5 minutes before use; proper sanitization is the most critical step to prevent bacterial contamination and off-flavors in finished beer.
Heat Mash Water
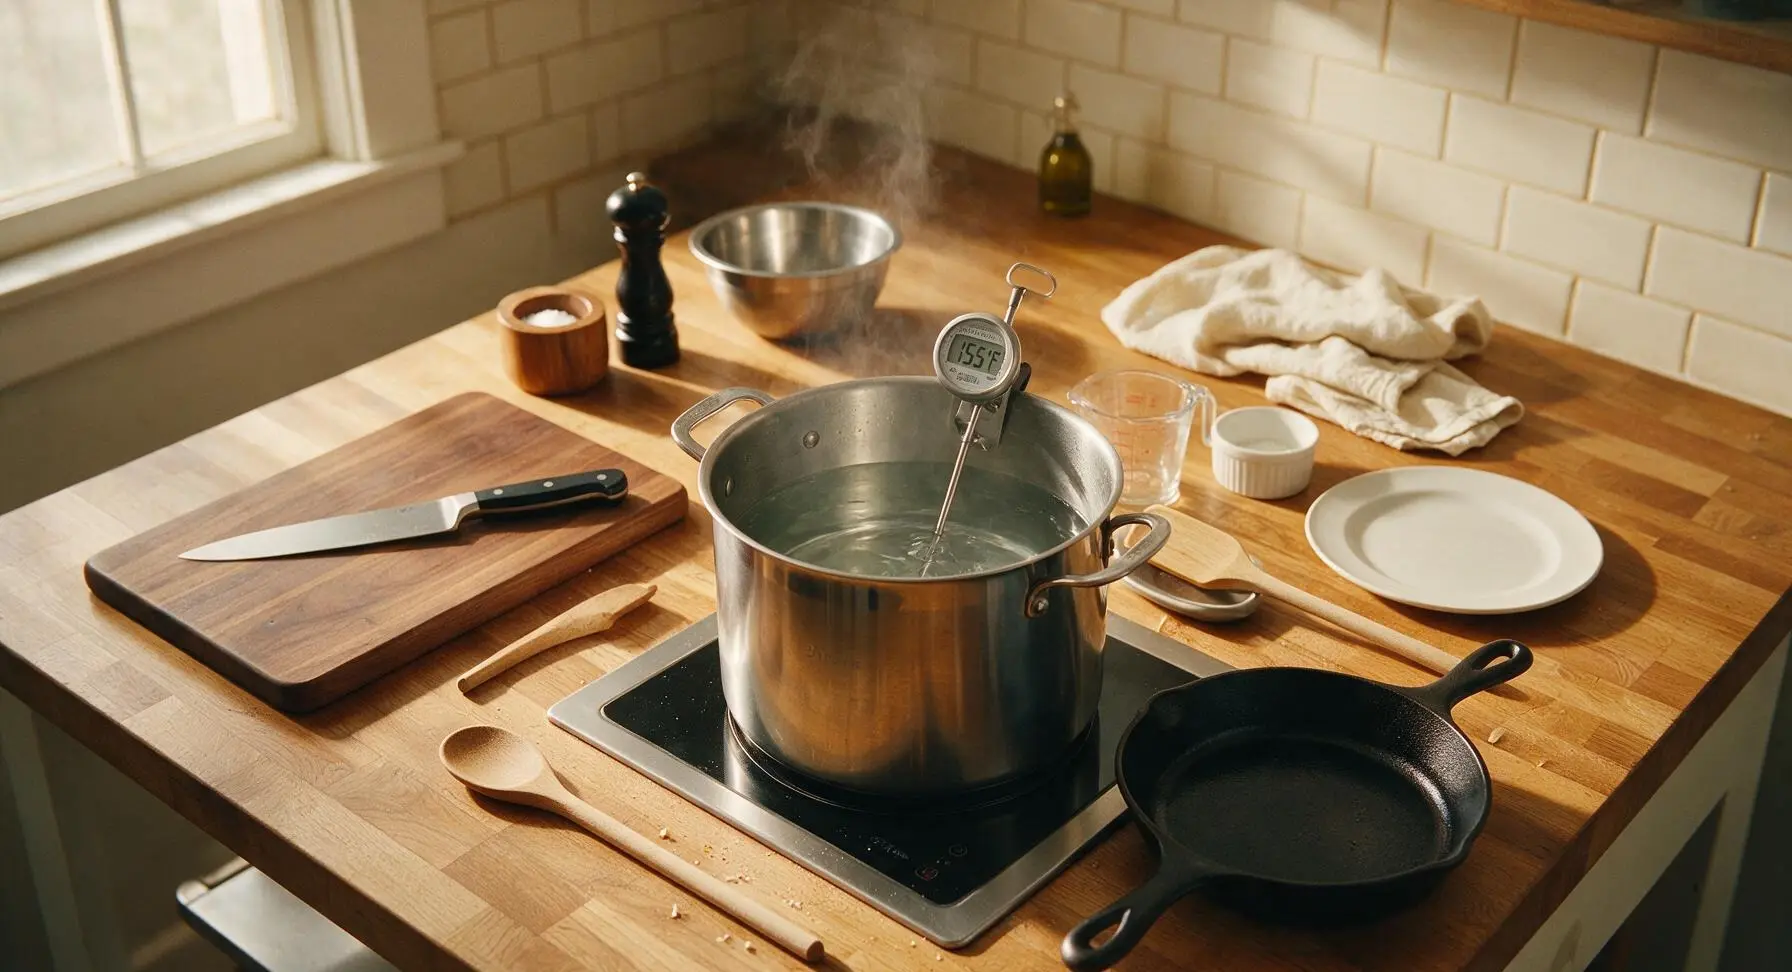
Pour 3 gallons of filtered cold water into the sanitized brew kettle. Heat over medium induction heat to a steady 155°F (68°C), checking temperature periodically with the digital instant-read thermometer. Hold the temperature steady, taking care not to heat water above 160°F, as excess heat extracts harsh, astringent tannins from grain later in the process.
Mash the Grains
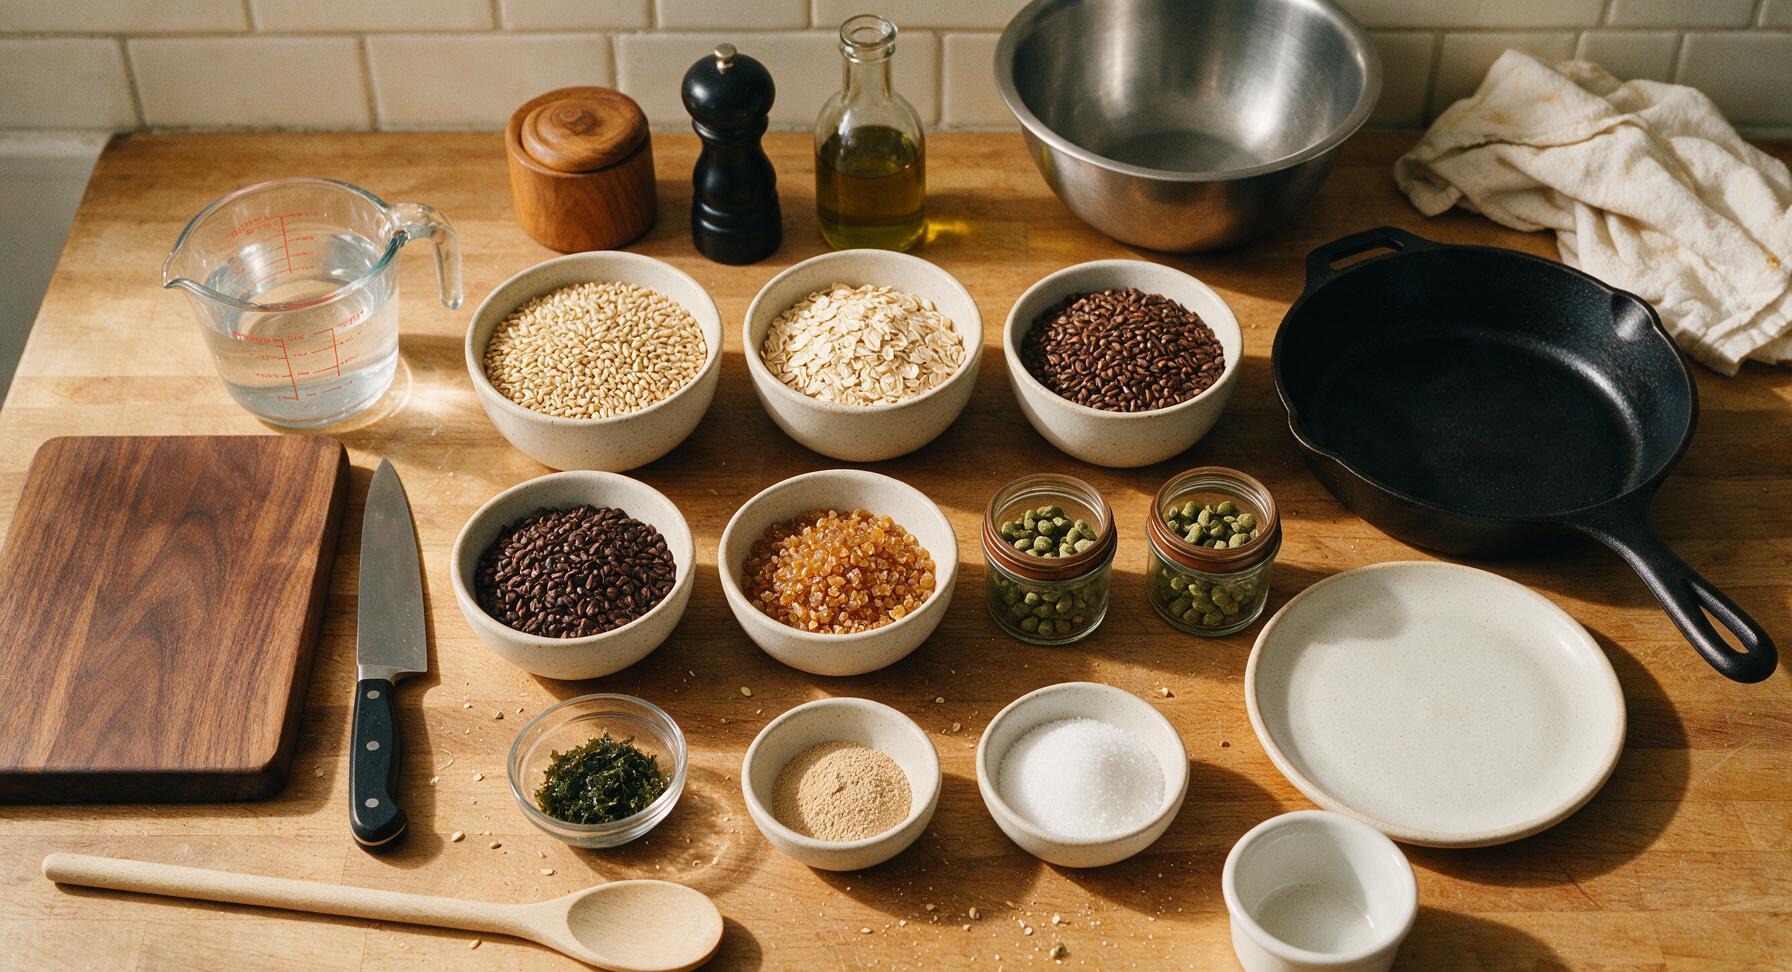
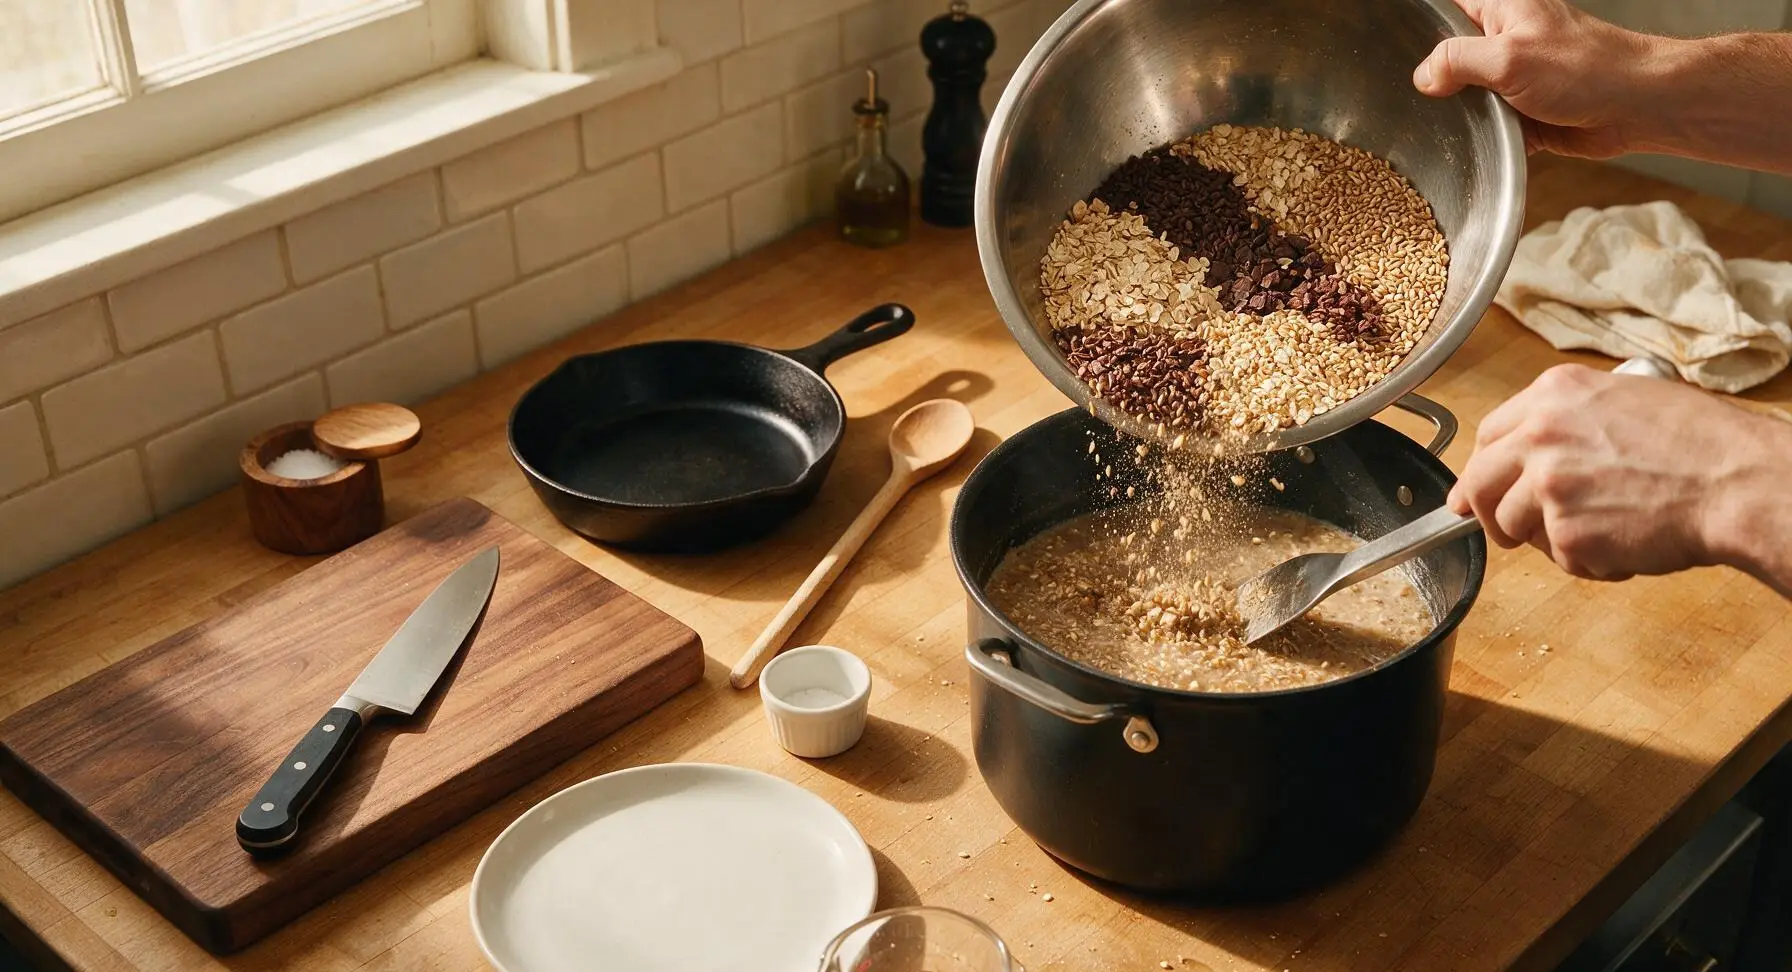
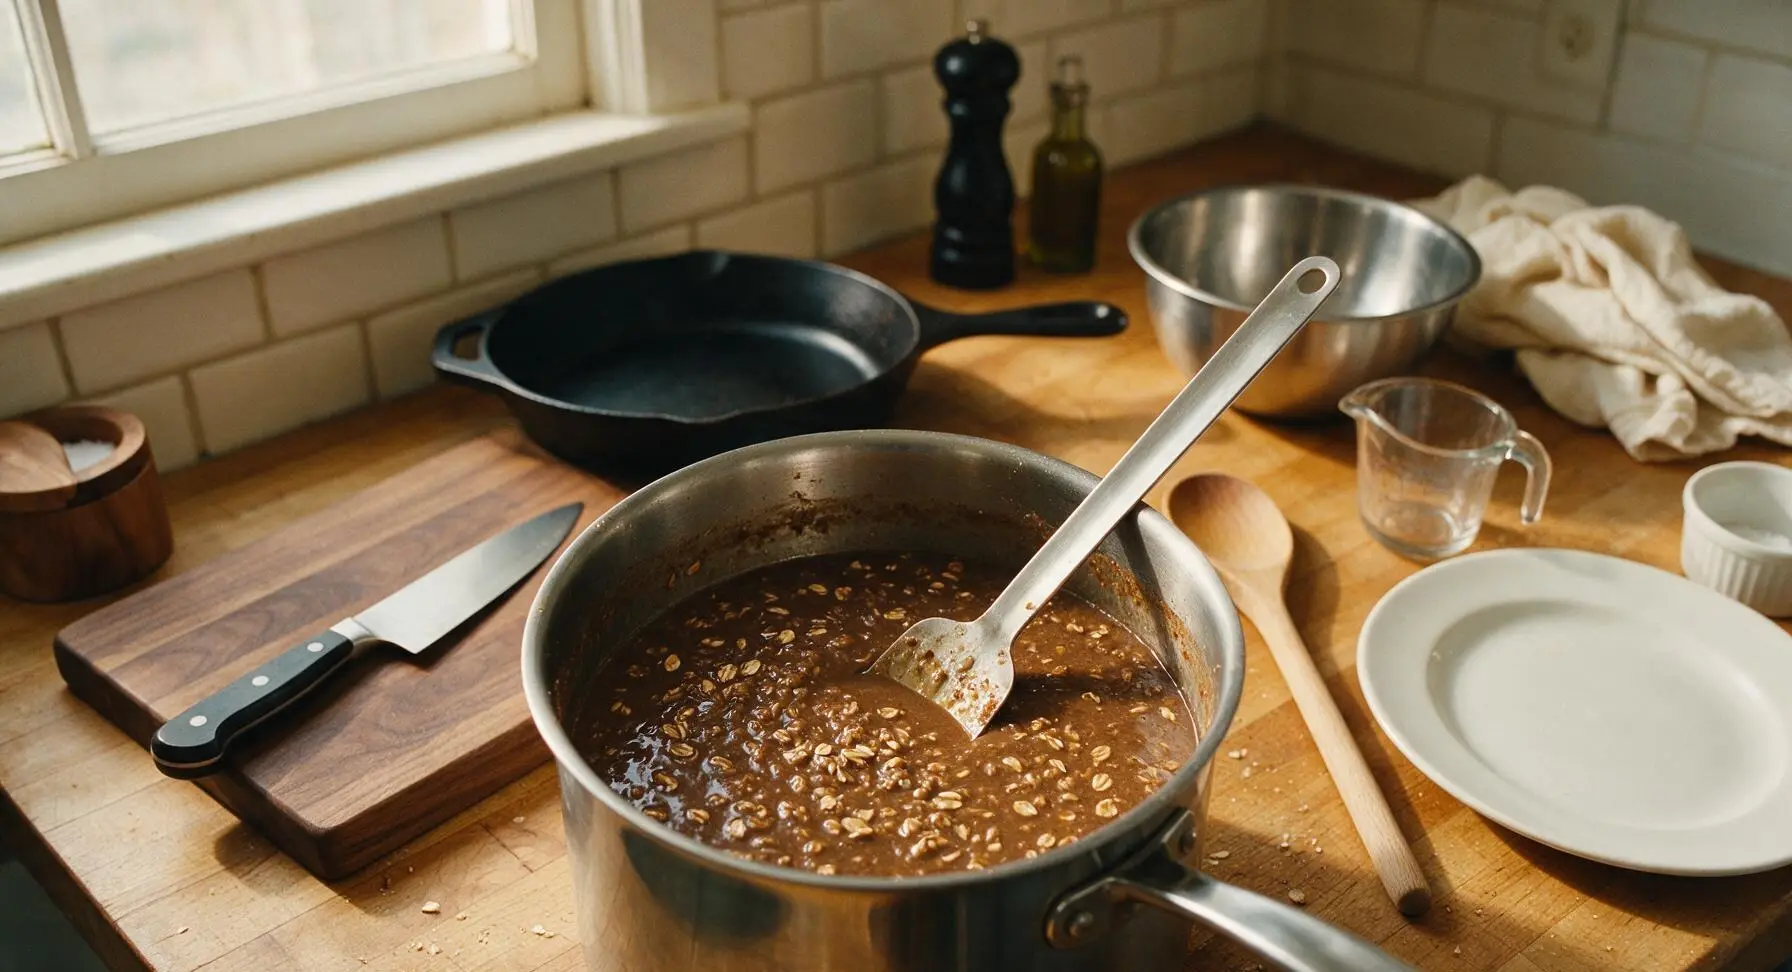
Slowly stir the measured pale 2-row malt, flaked oats, roasted barley, chocolate malt, and crystal malt into the 155°F water using the stainless steel mash paddle, stirring constantly to break up dry clumps. Once fully incorporated, the thick, porridge-like mash will sit 2-3 inches below the kettle rim. Cover the kettle, hold temperature steady at 152-155°F for 60 minutes, stirring every 15 minutes to prevent hot spots. The mash will release a rich aroma of toasted bread, dark coffee, and warm chocolate as it rests.
Strain and Sparge
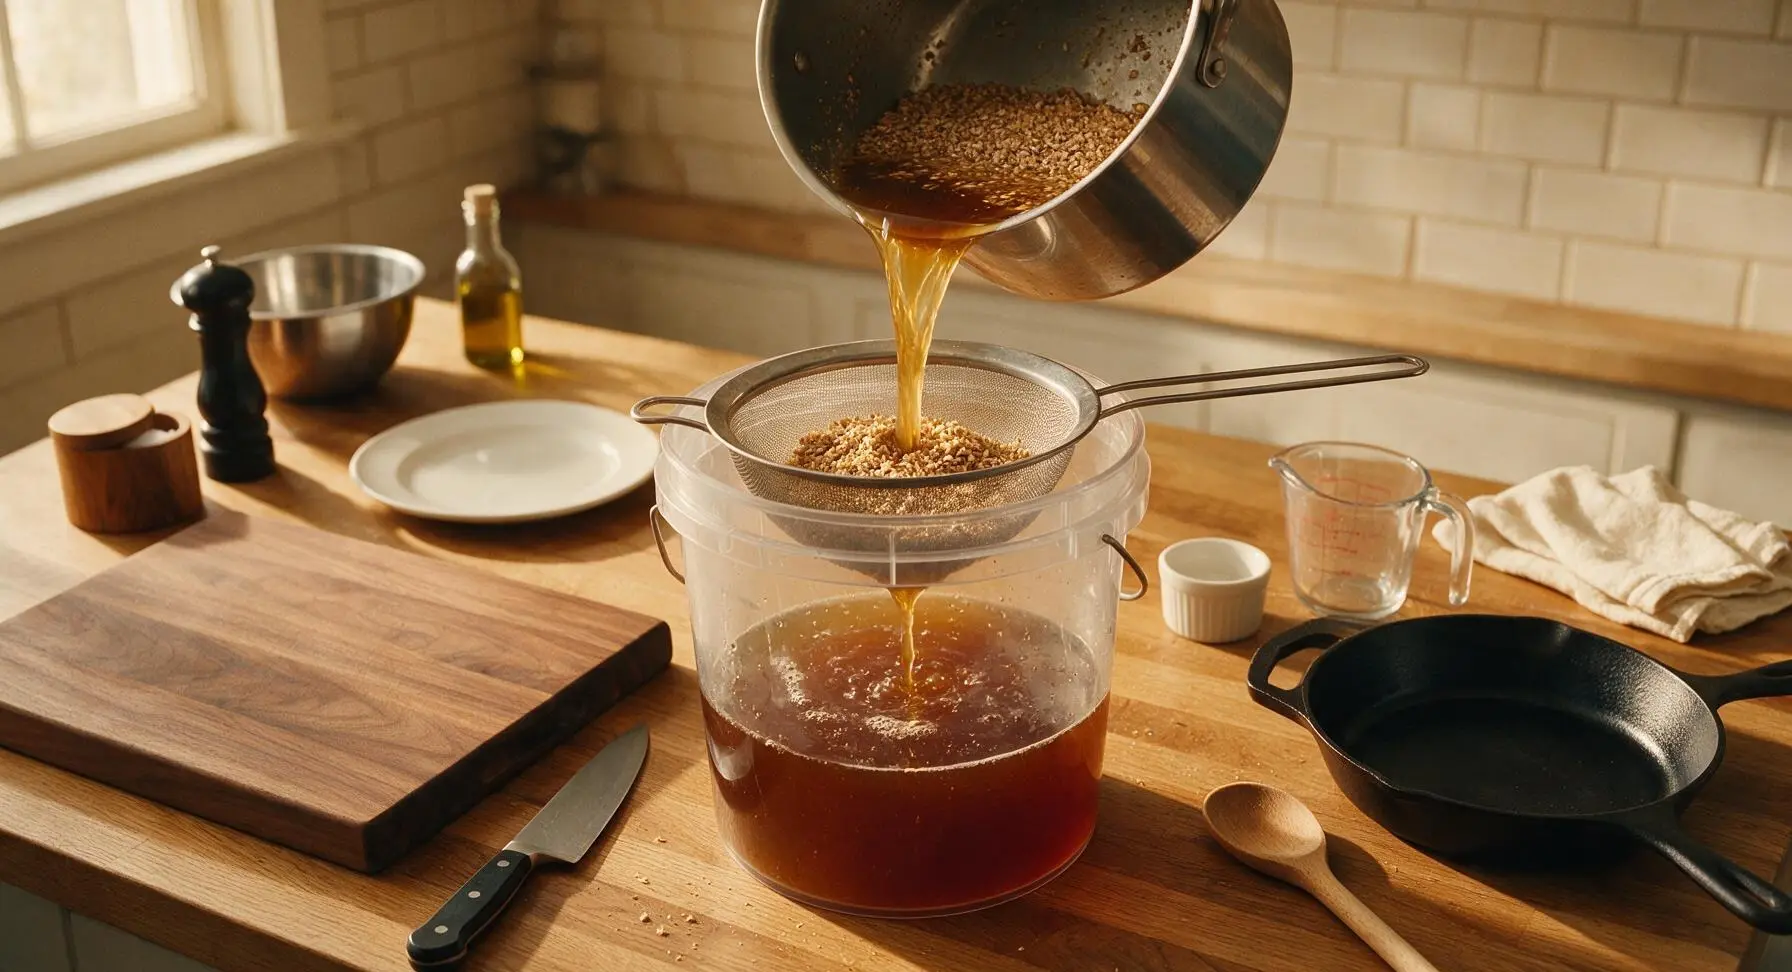
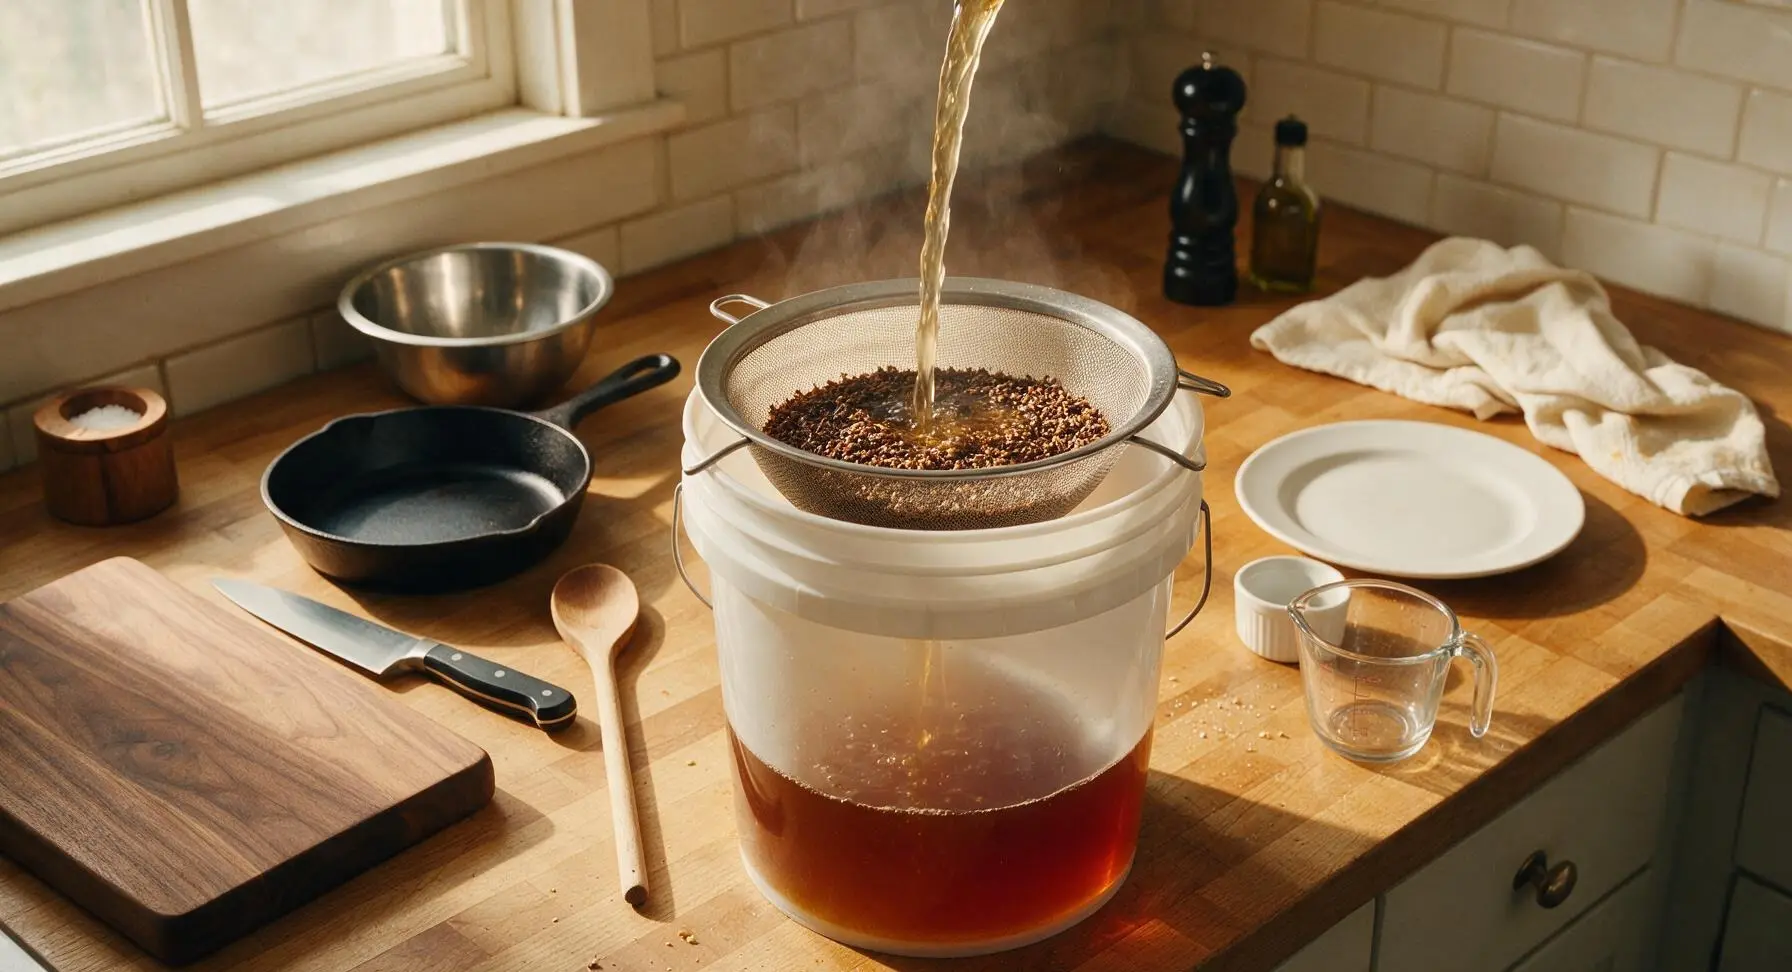
Hang the fine mesh strainer across the top of the sanitized fermentation bucket. Slowly pour the entire mash through the strainer to separate the sweet, amber wort from the spent grain. Once all initial liquid drains through, slowly pour 2 gallons of 170°F (77°C) filtered water over the spent grain bed in the strainer to rinse out remaining trapped sugars (this process is called sparging). Discard spent grain once fully drained, then pour the collected wort back into the brew kettle.
Boil the Wort
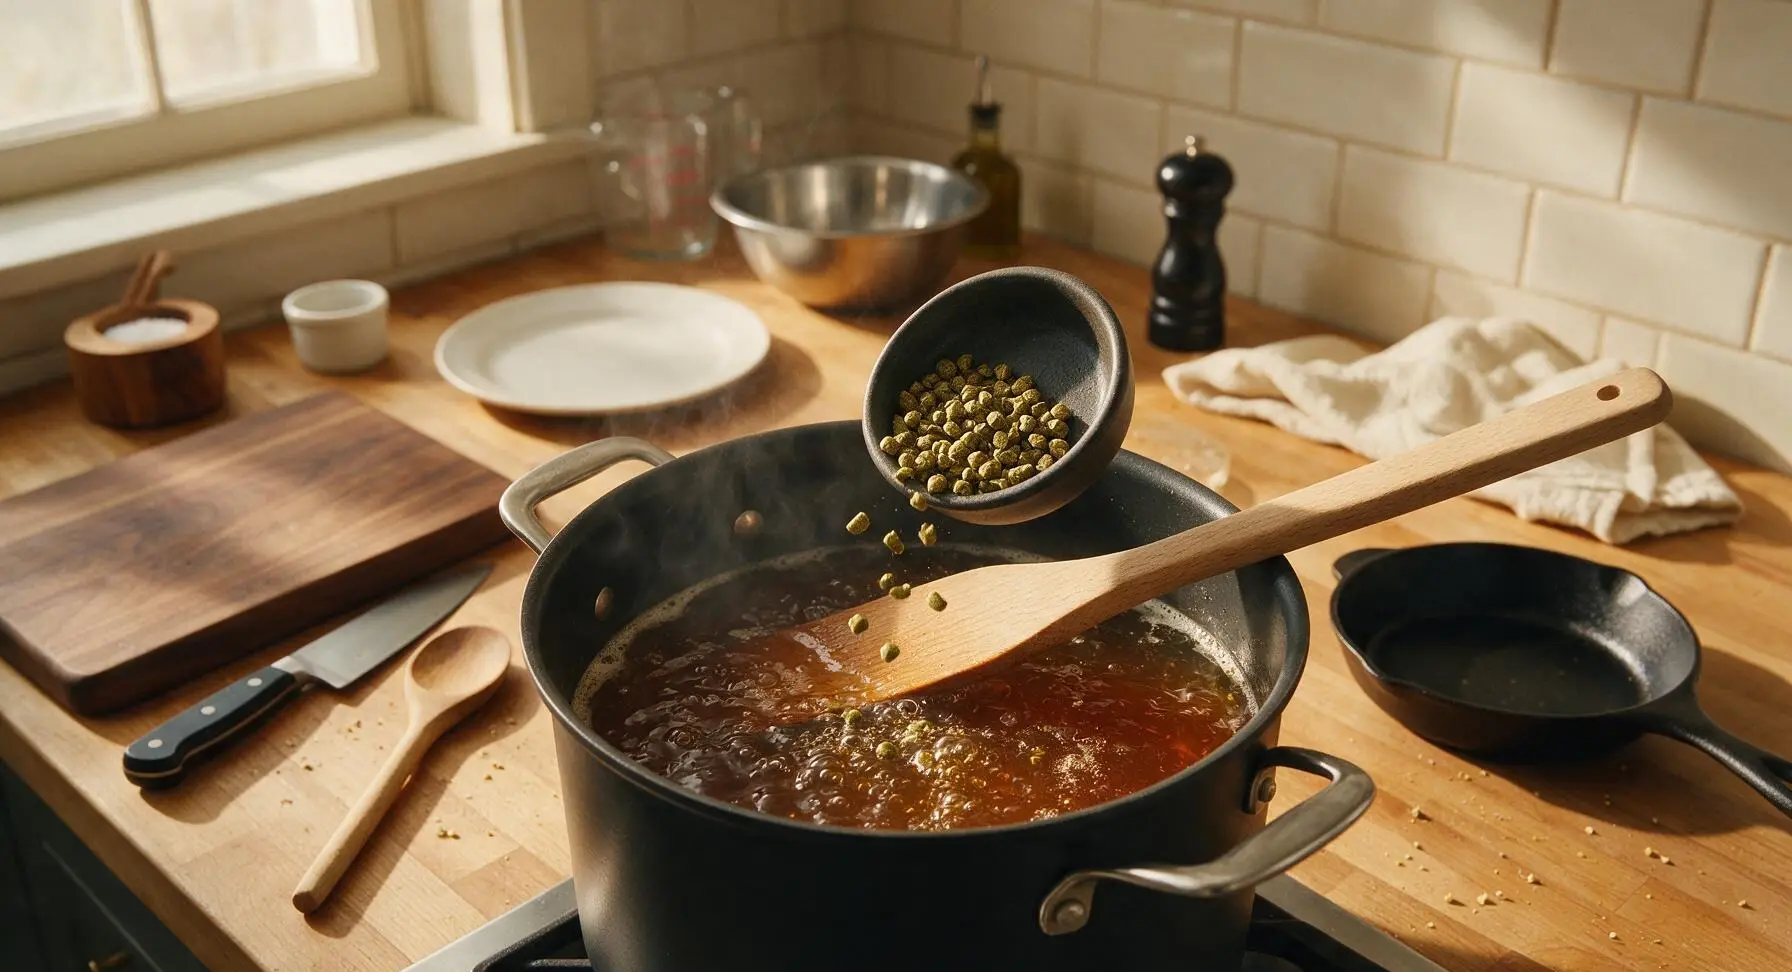
Heat the collected wort in the brew kettle to a gentle, rolling boil, adjusting heat as needed to prevent messy boilovers. Once a steady boil is reached, add 1 oz of East Kent Goldings hop pellets for bittering, then set a timer for 60 minutes. At 45 minutes into the boil, add the remaining 0.5 oz East Kent Goldings and 1 tsp Irish moss to clarify the wort. At 55 minutes into the boil, add 0.5 oz of Fuggle hop pellets for earthy, soft aroma. Maintain the gentle rolling boil for the full 60 minutes.
Cool the Wort
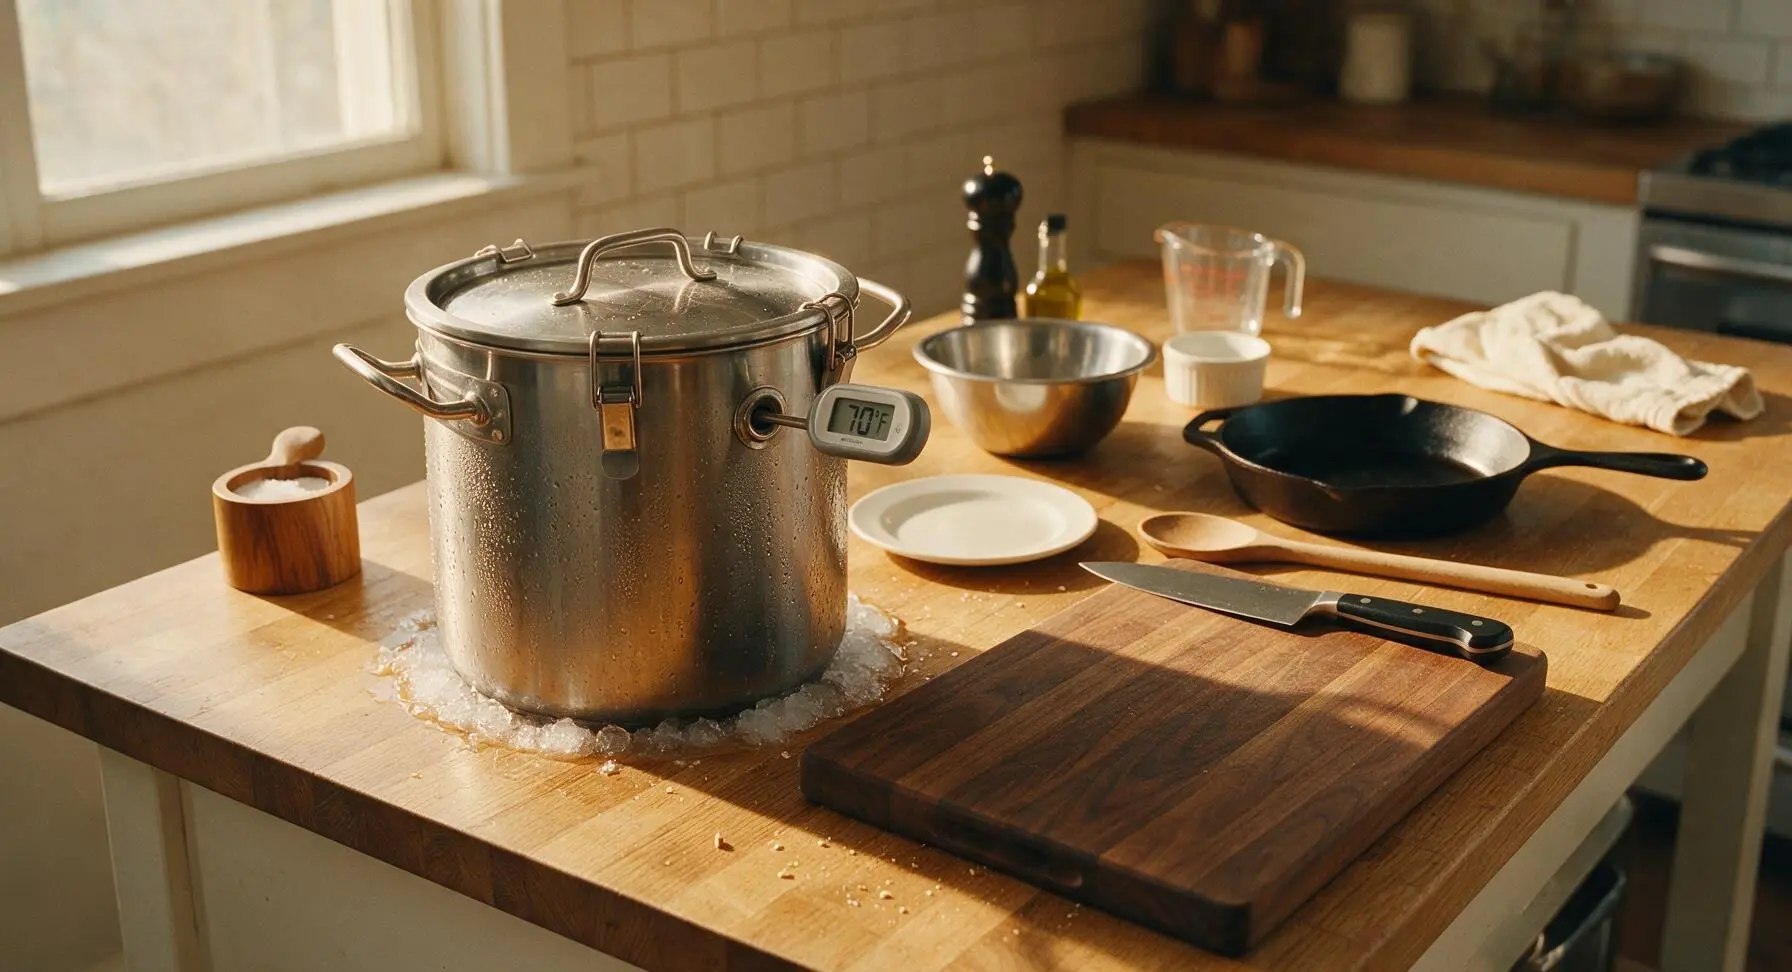
Once the 60-minute boil completes, turn off the heat. Seal the kettle lid tightly and set the kettle in an ice bath to rapidly cool the wort to 70°F (21°C), approximately 20 minutes. Avoid opening the lid unnecessarily while cooling to prevent airborne contamination. Verify temperature with the sanitized instant-read thermometer before moving to the next step.
Pitch the Yeast
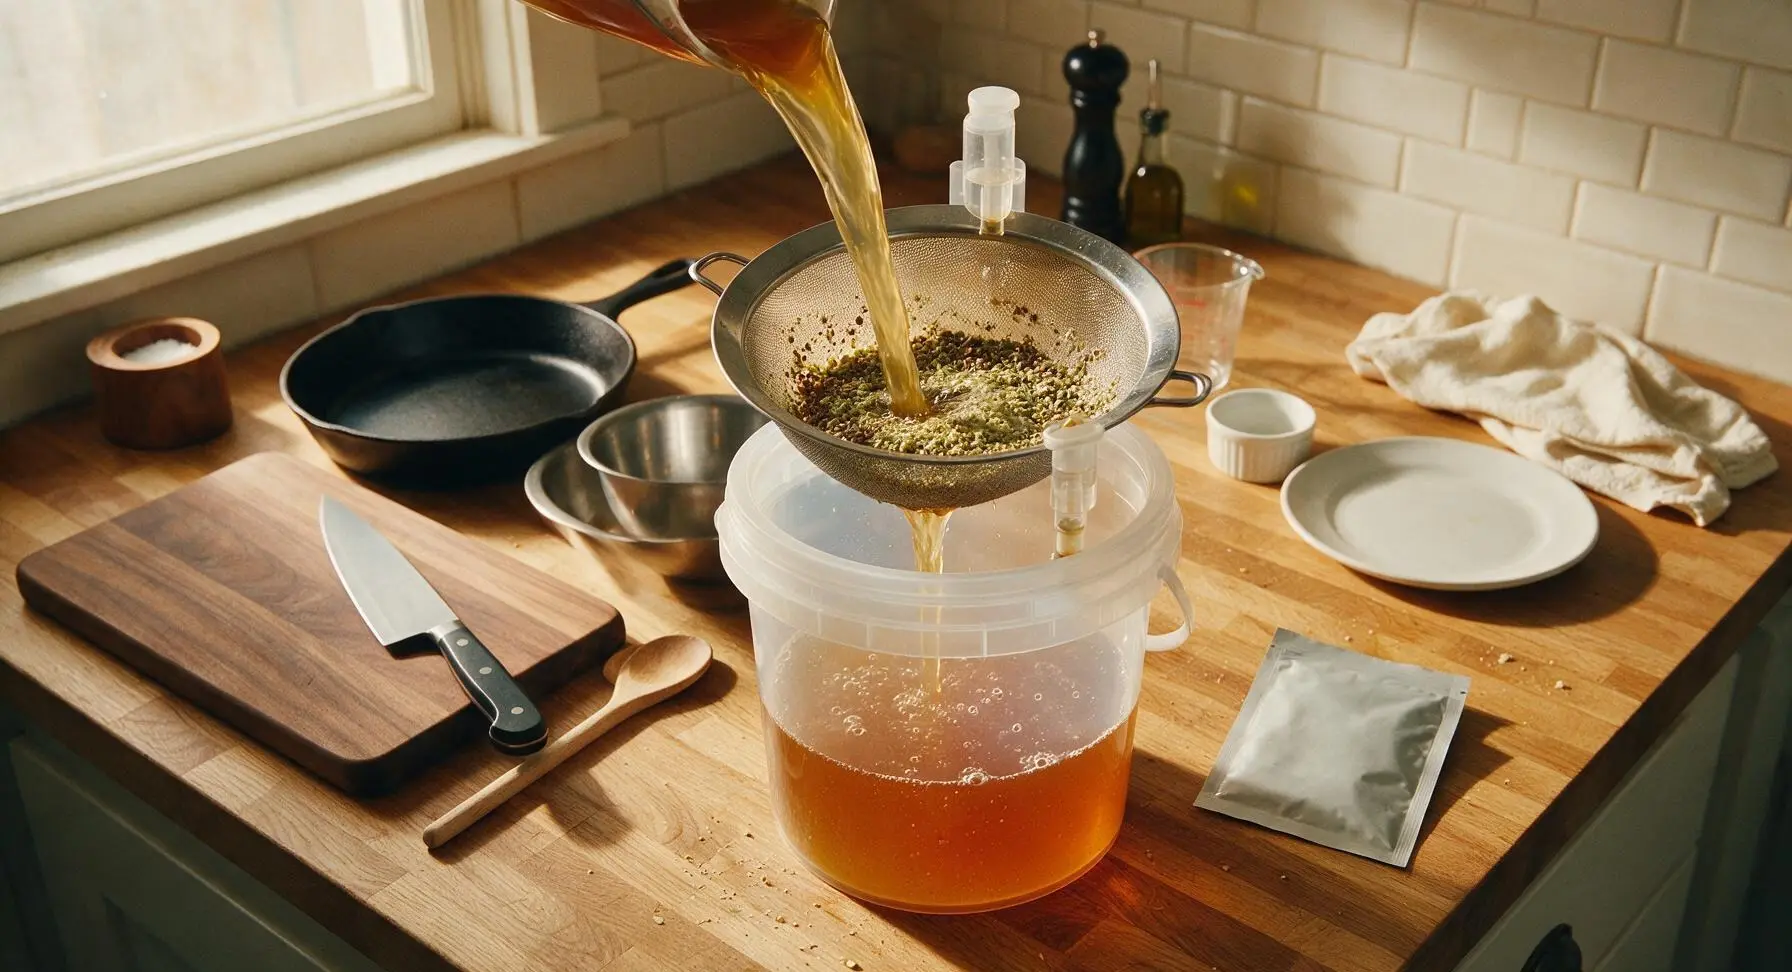
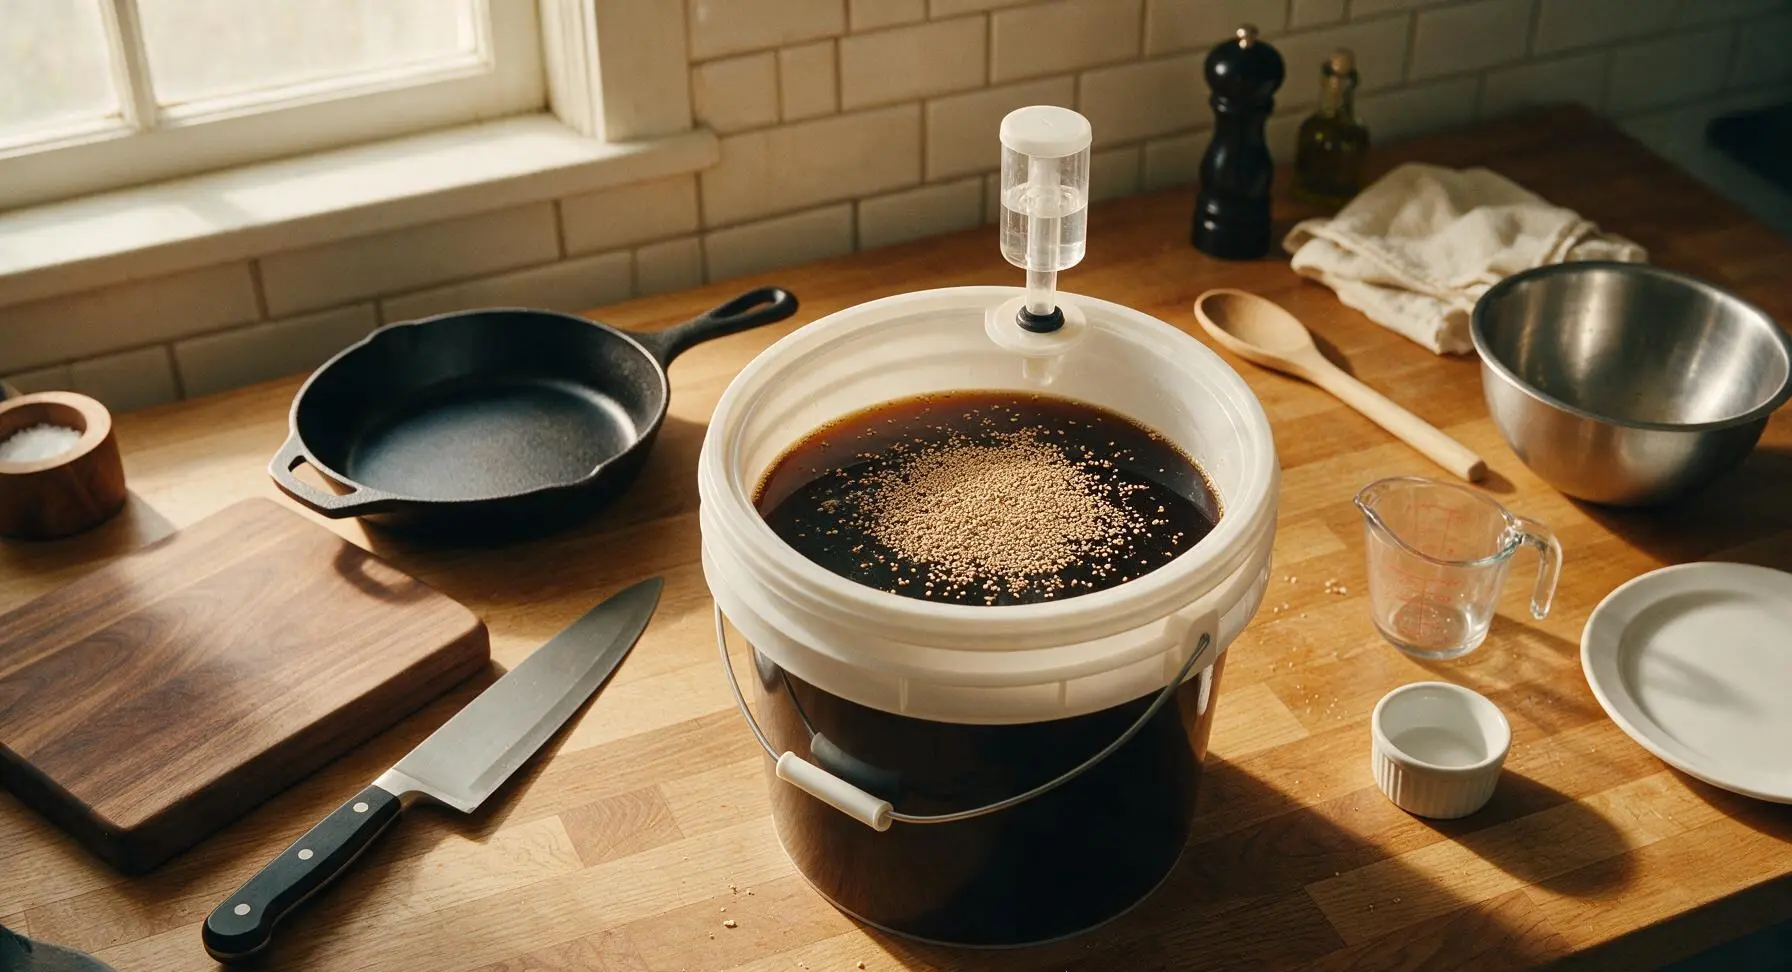
Pour the cooled 70°F wort through the sanitized mesh strainer into the fermentation bucket to filter out hop sediment and grain trub. Sprinkle the entire packet of dry London ale yeast evenly across the wort surface. Seal the fermentation bucket tightly with its airtight lid, fill the airlock halfway with sanitizer solution, and insert it into the lid port.
Ferment and Bottle
Move the sealed fermentation bucket to a dark, temperature-stable space held at 65-68°F (18-20°C) for 2 weeks, until bubbling in the airlock stops completely to signal finished fermentation. To bottle, dissolve 5 oz of corn priming sugar in 1 cup of boiled, cooled water, stir gently into the finished flat beer to create natural carbonation. Siphon beer into sanitized 12-16oz glass bottles, cap tightly, and let condition at room temperature for 2 additional weeks to build carbonation before chilling to 45°F and serving.
Tips
2.Always confirm wort temperature is 65-70°F before adding yeast: temperatures above 75°F kill active yeast cells, leading to stuck fermentation and unpleasant solvent-like or overripe fruit off-flavors.
3.Avoid opening the fermentation bucket for the full 2-week primary fermentation period: exposure to oxygen and airborne bacteria at this stage can cause mold growth or sour, vinegary flavors that ruin an otherwise perfectly brewed batch.






OMG, this oatmeal stout turned out SO good! I brought a growler to our neighborhood potluck last weekend and every single person asked for the recipe. The oat notes are perfectly creamy without being heavy, way better than the store-bought stout I usually splurge on. Total game changer for my homebrew setup!
Took me a minute to get the mash temp right on my first go, but man the end result is worth it! Cook time was pretty spot on at 2.5 hours, I only wish I’d doubled the batch because my husband and his friends drank the whole first bottling in two nights during our football watch party. Definitely making this again soon.
Just bottled my third batch of this! I add a tiny splash of vanilla extract at bottling for extra depth and it tastes exactly like the fancy coffee stout I pay $7 a pint for at my local taproom. 10/10, this is my go-to stout recipe now.
First time homebrewing ever, so I was a little intimidated by the medium difficulty rating! I followed the steps exactly but my first batch came out a little more bitter than I expected. Did I maybe steep the roasted grains too long?
Made this for my brother’s homebrewing birthday party and everyone was blown away that I’d only been brewing for 3 months! The chocolatey, roasty notes pair so well with burgers and grilled brats, it was perfect for the backyard cookout. Will 100% be adding this to my regular rotation.
Added 4 oz of cold brew coffee to the secondary fermenter and OH MY GOODNESS it’s like having a boozy iced coffee in beer form. My crew at work is obsessed when I bring samples in on casual Fridays.
My teenagers (who are definitely not old enough to taste, obviously) helped me measure out the grains for this batch and said the whole house smelled like a fancy chocolate bakery while it was cooking — they loved the sweet, roasty aroma so much they kept hanging around the kitchen to ask when it’d be done. Turned out smooth, rich, no weird off flavors, even with my beat up old brew kettle. Great recipe for folks who don’t have top tier equipment!
I swapped 20% of the oats for a gluten free grain blend to make this work for my dietary needs, and it still turned out really tasty! It’s a little less creamy than the full oat version, but it’s the best homemade gluten free stout I’ve managed to make so far.
Brought a keg of this to our season opener tailgate last weekend and people were lined up to fill their cups. Beat the pants off the cheap light beer everyone usually brings, and it went down way too easy even when it was 80 degrees out. 10/10
Wait, quick question — do I really need to do the 20 minute rest at 170F before lautering? I was in a rush to make it to my kid’s soccer game and skipped that step, and my batch is still conditioning so I’m worried I messed it up.
As someone who’s been homebrewing for 8 years, I can say this is one of the most solid oatmeal stout recipes out there for intermediate brewers. The balance of roasted barley, chocolate malt, and flaked oats is perfectly calibrated, no weird cloying sweetness like a lot of homebrew stouts I’ve tried.
Served this at our annual Sunday family dinner alongside my mom’s pot roast and mashed potatoes, and even my dad who swears he only drinks cheap domestic beer said it was “pretty darn good.” High praise coming from that guy! Will make again for Thanksgiving for sure.
Used this recipe for our monthly homebrew club competition last month and took 2nd place in the stout category! The judges specifically called out the smooth mouthfeel and balanced roast notes as standout elements. Already planning to brew it again for the next comp.
I did a half batch of this since I only have a 1 gallon brew setup, and it worked perfectly! I scaled all the ingredients down exactly and the cook time was only a little shorter, around 2 hours total instead of 2.5. Tastes amazing, just wish I had space to make more!
Added 2 oz of maple syrup during the last 10 minutes of the boil and it’s insane — tastes like fall in a glass! I’m gonna crack a bottle open on my next camping trip with friends, I know they’re gonna lose their minds over it.
I was worried 2.5 hours of cook time would be too long to fit in after work, but I split the prep over two weeknights: mashed and did the boil one night, then transferred to the fermenter the next morning before work. Worked like a charm, and now I’ve got delicious stout waiting for me after long days. Total game changer for my weeknight hobby!