
old fashioned hot dog sauce

title 1
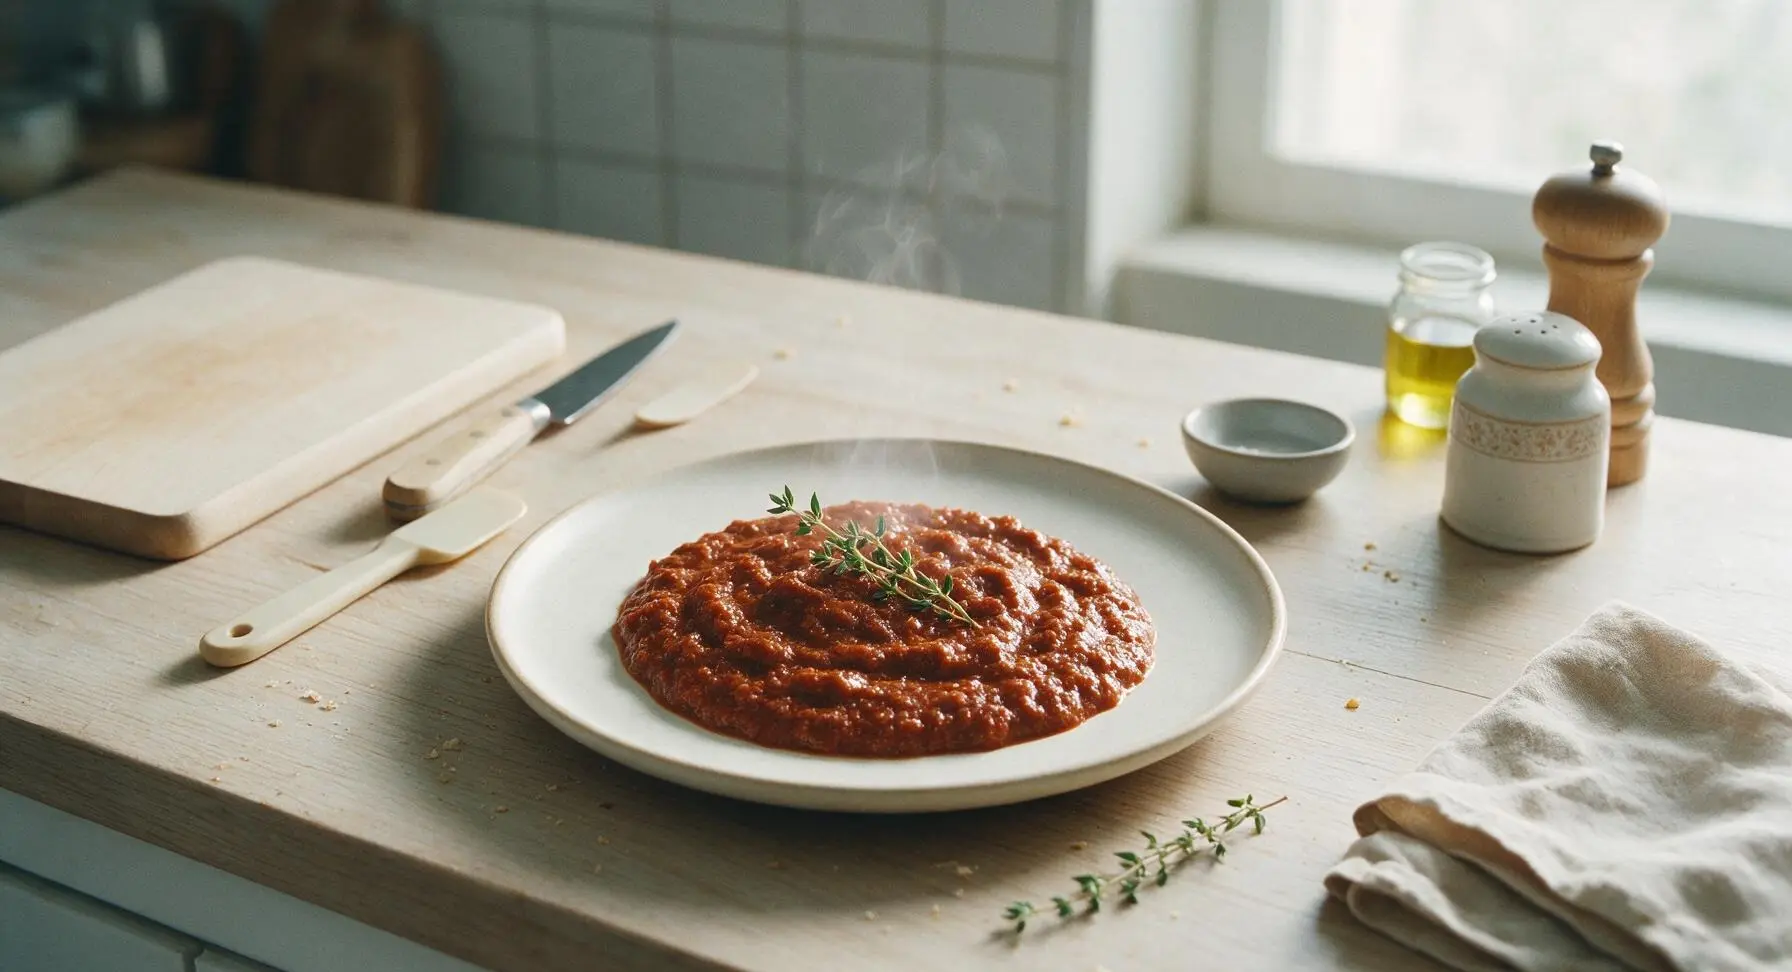
old fashioned hot dog sauce
⏱️ cook time 25 minutes
🍽️ servings 8
⚡ Difficulty easy

intro

Rich, finely textured savory meat sauce, the nostalgic American diner staple perfect for topping grilled hot dogs at summer cookouts, with warm spices and a subtle tang.

Ingredients
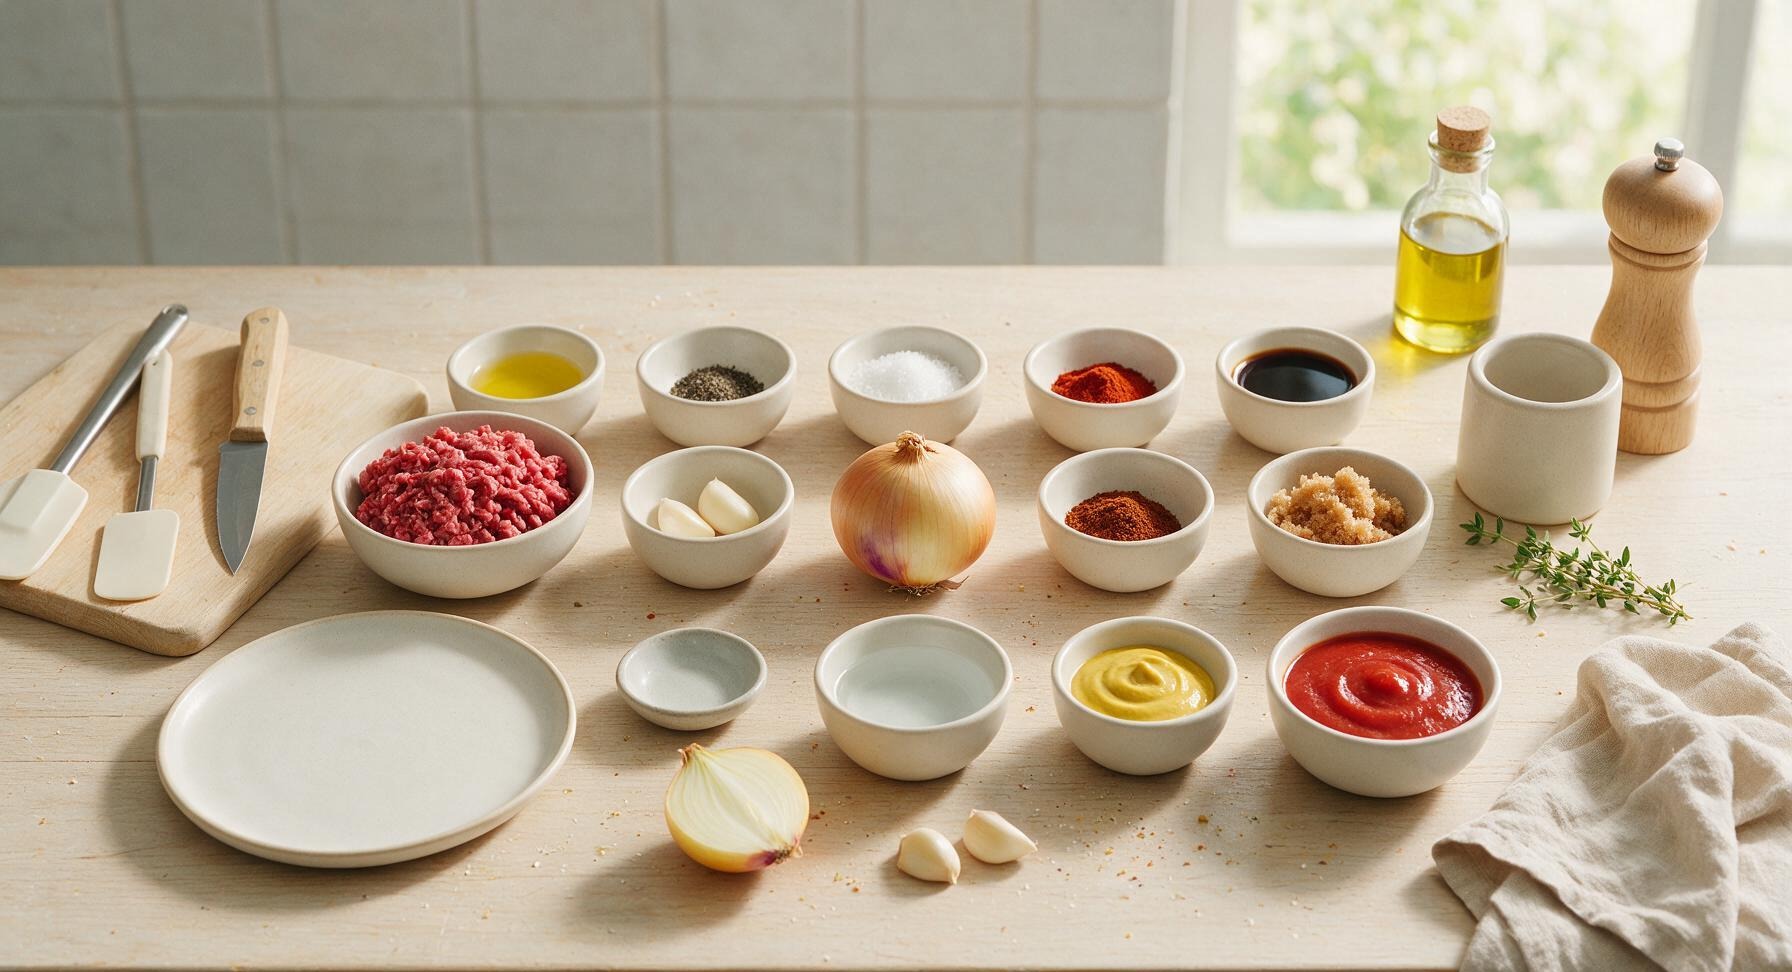
Lean ground beef (90/10) 450g (1lb)
Yellow onion 1 small (100g)
Garlic cloves 2 pieces
Unsalted tomato sauce 240ml (1 cup)
Water 120ml (1/2 cup)
Prepared yellow mustard 2 tbsp
Light brown sugar (packed) 1 tbsp
Chili powder 1 tsp
Worcestershire sauce 1 tbsp
Sweet paprika 1/2 tsp
Fine sea salt 1 tsp
Ground black pepper 1/2 tsp
Canola oil 1 tsp

Steps

1

Prep Base Aromatics

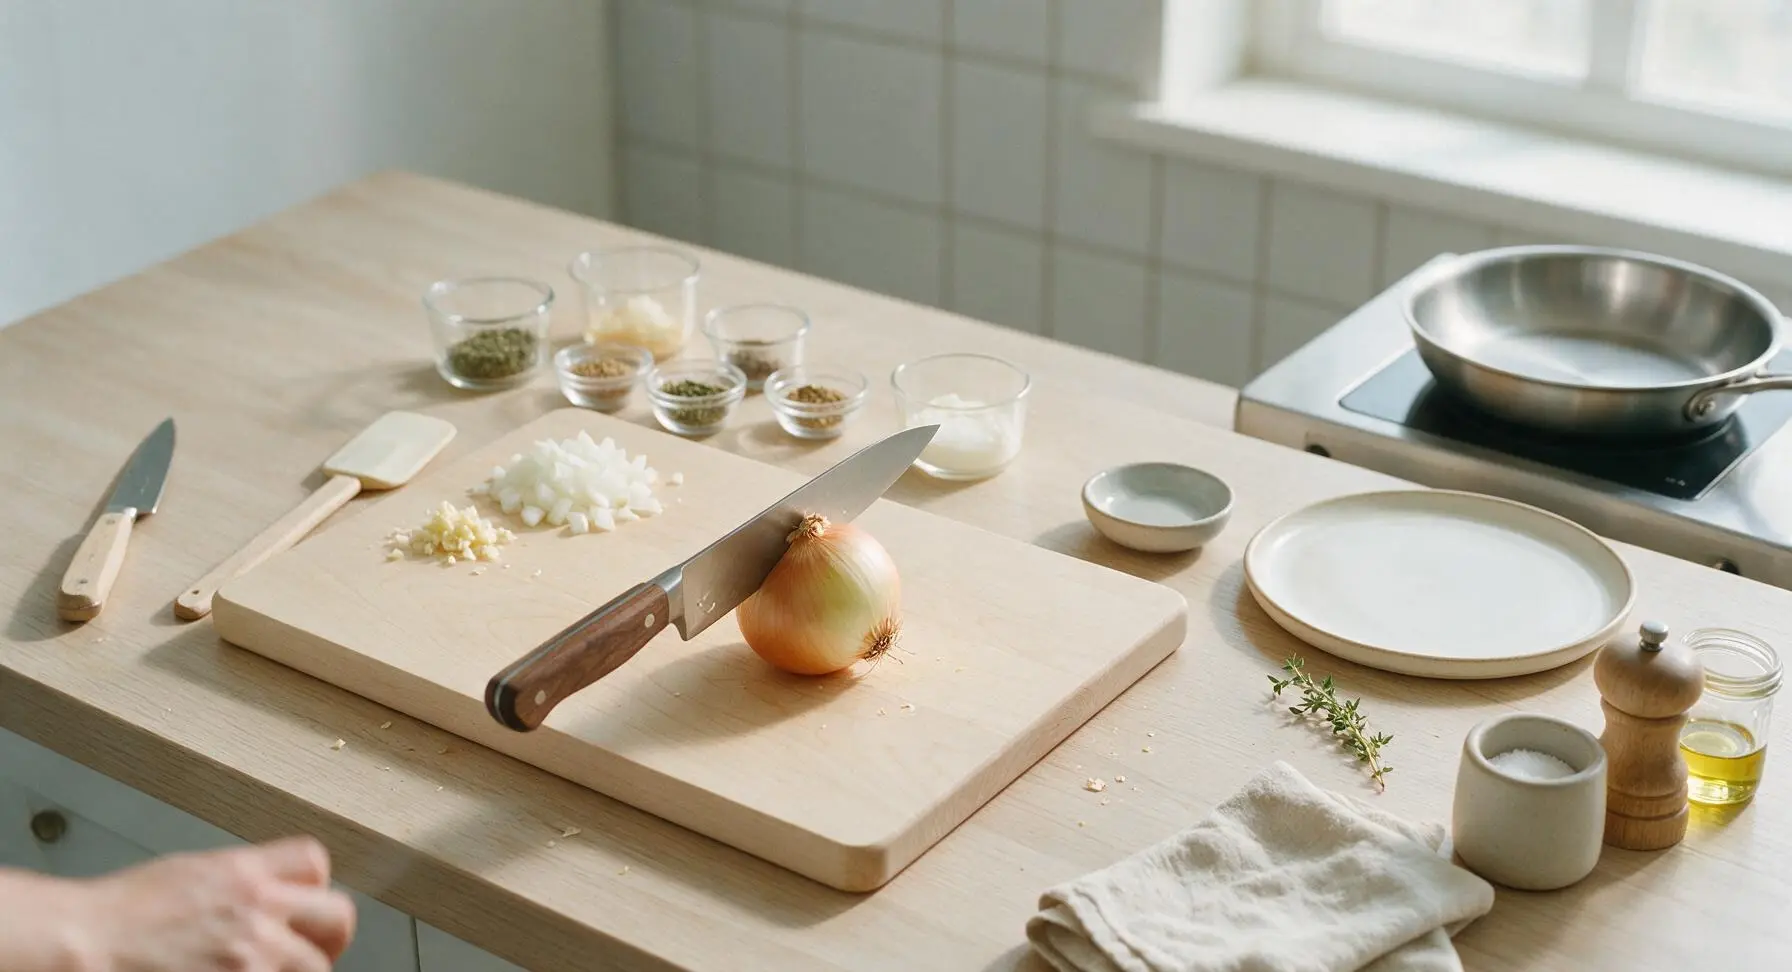
Place the small yellow onion on the light bamboo cutting board. Use the 8-inch chef knife to trim the root and stem ends, peel away the papery outer skin, and dice the onion into uniform 3mm (1/8 inch) pieces. Mince the two garlic cloves finely, then portion all dry ingredients and oil into the small clear glass ramekins, and wet ingredients into the clear glass prep cups for quick access during cooking. This advance prep prevents rushed measuring or burnt ingredients once the pan is hot.
Step 1
step1:Prep Base Aromatics
2

Brown Ground Beef

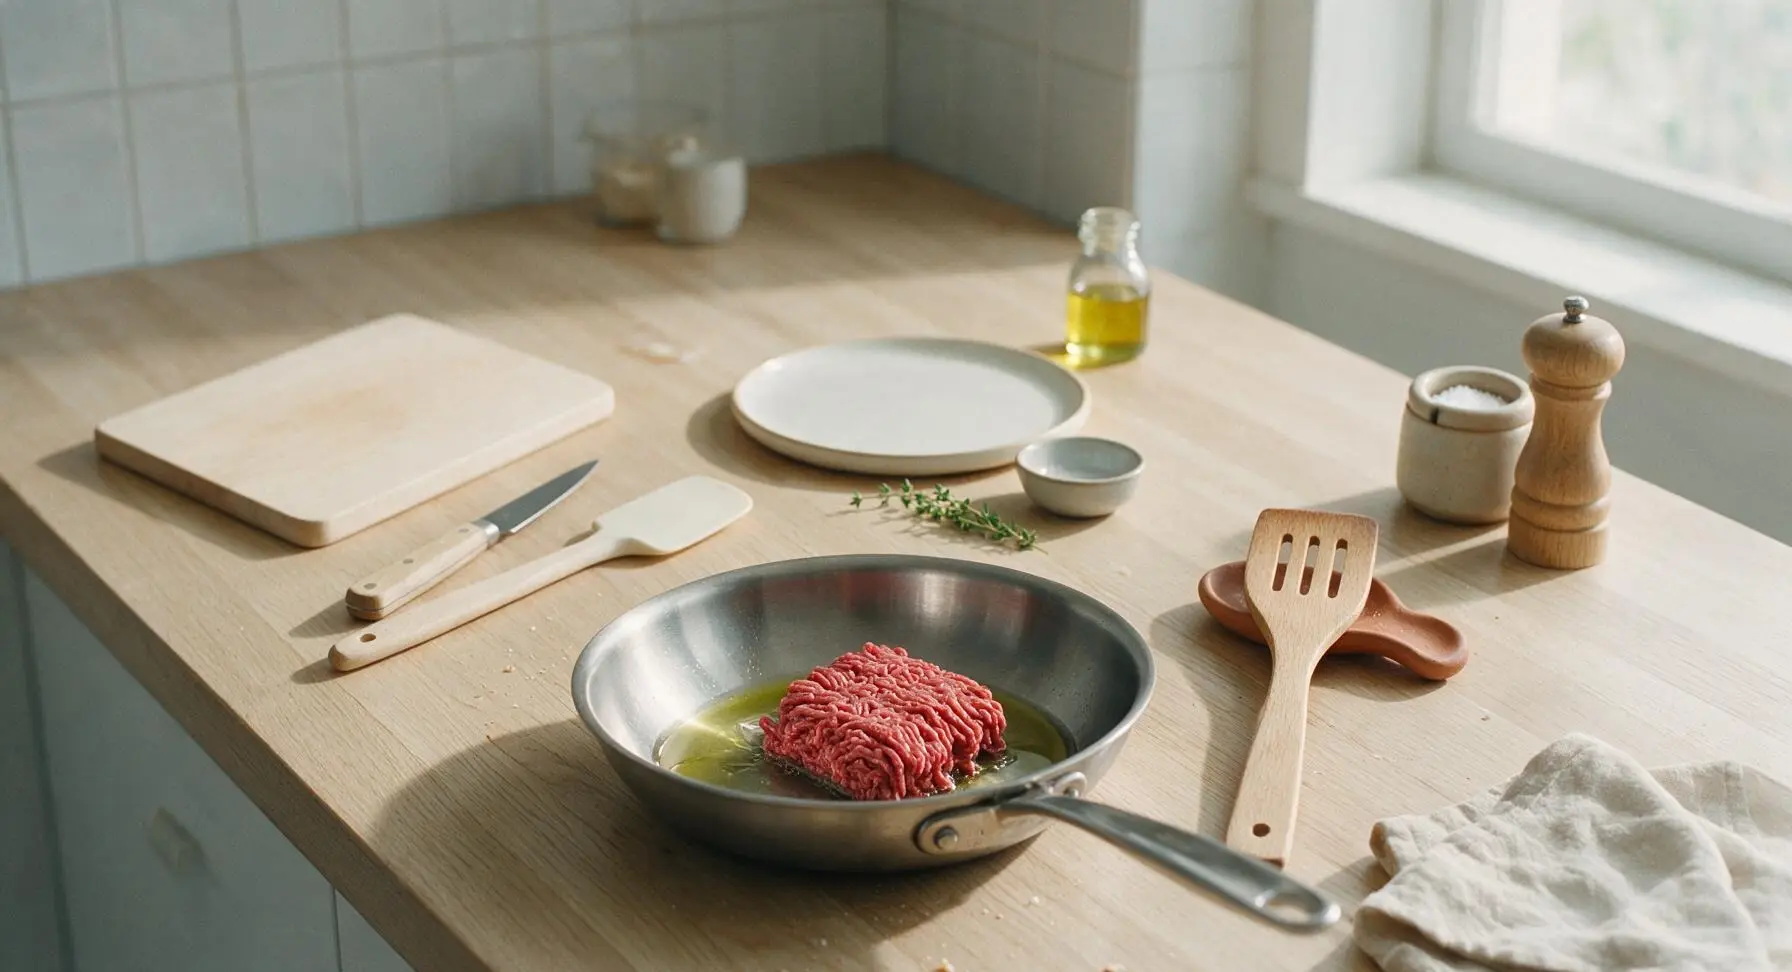
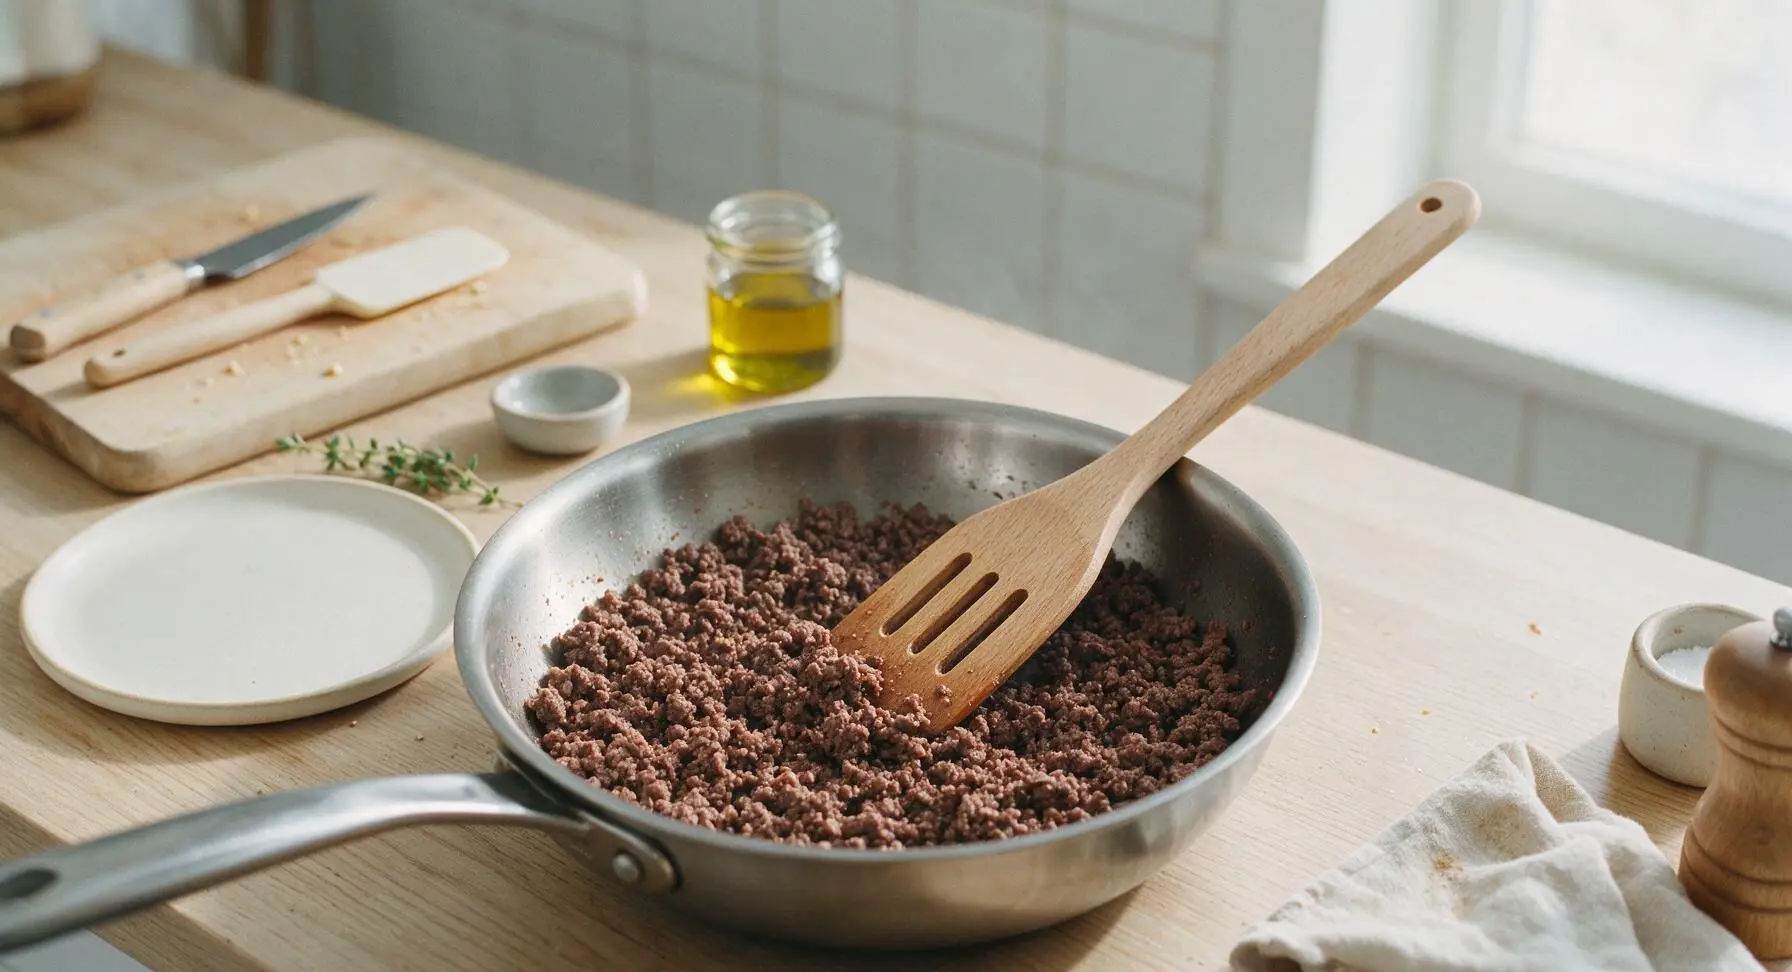
Heat 1 teaspoon of canola oil in the stainless steel skillet over medium heat (175°C/350°F on the induction burner) until the oil shimmers. Add the full 450g of lean ground beef to the pan, breaking it into the finest possible crumbles with the beechwood slotted turner as it cooks. Cook for 6-7 minutes, stirring occasionally, until the beef is fully browned with no pink remaining, and all released meat juices have fully evaporated. Press any large clumps against the pan side with the turner to break them into small, uniform pieces.
Step 2
step2:Brown Ground Beef
Step 2
step2:Brown Ground Beef
3

Sauté Aromatic Vegetables

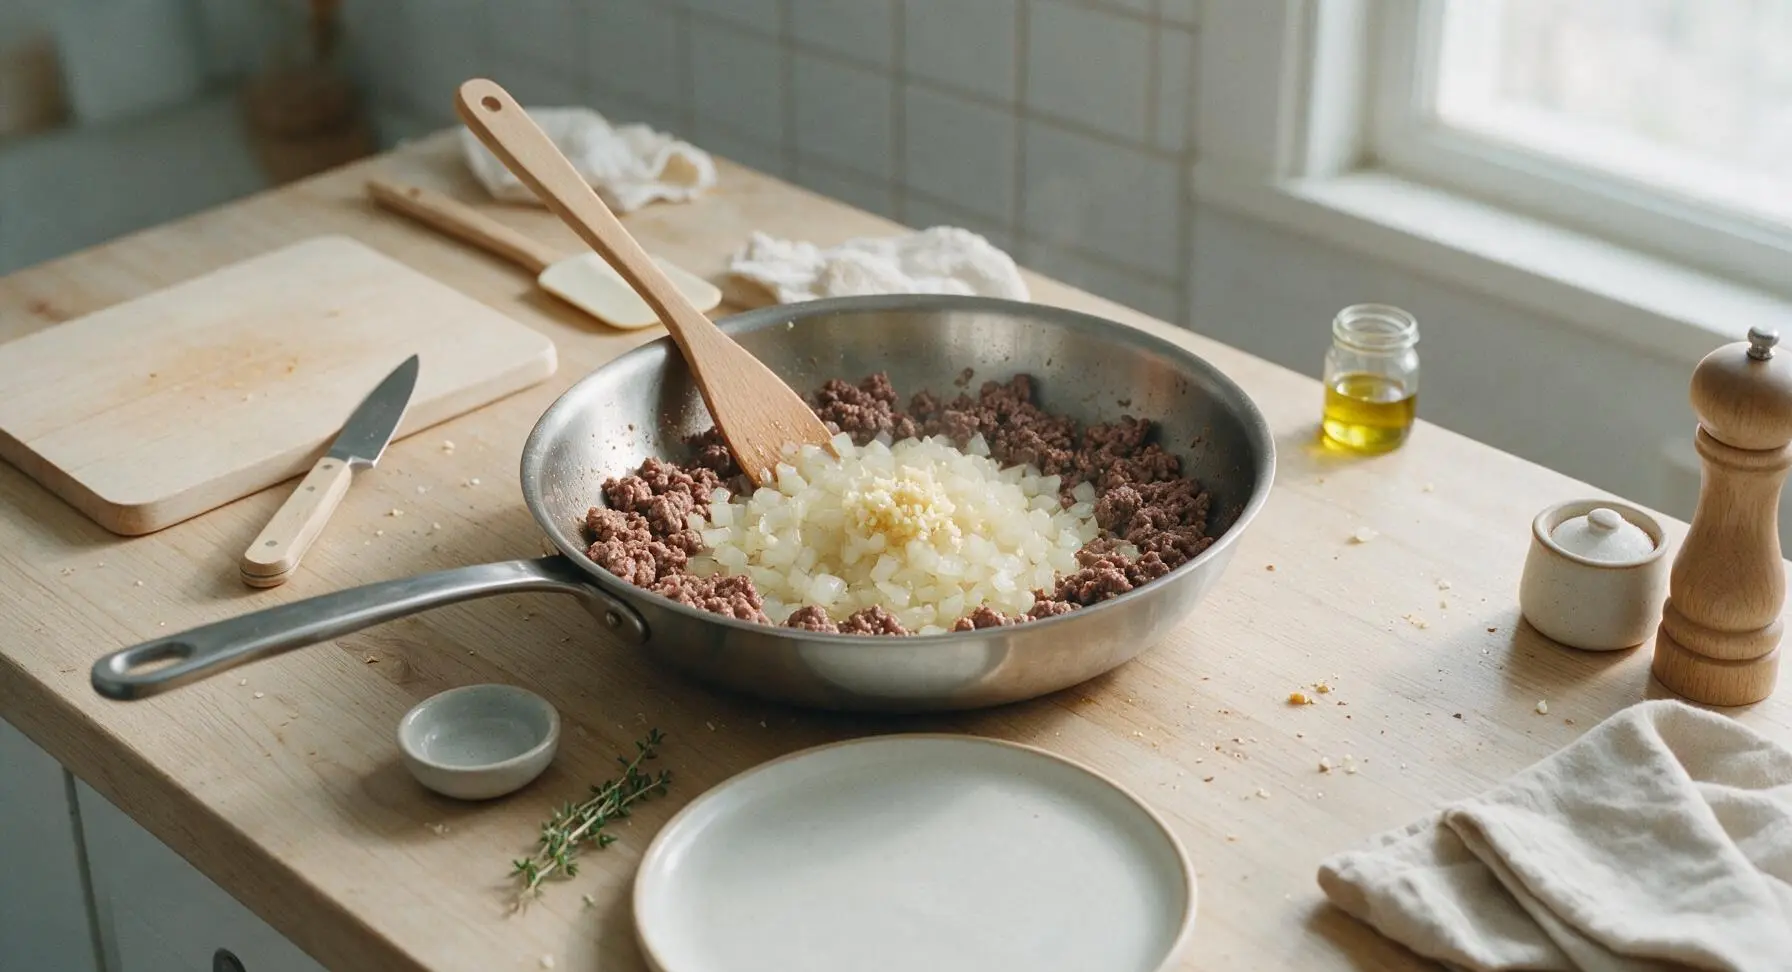
Push the browned beef crumbles to the outer edge of the skillet to create an empty well in the pan center. Add the diced yellow onion to the center well, cooking for 3 minutes over medium heat until soft and translucent, stirring occasionally with the turner. Add the minced garlic to the softened onion, cooking for exactly 30 seconds until fragrant—do not let the garlic turn golden brown, as it will develop a bitter, burnt taste that overwhelms the sauce.
Step 3
step3:Sauté Aromatic Vegetables
4

Combine Sauce Ingredients

Stir the sautéed onion and garlic into the beef crumbles until evenly mixed. Pour in the 240ml unsalted tomato sauce, 120ml water, 2 tbsp yellow mustard, 1 tbsp Worcestershire sauce, and 1 tbsp packed light brown sugar. Add all measured dry spices (1 tsp chili powder, 1/2 tsp sweet paprika, 1 tsp sea salt, 1/2 tsp black pepper) to the pan, stirring thoroughly with the turner to create a uniform, well-combined mixture.

5

Simmer Sauce Slowly

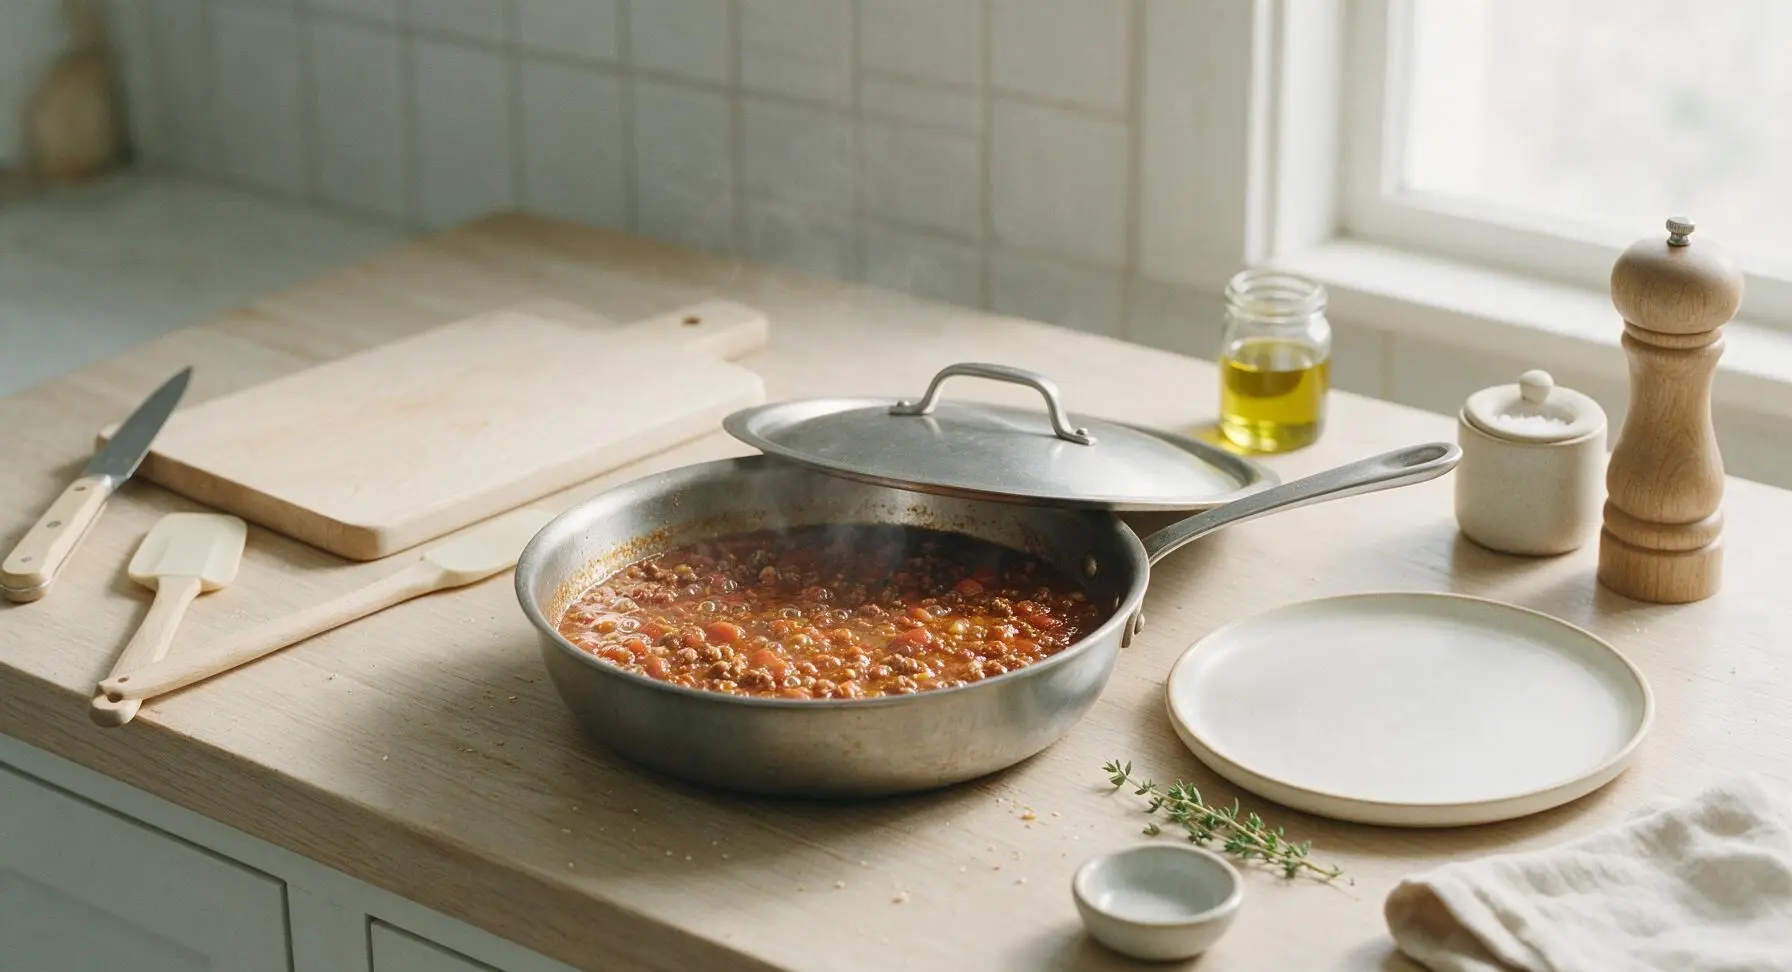
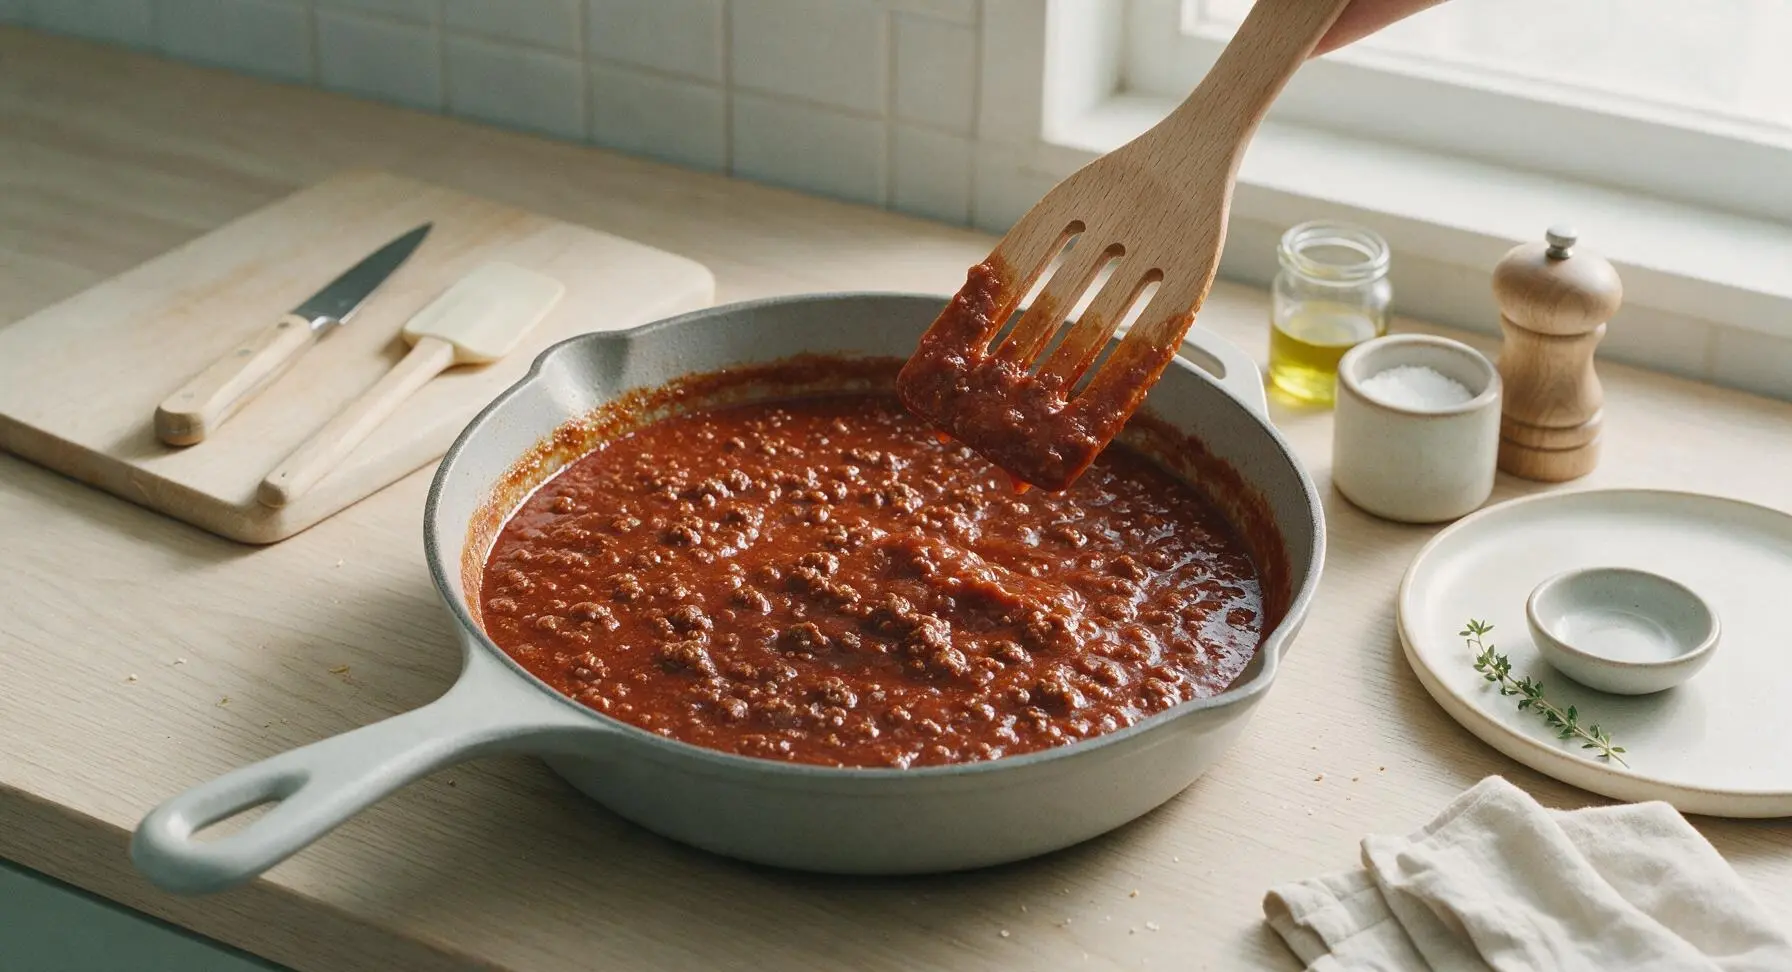
Bring the sauce mixture to a gentle low simmer, where small bubbles break the surface every 2-3 seconds (avoid a hard rolling boil, which will make the sauce separate). Reduce heat to low (95°C/200°F), partially cover the skillet with its lid leaving a 1-inch gap to allow steam to escape, and simmer for 12 minutes. Stir the sauce every 3 minutes with the turner to prevent sticking to the pan bottom. The sauce is done simmering when it thickens to a consistency that coats the back of the turner, with no watery liquid pooling at the pan edges.
Step 5
step5:Simmer Sauce Slowly
Step 5
step5:Simmer Sauce Slowly
6

Adjust Final Seasoning

Turn off the induction burner heat. Let the sauce rest for 1 minute, then scoop a small spoonful onto the turner and let it cool slightly before tasting. Adjust seasoning as needed: add extra salt for more savoriness, a tiny pinch more brown sugar to balance tang, or a splash of water if the sauce has thickened beyond a spoon-coating consistency. The ideal flavor balance is savory, slightly tangy from mustard and Worcestershire, with a subtle warm spice note and hint of sweetness.
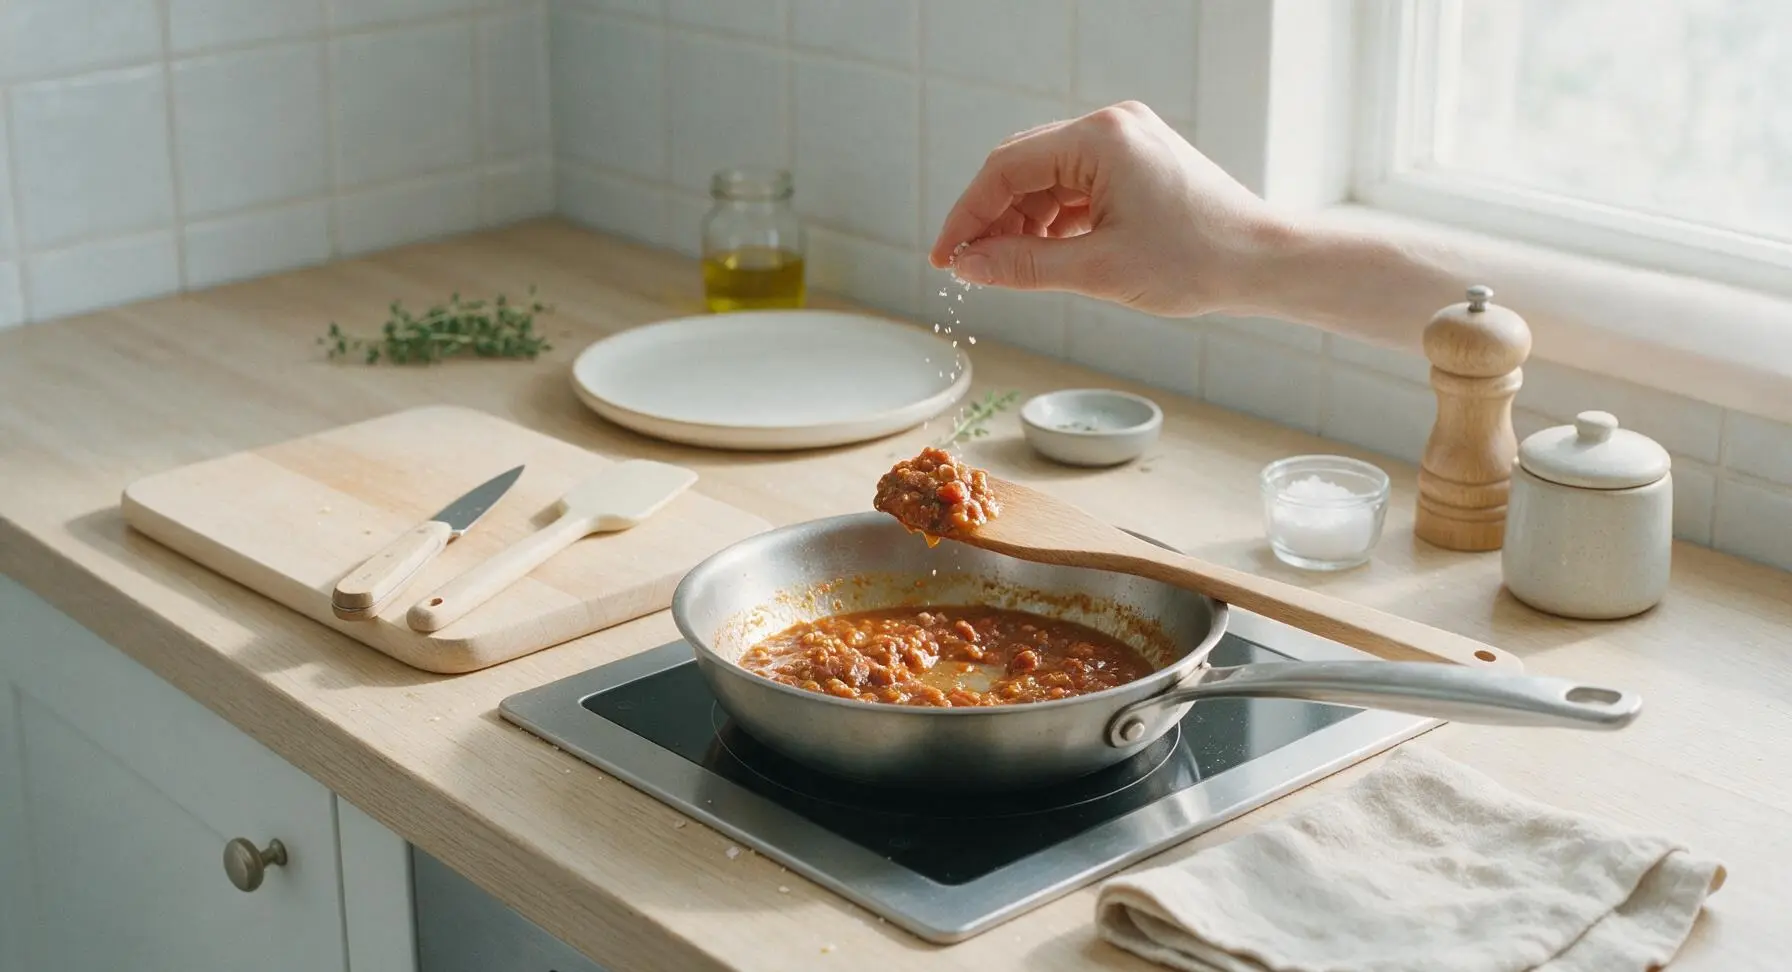
Step 6
step6:Adjust Final Seasoning
7

Transfer to Serving Bowl

Carefully tilt the stainless steel skillet to pour the finished hot dog sauce into the matte off-white ceramic serving bowl. Use the beechwood turner to scrape all sauce and beef crumbles from the pan sides and bottom, ensuring no sauce is left behind. Garnish the center of the sauce with a light sprinkle of finely diced raw onion (optional, for classic diner presentation) and one small basil leaf plucked from the countertop potted plant for a pop of fresh color.
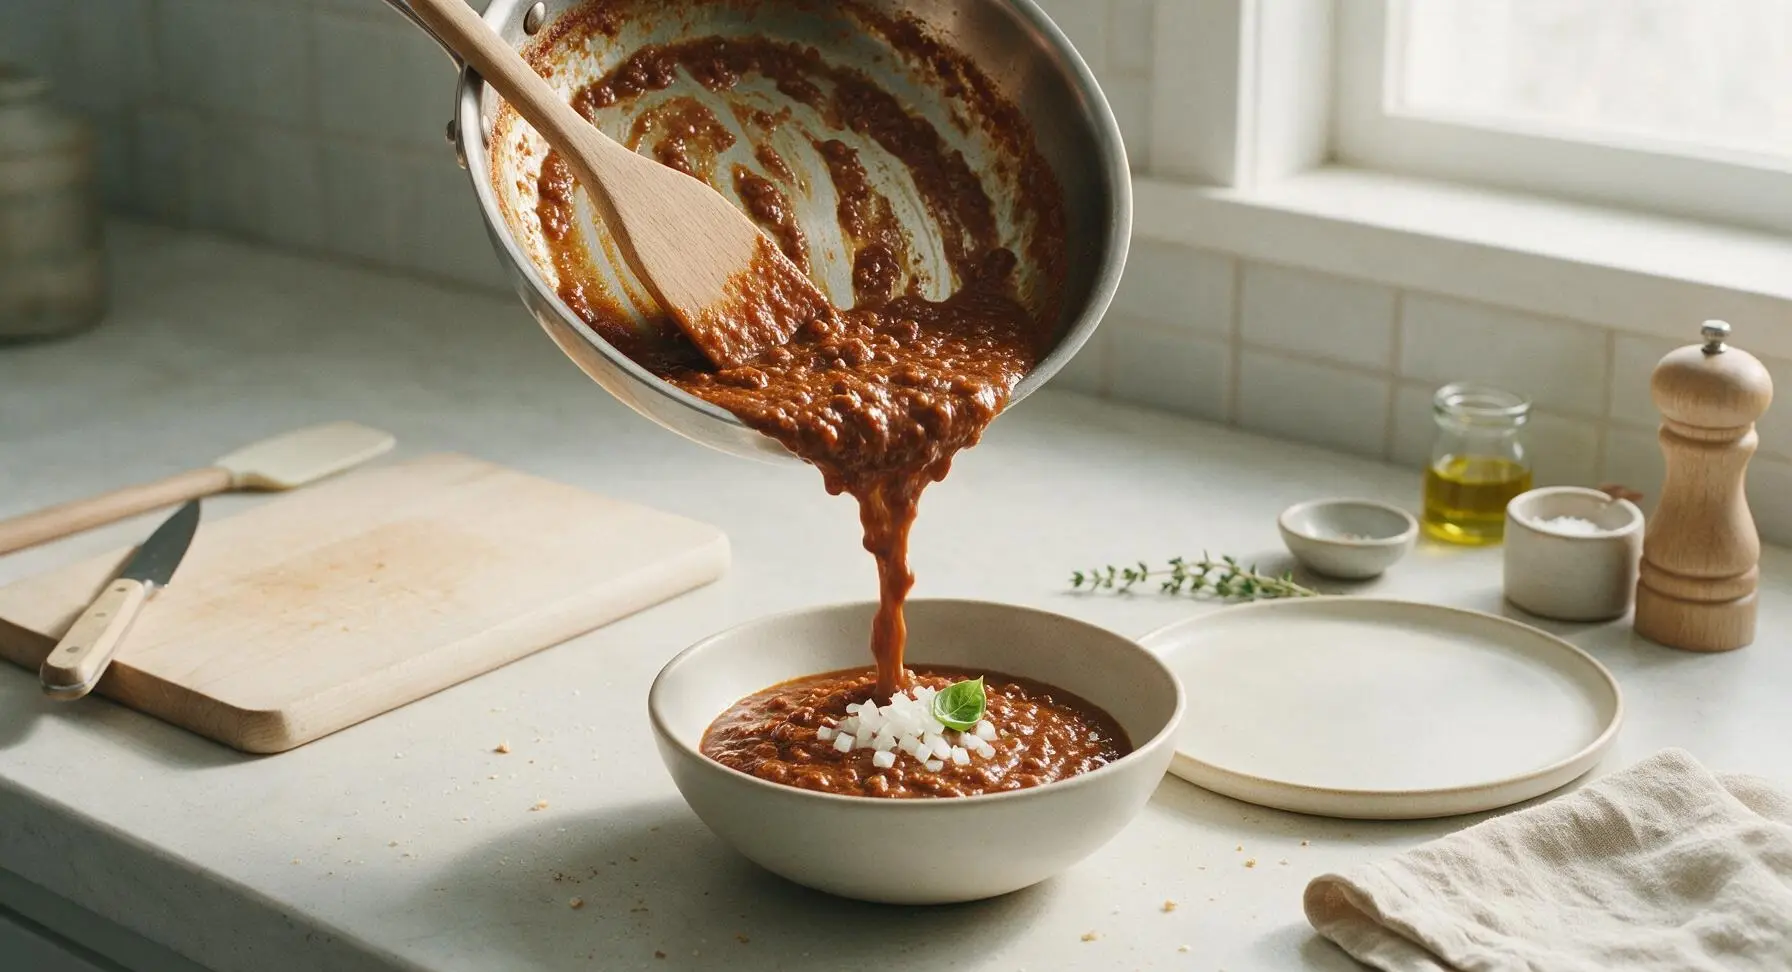
Step 7
step7:Transfer to Serving Bowl

Tips

1.Use 90/10 lean ground beef for the best texture: higher fat ratios will leave a greasy, separated film on top of the sauce as it cools, which detracts from the smooth, clingy classic diner texture. If you only have 80/20 ground beef, carefully drain all excess rendered fat after browning before adding the onion and garlic.
2.Break beef into the smallest possible crumbles as it browns: large, chunky beef pieces will slide off grilled hot dogs when you take a bite, while fine, evenly sized crumbles stick to the dog and bun for sauce in every bite. A small potato masher works perfectly for breaking up clumps if your slotted turner doesn’t get them fine enough.
3.Make this sauce 1-2 days before your cookout for deeper flavor: the spices, tomato, and beef meld together as the sauce chills in the refrigerator, creating a more rounded, nostalgic taste than fresh-cooked sauce. Reheat gently over low heat, stirring in a 1-tbsp splash of water if the sauce thickens too much in the fridge.


✨ You May Also Like

BBQ & Grilling
🍜 United States

Tender, melt-in-your-mouth beef brisket with a crisp, spiced bark, slow-smoked to deep smoky perfection, the iconic centerpiece of Texas backyard barbecue.

⏱️ 12 hours BBQ & Grilling ★ 4.4
BBQ & Grilling
🍜 Korea

Tender, sweet-savory marinated beef short ribs, a beloved Korean BBQ staple with caramelized, slightly charred edges and deep umami flavor, perfect for outdoor summer gatherings.

⏱️ 4 hours 2BBQ & Grilling ★ 4.8
BBQ & Grilling
🍜 United States

Juicy grilled beef patties topped with smoky homemade chili, melted cheddar, and tangy pickles on toasted brioche buns for a hearty, flavor-packed handheld meal.

⏱️ 40 minuteBBQ & Grilling ★ 4.7
BBQ & Grilling
🍜 United States

A sweet, smoky, tangy BBQ sauce brightened with peak-season dark cherries, ideal for glazing grilled ribs, chicken, pork, or summer roasted veggies.

⏱️ 35 minuteBBQ & Grilling ★ 4.7
BBQ & Grilling
🍜 United States

Rich, smoky, slightly sweet homemade bourbon BBQ sauce with deep caramel notes, ideal for glazing grilled ribs, chicken, and burgers at cookouts.

⏱️ 25 minuteBBQ & Grilling ★ 4.7
BBQ & Grilling
🍜 United States

Iconic Alabama-style BBQ featuring tender hickory-smoked chicken slathered in tangy creamy white sauce, a beloved regional Southern cookout staple.

⏱️ 3 hoursBBQ & Grilling ★ 5

old fashioned hot dog sauce:Frequently Asked Questions

1.Why do you recommend 90/10 lean ground beef instead of a fattier blend for this sauce? ▾
Fattier ground beef blends leave a greasy, oily film on top of the finished sauce that will soak through hot dog buns and overpower the balanced savory flavor. The 90/10 ratio delivers deep beefy richness without excess rendered fat, so you won’t need to drain off flavorful juices, and it maintains the fine, even texture classic to diner-style hot dog sauce.
2.How do I get that super fine, non-chunky meat texture old-fashioned hot dog sauce is known for? ▾
Skip the usual method of searing beef in large clumps first. Add raw crumbled beef to the pan with softened onion and garlic, stirring constantly and mashing gently with a wooden spoon or firm potato masher as it cooks. Keep the heat at medium-low as you add tomato sauce and water to avoid tough, large meat crumbs that won’t cling evenly to hot dogs.
3.Can I make this sauce ahead of time for a summer cookout? ▾
Absolutely—this sauce actually tastes better when made 1 to 2 days ahead, as the warm spices and subtle tang meld and deepen as it chills. Store it in a sealed airtight container in the fridge for up to 5 days, and reheat gently on the stovetop over low heat, stirring in a tiny splash of water if it thickens too much while stored.
4.The recipe mentions warm spices and subtle tang—what basic seasonings am I missing if my sauce tastes flat? ▾
That signature nostalgic diner flavor comes from small, balanced add-ins: a pinch of dry mustard, sweet paprika, a tiny spoonful of brown sugar, and a splash of apple cider vinegar added right at the end of simmering. Go light on the vinegar—you only want a faint bright tang, not a sharp pickled taste, to complement the rich beef and tomato base.
5.My sauce turned out too watery—how do I fix it without making it gummy? ▾
Skip cornstarch or flour slurries, which will make the sauce feel gloppy instead of the classic loose-but-clinging diner texture. Simply let it simmer uncovered over medium-low heat for 8 to 10 extra minutes, stirring occasionally, to let excess water evaporate. Remember it will thicken slightly as it cools, so stop when it’s just a touch runnier than your ideal serving consistency.
6.Can I freeze leftover hot dog sauce for future meals? ▾
Yes, this sauce freezes beautifully for up to 3 months with no major texture or flavor loss. Let it cool completely first, then portion it into freezer-safe zip-top bags or rigid containers, leaving a half-inch of headspace for expansion. Thaw it in the fridge overnight, then reheat slowly on the stovetop, stirring well to recombine any slightly separated liquids before serving.
7.Is this sauce the same as regular chili, and can I use it for foods other than hot dogs? ▾
It’s a close cousin to mild hot dog chili, but it has a finer texture, lighter spice profile, and subtle tang that’s formulated to pair perfectly with grilled franks, no heavy beans or chunky veggies. That said, it works wonderfully spooned over burgers, crinkle-cut fries, nachos, or loaded baked potatoes for a fun, nostalgic diner-style twist.

Comments (0)



