
Old-Fashioned Oatmeal Muffin
intro
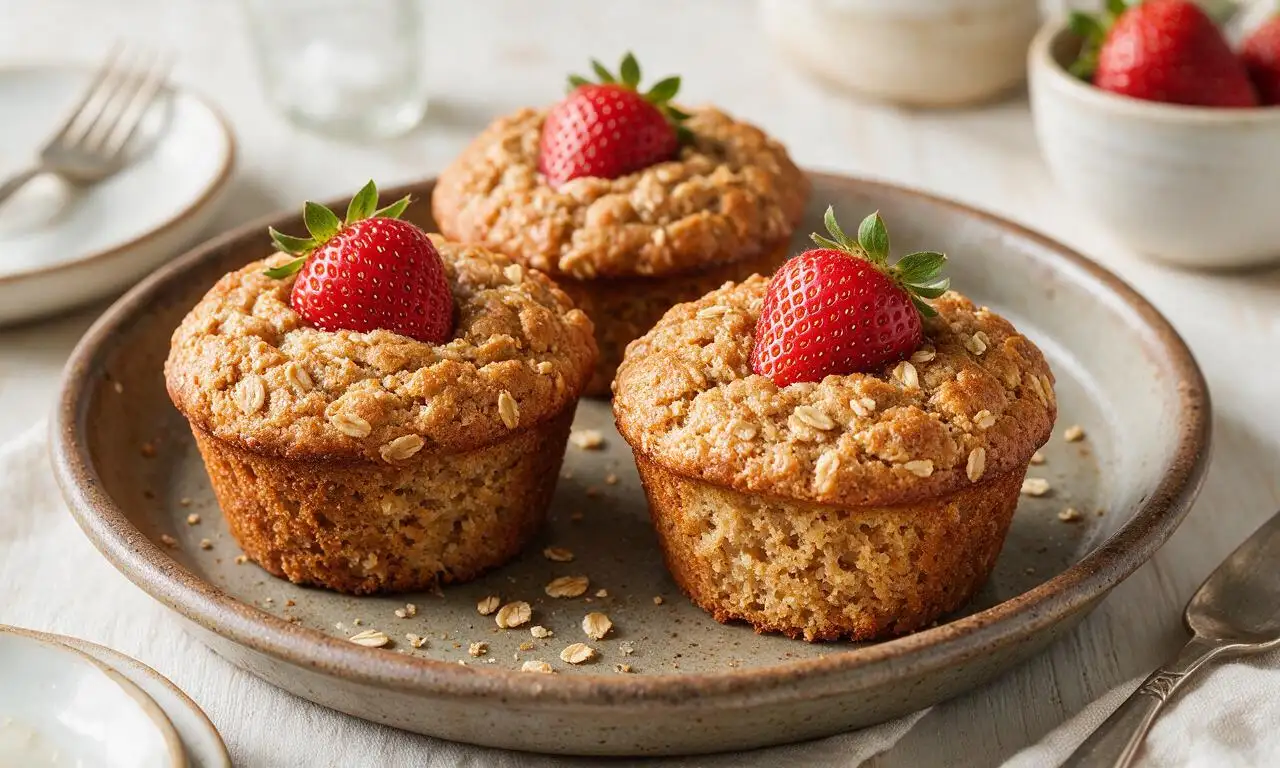
Warm, tender, lightly sweet oatmeal muffins with a soft, hearty crumb, made with simple pantry staples for cozy, portable everyday eating.
Ingredients
Steps
Soak oats for tenderness
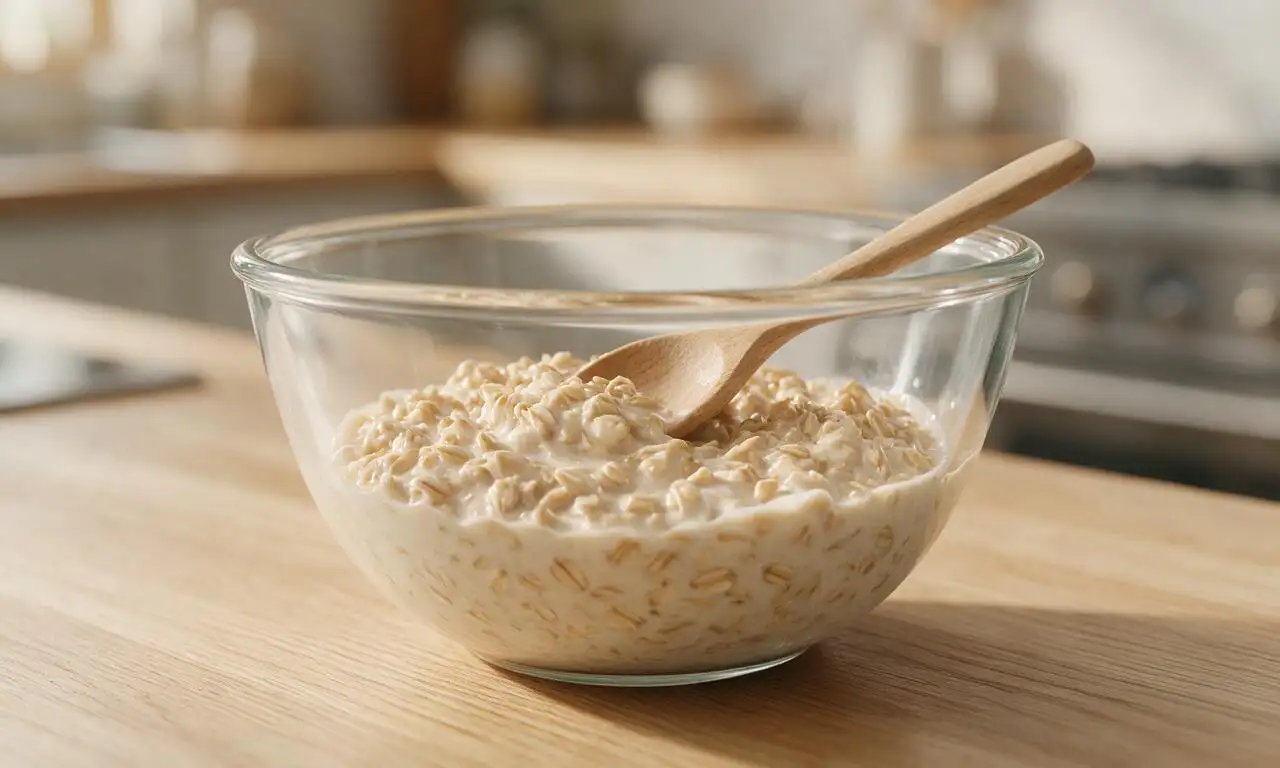
In a medium mixing bowl, combine 1.5 cups (135g) old-fashioned rolled oats and 1.25 cups (300ml) buttermilk. Stir fully to coat all oats, then cover the bowl and let rest at room temperature for 20 minutes to soften oats for a tender, moist crumb. Do not use instant oats for this step, as they will turn mushy.
Prep oven and muffin tin
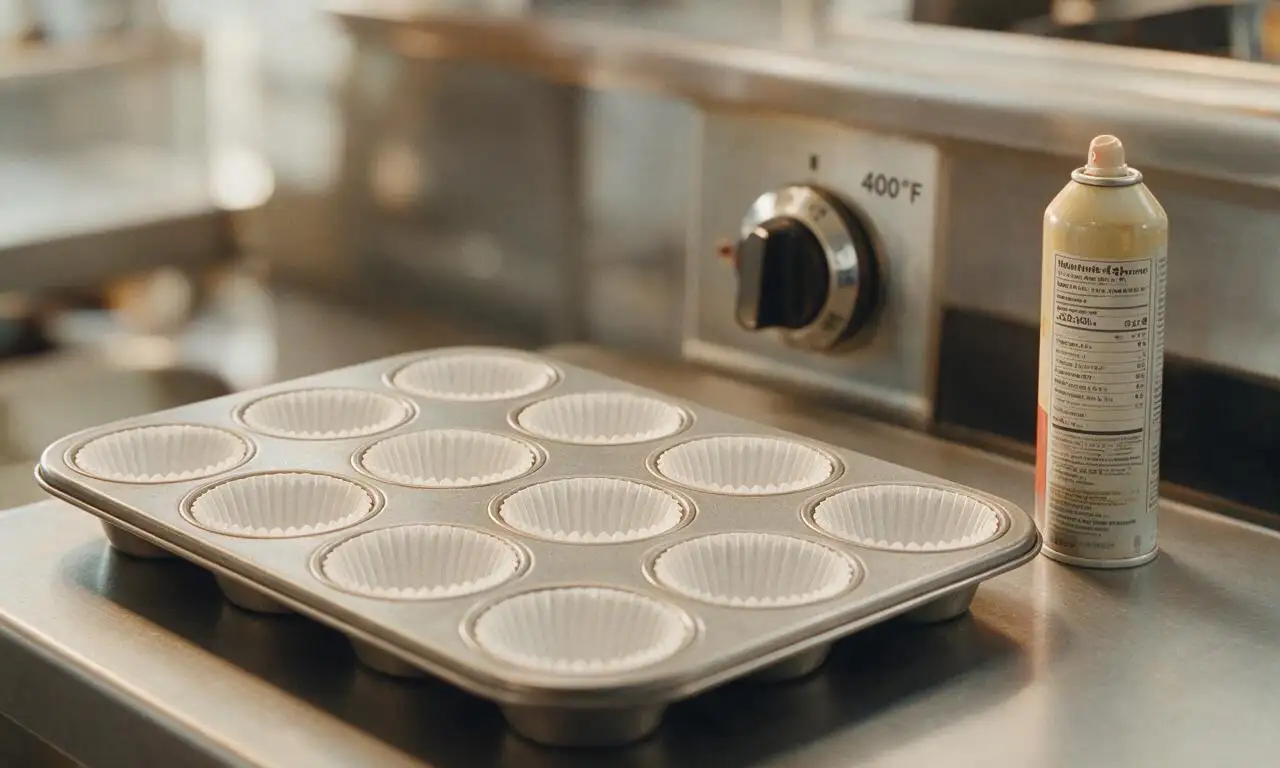
Adjust your oven rack to the middle position, then preheat oven to 400°F (200°C). Line a 12-cup standard muffin tin with paper liners, or lightly coat each cup with non-stick cooking spray or melted butter to prevent sticking. Set the prepared tin aside while you finish prepping batter.
Whisk dry ingredients
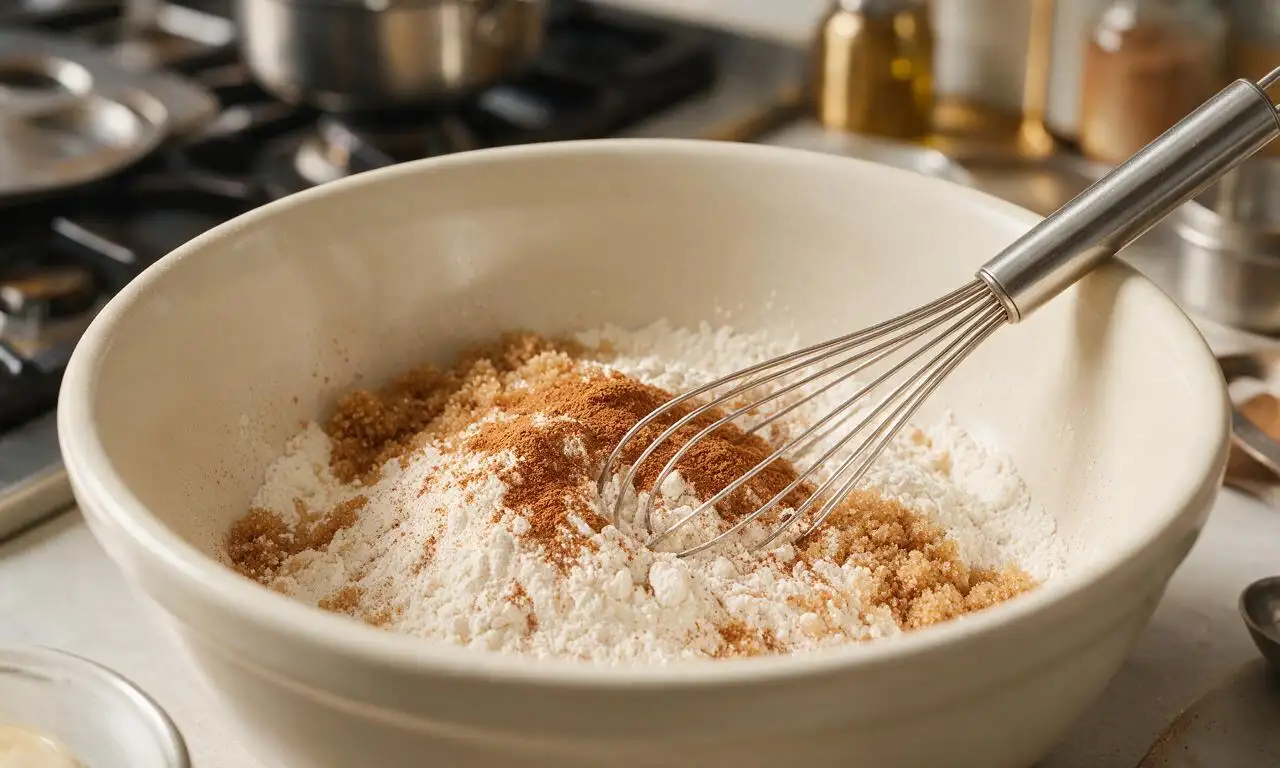
In a separate large mixing bowl, whisk together 1 cup (120g) all-purpose flour, 1 teaspoon (4g) baking powder, 1/2 teaspoon (2.5g) baking soda, 1 teaspoon (2.6g) ground cinnamon, 1/2 teaspoon (3g) fine table salt, and 1/3 cup (65g) packed light brown sugar until fully combined, breaking up any hard brown sugar lumps with the edge of the whisk.
Blend wet ingredients
After the 20-minute oat soak is complete, add the cooled melted 4 tablespoons (57g) unsalted butter, 1 room-temperature large egg, and 1 teaspoon (5ml) pure vanilla extract to the oat-buttermilk mixture. Stir with a wooden spoon until the egg is fully incorporated and no yellow egg streaks remain, about 30 seconds of gentle stirring.
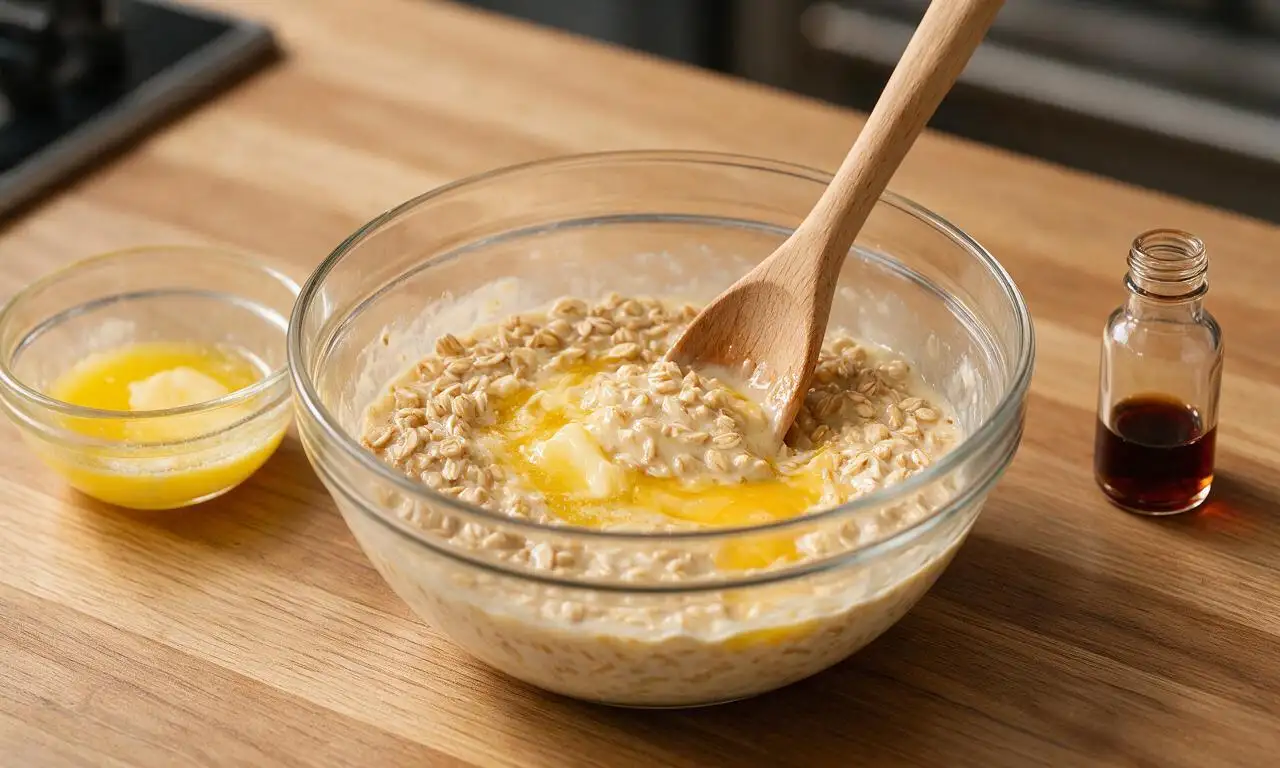
Fold batter gently
Pour the entire wet oat mixture into the bowl of prepared dry ingredients. Use a flexible rubber spatula to fold the ingredients together just until no dry white flour streaks remain; the batter will be thick and slightly lumpy, which is normal. Stop folding as soon as flour disappears to avoid tough, dense muffins, and do not stir until completely smooth.
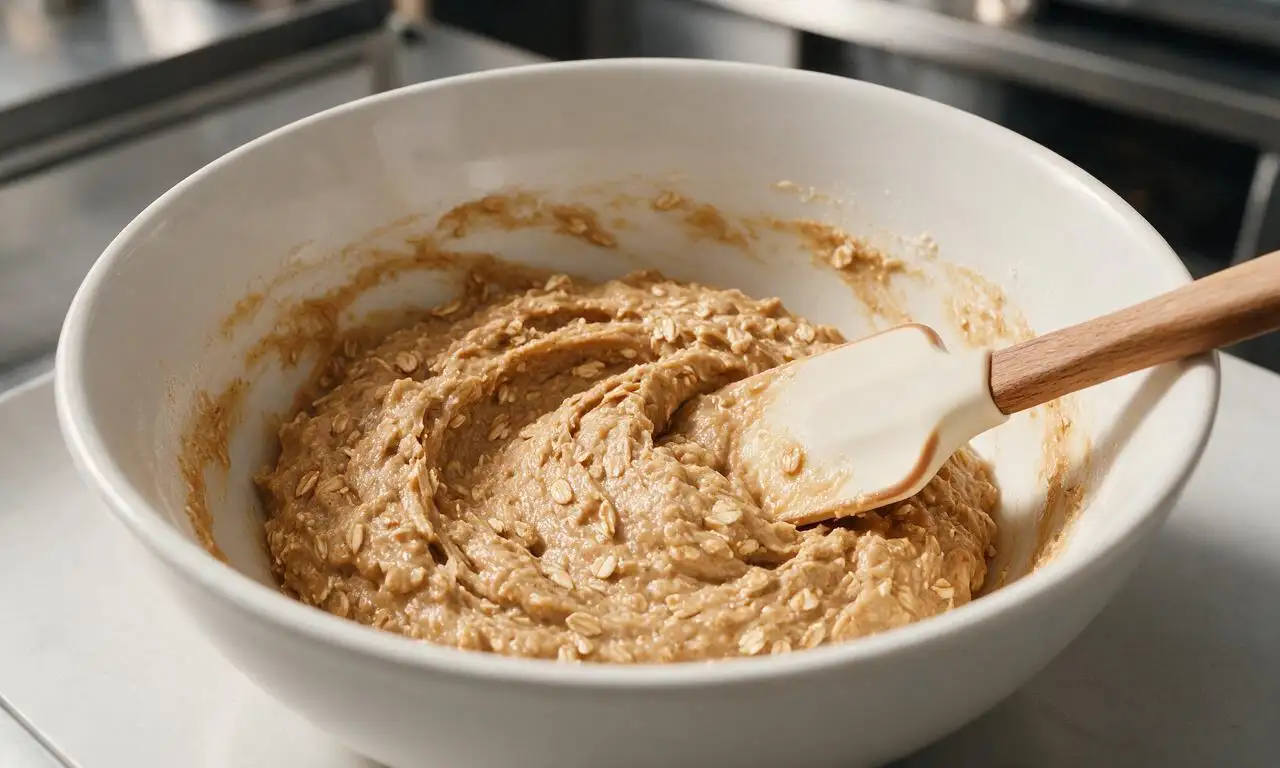
Portion and bake muffins
Scoop the batter evenly into the prepared muffin tin, filling each paper liner 2/3 full (about 1/4 cup / 60ml of batter per cup). Place the tin on the middle rack of the preheated 400°F (200°C) oven and bake for 18-20 minutes, until the muffin tops are deep golden brown and a wooden toothpick inserted into the center of a middle-rack muffin comes out with 1-2 moist crumbs attached, no raw wet batter.
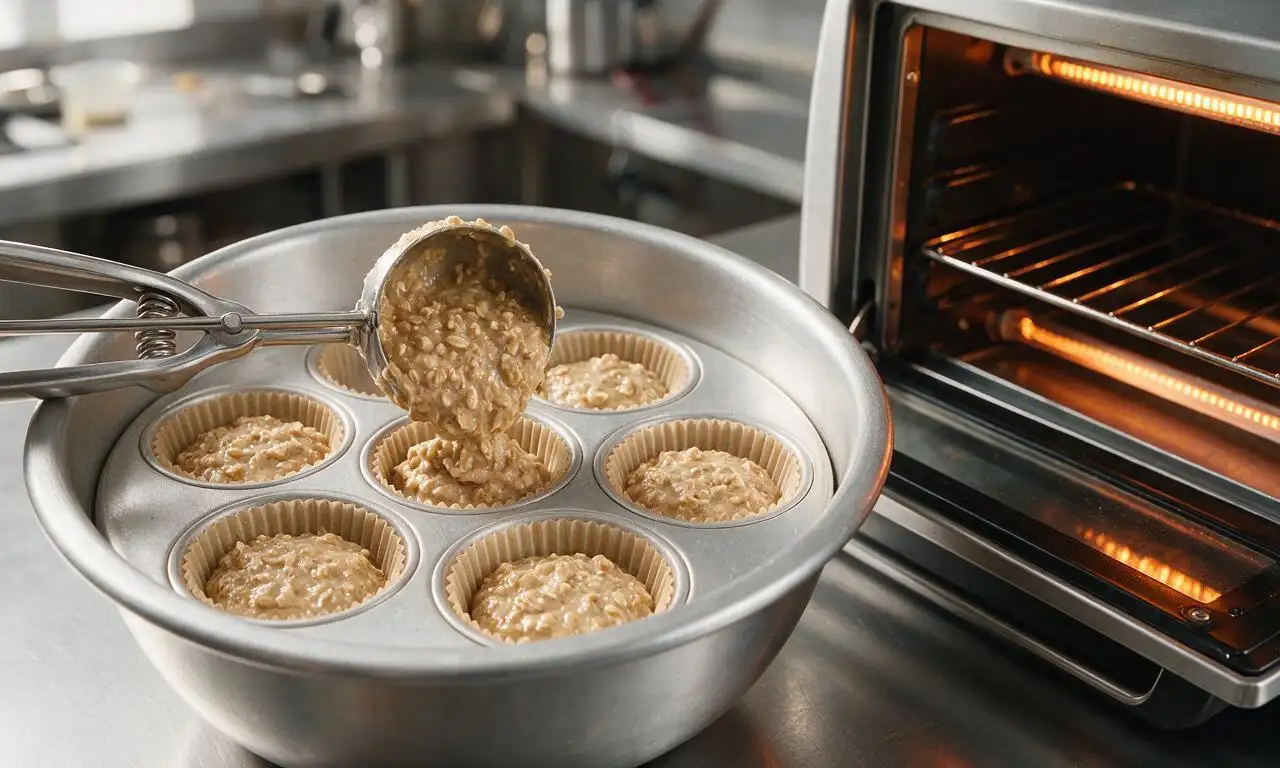
Cool before serving
Once baked, remove the muffin tin from the oven using oven mitts and transfer it to a wire cooling rack. Let the muffins rest in the hot tin for 5 minutes to set, then lift each muffin out by its paper liner to cool directly on the wire rack for an additional 5 minutes before serving warm, or let cool fully for airtight storage.
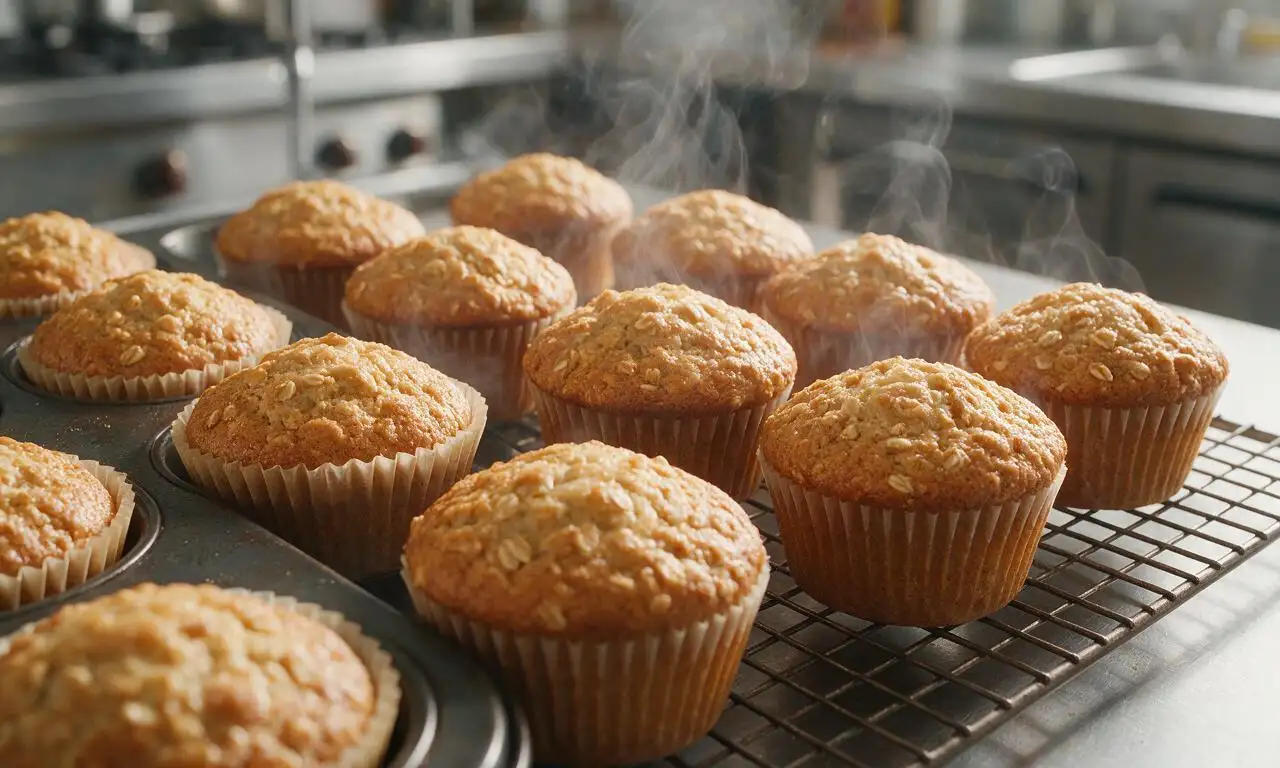
Tips
2.If you do not have buttermilk on hand, make a quick substitute by adding 1 tablespoon (15ml) of white vinegar or fresh lemon juice to a liquid measuring cup, then pouring regular whole or 2% milk to reach the 1.25 cup (300ml) line. Let the mixture sit 5 minutes at room temperature to curdle before using as directed.
3.Store fully cooled muffins in an airtight container at room temperature for up to 3 days, or wrap individual muffins in plastic wrap and freeze for up to 3 months; thaw at room temperature or reheat for 15 seconds in the microwave for a quick warm breakfast.






OMG these old-fashioned oatmeal muffins are a total game changer for my weekday meal prep! I threw in a handful of raisins and a dash of cinnamon when I mixed the batter, and they came out so moist and chewy, not dry at all like other oatmeal muffin recipes I’ve tried. My two picky kids devoured two each for breakfast before school yesterday, and my husband packed the rest for his work snacks. 10/10, will be making these every Sunday from now on!
Brought these to my neighborhood block party potluck last weekend and they were gone in 10 minutes flat! So many neighbors asked for the recipe, I lost count. I love that they’re not overly sweet, so they work for breakfast, a midday snack, even a quick little treat with my afternoon coffee. Super easy to throw together too, I didn’t even need to pull out my stand mixer.
As a broke college student with barely any cooking skills, this recipe was perfect for me! I only had rolled oats on hand instead of quick oats, and it still turned out great. I portioned them out into little baggies to grab between classes all week, saved me so much money on overpriced campus café muffins. Only note: I’d probably add a tiny bit of maple syrup next time for a little extra sweetness, but that’s just my personal preference.
Wait a second, I made these last weekend with a 1:1 gluten-free all purpose flour swap and oat milk instead of dairy, and they turned out INCREDIBLE? I was so worried they’d be crumbly or weirdly gummy like most GF baked goods, but they had the perfect soft crumb and that cozy old-fashioned oat flavor I remember from when my grandma used to make muffins when I was little. My roommate who eats literally anything said these are better than the regular muffins she buys at the bakery down the street!
SO good. I’ve made these three times in the last two weeks, no joke. I love that they don’t leave me feeling sluggish an hour after breakfast like the super sugary store-bought muffins do. I top mine with a little bit of peanut butter and banana slices and it’s literally the perfect quick breakfast before my morning runs.
Okay full transparency, I burn literally everything I bake. But these? They actually turned out perfect first try?? The instructions were so straightforward, no fancy steps or weird hard-to-find ingredients. I even forgot to set a timer and left them in 3 minutes extra and they still didn’t burn! Total win for a baking newbie like me.
These are really tasty, but my first batch came out a little drier than I expected? Did I overmix the batter maybe? I was in a rush getting the kids out the door so I definitely stirred it way more than I usually do for muffin recipes. Flavor was 10/10 though, just want to get the texture right next time!
I’ve been making oatmeal muffins for almost 50 years, and let me tell you, this recipe is the closest I’ve found to the one my own mother used to make back in the 60s. No fancy frills, just simple, hearty flavor that tastes like home. I added a handful of chopped walnuts to mine like mom always did, and it took me right back to being a kid sitting at her kitchen table after school.