
one pan chicken and rice
intro
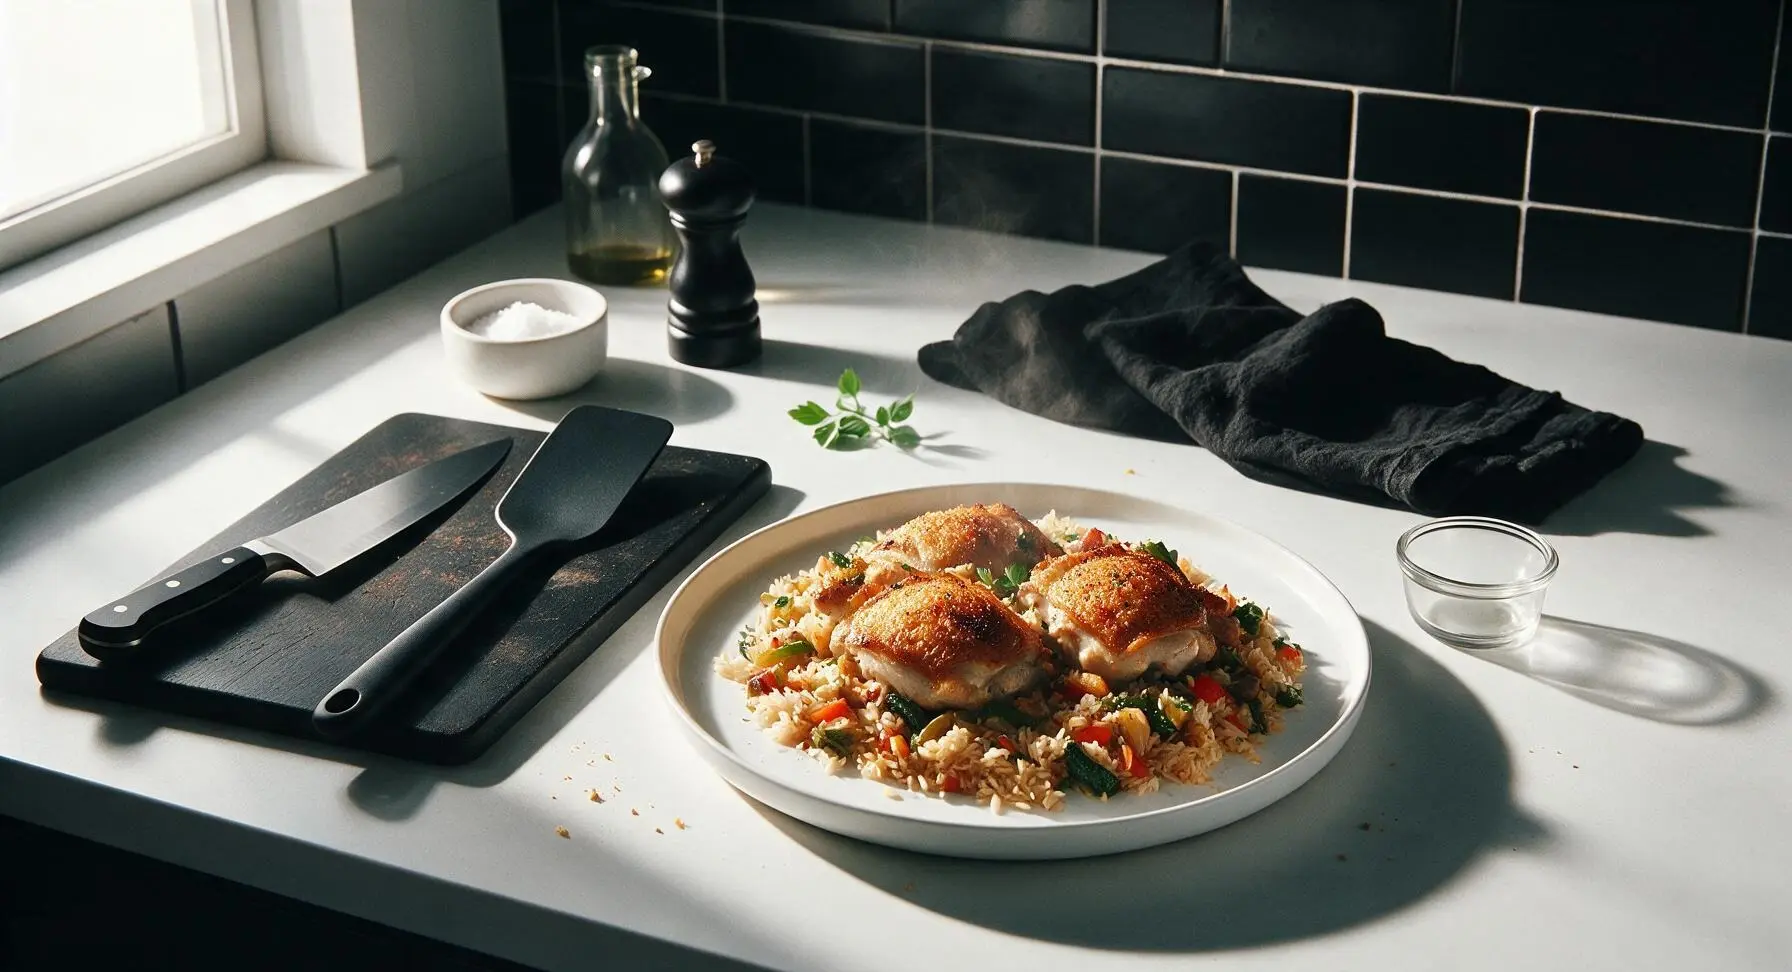
Juicy, crispy-skinned chicken thighs baked over fluffy, aromatic rice and veggies, all cooked in one pan for minimal cleanup and maximum cozy, savory weeknight flavor.
Ingredients
Steps
Season Chicken Thighs
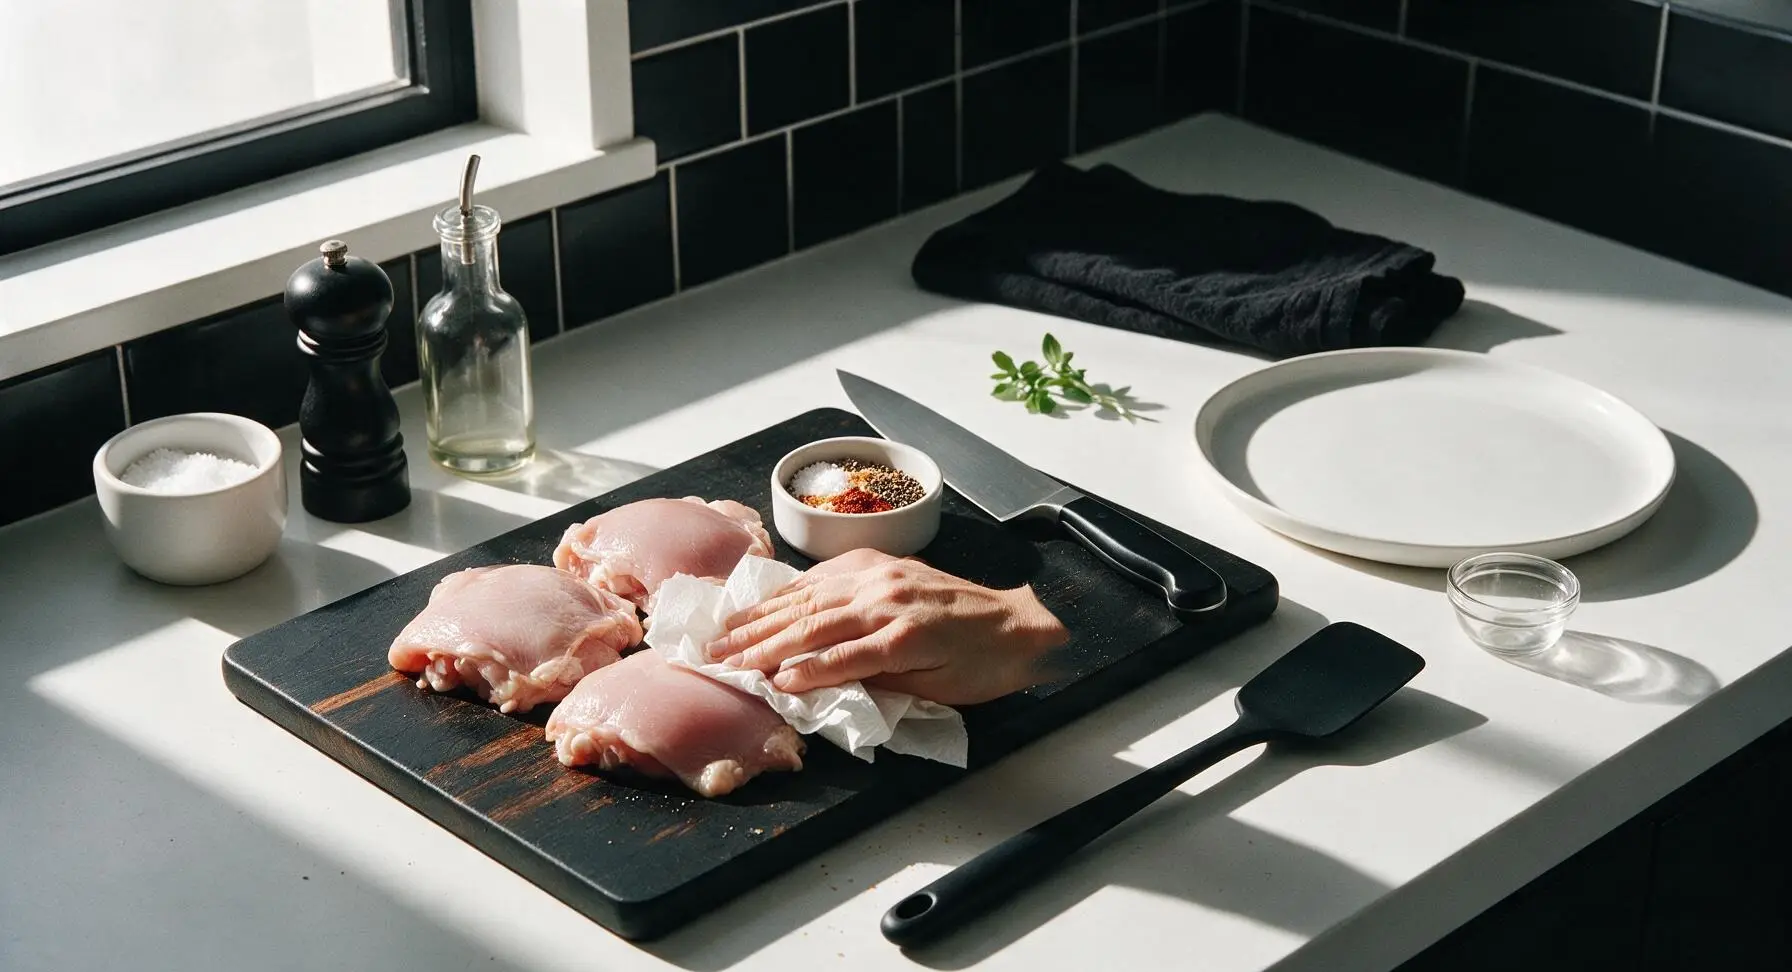
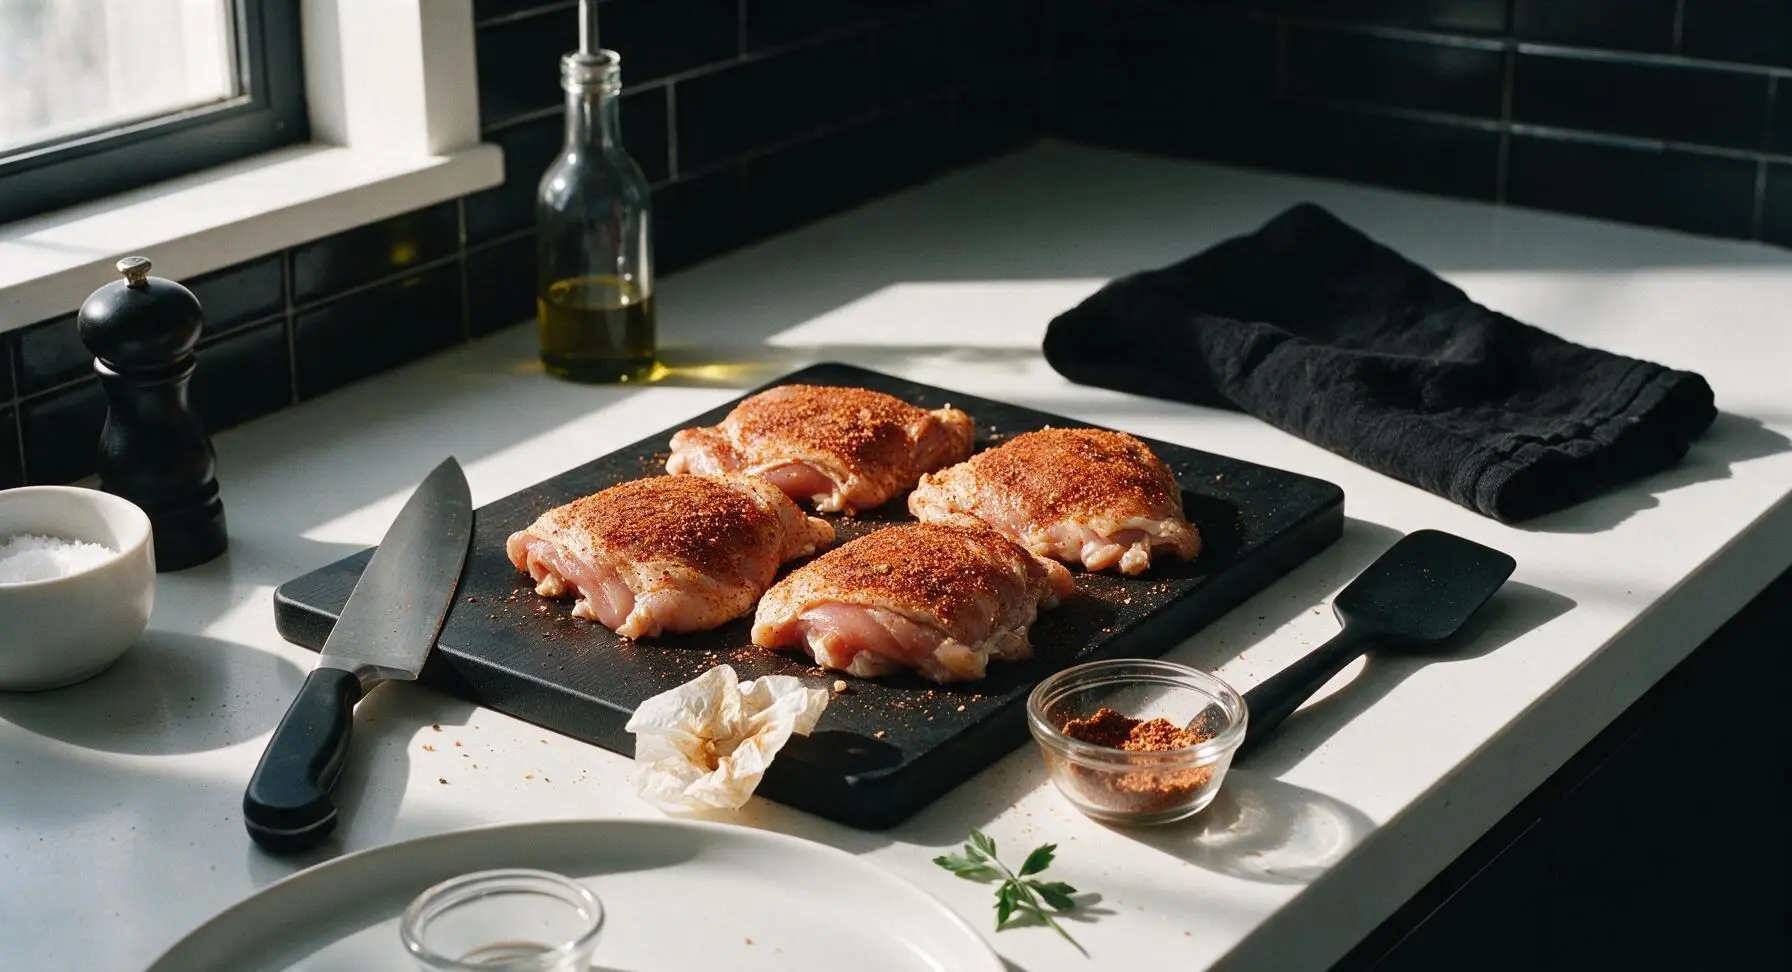
Pat the 4 skin-on, boneless chicken thighs completely dry with paper towels—this step is critical for achieving crispy skin. In the small white ceramic ramekin, combine 1 teaspoon kosher salt, 1 teaspoon smoked paprika, ½ teaspoon garlic powder, and ½ teaspoon freshly ground black pepper. Rub half the spice mixture evenly over all sides of the chicken, reserving the remaining spice mix for the rice. Let chicken rest at room temperature for 5 minutes while you prep vegetables.
Sear Chicken Until Crispy
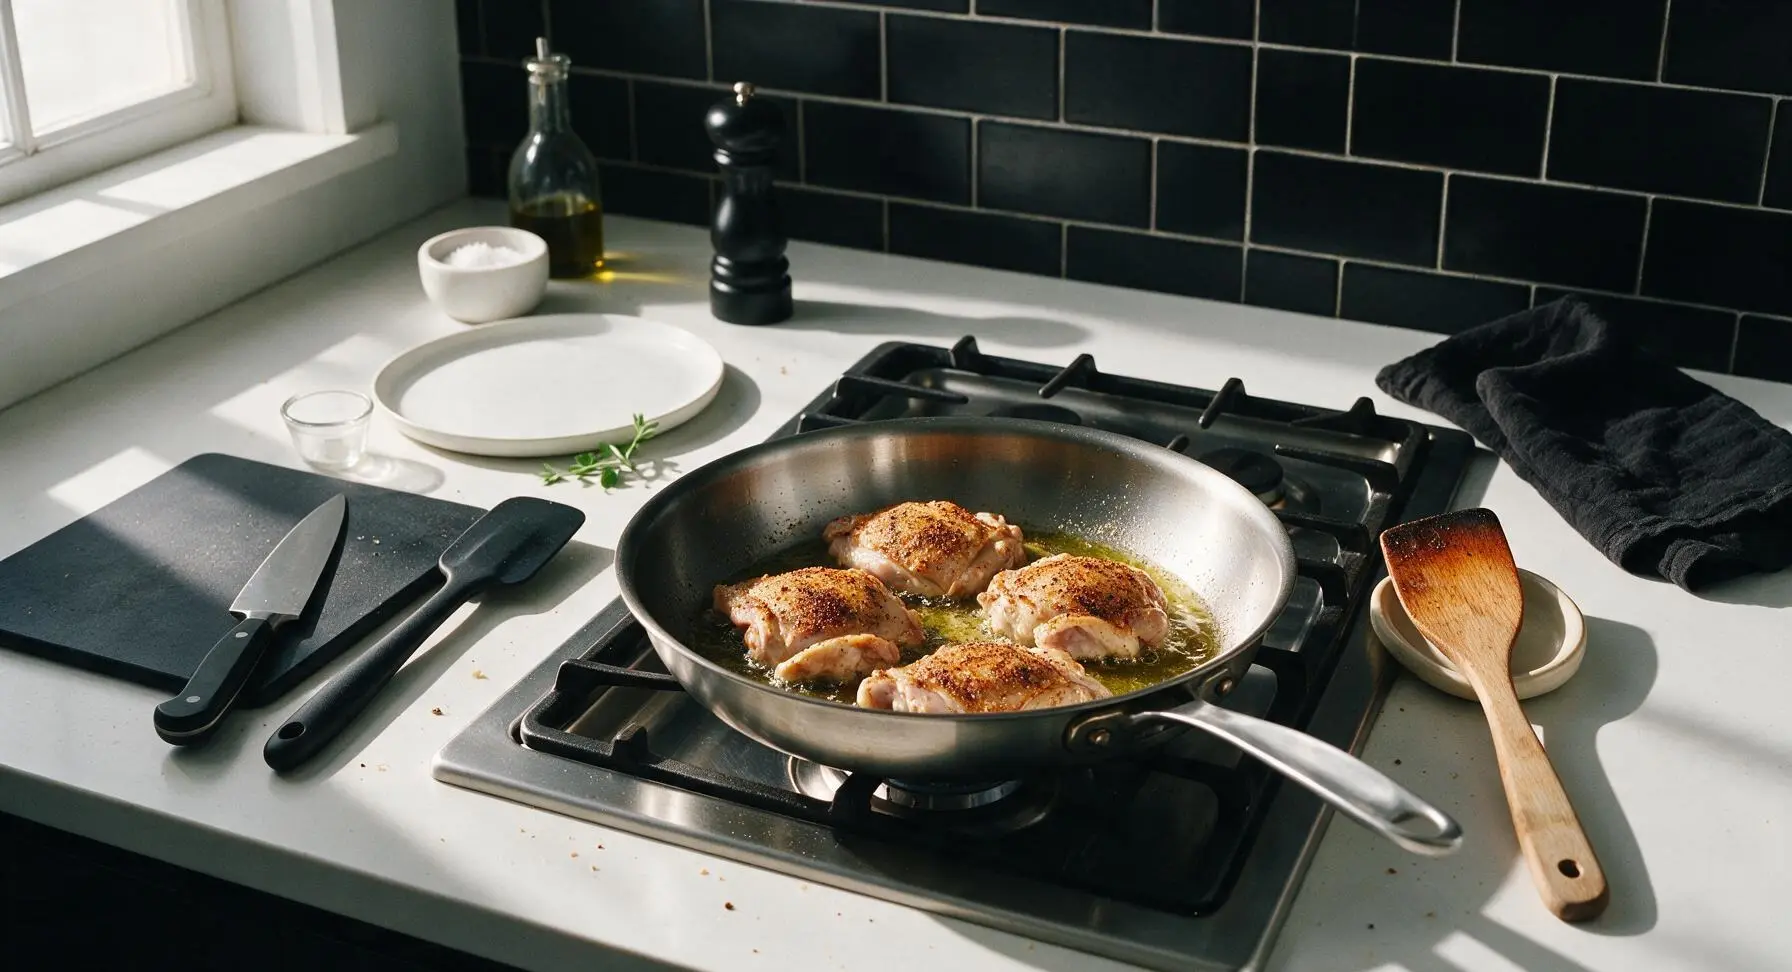
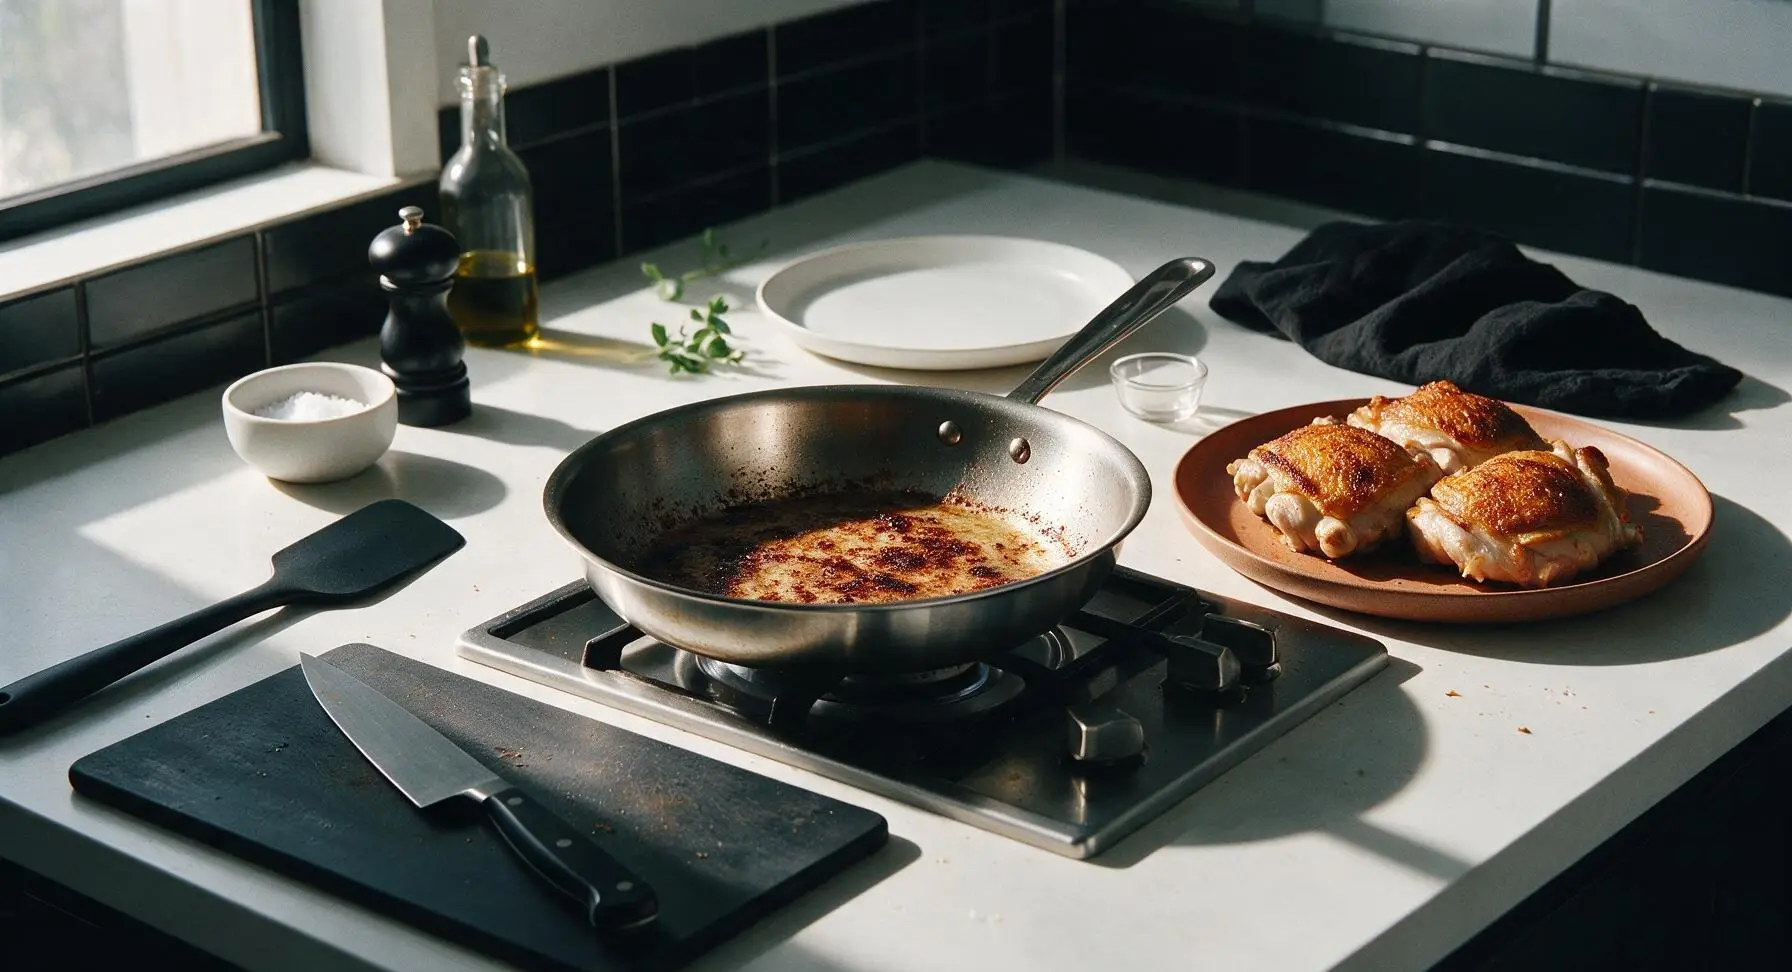
Place the 12-inch stainless steel oven-safe skillet on the central stovetop burner over medium heat, and add 1 tablespoon extra-virgin olive oil. Once the oil shimmers (approximately 2 minutes, visual cue for correct temperature), arrange the chicken thighs skin-side down in the pan. Sear without moving for 6 minutes, until the skin is deep golden brown and releases easily from the pan. Flip the chicken and sear the opposite side for 2 minutes, then transfer the seared chicken to the matte terracotta plate to rest temporarily. Do not wipe out the skillet—the browned, sticky bits (called fond) at the bottom carry massive flavor for the rice.
Sauté Aromatic Vegetables
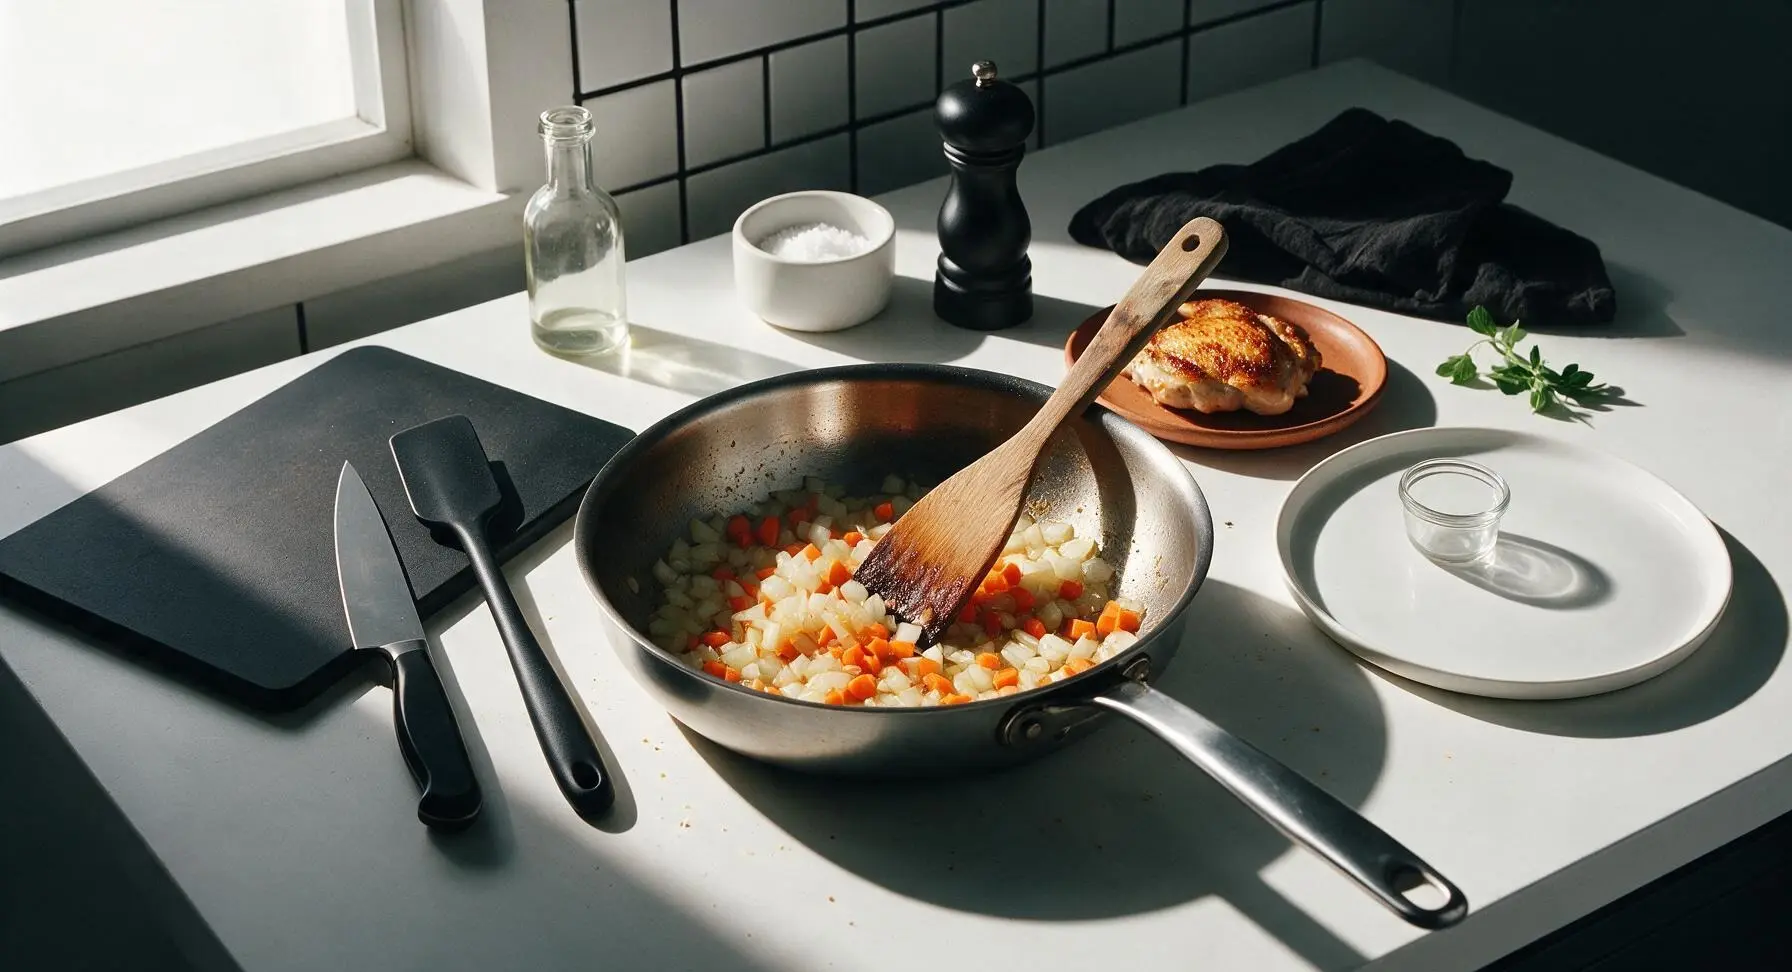
Reduce stovetop heat to medium-low. Add the finely diced small yellow onion and finely diced medium carrot to the skillet, using the leftover chicken fat and oil as cooking fat. Sauté for 3 minutes, stirring occasionally with the beech wood spatula, until the onion turns soft and translucent. Add the 3 minced garlic cloves and cook for 30 seconds more, stirring constantly, until the garlic smells fragrant—do not let it turn brown, as burnt garlic adds a bitter, unpleasant flavor.
Toast Rice for Flavor
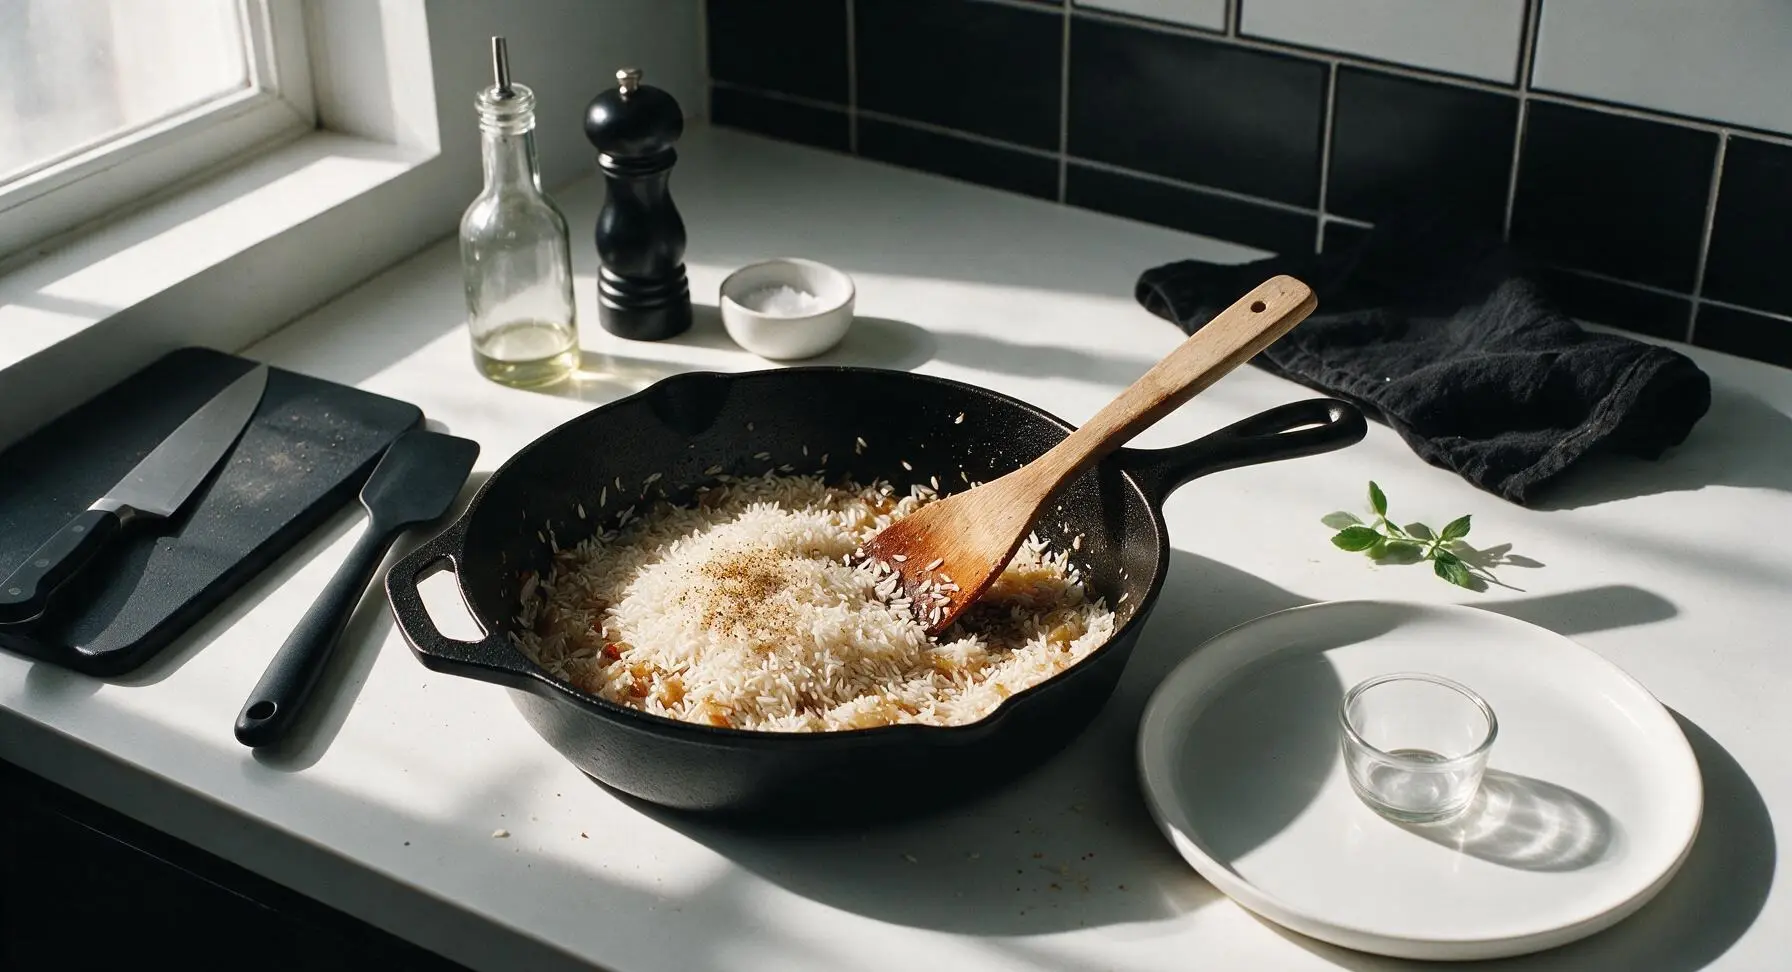
Add 1 cup uncooked long-grain white rice to the skillet with the sautéed vegetables, stirring to coat every individual grain in the pan drippings. Toast the rice for 2 minutes, stirring frequently, until the edges of the rice grains turn slightly translucent and give off a faint nutty aroma. Stir in the reserved half of the spice mix, tossing to coat the rice and vegetables evenly.
Add Broth and Nestle Chicken
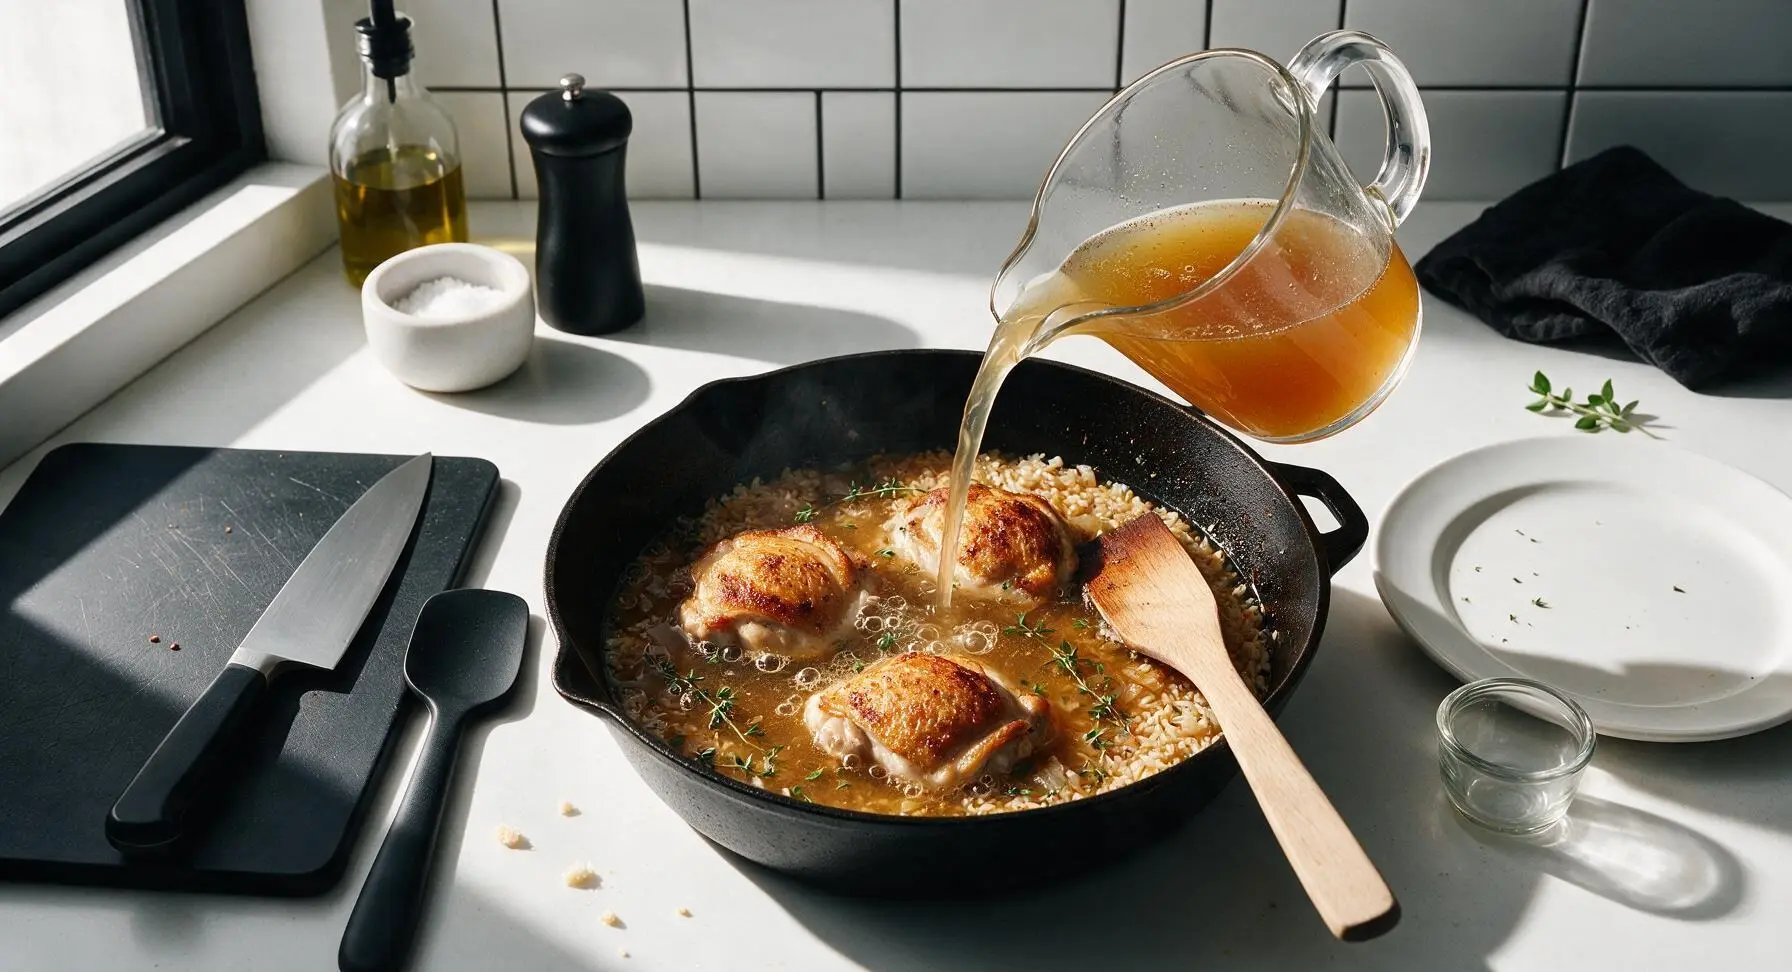
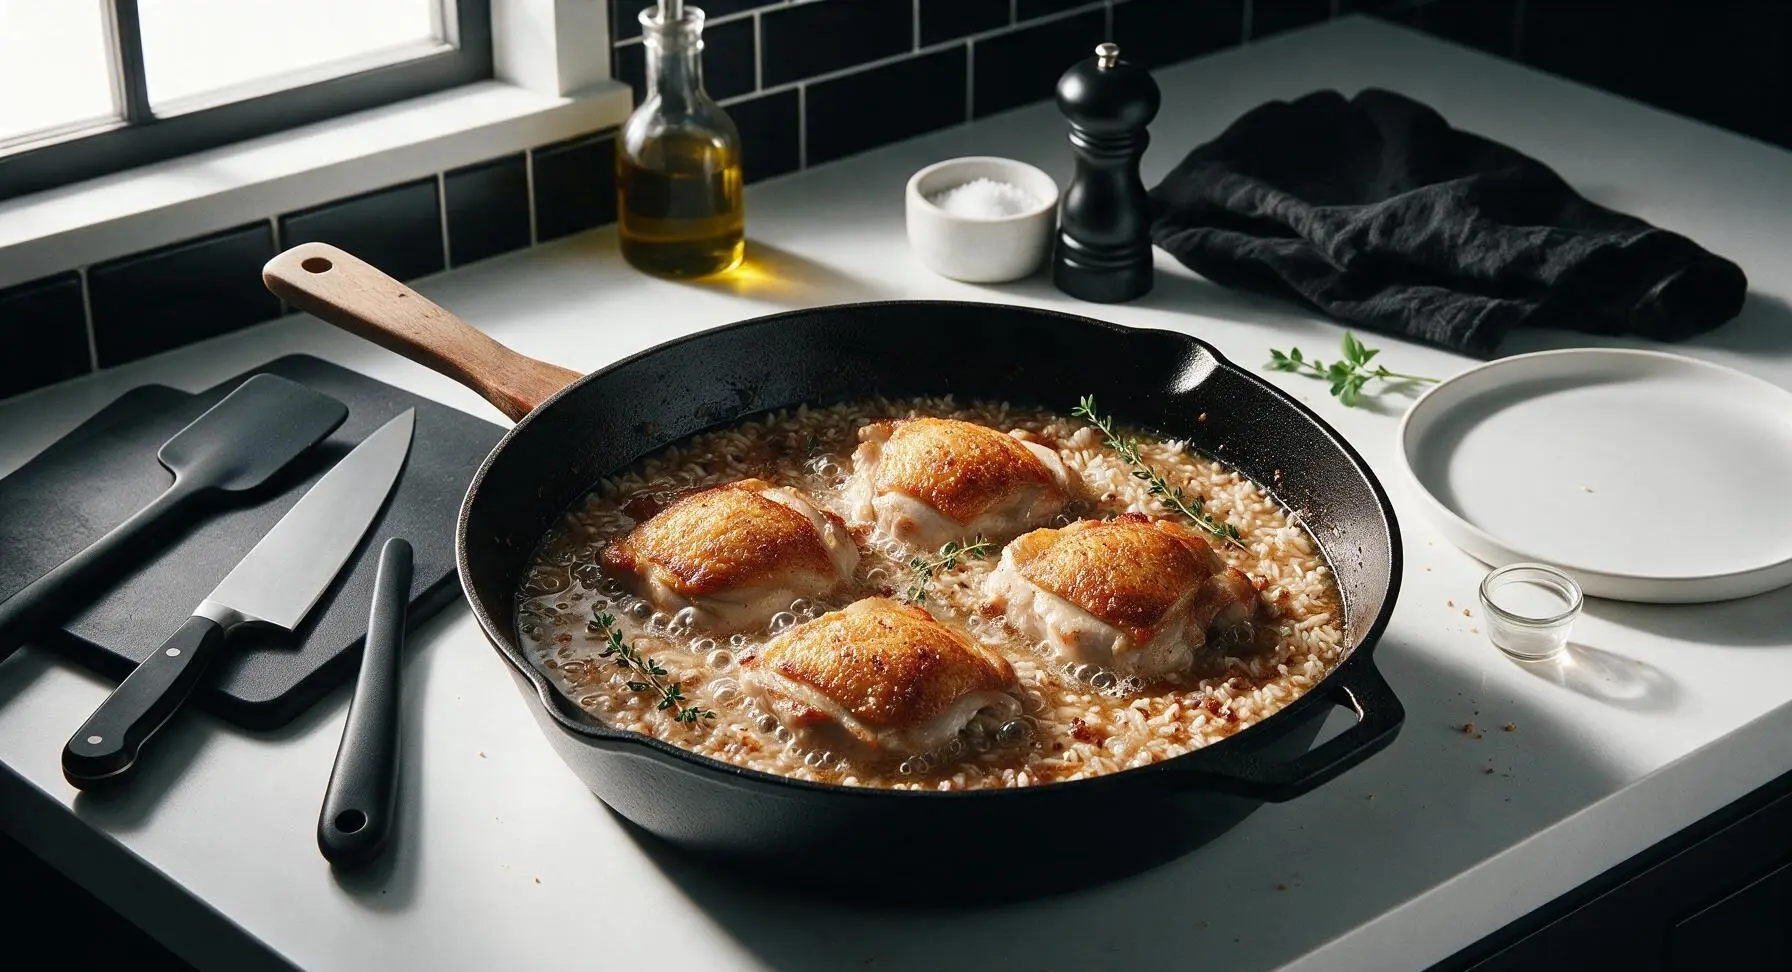
Pour 2 cups low-sodium chicken broth into the skillet, stirring once with the beech wood spatula to scrape up all the browned fond from the pan bottom. Tuck 4 fresh thyme sprigs into the rice mixture. Bring the liquid to a gentle, steady simmer (small bubbles breaking evenly across the surface, no violent boiling), then nestle the seared chicken thighs skin-side up on top of the rice. Do not submerge the crispy skin under the liquid, or it will turn soggy.
Bake Covered Until Tender
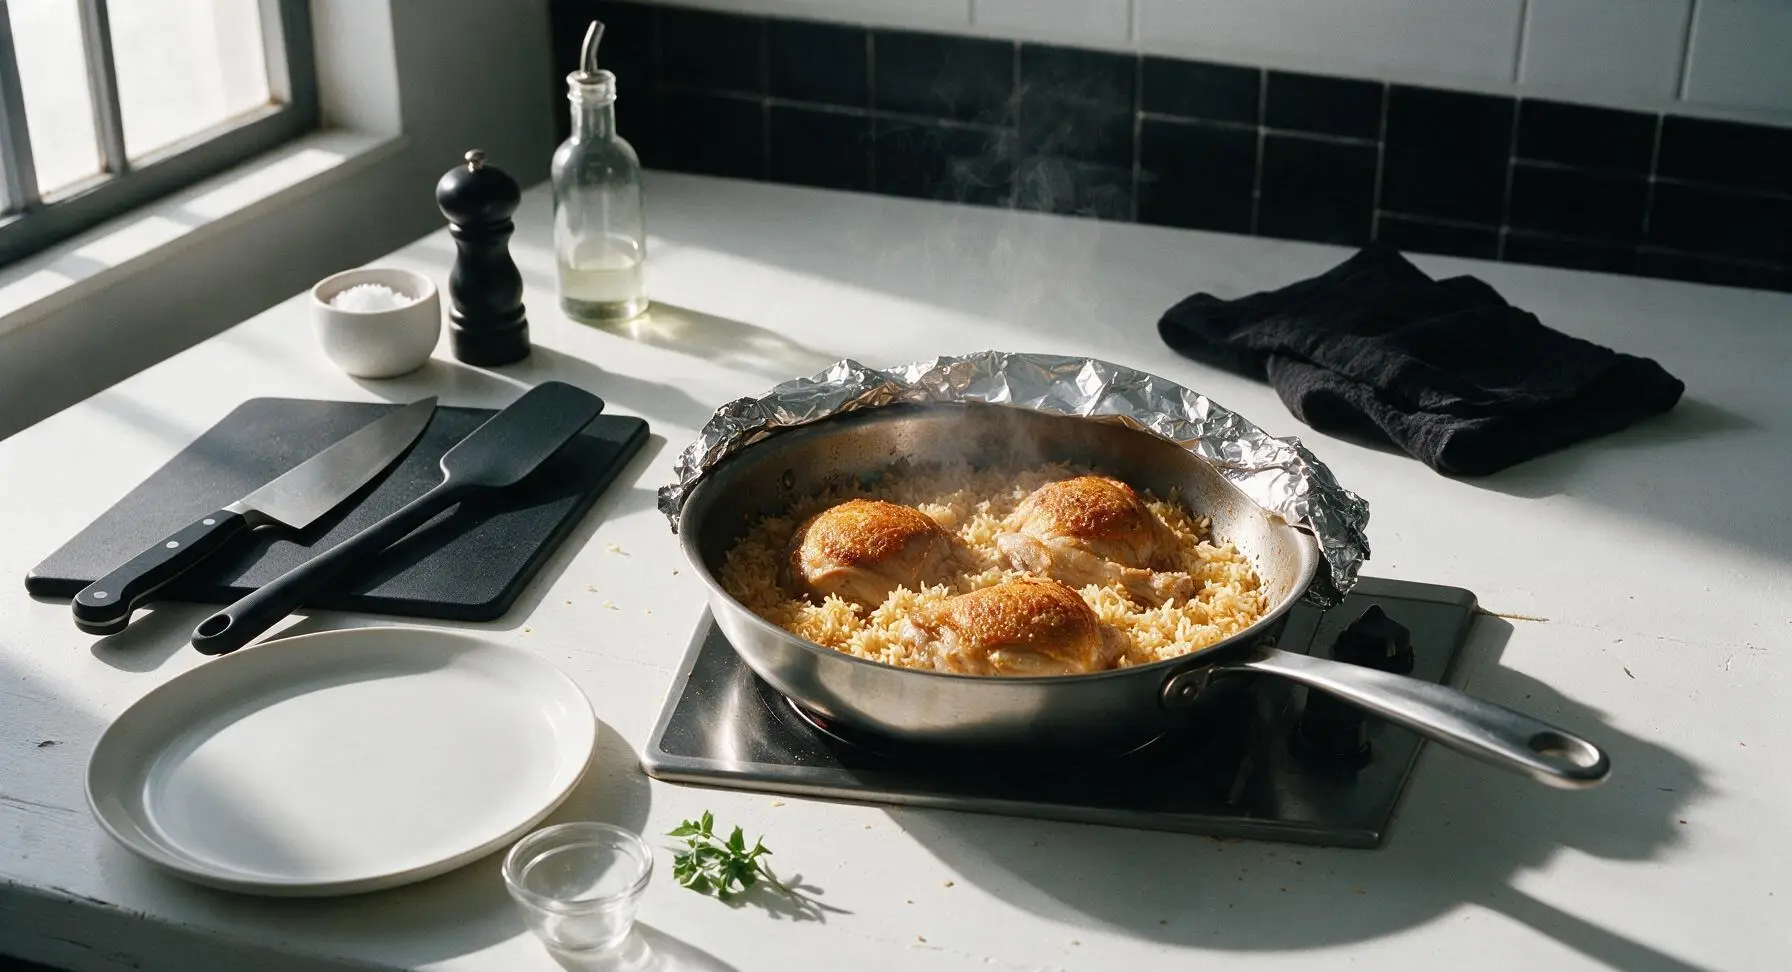
Cover the skillet tightly with a fitted lid or a double layer of heavy-duty aluminum foil, crimping the edges to trap steam inside. Carefully transfer the pan to a preheated 375°F (190°C) oven. Bake for 18 minutes covered, then remove the lid/foil and bake for 5 additional minutes, until all broth is fully absorbed, the rice is tender, and the chicken reaches an internal temperature of 165°F (74°C) measured with a meat thermometer.
Rest, Fluff, and Garnish
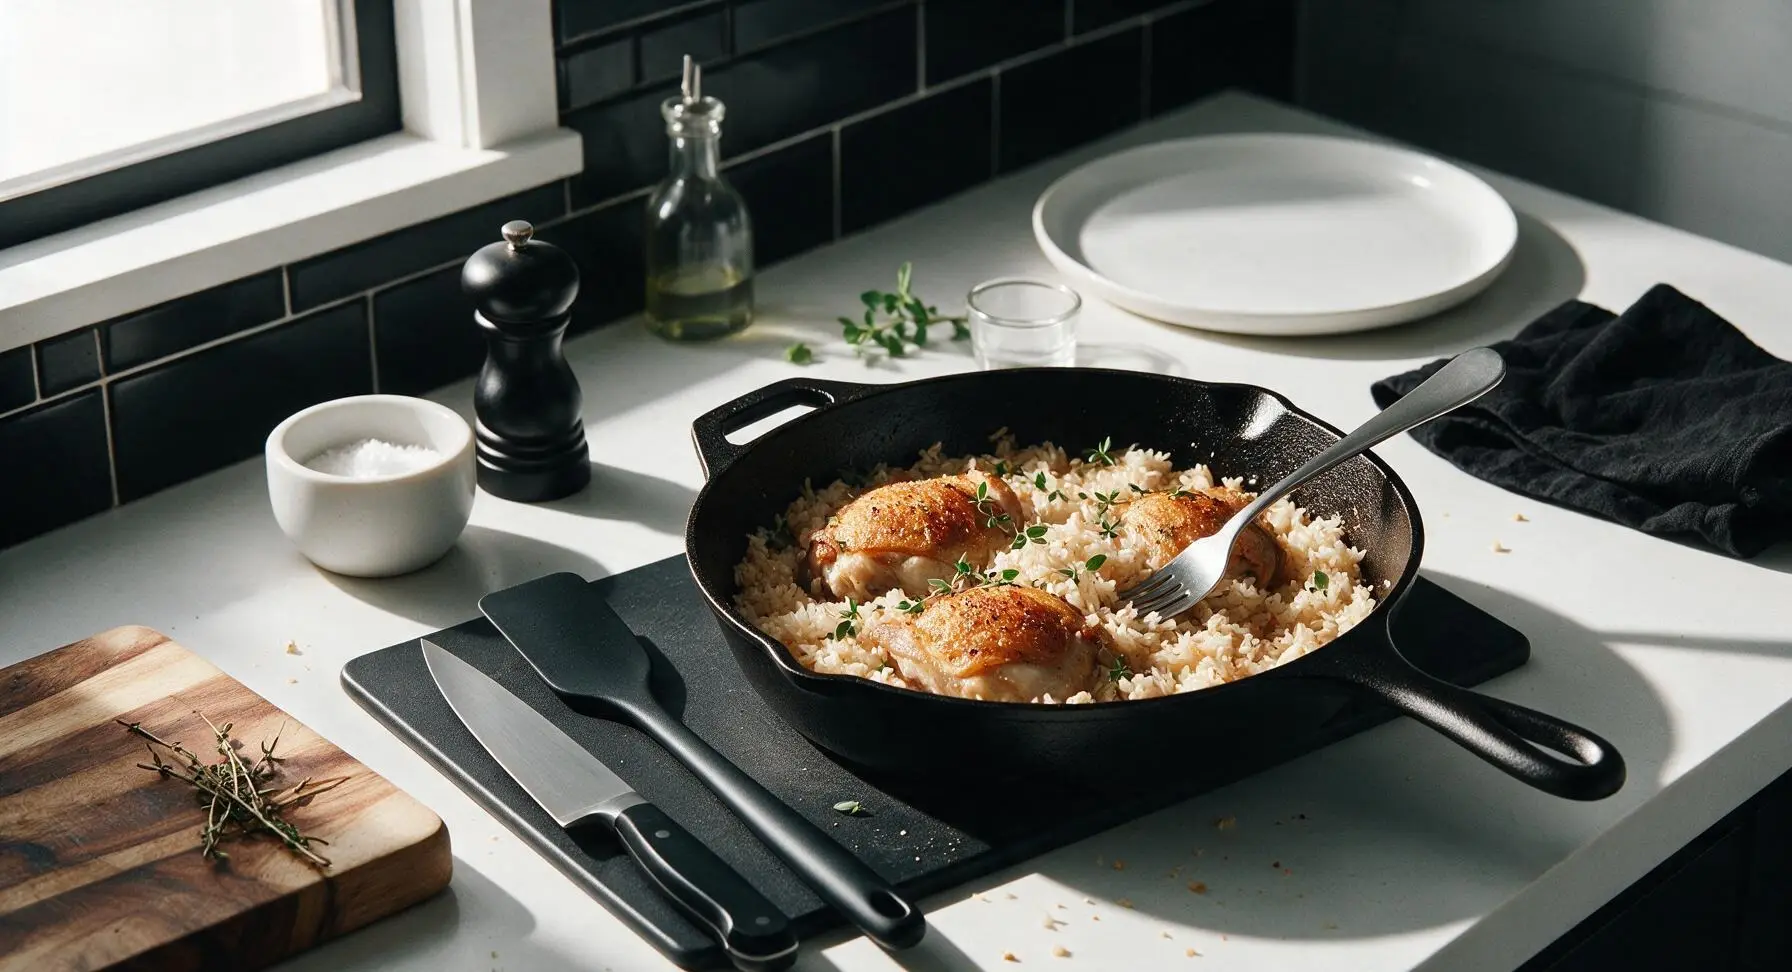
Remove the skillet from the oven and discard the woody spent thyme sprigs. Let the dish rest, uncovered, for 5 minutes to allow the rice to absorb any remaining surface moisture and the chicken juices to redistribute. Use a fork to gently fluff the rice around the chicken, taking care not to mash the grains. Top with extra fresh thyme leaves before serving.
Tips
2.Keep the skillet tightly covered for the first 18 minutes of baking: trapped steam is required to cook the rice evenly, and lifting the lid early releases steam that can result in crunchy, undercooked rice grains.
3.Stick to long-grain white rice for this recipe: short-grain rice releases more starch and will turn sticky and mushy when baked, while instant rice will overcook and turn mushy long before the chicken is done.




OMG this was such a game changer for our chaotic weeknight family dinner! I was so sick of scrubbing 3+ pots and pans after cooking every night, and the whole thing came together in 35 minutes exactly like the recipe says. The chicken skin got so crispy even my notoriously picky middle kid asked for seconds before he even finished his first helping. 10/10 will be adding this to our permanent rotation!
Was super skeptical a one pan rice dish wouldn’t come out as a mushy, bland mess, but man was I wrong. The rice had that perfect separate, fluffy texture, the chicken was crispy on the outside and juicy all the way through. Made this for my roommate on a lark and he already texted me twice asking when I’m making it again. SO good.
Brought this to my neighborhood block party potluck last weekend and people were literally lining up to ask for the recipe! I doubled the batch and made it in my deep cast iron skillet, and it worked like a charm. Those little crispy chicken bits that mix into the rice? Unreal. Only tiny tweak I made was adding a pinch of smoked paprika for a little warm kick, highly recommend.
As someone who barely knows how to boil pasta without setting off the smoke alarm, this was so easy to pull off! I was worried I’d totally mess up the rice but the steps were super straightforward, total cook time was actually under 40 minutes which is perfect for when I’m cramming for midterms and don’t have time for a fancy meal. Only reason it’s not 5 stars is I forgot to add extra salt to the rice, but that’s 100% my bad, not the recipe’s.
So happy I stumbled on this! It’s naturally gluten free which is perfect for my celiac diet, and I didn’t have to swap out any weird specialty ingredients to make it work. The chicken got so crispy I thought I’d pan-fried it with breading, no weird coatings needed. Already made it twice in one week, no regrets.
Made this on a lazy Sunday for my weekly meal prep and it held up perfectly all week in the fridge! The rice didn’t get weird and mushy when I reheated it, and the chicken still had a little crisp if I warmed it up in the toaster oven instead of the microwave. 10/10 for meal prep, saved me like $40 on takeout for work lunches this week.
Okay I have a zero-shame confession: I ate half the pan straight out of the skillet right after I finished cooking this. No plates, no serving, just me and a fork. The flavors are so simple but so good—garlic, onion, all mixed with the chicken drippings? *Chef’s kiss* I didn’t even have to add extra oil, the chicken fat rendered out perfectly to cook the rice.
Made this for my wife for our first at-home date night after we got back from our honeymoon, and she thought I’d spent hours slaving away in the kitchen. Little does she know it was one pan, 35 minutes, and barely any cleanup. Earning so many husband points over here, lmao.
Took a chance on this for our weekly taco night alternative and it did not disappoint! The kids loved that the rice was flavored all the way through, no boring plain white rice here. My husband even dumped a bunch of hot sauce on his and said it was better than our usual fast food taco run.
This is so budget friendly it’s insane! I already had long grain rice and bone-in chicken thighs in my freezer, only had to pick up an onion and some chicken broth from the corner store, total cost for the whole meal was like $6 for four servings. Way cheaper than grabbing fast food for the family after my kid’s soccer practice, and way tastier too.
Quick question—how do you get the chicken skin so perfectly crispy?! Mine turned out good but not as crunchy as it looks in the recipe photos. Did I have the heat too low? I didn’t want to burn the rice so I turned the stove down pretty early on.
Made this for our Sunday supper with my in-laws last weekend and I got so many compliments! My mother-in-law is the pickiest eater I know and she even went back for a second helping. The cleanup was so fast I got to sit and visit with everyone instead of being stuck in the kitchen washing a mountain of dishes. Absolute win in my book.