
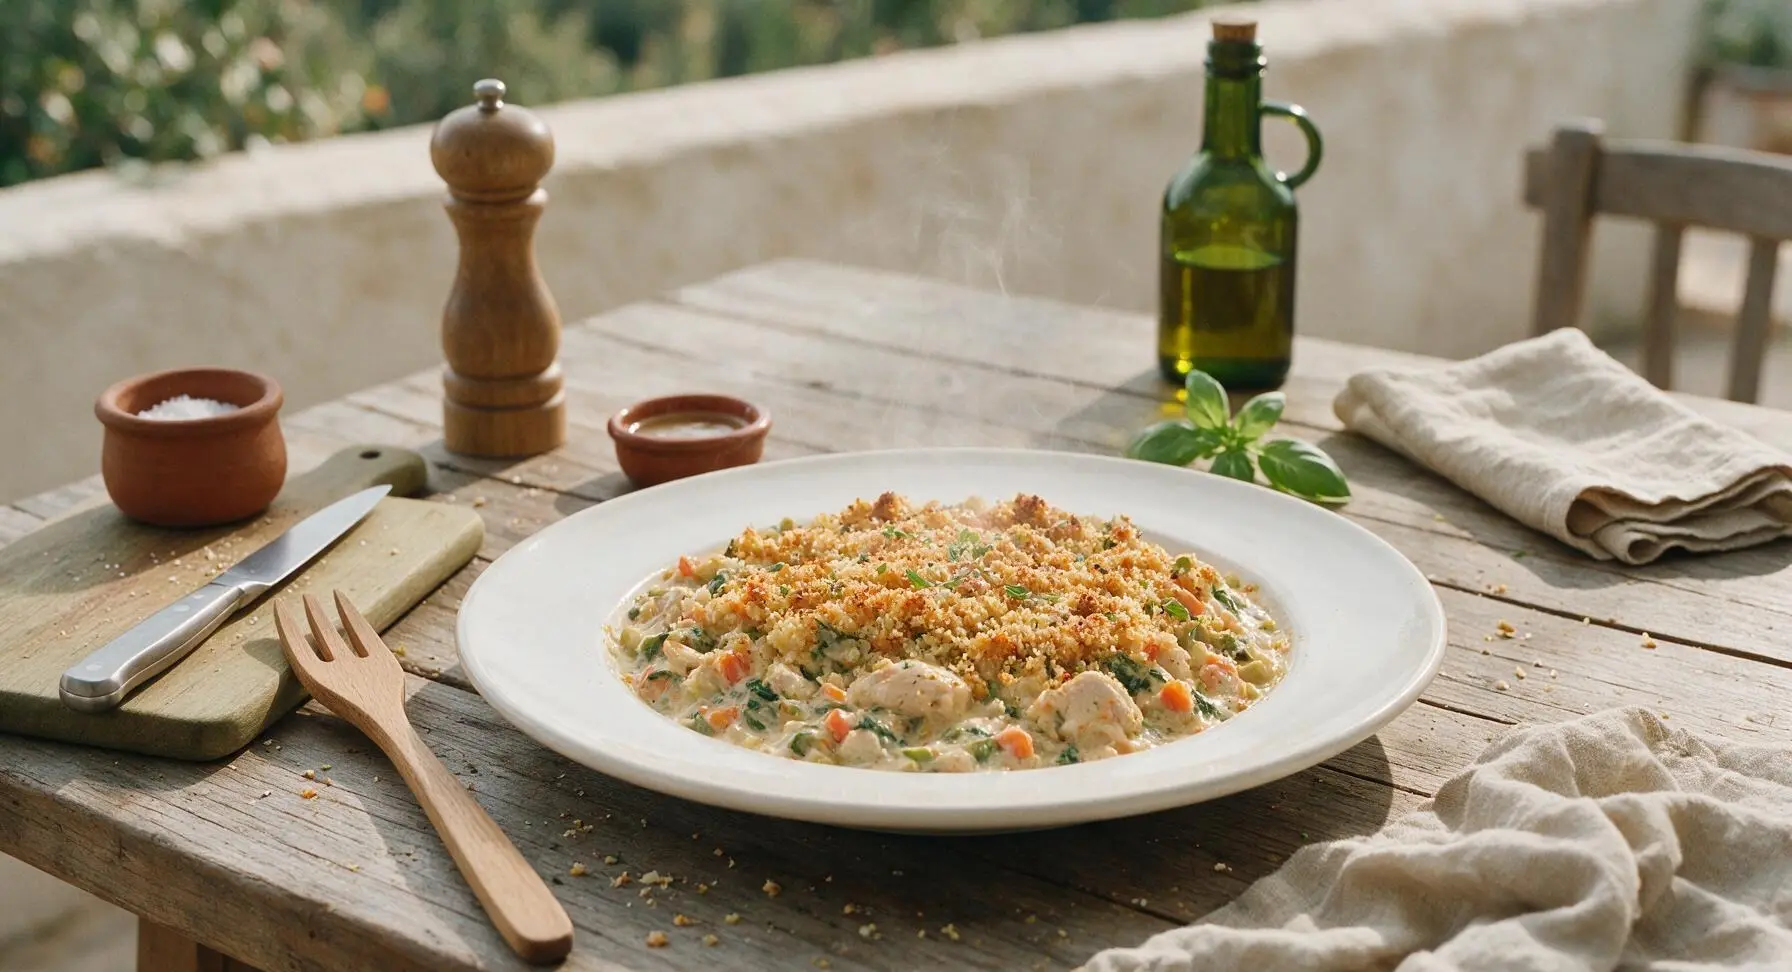
one pot casserole

title 1
one pot casserole
⏱️ cook time 40 minutes
🍽️ servings 4
⚡ Difficulty easy

intro

Creamy, veggie-packed one pot chicken casserole with a crispy golden crumb topping, minimal cleanup, and warm savory flavor perfect for cozy autumn evenings.

Ingredients
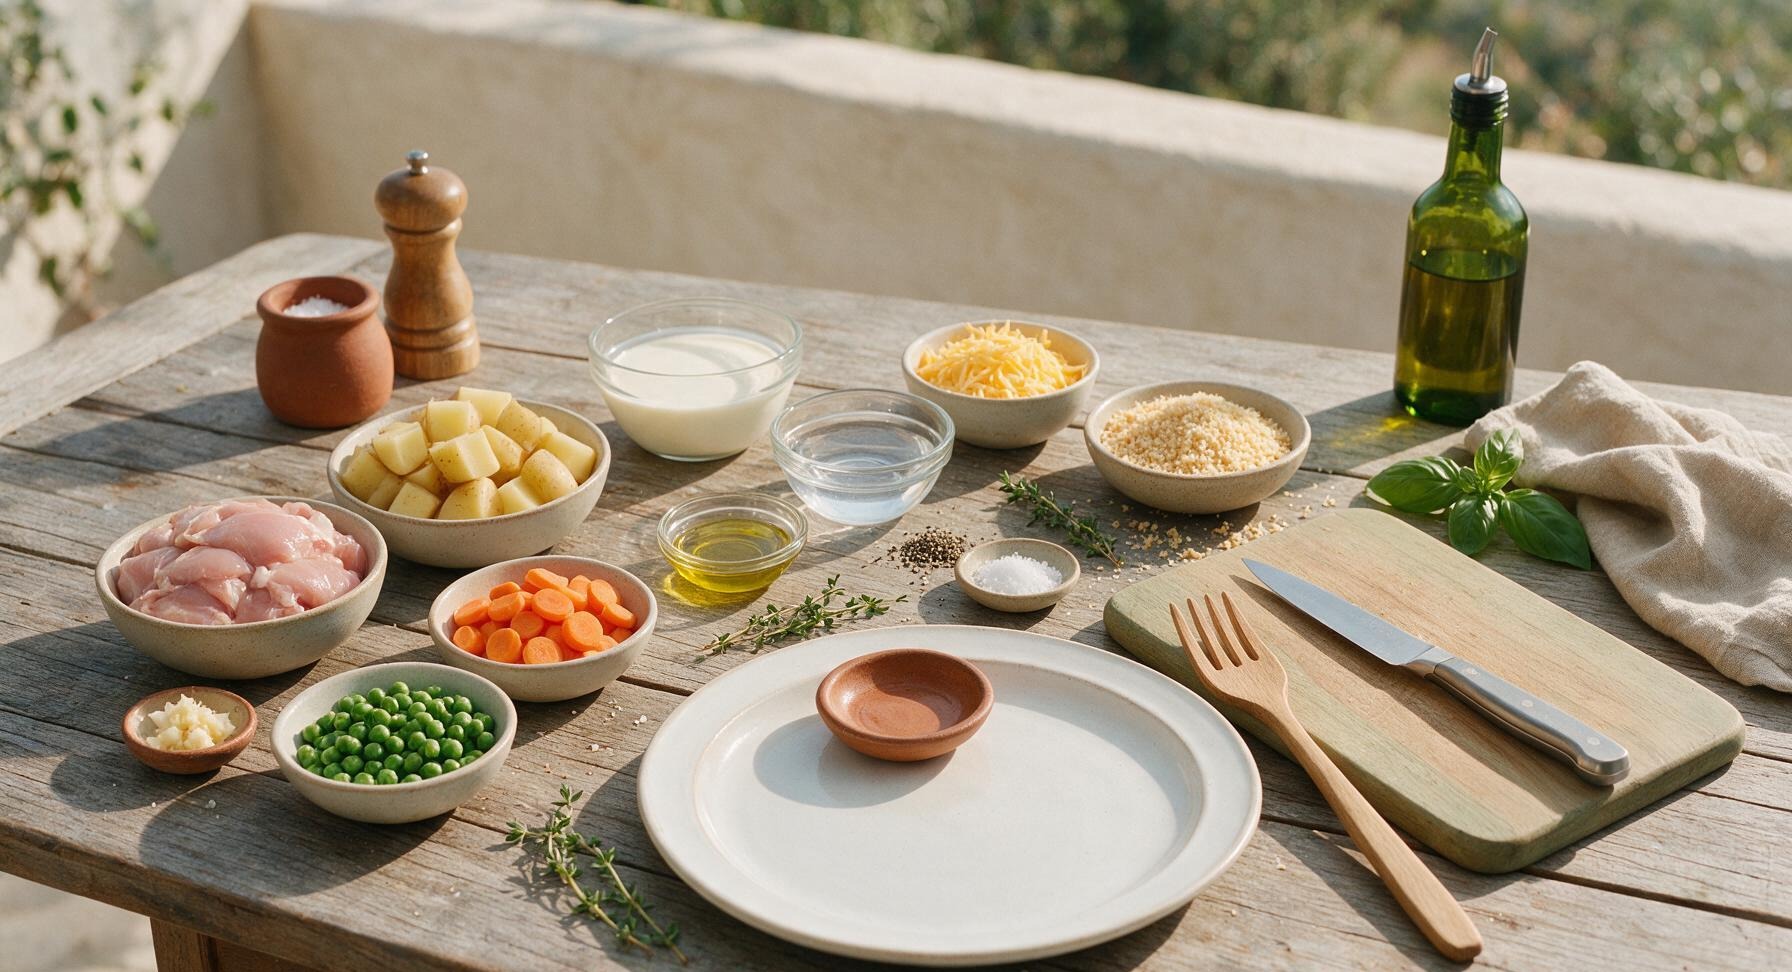
Boneless skinless chicken thighs 680g (1.5 lbs)
Yukon gold potatoes, cubed 2cm 340g
Carrots, sliced 0.5cm coins 2 medium (170g)
Yellow onion, diced 1 small (110g)
Garlic, minced 3 cloves
Frozen green peas 120g
Half-and-half cream 180ml
Water 120ml
Shredded sharp cheddar cheese 85g
Panko breadcrumbs 40g
Extra-virgin olive oil 1 tablespoon
Fresh thyme 1 teaspoon leaves + 4 sprigs for garnish
Kosher salt 1 teaspoon
Freshly ground black pepper ½ teaspoon

Steps

1

Prep all ingredients

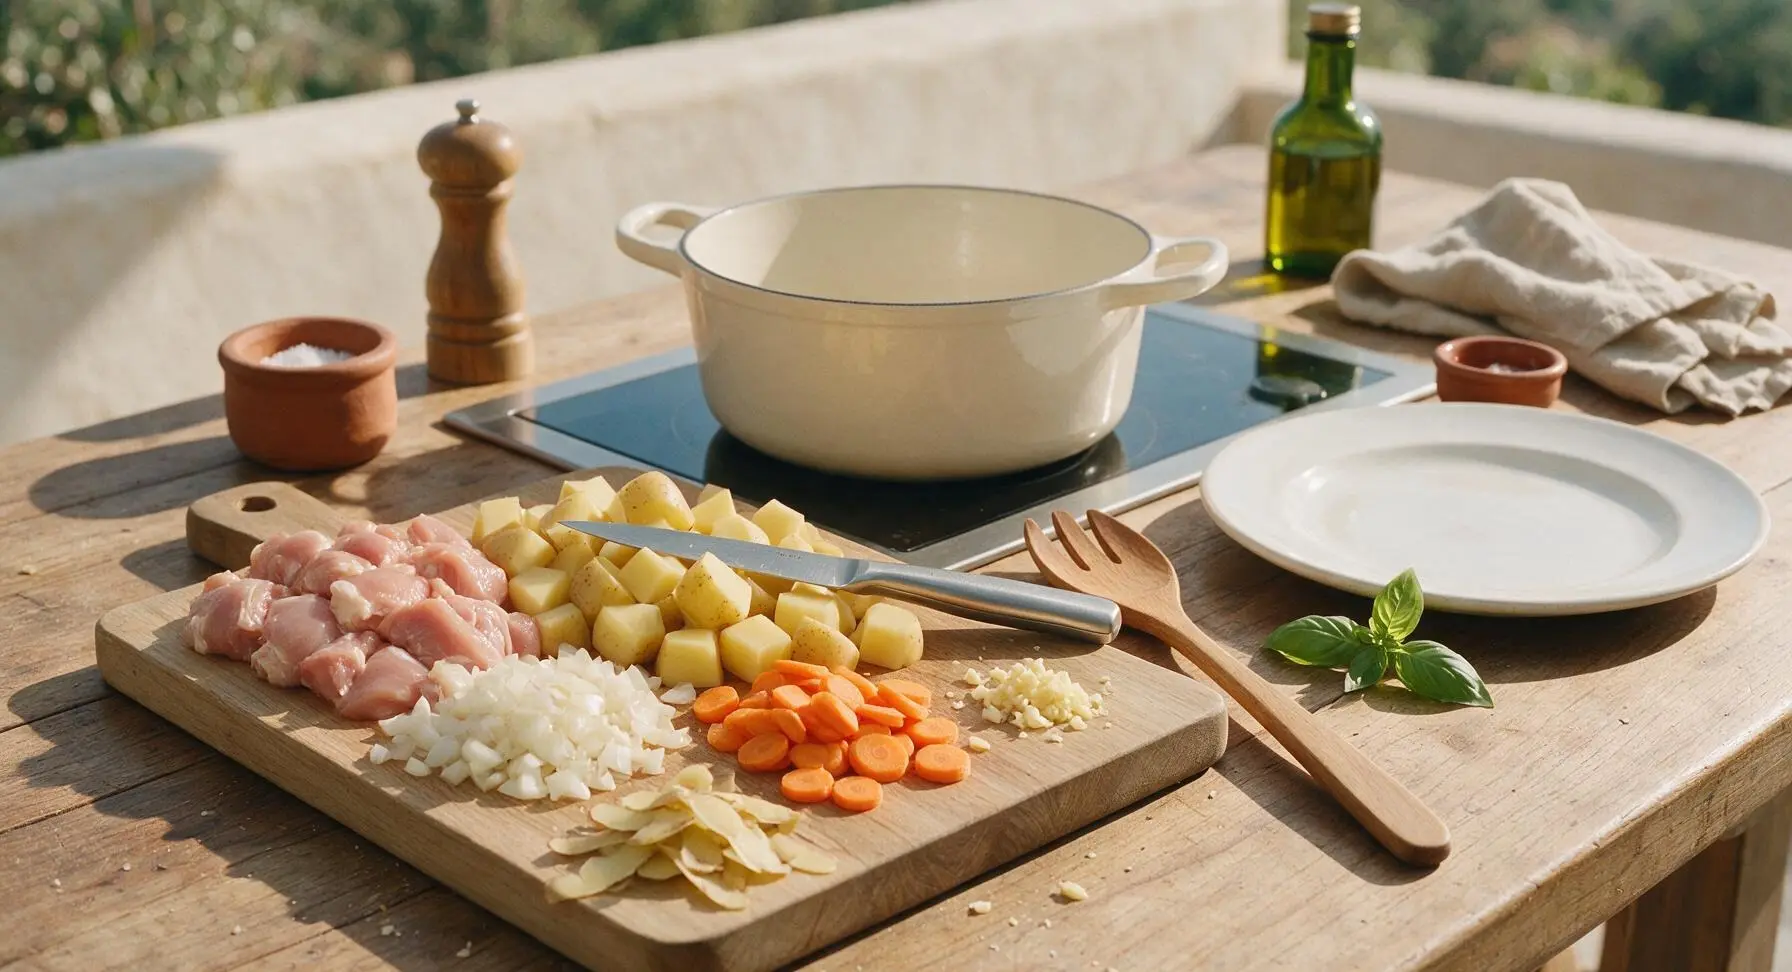
Place the bamboo cutting board in its fixed left-of-center position. Using the chef’s knife, cut chicken thighs into 4cm chunks, cube unpeeled Yukon gold potatoes into 2cm pieces, slice carrots into 0.5cm coins, dice the yellow onion, and mince garlic cloves. Keep prepped ingredients in separate small piles on the cutting board to avoid cross-contamination. This prep takes approximately 12 minutes, with 3 minutes reserved for gathering and measuring remaining ingredients.
Step 1
step1:Prep all ingredients
2

Sear chicken until golden

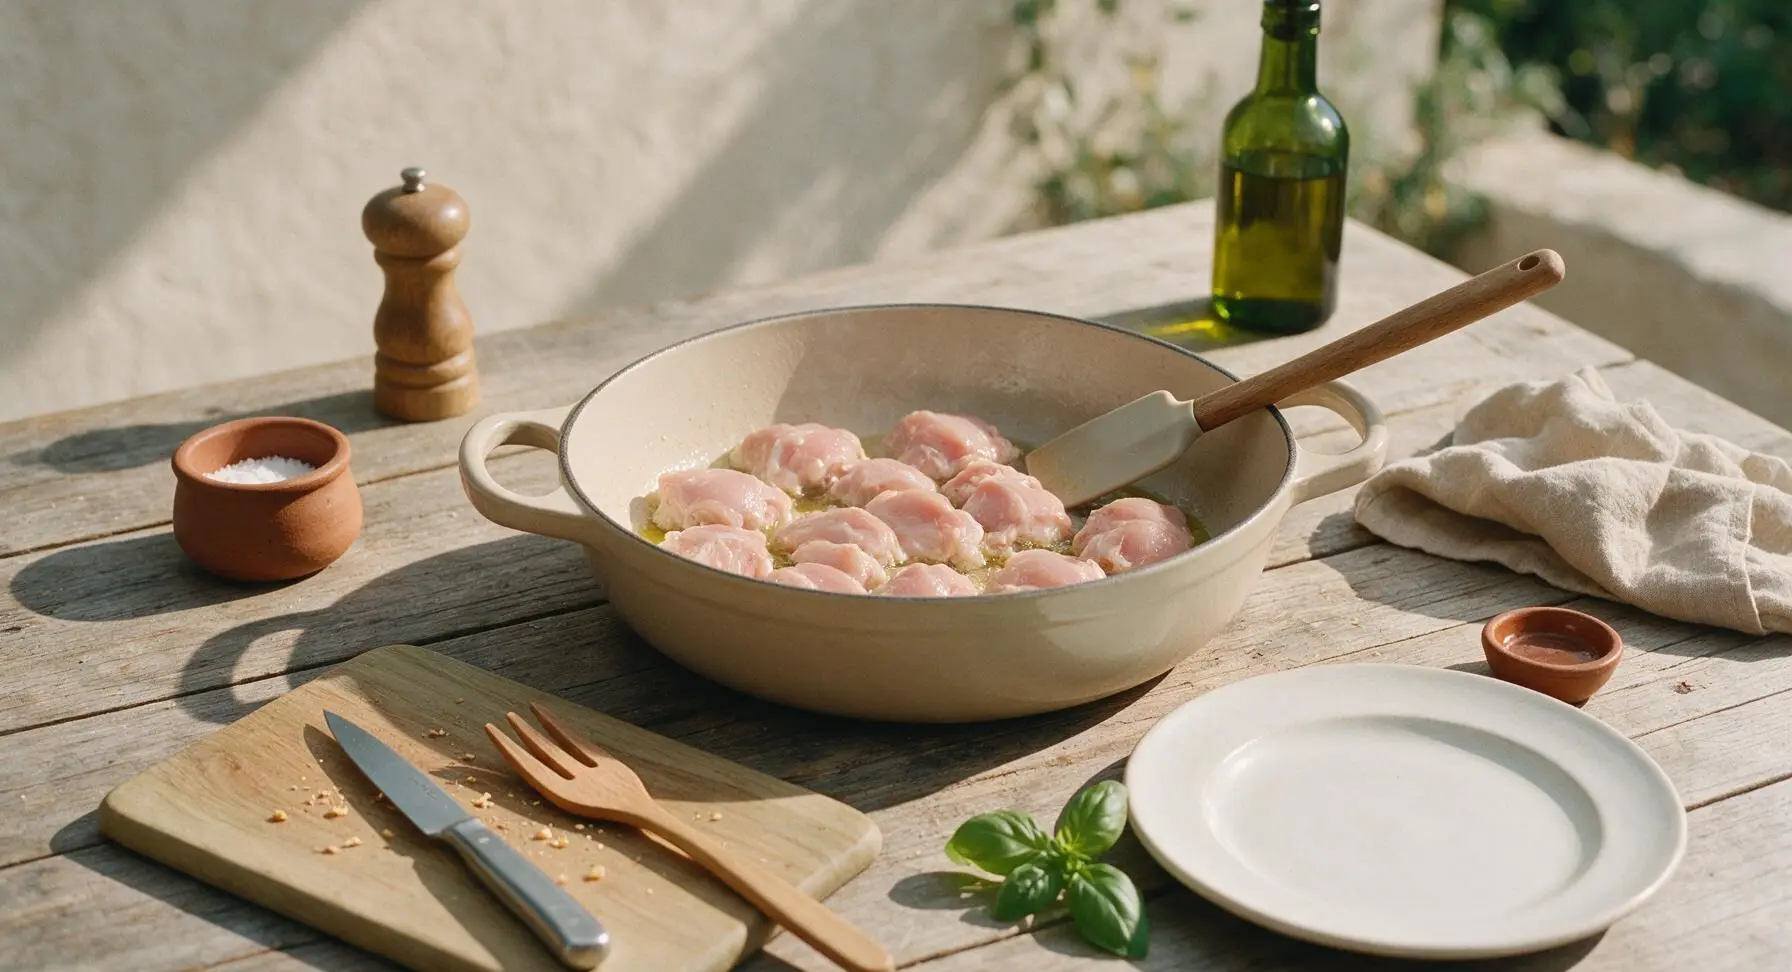
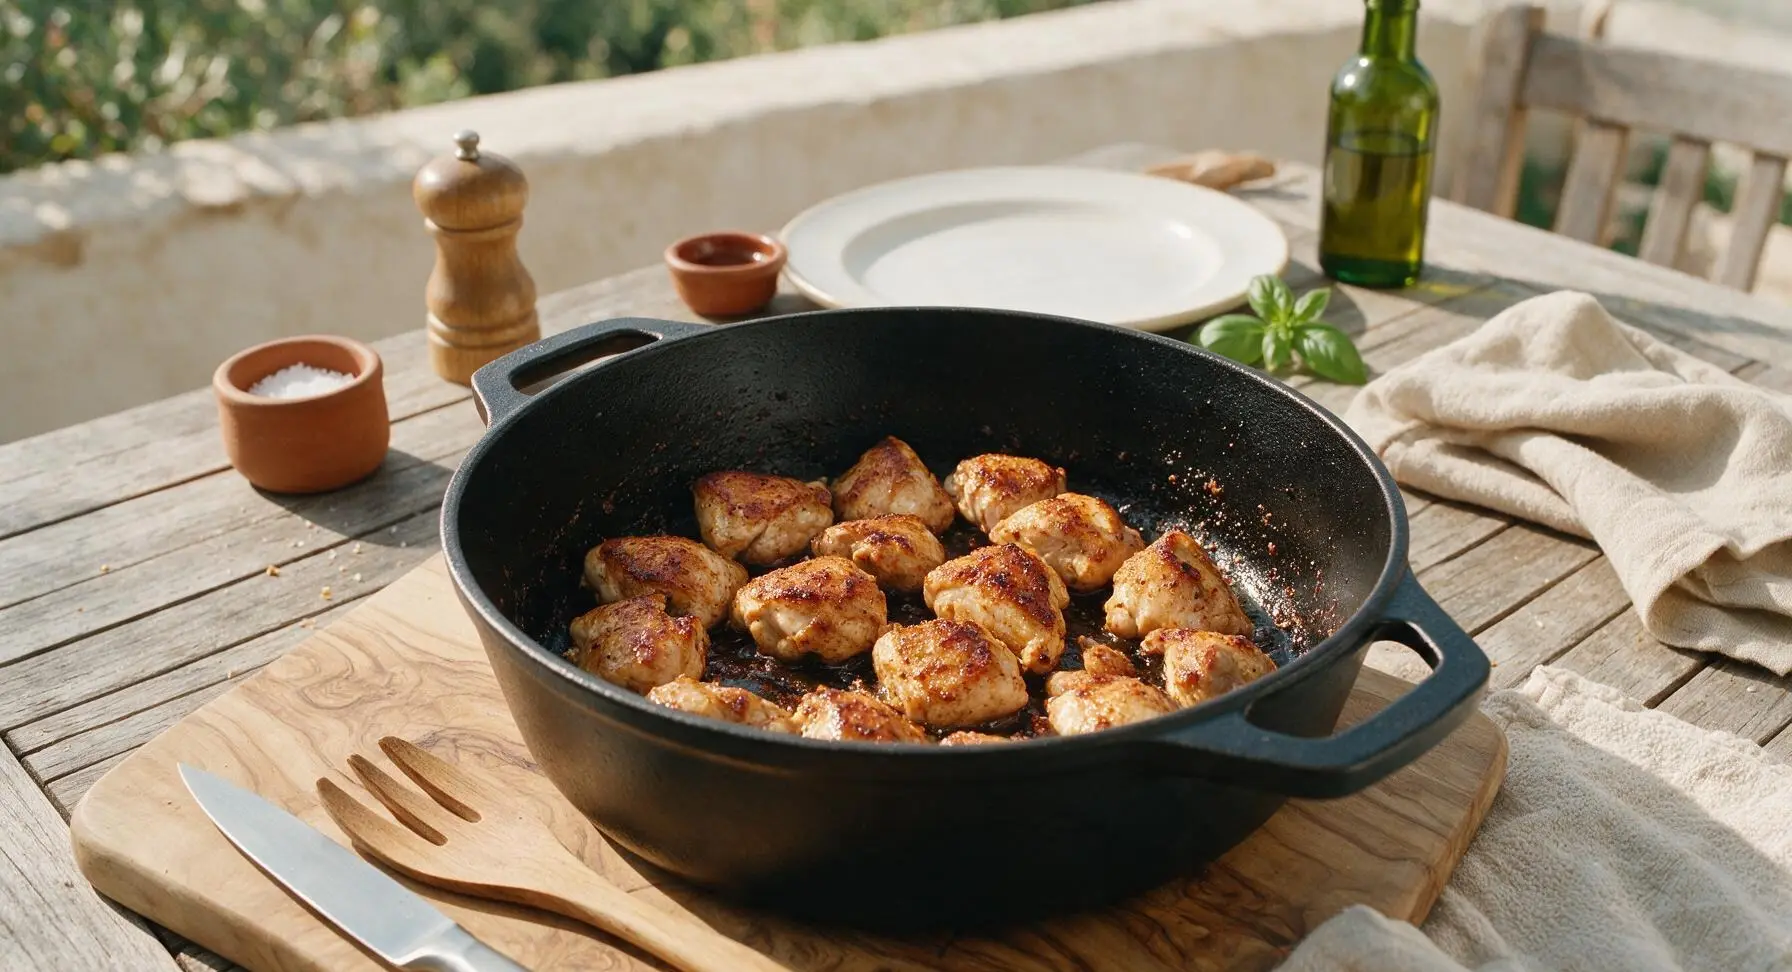
Heat the Dutch oven on the induction cooktop over medium heat (175C / 350F). Add 1 tablespoon olive oil, then carefully arrange chicken chunks in a single layer, seasoning with ½ teaspoon kosher salt and ¼ teaspoon black pepper. Cook undisturbed for 5 minutes until the bottom develops a deep golden brown crust, then flip chunks with the silicone spatula and sear the opposite side for 3 additional minutes. Transfer seared chicken to the small white ceramic side plate temporarily, leaving all rendered fat and browned fond bits in the pot.
Step 2
step2:Sear chicken until golden
Step 2
step2:Sear chicken until golden
3

Sauté aromatic vegetables

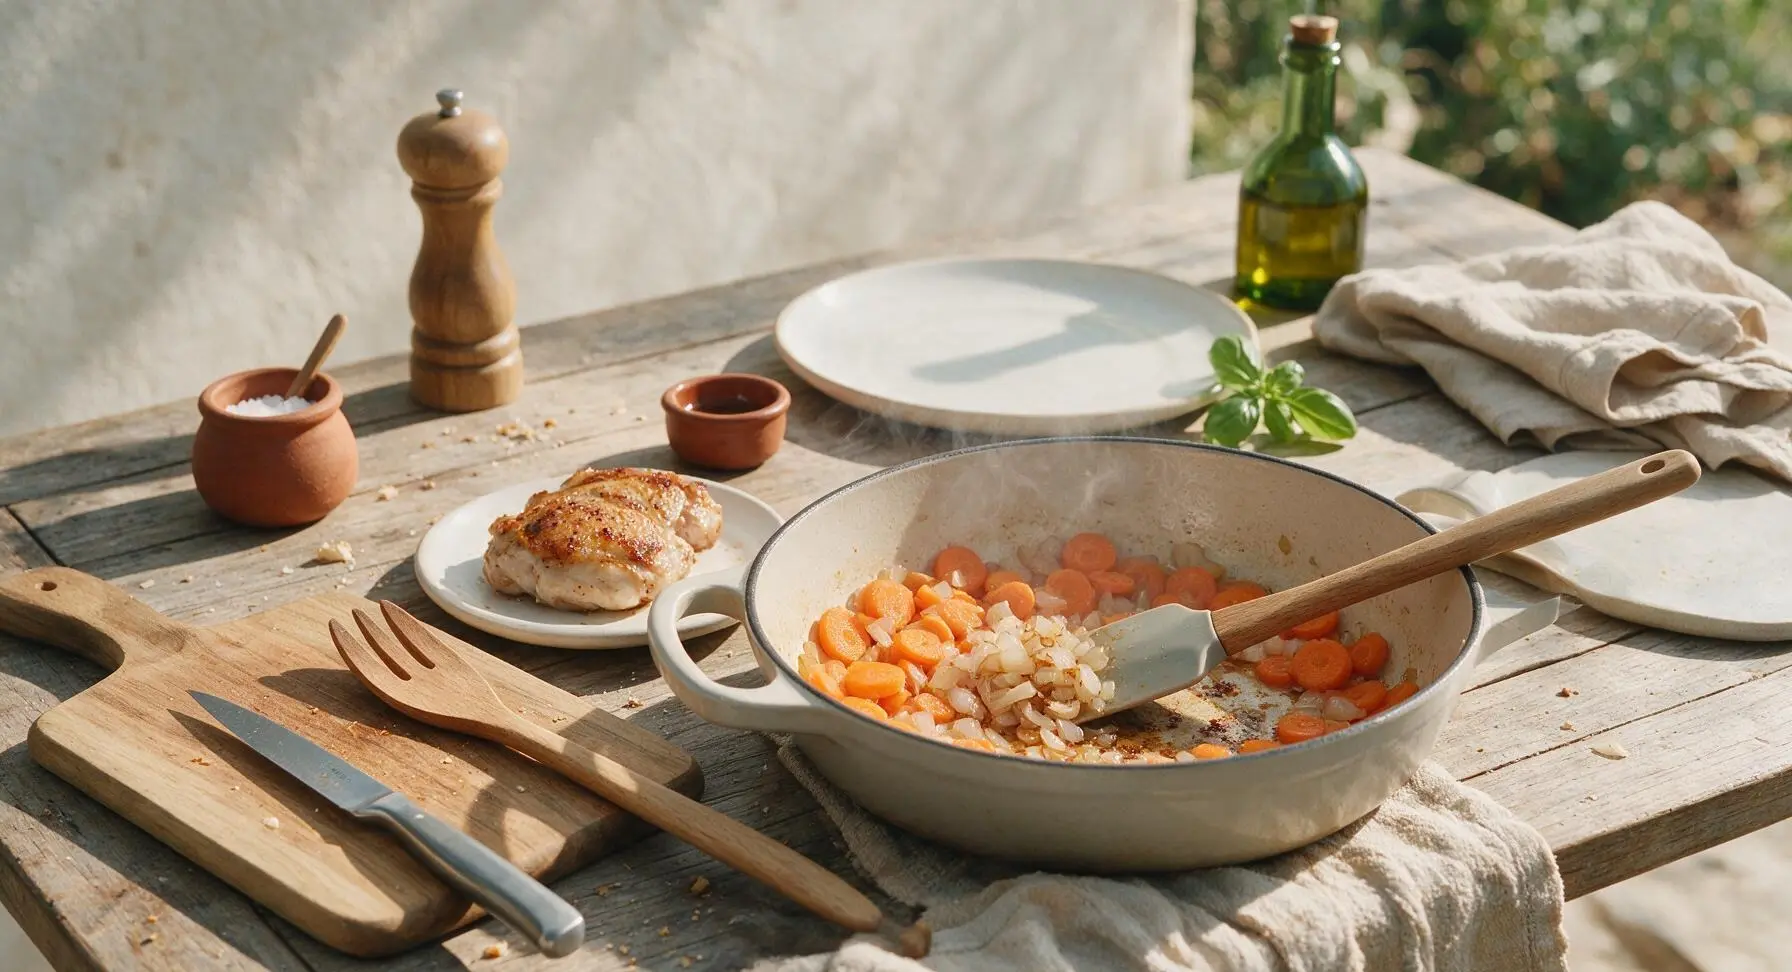
Reduce induction heat to medium-low (150C / 300F). Add diced onion and carrot coins to the remaining fat in the Dutch oven, stirring with the silicone spatula to scrape up all browned fond bits from the pot bottom. Cook for 6 minutes until onions turn translucent and carrots start to soften slightly, then add minced garlic and 1 teaspoon fresh thyme leaves, cooking for 1 additional minute until garlic releases a warm, savory aroma. Do not let garlic turn dark brown, as it will become bitter.
Step 3
step3:Sauté aromatic vegetables
4

Add potatoes and cream

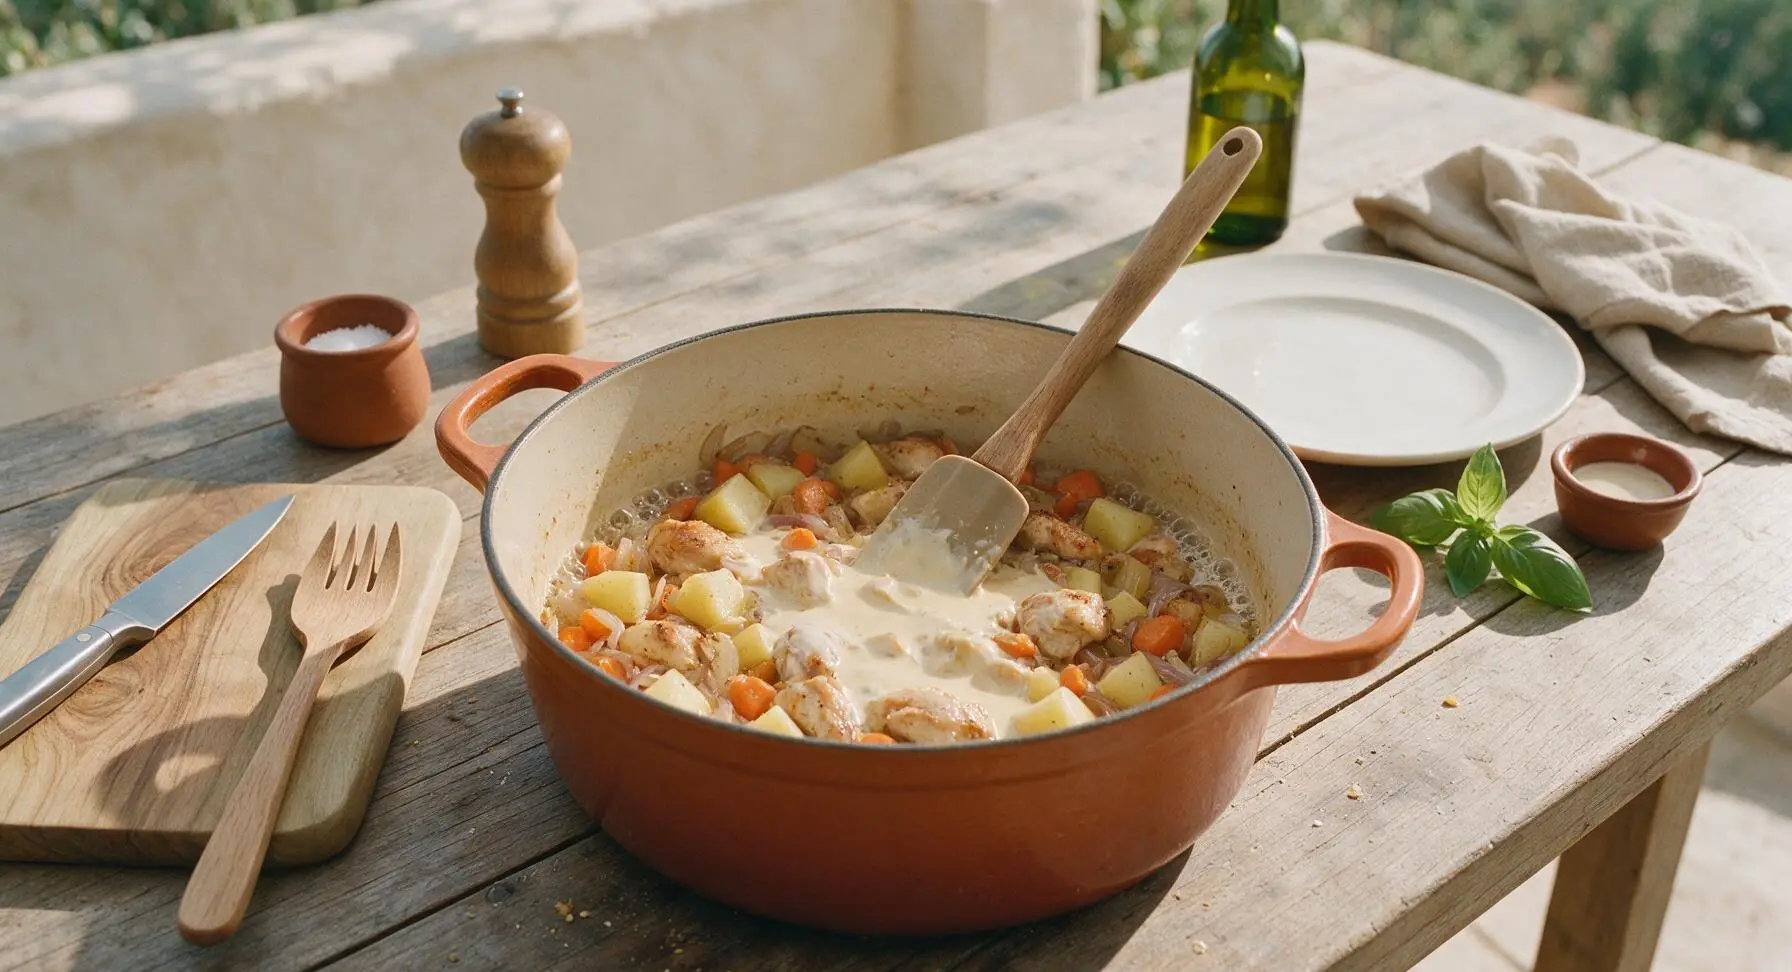
Return seared chicken chunks to the Dutch oven, add cubed Yukon gold potatoes, then pour in 180ml half-and-half cream and 120ml water, stirring to fully combine. Bring the liquid to a gentle simmer (small, steady bubbles breaking at the surface, not a violent rolling boil), then season with the remaining ½ teaspoon kosher salt and ¼ teaspoon black pepper.
Step 4
step4:Add potatoes and cream
5

Simmer until tender

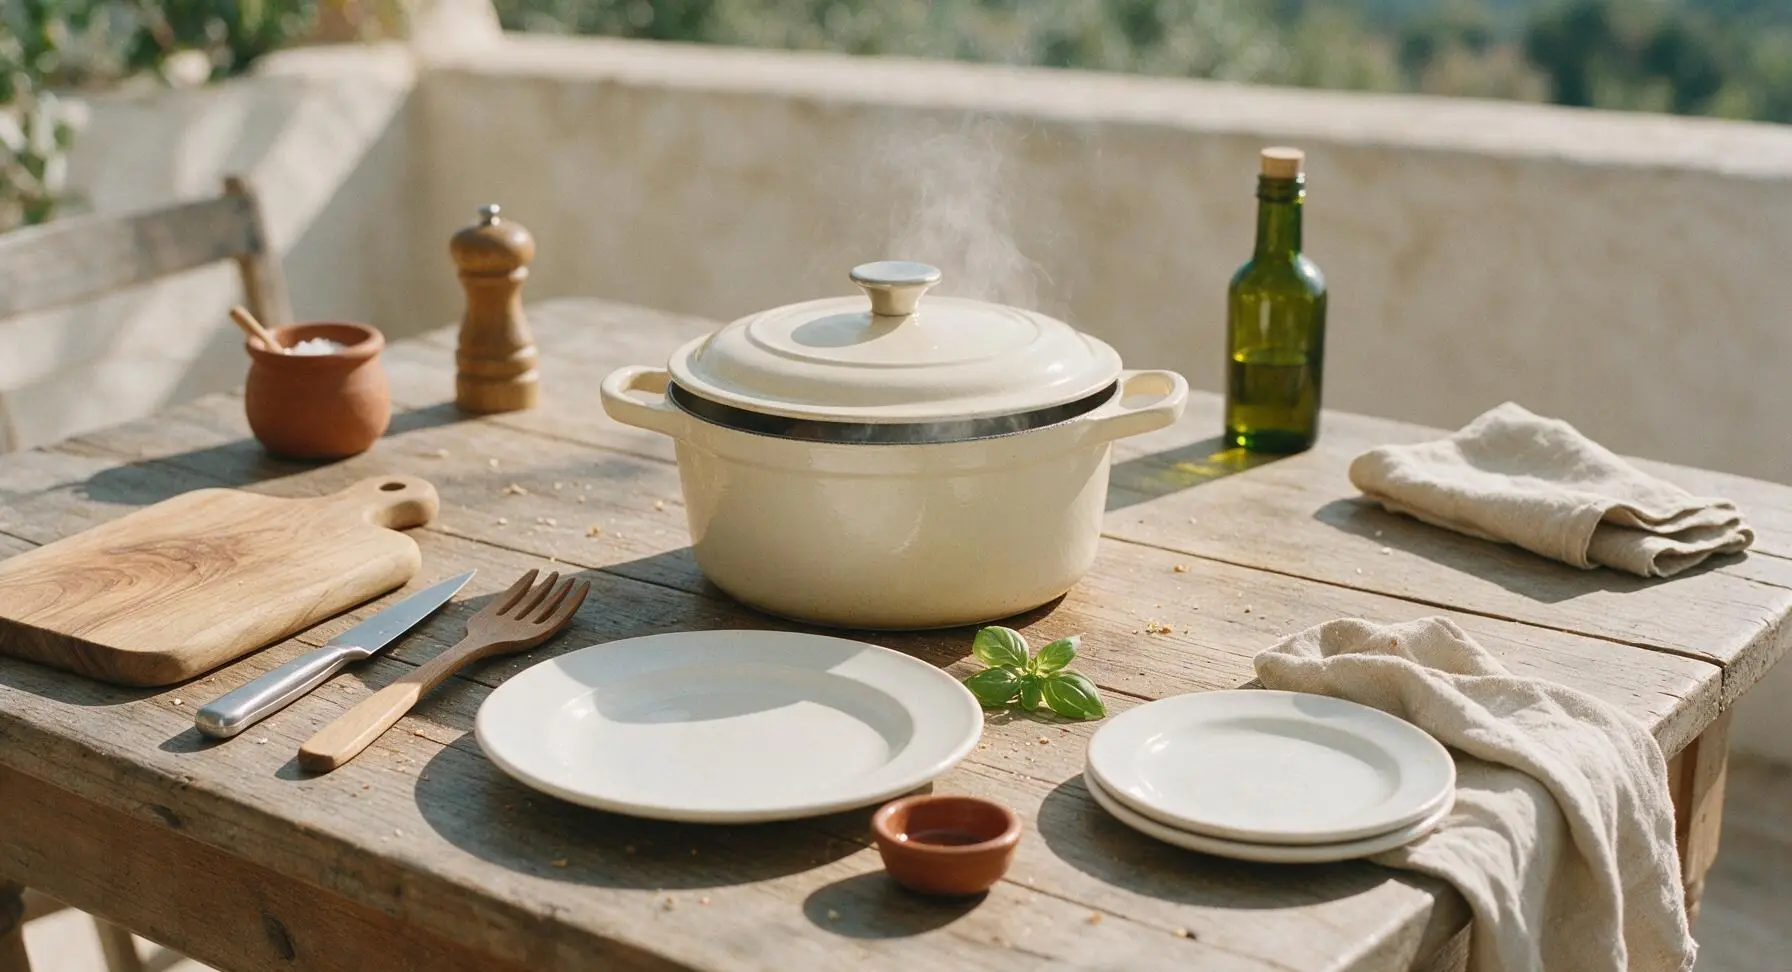
Reduce heat to low (120C / 250F), cover the Dutch oven with its matching cream enamel lid, and let simmer for 18 minutes, until potato cubes are fork-tender (a fork inserted into the center of a cube slides in with no resistance, no hard core remaining). Stir once halfway through cooking to prevent ingredients from sticking to the pot bottom.
Step 5
step5:Simmer until tender
6

Fold in peas and cheese

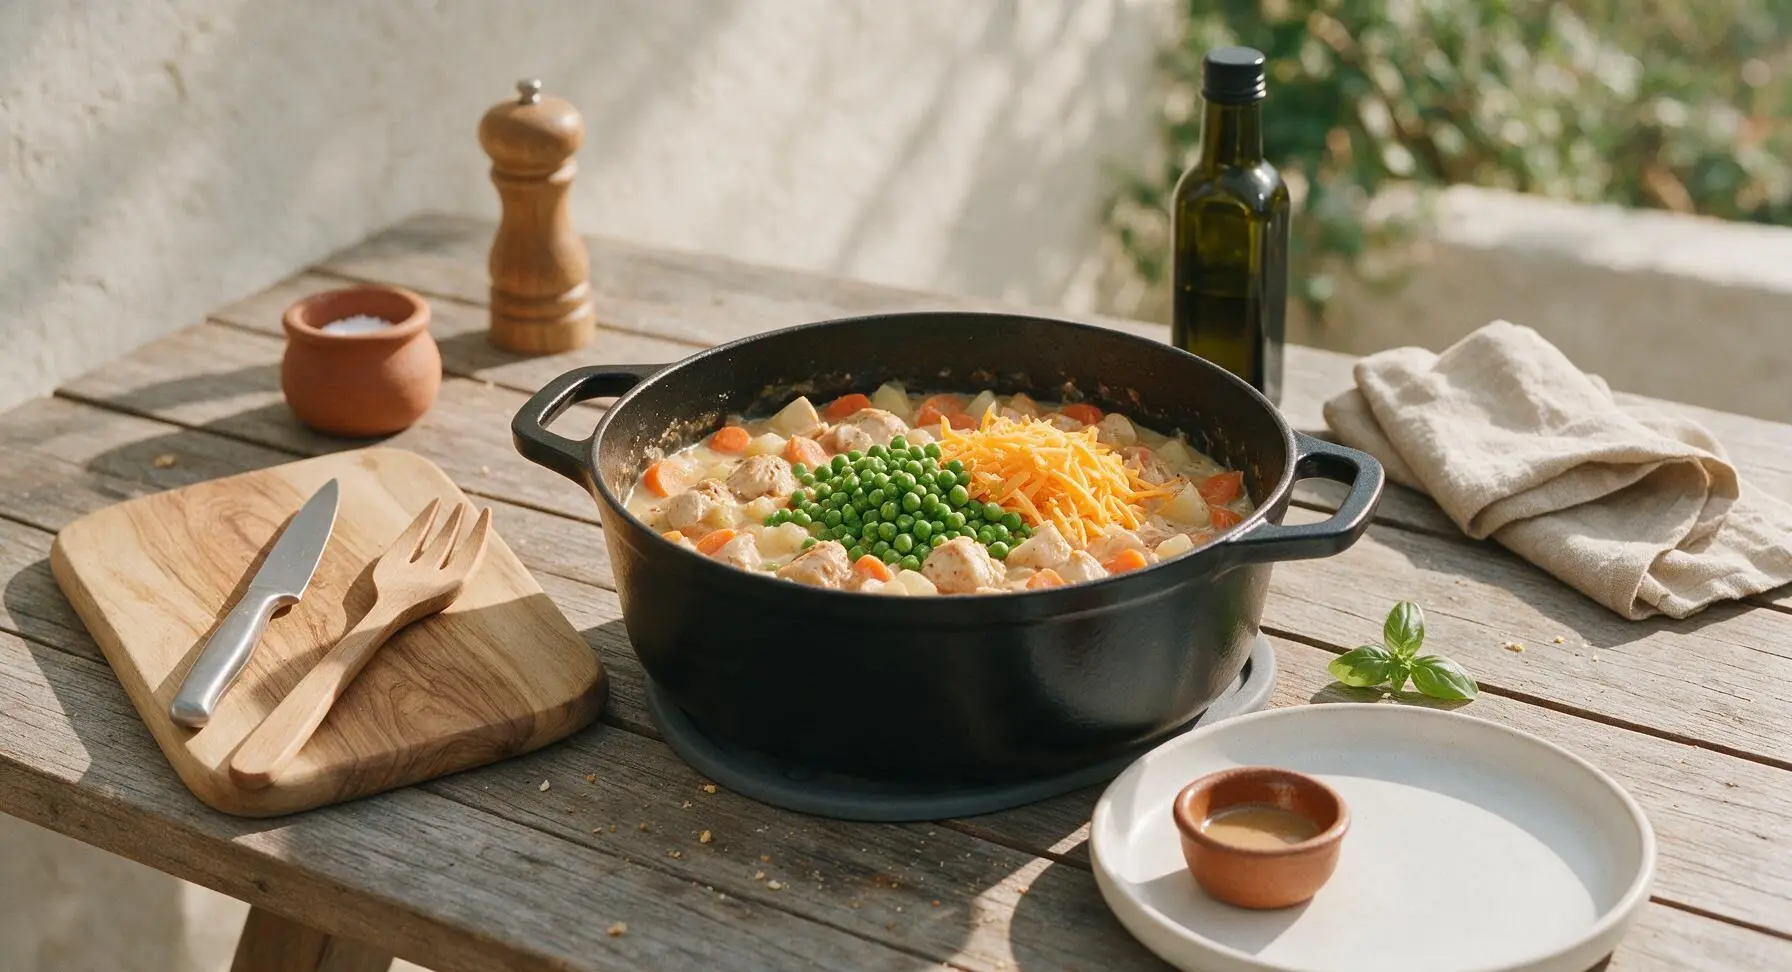
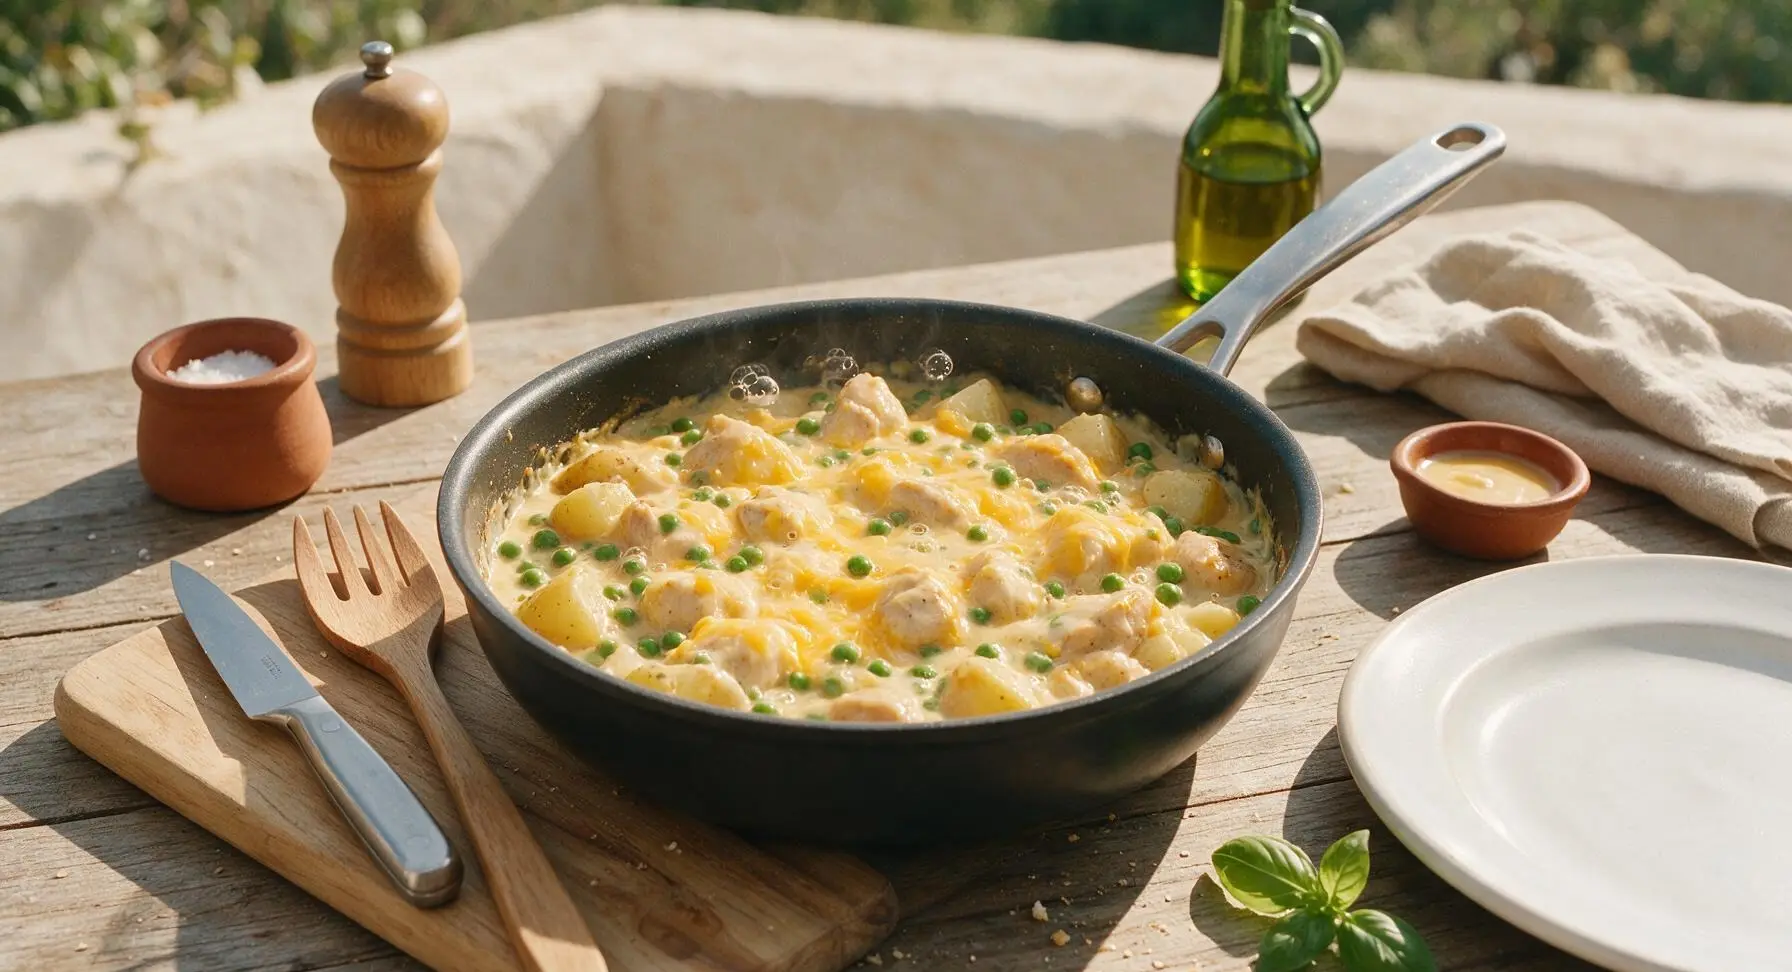
Remove the Dutch oven lid, stir in frozen green peas and 60g of the shredded sharp cheddar cheese, mixing continuously until cheese melts fully into the cream sauce, creating a smooth, velvety coating around all ingredients. The frozen peas will thaw instantly in the hot mixture, turning bright, vivid green after 1 minute of stirring.
Step 6
step6:Fold in peas and cheese
Step 6
step6:Fold in peas and cheese
7

Add breadcrumb topping

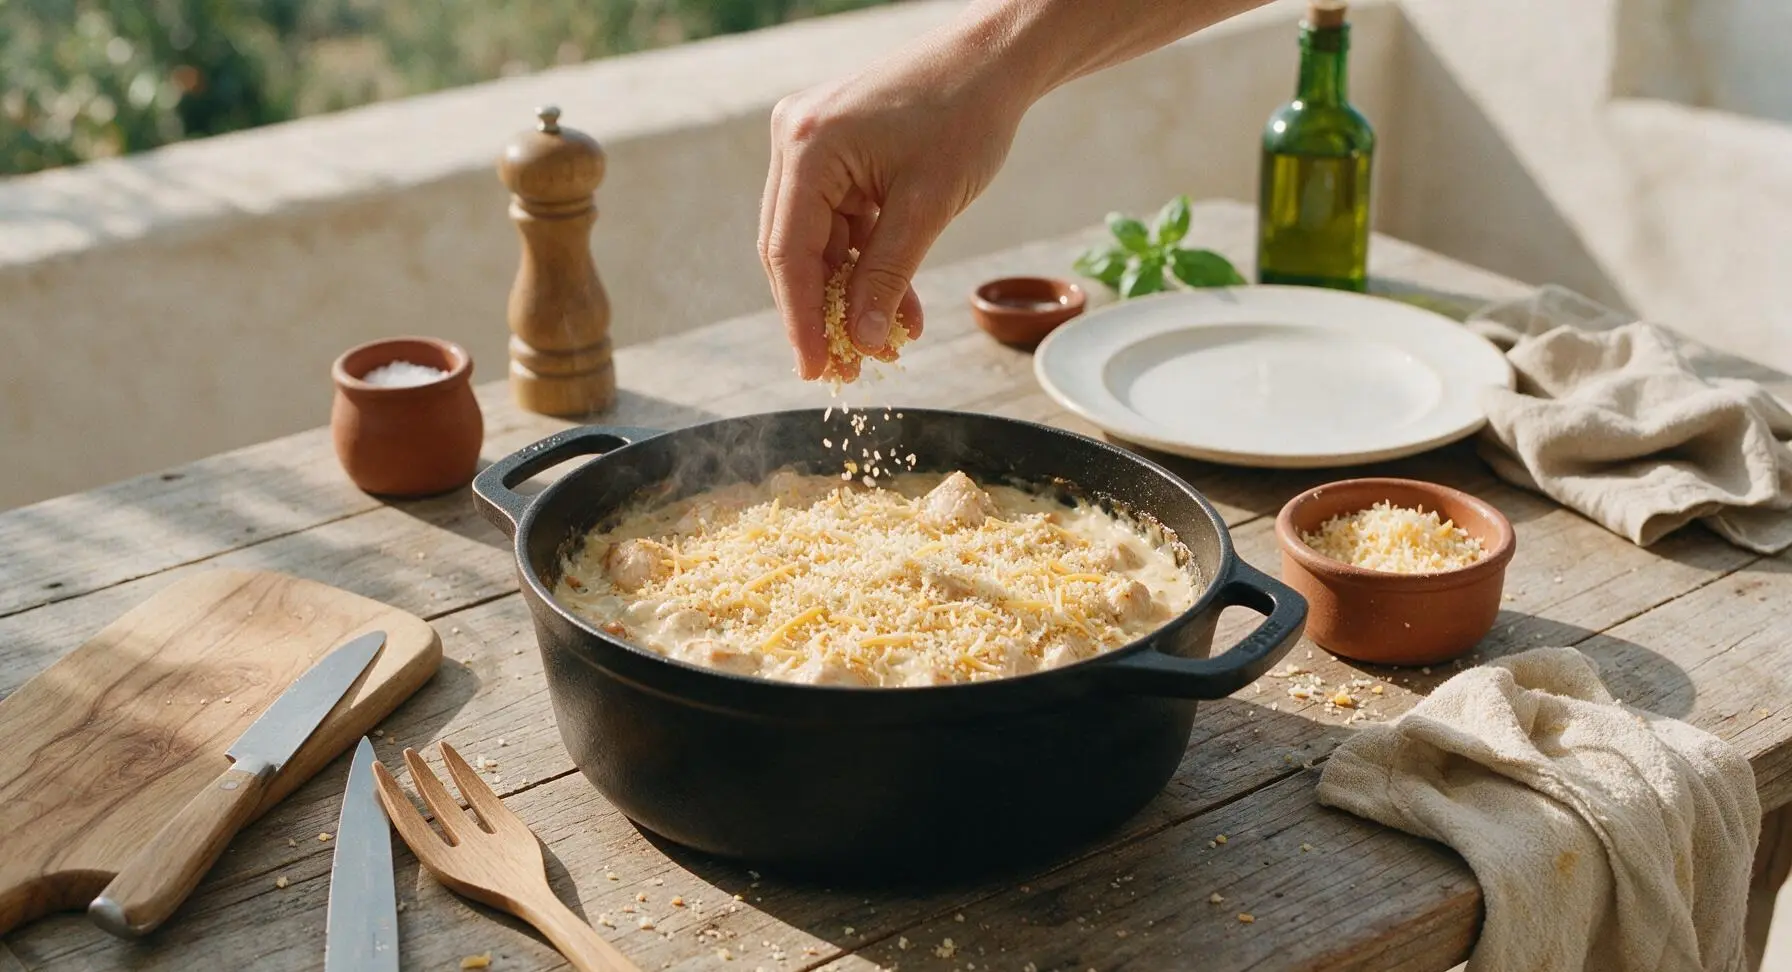
In the small terracotta ramekin, mix the remaining 25g shredded cheddar with 40g panko breadcrumbs until evenly combined. Sprinkle this mixture in a thin, even layer across the entire top surface of the casserole; do not stir the crumbs into the sauce, as they will form the crispy top crust.
Step 7
step7:Add breadcrumb topping
8

Broil until crisp

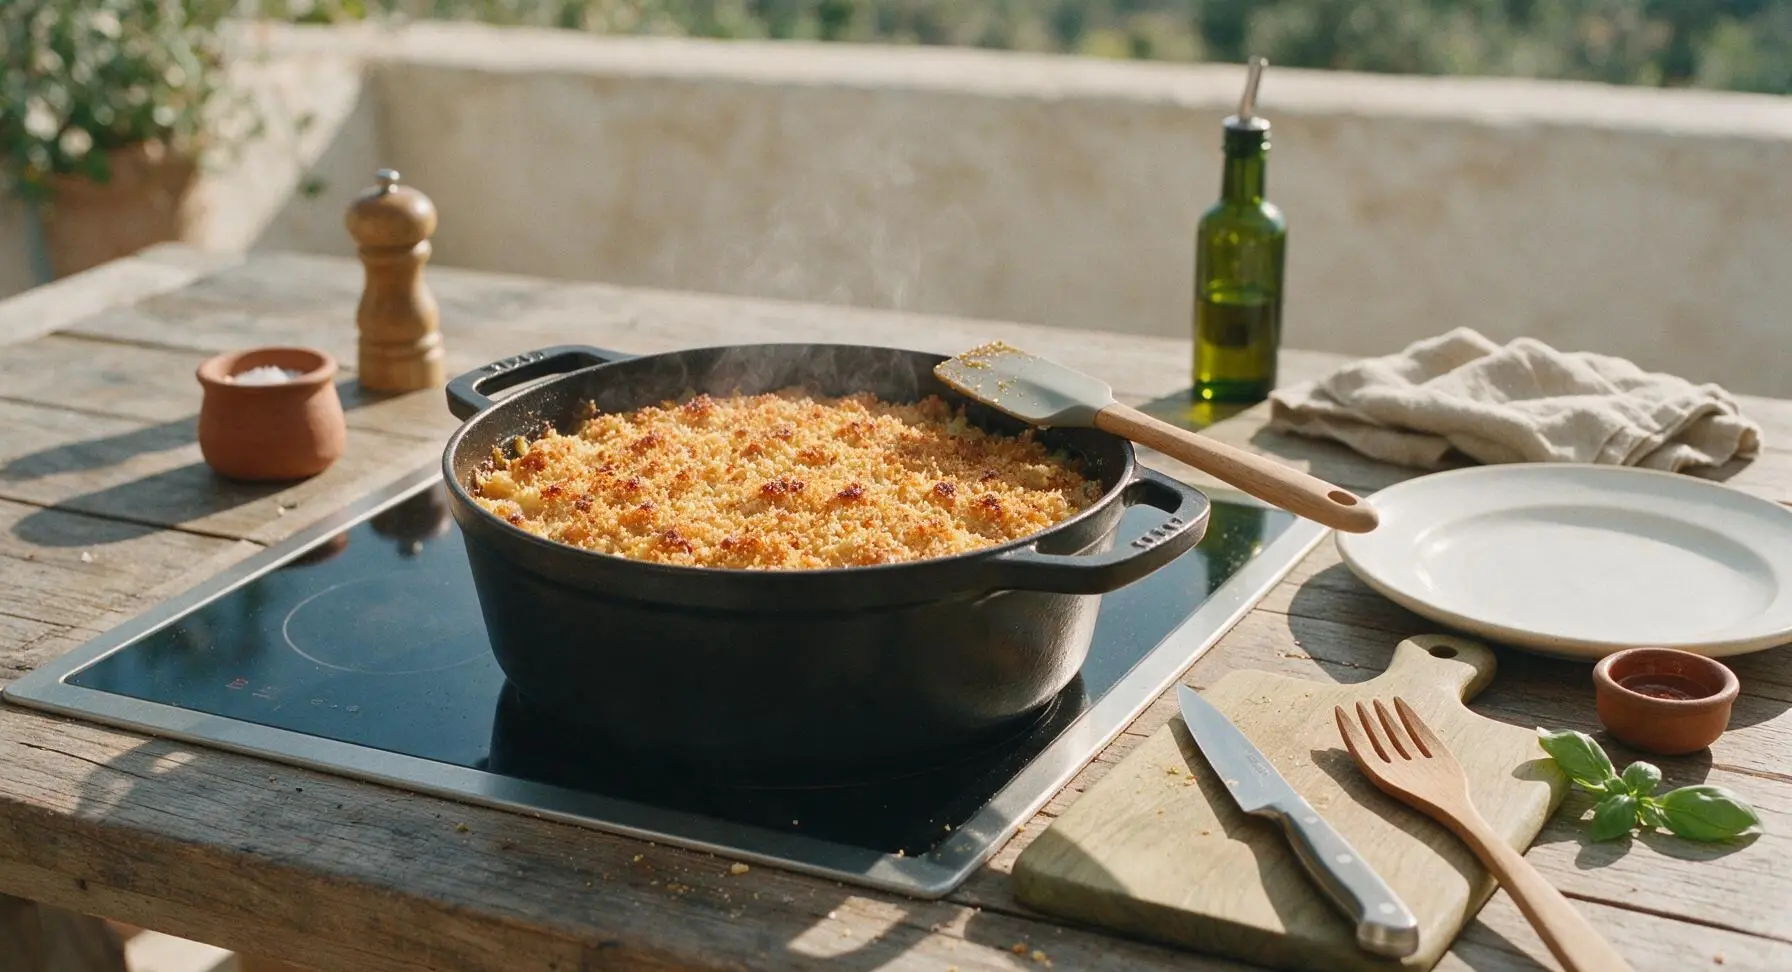
Turn the induction cooktop off, then set the oven broiler to high (260C / 500F). Place the uncovered Dutch oven on an oven rack positioned 15cm below the broiler element for 2-3 minutes, watching constantly, until the panko topping turns deep golden brown and crispy with a few darker toasted spots. Carefully remove the pot from the oven (handles will be extremely hot) and let the casserole rest for 5 minutes before serving.
Step 8
step8:Broil until crisp

Tips

1.Use boneless skinless chicken thighs instead of chicken breast: thighs have a slightly higher fat content that keeps them juicy and tender even during simmering, while lean breast meat will easily turn dry and rubbery in one pot cooking.
2.Never leave the broiler unattended during the final crisping step: panko breadcrumbs have very little moisture and can go from perfectly golden to charred black in as little as 30 seconds under high direct heat, so stay close and remove the pot as soon as even browning appears.
3.Let the casserole rest for the full 5 minutes after broiling: this short rest allows the cream sauce to thicken and set slightly so it does not run across the plate when scooped, and brings the food to a safe, enjoyable eating temperature.


✨ You May Also Like

Main Course
🍜 United Kingdom

A showstopping classic of tender seared beef, savory mushroom duxelles, and crisp prosciutto wrapped in flaky golden puff pastry, baked to juicy perfection.

⏱️ 2 hours 1Main Course ★ 4.7
Main Course
🍜 India

Tender charred marinated chicken simmered in a rich, spiced creamy tomato sauce, this iconic Anglo-Indian curry pairs perfectly with basmati rice or warm naan.

⏱️ 50 minuteMain Course ★ 4.6
Main Course
🍜 Thailand

Classic tangy, sweet, and savory Thai stir-fried rice noodles with shrimp, tofu, and crunchy garnishes, balancing all five core Thai flavor profiles.

⏱️ 30 minuteMain Course ★ 4.5
Main Course
🍜 United Kingdom

Crispy golden beer-battered cod and fluffy double-fried chips, served with tangy tartar sauce and malt vinegar: the timeless, beloved British pub comfort classic.

⏱️ 45 minuteMain Course ★ 4.7
Main Course
🍜 Mexico

Smoky, chile-marinated pork tacos with caramelized pineapple, fresh cilantro, and lime: a beloved classic Mexican street food perfect for casual summer gatherings.

⏱️ 1 hour 45Main Course ★ 4.8
Main Course
🍜 United States

Crunchy Fritos corn chips layered with savory beef chili and melted cheddar, topped with cool, zesty fixings for a beloved, cozy Tex-Mex comfort food.

⏱️ 35 minuteMain Course ★ 4.8

one pot casserole:Frequently Asked Questions

1.Can I use boneless, skinless chicken breasts instead of thighs for this recipe? ▾
Absolutely, though thighs stay juicier through the longer casserole cook time. If using breasts, cut them into 3cm uniform chunks to match the potato and carrot cook rate, pull the casserole when chicken hits 165°F internal temp to avoid dry, rubbery bites, and add an extra 2 tablespoons of heavy cream to keep the sauce rich and smooth.
2.Do I need to peel the Yukon Gold potatoes before cubing them? ▾
You don’t have to! Yukon Golds have thin, tender skins that soften beautifully during cooking, adding a subtle earthy note and extra fiber. Just give them a firm scrub under cool running water to remove any surface dirt, then cube to the recommended 2cm size so they cook evenly alongside the carrots and chicken.
3.What size of oven-safe pot works best for this one-pot casserole? ▾
A 5 to 6 quart Dutch oven is ideal, as it has enough depth to hold all ingredients without bubbling over, and its heavy, heat-conductive base prevents stovetop burning before you move the pot to the oven. If you don’t have a Dutch oven, any deep, oven-safe skillet with a tight-fitting lid works as a solid substitute.
4.How do I get that perfect golden, crispy crumb topping the recipe mentions? ▾
After the casserole finishes its covered cook time, remove the lid, sprinkle a mix of panko breadcrumbs and melted salted butter evenly over the top, then broil on high for 2 to 3 minutes. Keep a close eye on it the whole time—broilers heat fast, and crumbs can go from perfectly golden to burnt in under 30 seconds.
5.Can I prep this casserole ahead of time for fast weeknight meals? ▾
Definitely! You can chop all your veggies and cube the chicken up to 2 days in advance, storing them in separate airtight containers in the fridge. When you’re ready to cook, dump all ingredients straight into the pot per the recipe directions, cutting your active weeknight cook time down to just 10 minutes or so.
6.Why does the recipe call for slicing carrots into 0.5cm coins instead of larger chunks? ▾
That 0.5cm thickness is calibrated to match the cook time of the 2cm potato cubes and chicken chunks, so every component finishes cooking at the same rate. Thicker carrot chunks would stay crunchy and underdone when potatoes are tender, while paper-thin slices would turn mushy and dissolve into the creamy sauce.
7.Can I make this recipe dairy-free for family members with lactose sensitivities? ▾
Yes, it’s an easy swap! Replace the heavy cream in the sauce with full-fat canned coconut cream (shake the can well, and skip the watery separated liquid at the bottom) and use dairy-free butter for the crumb topping. The coconut flavor is very mild mixed with savory garlic, onion, and chicken, so it won’t overpower the dish.
8.How should I store leftover casserole, and how long will it keep? ▾
Let the casserole cool to room temperature within 2 hours of cooking, then transfer it to an airtight container and stash it in the fridge. Leftovers will stay fresh and safe to eat for 3 to 4 days. I don’t recommend storing it long-term in the cooking pot, as exposed metal can give the creamy sauce a subtle off-flavor.
9.What’s the best way to reheat leftovers so the chicken doesn’t get dry? ▾
Reheat individual portions in the microwave at 50% power for 2 to 3 minutes, stirring halfway through, or reheat larger batches in a covered oven-safe dish at 325°F for 15 to 20 minutes. Add a tiny splash of chicken broth or milk if the sauce has thickened too much in the fridge to restore its creamy texture.
10.Can I add extra vegetables to this casserole? ▾
Absolutely! Great mix-ins include 1cm cubed button mushrooms, frozen peas, chopped green beans, or small broccoli florets. Just cut firm veggies to a size that matches the carrot and potato cook time, and stir in softer frozen veggies like peas during the last 10 minutes of cooking so they don’t turn mushy.
11.How do I know when the casserole is fully done cooking? ▾
First, check that potato cubes are fork-tender all the way through with no hard, crunchy center. Next, insert an instant-read thermometer into the thickest chicken chunk—it should read 165°F, the FDA-recommended safe internal temp for poultry. The sauce should be bubbling gently around the edges of the pot when ready.
12.My sauce came out thinner than I expected—how can I fix that? ▾
If your sauce is too runny after the covered cook time, simply remove the lid and let the casserole simmer on the stovetop over medium-low heat for 3 to 5 minutes, stirring occasionally. Excess liquid will evaporate quickly, and potato starch released as the spuds cook will thicken the sauce perfectly without extra thickeners.
13.Can I freeze this casserole for later make-ahead meals? ▾
Yes, it freezes really well! Let the fully cooked casserole cool completely, then transfer it to a freezer-safe airtight container, leaving a half-inch of headspace for expansion, and freeze for up to 3 months. Thaw it in the fridge overnight before reheating, and add a splash of broth when warming to loosen the sauce back up.
14.Do I need to sauté the onion and garlic first before adding other ingredients? ▾
For the deepest, most well-rounded savory flavor, yes! Sautéing the diced onion in a little butter or oil for 3 minutes until soft, then adding minced garlic for 30 seconds until fragrant, takes barely any extra time. It keeps garlic from tasting sharp or raw, while mellowing the onion’s bite to blend into the creamy sauce.
15.What can I use for the crumb topping if I don’t have panko breadcrumbs? ▾
You have a bunch of easy pantry swaps! Crushed plain saltine crackers, crushed buttery Ritz crackers, regular fine dry breadcrumbs, or even crushed cornflakes work great. Just toss your crumb of choice with a little melted butter before sprinkling, so it toasts up to that perfect crispy, golden crunch under the broiler.
16.Why is this recipe considered a one-pot meal if I use the broiler for the topping? ▾
The whole recipe cooks in a single oven-safe vessel from stovetop sauté, to covered oven bake, to the final broil for the topping—you never have to transfer ingredients to a separate baking dish, boil components in separate pots, or wash multiple pans. The only cleanup is the single pot, plus a cutting board and knife.
17.Can I use bone-in chicken thighs for extra rich flavor? ▾
You absolutely can! Bone-in, skin-on thighs add an extra deep, savory chicken flavor to the sauce, just keep in mind you’ll need to add 5 to 7 minutes of extra cook time to make sure the chicken cooks through next to the bone. Remove the skin before adding creamy sauce if you don’t want excess rendered fat making the sauce greasy.
18.My crumb topping got soggy instead of crispy—what did I do wrong? ▾
Soggy topping usually happens if you add crumbs too early, when there’s too much steam trapped under the pot lid. Always add the crumb topping right at the end of cooking, after you’ve removed the lid, and broil immediately. Too much melted butter on the crumbs can also cause sogginess, so stick to 2 tablespoons per cup of crumbs.
19.Can I make this in a slow cooker instead of using the oven? ▾
Yes, with a few small adjustments. Sauté the onion and garlic first, then add all ingredients except the cream and crumb topping to your slow cooker, cooking on low for 4 to 5 hours until potatoes are tender. Stir in the cream during the last 15 minutes of cooking, then top with crumbs and broil for 2 minutes for that signature crispy top.

Comments (4)

3 days ago

OMG y’all, this recipe was SO good, total weeknight game changer! I made it for our Sunday family dinner and even my super picky 7 year old cleaned her plate, which basically never happens. I loved that I only had to dirty one pot because who has time for a sink full of dishes on a school night? It was so easy to throw together, took right around 40 minutes total just like the recipe said, and the creamy flavor was chef’s kiss. Already sent the link to my mom and my sister so they can make it for their families too!

1 week ago

Solid recipe, super easy to pull off after work. I did swap the regular heavy cream for half and half to cut a few calories, and it still came out super creamy and delicious. Great for meal prep too — portioned out 4 containers for my work lunches this week and it reheats like a dream. Only note is I added a little extra garlic powder because I’m a garlic fiend, would definitely make again.

5 days ago

So glad you enjoyed it, Dave! Love the half and half swap for a lighter take, and extra garlic is always a win in my book. Thanks for sharing that it reheats well for meal prep — that’s such a helpful tip for other readers looking to make this ahead!

5 days ago

I brought this to my neighborhood potluck last weekend and people were literally asking me for the recipe before they even finished their first serving! It’s so hearty, the creamy sauce is perfectly seasoned, and the chicken stays so tender. I was worried it might be too heavy for our humid Florida afternoons, but nope, the whole pan was gone in 20 minutes. Total crowd pleaser, will be making this for every block party and potluck from now on.

3 days ago

Oh this is such a perfect potluck idea! I’ve been hunting for a dish that travels easy and doesn’t require a ton of last minute fuss. Did you toss in any extra veggies like broccoli or peas, or did you stick straight to the recipe as written?

2 hours ago

Tried this for dinner tonight and it was so tasty, but I ran into one little issue! My sauce came out a little thinner than the creamy consistency in the photos, even though I followed the recipe exactly and used full fat heavy cream. It still tasted amazing, my roommate raved about it and went back for a second helping, but I want to get the texture right next time! Any tips?

30 minutes ago

I had that exact same thing happen the first time I made it! I realized my stove runs a little lower than average, so I just let the whole thing simmer uncovered for an extra 5 minutes after stirring in the cream and it thickened right up. No fancy fixes needed!

5 minutes ago

Hi Jen! So happy to hear you and your roommate loved the flavor, that makes my day! Kari is totally spot on — if your sauce is a little thin, a quick 3-5 minute uncovered simmer will help it thicken up perfectly. If you used frozen veggies straight from the bag, they can also release a little extra water as they cook, so that extra simmer time accounts for that too. Can’t wait for you to make it again and get that perfect creamy texture!



