
one pot chicken and rice

title 1
one pot chicken and rice
⏱️ cook time 35 minutes
🍽️ servings 4
⚡ Difficulty easy

intro

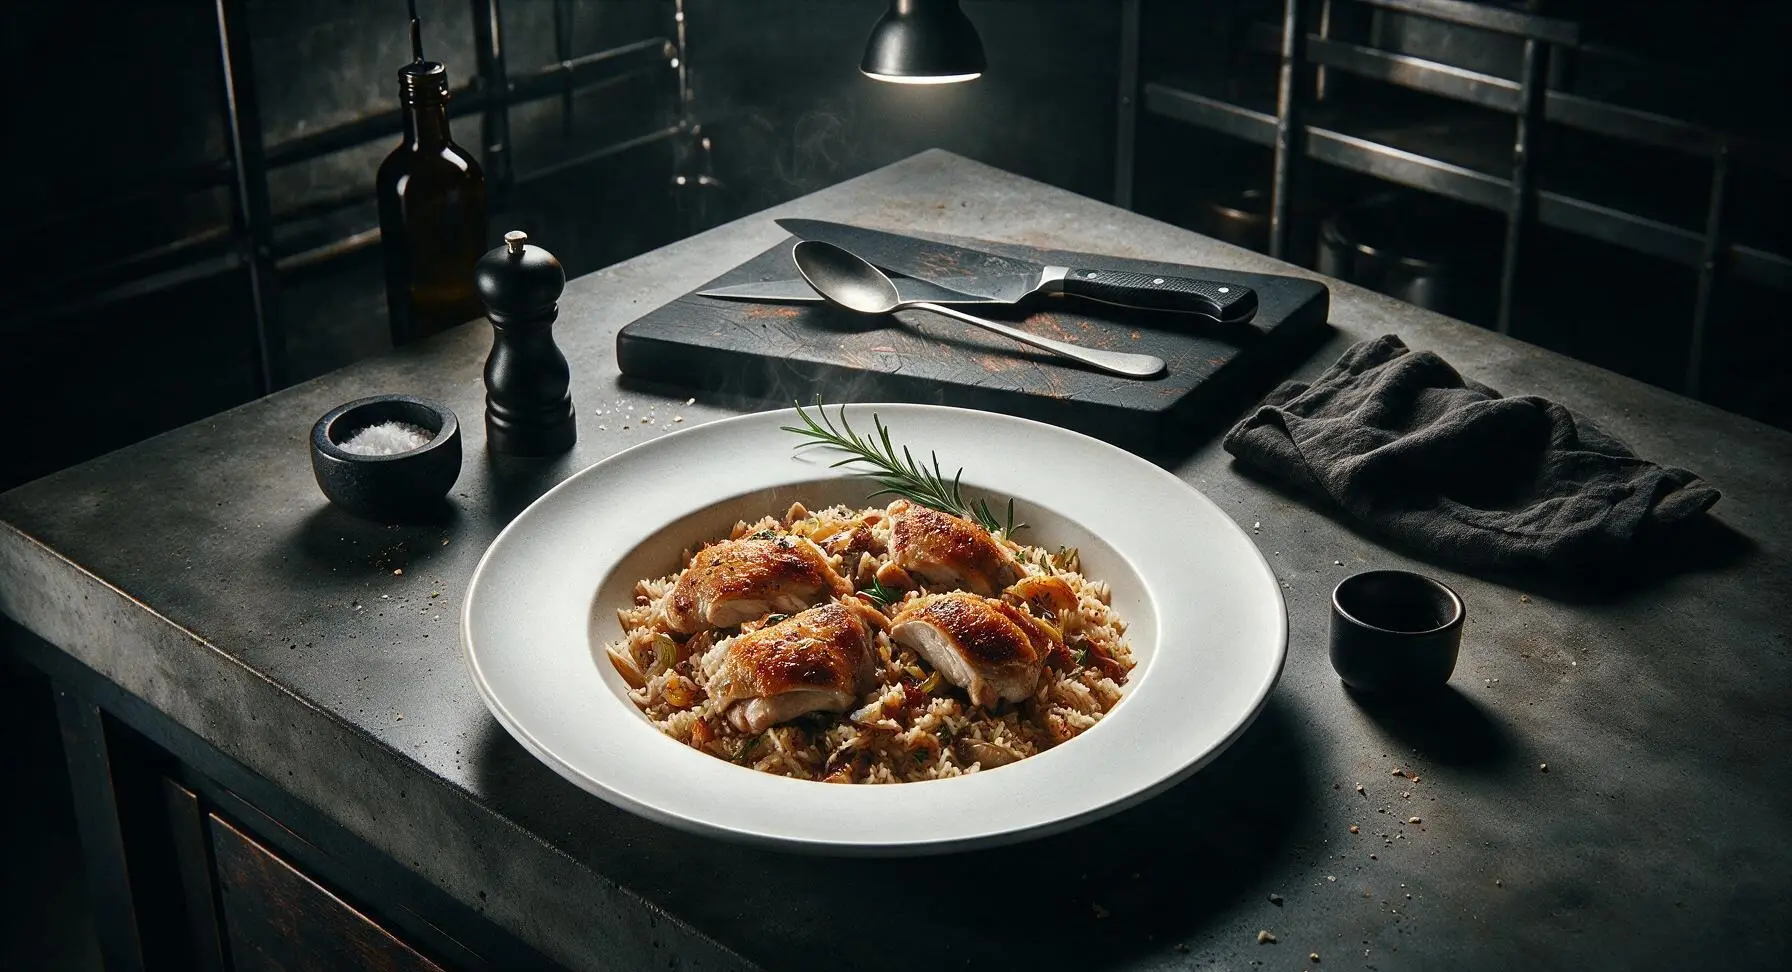
Juicy crispy-skinned chicken and fluffy, savory seasoned rice cooked entirely in one pot, with tender aromatics and warm spices for a cozy, low-cleanup meal packed with home-style flavor.

Ingredients
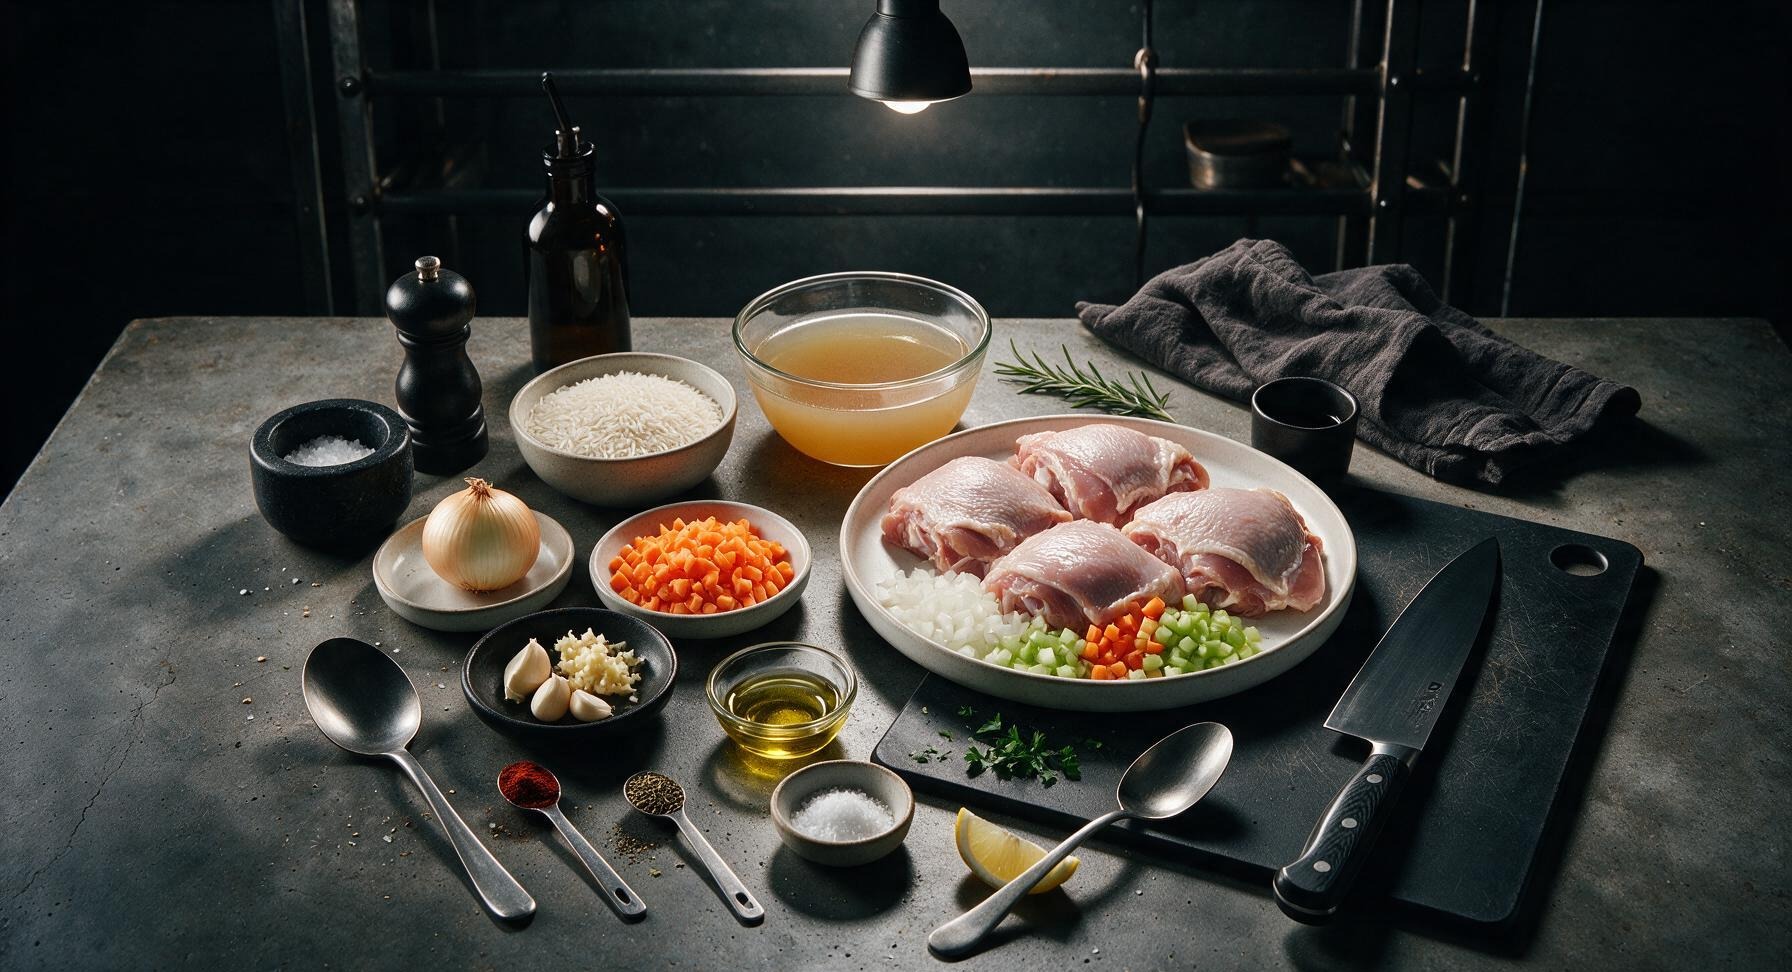
Bone-in skin-on chicken thighs 4 pieces (680g total)
Long-grain white rice (uncooked) 1 cup (185g)
Low-sodium chicken broth 2 cups (480ml)
Yellow onion (small) 1 piece (110g, finely diced)
Garlic cloves 3 pieces (10g total, minced)
Carrot (medium) 1 piece (70g, finely diced)
Celery stalk 1 piece (50g, finely diced)
Smoked paprika 1 teaspoon
Dried thyme 1 teaspoon
Kosher salt 1 teaspoon
Freshly ground black pepper ½ teaspoon
Olive oil 1 tablespoon
Fresh flat-leaf parsley 2 tablespoons (chopped, for garnish)
Lemon wedge 1 piece (for serving)

Steps

1

Prep chicken and aromatics

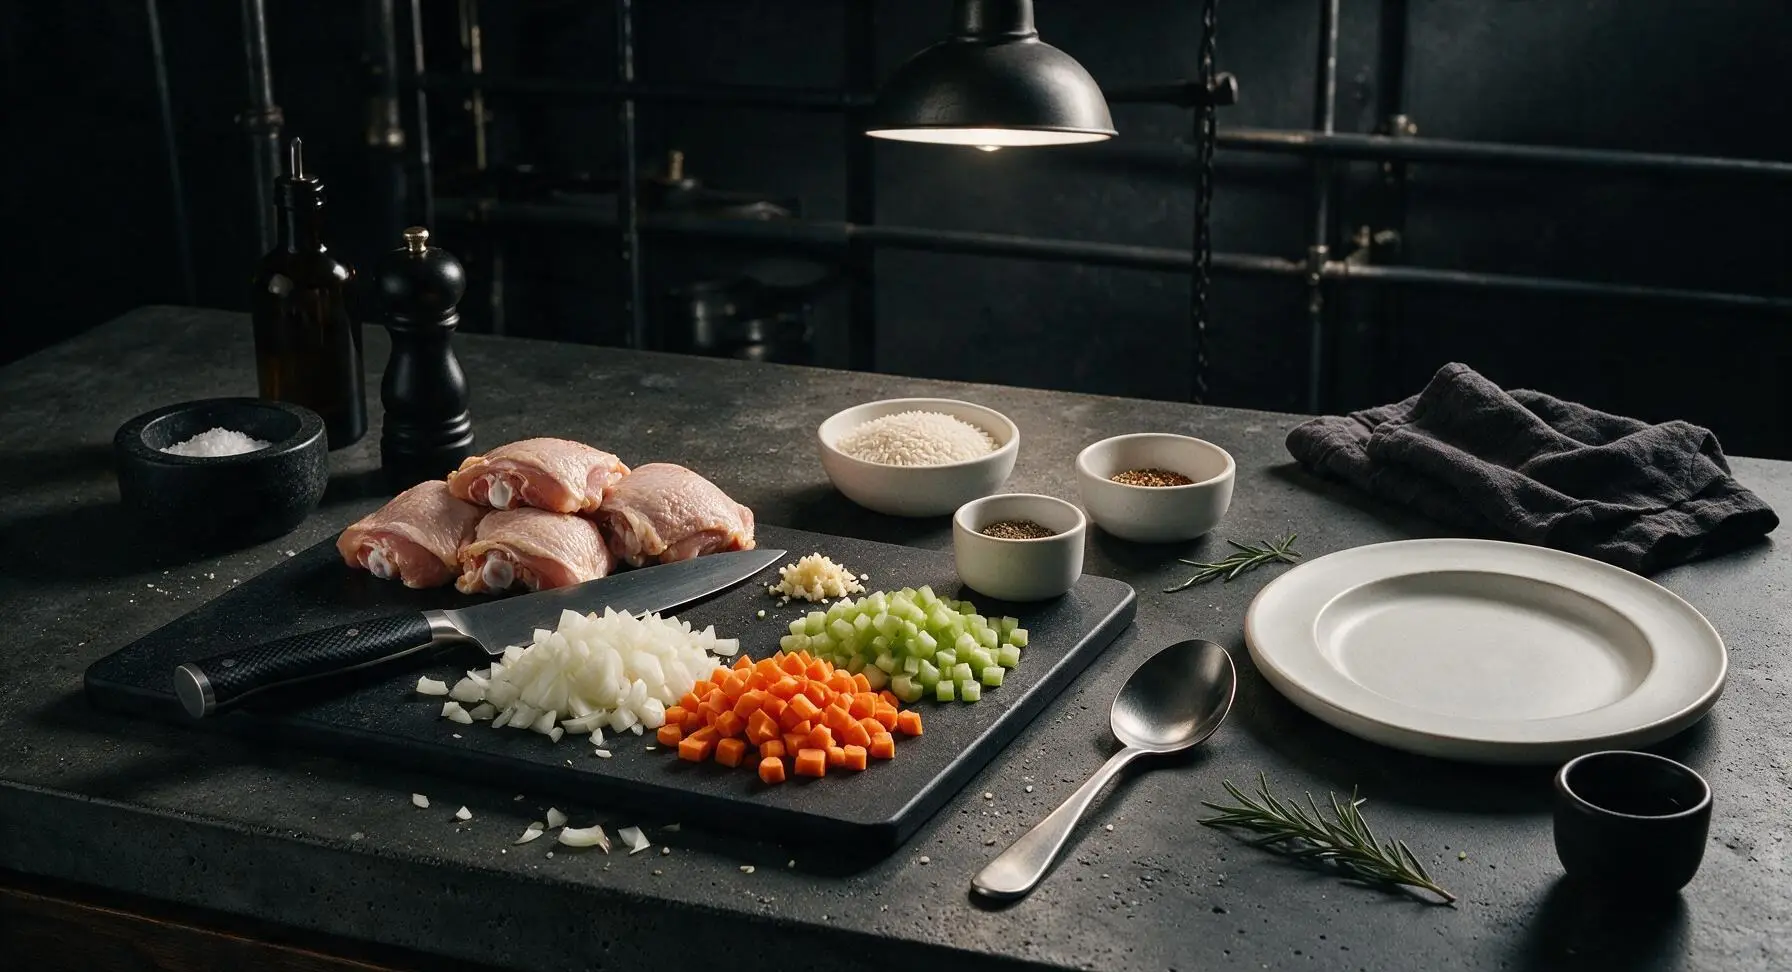
Pat the 4 bone-in skin-on chicken thighs completely dry with paper towels, then season all sides evenly with ½ teaspoon kosher salt and ¼ teaspoon freshly ground black pepper. Place the honey beech cutting board on the left prep counter, then use the 8-inch stainless steel chef's knife to finely dice the yellow onion, carrot, and celery into uniform ¼-inch pieces, and mince the garlic cloves. Measure the uncooked rice, dried spices, and chicken broth into the small white prep bowls and glass measuring cup to set up a smooth cooking flow.
Step 1
step1:Prep chicken and aromatics
2

Sear chicken until crispy

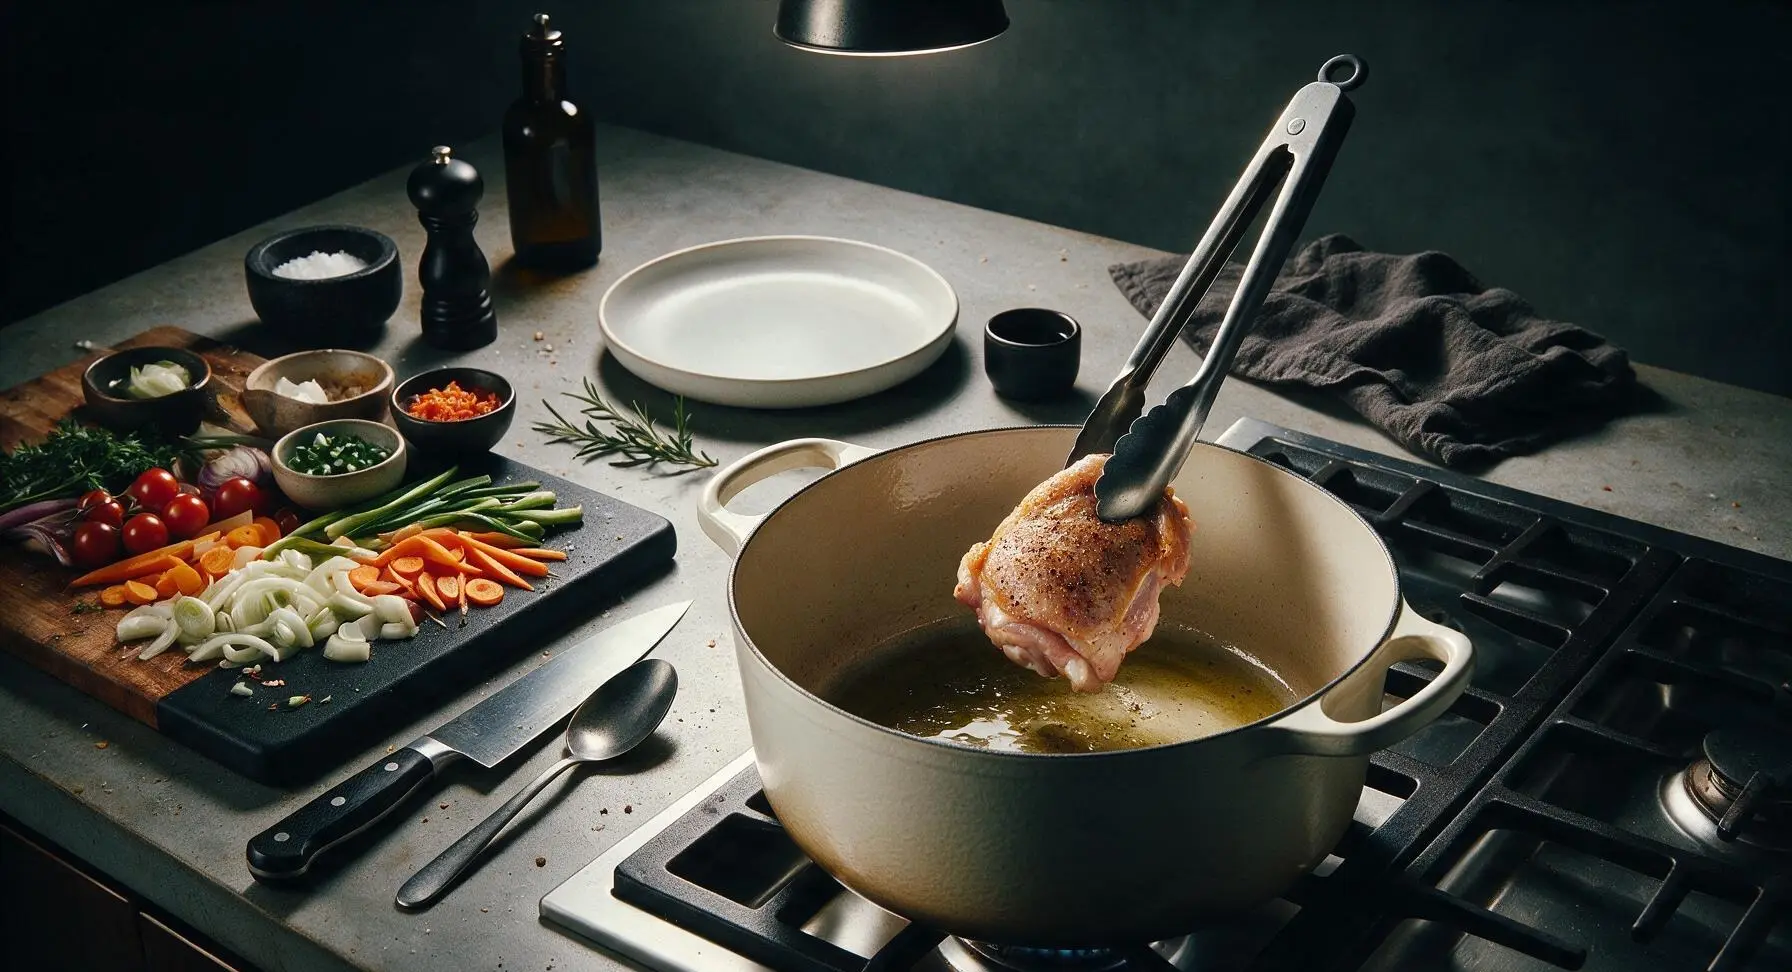
Retrieve the 5.5-quart matte cream enameled Dutch oven from the lower cabinet and place it centrally on the front gas burner. Heat 1 tablespoon olive oil over medium heat (350°F) for 1 minute, until the oil shimmers across the pan bottom. Add the chicken thighs skin-side down in a single layer, taking care not to crowd the pan. Sear for 6-7 minutes on the skin side until the skin is deep golden brown and crisp, then flip the thighs with tongs and sear the opposite side for 3 minutes. Transfer the seared chicken to a clean small plate and set aside temporarily.
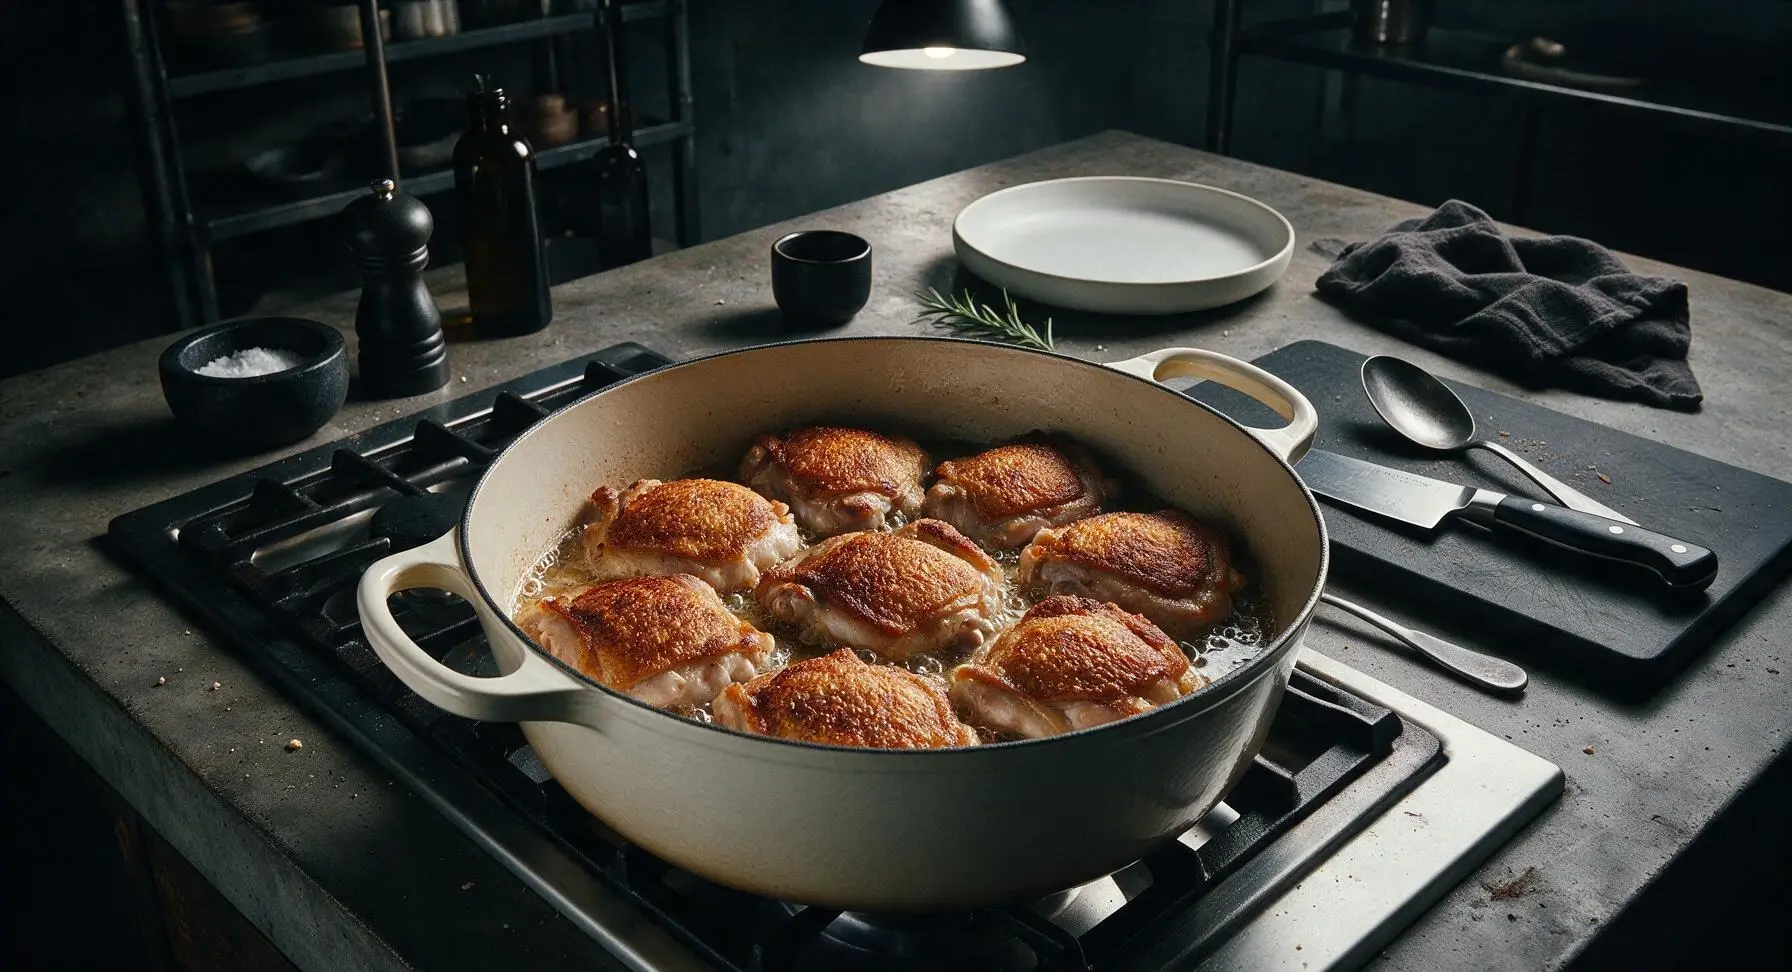
Step 2
step2:Sear chicken until crispy
Step 2
step2:Sear chicken until crispy
3

Sauté mirepoix base

Leave 2 tablespoons of rendered chicken fat in the Dutch oven, carefully pouring off any excess into a heatproof container. Reduce heat to medium-low, add the diced onion, carrot, and celery to the pan. Sauté for 4 minutes, stirring occasionally with the beech wood cooking spoon, until the vegetables soften and the onion turns translucent. Add the minced garlic, smoked paprika, dried thyme, remaining ½ teaspoon kosher salt, and ¼ teaspoon black pepper, and cook for 30 seconds, stirring constantly, until the spices release a rich, fragrant aroma—do not let the garlic burn, as it will turn bitter.
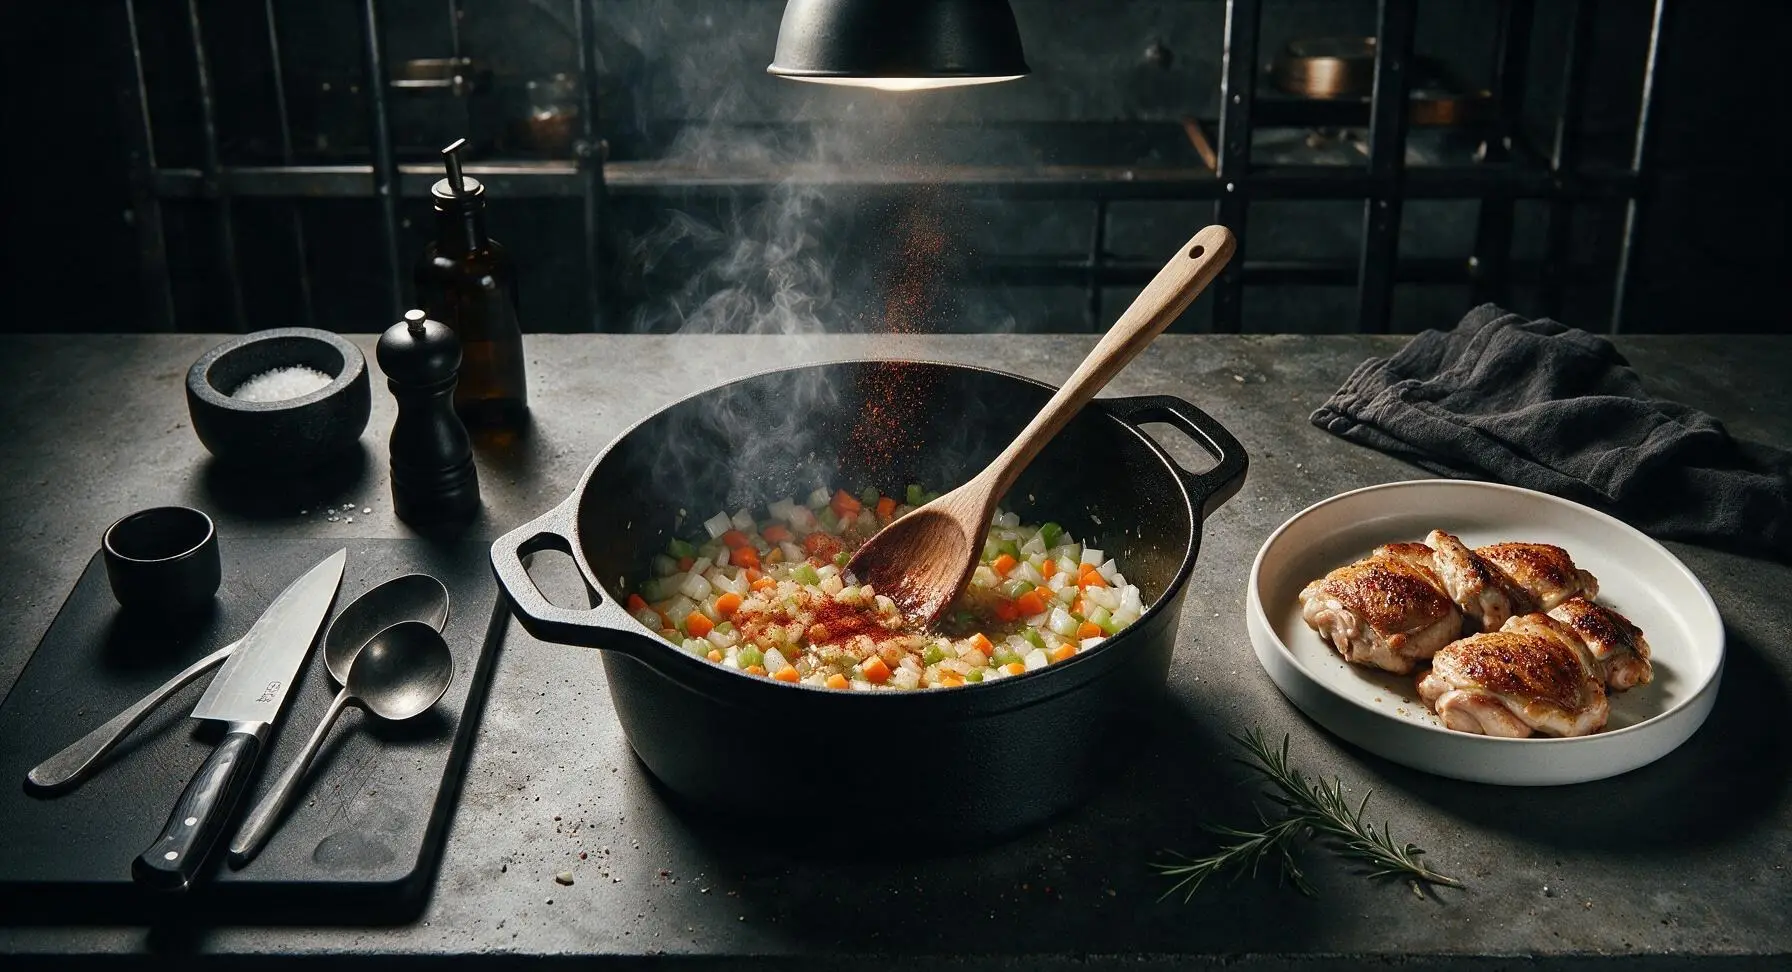
Step 3
step3:Sauté mirepoix base
4

Toast rice for nuttiness

Add the uncooked long-grain white rice to the Dutch oven with the sautéed aromatics, stirring to coat every individual grain in the seasoned fat and spice mixture. Toast the rice for 2 minutes, stirring frequently with the beech wood spoon, until the outer edges of the rice grains turn slightly translucent and the rice gives off a light, nutty aroma. This toasting step creates a protective layer on the rice grains that prevents them from sticking together and turning mushy as they cook.
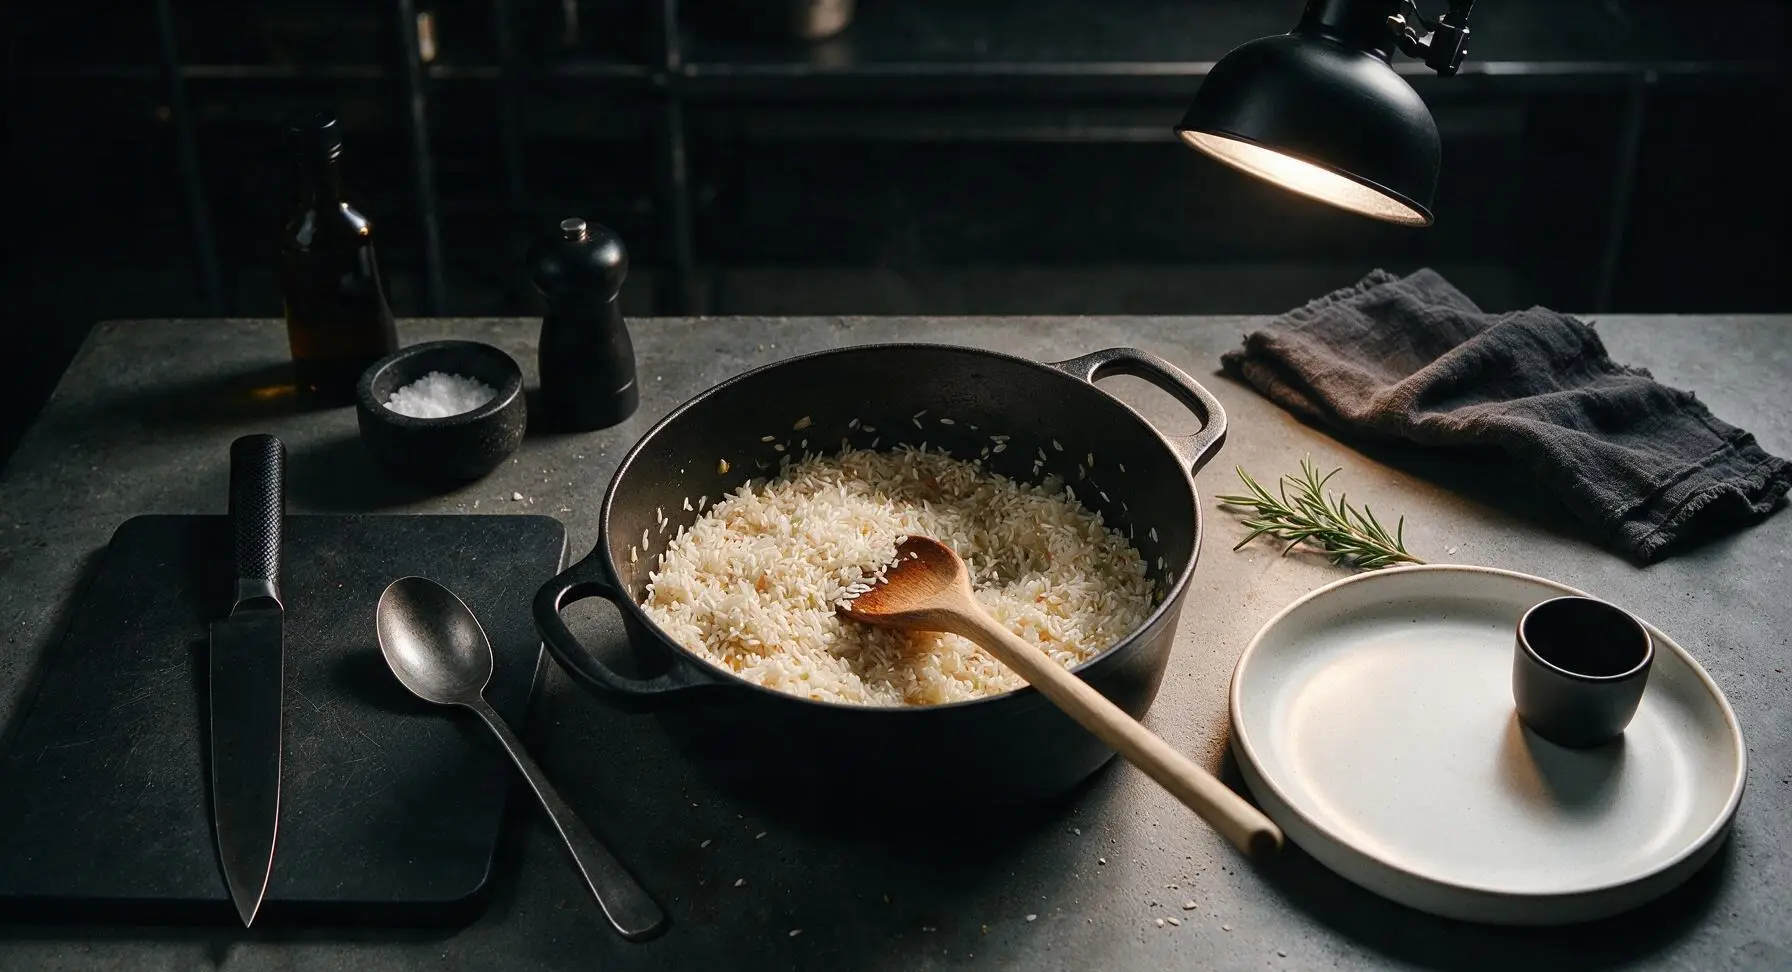
Step 4
step4:Toast rice for nuttiness
5

Combine and simmer gently

Pour the measured 2 cups of low-sodium chicken broth into the Dutch oven, stirring once with the wood spoon to scrape up all the browned flavorful bits (fond) from the bottom of the pan. Bring the liquid to a gentle rolling boil, then nestle the seared chicken thighs skin-side up on top of the rice and liquid, ensuring the chicken is partially submerged but the crispy skin remains above the liquid line to stay crisp. Reduce heat to the lowest stovetop setting, cover the Dutch oven tightly with its lid, and cook undisturbed for 18 minutes. Do not lift the lid during this cooking period, as trapped steam is critical for evenly cooked rice.
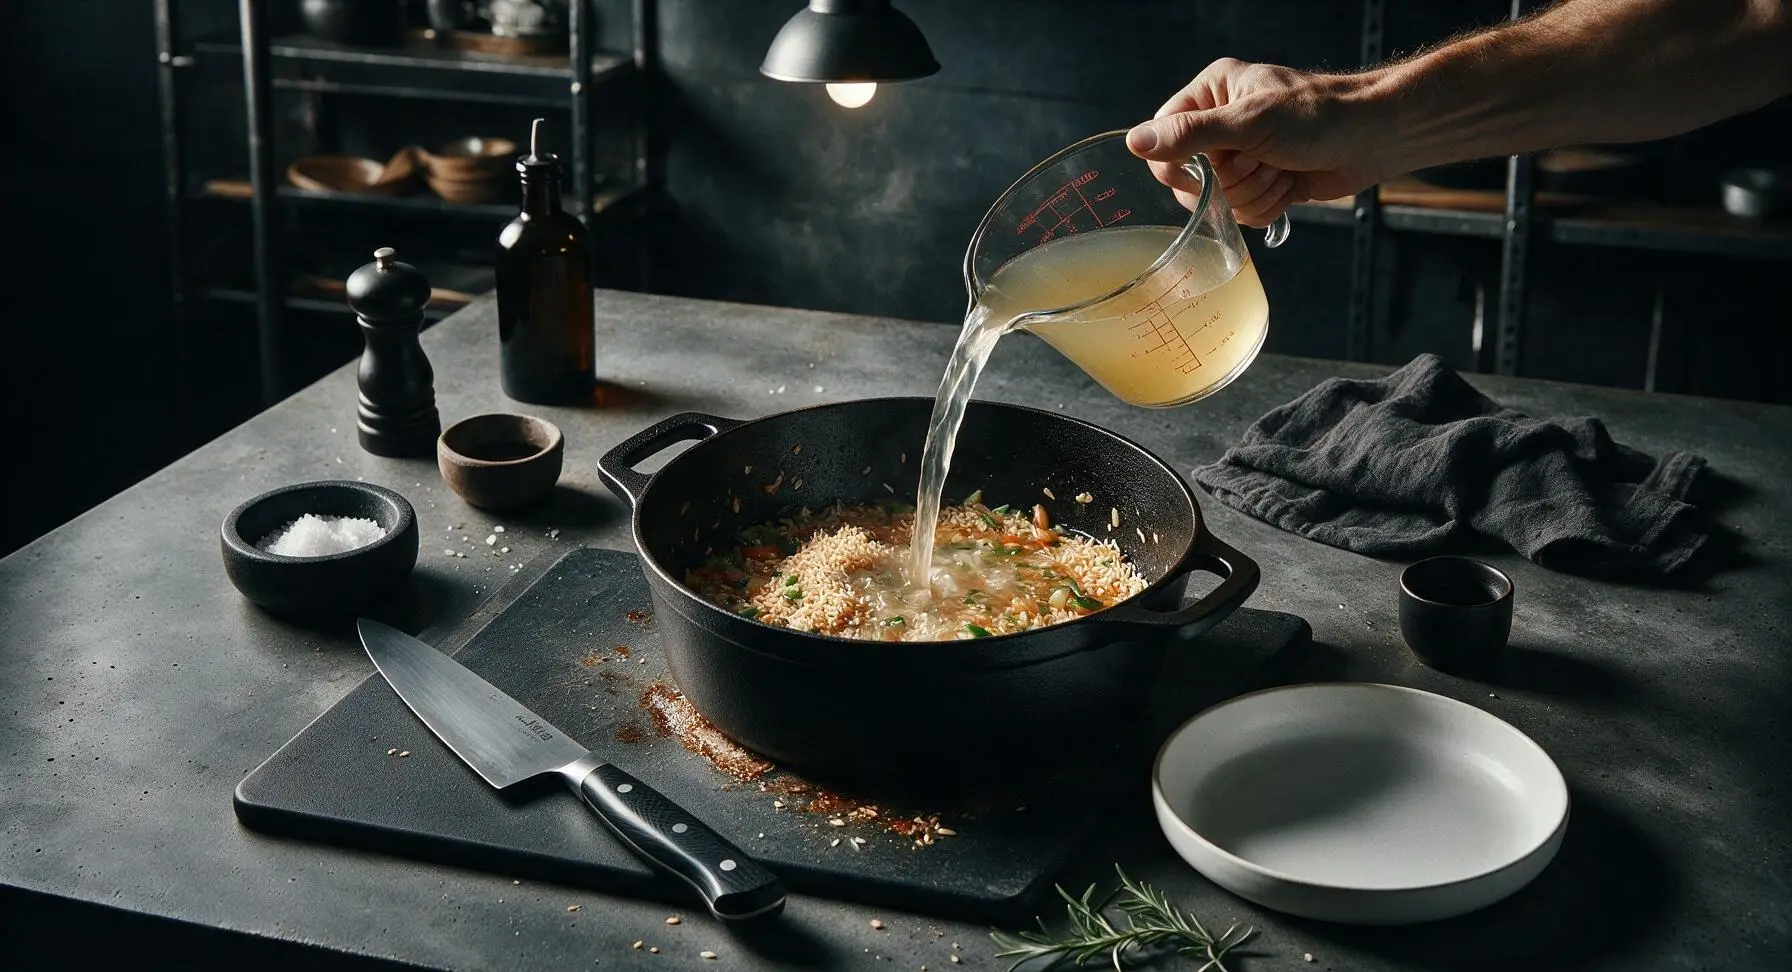
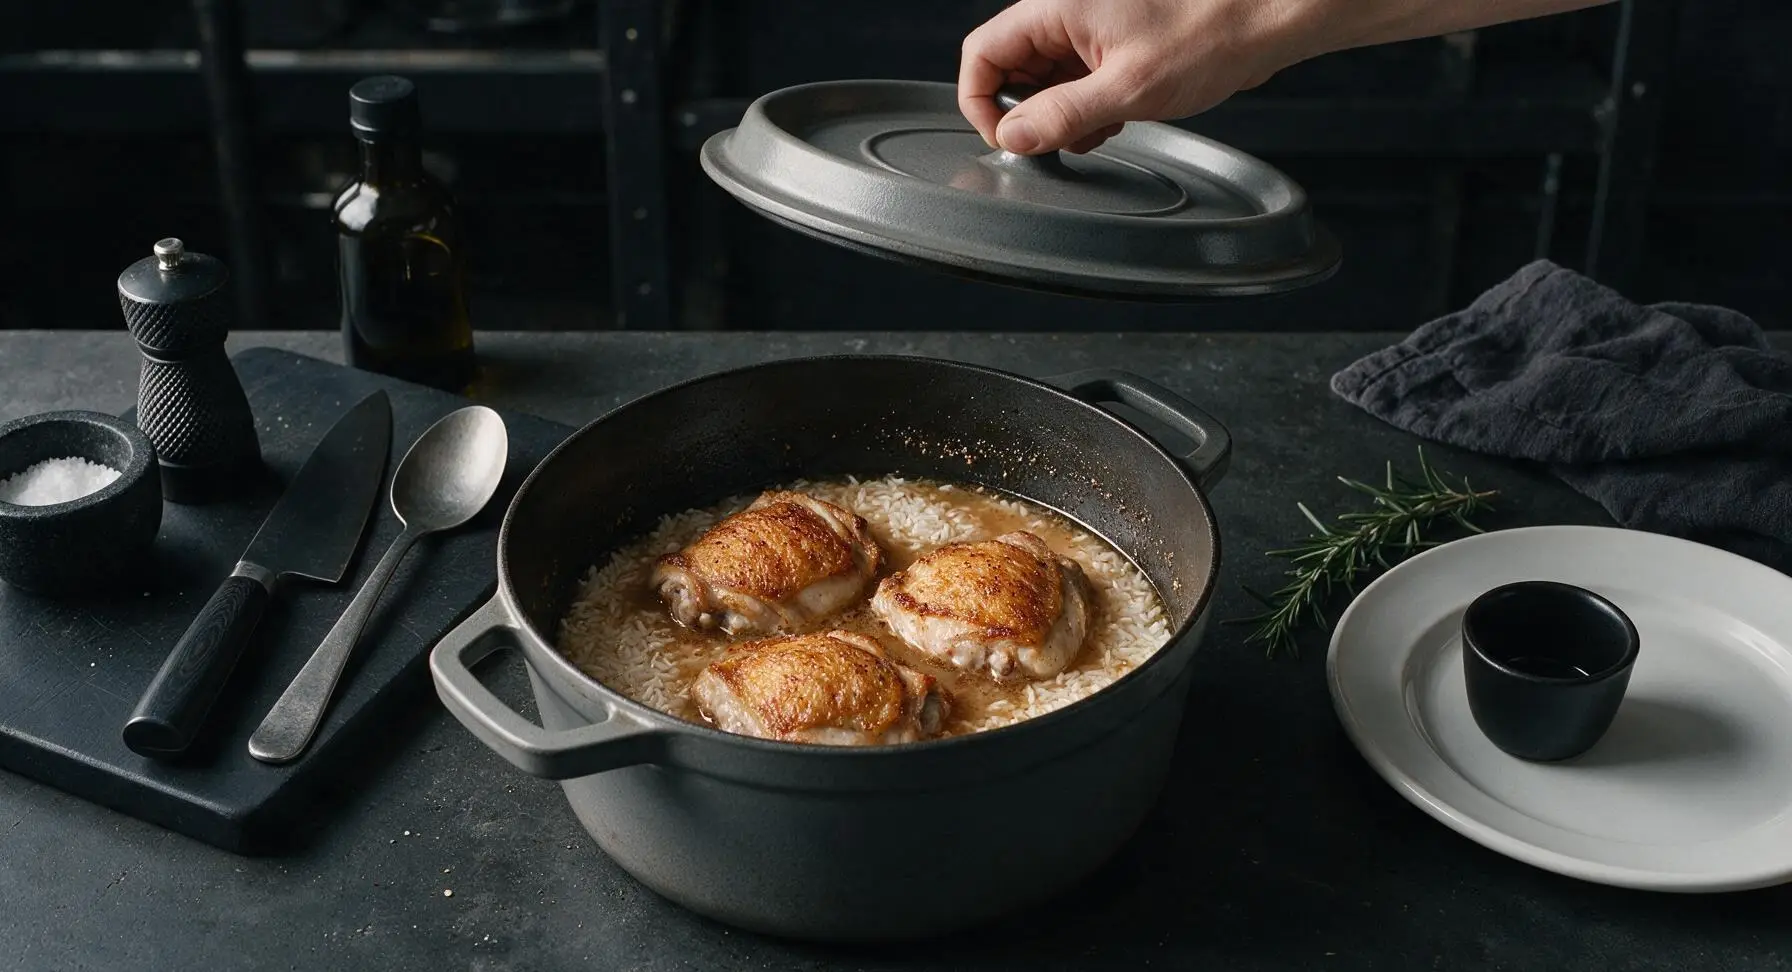
Step 5
step5:Combine and simmer gently
Step 5
step5:Combine and simmer gently
6

Rest the cooked dish

After 18 minutes of covered cooking, turn off the stovetop heat entirely. Leave the Dutch oven tightly covered and let the dish rest for 10 full minutes. This resting period allows the rice to absorb any remaining liquid, the grains to firm up, and the chicken to reabsorb its juices for maximum tenderness. Avoid stirring the rice during this rest time.
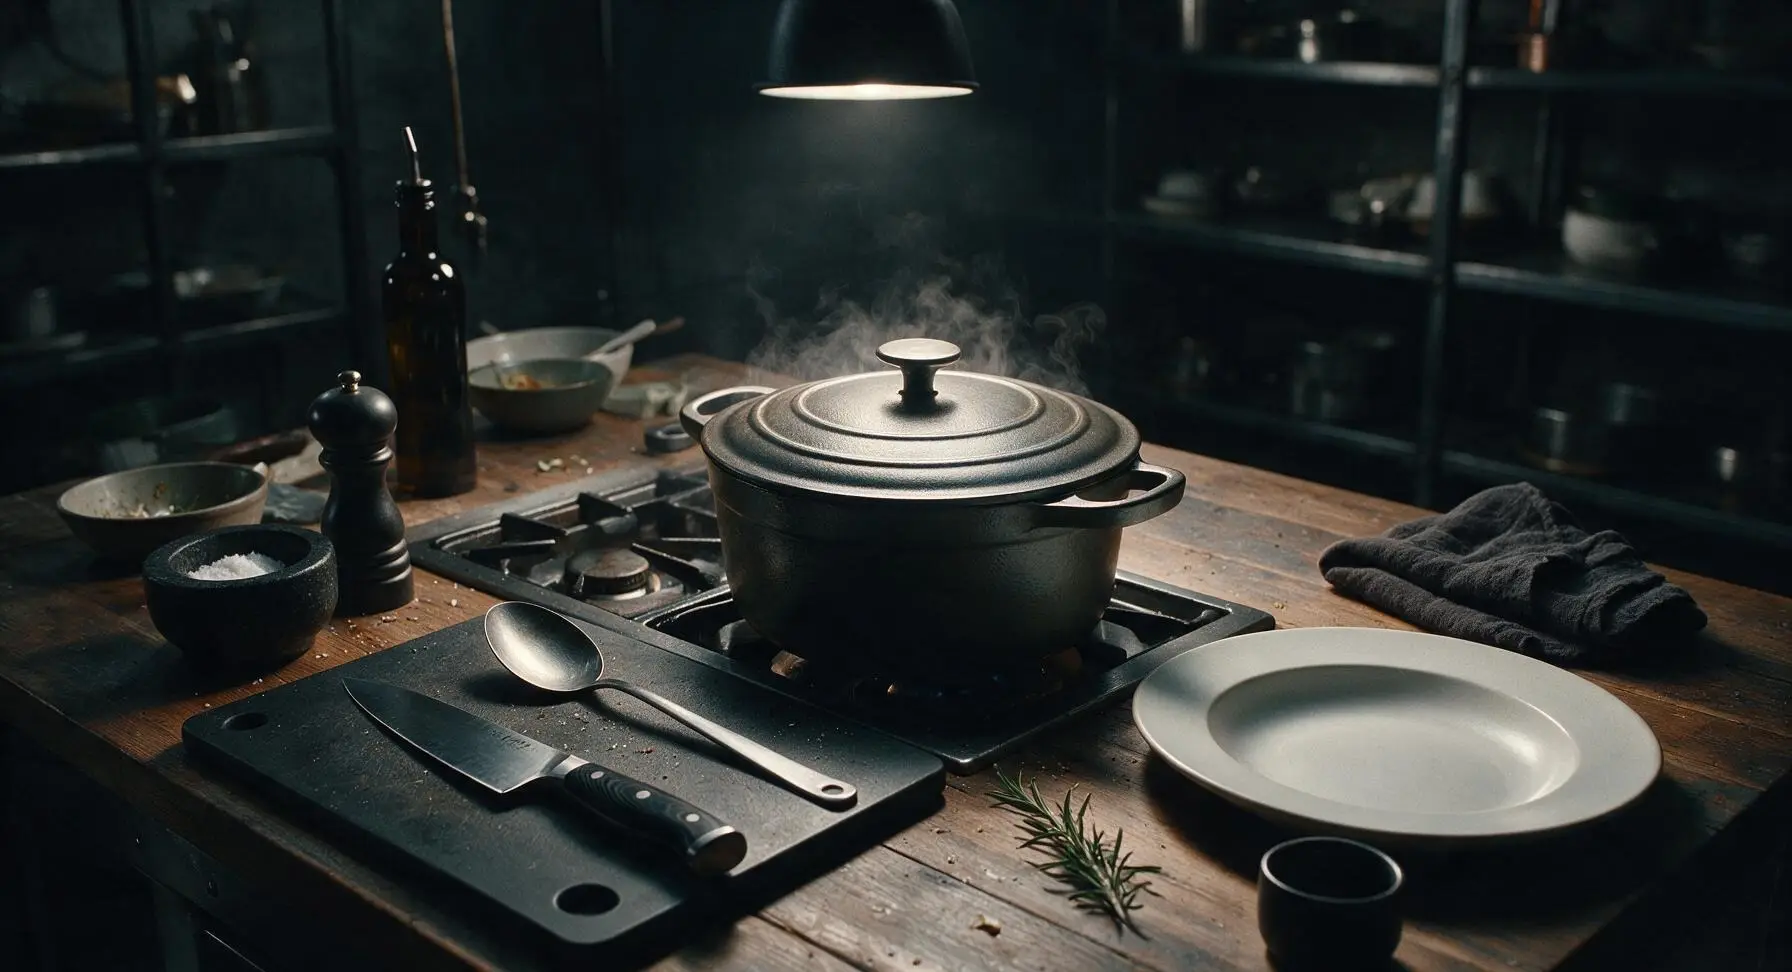
Step 6
step6:Rest the cooked dish
7

Fluff rice and serve

Remove the lid from the Dutch oven, tilting it away from you to avoid steam burns. Use the charcoal gray silicone spatula to gently fluff the rice with a light folding motion, taking care not to mash or stir the rice too vigorously, which can make it gluey. Chop the fresh flat-leaf parsley, then portion the rice and a chicken thigh onto the warm off-white speckled stoneware dinner plate. Garnish with chopped parsley and a light squeeze of fresh lemon juice before serving.
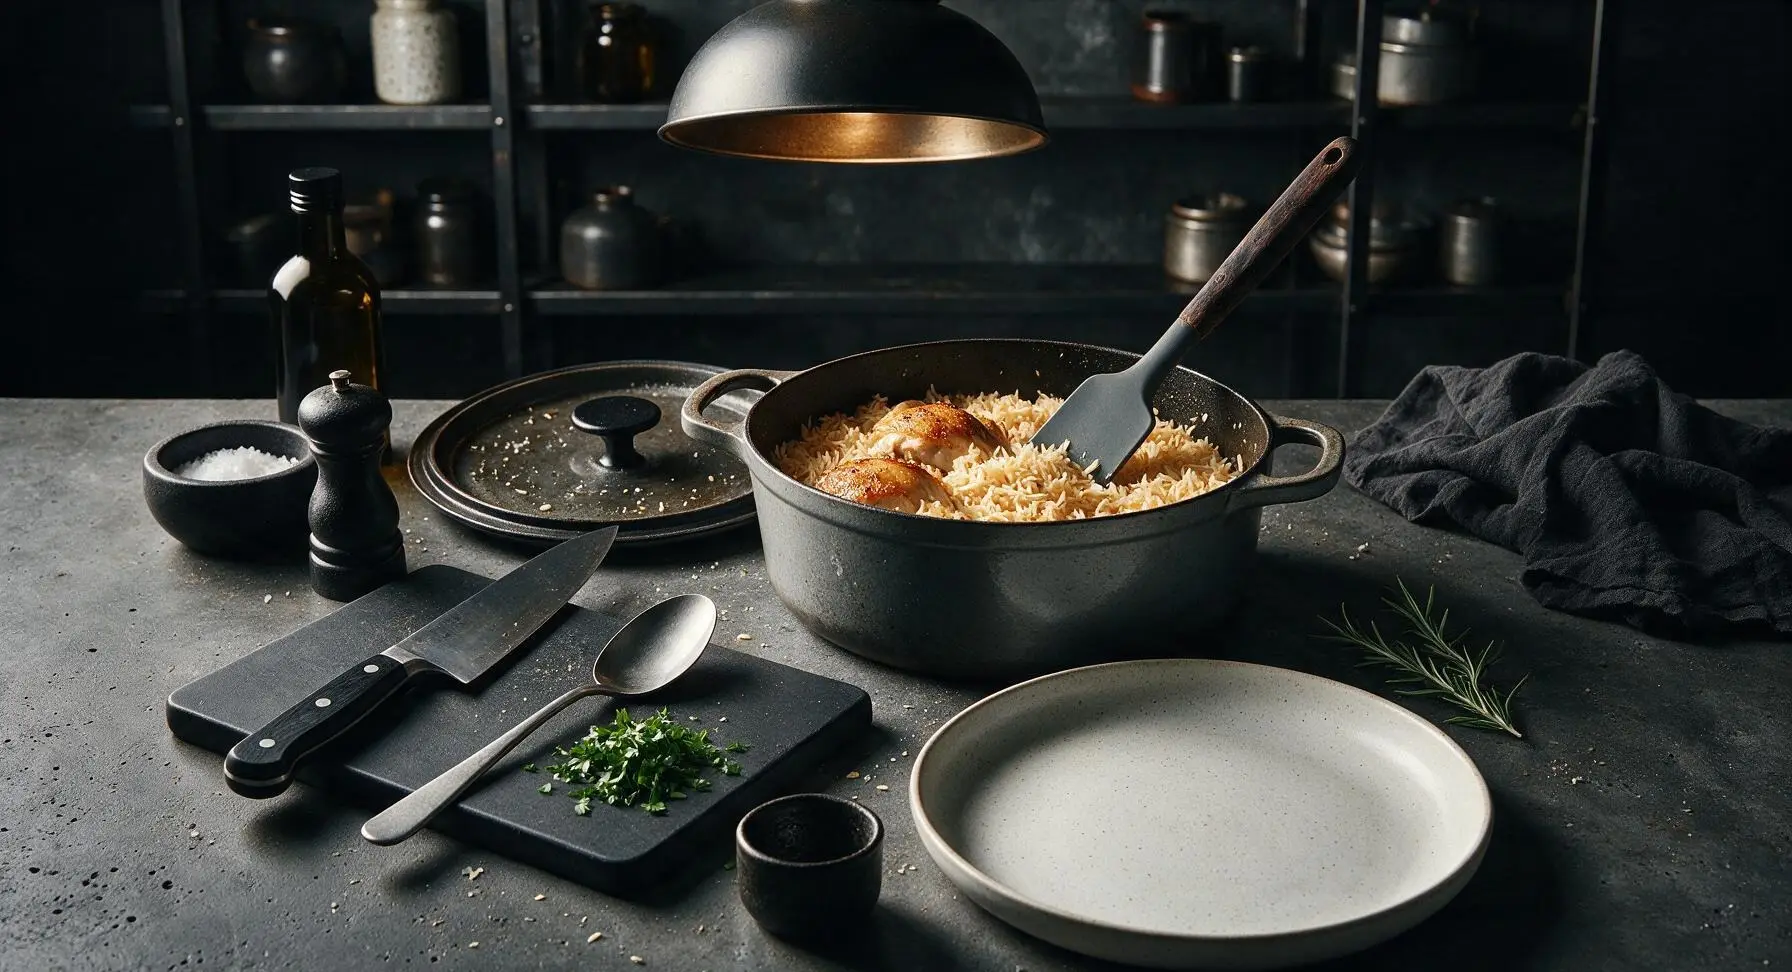
Step 7
step7:Fluff rice and serve

Tips

1.Pat chicken completely dry with paper towels before searing: excess surface moisture will create steam in the pan, preventing the skin from crisping into the golden, crackly texture that adds deep, savory flavor to the entire dish.
2.Never lift the Dutch oven lid during the 18-minute simmer: trapped, consistent steam is what cooks the rice evenly; lifting the lid releases steam and drops the pan temperature rapidly, leading to undercooked, crunchy rice on top or mushy, overcooked rice at the bottom.
3.Stick to long-grain white rice for this recipe: short-grain and medium-grain rices have higher starch content that will turn gluey and sticky in the closed one-pot cooking method, while long-grain rice stays light, separate, and fluffy when cooked correctly.


✨ You May Also Like

Main Course
🍜 United Kingdom

A showstopping classic of tender seared beef, savory mushroom duxelles, and crisp prosciutto wrapped in flaky golden puff pastry, baked to juicy perfection.

⏱️ 2 hours 1Main Course ★ 4.7
Main Course
🍜 India

Tender charred marinated chicken simmered in a rich, spiced creamy tomato sauce, this iconic Anglo-Indian curry pairs perfectly with basmati rice or warm naan.

⏱️ 50 minuteMain Course ★ 4.6
Main Course
🍜 Thailand

Classic tangy, sweet, and savory Thai stir-fried rice noodles with shrimp, tofu, and crunchy garnishes, balancing all five core Thai flavor profiles.

⏱️ 30 minuteMain Course ★ 4.5
Main Course
🍜 United Kingdom

Crispy golden beer-battered cod and fluffy double-fried chips, served with tangy tartar sauce and malt vinegar: the timeless, beloved British pub comfort classic.

⏱️ 45 minuteMain Course ★ 4.7
Main Course
🍜 Mexico

Smoky, chile-marinated pork tacos with caramelized pineapple, fresh cilantro, and lime: a beloved classic Mexican street food perfect for casual summer gatherings.

⏱️ 1 hour 45Main Course ★ 4.8
Main Course
🍜 United States

Crunchy Fritos corn chips layered with savory beef chili and melted cheddar, topped with cool, zesty fixings for a beloved, cozy Tex-Mex comfort food.

⏱️ 35 minuteMain Course ★ 4.8

one pot chicken and rice:Frequently Asked Questions

1.Why do you recommend bone-in, skin-on chicken thighs instead of chicken breasts for this recipe? ▾
Bone-in, skin-on thighs stay juicy through the full cook time without drying out, and their rendered skin fat adds rich, savory depth to the rice without extra oil. Unlike lean chicken breasts, which overcook quickly, thighs have a forgiving cook time that lines up perfectly with how long it takes rice to turn fluffy and tender.
2.Can I use brown rice instead of long-grain white rice for this dish? ▾
You can, but you’ll need to adjust liquid and cook time for best results. Swap white rice for an equal amount of long-grain brown rice, add ¼ cup extra low-sodium chicken broth, and extend the covered simmer time by 15–20 minutes. Skip quick-cooking brown rice, as it will turn mushy long before the chicken finishes cooking.
3.Why does my rice turn out mushy every time I make one-pot chicken and rice? ▾
Mushy rice almost always stems from two common mistakes: using too much cooking liquid, or lifting the pot lid too early during the simmer. Stick to the measured broth amount, keep the lid sealed tight for the full 18-minute simmer after adding rice, and let it rest 5 minutes off heat before fluffing to let excess steam escape.
4.Is it really necessary to use low-sodium chicken broth? ▾
Low-sodium broth lets you fully control the salt level of the final dish, since rendered chicken fat, onion, garlic, and warm spices all add their own natural savoriness. If you only have regular sodium broth on hand, cut any added salt by half and taste the cooking liquid before adding rice to avoid an overly salty finished meal.
5.Do I need to sear the chicken first before adding the rice and aromatics? ▾
Absolutely—searing the chicken skin-side down over medium heat for 6–7 minutes first crisps the skin beautifully, renders flavorful fat to cook your onion and garlic, and creates golden, toasty bits at the bottom of the pot that infuse the rice with the deep, home-style savoriness this dish is known for.
6.Can I add extra vegetables to this one-pot meal? ▾
Definitely! Stir in diced carrot, celery, or frozen peas and carrots when you add the rice for extra color and nutrition. Heartier veggies like chopped bell pepper can be sautéed with the onion after searing chicken; just avoid adding watery veggies like fresh zucchini too early, as they’ll make the rice soggy.
7.Why does the rice at the bottom of my pot burn when I make this? ▾
Burnt bottom rice usually means your stovetop heat is too high during the simmer step. Once you bring the broth to a gentle boil, turn heat down to the lowest setting, make sure your pot has a tight-fitting lid, and avoid stirring the rice once it settles to cook. A heavy-bottomed Dutch oven also prevents hot spots that cause burning.
8.How do I tell the chicken is fully cooked without cutting into it? ▾
The most reliable method is to use an instant-read thermometer inserted into the thickest part of the thigh, not touching the bone—it should read 165°F for food safety. If you don’t have a thermometer, pierce the thickest part with a fork; the juices should run completely clear with no pink tint.
9.Does this recipe work well for weekly meal prep? ▾
Yes, this dish holds up beautifully for meal prep! Let it cool completely within 2 hours of cooking, portion into airtight containers, and refrigerate for up to 4 days. Reheat portions in the microwave with a tiny splash of extra broth to keep rice from drying out; skip freezing, as the rice will turn grainy when thawed.
10.What simple warm spices work best to amp up the flavor here? ▾
For that cozy, home-style flavor, add ½ teaspoon smoked paprika, ¼ teaspoon ground cumin, a pinch of turmeric for warm golden color, and a few cracks of black pepper when you sauté the garlic. A tiny pinch of dried thyme also works beautifully; just go light on strong spices so they don’t overpower the simple core flavors.
11.My chicken skin turns out soggy instead of crispy—what am I doing wrong? ▾
Soggy skin happens if you nestle the chicken skin-side down in the rice while it simmers, or if you don’t sear it long enough first. After searing the skin until it’s deep golden and crisp, nestle the chicken skin-side up on top of the rice before covering to simmer, so the skin stays above cooking liquid and doesn’t steam soft.
12.Can I use boneless chicken thighs if that’s what I already have in my fridge? ▾
You absolutely can! Boneless, skin-on thighs will work great, though you’ll want to cut the covered simmer time by 3–4 minutes since there’s no bone slowing the cook time. Skip boneless, skinless thighs if you can, as you’ll miss out on the rendered skin fat that gives the rice its rich, savory base.

Comments (8)

2 days ago

OMG this one pot chicken and rice was an absolute game changer for our weeknight dinner rotation! I swapped the regular white rice for brown rice because that's what I had on hand, added a little extra garlic, and my three kids devoured it without a single complaint. No piles of leftover veggies pushed to the side of the plate? That's a win in my book! Only one pot to wash afterwards? Even better.

yesterday

Wait did you adjust cook time at all for brown rice? I tried making it with brown rice last time and it came out super crunchy still!

yesterday

Great question! If you're using brown rice, add an extra 1/3 cup of chicken broth and increase the covered simmer time by 10-12 minutes to make sure it cooks through fully without drying out the chicken. So glad you loved the recipe otherwise!

5 minutes ago

As someone who barely knows how to boil water and only has one single pot in my dorm kitchen, this recipe was perfect. Cook time was exactly as advertised, I didn't burn anything, and my roommate asked for seconds. Saved so much money not ordering takeout this week lmao.

3 days ago

This is my new go-to Sunday meal prep! I made a double batch yesterday, portioned it out into 5 containers for my work lunches, and it reheats like a dream. The chicken stays juicy, the rice doesn't get mushy, and I don't get bored eating it all week. 10/10, will be making this at least twice a month.

2 days ago

So happy to hear this works great for meal prep! Pro tip for next time: toss in a handful of frozen peas or diced bell peppers when you add the rice for an extra veggie boost without extra prep work.

1 week ago

Made this for my post-hike potluck with my trail group last weekend, and every single person asked for the recipe! I added a little smoked paprika and a squeeze of lime at the end for a tiny kick, and it paired so well with the cold beers everyone brought. Super easy to make even over a camp stove when we car camp, too.

5 days ago

Wait you made this on a camp stove? How did you keep the rice from burning on the bottom? I always struggle with that when cooking rice over open flame/camp stoves!

3 days ago

Just kept the heat super low once I added the rice and broth, and made sure the lid was sealed tight! Took a couple extra minutes to cook but no burnt bottom at all.

2 weeks ago

This was SO good! I used boneless skinless thighs instead of chicken breast because I prefer dark meat, and it came out so flavorful. Even my picky mom who hates 'one pot messes' went back for a second helping.

30 minutes ago

I had this at a friend's house last week and it was so tasty! Quick question—can I make this with gluten free chicken broth? I have celiac so I have to be super careful with cross contamination, and I'd love to add this to my weeknight rotation.

5 minutes ago

Absolutely! Just make sure you're using a certified gluten free broth and this recipe is 100% gluten free. All the other ingredients (chicken, rice, veggies, seasonings) are naturally gluten free, so it's a perfect fit!

yesterday

Made this last night for my two teen boys who eat like literal linebackers, and I only had to make one extra side of broccoli to fill them up. That's a miracle. The flavor was so rich even without adding a ton of butter or heavy cream, which I appreciate. Will be making this on repeat for those busy sports practice nights.

2 hours ago

Same! I have three teen soccer players and this recipe is the only thing that doesn't leave them raiding the pantry 20 minutes after dinner. Total game changer for busy weeknights.

2 hours ago

I messed this up so bad my first try 😂 I added the rice too early and it turned all mushy, and the chicken was overcooked. But I followed the steps exactly the second time (set a timer, don't lift the lid while it simmers!) and it came out perfect. Even my super picky cat was trying to steal a bite off my plate.

30 minutes ago

Oh my god I did the exact same thing my first try! Lifted the lid like 5 times to stir and all the steam escaped so the rice was crunchy. Second try was chef's kiss though, these one pot recipes are so unforgiving if you peek!

5 minutes ago

So glad you gave it a second shot! The 'no peeking' rule is so hard to follow but it makes all the difference for fluffy, evenly cooked rice and juicy chicken. Next time you can toss in a little parmesan at the end if you want an extra savory kick!



