
ore ida tater tot hotdish

title 1
ore ida tater tot hotdish
⏱️ cook time 50 minutes
🍽️ servings 6
⚡ Difficulty easy

intro

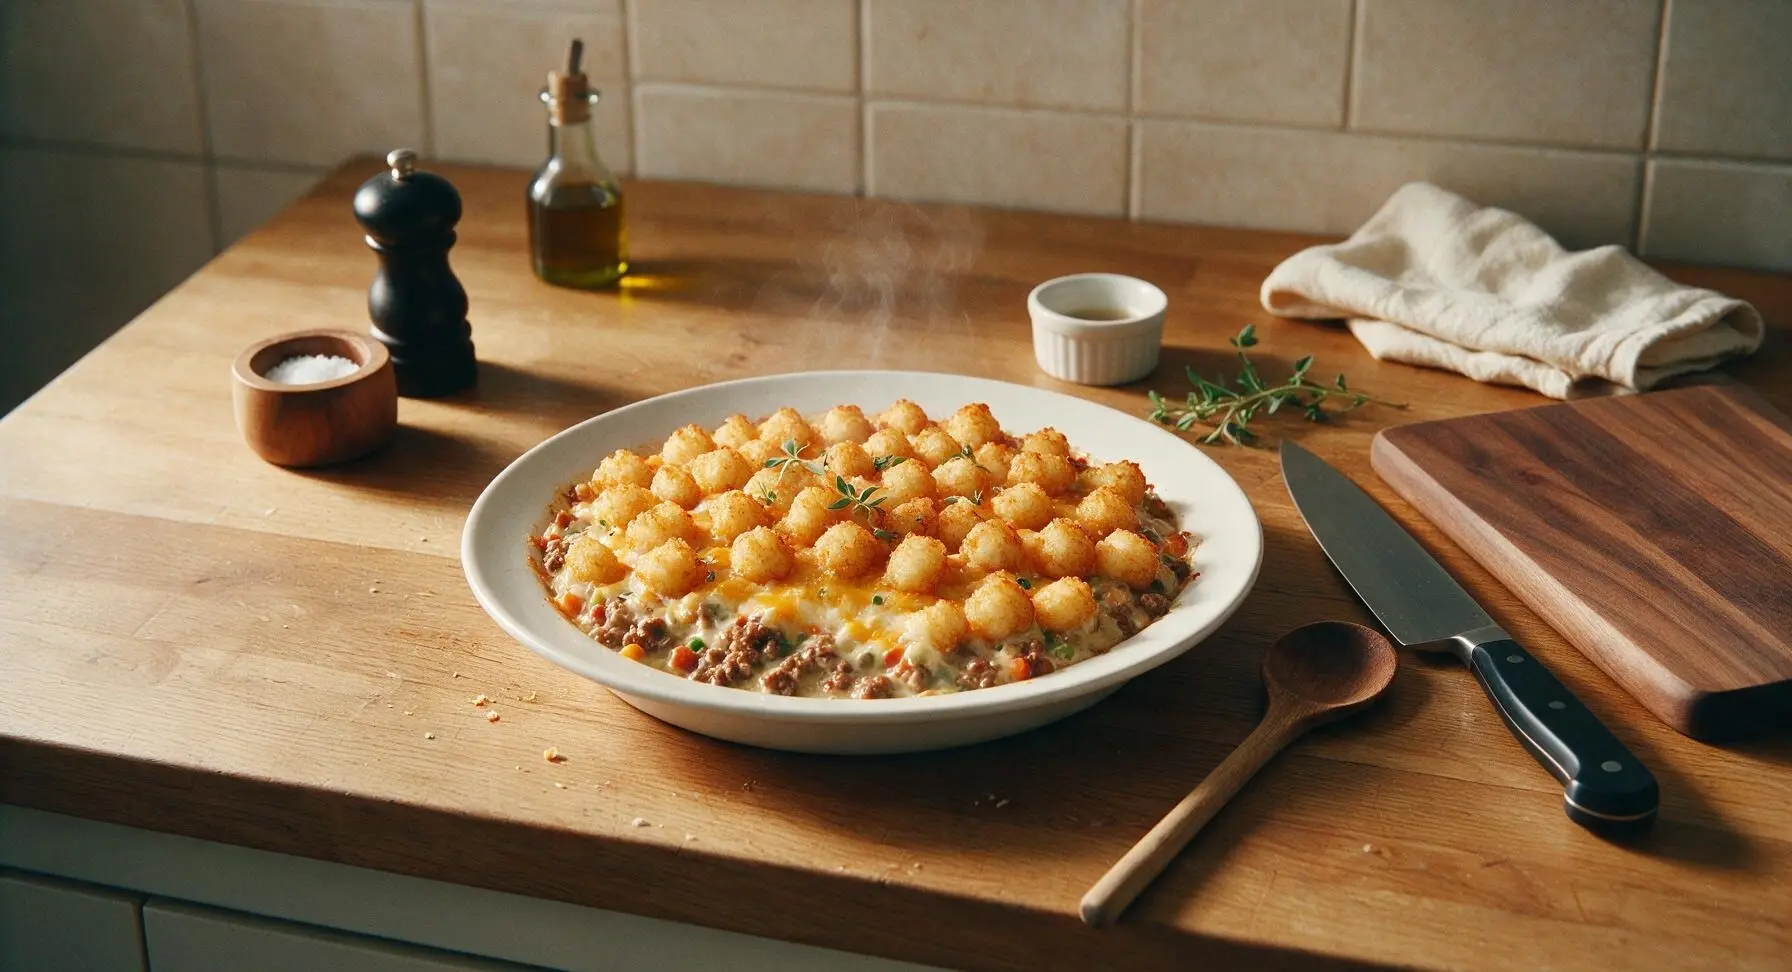
Crispy golden Ore Ida tater tots top a creamy, savory ground beef and vegetable filling for the ultimate nostalgic Midwest comfort food, baked to bubbly, cheesy perfection.

Ingredients
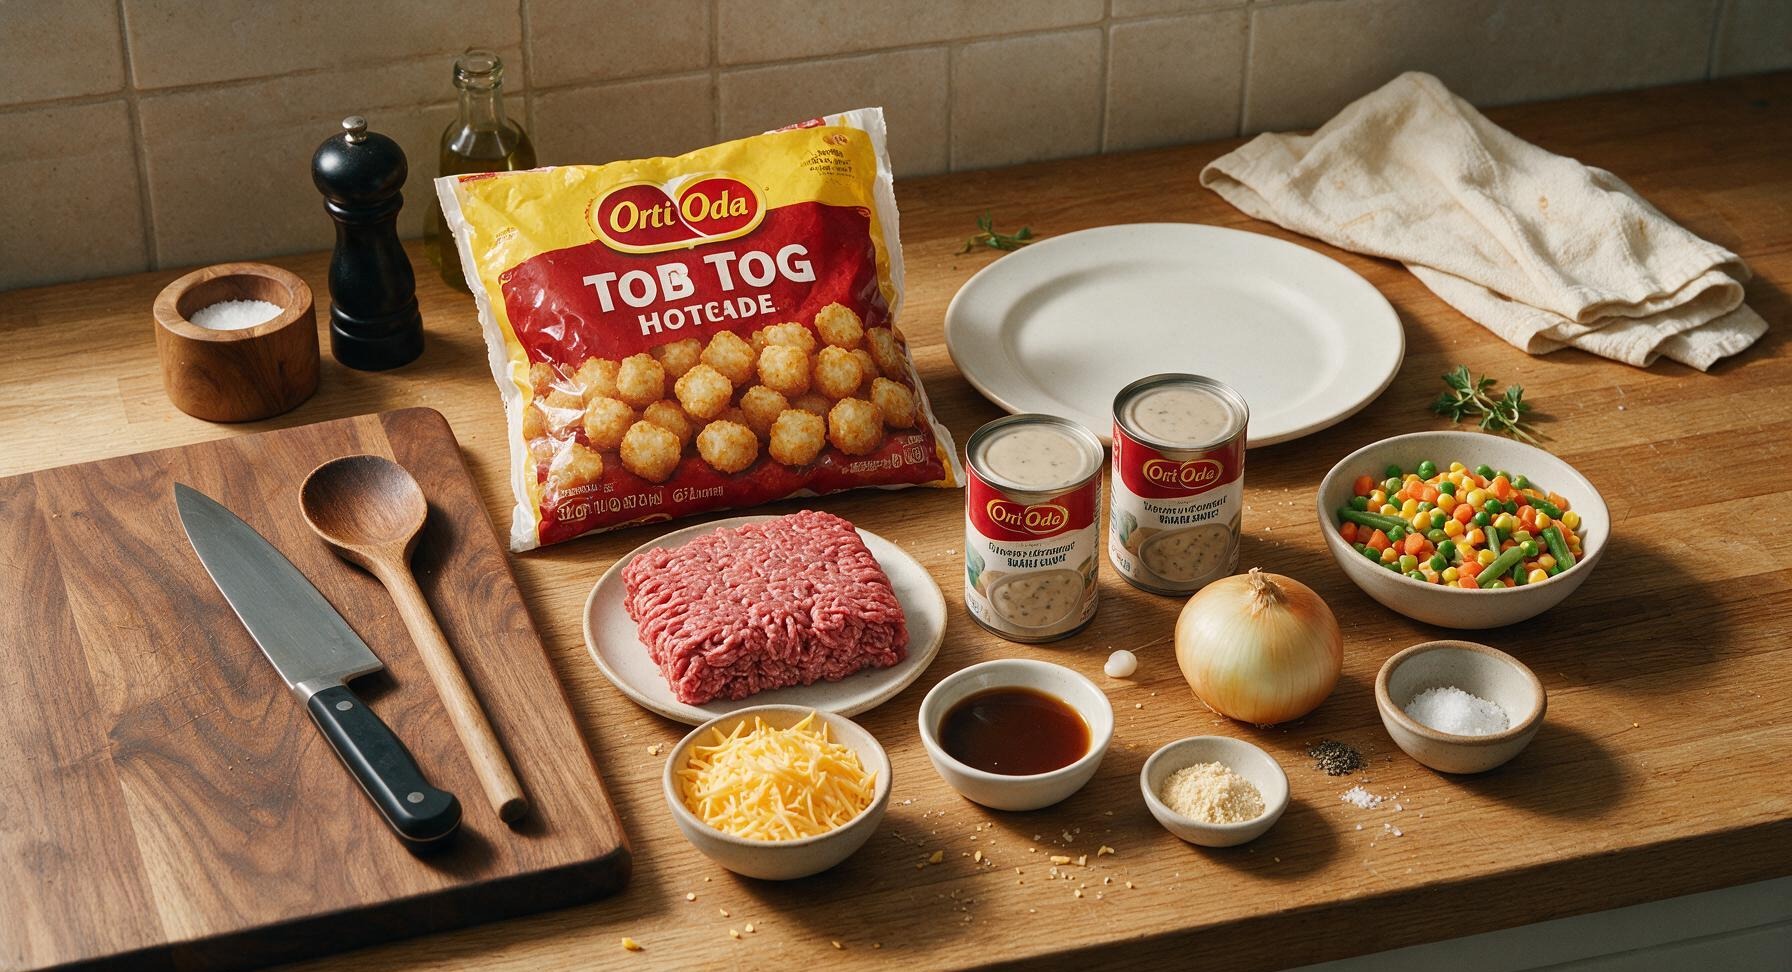
Ore Ida frozen tater tots 32 oz (1 bag)
80/20 ground beef 1 lb
Condensed cream of mushroom soup 2 (10.5 oz) cans
Frozen mixed vegetables (peas, carrots, corn, green beans) 1.5 cups
Yellow onion 1 small (about 1 cup diced)
Shredded sharp cheddar cheese 1 cup
Worcestershire sauce 1 tbsp
Garlic powder 1 tsp
Kosher salt 1/2 tsp
Black pepper 1/4 tsp

Steps

1

Preheat Oven, Prep Dish

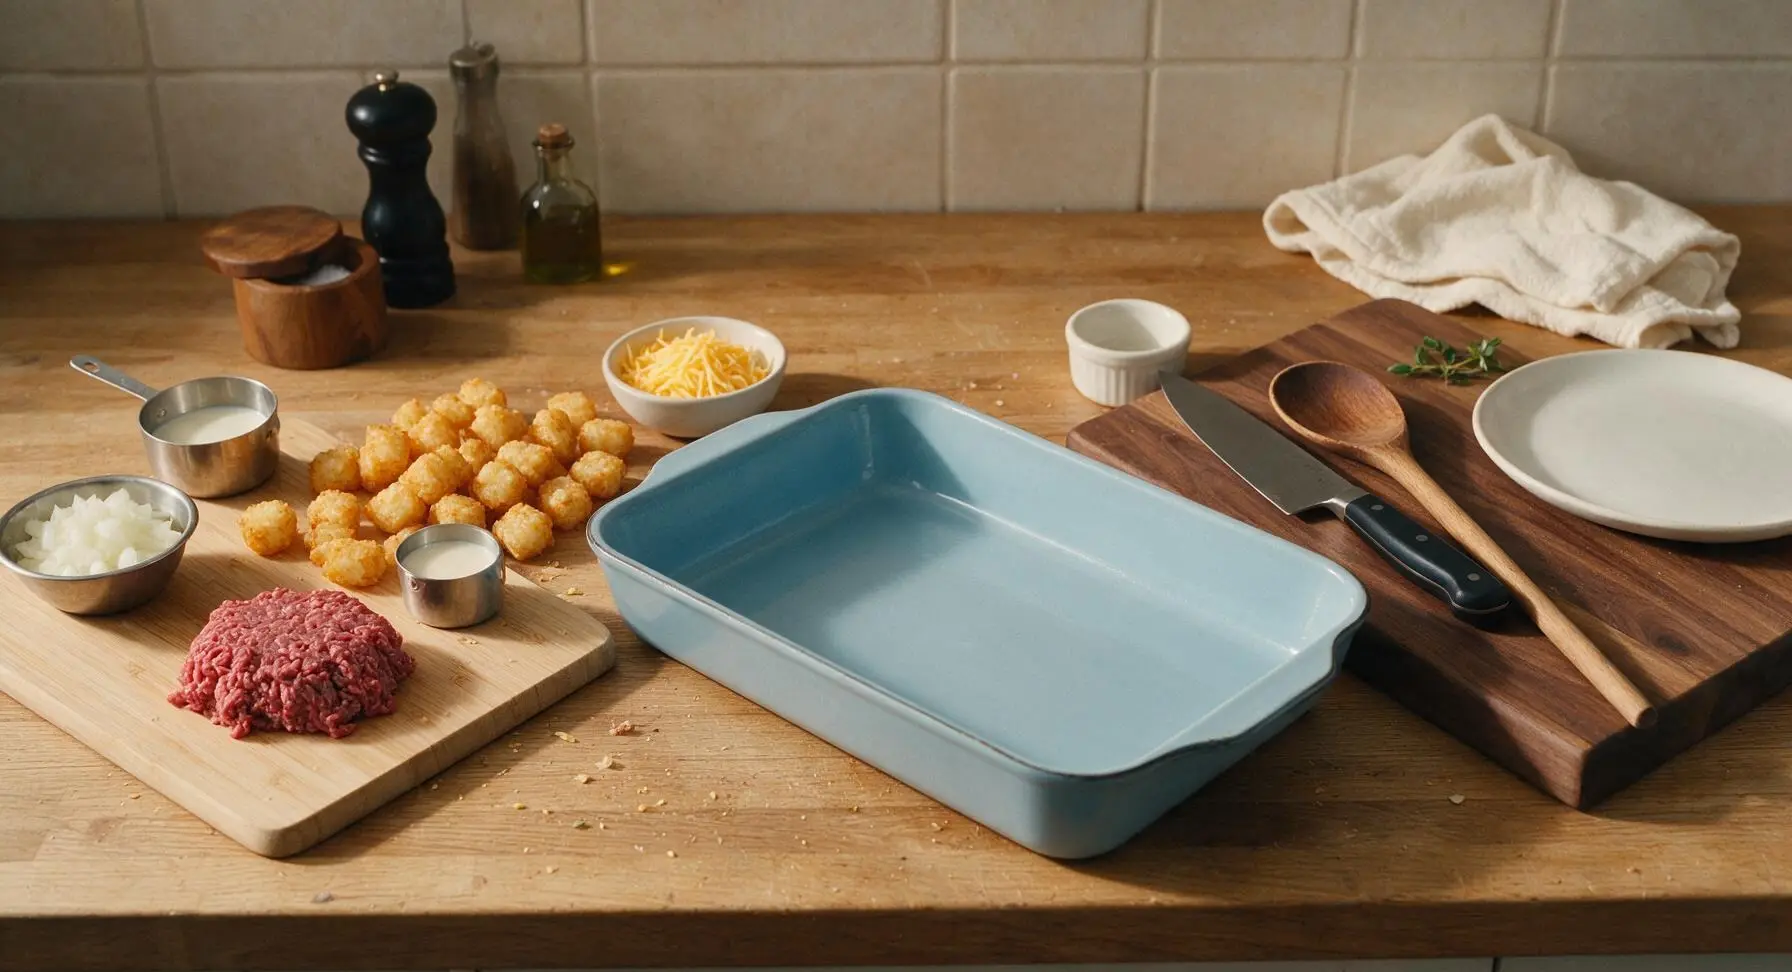
Adjust oven rack to the middle position and preheat oven to 375°F (190°C). Retrieve the 9x13 inch matte light blue enamel baking dish from rear counter storage and set it in the center of the work zone; no greasing is needed, as the dish’s seasoned surface and rendered fat from the recipe will prevent sticking. Arrange all measured ingredients within arm’s reach of the cutting board for easy access.
Step 1
step1:Preheat Oven, Prep Dish
2

Brown the Ground Beef

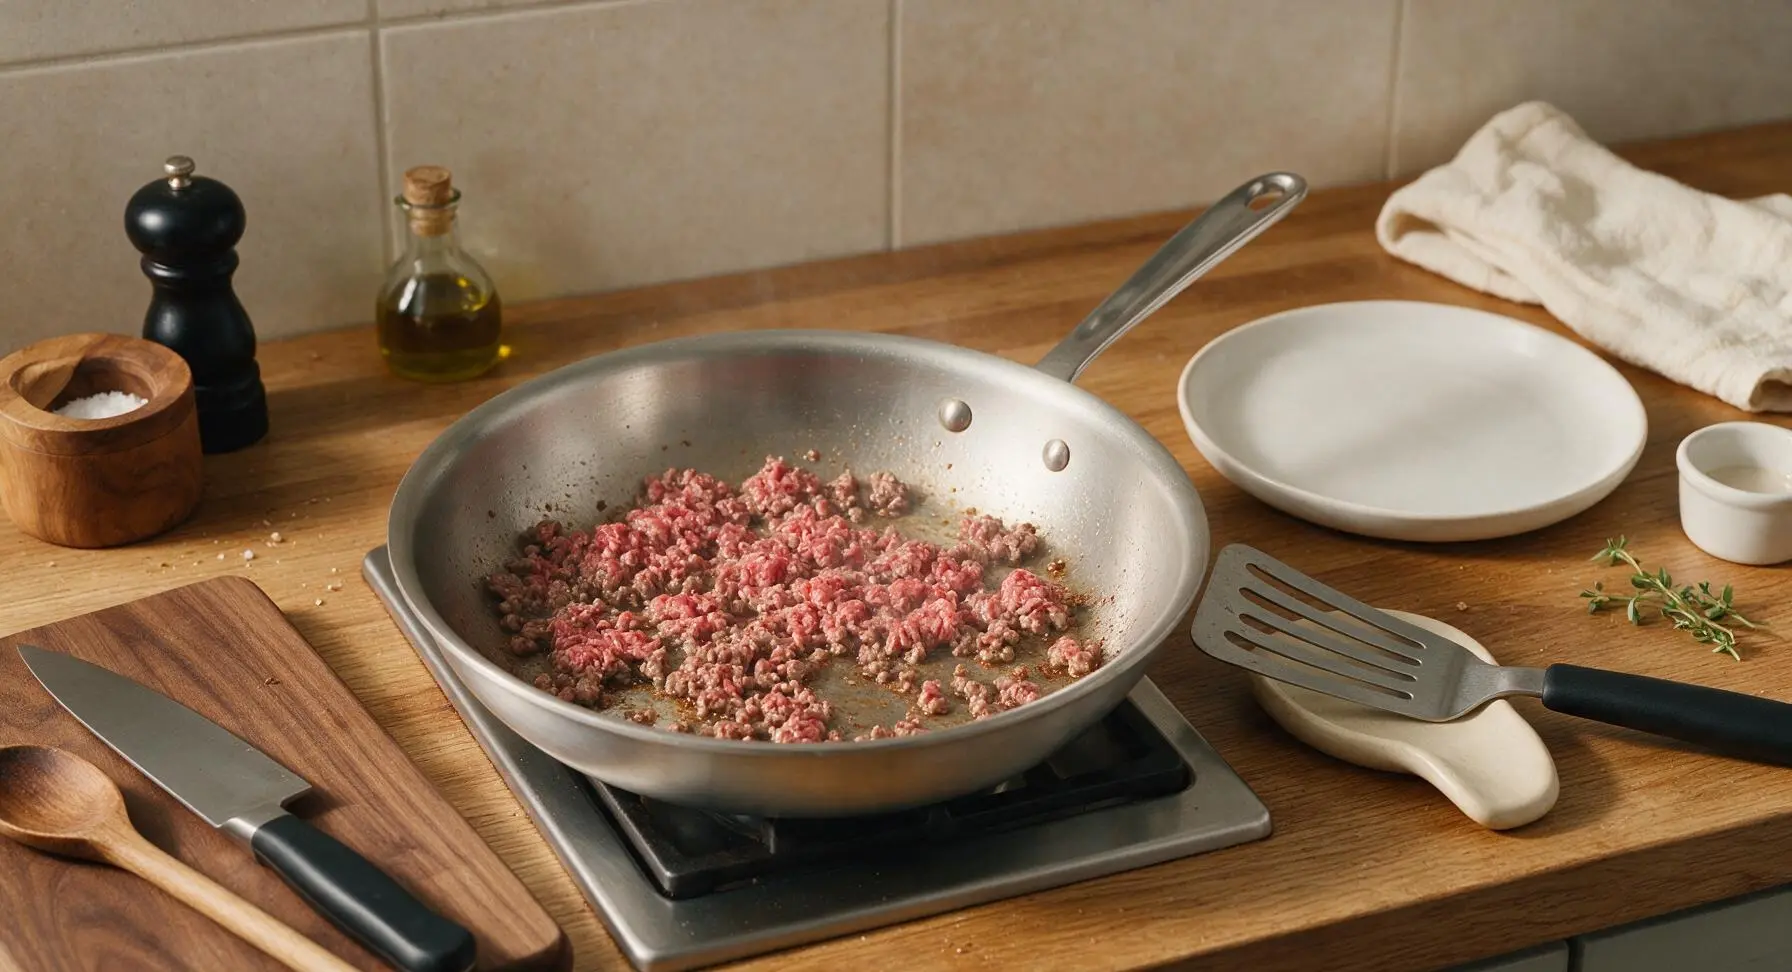
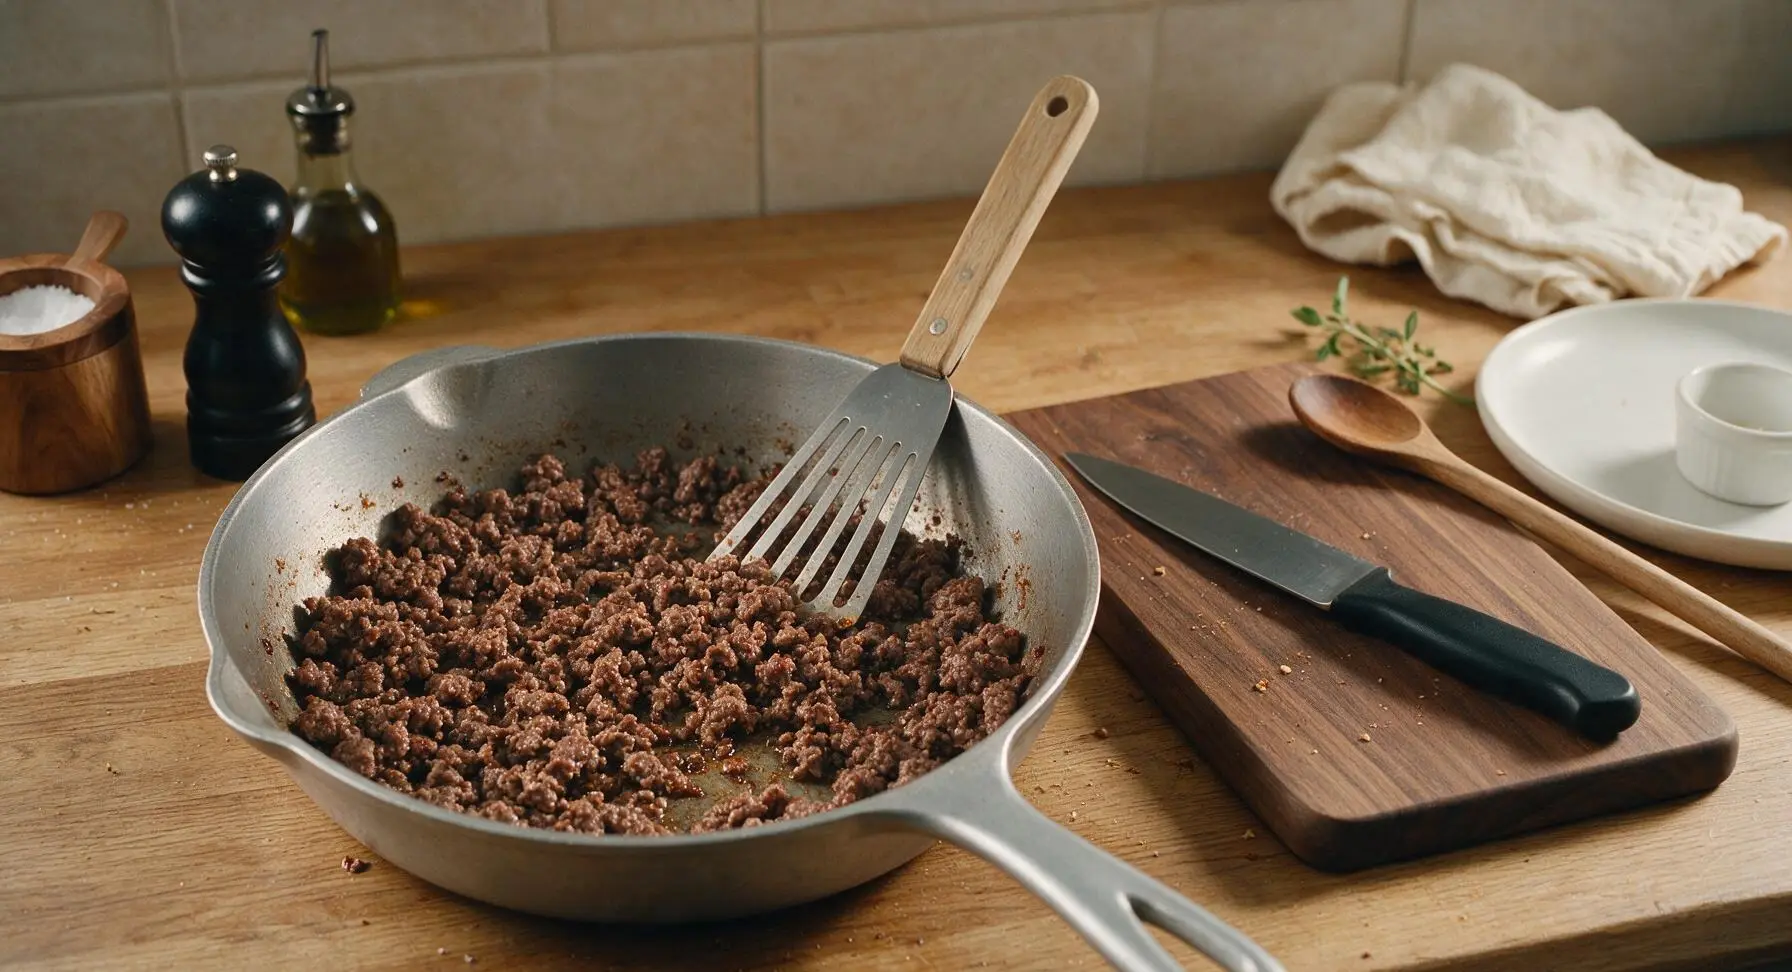
Heat the aluminum skillet over medium heat on the countertop burner. Add the 1lb 80/20 ground beef to the pan, breaking it apart into small, pea-sized crumbles with the slotted turner as it cooks. Cook for 6-7 minutes, until the beef is fully browned with no visible pink remaining, and small crispy brown fond bits form on the pan bottom.
Step 2
step2:Brown the Ground Beef
Step 2
step2:Brown the Ground Beef
3

Sauté Aromatics and Veggies

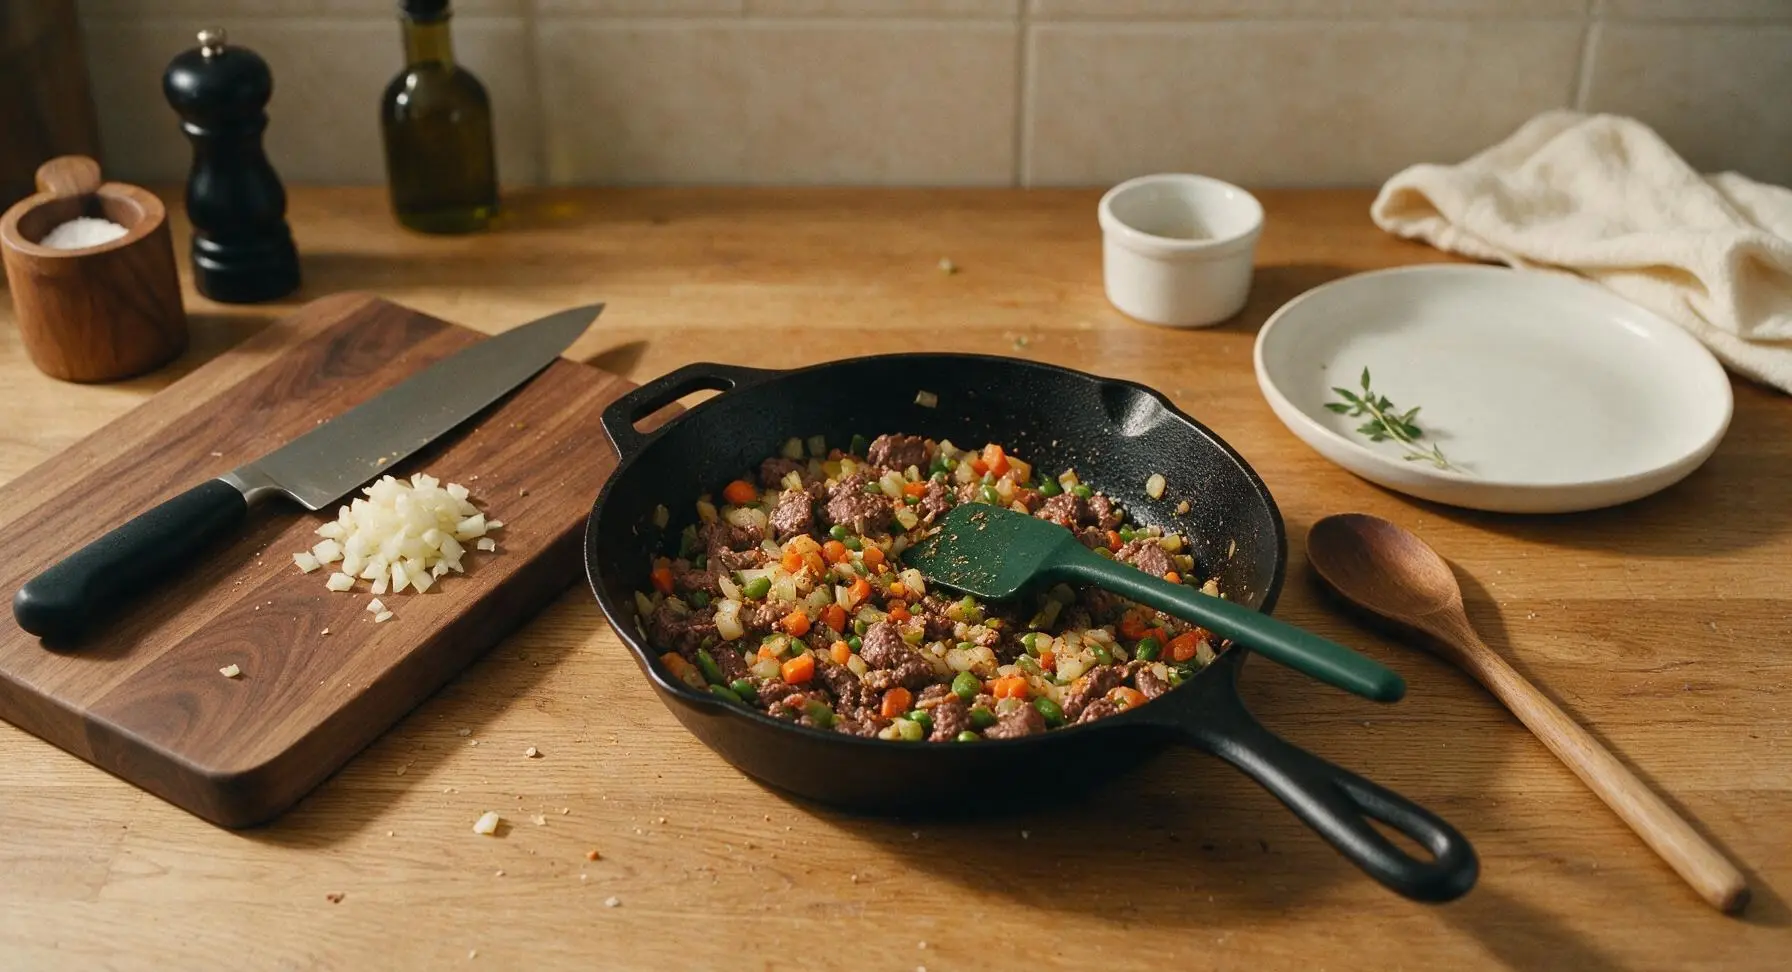
Dice the small yellow onion into 1/4-inch pieces using the chef knife on the bamboo cutting board. Add the diced onion to the browned beef in the skillet, stirring with the silicone spatula, and cook for 3 minutes until soft and translucent. Add the 1.5 cups frozen mixed vegetables, 1 tbsp Worcestershire sauce, 1 tsp garlic powder, 1/2 tsp kosher salt, and 1/4 tsp black pepper, stirring to combine. Cook for 2 more minutes until the vegetables are just thawed and evenly coated in seasoning.
Step 3
step3:Sauté Aromatics and Veggies
4

Stir in Creamy Soup

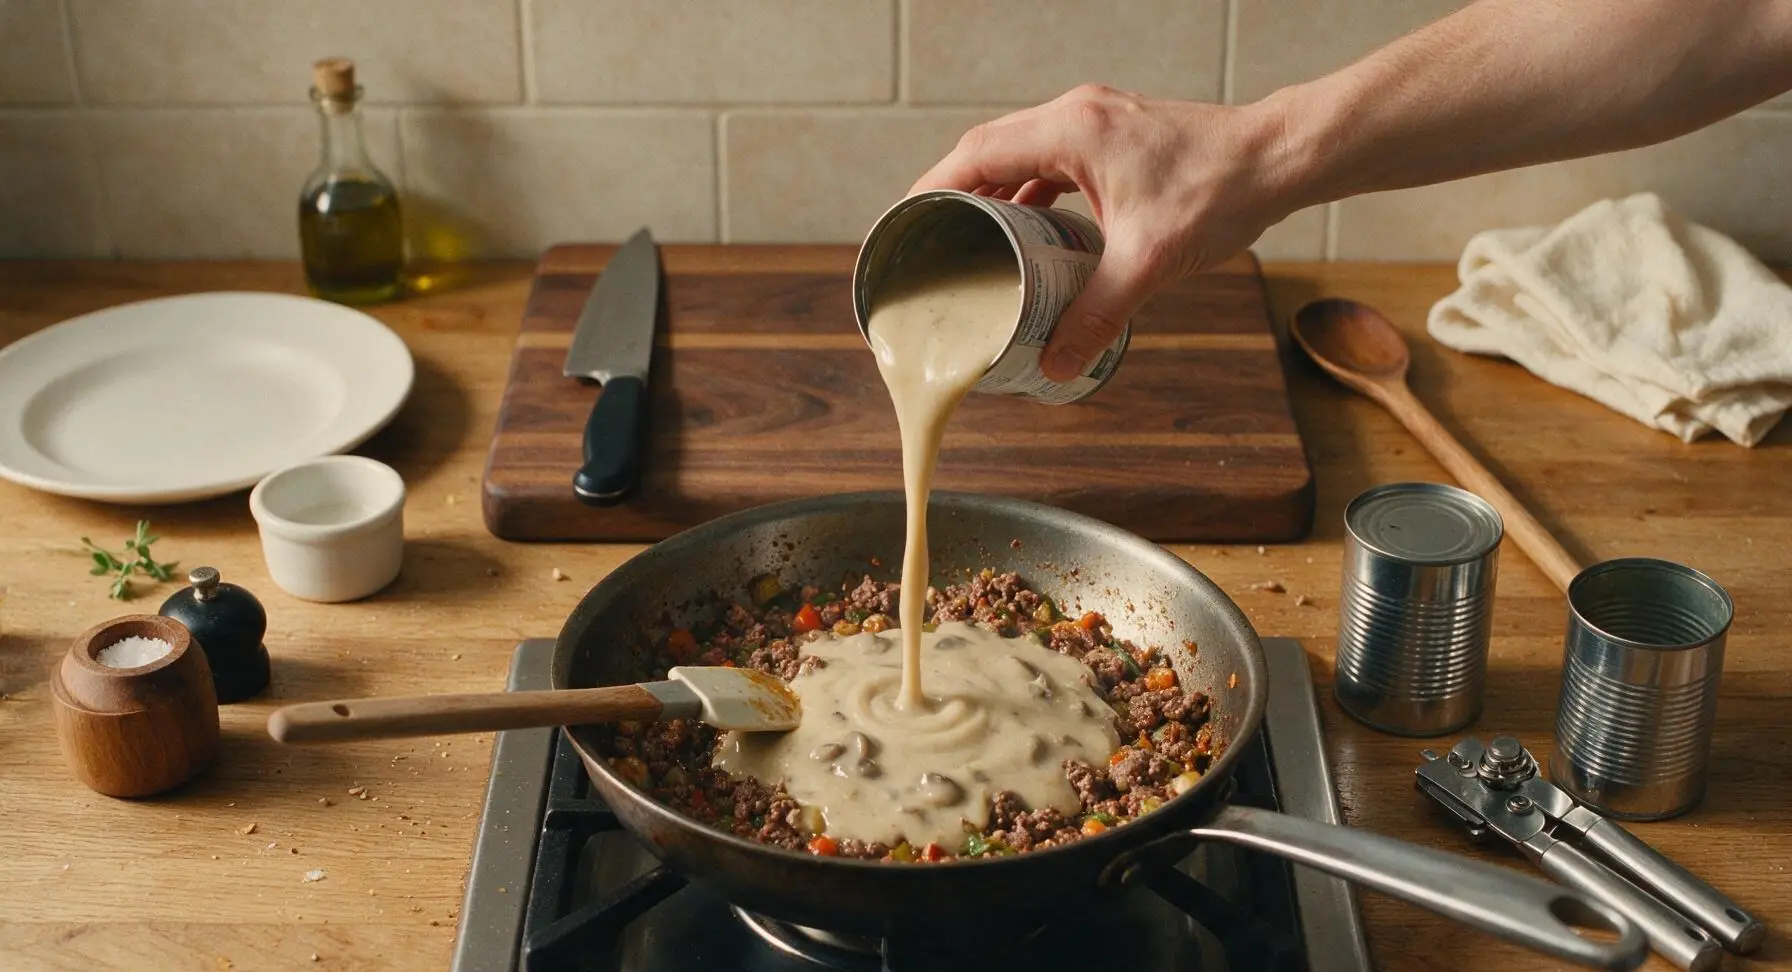
Open both 10.5oz cans of cream of mushroom soup using the manual can opener, then pour the contents into the skillet with the beef and vegetable mixture. Stir thoroughly with the silicone spatula until all ingredients are evenly coated in the thick, creamy soup base, with no dry clumps of vegetables or beef remaining. Let the mixture simmer gently for 2 minutes, until small bubbles form around the pan edges.
Step 4
step4:Stir in Creamy Soup
5

Layer Filling in Dish

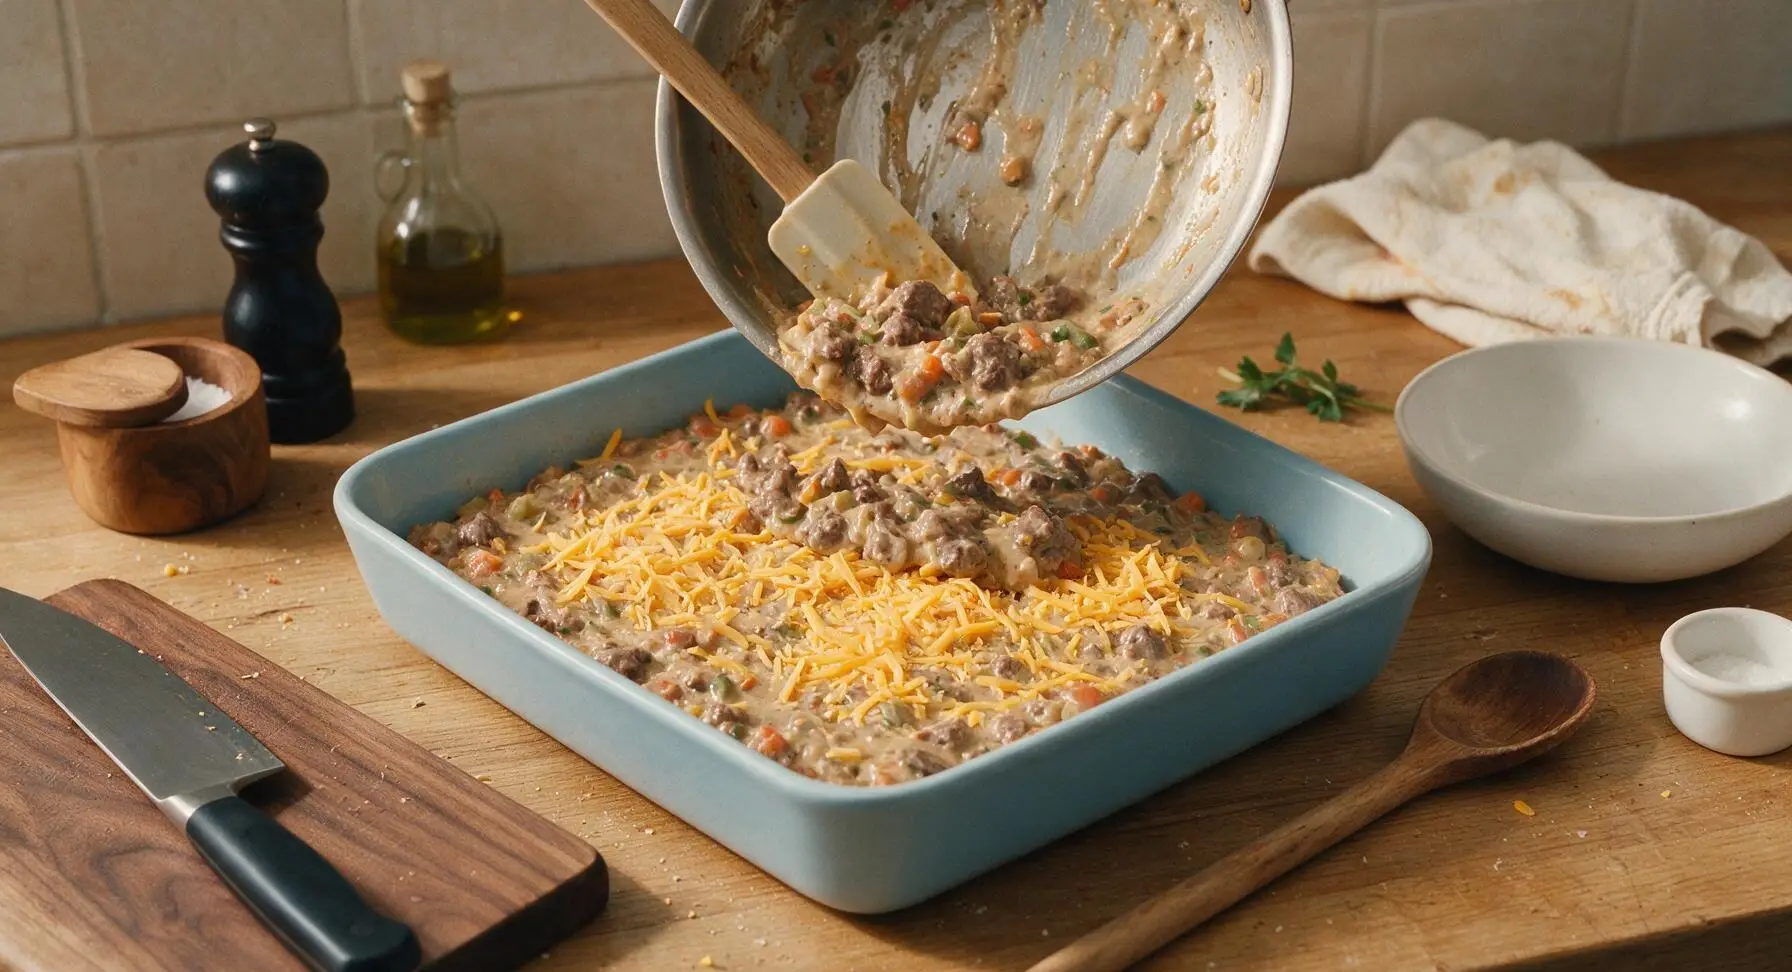
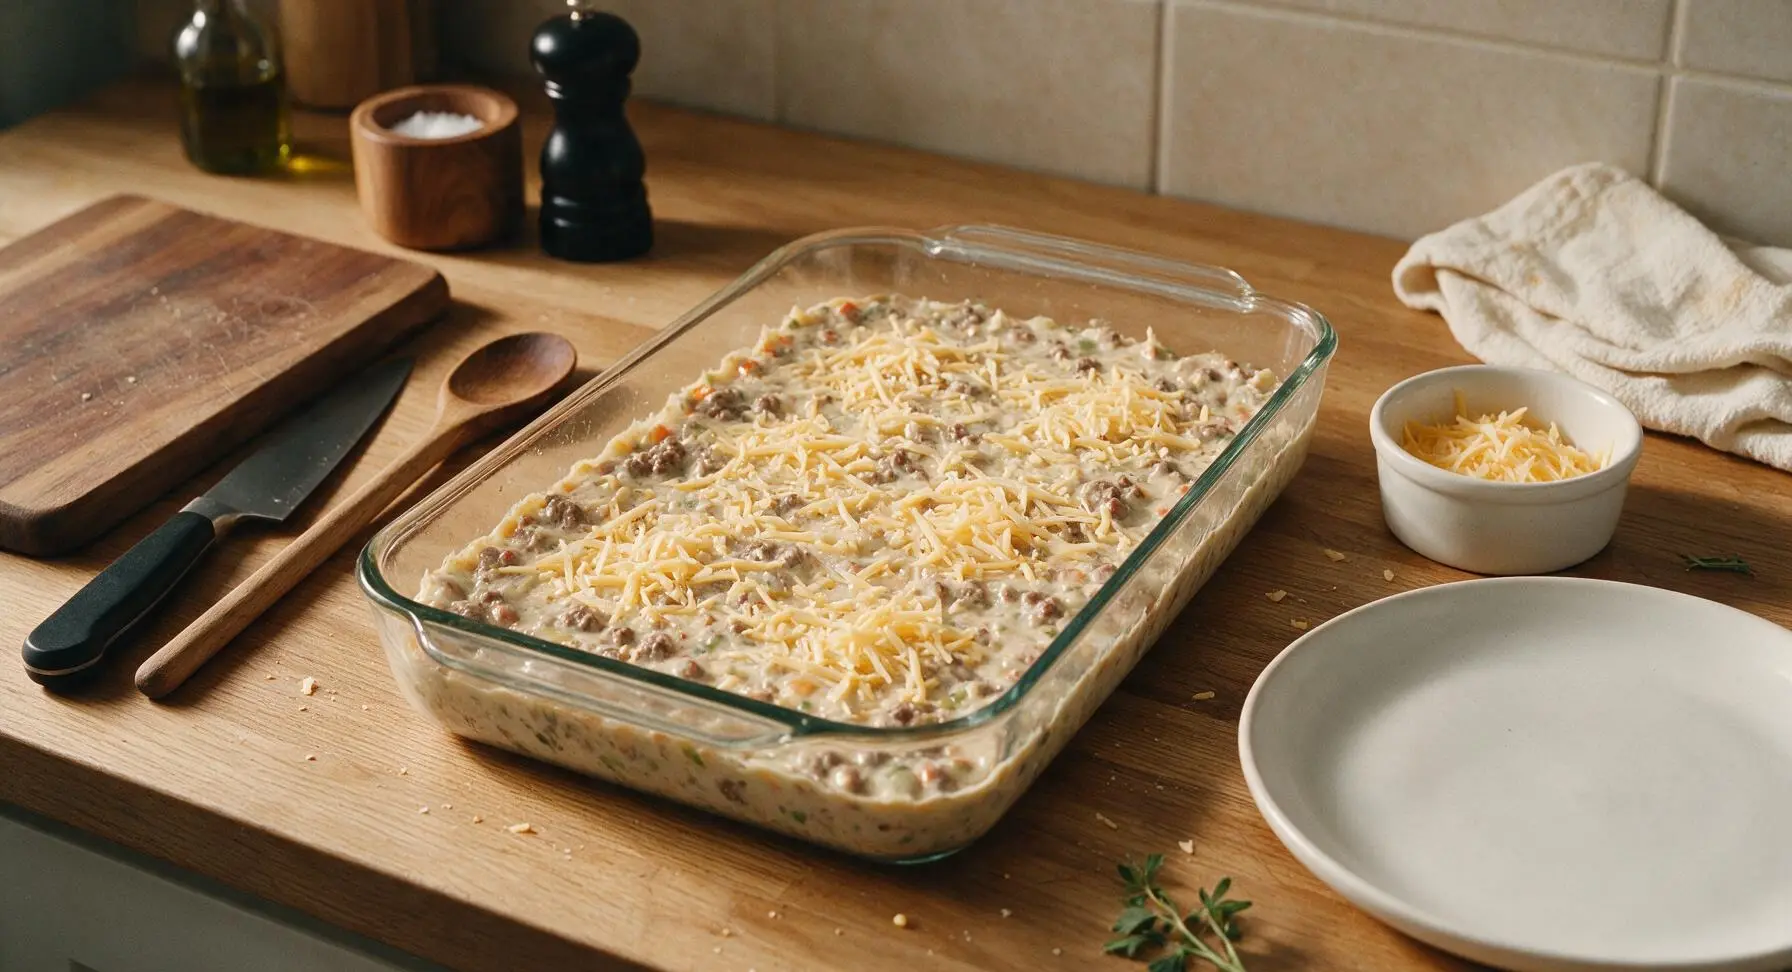
Pour the entire creamy beef and vegetable mixture from the skillet into the prepared 9x13 inch baking dish. Use the silicone spatula to spread the mixture into an even, flat layer across the bottom of the dish, making sure the filling reaches all corners with no gaps. Sprinkle 3/4 cup of the shredded sharp cheddar cheese evenly over the top of the filling layer, reserving the remaining 1/4 cup for the final bake.
Step 5
step5:Layer Filling in Dish
Step 5
step5:Layer Filling in Dish
6

Top with Tater Tots

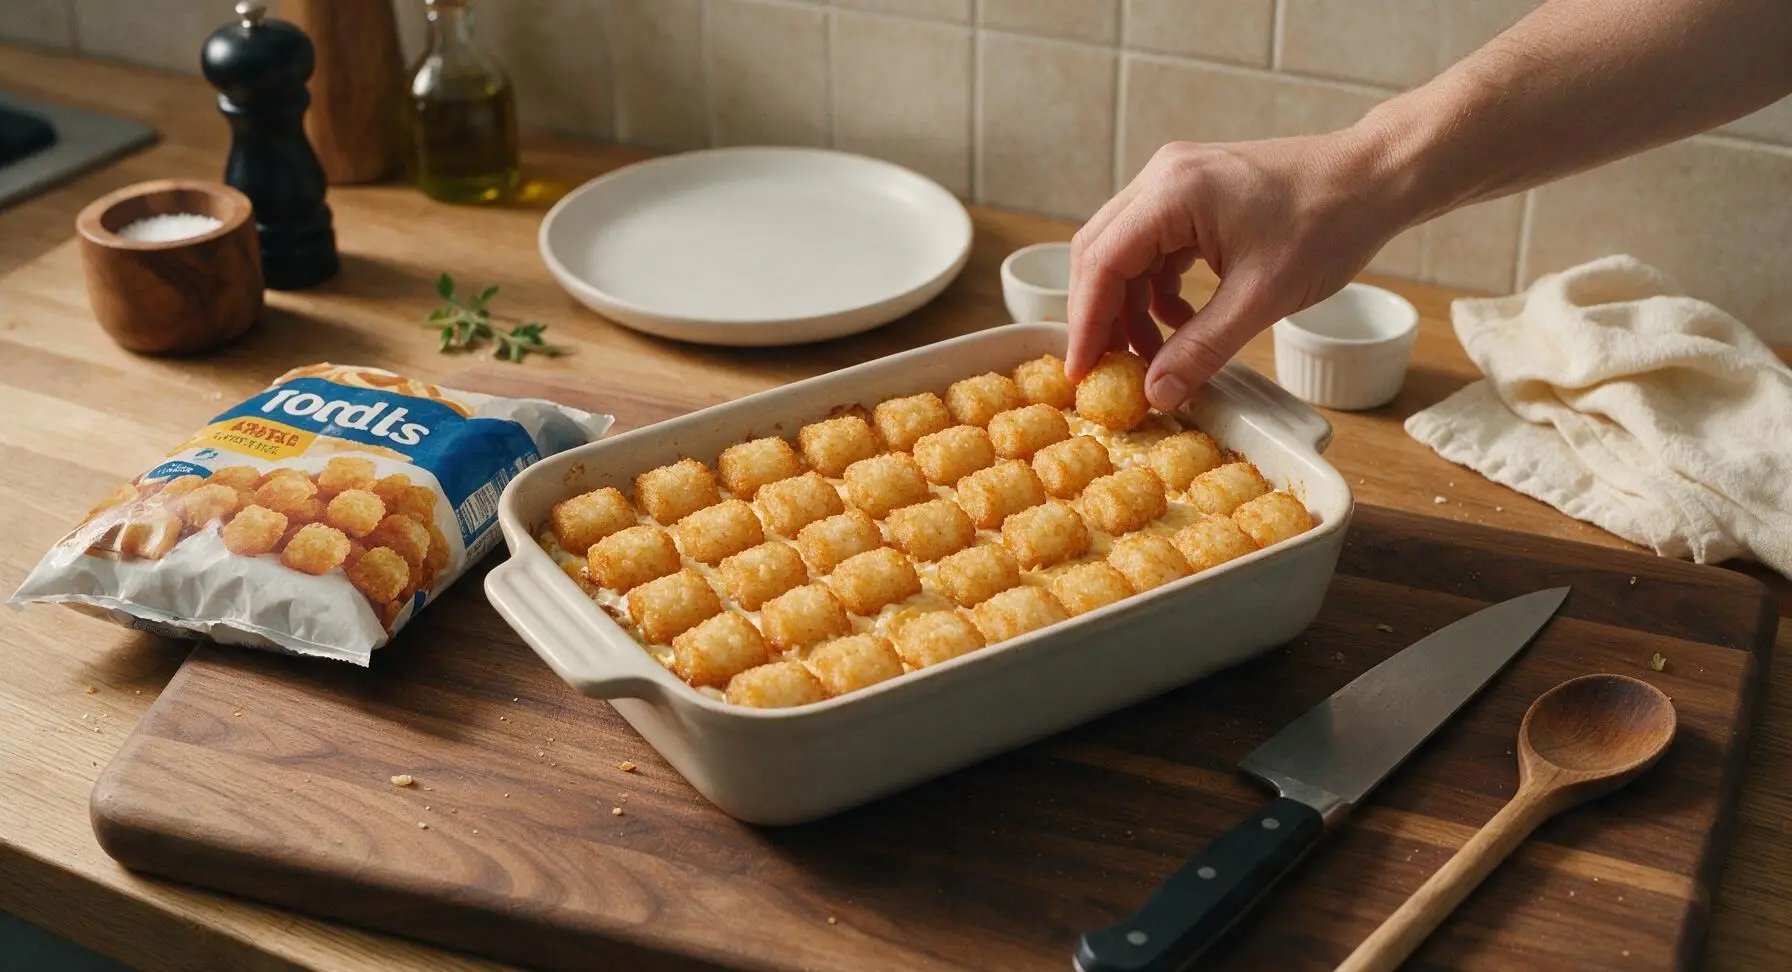
Remove the frozen Ore Ida tater tots from their bag, arranging them in tight, even rows across the top of the cheese and filling layer. Place the tots flat-side down for maximum crispness, covering the entire surface of the dish with no large gaps between tots. Do not thaw the tots first, as frozen tots will crisp better in the oven without becoming soggy.
Step 6
step6:Top with Tater Tots
7

Bake Until Golden Bubbly

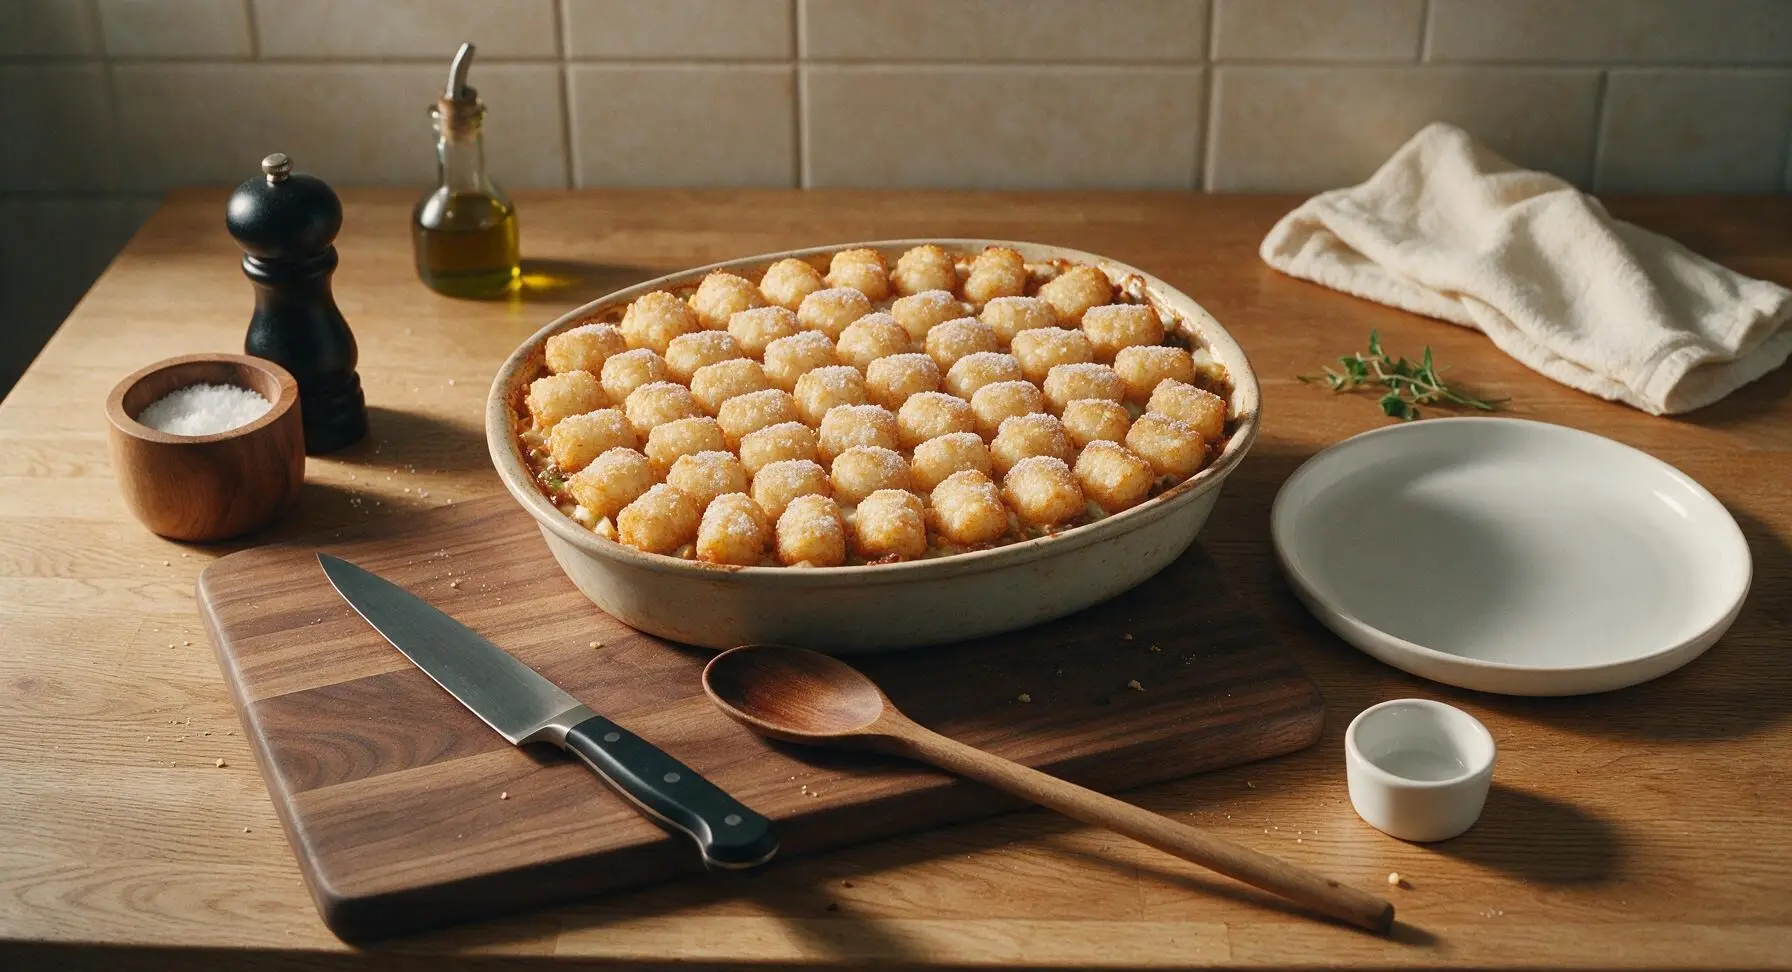
Carefully place the assembled baking dish on the middle oven rack. Bake for 35 minutes, until the filling around the edges of the dish is bubbling vigorously, and the tater tots on the top are starting to turn deep golden brown. Remove the dish from the oven briefly, sprinkle the remaining 1/4 cup shredded cheddar over the top of the tots, then return to the oven for 5 more minutes until the cheese is fully melted and the tots are crispy all over.

Step 7
step7:Bake Until Golden Bubbly
Step 7
step7:Bake Until Golden Bubbly
8

Rest Before Serving

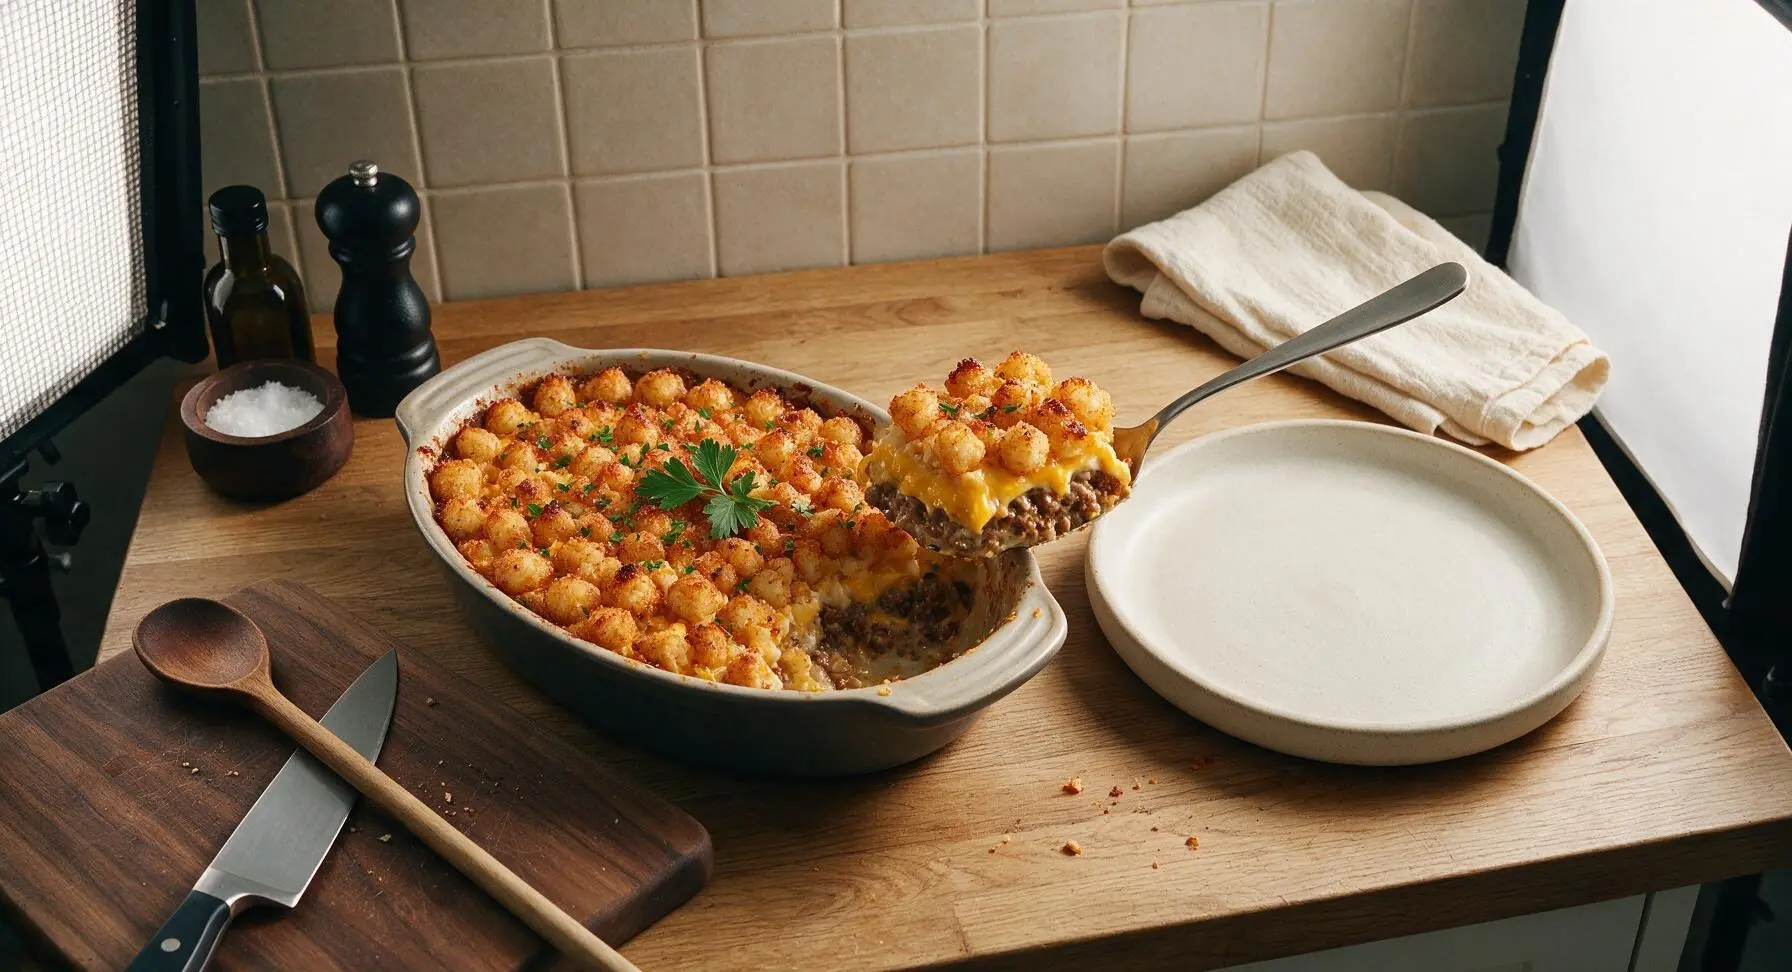
Remove the finished hotdish from the oven, and let it rest on the counter for 10 minutes before serving. This rest time allows the creamy filling to set, so portions hold their shape instead of running when scooped. Scoop into 6 equal square portions, garnish with a tiny sprig of fresh parsley if desired, and serve warm.
Step 8
step8:Rest Before Serving

Tips

1.Keep tater tots fully frozen until assembly: thawed tots absorb moisture from the creamy filling and turn soft and soggy, while frozen tots develop a shatteringly crisp, golden exterior in the hot oven.
2.Choose 80/20 ground beef over lean blends: the 20% fat content renders as the beef browns, adding rich, deep savoriness to the filling without requiring extra cooking oil, and prevents the finished dish from tasting dry.
3.Resist serving immediately after baking: let the hotdish rest for the full 10 minutes to allow the creamy soup base to set, so portions hold their neat square shape instead of running across the plate when scooped.


✨ You May Also Like

Main Course
🍜 United Kingdom

A showstopping classic of tender seared beef, savory mushroom duxelles, and crisp prosciutto wrapped in flaky golden puff pastry, baked to juicy perfection.

⏱️ 2 hours 1Main Course ★ 4.7
Main Course
🍜 India

Tender charred marinated chicken simmered in a rich, spiced creamy tomato sauce, this iconic Anglo-Indian curry pairs perfectly with basmati rice or warm naan.

⏱️ 50 minuteMain Course ★ 4.6
Main Course
🍜 Thailand

Classic tangy, sweet, and savory Thai stir-fried rice noodles with shrimp, tofu, and crunchy garnishes, balancing all five core Thai flavor profiles.

⏱️ 30 minuteMain Course ★ 4.5
Main Course
🍜 United Kingdom

Crispy golden beer-battered cod and fluffy double-fried chips, served with tangy tartar sauce and malt vinegar: the timeless, beloved British pub comfort classic.

⏱️ 45 minuteMain Course ★ 4.7
Main Course
🍜 Mexico

Smoky, chile-marinated pork tacos with caramelized pineapple, fresh cilantro, and lime: a beloved classic Mexican street food perfect for casual summer gatherings.

⏱️ 1 hour 45Main Course ★ 4.8
Main Course
🍜 United States

Crunchy Fritos corn chips layered with savory beef chili and melted cheddar, topped with cool, zesty fixings for a beloved, cozy Tex-Mex comfort food.

⏱️ 35 minuteMain Course ★ 4.8

ore ida tater tot hotdish:Frequently Asked Questions

1.Do I need to thaw the frozen tater tots or mixed vegetables before assembling the hotdish? ▾
No, skip thawing both ingredients for the best results! Keep Ore Ida tater tots frozen right up until you top the dish to help them crisp up instead of turning mushy, and add frozen mixed veggies straight from the bag to the filling—they’ll steam perfectly as the hotdish bakes, no pre-cooking required. This cuts total prep time to under 15 minutes, even when you factor in browning the beef and onion.
2.Can I use a leaner ground beef instead of the recommended 80/20 blend? ▾
Sticking with 80/20 ground beef gives the richest, most authentic flavorful filling, but you can use leaner 90/10 beef if that’s what you have on hand. Just don’t drain off all the rendered fat from browning the beef and onion—leave 1 to 2 tablespoons in the pan to keep the creamy filling from drying out or tasting flat and crumbly.
3.Why does my tater tot topping turn out soggy instead of crispy every time I make this? ▾
Soggy tots almost always trace back to two common mistakes: thawing tots before baking, or piling them too tightly on top of the filling. Arrange frozen tots in a single, even layer with small gaps for air flow, and bake uncovered for the final 20 minutes to let excess moisture escape for that perfect golden crunch.
4.Is it traditional to add cheese to this hotdish, and what kind works best? ▾
Absolutely—cheese is a beloved, classic add-in for Midwest tater tot hotdish! Stir 1 cup of shredded sharp cheddar into the beef, onion, and veggie filling before adding the tot layer, then sprinkle an extra half cup over the top during the last 10 minutes of baking. Skip pre-shredded cheese with anti-caking additives for the creamiest, smoothest melt.
5.Can I swap the condensed cream of mushroom soup for a different variety? ▾
Cream of mushroom is the traditional, nostalgic base for this hotdish, but you can easily swap it for condensed cream of celery, cream of chicken, or even a homemade creamy soup base if you prefer. If you use low-sodium condensed soup, add a pinch of garlic powder and black pepper to amp up savoriness so the filling doesn’t taste bland.
6.How should I store leftover hotdish, and how long will it stay good? ▾
Let leftover hotdish cool completely to room temperature within 2 hours of baking, then cover the baking dish tightly with foil or an airtight lid. It will keep in the refrigerator for up to 4 days, or you can freeze individual portions for up to 3 months. Reheat in a 350°F oven or microwave until the filling is bubbly all the way through.
7.Do I need to cover the hotdish with foil while it bakes? ▾
Cover the dish with aluminum foil for the first 25 minutes of baking to let the filling heat through evenly without burning the tater tot topping, then remove the foil for the final 20 minutes of cook time. This two-step method ensures the beef and veggie filling is bubbly all the way through while the tots crisp up to golden perfection.
8.What size baking dish works best for this recipe? ▾
A standard 9x13 inch glass or ceramic baking dish is ideal for this hotdish, as it gives you enough room to spread the beef, onion, and veggie filling in a thin, even layer and arrange tater tots in a single layer on top. Using a smaller, deeper dish will lead to underheated filling and soggy, under-crisped tots.

Comments (4)

2 weeks ago

OMG this is exactly the hotdish my grandma used to bring to church potlucks! I was so worried I’d never get the ratio right, but this was SO easy to throw together for our family dinner last night. My three kids devoured half the pan before my husband even got home from work. 10/10 will be adding this to our regular rotation!

3 days ago

Game changer! I was meal prepping for the week and decided to give this a shot since it’s easy and only has a 50 minute cook time. It reheats like an absolute dream — I had it for lunch three days in a row and didn’t get bored at all, it’s SO good. Perfect cozy comfort food for when the weather starts cooling down.

2 days ago

Totally agree about the reheat factor! I made this for a potluck at work last month and froze half of it for later, it tasted just as good thawed and reheated as it did fresh!

30 minutes ago

Wait, do you have to use the Ore Ida brand specifically? I accidentally bought the store brand tater tots on my grocery run this week and I don’t want to run back to the store just for this. It looks so good I want to make it tonight for my kids!

5 minutes ago

Great question! Ore Ida tots hold up really nicely for that classic crispy top, but store brand tater tots work totally fine too — just keep an eye on them the last 5 minutes of cook time to make sure they get as crispy as you like them. Hope you and the kids love it!

1 week ago

Okay y’all, I am literally the worst at cooking — I burn toast 90% of the time — but this was actually impossible to mess up! I followed the directions exactly, didn’t substitute anything, and it came out perfect. My roommate thought I ordered takeout lmao. 10/10 for all my fellow beginner cooks out there.

5 days ago

Same boat! I’m a college student with basically zero cooking skills and a tiny dorm oven, and this turned out so good. Perfect cheap meal to feed me and my roommates for days. I added a little extra hot sauce on top and it was chef’s kiss.

3 days ago

This makes us so happy to hear, Jess! This hotdish is designed to be totally foolproof, even if you’re just starting out in the kitchen. Love that you and your roommate enjoyed it — that’s what easy weeknight cooking is all about!



