
oster waffle maker directions
intro
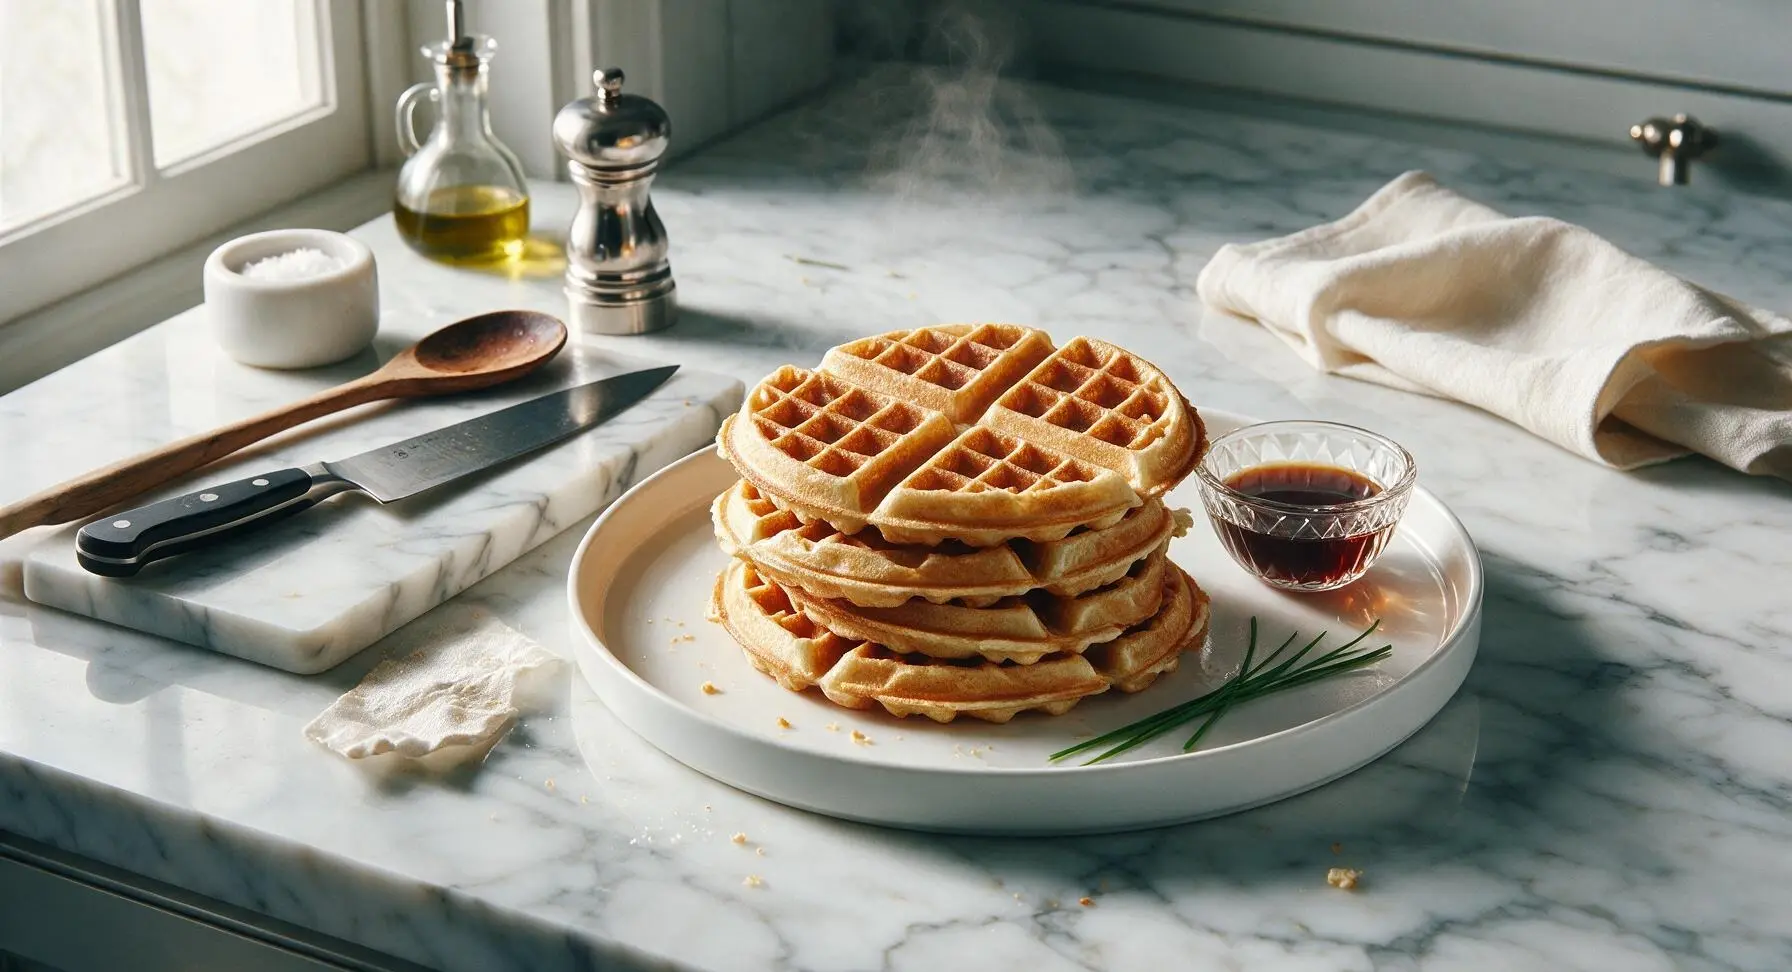
Crisp golden outside, fluffy tangy inside, these perfect buttermilk waffles made in your Oster waffle maker are quick, cozy comfort food ideal for busy winter days.
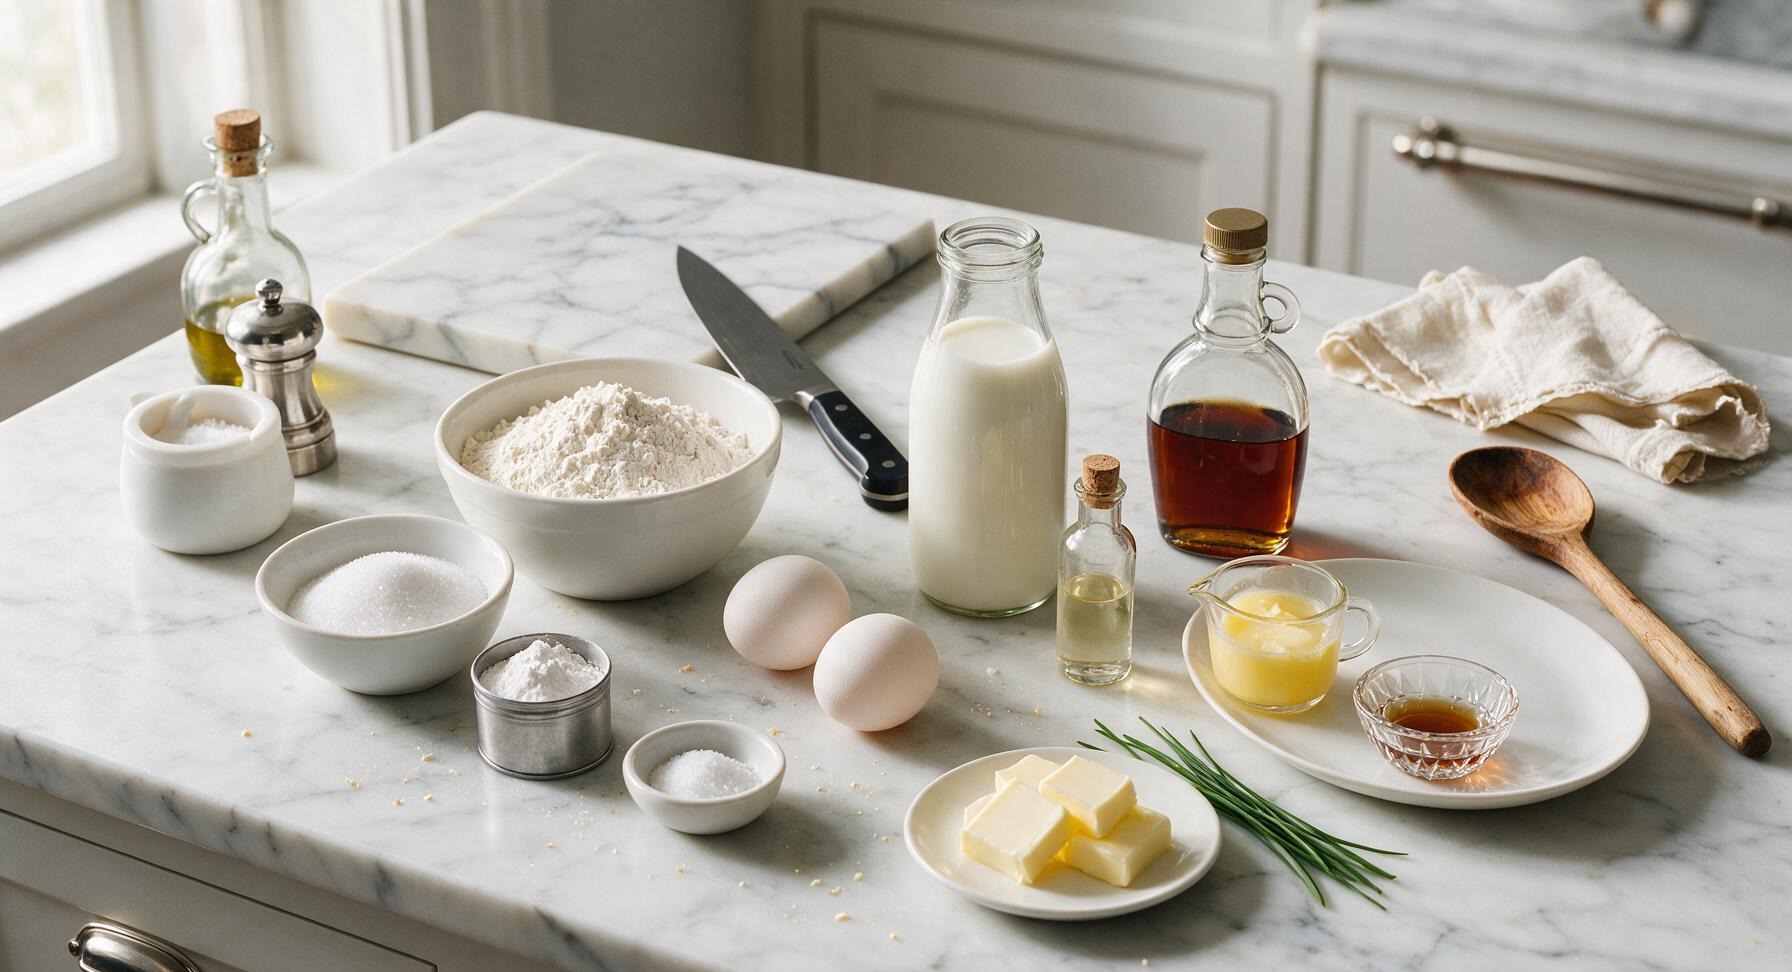
Ingredients
Steps
Preheat Waffle Maker
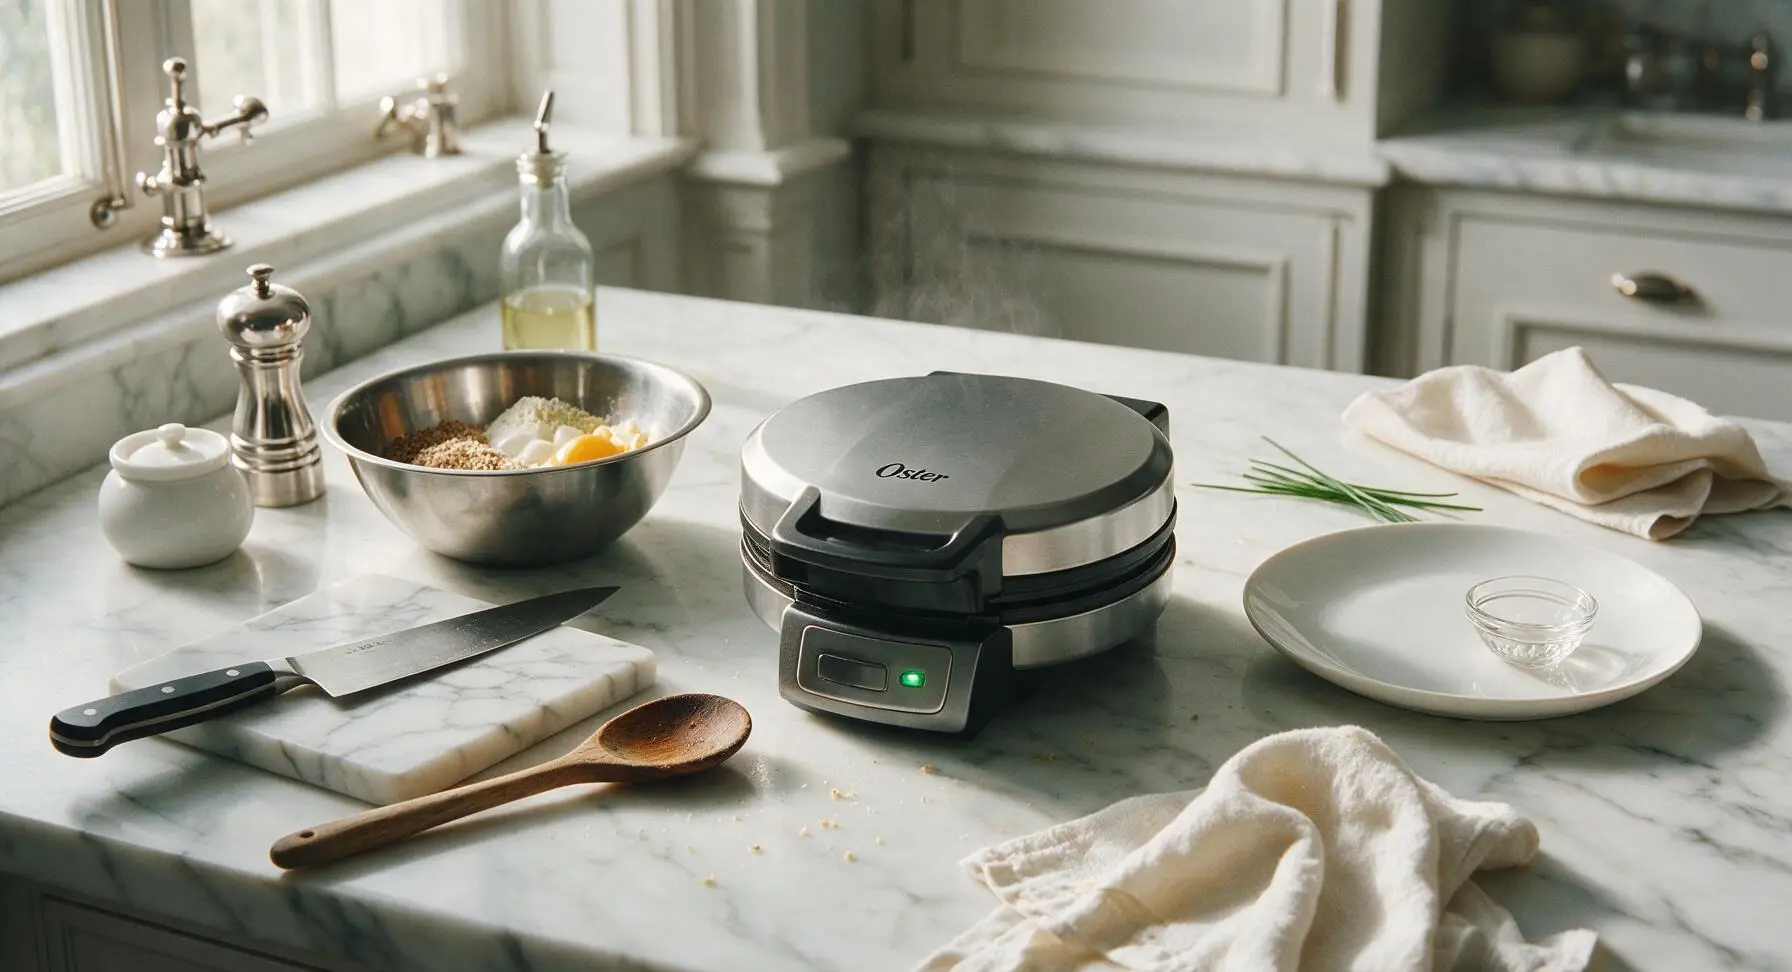
Plug in your Oster 7-inch waffle maker, close the lid, and turn the crispness dial to medium-high (setting 4 on most Oster models). Allow it to preheat for 5-7 minutes, until the front-panel green 'ready' indicator light illuminates. For models with worn non-stick plates, mist plates lightly with non-stick spray or brush with melted butter once preheated; new plates require no extra grease.
Whisk Dry Ingredients
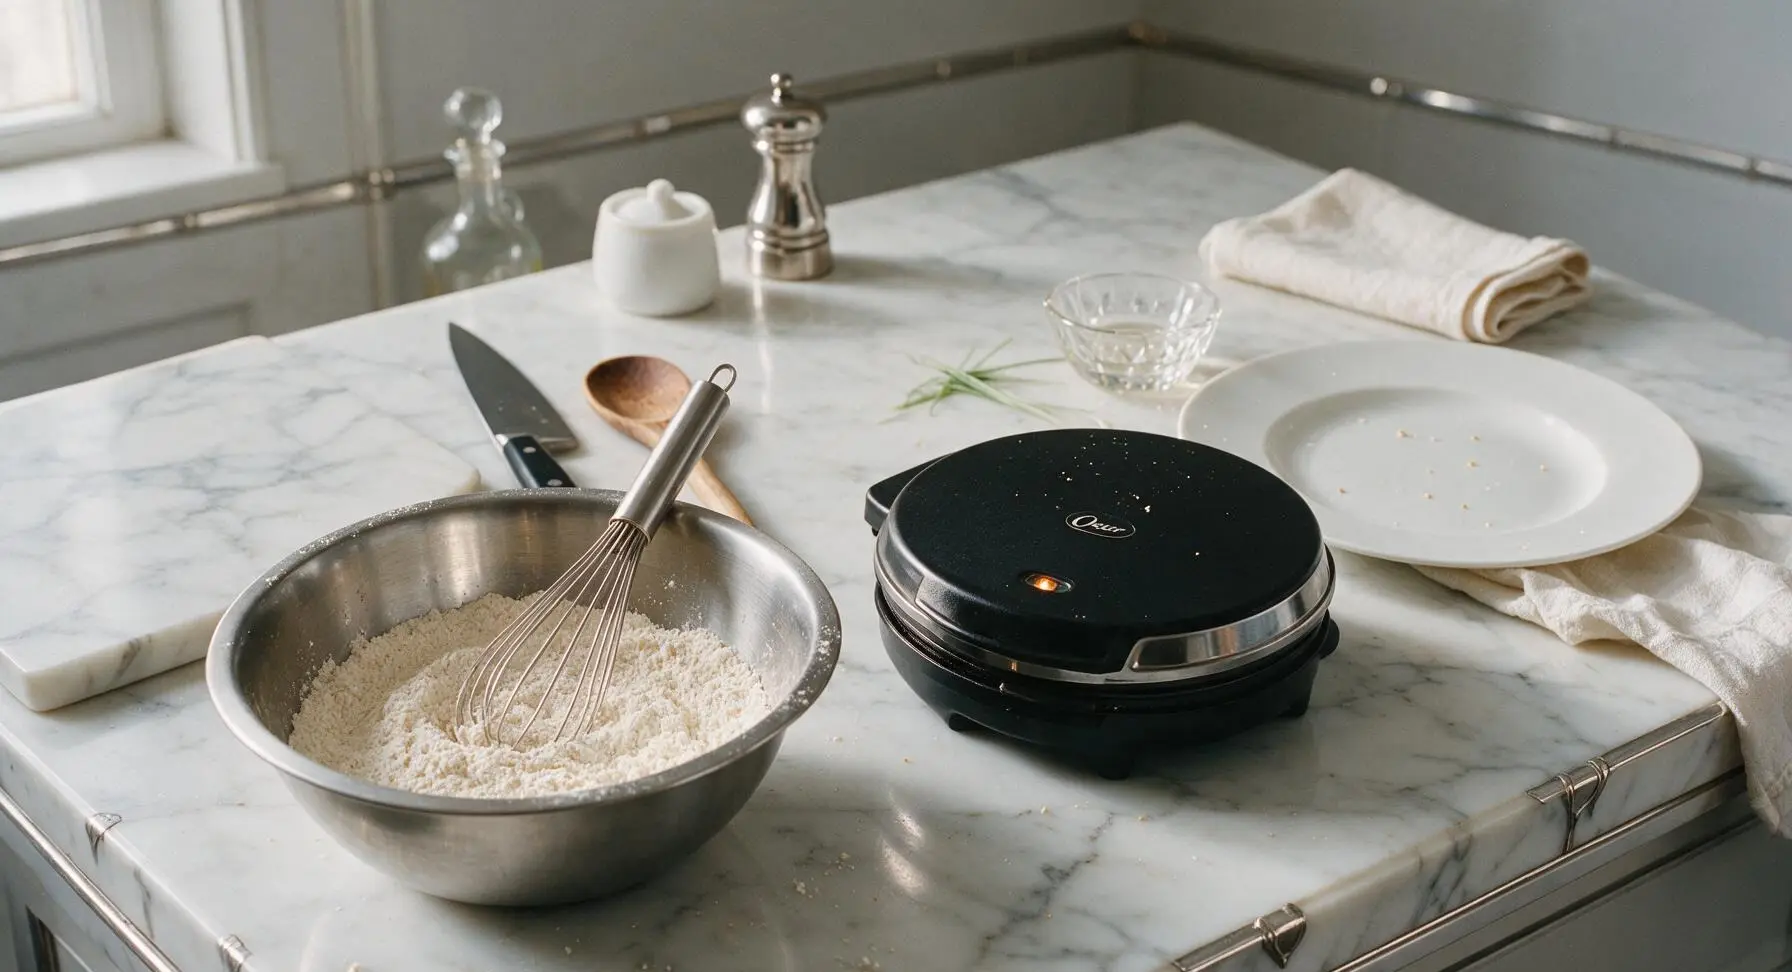
Add the all-purpose flour, granulated sugar, baking powder, and fine sea salt to the stainless steel mixing bowl. Use the silicone whisk to stir the dry ingredients for 30 seconds, until fully combined with no visible clumps of baking powder, creating a uniform pale flour mixture.
Add Wet Ingredients
Create a shallow 3-inch wide well in the center of the dry flour mixture. Crack the 2 large eggs into the well, then pour in the whole buttermilk, cooled melted unsalted butter, and vanilla extract. Pouring wet ingredients into the central well prevents overmixing and reduces lumps.
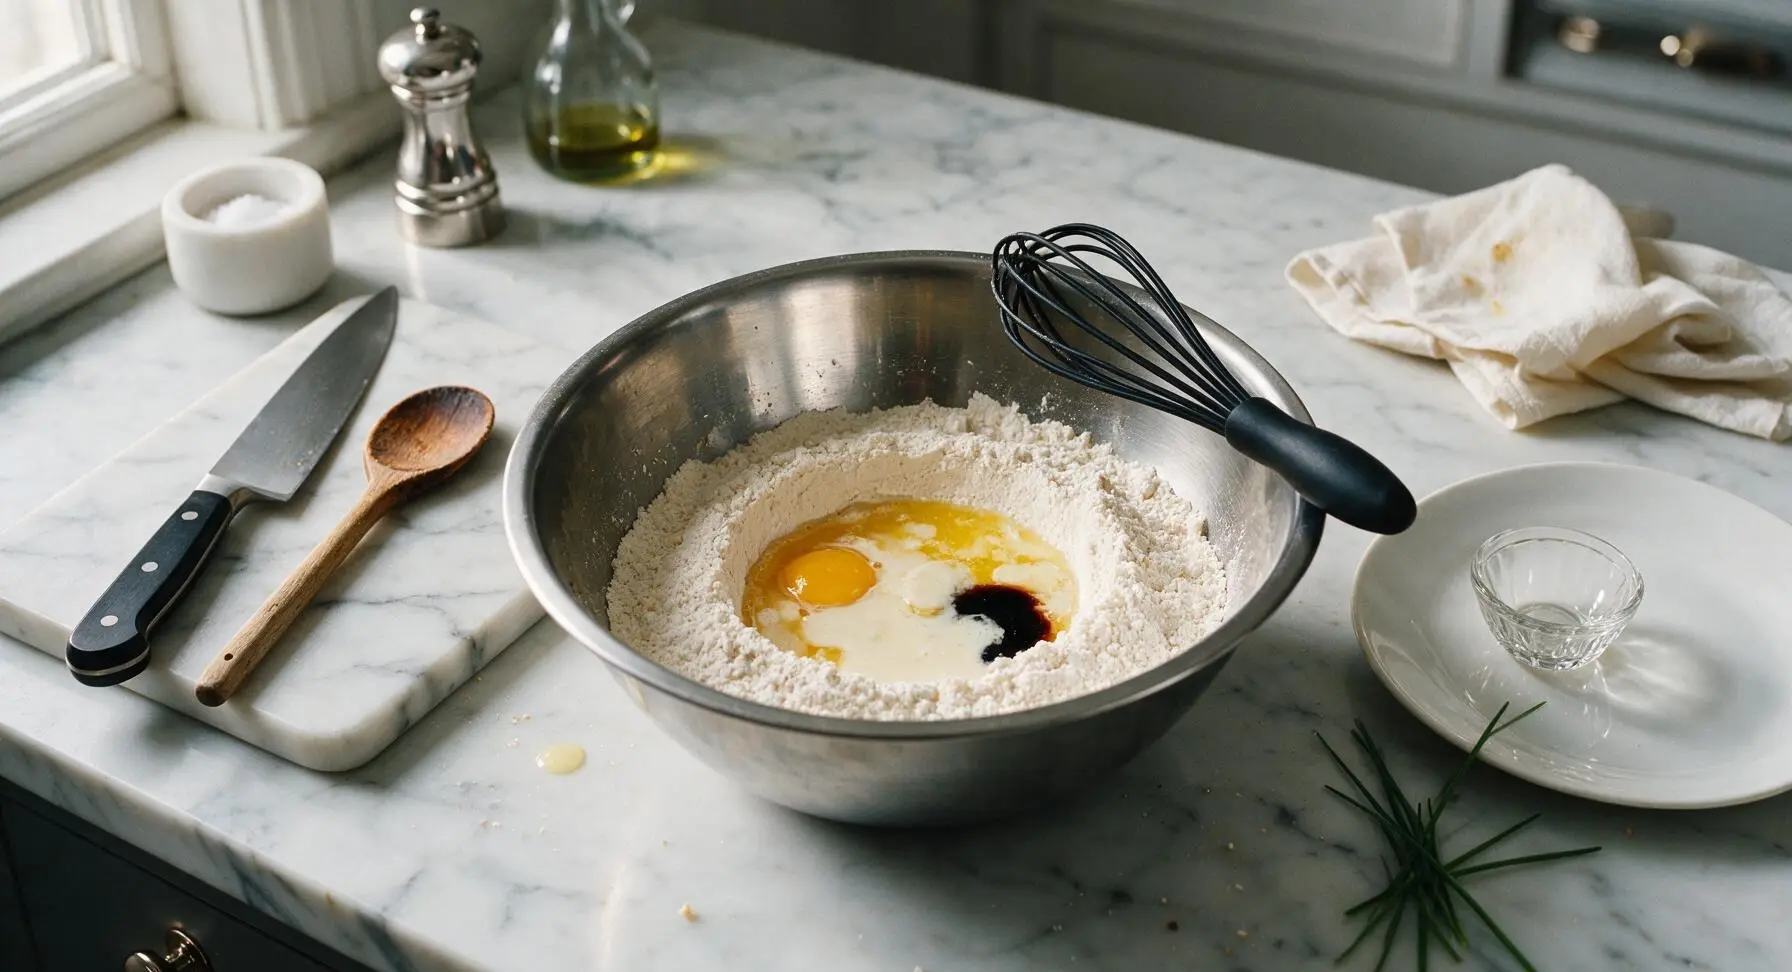
Mix Resting Batter
Use the silicone whisk to gently stir the wet and dry ingredients together, mixing only just until no large dry flour streaks remain. Stop mixing immediately once combined; the batter should be thick and slightly lumpy, not completely smooth. Overmixing develops gluten and creates tough, dense waffles. Let the batter rest for 3 minutes to activate the baking powder, until small air bubbles dot the surface.
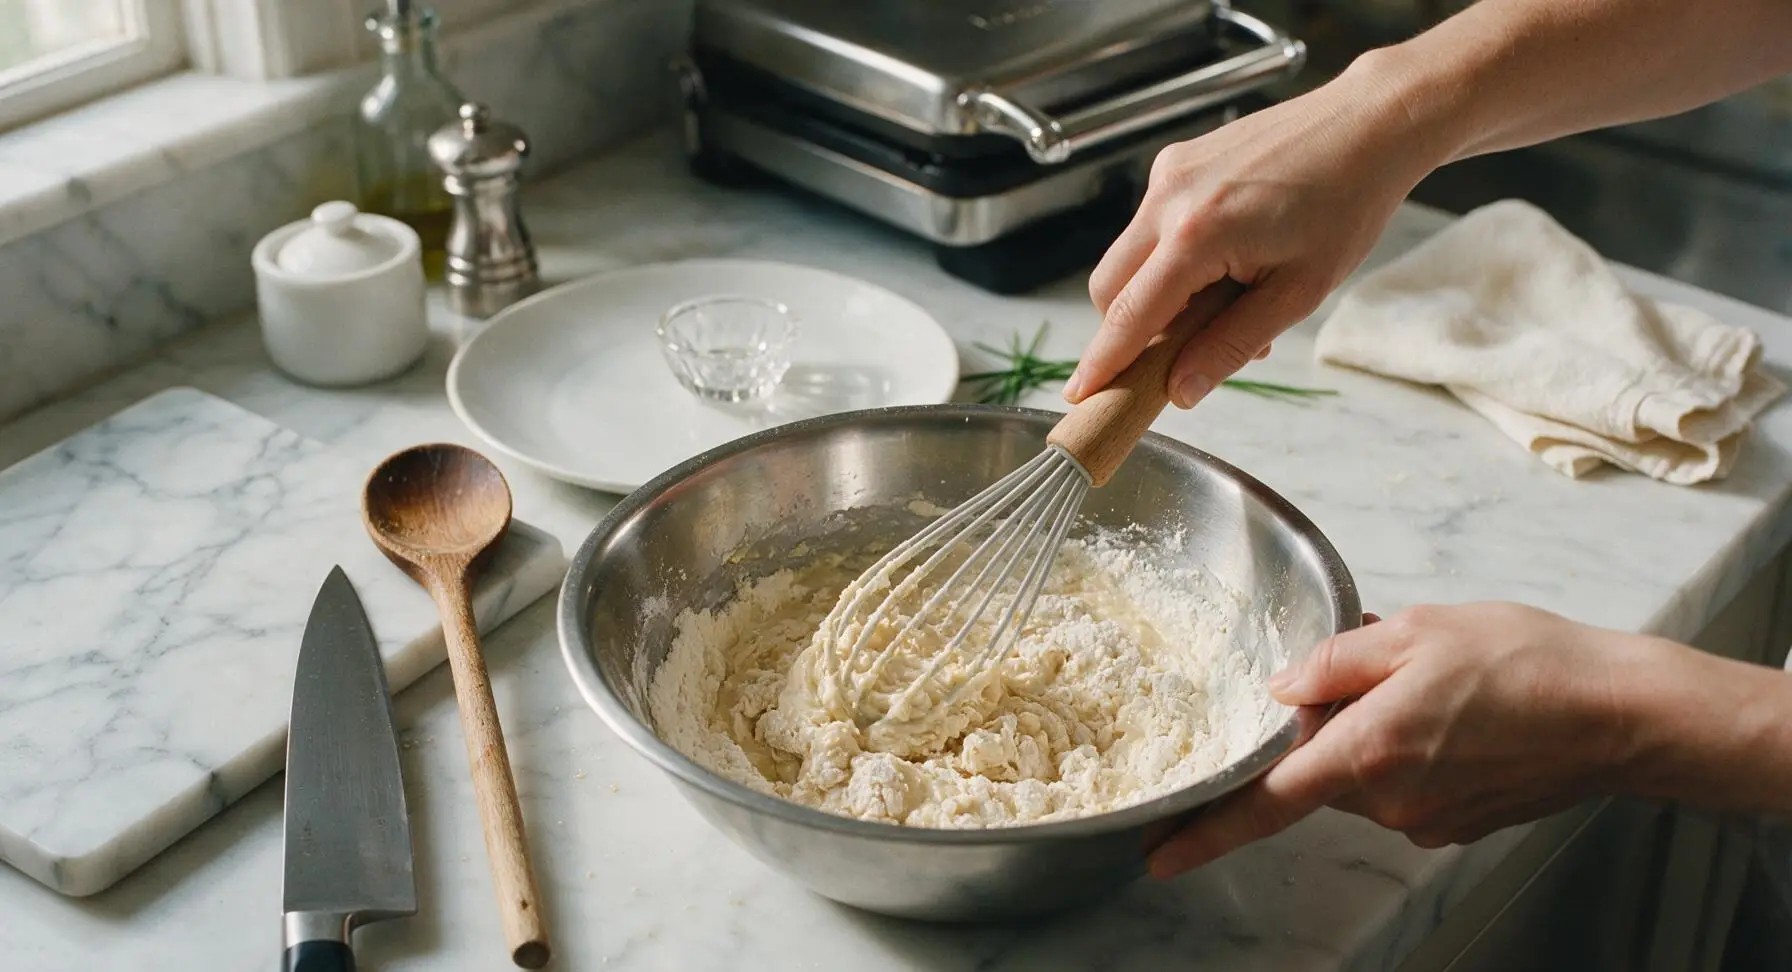
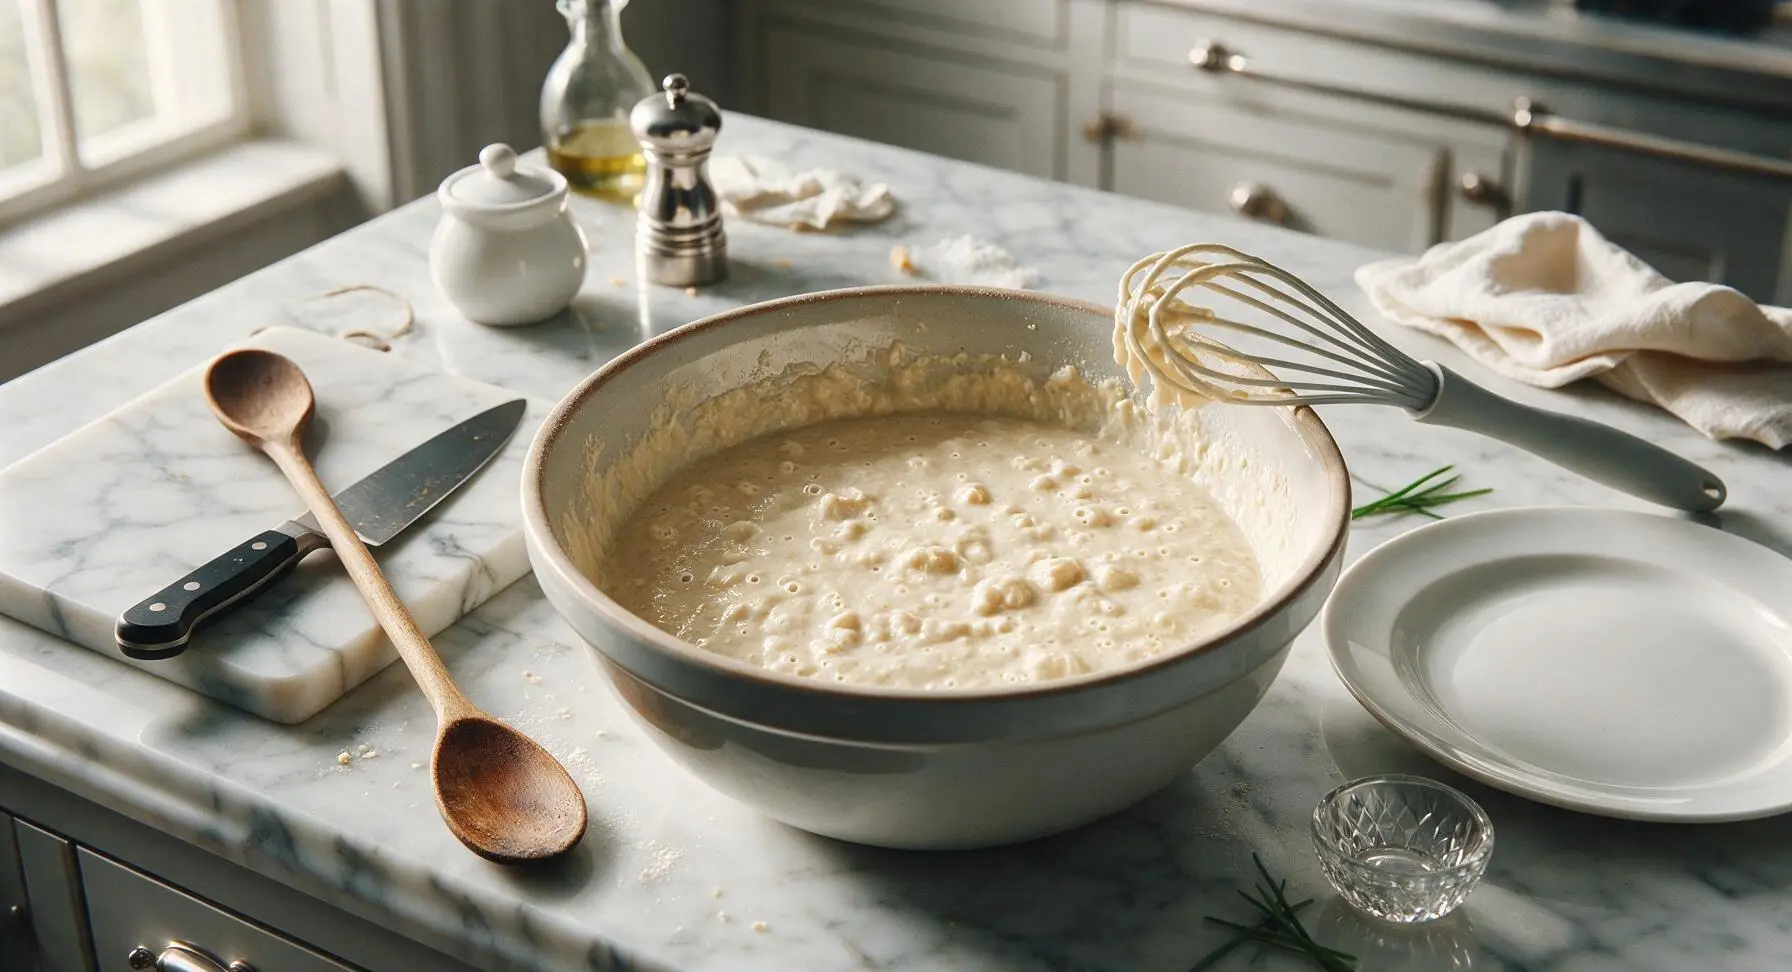
Pour Batter Onto Plates
Confirm the Oster waffle maker’s green ready light is illuminated, then lift the lid. Use the 1/2 cup stainless steel measuring cup to scoop batter, pouring it slowly directly onto the center of the lower cooking plate. Do not spread the batter; it will spread evenly as the lid closes. For 7-inch Oster models, 1/2 cup batter creates a full waffle with minimal overflow. Close and latch the lid immediately.
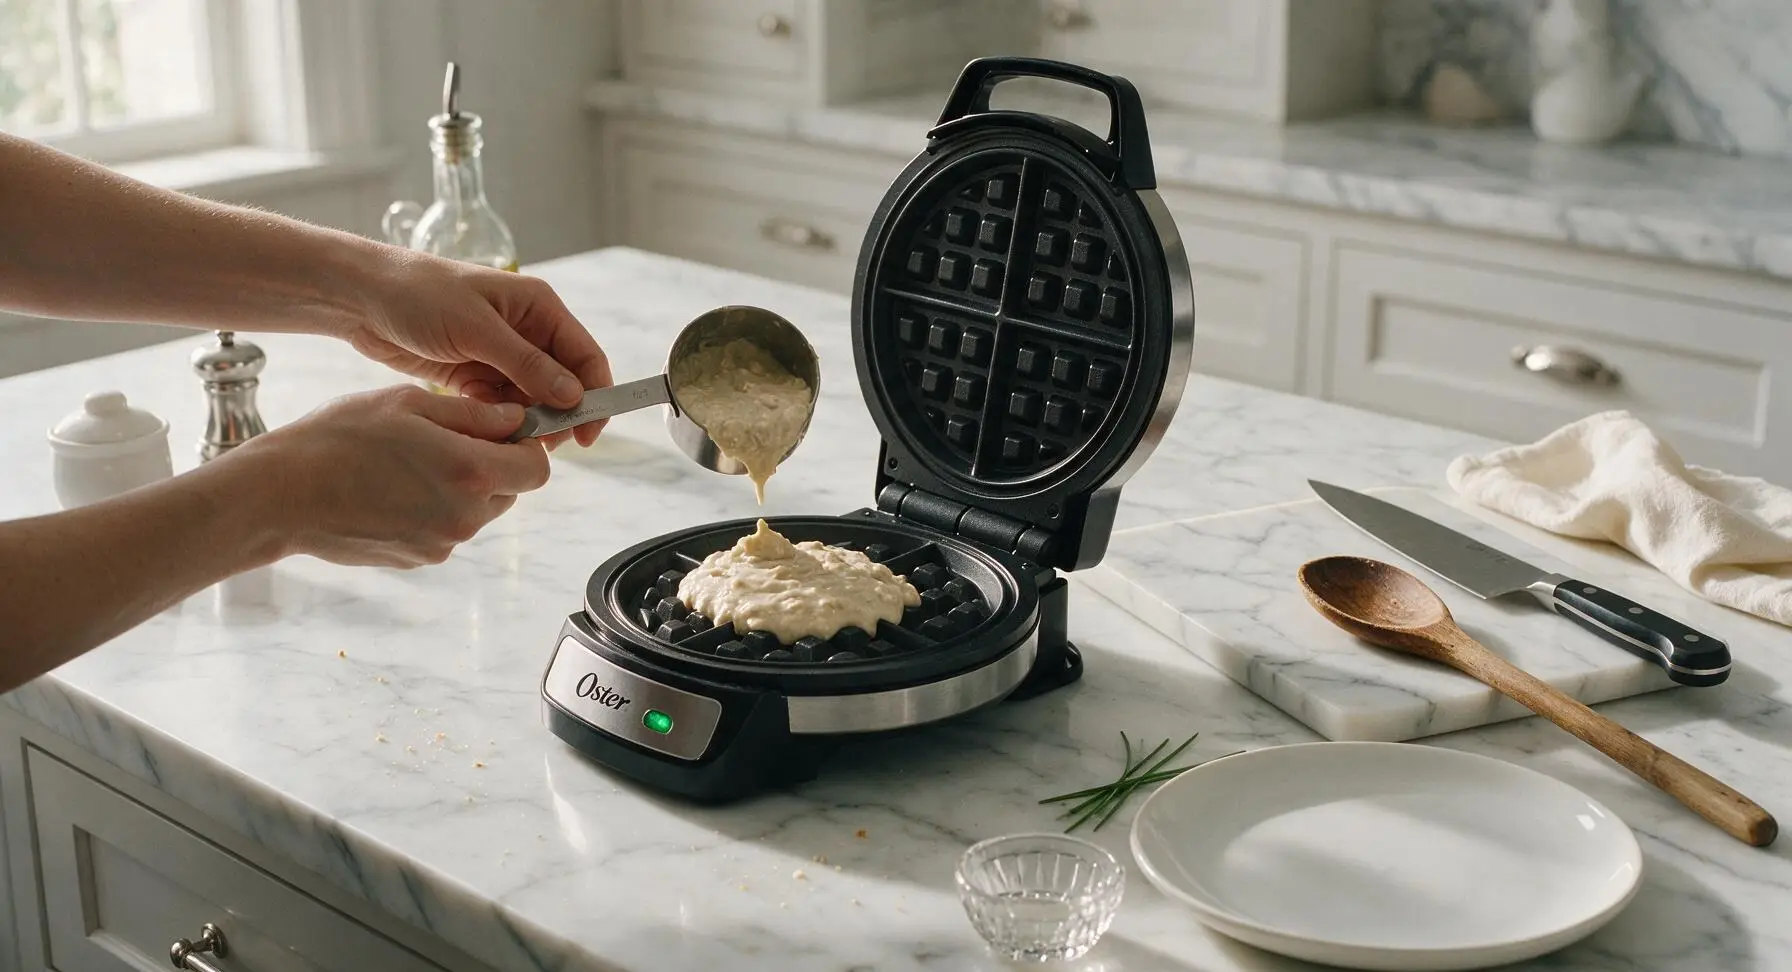
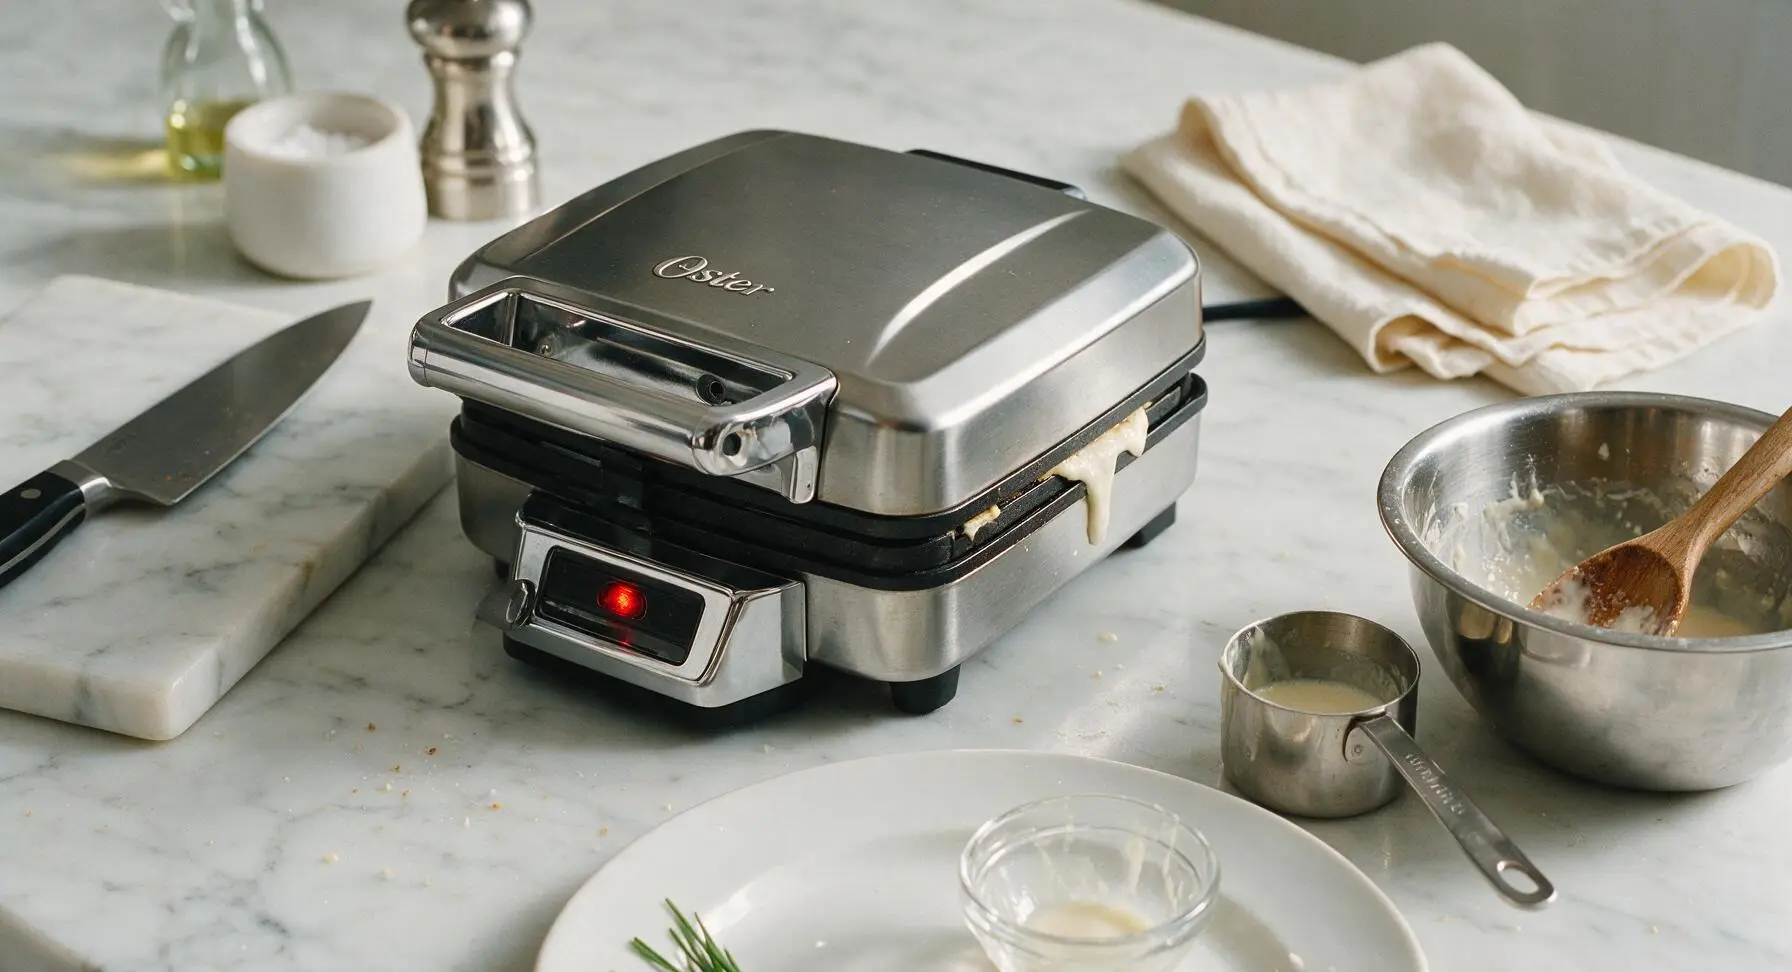
Cook Until Golden
Allow the waffle to cook for 3 1/2 to 4 minutes, until the green ready light illuminates a second time and thin streams of steam stop escaping from the lid edges. Do not open the lid before 3 minutes of cook time, as this will cause the partially set waffle to split and stick to the plates. Finished waffles will be deep golden brown with crisp edges, and will pull away from the non-stick plates easily.
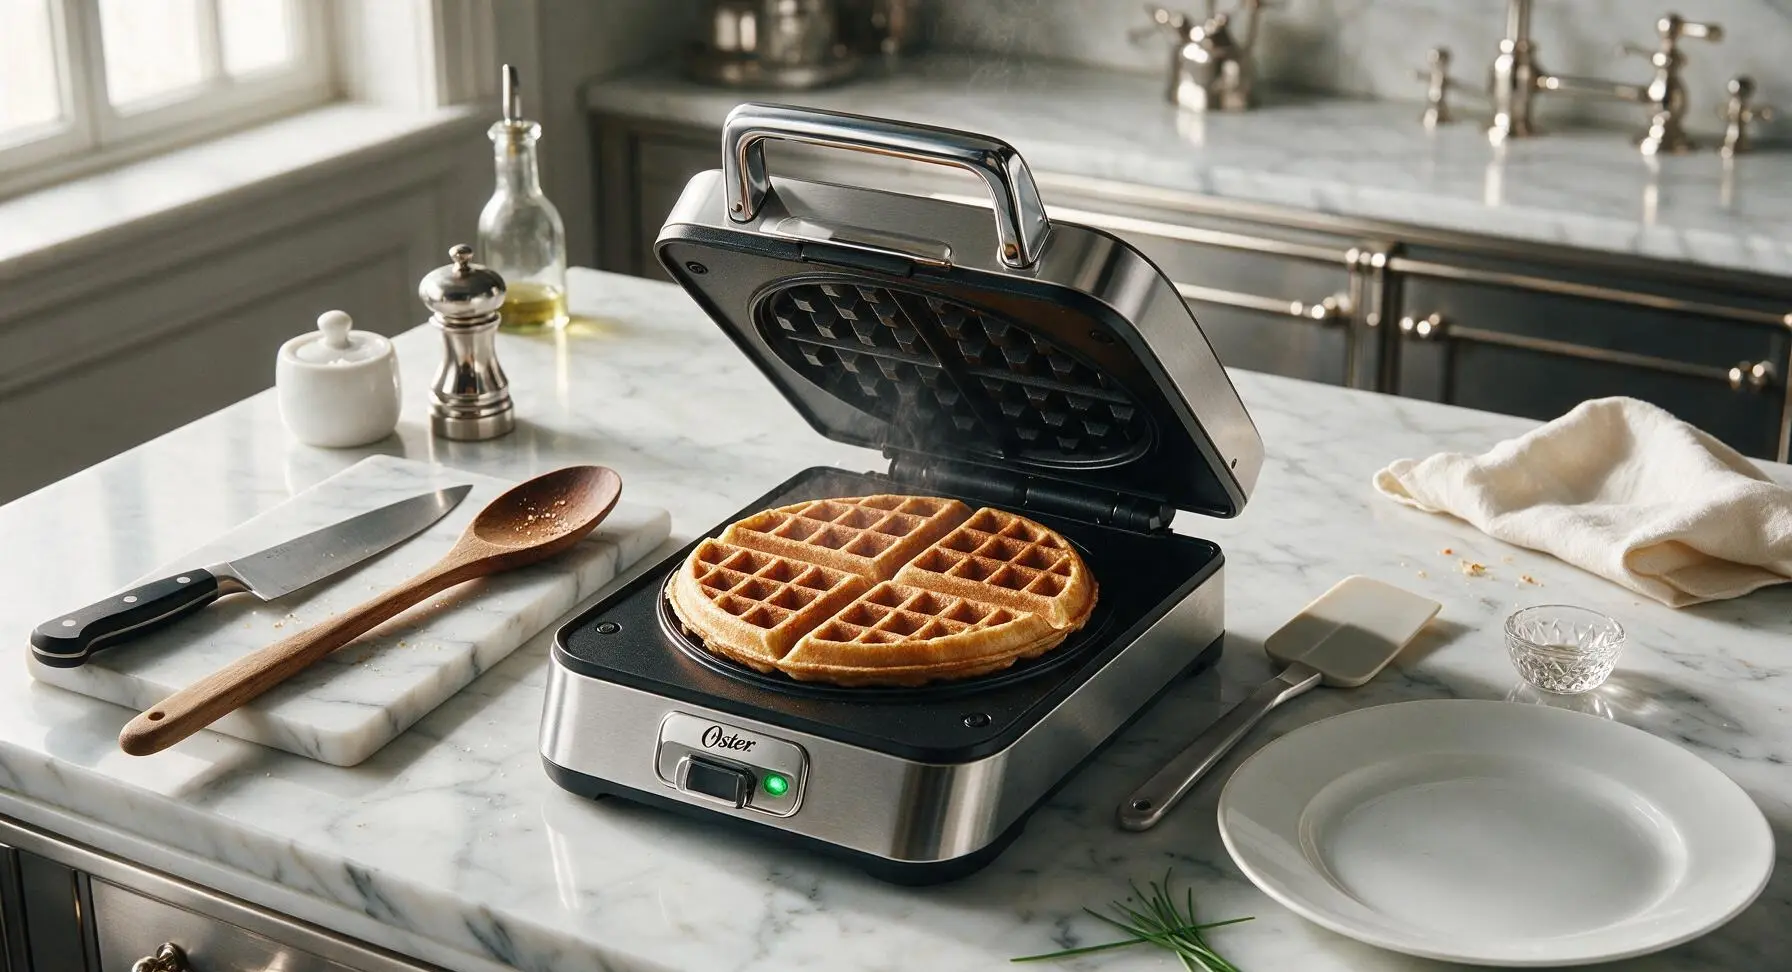
Rest Waffles On Rack
Use the silicone spatula to gently lift the finished waffle from the cooking plates, and set it on the matte black wire cooling rack positioned behind the waffle maker for 1 minute. Do not stack hot waffles directly on a plate immediately, as trapped steam will turn the crisp exterior soggy. Repeat the pouring and cooking process with remaining batter to make 4 total waffles.
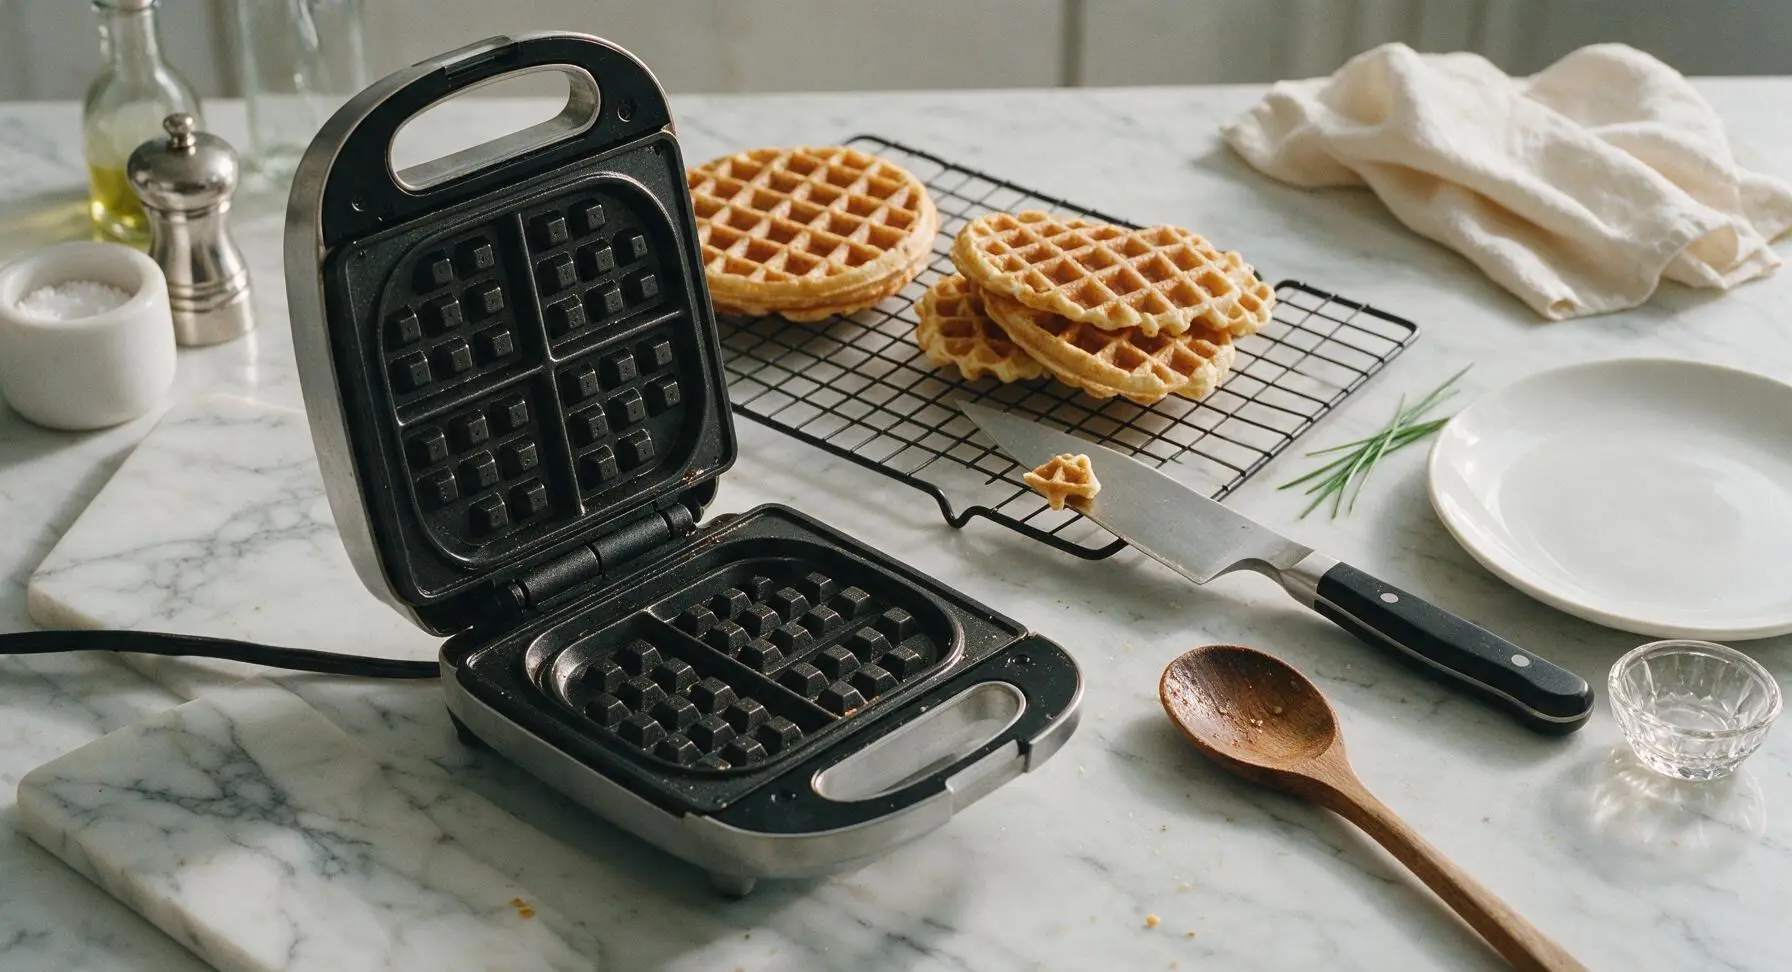
Plate and Serve Hot
Stack waffles on the matte cream stoneware dinner plate, top with a pat of salted butter, and drizzle with warm pure maple syrup. Serve immediately while the exterior is crisp and the interior is light and fluffy. Add fresh berries or whipped cream as optional toppings if desired.
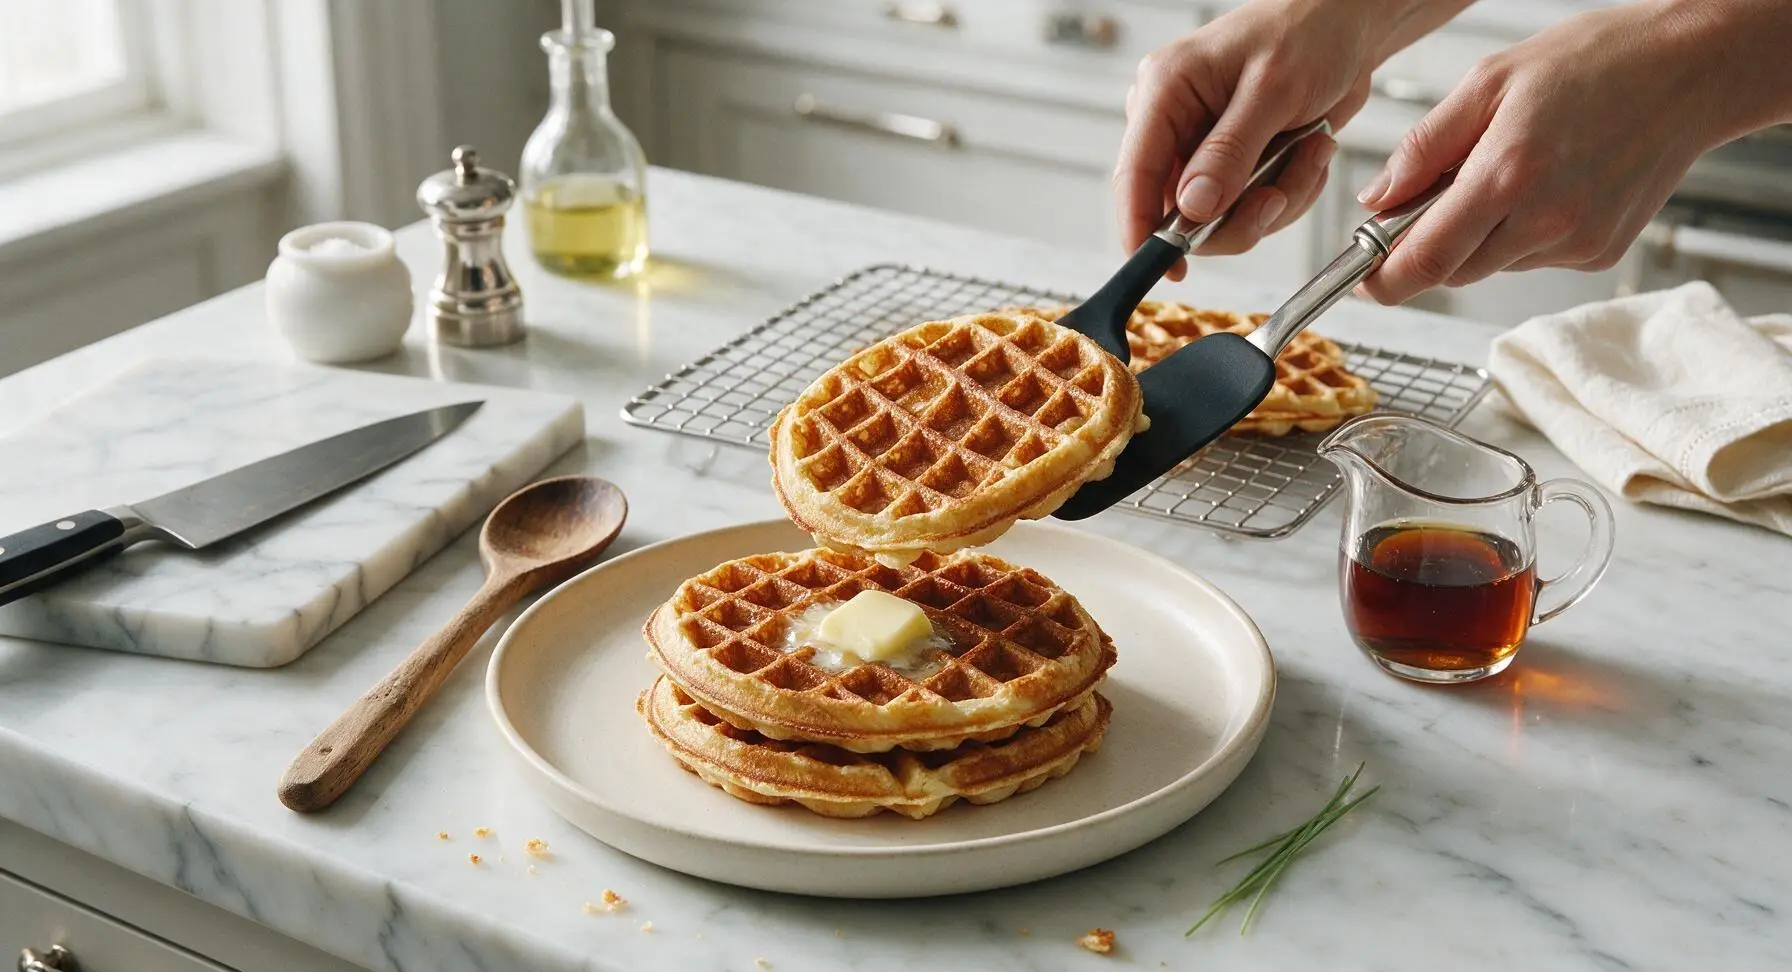
Tips
2.For extra-crisp waffles, turn your Oster crispness dial to setting 5 (high) and add 1 extra tablespoon of melted butter to the batter. The higher heat quickly caramelizes the batter’s sugar and butter for a crunchy exterior, while the inside stays light and fluffy.
3.If cooking waffles for a crowd, hold finished waffles directly on the wire rack in a 200°F (93°C) oven instead of stacking them on a plate. Air circulation around the waffles keeps them crisp for up to 20 minutes, instead of turning soggy from trapped steam.






Quick question! I made these last weekend with store-bought buttermilk and they were INCREDIBLE – 10/10, my whole extended family raved about them at our Sunday brunch. I want to make them again this weekend for friends but I don’t have any buttermilk on hand and don’t feel like running to the grocery store. Has anyone tried making these with regular milk + a splash of vinegar as a substitute? I don’t want to mess up the crispiness!
OMG these are SO good!!! I’ve been fighting with my Oster waffle maker for months trying to get crispy waffles that don’t turn soggy 2 minutes after I pull them out, and this recipe is a total game changer. My kids devoured 3 each before school last week and asked if we can have waffle night every Friday. Total mom win!
Quick silly question! I made these for breakfast a couple days ago and they tasted amazing, crispy edges and fluffy middle, exactly what I wanted. But is it normal for the batter to be a little lumpy? I didn’t want to overmix because I heard that makes tough waffles, but I was worried I left too many clumps! Want to make sure I nail it next time.
Super easy to whip up on a lazy Sunday! The 15 minute cook time is no joke, I had a whole stack ready before my cold brew was even done brewing. I added a handful of fresh blueberries to half the batch for my husband and they came out perfect, zero sogginess even with the juicy fruit. 10/10 will make again.
Great base recipe! I swapped half the all-purpose flour for whole wheat for a little extra fiber for meal prep and they still came out nice and crispy, not dense and cardboard-y like other whole wheat waffle recipes I’ve tried. I froze a bunch to pop in the toaster on busy weekdays and they reheat amazingly. Only knocked a star because I accidentally added too much buttermilk my first go and there was no note about adjusting consistency, but that’s mostly on me!
Meal prep king status unlocked! I made a double batch on Sunday, froze the individual waffles between squares of parchment paper, and they toast up perfectly crispy in 2 minutes every morning this week. Saves me so much time before work, no more sad gas station breakfast sandwiches for me. Absolute game changer.
First time using my brand new Oster waffle maker and I picked this recipe to test it out, zero regrets! The edges are perfectly crunchy and the middle is soft and fluffy, exactly what I want in a buttermilk waffle. Dusted with powdered sugar and served with a side of crispy bacon, chef’s kiss. Can’t wait to experiment with different toppings.
Tried these after seeing how easy the difficulty rating was, and it didn’t lie! I’m a total beginner in the kitchen who burns toast half the time, and I didn’t mess these up at all. Even my super picky roommate said they’re better than the diner down the street. Wild. Already added the ingredients to my grocery list for next week.
Added a teaspoon of cinnamon and a dash of vanilla extract to the batter and oh my gosh, next level. Served with fresh strawberries and homemade whipped cream for my daughter’s birthday breakfast and she said it was better than the fancy brunch place we went to for her birthday last year. So easy, so tasty, new household staple.
Just made these for the neighborhood potluck happening in an hour, snuck a quick bite while I was packing them up and oh my god they’re perfect! I kept them warm in a 200 degree oven on a wire rack while I cooked all the batches so they stay crisp on the drive over. Already know everyone is gonna be hounding me for the recipe, will report back later!