
oven baked chili dogs

title 1
oven baked chili dogs
⏱️ cook time 20 minutes
🍽️ servings 4
⚡ Difficulty easy

intro

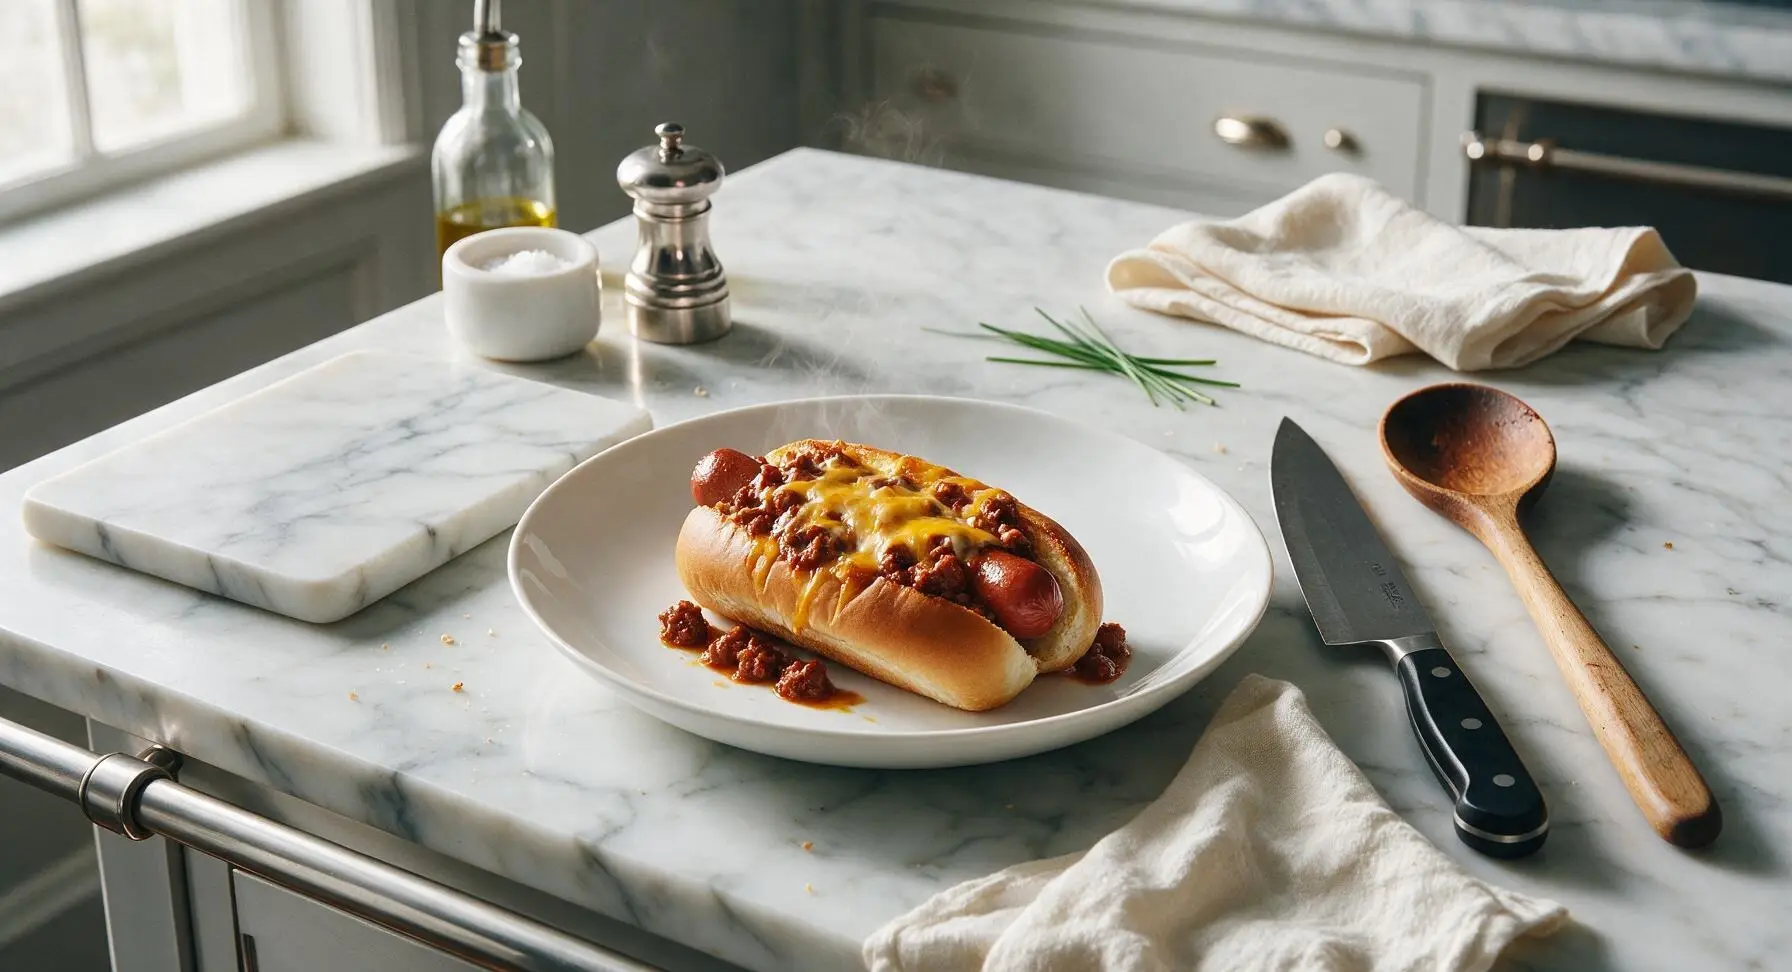
Juicy all-beef hot dogs smothered in savory chili and melted cheddar, baked until bubbly in soft toasted buns – cozy, handheld comfort perfect for casual gatherings.

Ingredients
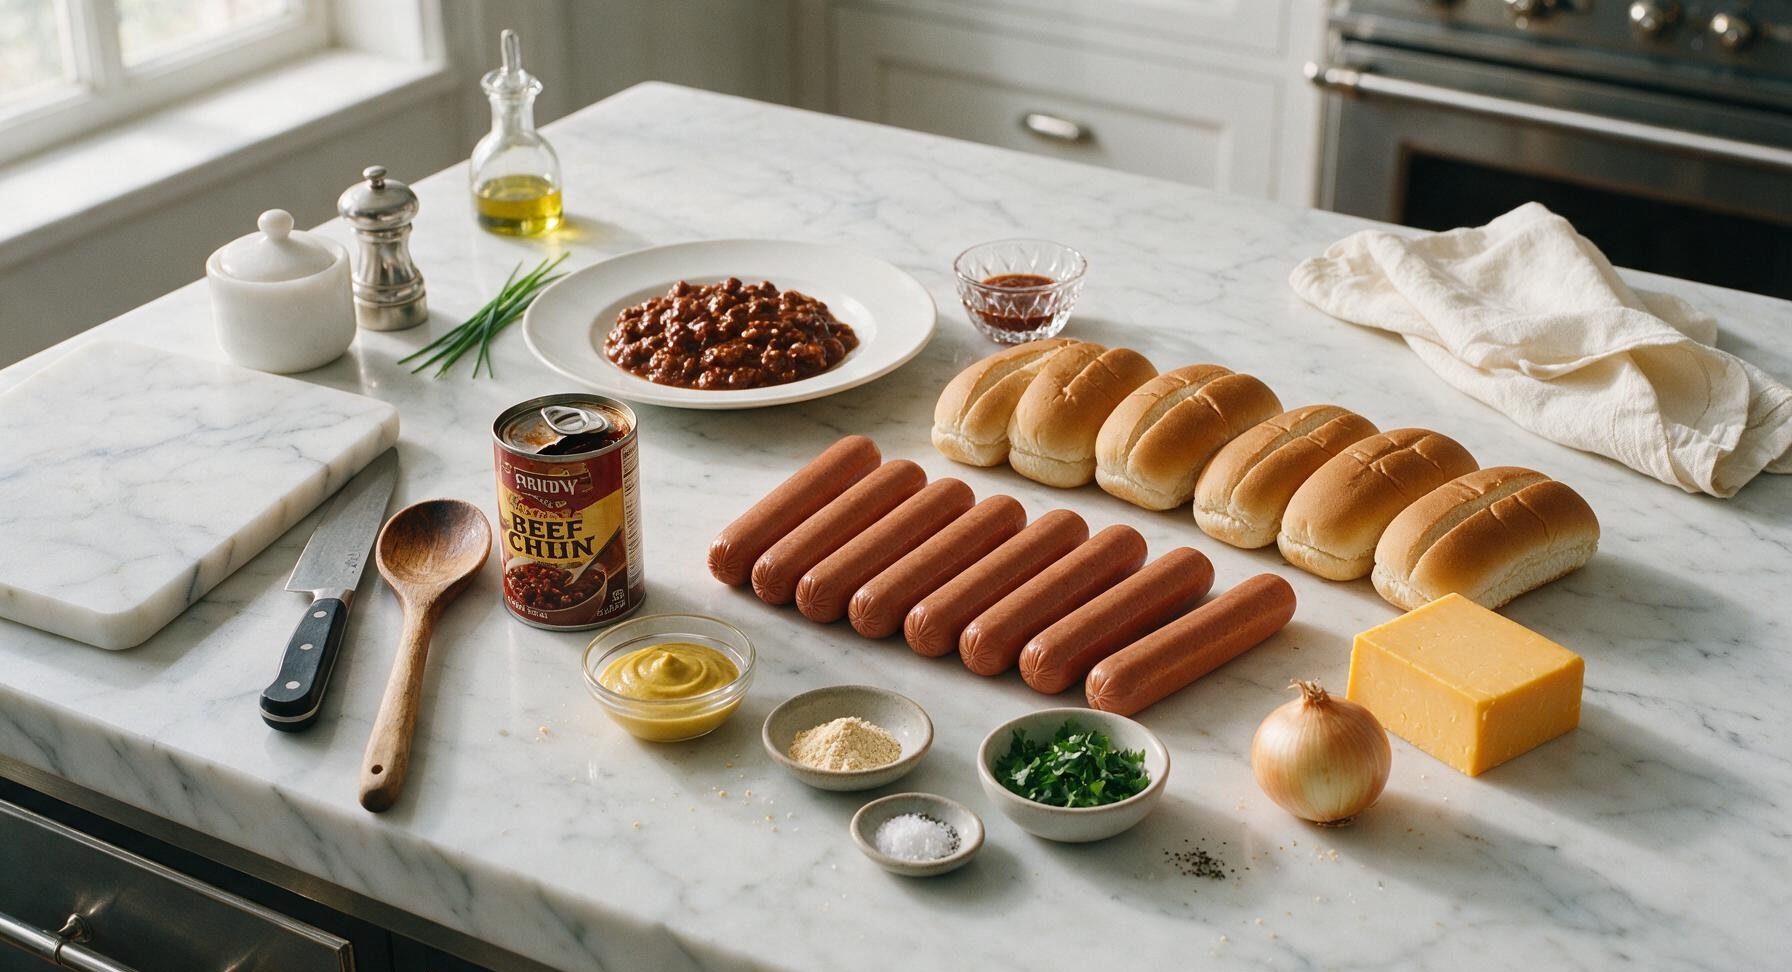
All-beef hot dogs 8 count (450g total, regular size)
Split-top hot dog buns 8 count
Hearty beef chili 1 can (425g)
Sharp cheddar cheese 113g (4 oz, block)
Yellow onion 1 small (100g)
Garlic powder 1 tsp
Yellow mustard 2 tbsp
Fresh cilantro 1/4 cup chopped
Kosher salt 1/2 tsp
Black pepper 1/4 tsp

Steps

1

Preheat Oven and Prep Pan

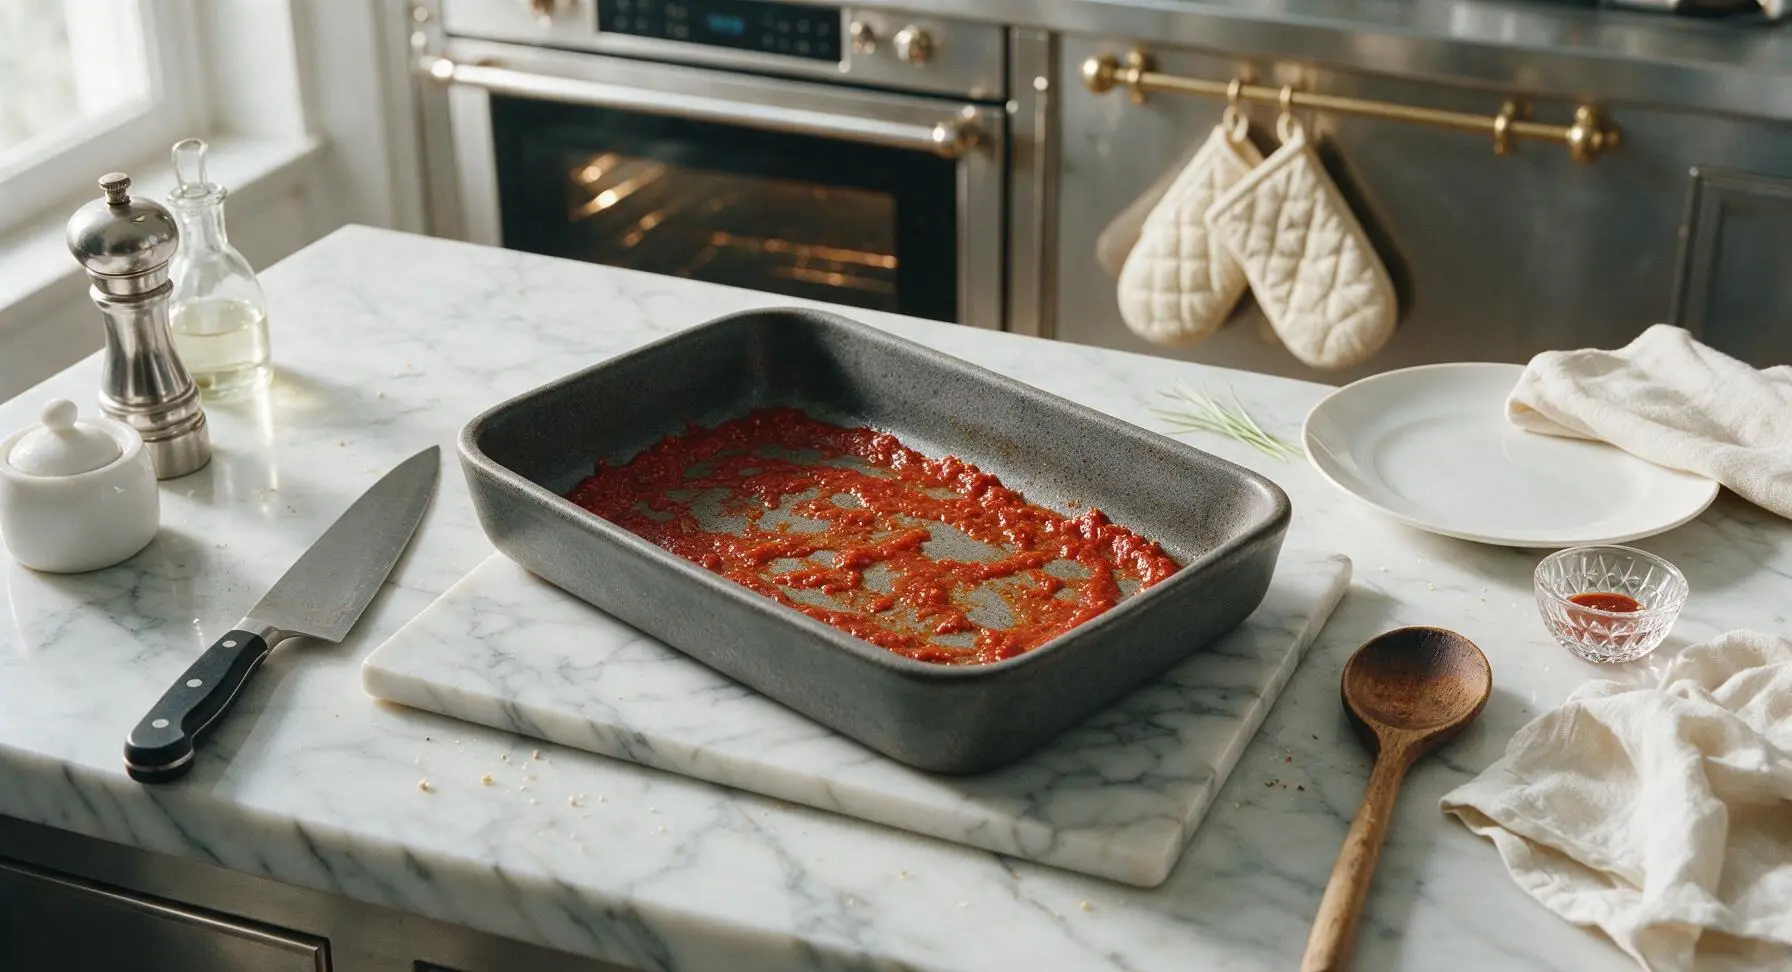
Adjust your oven rack to the middle position, then preheat the oven to 375°F (190°C). Move the 9x13 inch matte dark gray stoneware baking dish from its far left counter position to the center of the oak cutting board. Use the black silicone spatula to spread 1 tablespoon of chili across the entire bottom of the dish to prevent buns from sticking, then season the thin chili base with a small pinch of kosher salt and black pepper. The chili layer should be thin enough that you can still see patches of the gray dish through it.
Step 1
step1:Preheat Oven and Prep Pan
2

Prep Cheese and Onion

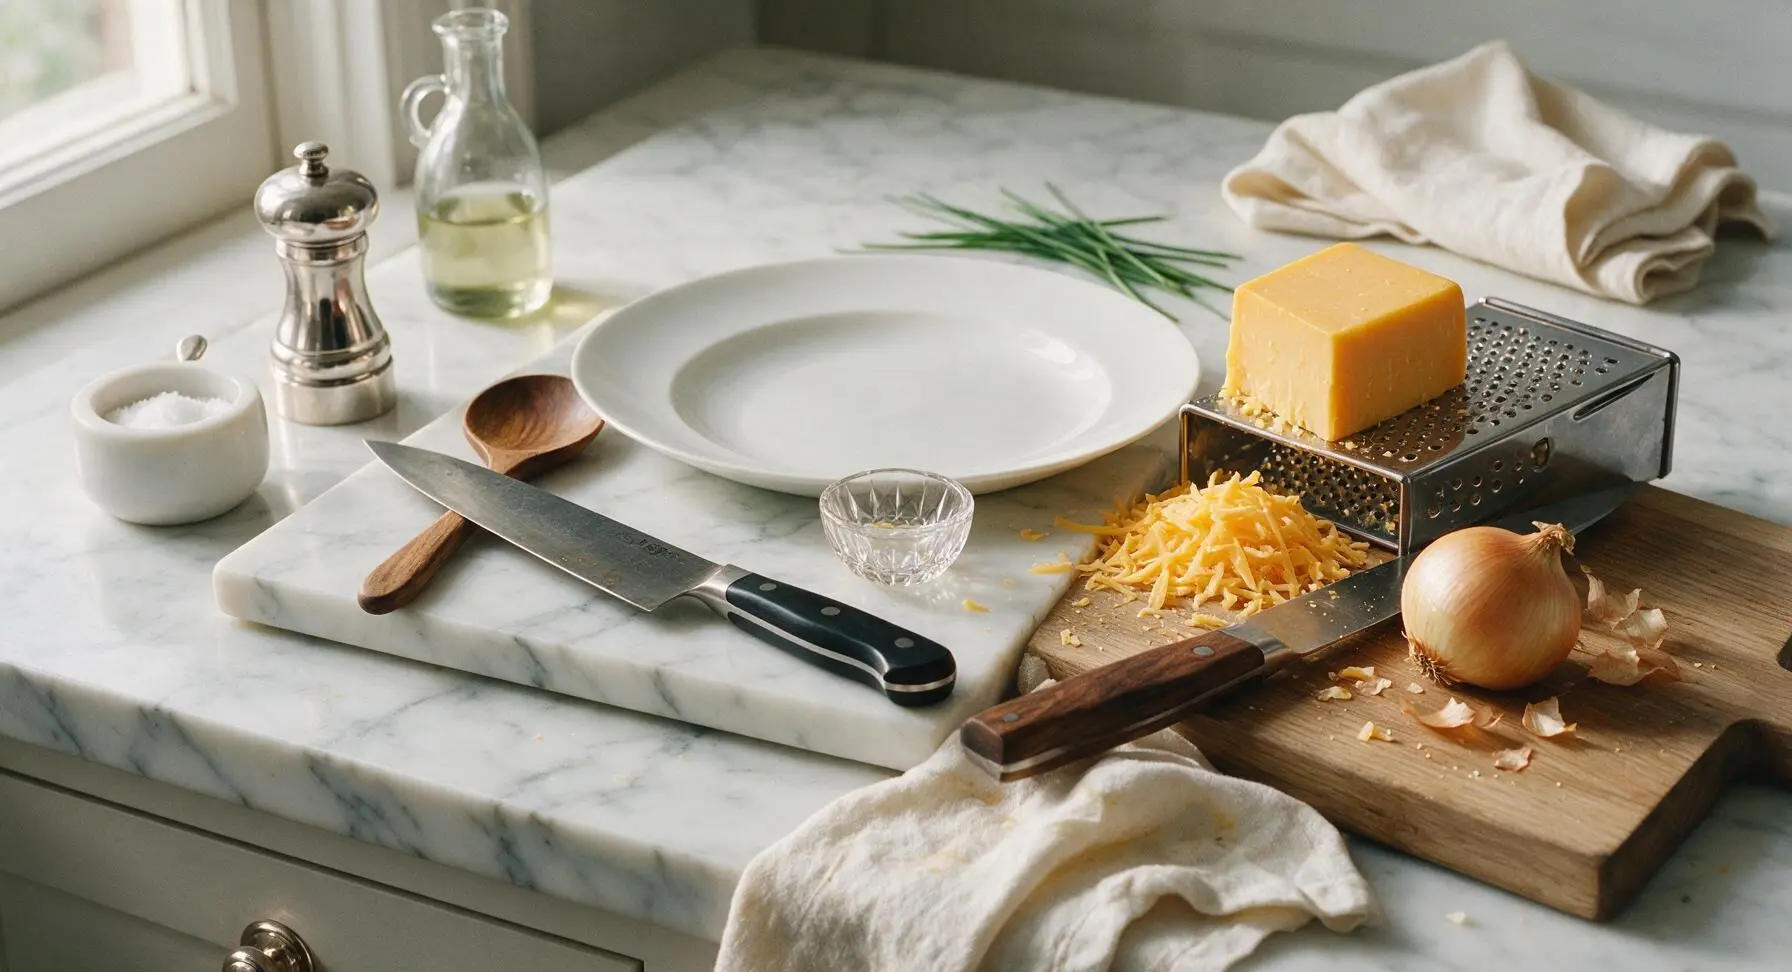
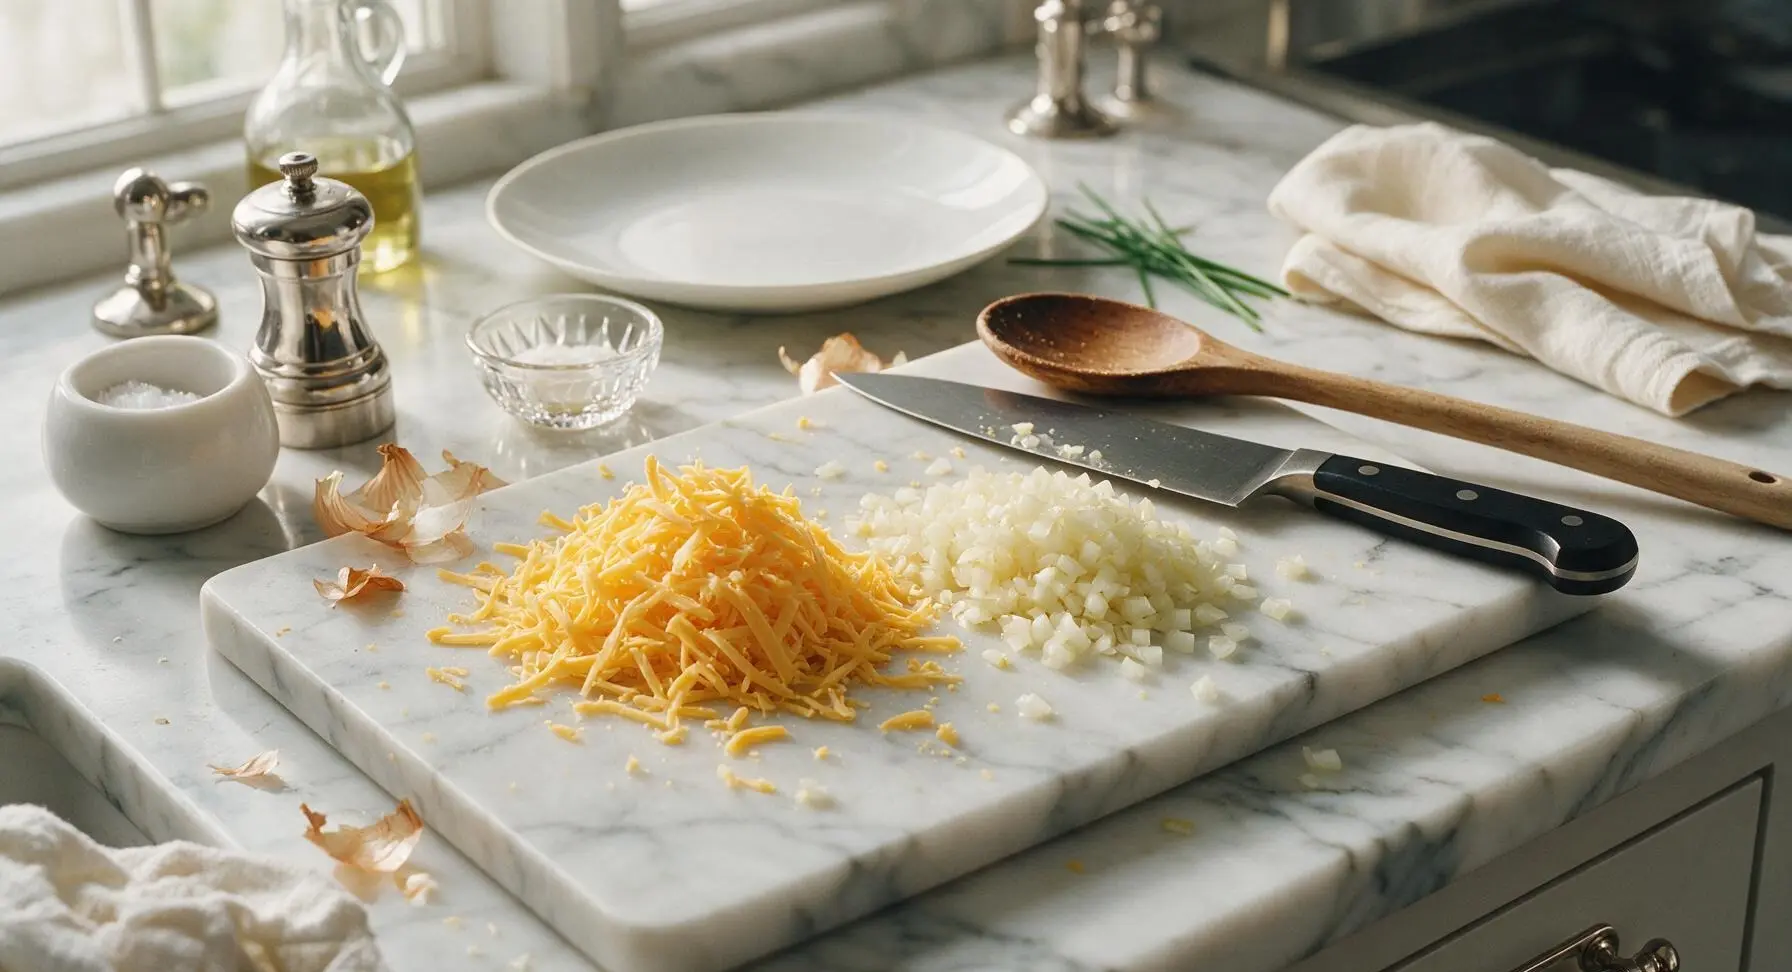
Place the block of sharp cheddar against the silver stainless steel box grater on the cutting board, shred into coarse, uneven shreds to yield roughly 1 cup total. Set the shredded cheese in a small pile on the edge of the cutting board. Use the walnut-handled chef knife to dice the small yellow onion into 1/4-inch pieces, setting the diced onion in a separate small pile next to the cheese. Gather papery onion skins and push them to the far edge of the cutting board for easy cleanup later.
Step 2
step2:Prep Cheese and Onion
Step 2
step2:Prep Cheese and Onion
3

Arrange Buns in Dish

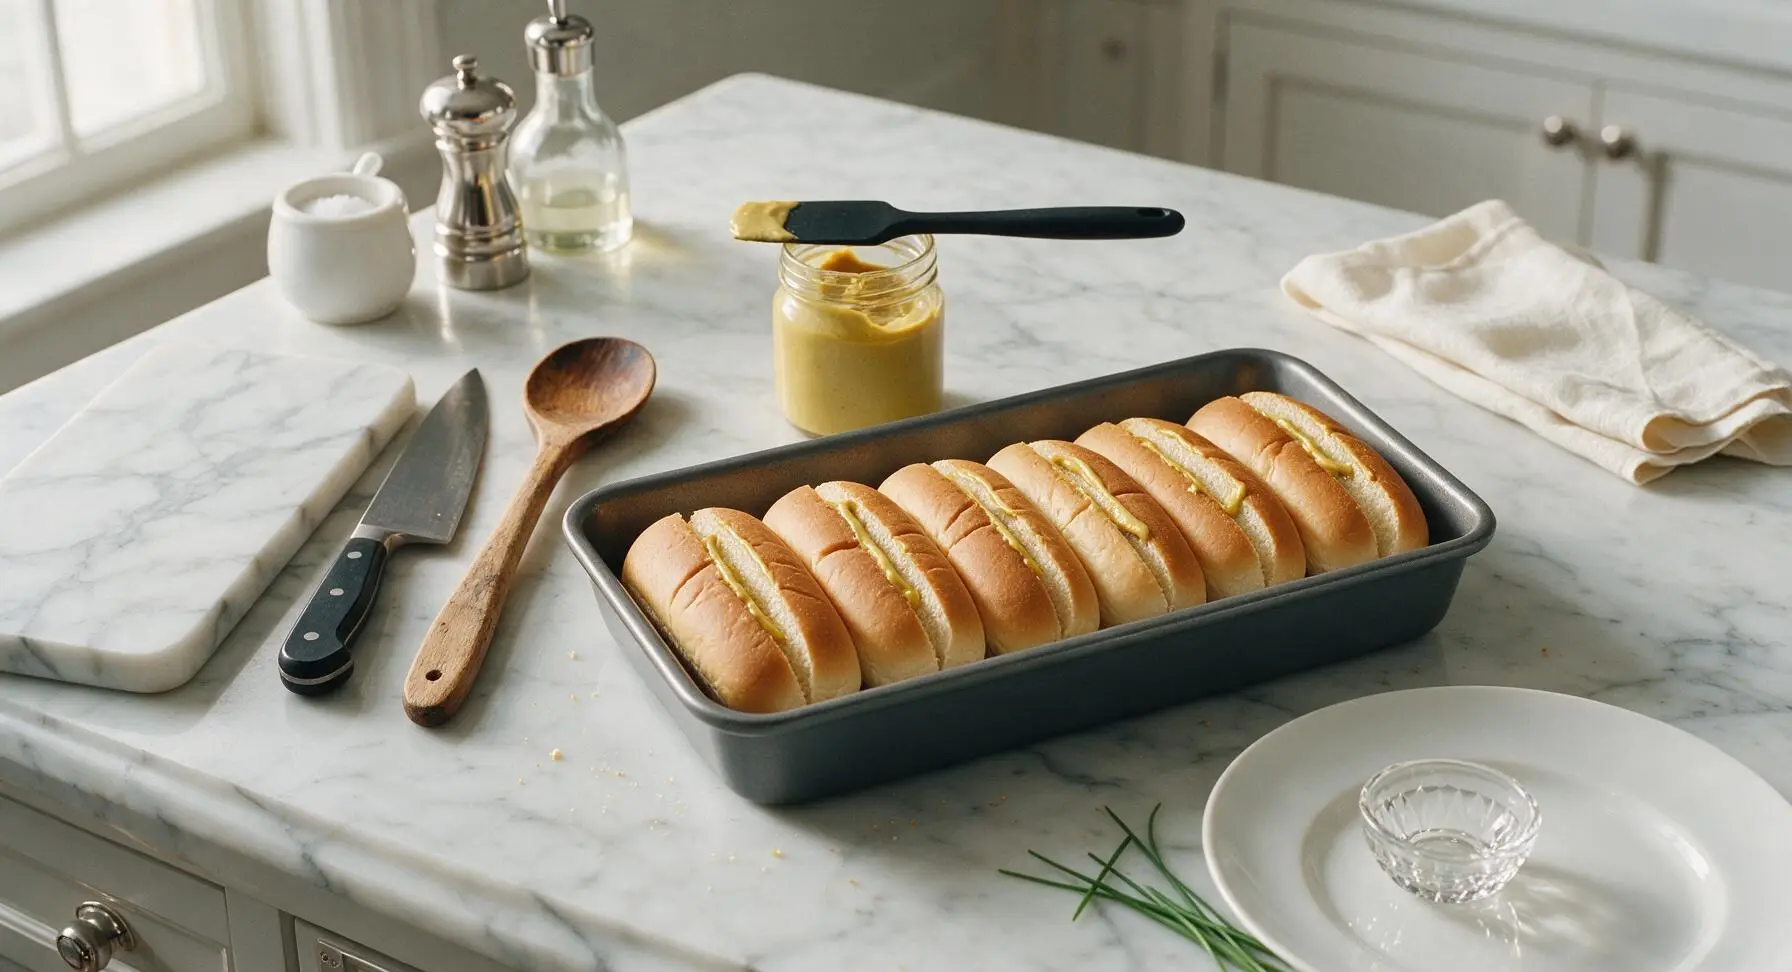
Nestle all 8 split-top hot dog buns into the prepared chili-lined baking dish, fanning each split side open slightly so the buns sit snugly side-by-side down the length of the dish, with cut sides facing up. Use the tip of the silicone spatula to spread 1/4 teaspoon of yellow mustard evenly along the inner cut surface of each bun.
Step 3
step3:Arrange Buns in Dish
4

Nestle Hot Dogs in Buns

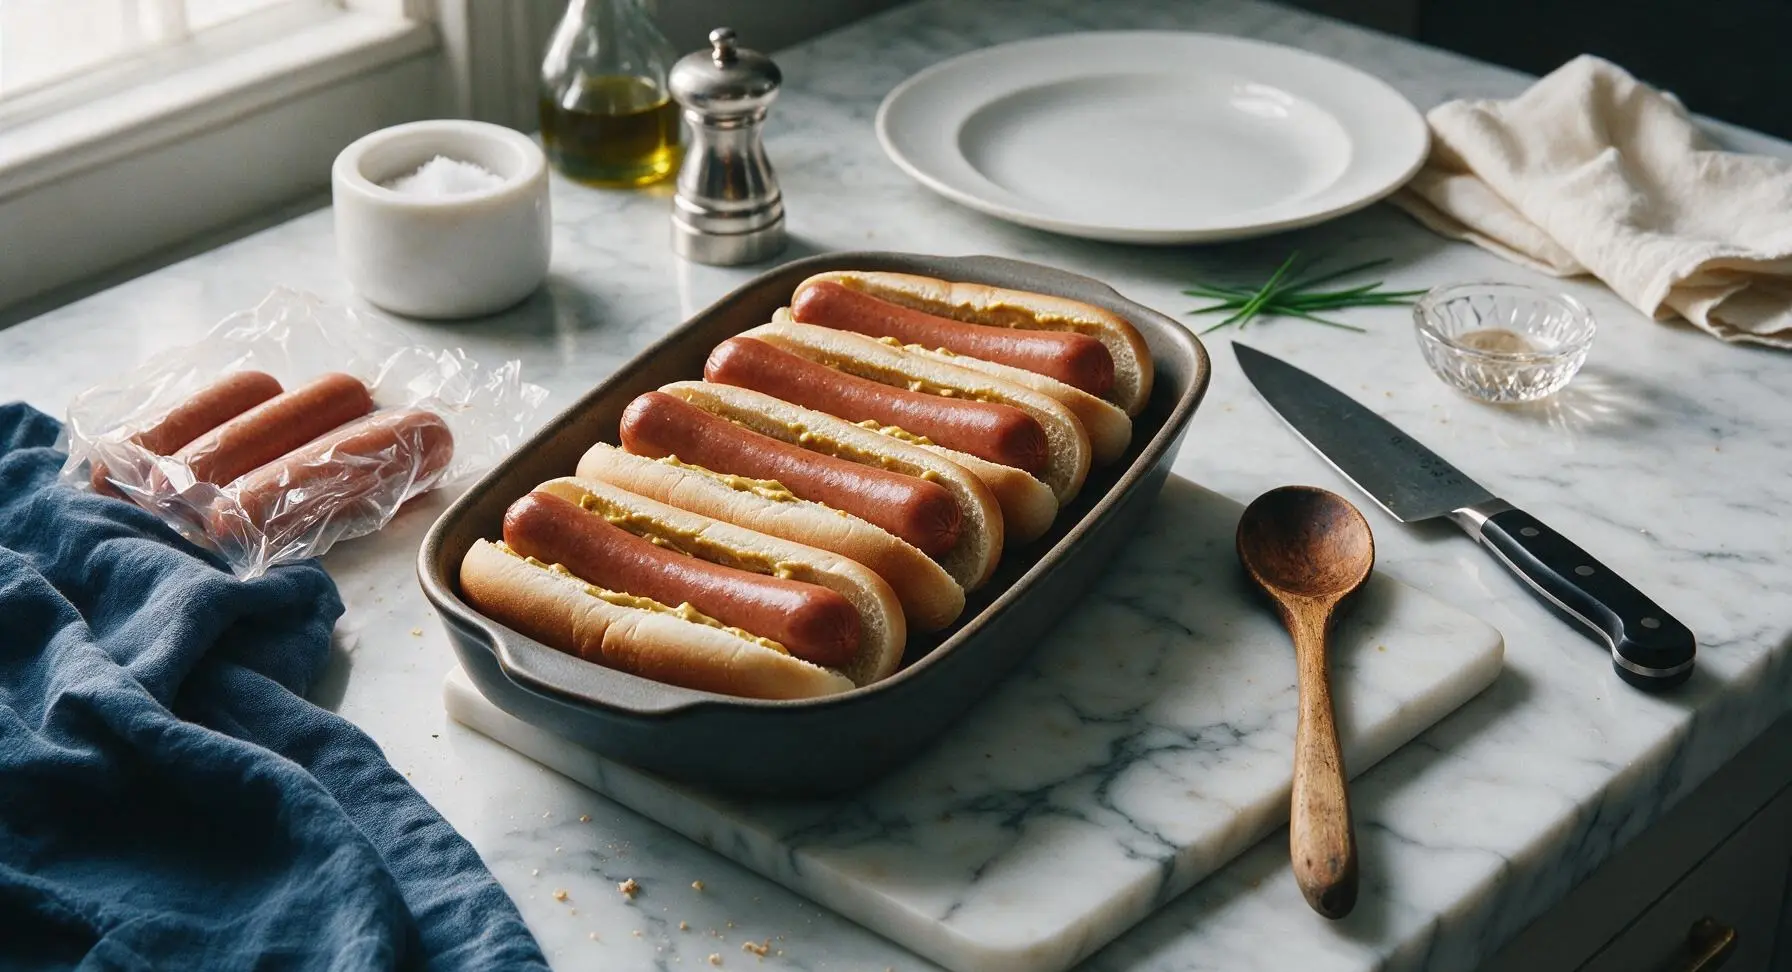
Place one all-beef hot dog into the split of each mustard-lined bun, pressing down gently so the dog sits securely inside the bun without tipping out. The top curve of each hot dog should sit roughly 1/4 inch above the edge of the bun to catch chili and cheese during baking.
Step 4
step4:Nestle Hot Dogs in Buns
5

Top Dogs with Chili

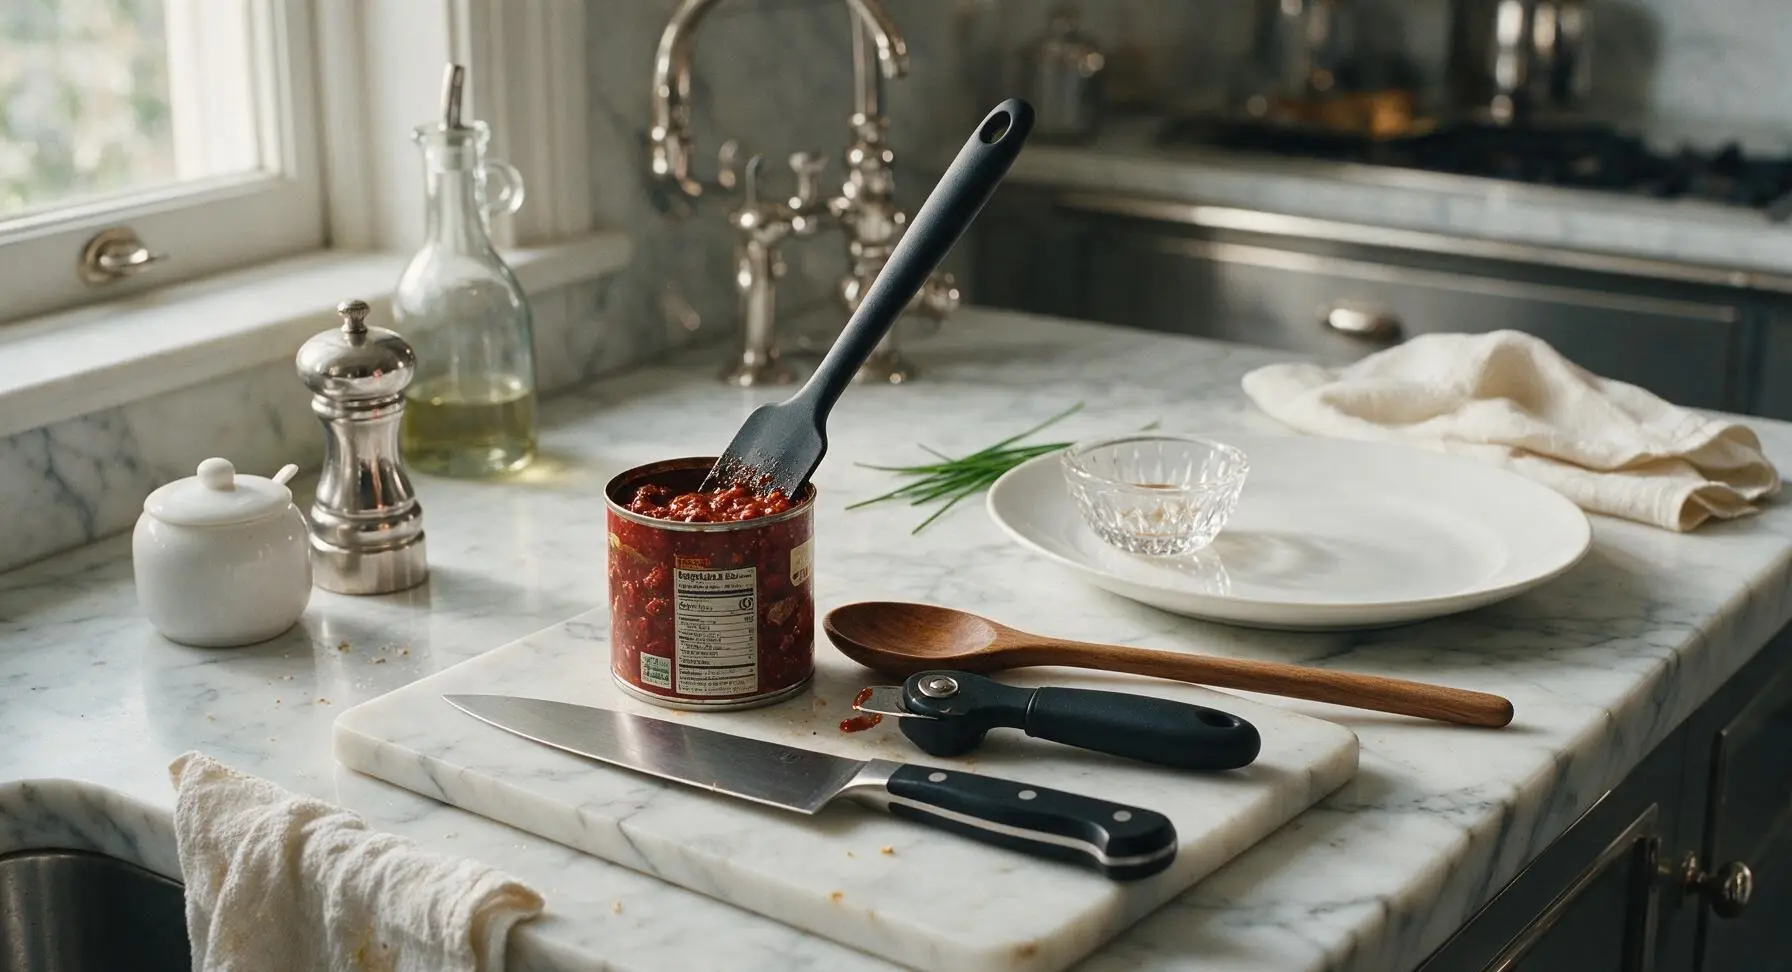
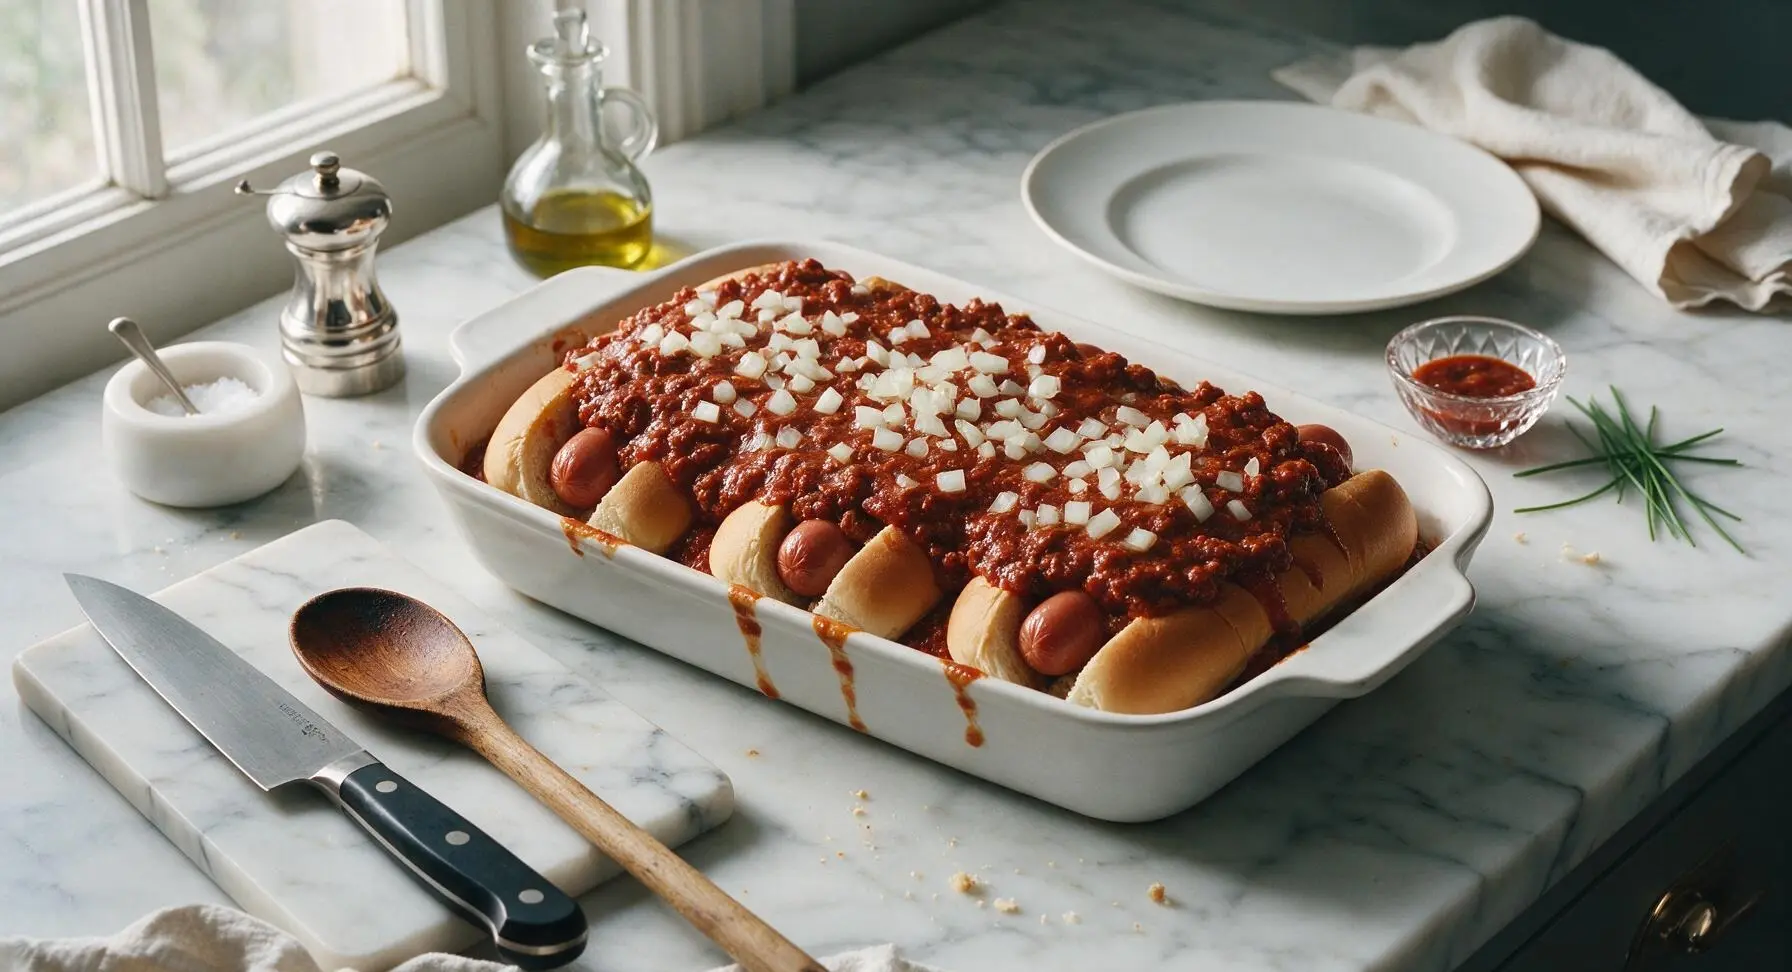
Use the matte black can opener to open the can of beef chili, then stir in 1 teaspoon garlic powder, 1/2 teaspoon kosher salt, and 1/4 teaspoon ground black pepper with the silicone spatula until evenly mixed. Spoon 2 tablespoons of seasoned chili evenly over each hot dog, letting a small amount of chili drip down the sides of the dogs into the bottom of the dish. Sprinkle 3/4 of the diced onion evenly over the chili-topped dogs, reserving the remaining raw onion for fresh garnish after baking.
Step 5
step5:Top Dogs with Chili
Step 5
step5:Top Dogs with Chili
6

Add Cheese and Bake

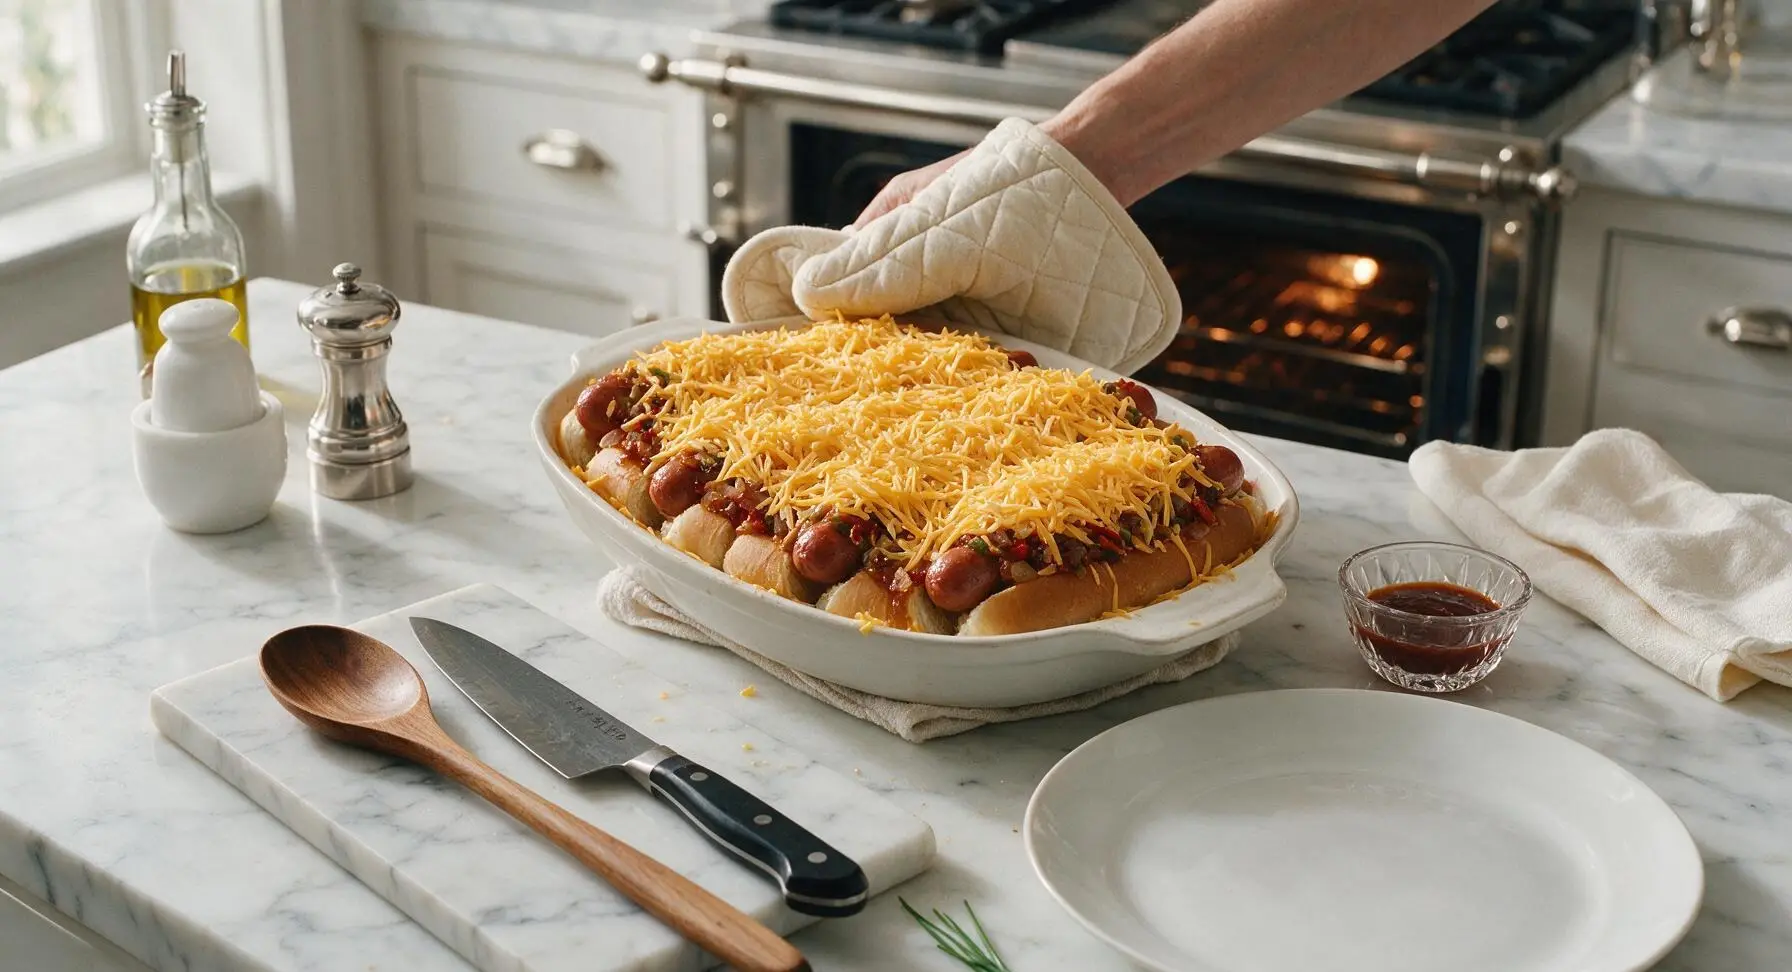
Sprinkle the shredded sharp cheddar evenly over the chili-topped hot dogs, letting a small amount of cheese spill over onto the exposed edges of the buns to create crispy, cheesy baked edges during cooking. Use the cream quilted oven mitts to carefully lift the dish and place it on the middle oven rack. Bake for 20 minutes, until the cheese is fully melted and bubbly, and the exposed edges of the buns are deep golden and slightly crisp.
Step 6
step6:Add Cheese and Bake
7

Garnish and Rest

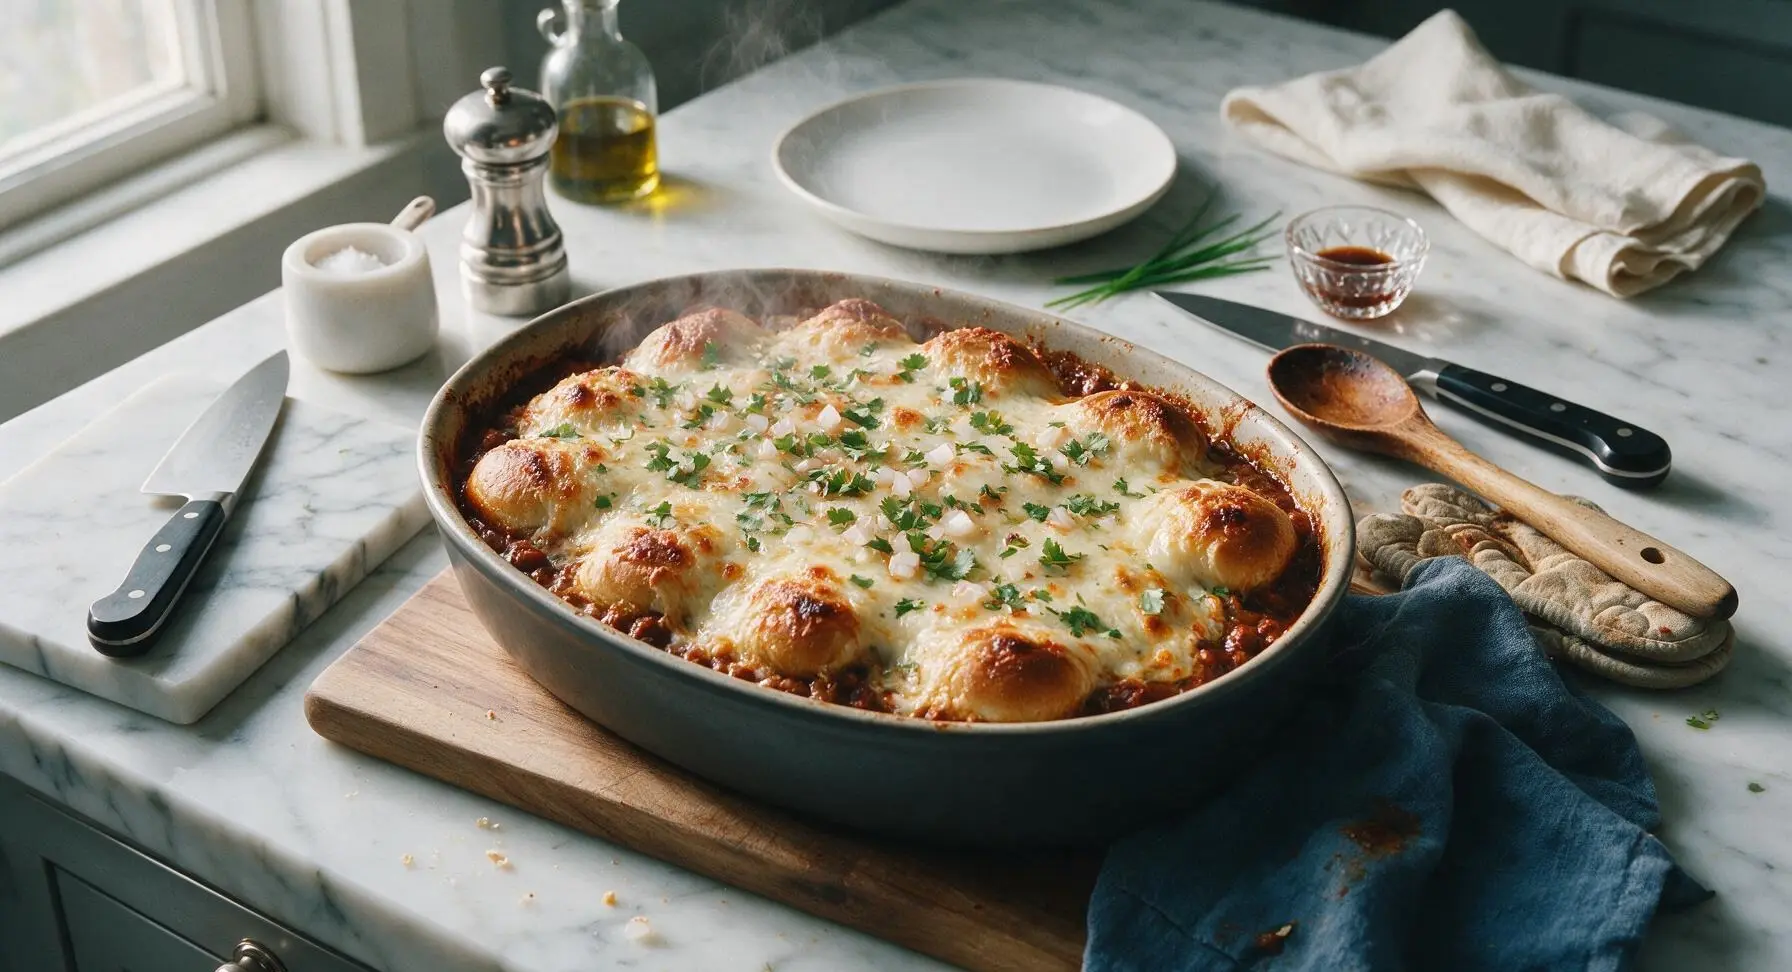
After 20 minutes of baking, use the oven mitts to carefully remove the hot baking dish from the oven, setting it back on the oak cutting board to rest for 3 full minutes. Sprinkle the reserved raw diced onion and chopped fresh cilantro evenly over the top of the bubbly cheese. The cheese should have light golden brown spots where it crisped on the bun edges, and chili should be gently bubbling between the buns.
Step 7
step7:Garnish and Rest

Tips

1.Skip lining the baking dish with foil if you want crispy bun edges – foil traps steam and makes the bottom of the buns soft and soggy, while placing them directly on the thin chili layer in the unlined dish creates a perfect tender-crisp bun base.
2.For extra smoky, ballpark-style flavor, stir 1/4 teaspoon of smoked paprika into the chili before topping the hot dogs. The dry oven heat will toast the paprika as it bakes, amplifying its smoky notes without adding extra heat.
3.Don’t skip the 3-minute rest time after pulling the dish from the oven. This short wait lets the melted cheese and hot chili set slightly, so they won’t slide right out of the bun when you pick it up, and reduces the risk of burning your mouth on overly hot filling.


✨ You May Also Like

Main Course
🍜 United Kingdom

A showstopping classic of tender seared beef, savory mushroom duxelles, and crisp prosciutto wrapped in flaky golden puff pastry, baked to juicy perfection.

⏱️ 2 hours 1Main Course ★ 4.7
Main Course
🍜 India

Tender charred marinated chicken simmered in a rich, spiced creamy tomato sauce, this iconic Anglo-Indian curry pairs perfectly with basmati rice or warm naan.

⏱️ 50 minuteMain Course ★ 4.6
Main Course
🍜 Thailand

Classic tangy, sweet, and savory Thai stir-fried rice noodles with shrimp, tofu, and crunchy garnishes, balancing all five core Thai flavor profiles.

⏱️ 30 minuteMain Course ★ 4.5
Main Course
🍜 United Kingdom

Crispy golden beer-battered cod and fluffy double-fried chips, served with tangy tartar sauce and malt vinegar: the timeless, beloved British pub comfort classic.

⏱️ 45 minuteMain Course ★ 4.7
Main Course
🍜 Mexico

Smoky, chile-marinated pork tacos with caramelized pineapple, fresh cilantro, and lime: a beloved classic Mexican street food perfect for casual summer gatherings.

⏱️ 1 hour 45Main Course ★ 4.8
Main Course
🍜 United States

Crunchy Fritos corn chips layered with savory beef chili and melted cheddar, topped with cool, zesty fixings for a beloved, cozy Tex-Mex comfort food.

⏱️ 35 minuteMain Course ★ 4.8

oven baked chili dogs:Frequently Asked Questions

1.Can I prep these oven baked chili dogs ahead of time for a casual gathering? ▾
You can prep all individual components (chili, shredded cheese, diced onion, chilled hot dogs) up to 1 day in advance, but wait to assemble them right before baking to prevent soggy buns. If holding fully baked dogs for guests, keep them in a 200°F oven on a wire rack set over a baking sheet for up to 30 minutes to preserve texture.
2.How do I keep the hot dog buns from getting soggy during baking? ▾
First, toast split buns lightly for 3 to 4 minutes at 350°F before adding fillings to build a moisture barrier. Drain any excess watery liquid from your chili, and add a thin layer of shredded cheese to the bottom of each bun before tucking in the hot dog and chili to block moisture from seeping into the bread.
3.Can I use turkey, chicken, or plant-based hot dogs instead of all-beef franks? ▾
Absolutely! Standard-sized turkey, chicken, or plant-based hot dogs work perfectly here with no major bake time adjustments, since all pre-cooked franks heat through at the same rate. Just note that lower-fat options may be slightly less juicy, so add an extra small spoonful of chili to amp up moisture and flavor.
4.Do I need to pre-cook the hot dogs before assembling and baking them? ▾
No pre-cooking is required if you’re using the standard pre-cooked all-beef hot dogs sold at most U.S. grocery stores. The 15 to 18 minute bake time at 375°F will fully heat the franks, melt the cheese to bubbly perfection, and toast the buns evenly. If using raw uncured franks, parboil them for 3 minutes first for food safety.
5.What kind of chili works best for this recipe, and is canned chili okay? ▾
Opt for thick, hearty beef chili with very little excess watery liquid to avoid soggy buns, and steer clear of chili with overly large, hard-to-eat chunks for neat handheld eating. High-quality canned chili works perfectly as a time-saver—just drain off any loose, runny sauce before spooning it onto the dogs.
6.What are easy topping swaps if I don’t have sharp cheddar or yellow onion? ▾
Swap sharp cheddar for pepper jack for a spicy kick, mild Monterey Jack for a creamier melt, or a pre-shredded Mexican cheese blend for convenience. If you don’t have yellow onion, use thinly sliced green onion, tangy pickled red onion, or skip onion entirely and add pickled jalapeños or a drizzle of yellow mustard.
7.How should I store leftovers, and what’s the best way to reheat them? ▾
Leftover baked chili dogs will stay fresh in an airtight container in the refrigerator for up to 3 days. For the best texture, reheat them loosely wrapped in foil in a 350°F oven for 10 to 12 minutes, until the chili is bubbly and the frank is heated through. Skip the microwave, as it will make buns tough and chewy.

Comments (5)

2 days ago

OMG these oven baked chili dogs were a total game changer for our weeknight family dinner! My kids loved them — my three boys devoured them in 10 minutes flat and kept asking for seconds. I used canned chili with beans, added a little shredded cheddar on top before baking, and served with tater tots on the side. So much easier than standing over the grill or boiling hot dogs — will 100% be adding this to our regular meal rotation!

yesterday

Wait did you put the cheese on before baking? I always add it after, I’ll have to try that for our next tailgate potluck!

yesterday

So glad your family loved them! Melting the cheese right on top during the last 5 minutes of bake time makes it extra gooey and delicious — perfect call adding that cheddar!

3 days ago

This recipe is SO easy to throw together after a long day of work! 20 minutes total cook time? Sign me up. I prepped the hot dogs in the baking dish before I left for school this morning, popped it in the oven as soon as I got home, and dinner was done before I even finished grading a stack of papers. Only note: I lined my baking sheet with foil for zero cleanup, total win.

2 days ago

The foil liner hack is genius! We’re all about easy cleanup around here, so that’s such a smart tip to share with other readers. So happy this worked for your busy schedule!

1 week ago

Made a big batch of these for my weekly meal prep and they held up way better than I thought they would! I skipped the raw onion topping so they wouldn’t get soggy in the fridge, and reheated individual servings in the air fryer for 3 minutes at lunch all week. Tasted just as good as the day I baked them. Only knock is that the onions don’t hold up great for leftovers, but otherwise 10/10

5 days ago

Oh great to know they reheat well! I’ve been looking for hearty meals I can pack for my husband’s construction site lunches, these sound perfect.

5 days ago

Brought these to our neighborhood block party last weekend and they were the first dish gone! Everyone kept asking me for the recipe, I can’t believe how simple they are. I topped a few with jalapeños for the people who like extra spice, and kept the rest classic for the kids. Absolute crowd pleaser.

3 days ago

The jalapeño addition sounds chef’s kiss! I’m gonna load mine up with pickled jalapeños and a drizzle of sriracha when I make these for game night this weekend.

2 days ago

Love that you customized them for the block party! Pickled jalapeños and sriracha are such a fun spicy twist, I might have to add that variation note to the recipe soon!

30 minutes ago

Wait why did I never think to bake chili dogs in the oven?? No more splattering chili all over the stovetop when I make these for my roommates. The buns get perfectly toasty on the edges and the hot dogs get that little crispy snap, SO good. 10/10 for lazy dorm cooking, even easier than ordering takeout.



