
oven baked fried chicken breast

title 1
oven baked fried chicken breast
⏱️ cook time 25 minutes
🍽️ servings 4
⚡ Difficulty easy

intro

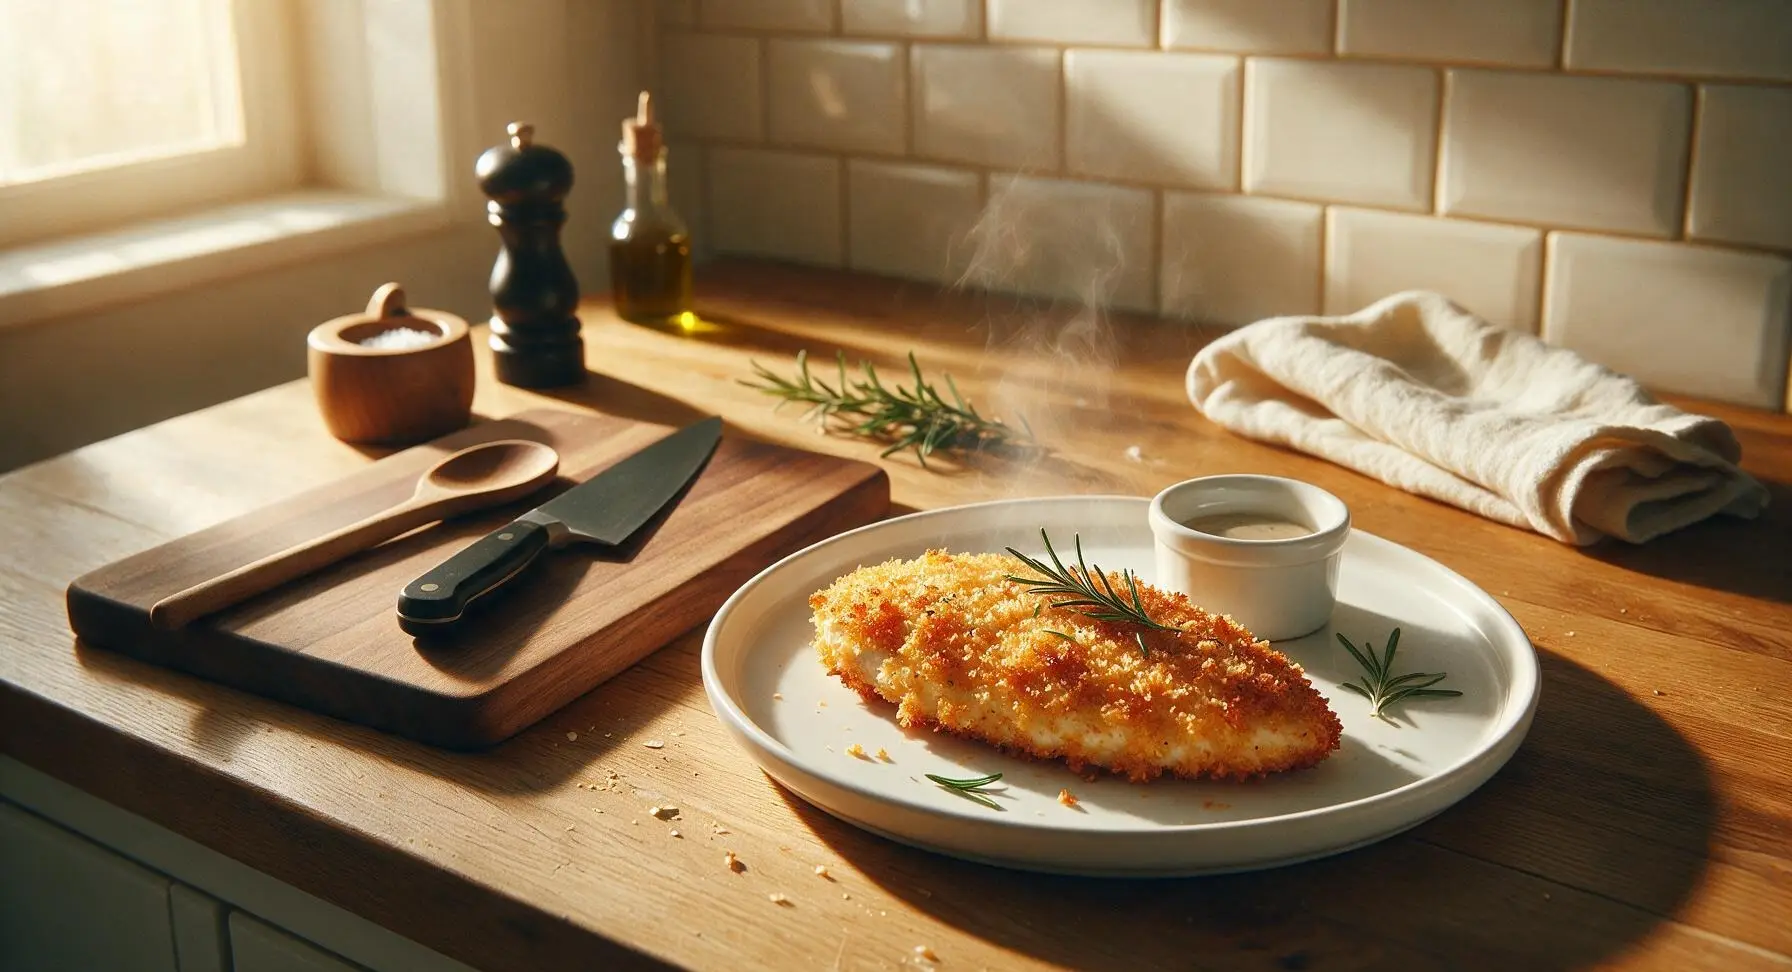
Crispy golden panko-crusted oven baked fried chicken breast delivers all the crunch of deep-fried chicken without the mess, for juicy, satisfying results every time.

Ingredients
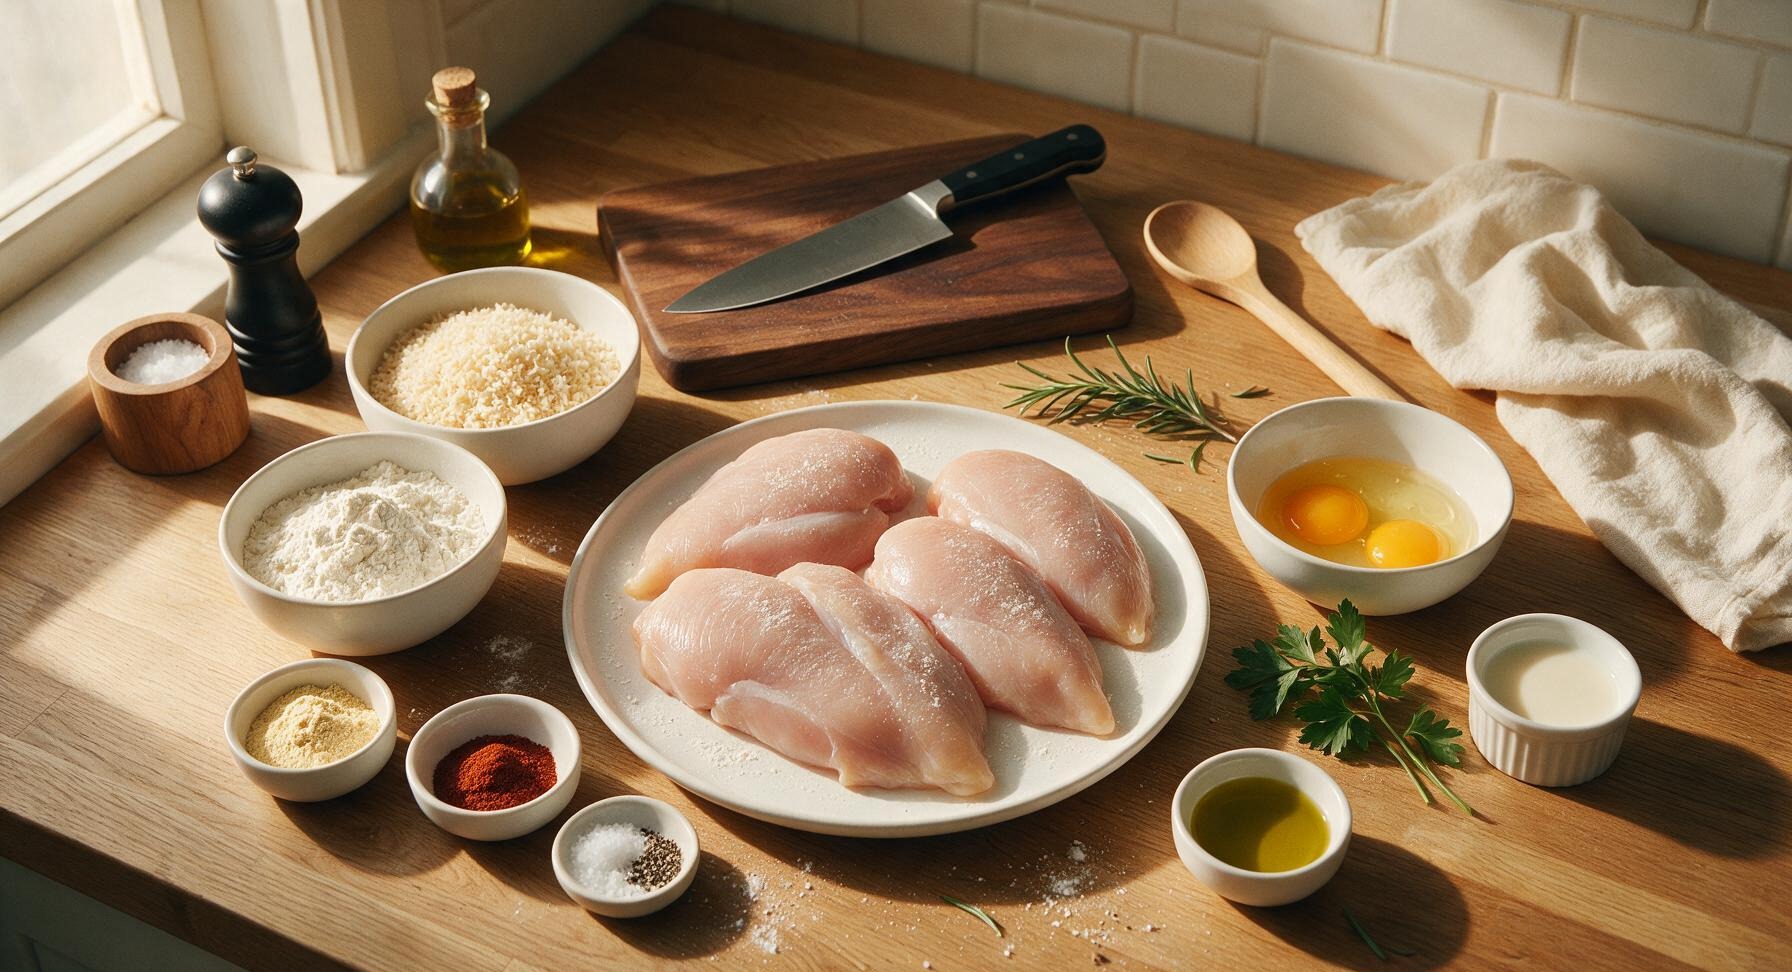
Boneless, skinless chicken breasts 4 pieces (600g total, ~150g each)
All-purpose flour ½ cup
Large eggs 2
Whole milk 2 tbsp
Panko breadcrumbs 1 ½ cups
Garlic powder 1 tsp
Smoked paprika ½ tsp
Kosher salt 1 tsp
Freshly ground black pepper ½ tsp
Olive oil 1 tbsp
Fresh flat-leaf parsley 2 sprigs

Steps

1

Prep Oven and Chicken

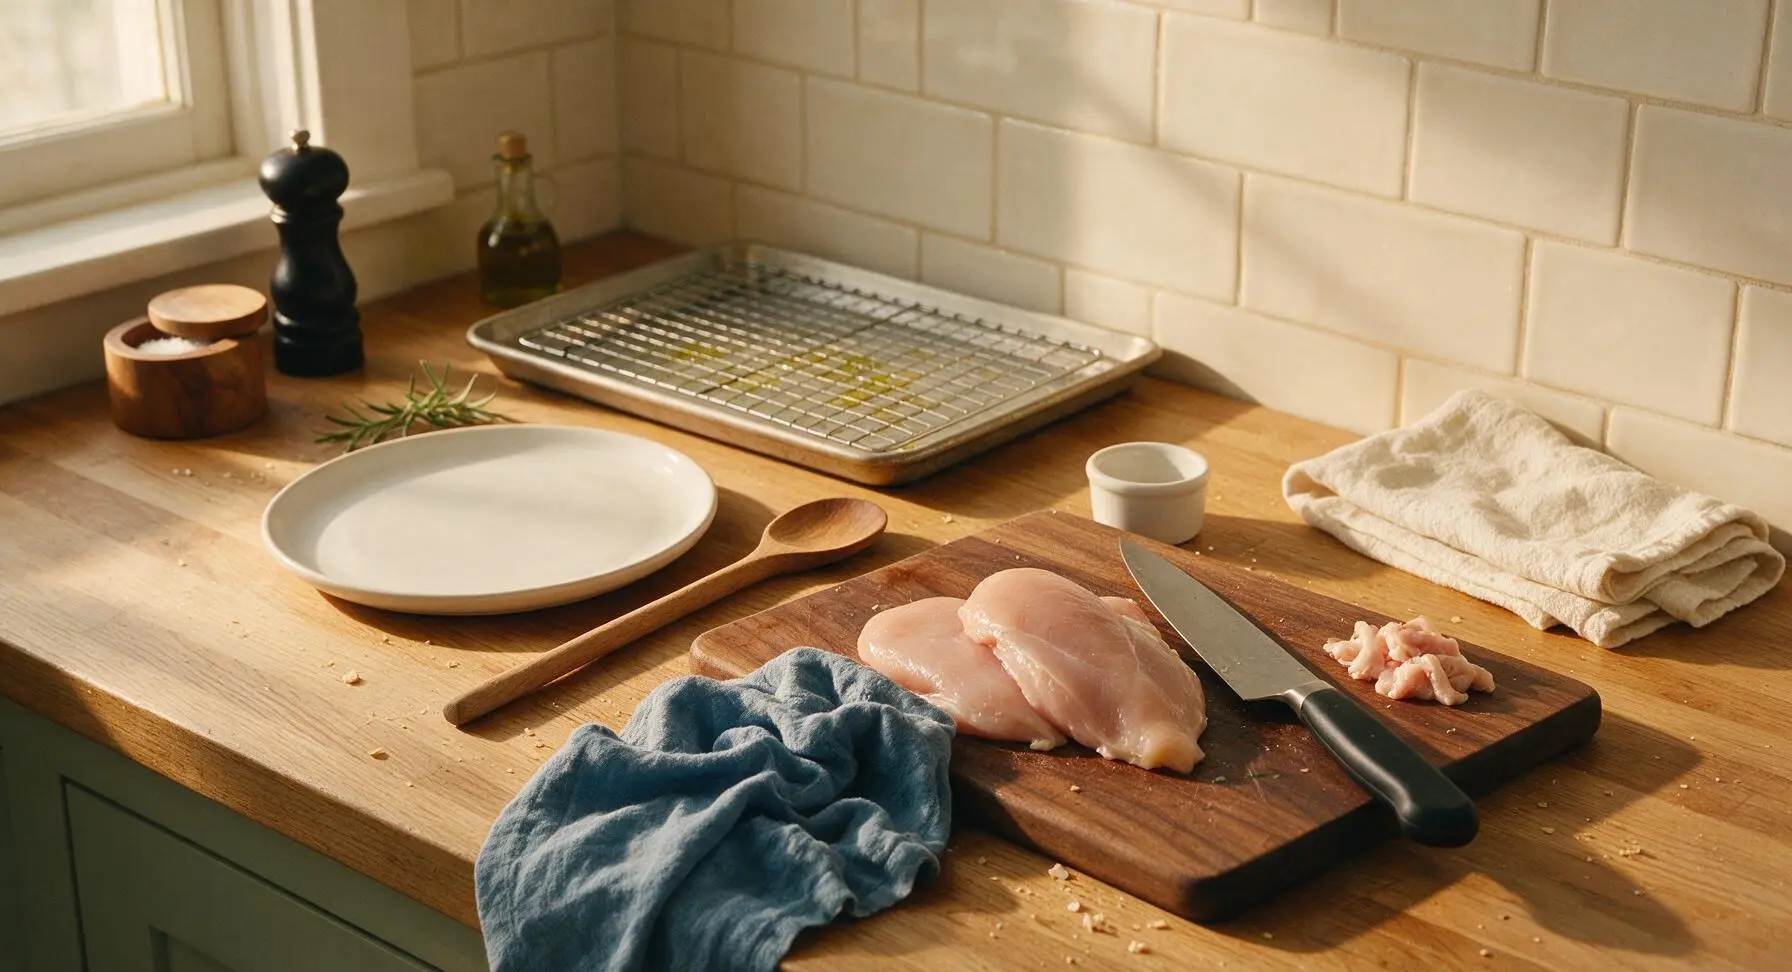
First, adjust your oven rack to the middle position, then preheat oven to 425°F (220°C). Place the wire rack inside the rimmed baking sheet, and lightly coat the rack with a thin brush of olive oil to prevent sticking. Pat the 4 chicken breasts completely dry with the sky-blue linen towel, then trim any excess loose fat or silver skin from the edges using the chef knife on the oak cutting board. Lightly season both sides of each breast with ¼ tsp of the total kosher salt and a pinch of black pepper.
Step 1
step1:Prep Oven and Chicken
2

Set Up Breading Station

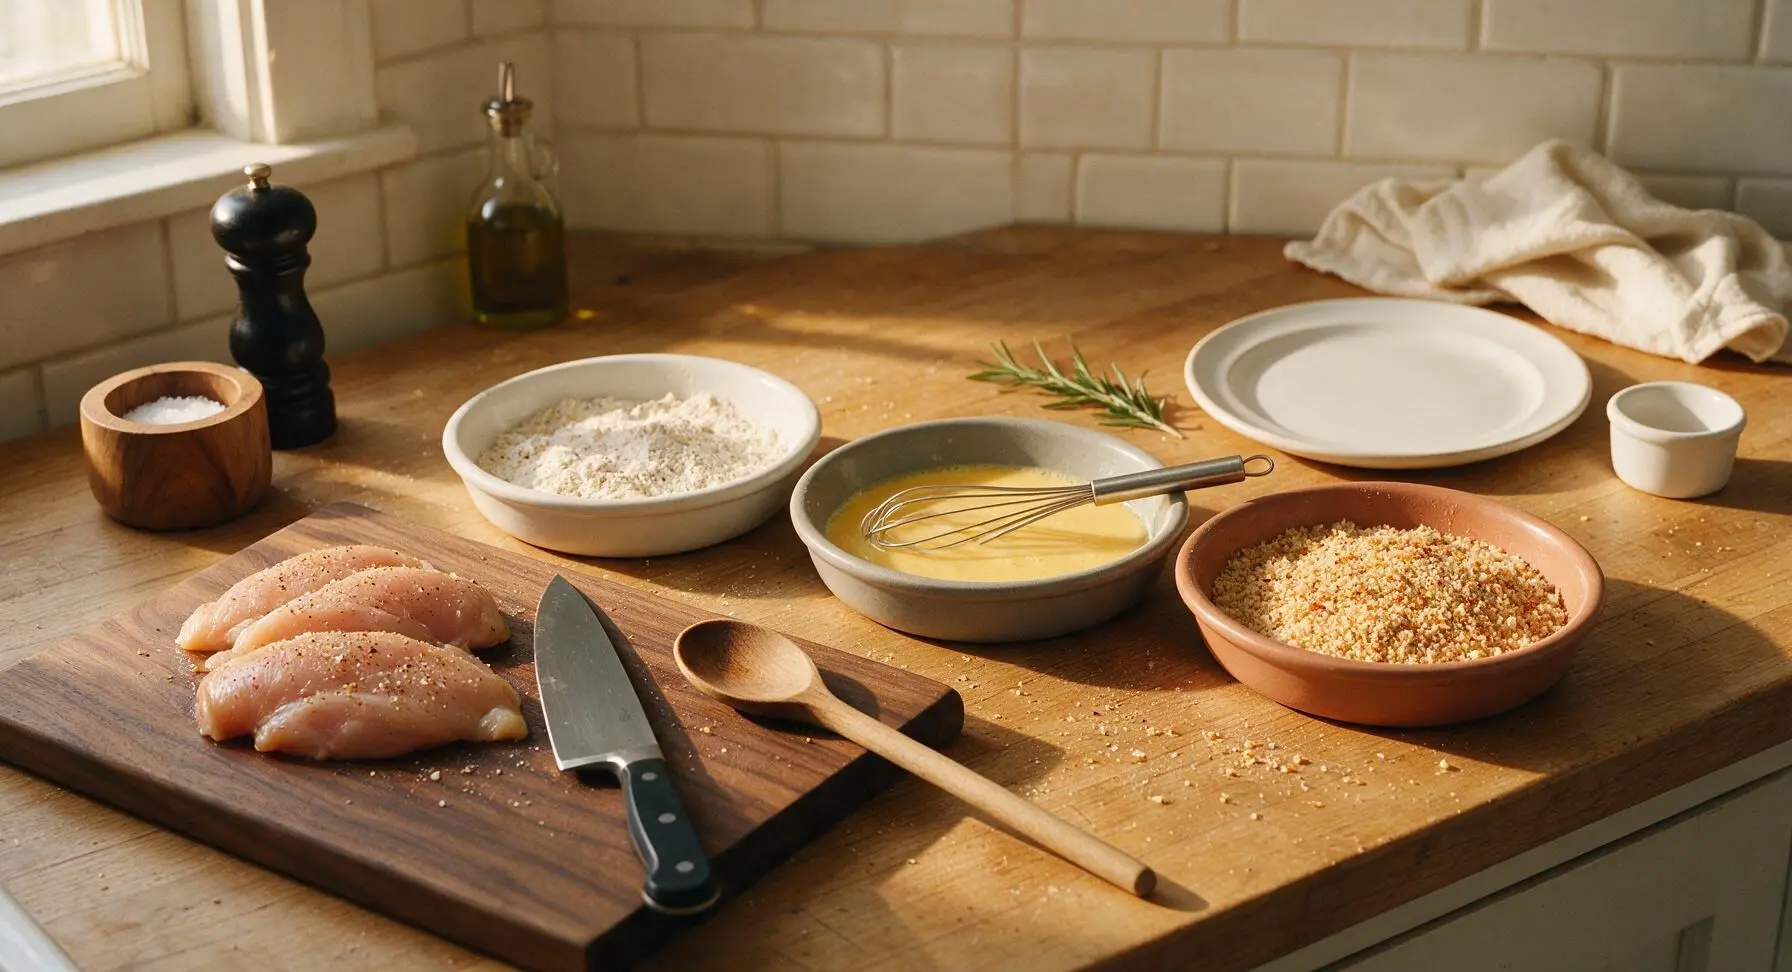
Arrange the three shallow ceramic pie dishes in a line left to right next to the cutting board. In the first (matte white) dish, add the ½ cup all-purpose flour mixed with ¼ tsp salt and ¼ tsp black pepper. In the second (soft gray) dish, whisk the 2 large eggs and 2 tbsp whole milk with the wire whisk until completely smooth, no streaks of egg white remaining. In the third (muted terracotta) dish, mix the 1 ½ cups panko breadcrumbs, 1 tsp garlic powder, ½ tsp smoked paprika, remaining ½ tsp salt, and ¼ tsp black pepper until spices are evenly distributed through the crumbs.
Step 2
step2:Set Up Breading Station
3

Dredge Chicken in Flour

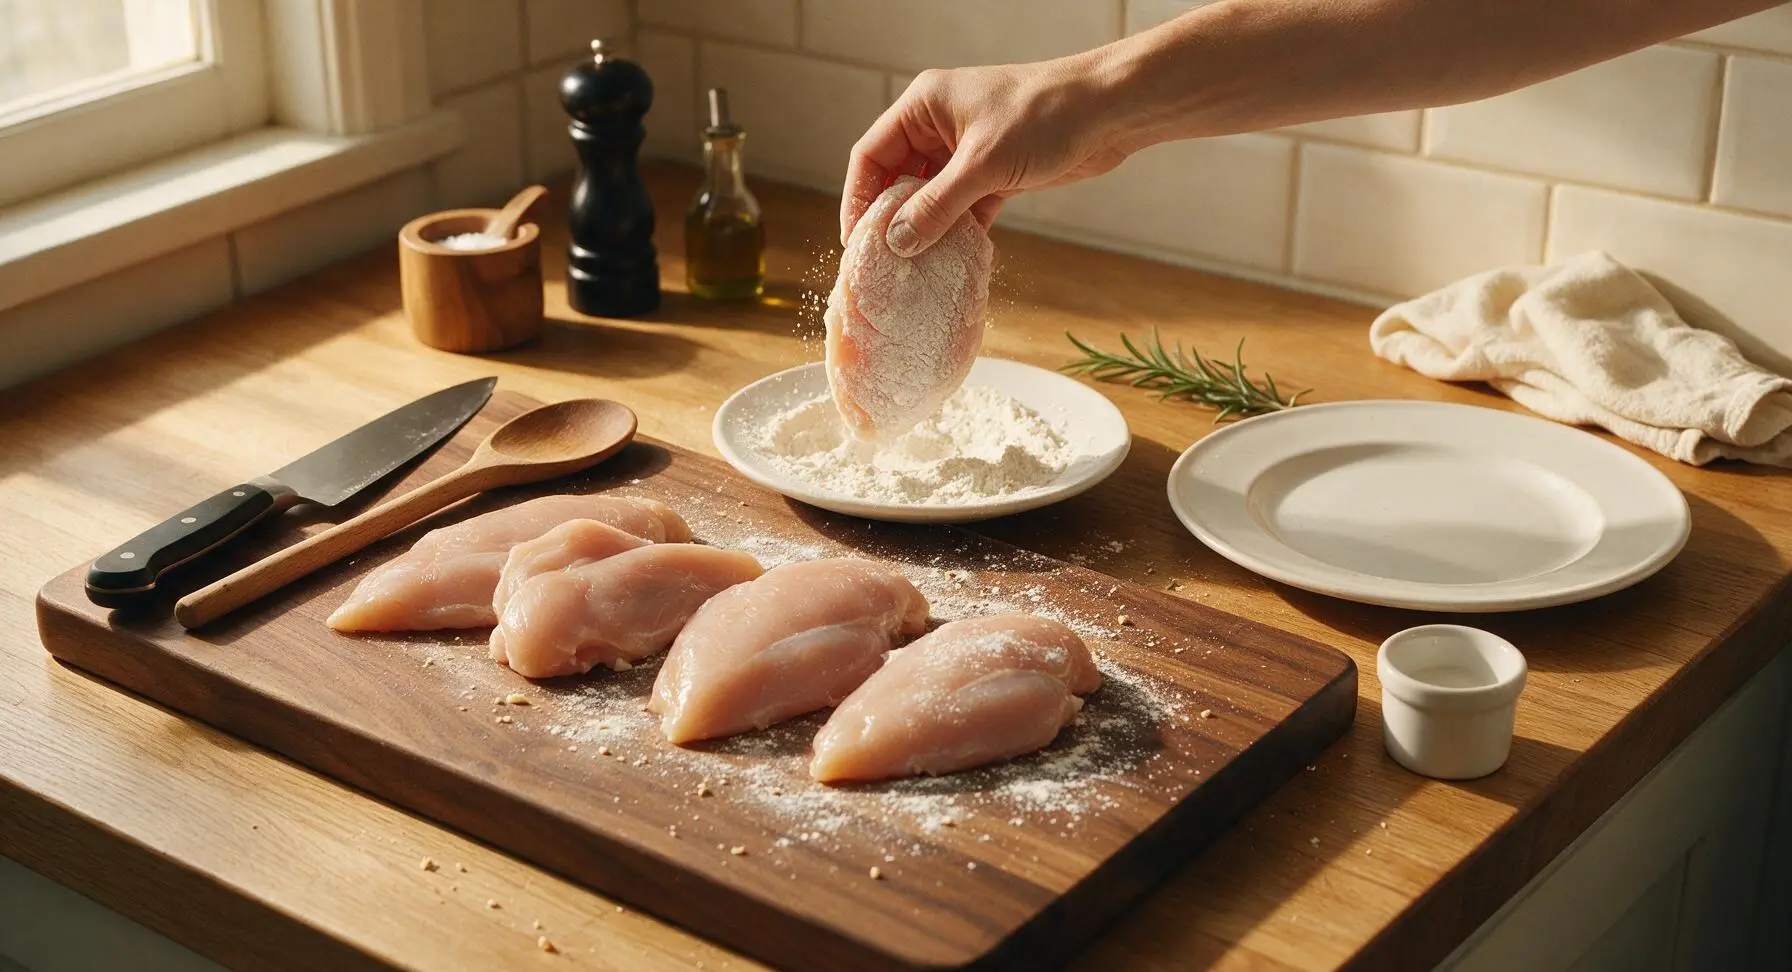
Working one breast at a time, place a chicken breast into the flour dish. Turn to coat every surface completely, then lift the breast and gently shake off any excess flour so only a thin, even layer remains. The flour coating will help the egg wash stick evenly without clumping.
Step 3
step3:Dredge Chicken in Flour
4

Dip in Egg Wash

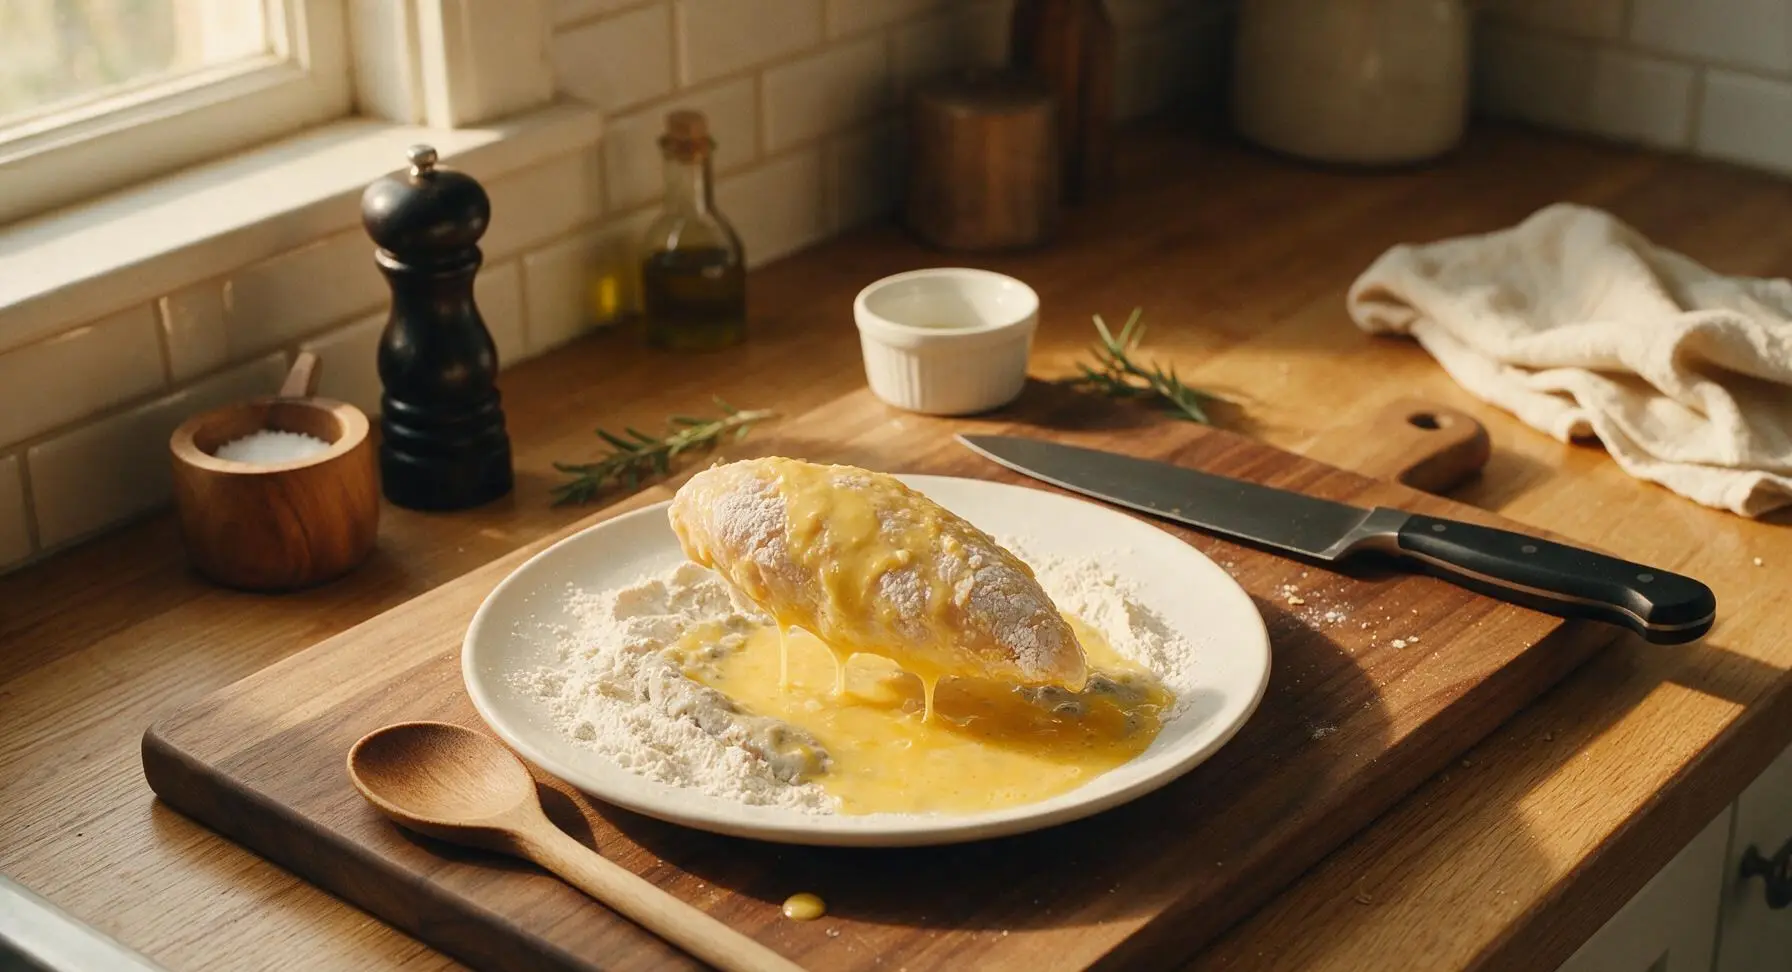
Transfer the flour-coated chicken breast directly to the egg wash dish. Turn to fully coat every floured surface, letting any excess egg drip back into the dish for 2-3 seconds before moving to the crumb station. Do not let the egg-coated chicken sit, as this will cause soggy breading.
Step 4
step4:Dip in Egg Wash
5

Press Panko Coating

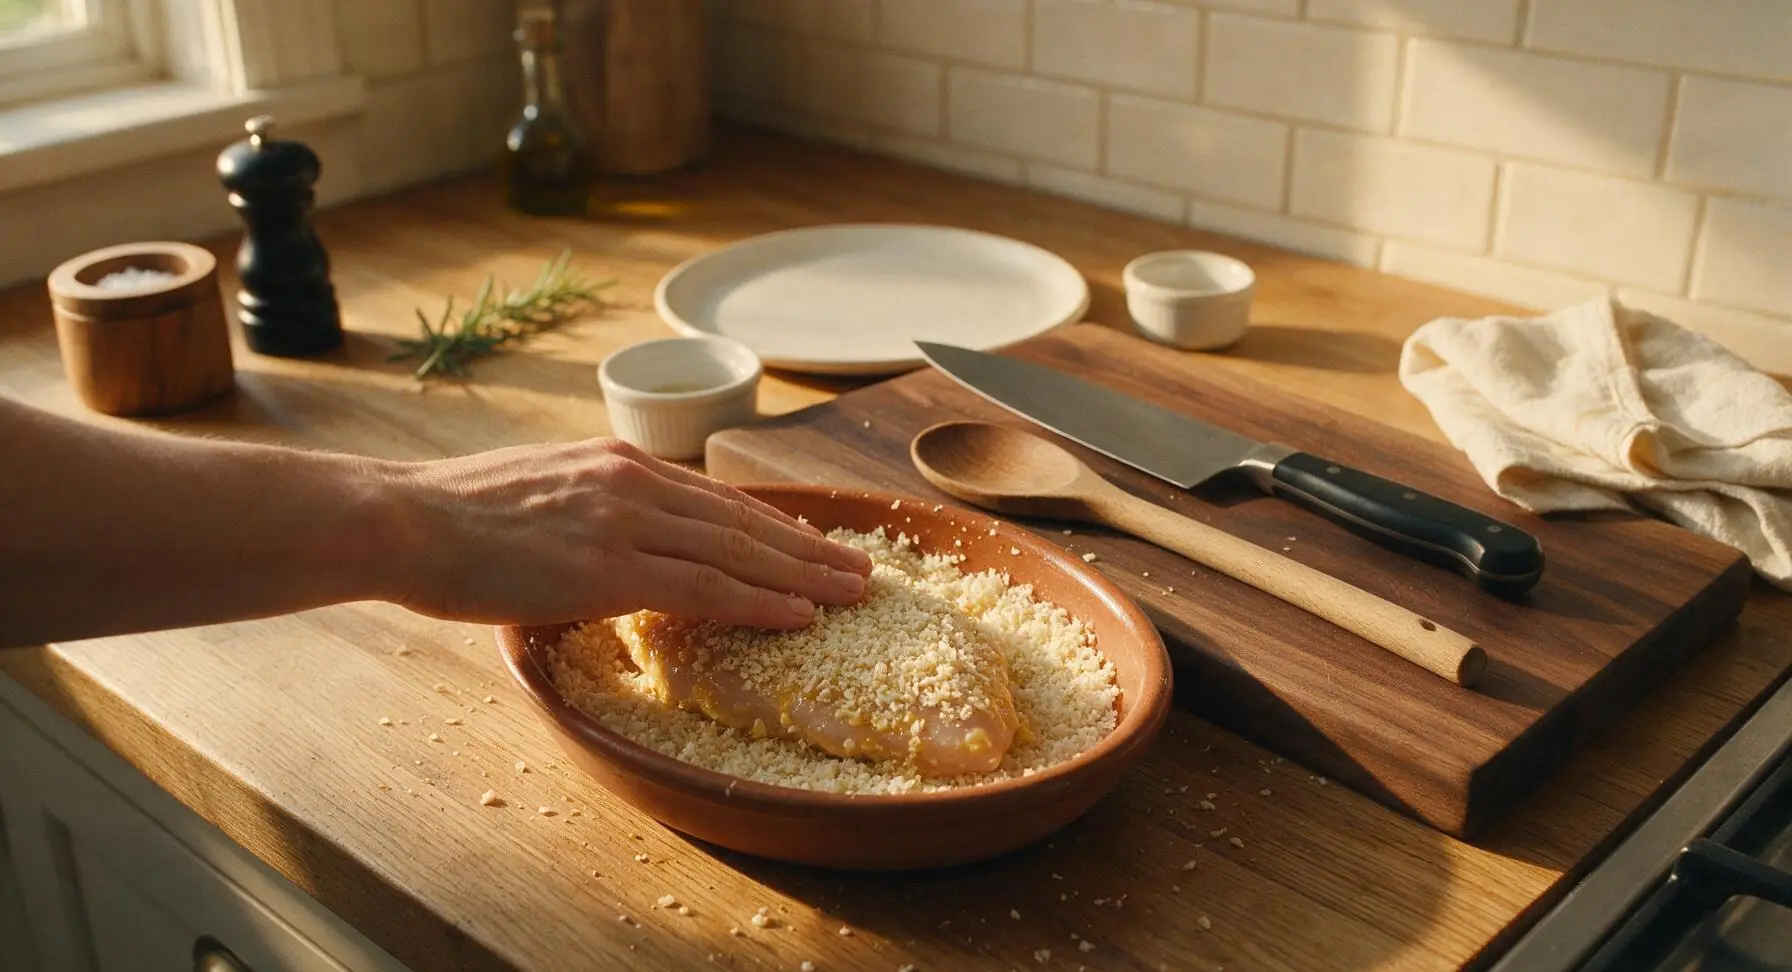
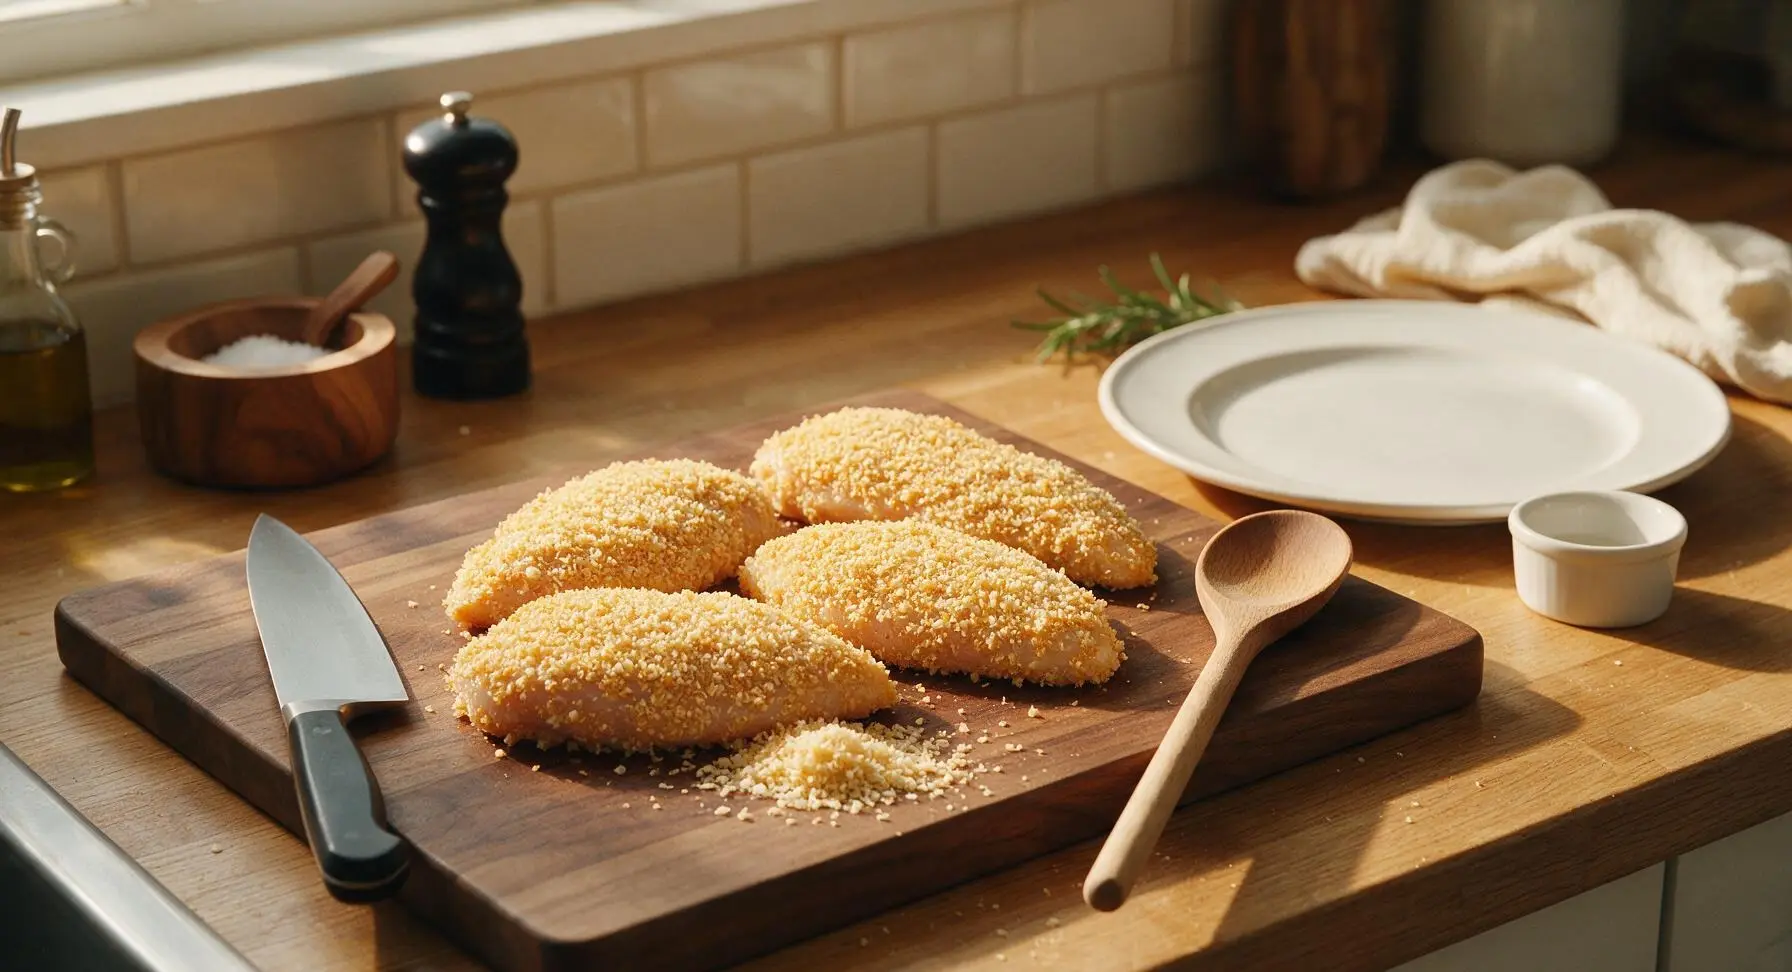
Place the egg-coated chicken breast into the spiced panko dish. Use your fingers to pile crumbs over the top of the breast, then press firmly so the crumbs adhere to every surface. Flip the breast and repeat, making sure no bare spots remain. The coating should be an even, thick layer of crumbs across the whole breast. Set coated breasts on a clean corner of the cutting board while you coat the remaining three pieces.
Step 5
step5:Press Panko Coating
Step 5
step5:Press Panko Coating
6

Arrange on Baking Rack

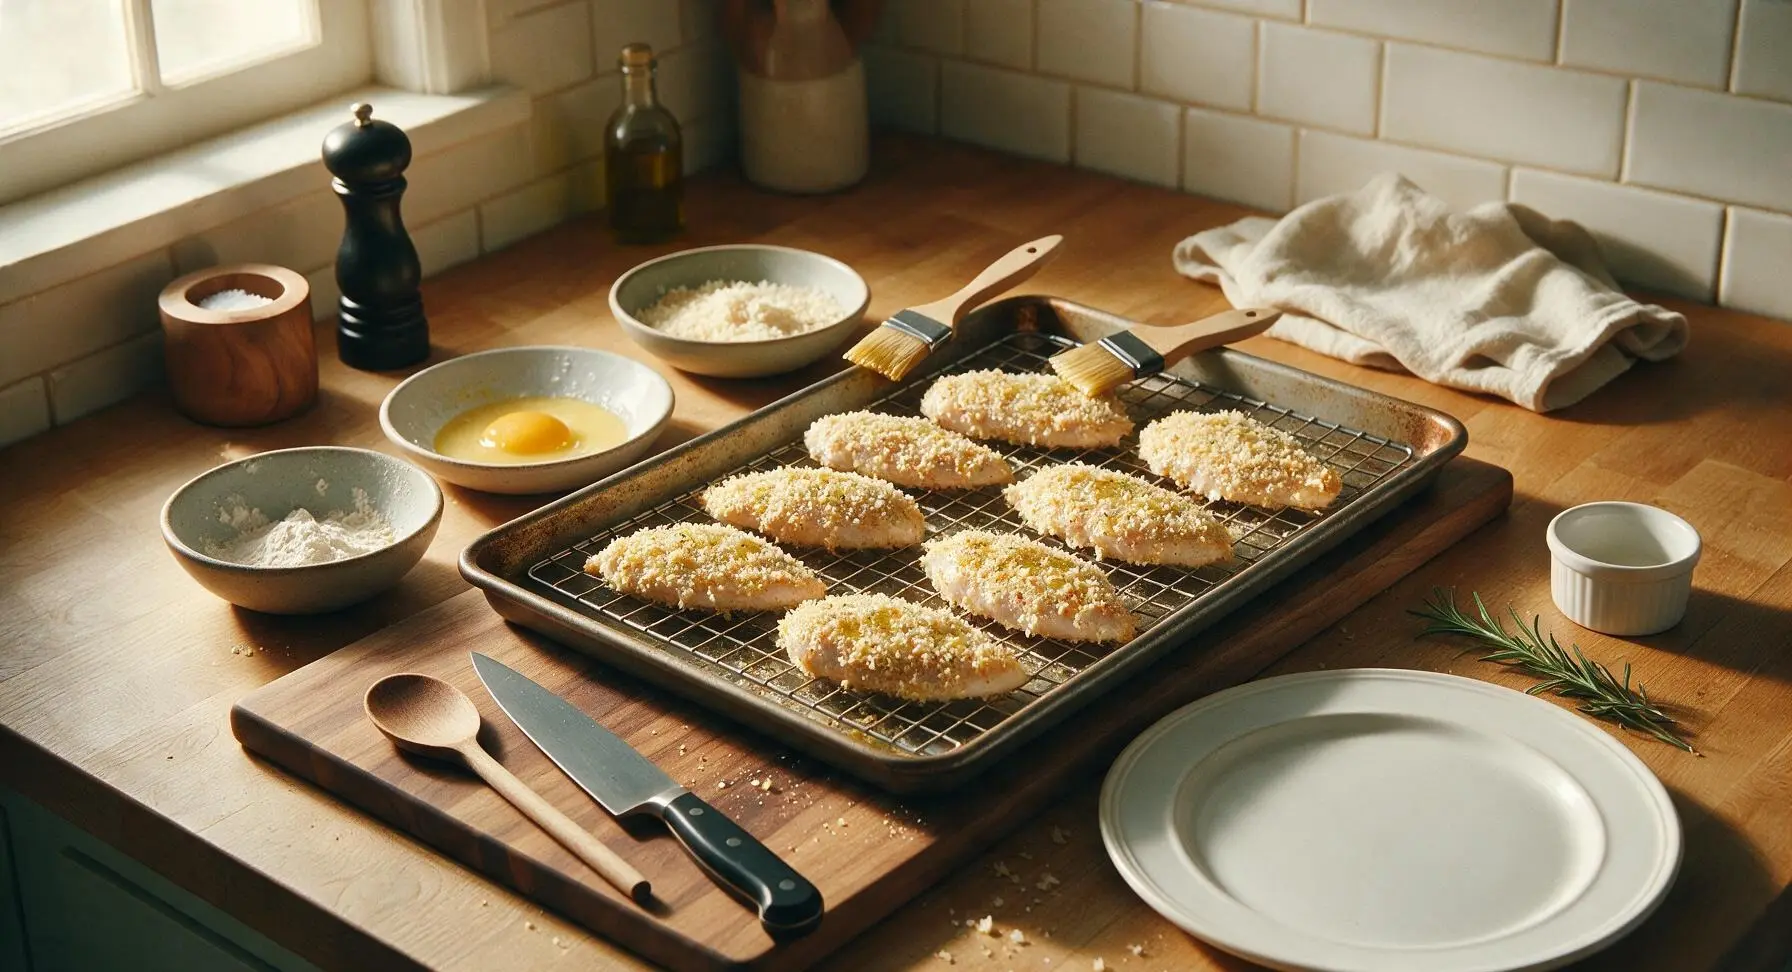
Use the kitchen tongs to transfer each panko-coated chicken breast onto the wire rack set inside the baking sheet, leaving 1 inch of space between each breast for air flow. Use the pastry brush to lightly brush the top of each crumb coating with a thin layer of olive oil, which helps the crumbs turn golden and crispy instead of dry and pale in the oven.
Step 6
step6:Arrange on Baking Rack
7

Bake to Golden Crisp

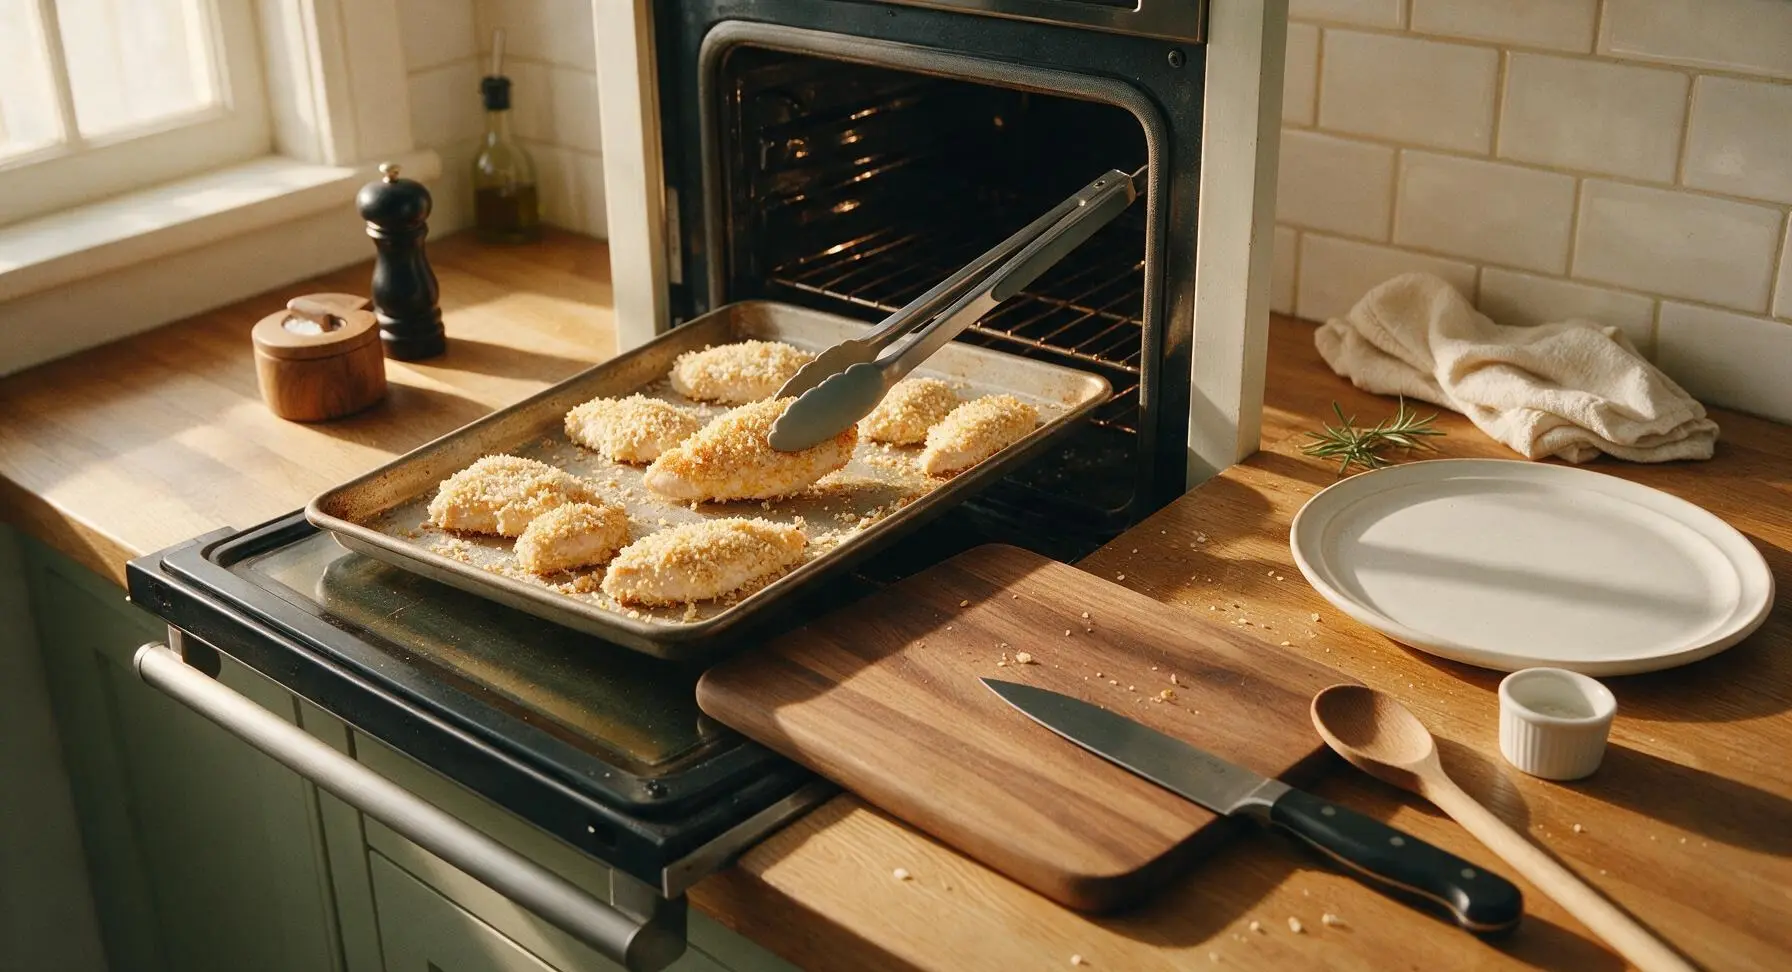
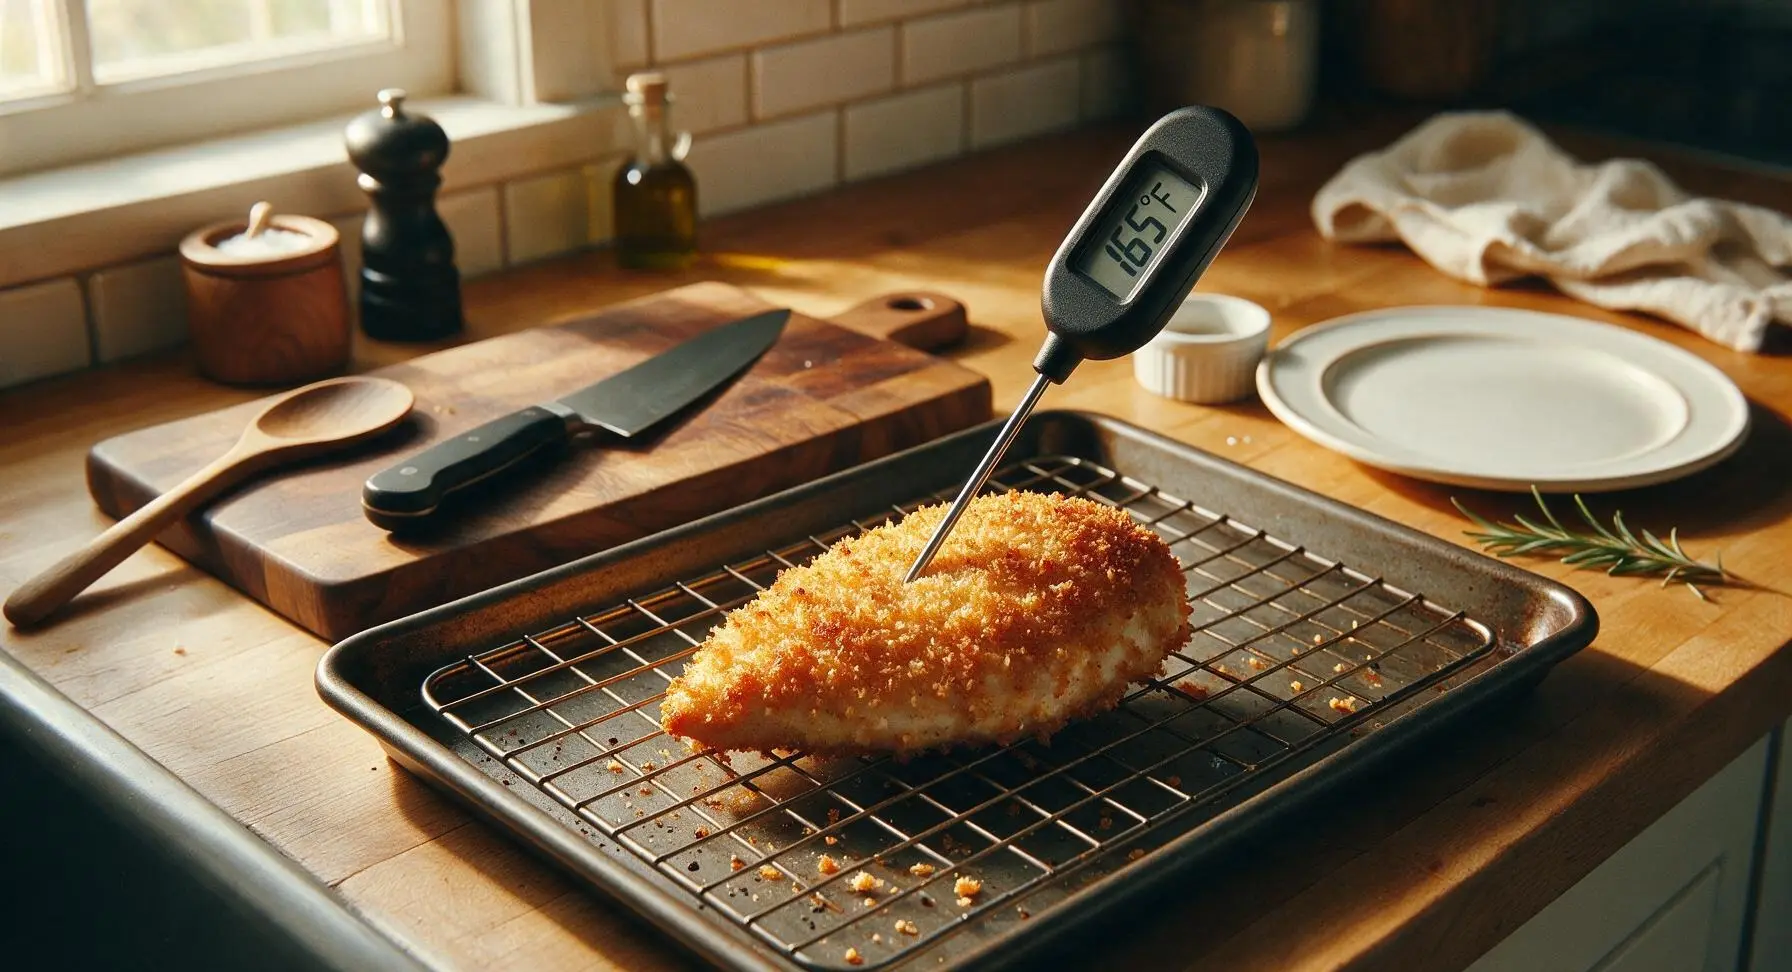
Place the baking sheet with the rack on the middle oven rack. Bake for 20-25 minutes total, flipping the breasts halfway through cooking at the 12 minute mark using the tongs. The chicken is done when the panko coating is deep, even golden brown on all sides, and the internal temperature reaches 165°F (74°C) when measured with the instant-read thermometer inserted into the thickest part of the breast. Do not overbake, as this will dry out the chicken.
Step 7
step7:Bake to Golden Crisp
Step 7
step7:Bake to Golden Crisp
8

Rest and Serve

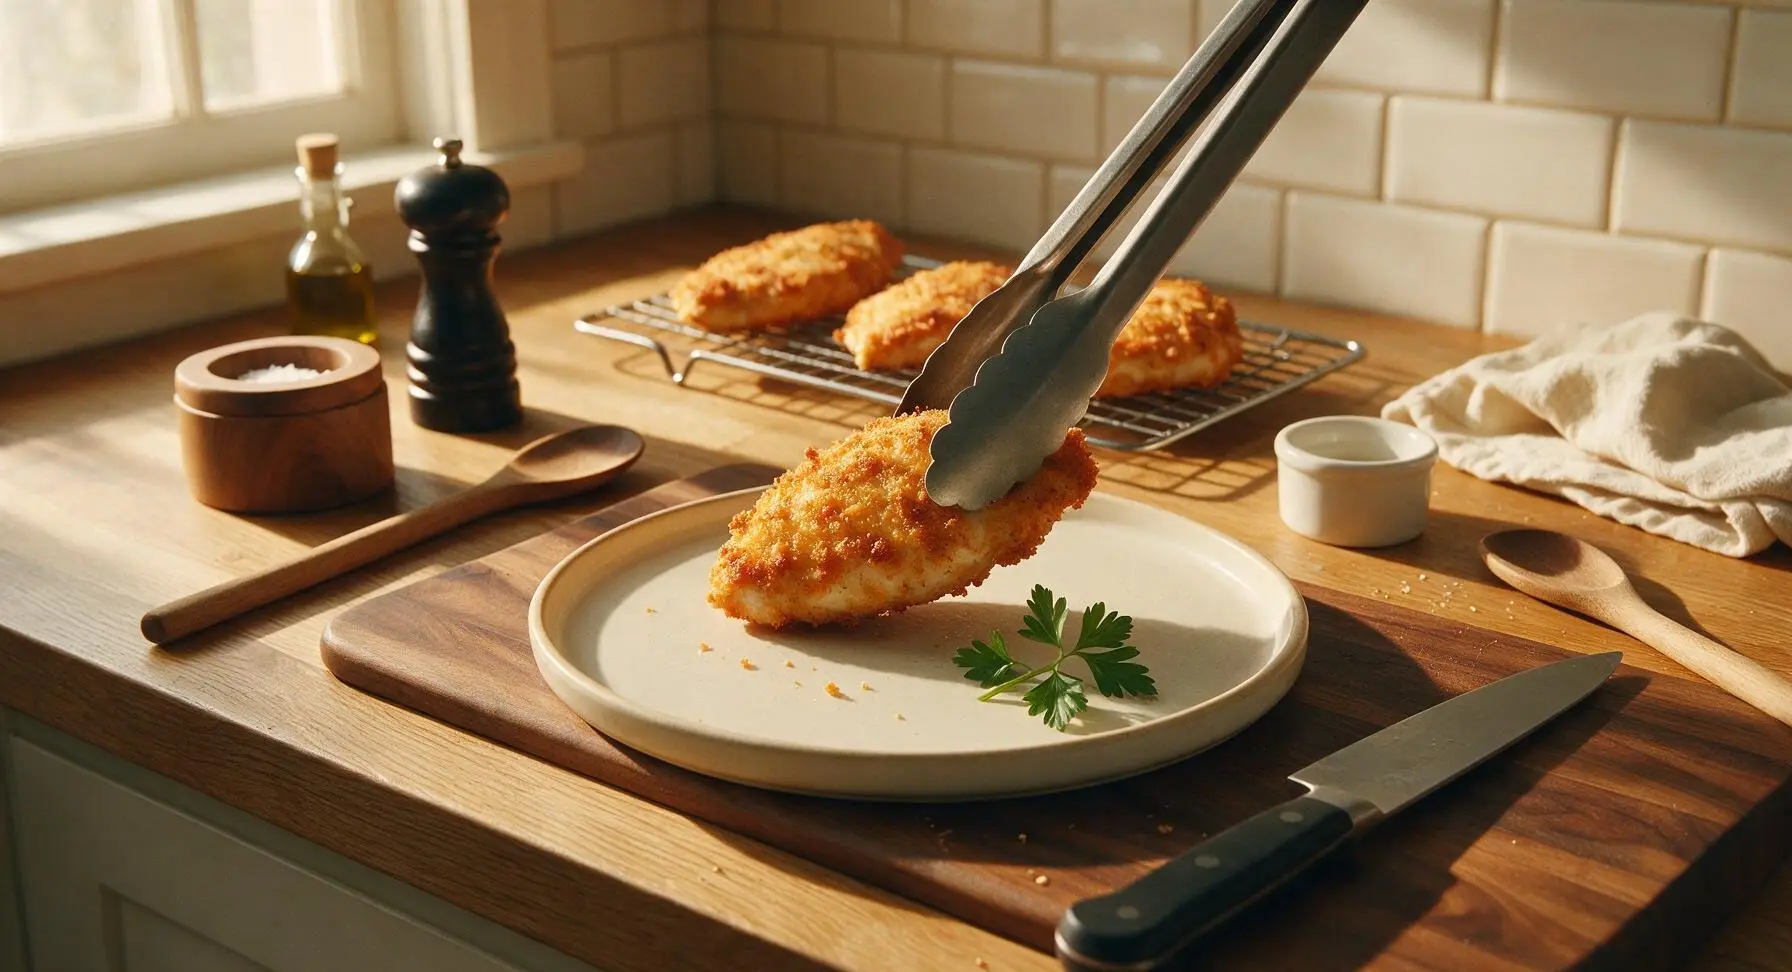
Once done, use the tongs to transfer the baked chicken breasts to the matte cream dinner plate. Let rest for 3 minutes to allow the juices to redistribute, then slice diagonally into 1-inch thick pieces if desired. Garnish with a sprig of fresh flat-leaf parsley before serving.
Step 8
step8:Rest and Serve

Tips

1.Always pat chicken completely dry with a linen or paper towel before breading: excess surface moisture will turn the flour coating gummy, prevent panko from sticking evenly, and leave bare, uncoated spots on the finished chicken.
2.Bake chicken on a raised wire rack instead of directly on the baking sheet: this allows hot oven air to circulate fully under the chicken, making the bottom coating just as crispy as the top, instead of turning soggy from trapped steam and pooled juice.
3.Brushing a thin layer of olive oil over the panko coating before baking is critical for authentic fried chicken crunch: without oil, the dry panko will not toast to a deep golden brown, and will stay pale, dry, and powdery instead of crisp.


✨ You May Also Like

Main Course
🍜 United Kingdom

A showstopping classic of tender seared beef, savory mushroom duxelles, and crisp prosciutto wrapped in flaky golden puff pastry, baked to juicy perfection.

⏱️ 2 hours 1Main Course ★ 4.7
Main Course
🍜 India

Tender charred marinated chicken simmered in a rich, spiced creamy tomato sauce, this iconic Anglo-Indian curry pairs perfectly with basmati rice or warm naan.

⏱️ 50 minuteMain Course ★ 4.6
Main Course
🍜 Thailand

Classic tangy, sweet, and savory Thai stir-fried rice noodles with shrimp, tofu, and crunchy garnishes, balancing all five core Thai flavor profiles.

⏱️ 30 minuteMain Course ★ 4.5
Main Course
🍜 United Kingdom

Crispy golden beer-battered cod and fluffy double-fried chips, served with tangy tartar sauce and malt vinegar: the timeless, beloved British pub comfort classic.

⏱️ 45 minuteMain Course ★ 4.7
Main Course
🍜 Mexico

Smoky, chile-marinated pork tacos with caramelized pineapple, fresh cilantro, and lime: a beloved classic Mexican street food perfect for casual summer gatherings.

⏱️ 1 hour 45Main Course ★ 4.8
Main Course
🍜 United States

Crunchy Fritos corn chips layered with savory beef chili and melted cheddar, topped with cool, zesty fixings for a beloved, cozy Tex-Mex comfort food.

⏱️ 35 minuteMain Course ★ 4.8

oven baked fried chicken breast:Frequently Asked Questions

1.How do I keep the baked chicken breast from drying out while it cooks? ▾
Start by pounding breasts to a uniform 1-inch thickness so they cook evenly, with no thin overcooked edges. If you have 30 minutes, brine them in 4 cups water mixed with 2 tbsp kosher salt first for extra juiciness. Always pull chicken when it hits 165°F internal temp, then let it rest 5 minutes before serving to lock in juices.
2.Why isn’t my panko crust getting crispy in the oven? ▾
A soggy crust usually comes from trapped moisture, or skipping a preheated oven and baking sheet. Toast panko in a dry pan for 2 minutes before breading for extra crunch, spritz the crust lightly with olive oil cooking spray, and bake on a wire rack set over a baking sheet so air circulates all around instead of steaming the bottom.
3.Can I prep this breaded chicken ahead of time before baking? ▾
You can bread the chicken breasts up to 4 hours ahead, stored uncovered on a wire rack in the fridge. Don’t wrap it tightly, because trapped moisture will make the panko soggy. For longer storage, freeze unbaked breaded breasts on a tray, then transfer to a bag for up to 3 months—bake straight from frozen, adding 5-7 minutes to cook time.
4.Do I have to use panko breadcrumbs, or can I substitute regular breadcrumbs? ▾
Panko gives that signature light, shattery crunch that mimics deep-fried chicken, but you can substitute regular dry breadcrumbs if that’s what you have on hand. Just note regular crumbs will make a denser, less crisp crust. For extra crunch, mix 2 tbsp grated parmesan or crushed cornflakes into regular crumbs.
5.What oven temperature gives the best crispy results for this recipe? ▾
Preheat your oven to 425°F, and let it fully preheat for at least 15 minutes before putting the chicken in. A hot oven jumpstarts crust browning and seals in juices fast. Lower temps will make the breading absorb moisture and turn soggy, while temps above 450°F will burn panko before the chicken cooks through.
6.Why does my breading fall off the chicken when I bake it? ▾
Breading slips off when the chicken surface is too wet, or you skip the proper breading station order. Pat chicken completely dry with paper towels first, then dredge in flour, dip fully in egg wash, then press panko firmly to adhere. Let breaded chicken rest 10 minutes before baking so the coating sets and doesn’t slide off.
7.Can I make this recipe without eggs to accommodate an egg allergy? ▾
Absolutely, you can swap the egg and milk wash for ½ cup plain full-fat Greek yogurt thinned with 2 tbsp milk, or ¼ cup dijon mustard mixed with ¼ cup milk. Both give the flour and panko something to stick to, and add a nice subtle tang to the final crust that pairs beautifully with savory chicken.
8.How long do I need to bake these chicken breasts for? ▾
For 1-inch thick pounded breasts at 425°F, bake time is usually 20 to 25 minutes total. Always rely on an instant-read thermometer instead of just time, though—insert it into the thickest part, and pull chicken as soon as it hits 165°F to avoid dry, overcooked meat. No flipping is needed if baking on a wire rack.
9.Should I bake chicken directly on a baking sheet or use a wire rack? ▾
For the crunchiest, most even crust, bake on a wire rack set inside a rimmed baking sheet. Elevating the chicken lets hot air circulate under every side, so the bottom of the crust gets just as crispy as the top, with no soggy steamed spots. If you don’t have a rack, flip chicken halfway through baking to crisp both sides.
10.What seasonings work best in the breading for this recipe? ▾
Mix 1 tsp garlic powder, 1 tsp paprika, ½ tsp black pepper, 1 tsp kosher salt, and ½ tsp onion powder right into your flour and panko for classic fried chicken flavor. You can add a pinch of cayenne for heat, dried thyme for herby depth, or smoked paprika for a rich, smoky takeout-style taste.
11.Can I use boneless, skinless chicken thighs instead of breasts with this method? ▾
Absolutely, this breading and baking method works beautifully for boneless, skinless chicken thighs too. Thighs have a little more fat, so they stay extra juicy even if you slightly overcook them. Just note thighs will take 25 to 30 minutes to reach 165°F internal temp at 425°F, so adjust your bake time accordingly.
12.How do I store leftovers, and reheat them without making the crust soggy? ▾
Store leftovers in an airtight container in the fridge for up to 4 days. To reheat and bring back the crunch, place chicken on a wire rack over a baking sheet and bake at 375°F for 10 to 12 minutes until heated through. Skip the microwave—it steams panko and leaves you with a soft, mushy crust every time.
13.Do I need to spray the panko with oil before baking? ▾
A light spritz of olive oil or canola oil cooking spray over the top of breaded chicken helps panko turn golden and crispy as it bakes, mimicking fried texture without submerging in oil. You don’t need to douse it—just a light, even coat is enough. If you don’t have spray, drizzle a tiny bit of oil over top and spread gently.
14.Why is my flour coating clumpy when I dredge the chicken? ▾
Clumpy flour happens when your chicken is too wet, or you press too hard when coating it in flour. Pat chicken dry first, then dredge lightly in flour, shaking off all excess completely before dipping in egg wash. You only need a thin, even flour layer—thick clumps turn gummy under panko as the chicken bakes, instead of forming a crisp base.
15.Can I adjust this recipe to be gluten-free? ▾
Definitely, you can swap the all-purpose flour for a 1:1 gluten-free all-purpose flour blend, and use certified gluten-free panko breadcrumbs (or crushed gluten-free rice cereal for a similar crunch). Double check that any added seasonings don’t have hidden gluten, then follow the exact same breading and baking steps for identical crispy, juicy results.
16.How do I get that deep golden, fried-looking crust without deep frying? ▾
For that rich, deep golden brown crust that looks just like deep-fried chicken, toss your panko with 1 tbsp of melted butter before breading, or give the top a quick 1-minute broil at the end of baking (watch it closely so it doesn’t burn!). The light fat coating helps crumbs brown faster and more evenly for that classic fried chicken look.

Comments (4)

1 week ago

This is my new go-to protein for weekly meal prep! It’s way healthier than deep fried takeout chicken but doesn’t taste like sad diet food at all. I bake a big batch every Sunday to pair with roasted broccoli and brown rice for my work lunches, and it stays juicy the whole week. It’s so easy too—full transparency, I burn toast at least half the time I make breakfast, so if I can nail this, literally anyone can. 10/10, no more boring plain boiled chicken breast for me!

5 days ago

Made this for my neighborhood potluck this past weekend and people were hounding me for the recipe left and right! I added a little extra smoked paprika and garlic powder to the breading because I like a little extra zing, but otherwise followed the recipe exactly. My only small note is I wish the instructions mentioned giving the chicken a light spray of cooking oil before baking to amp up the crisp factor, but it was still SO good even when I forgot that step!

3 days ago

Thanks so much for the awesome feedback and for sharing the recipe at your potluck! That light cooking oil spray is such a helpful tip—we’re adding that note to the recipe instructions right away to help other folks get that perfect crispy exterior. Your smoked paprika and garlic powder tweak sounds incredible, we’ll have to try that next time we test the recipe!

3 days ago

OMG this oven baked fried chicken breast is a total game changer!!! I’ve tried so many baked chicken recipes that come out dry and rubbery, but this turned out perfectly crispy on the outside and so juicy inside. My kids devoured two pieces each at our family dinner the night I made it, even my super picky 7 year old who normally turns his nose up at any chicken that isn’t drive-thru nuggets. It’s such a weeknight win too—only 25 minutes in the oven so I didn’t have to spend forever in the kitchen after work!

2 days ago

Yesss so glad I’m not the only one with a kid who will only eat processed nuggets! Did you use regular panko breadcrumbs or the whole wheat kind for the coating? I wanna make a big batch of this for my weekly meal prep this Sunday!

yesterday

We’re so happy your family loved the recipe! Regular panko works perfectly for that extra crispy crunch, but whole wheat panko is a great swap too if that’s what you already have in your pantry. This recipe holds up really well for meal prep, too—just store in an airtight container in the fridge for up to 4 days!

2 hours ago

Guys I’m literally a total beginner in the kitchen and I nailed this on my first try??? I was so nervous I’d mess it up because fried chicken always seemed like such a complicated, messy thing to make, but this was so straightforward and only took 25 minutes like the recipe said. My roommate walked in while I was eating and thought I’d ordered takeout lmao. Quick question—can I use this same breading mix for chicken thighs? We have a pack in the fridge I need to use up before it goes bad.

30 minutes ago

I used this exact breading for bone-in chicken thighs last week! Just tack on about 10 extra minutes of bake time and make sure they hit 165°F internal temp before you pull them out, and they come out insane. The crispy skin is *chef’s kiss*, way better than the breast if you ask me lol.



