
Oven-Baked Texas-Style Brisket
intro
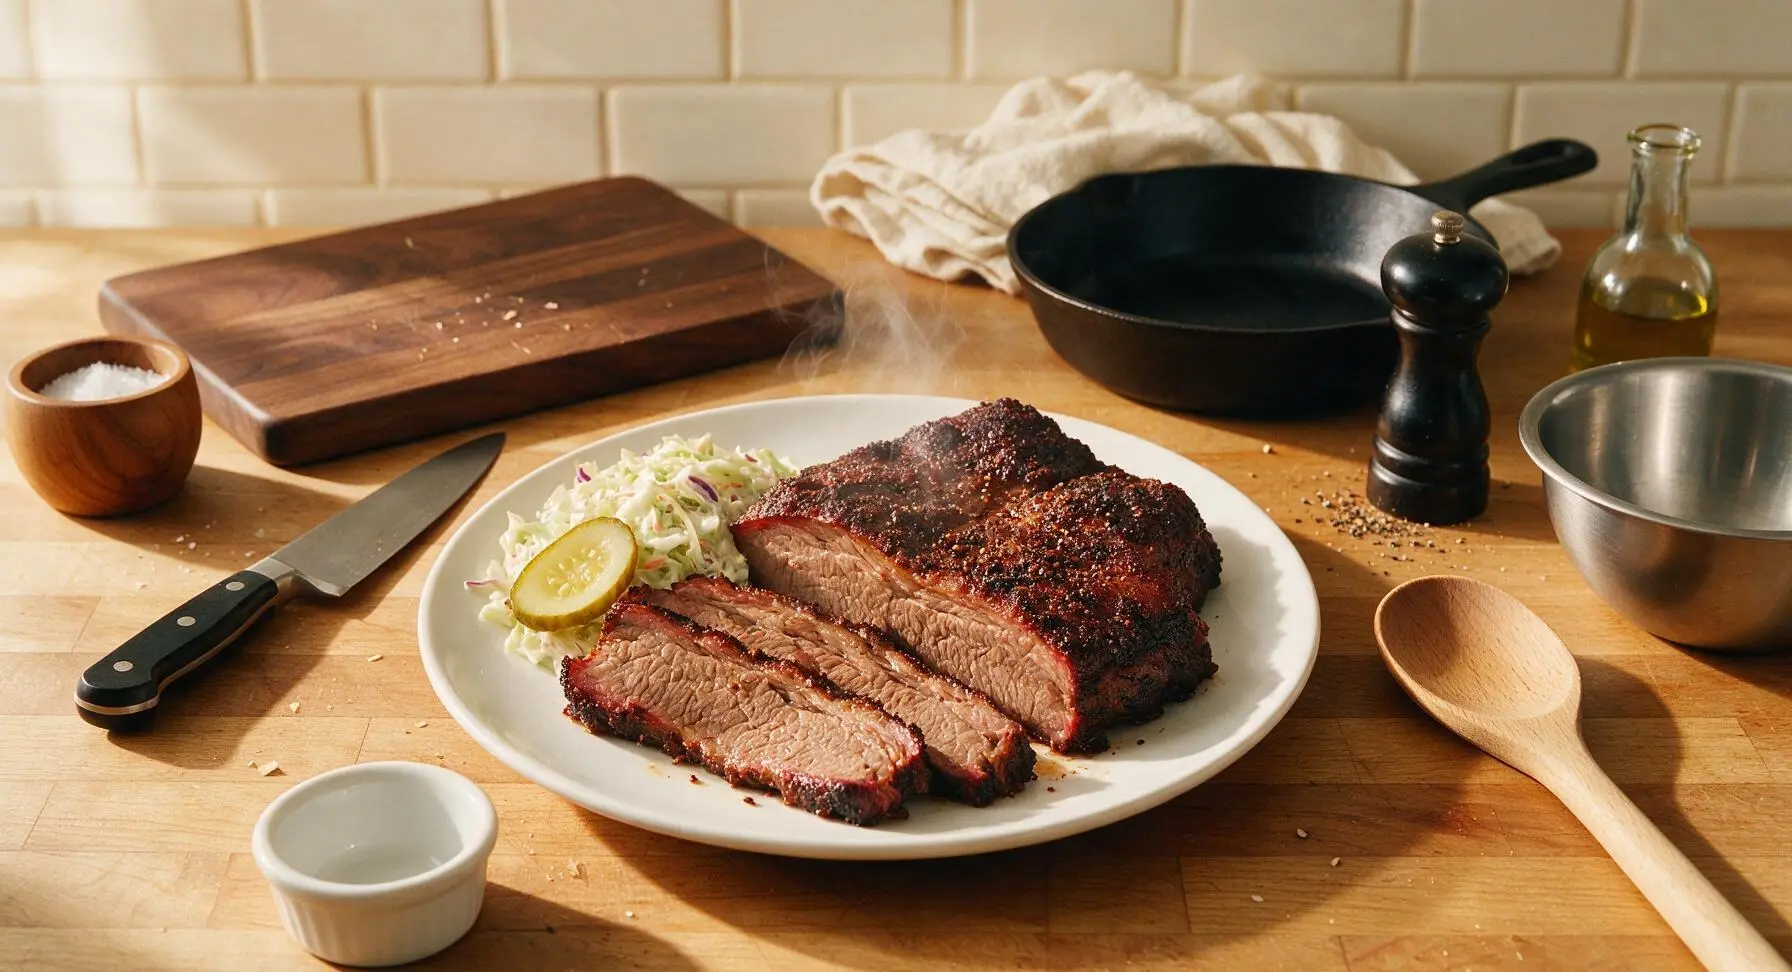
Tender, juicy Texas-style brisket with a crisp peppery bark and subtle smoky flavor, cooked low and slow in a standard home oven—no smoker required for this backyard BBQ classic.
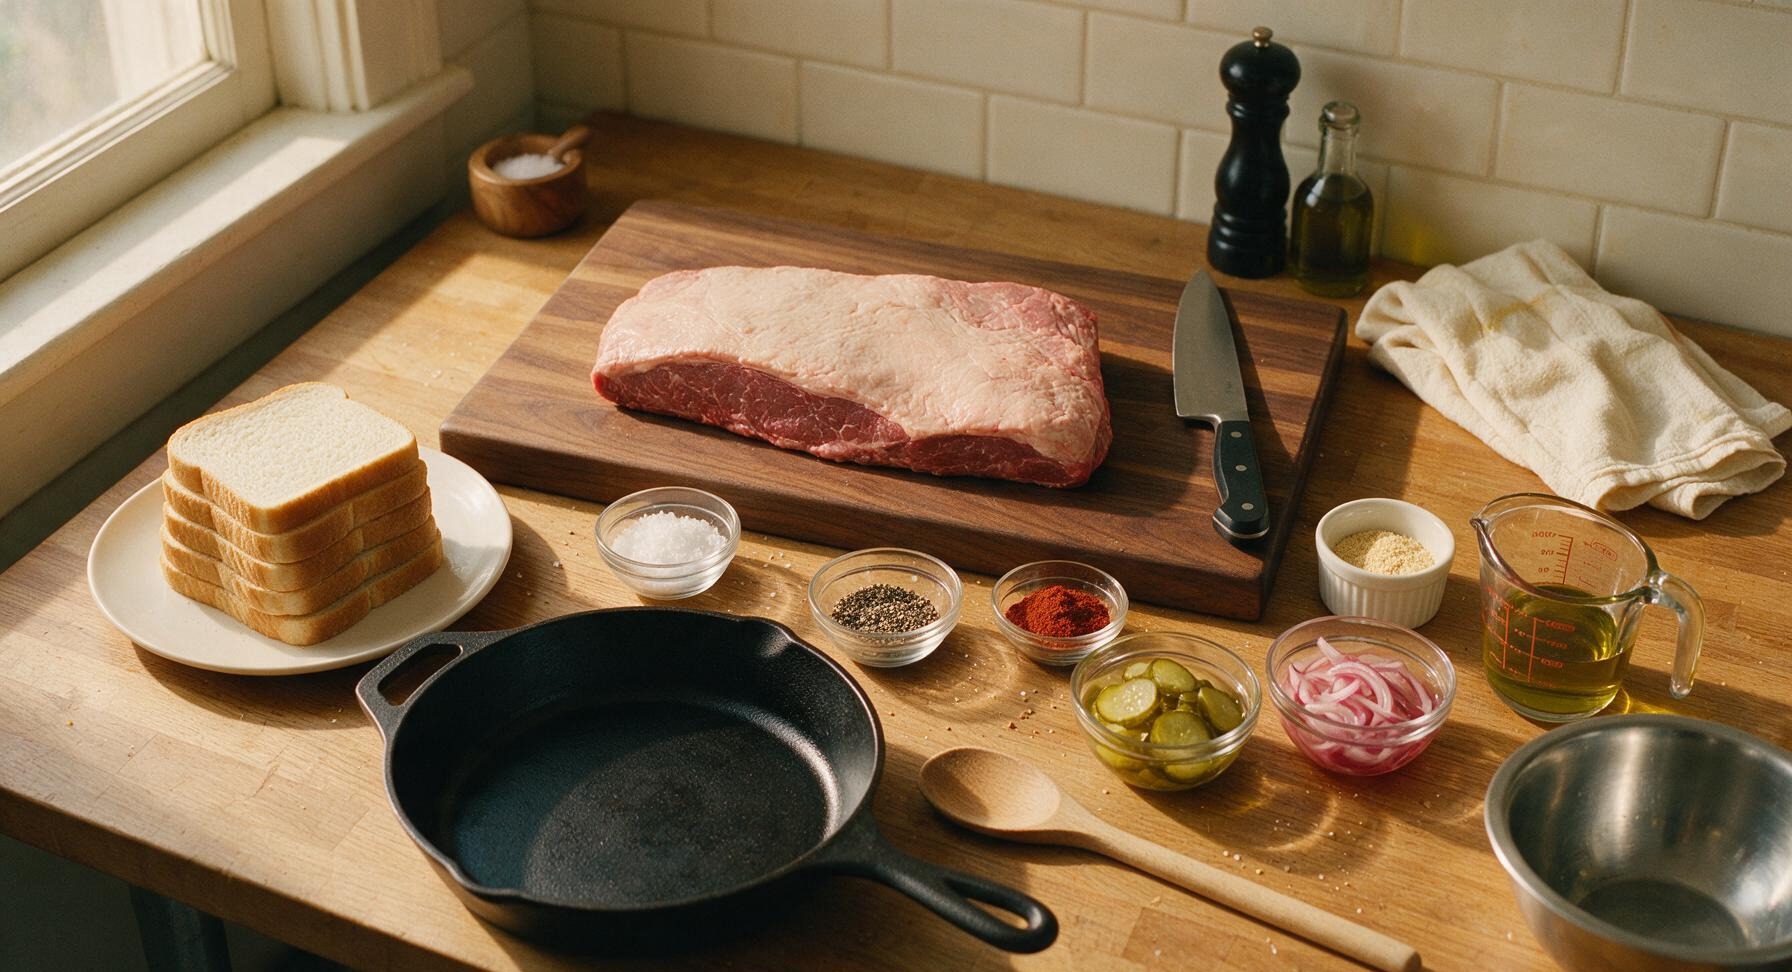
Ingredients
Steps
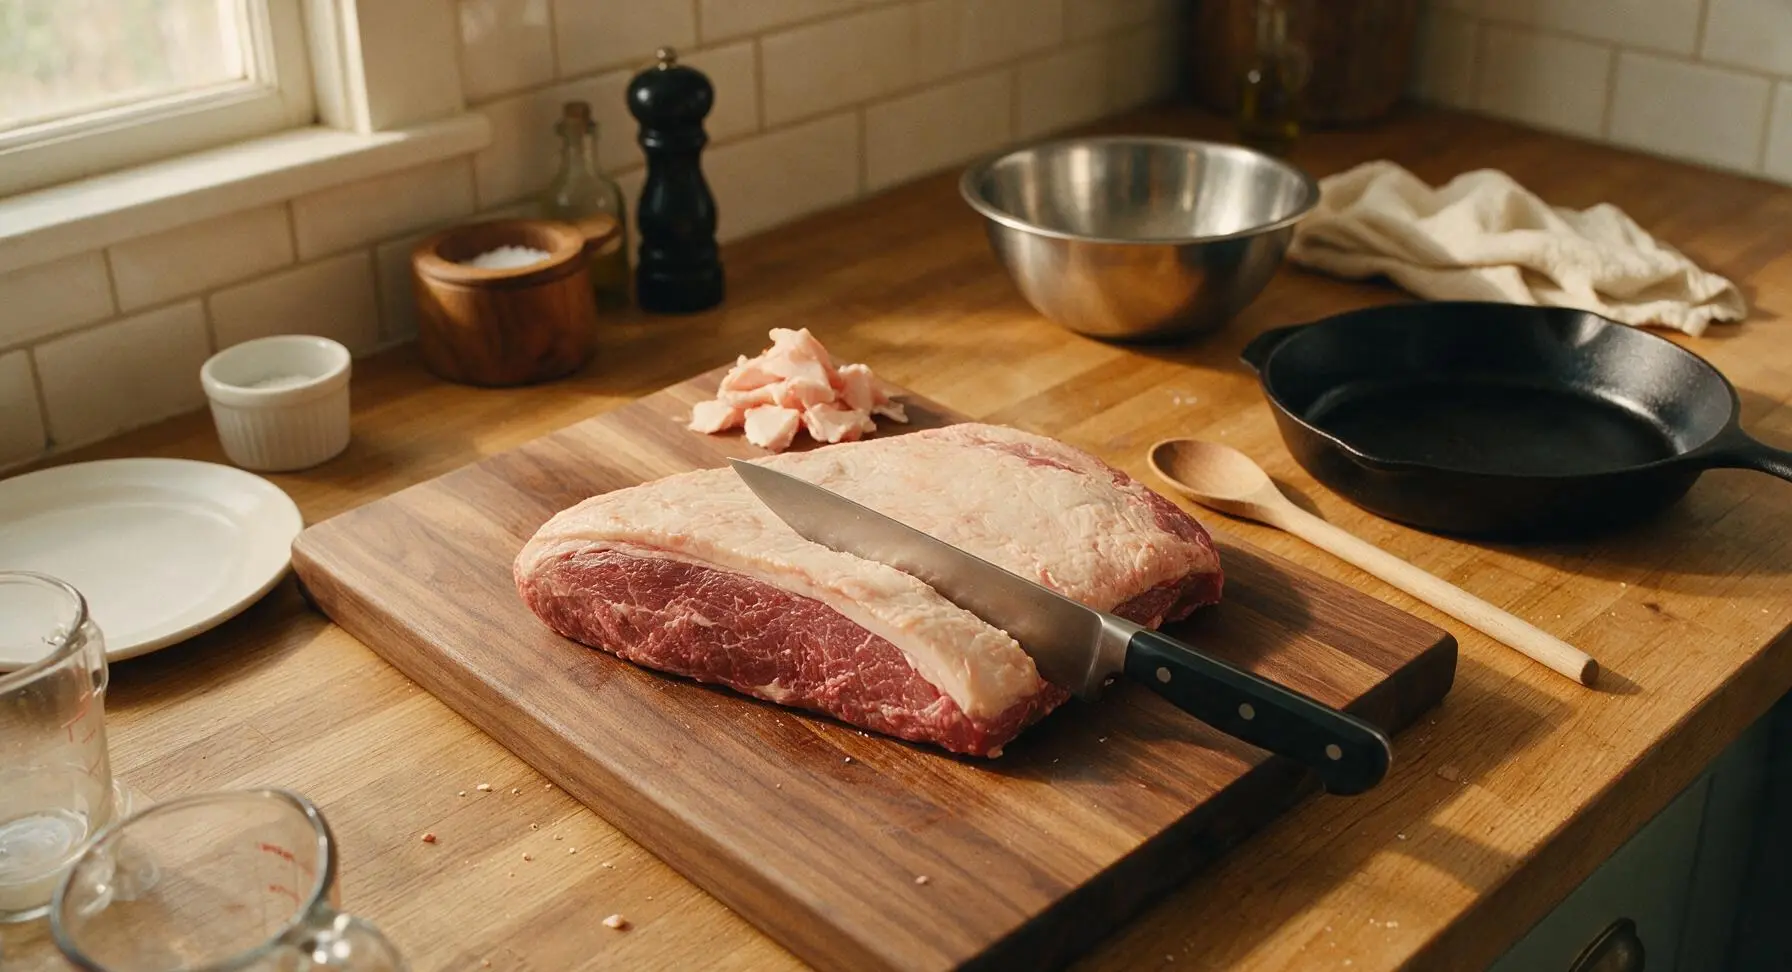
Trim Brisket Fat Cap
Place the raw brisket fat-side up on the maple end-grain cutting board. Use the 8-inch walnut-handled chef knife to trim the thick fat cap down to a uniform 1/4 inch thickness, removing any hard chunks of fat and all shiny silver skin from the meat surface. Discard trimmings. The finished brisket will have a smooth, even fat layer that renders slowly during cooking to create a crisp bark, rather than chewy unrendered fat.
Combine Dry Rub
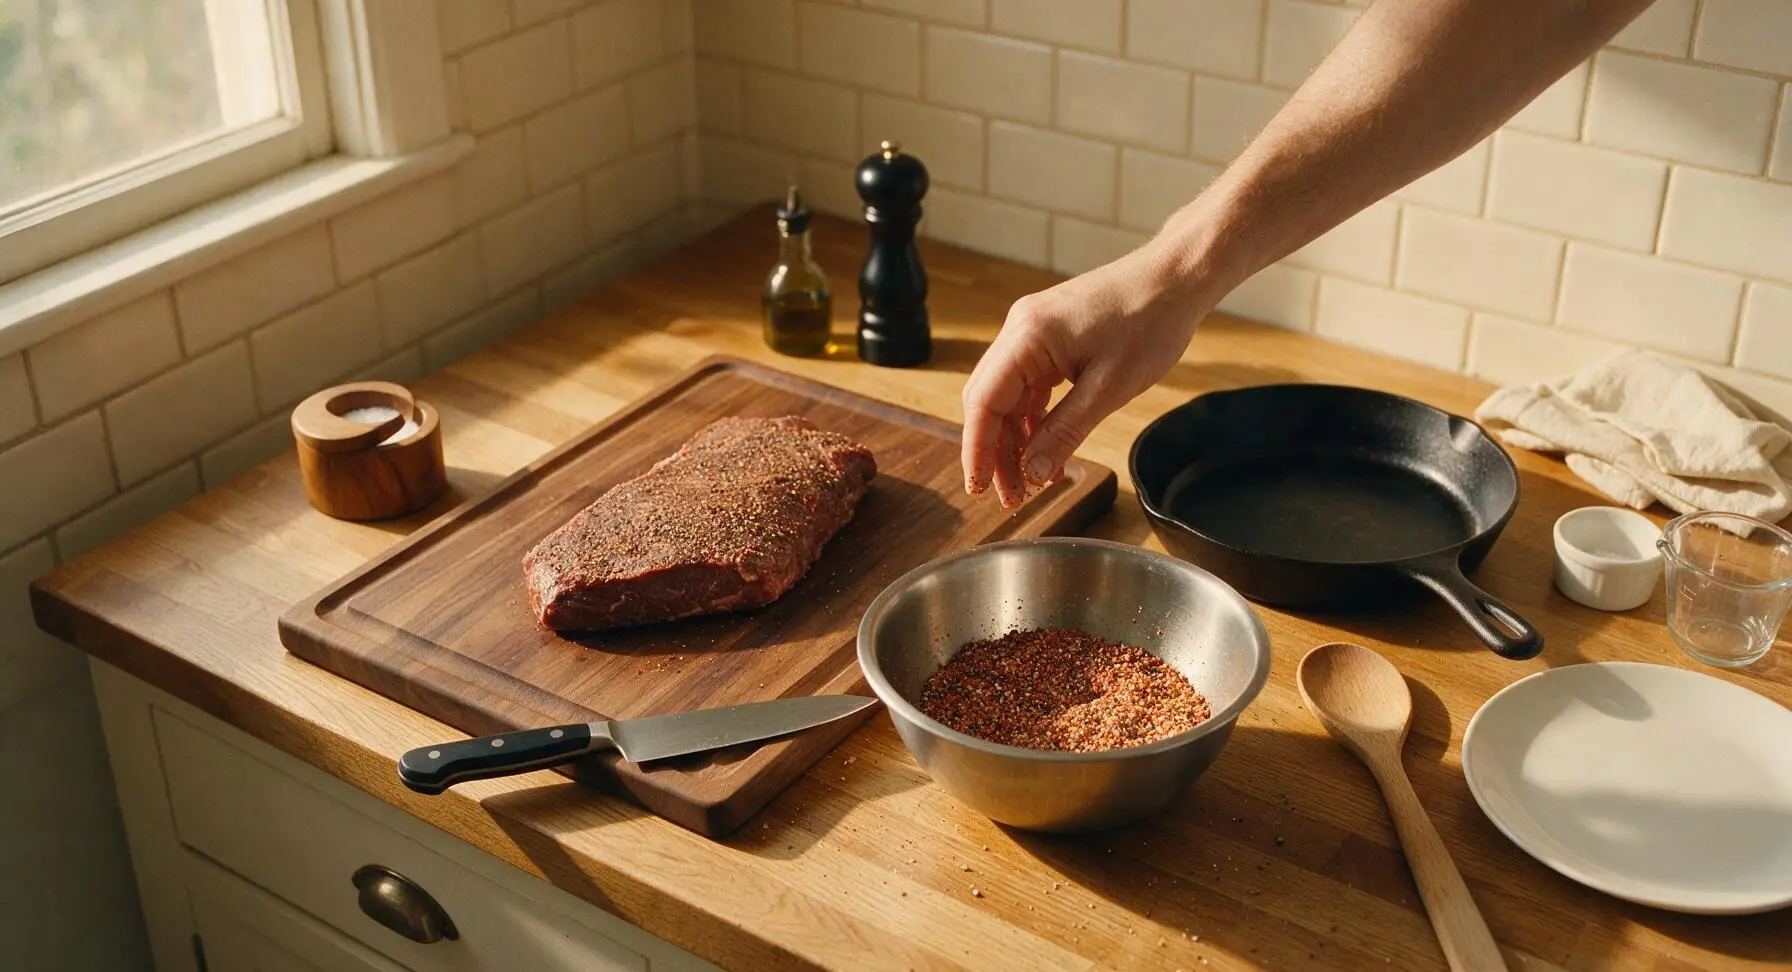
Add 3 tablespoons coarse kosher salt, 3 tablespoons coarsely ground black pepper, 1 tablespoon garlic powder, and 1 teaspoon smoked paprika to the 3-quart brushed stainless steel mixing bowl. Stir the spices with clean fingers until completely evenly combined, breaking up any small clumps of garlic powder or paprika. The finished rub will have a coarse, peppery texture with a subtle warm reddish hue from the smoked paprika.
Coat with Dry Rub
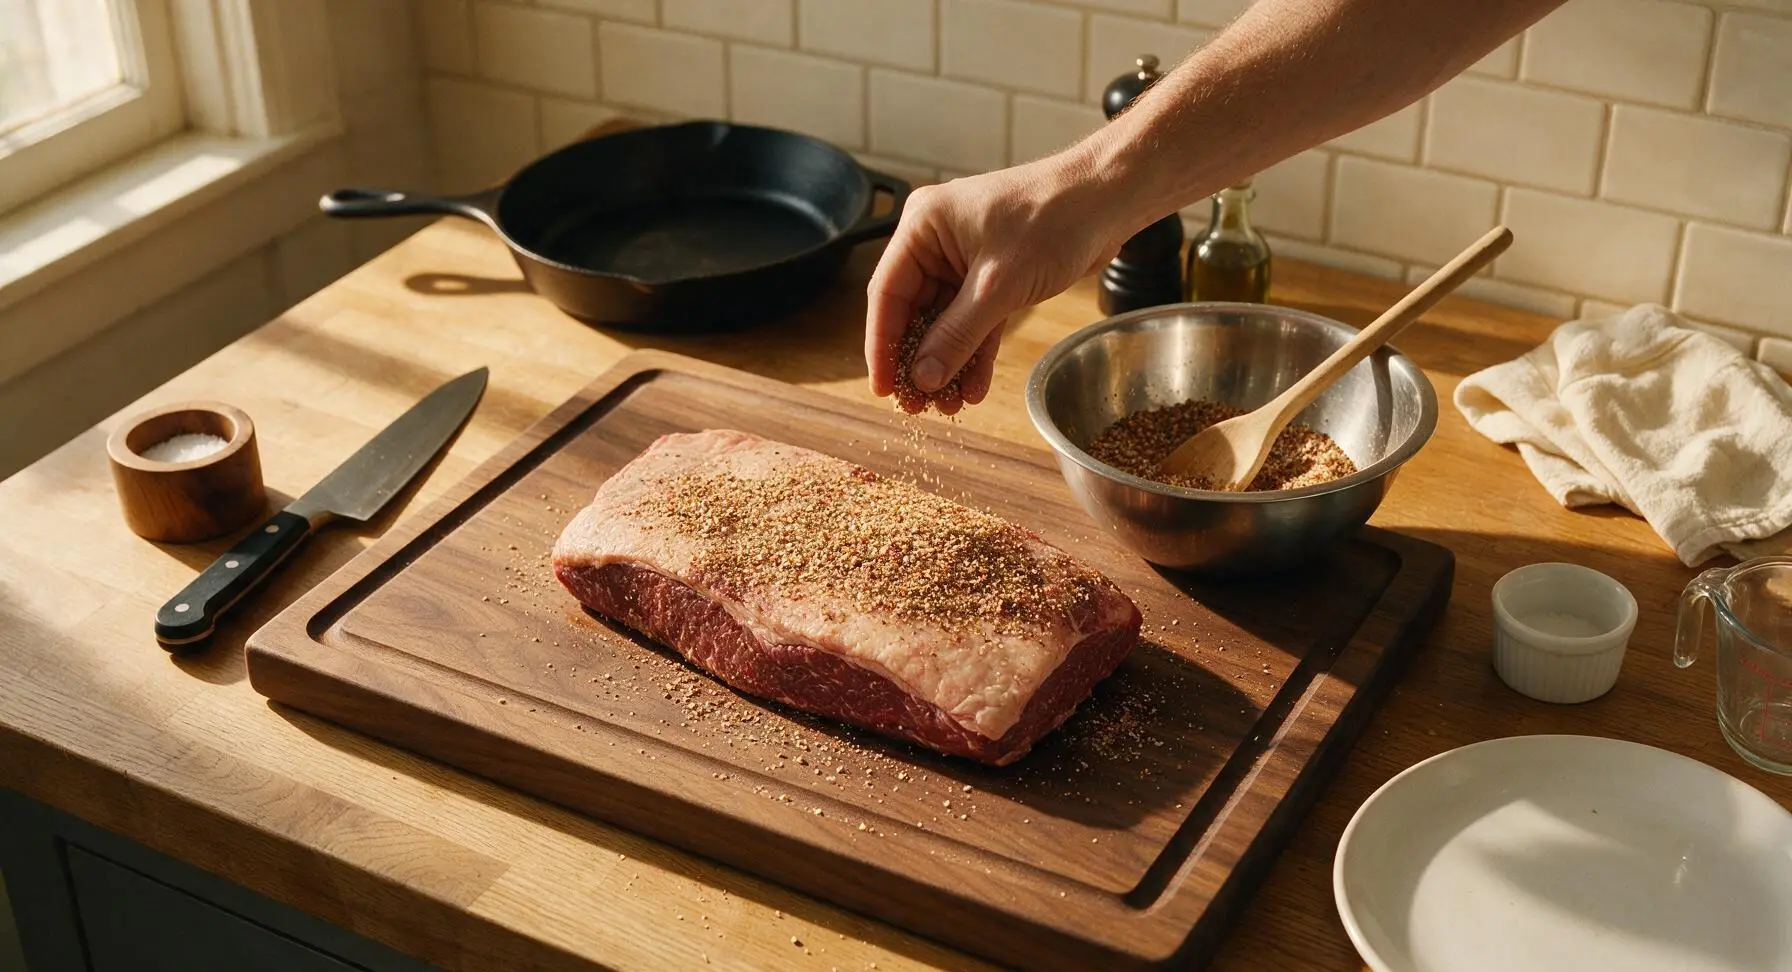
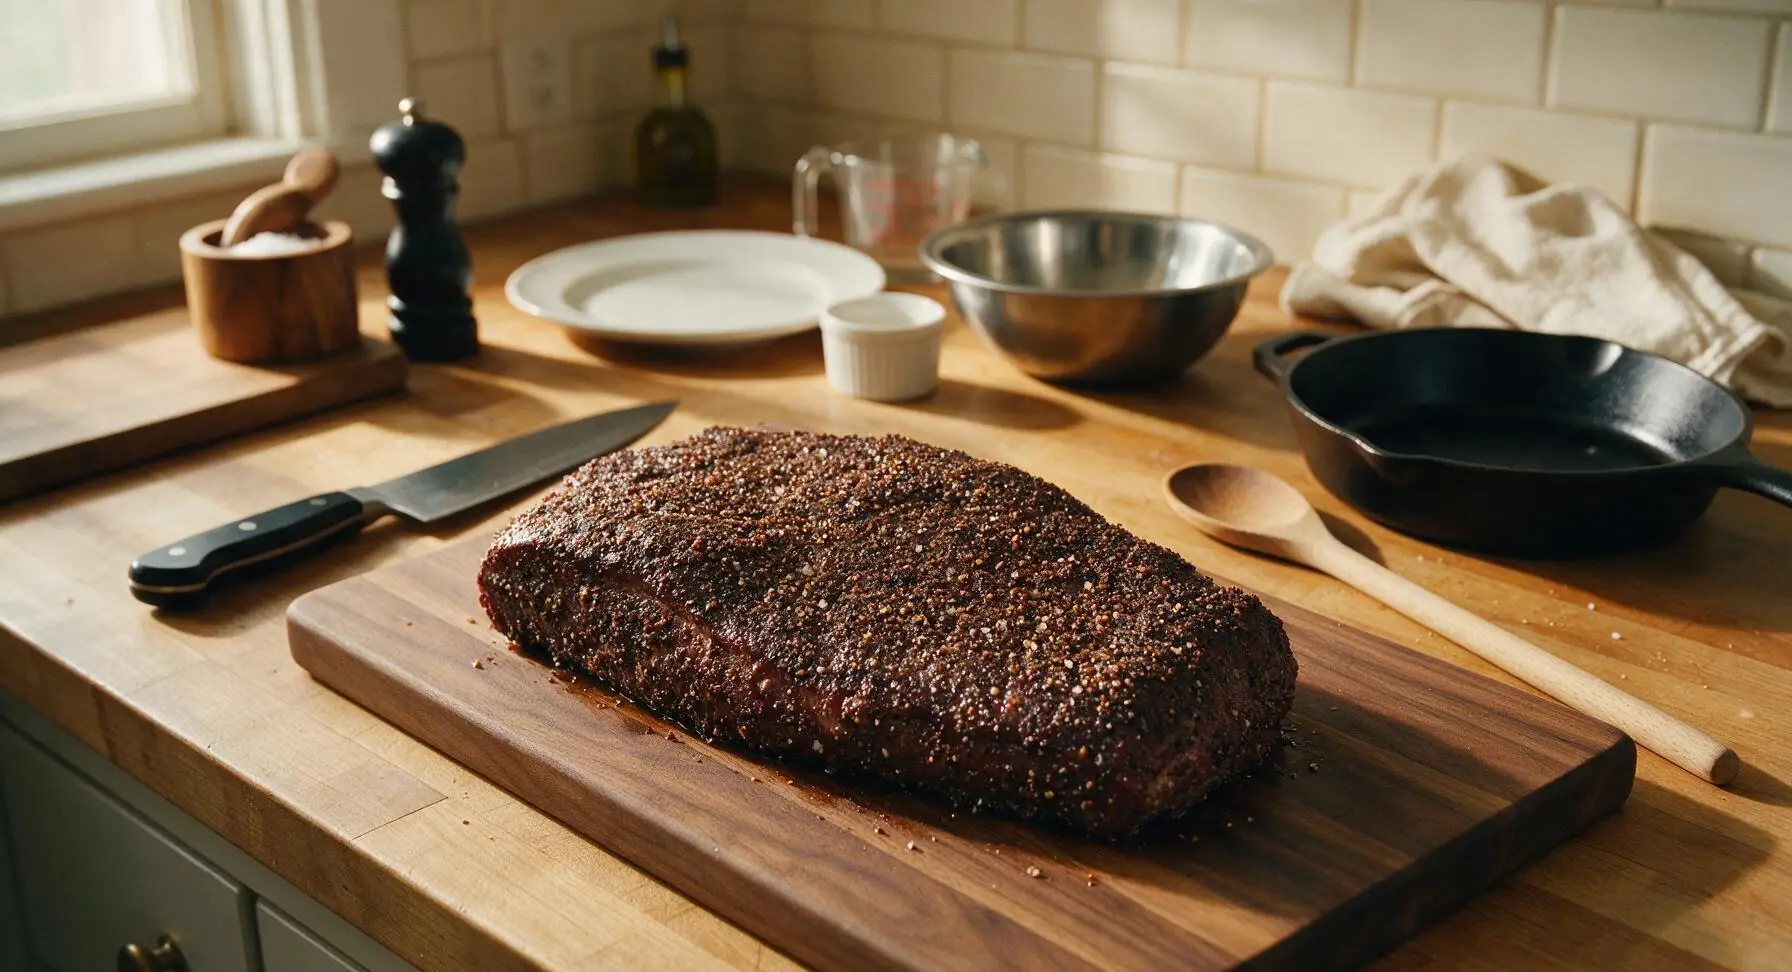
Pat the entire surface of the trimmed brisket completely dry with paper towels, discarding used towels immediately. Sprinkle the dry rub generously over every surface of the brisket – top, bottom, and all sides – pressing the rub firmly into the meat with your palm to create an even, thick coating. Let the rubbed brisket rest at room temperature for 45 minutes to allow salt to penetrate the meat and the rub to adhere, forming a sticky base for the bark.
Set Up Roasting Pan
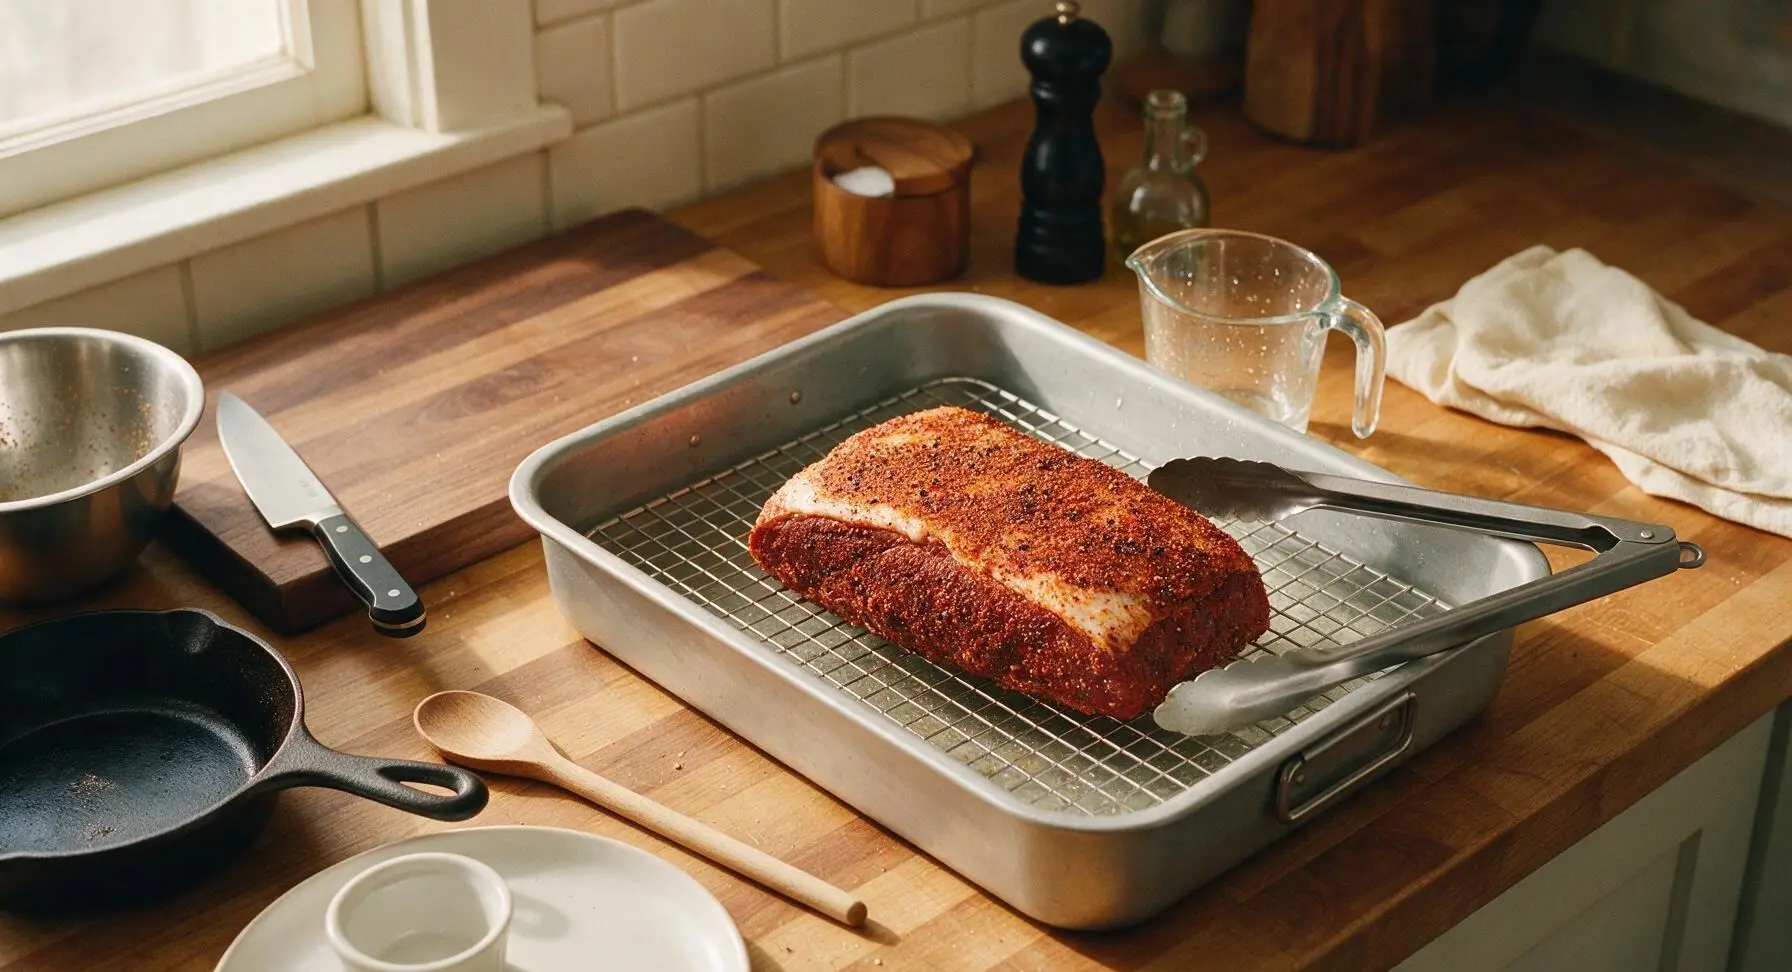
Place the stainless steel wire rack inside the 12x18 inch aluminum roasting pan. Use the glass measuring cup to pour 1/2 cup of water into the bottom of the pan, under the rack (not touching where the brisket will sit), to create a moist cooking environment and prevent burning drippings. Use the 16-inch stainless steel tongs to lift the rubbed brisket onto the center of the wire rack, fat-side up. Preheat your oven to 275°F (135°C).
Bake to Form Bark
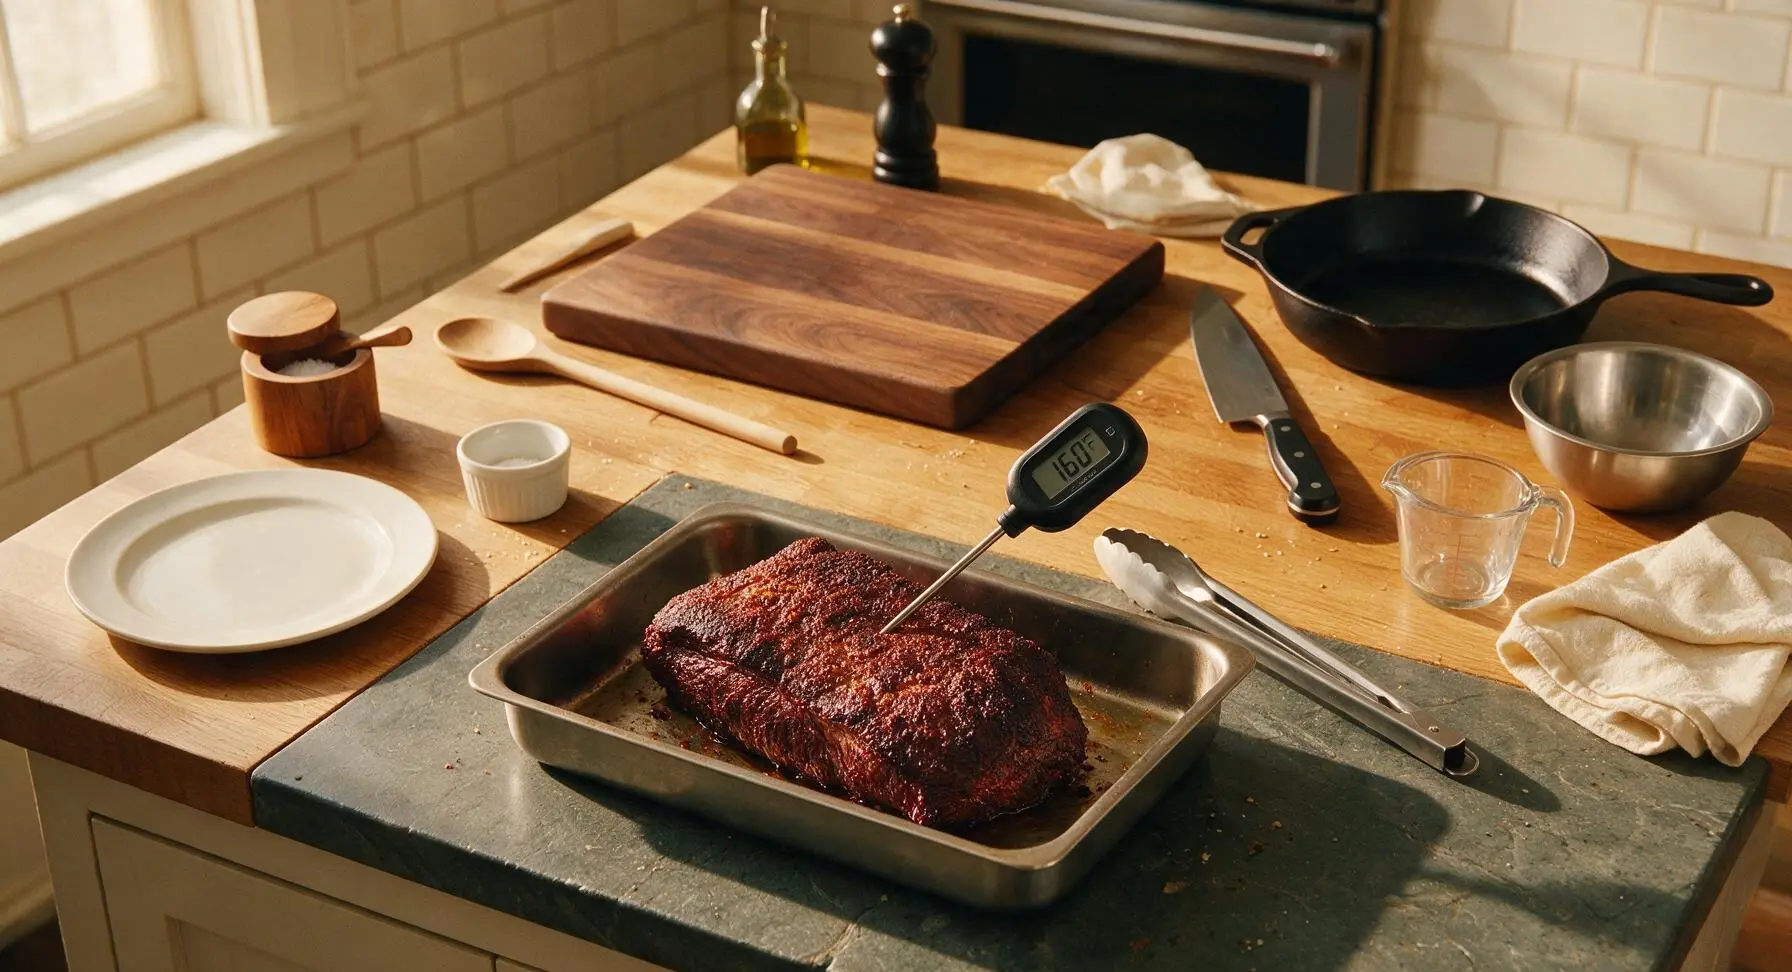
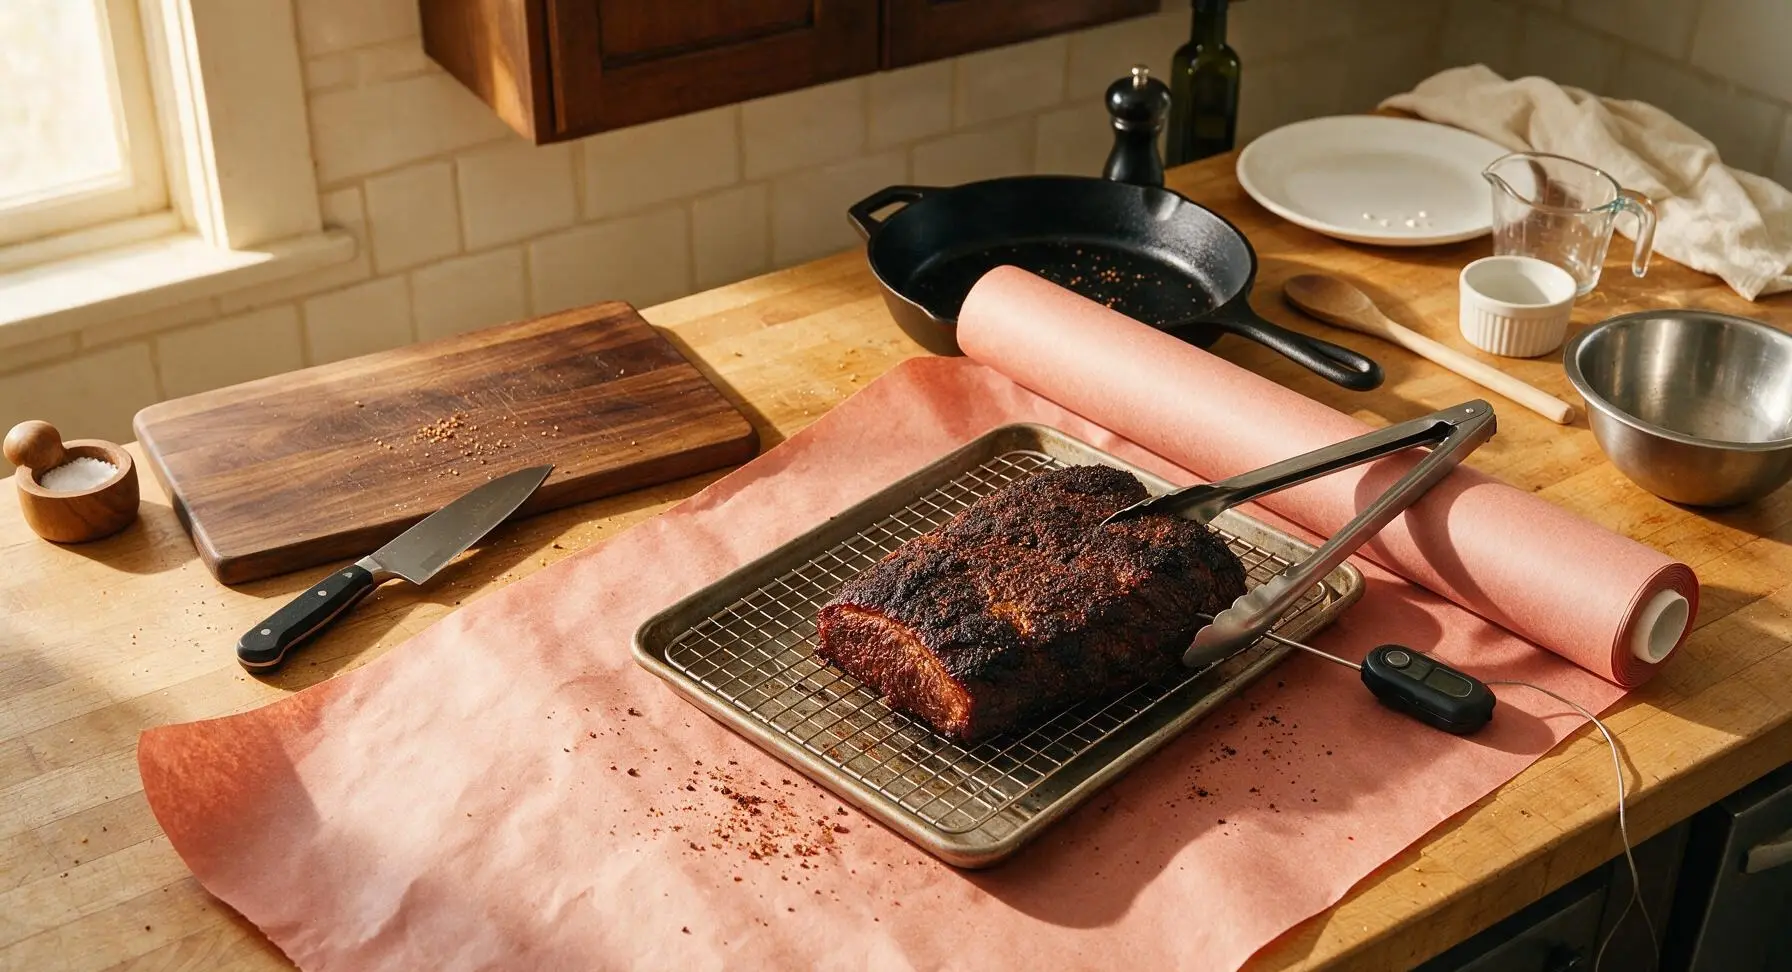
Carefully slide the roasting pan onto the middle rack of the preheated 275°F oven. Bake uncovered for 3 hours, refilling the pan’s water reservoir with 1/4 cup water if it runs dry to prevent burnt, acrid drippings. After 3 hours, pull the pan out briefly to test: insert the digital instant-read thermometer into the thickest part of the brisket, avoiding fat, until it reads 160°F (71°C). The exterior will have a firm, deep mahogany crisp bark at this stage.
Wrap Tight in Paper
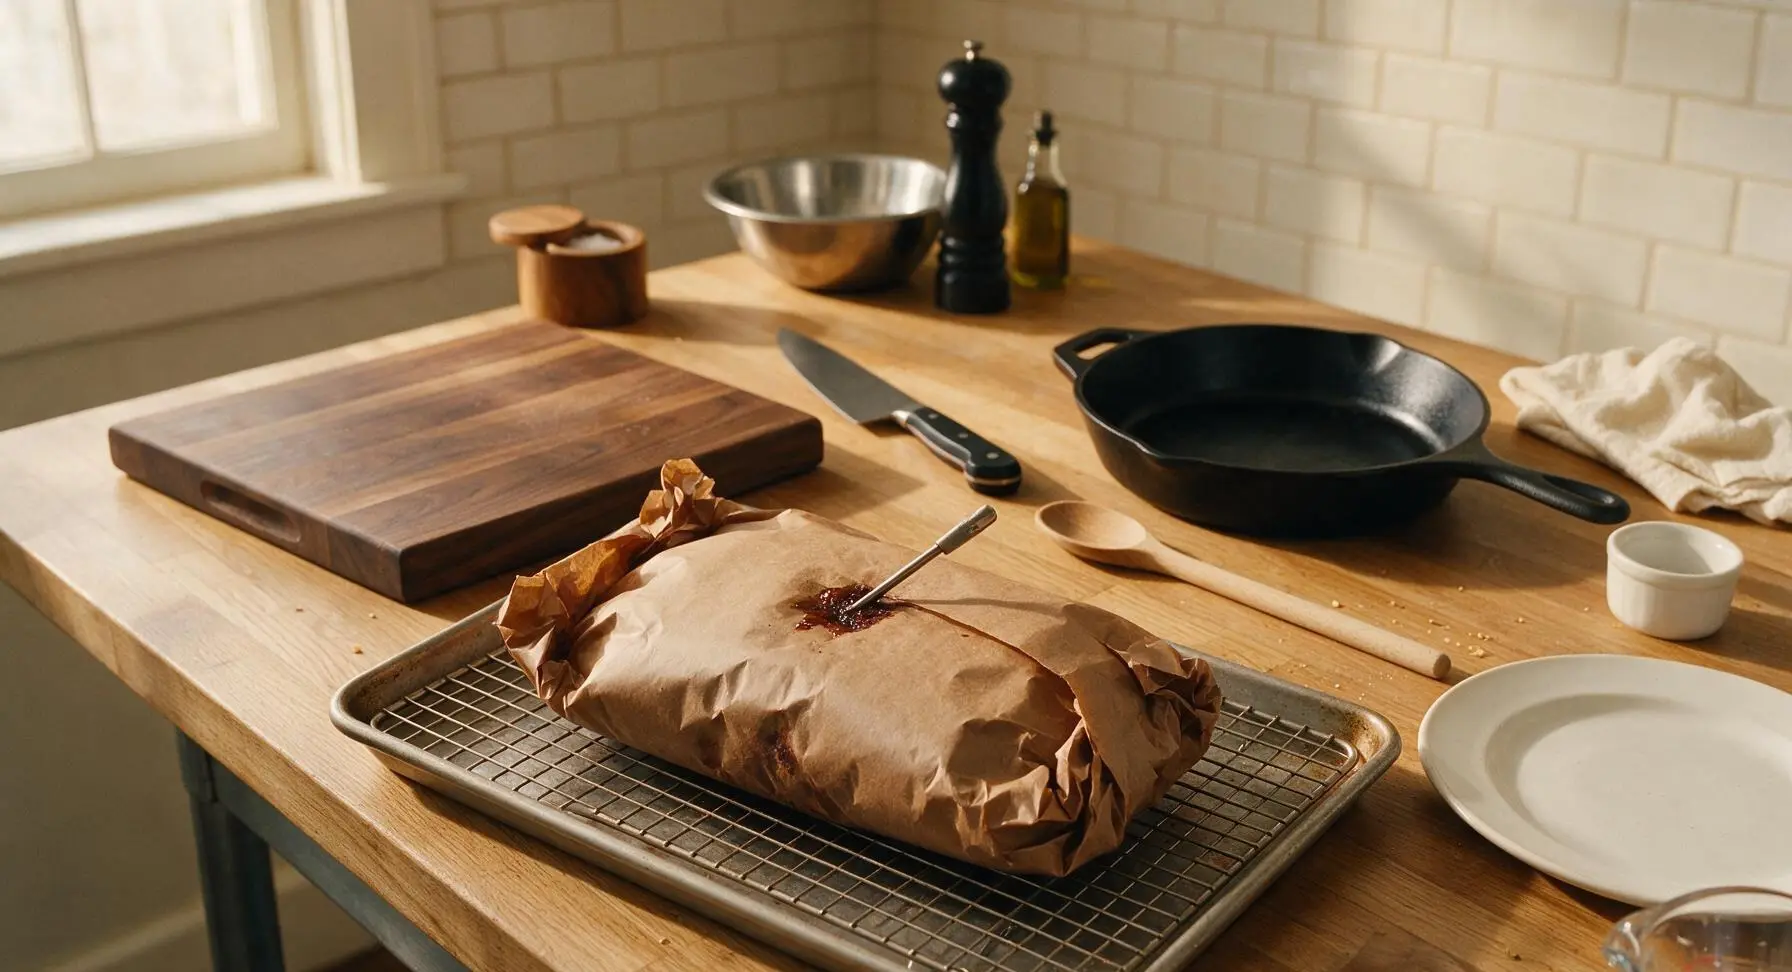
Tear a 3-foot long sheet of pink butcher paper from the roll. Use the tongs to lift the bark-covered brisket from the wire rack and set it in the center of the butcher paper. Fold the paper tightly around the brisket to create a fully sealed packet, leaving no gaps for steam to escape. The sealed packet traps moisture to tenderize the meat as it finishes cooking, while still allowing the bark to stay firm rather than turning soggy.
Cook to Tender Finish
Return the wrapped brisket (still on the wire rack in the roasting pan) to the 275°F oven. Continue cooking for 2.5 to 3 more hours, until the thermometer inserted through the paper into the thickest part of the meat reads 203°F (95°C). Test for tenderness: the probe should slide into the meat with no resistance, like sticking a warm knife into soft butter. Once done, remove the pan from the oven, and let the brisket rest, still wrapped in paper, for 1 full hour at room temperature to let juices redistribute into the meat fibers.
Slice and Plate
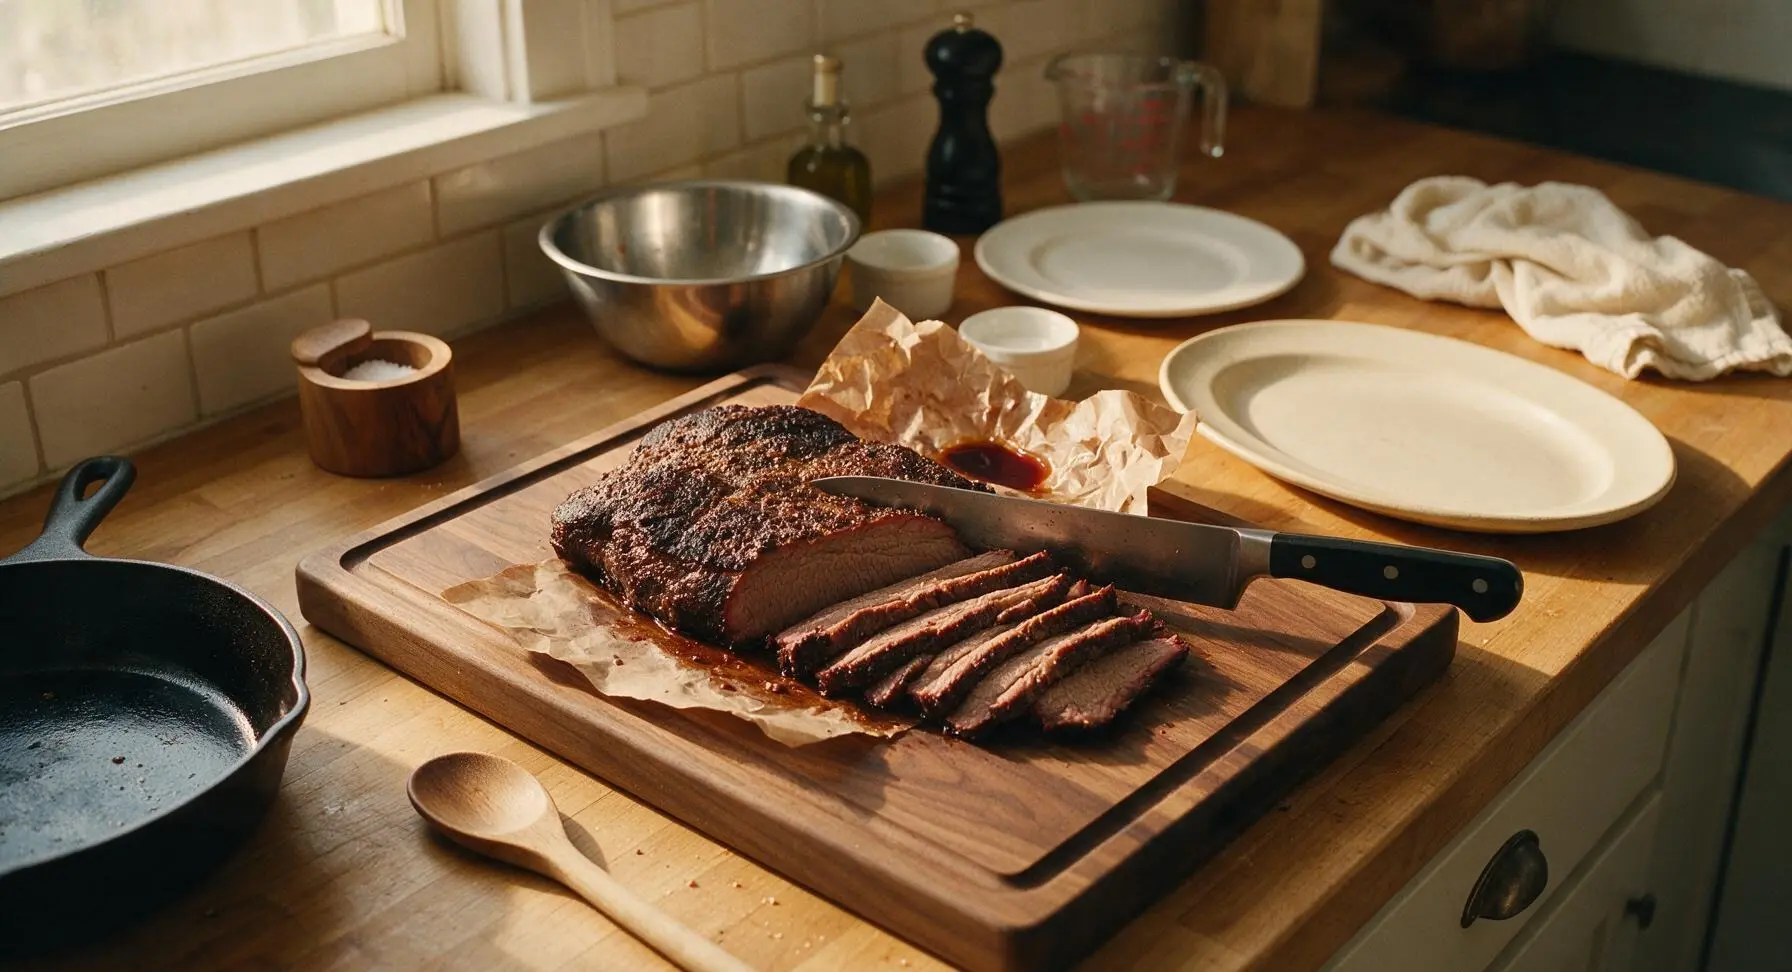
Unwrap the rested brisket, pouring any collected juices from the paper into a small cup to reserve for drizzling. Place the brisket back on the maple cutting board, and use the chef knife to slice it against the grain into uniform 1/4-inch thick slices. Arrange the slices on the matte off-white oval serving platter, drizzle with reserved juices, and pair with dill pickles, pickled red onions, and sliced white bread for serving.
Tips
2.Do not skip the 1-hour post-cook rest: Cutting into hot brisket immediately will cause all the trapped, flavorful juices to flow out onto the cutting board, leaving the meat dry. Resting lets muscle fibers relax and reabsorb moisture for juicy slices.
3.Use pink butcher paper instead of aluminum foil for wrapping: Foil creates a fully airtight seal that steams the brisket, turning the crisp bark soft and mushy. Butcher paper allows a small amount of steam to escape while trapping moisture, keeping the bark firm and textural.






OMG y’all, this oven brisket was a total game changer for our Sunday family dinner! I don’t have a smoker so I’ve always been scared to try brisket at home, but this recipe came out so juicy and tender, the bark was perfect even in the oven. My husband and three kids devoured half of it before I even got the sides on the table. 10/10 will be making this for our next neighborhood potluck too!
SO good. I made this Sunday to portion out for weekday lunches, and it held up perfectly all week even reheated in the microwave. No weird dry bits, the fat rendered down so nicely, I didn’t even have to trim much off before cooking. Already added this to my regular rotation.
Brought this to my son’s birthday cookout last weekend and everyone was asking for the recipe! I was worried 6 hours in the oven would heat up the whole house too bad, but it was totally worth it. The only tweak I made was adding a little extra brown sugar to the rub because my family loves that sweet-savory vibe. Next time I’m making two briskets because the first one was gone in 20 minutes flat.
As someone who grew up eating Texas brisket on trips to visit my grandma, I was super skeptical an oven version could hit the same, but wow. This is legit. The bark had that perfect peppery crunch, the flat was moist, I didn’t even need to douse it in sauce (though the homemade sauce rec linked here slapped too). Great for small apartment kitchens that don’t have space for a big smoker.
Overall this turned out really tasty! My only issue was that the point end was a little drier than I expected, but I think I messed up by not letting it rest long enough after pulling it out of the oven. Flavor was spot on though, my roommates raved about it even with the slightly dry bits. Will definitely give it another go now that I know not to skip the rest step!
Made this for our annual tailgate last weekend and people were coming back for thirds! I was nervous because I usually do pulled pork for tailgates, but this brisket stole the show. Served it on slider buns with pickles and coleslaw, chef’s kiss. How far in advance do you think I can prep the rub and apply it to the brisket before cooking? Wanna get as much done ahead of time for the next game.