
oven fried chicken breast
intro
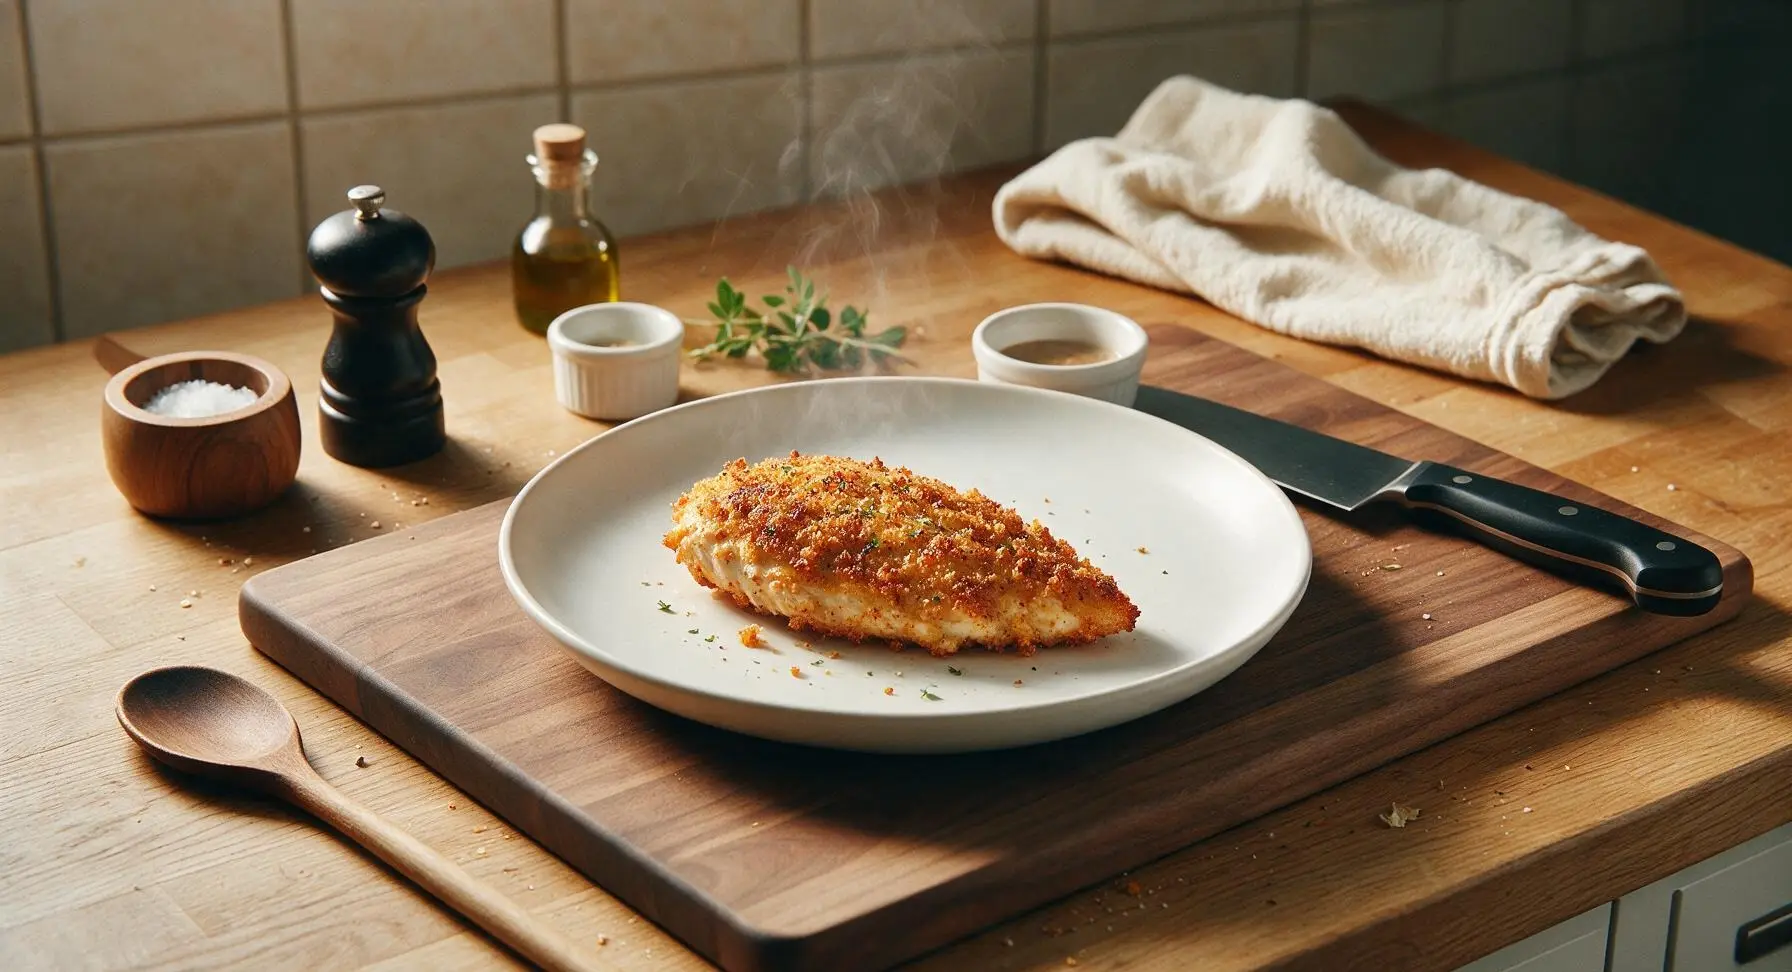
Crispy, golden, juicy oven-fried chicken breast with a crunchy seasoned crust—no deep frying required. A lighter, mess-free Southern classic perfect for fast, satisfying weeknight meals.
Ingredients
Steps
Preheat Oven and Prep Pan
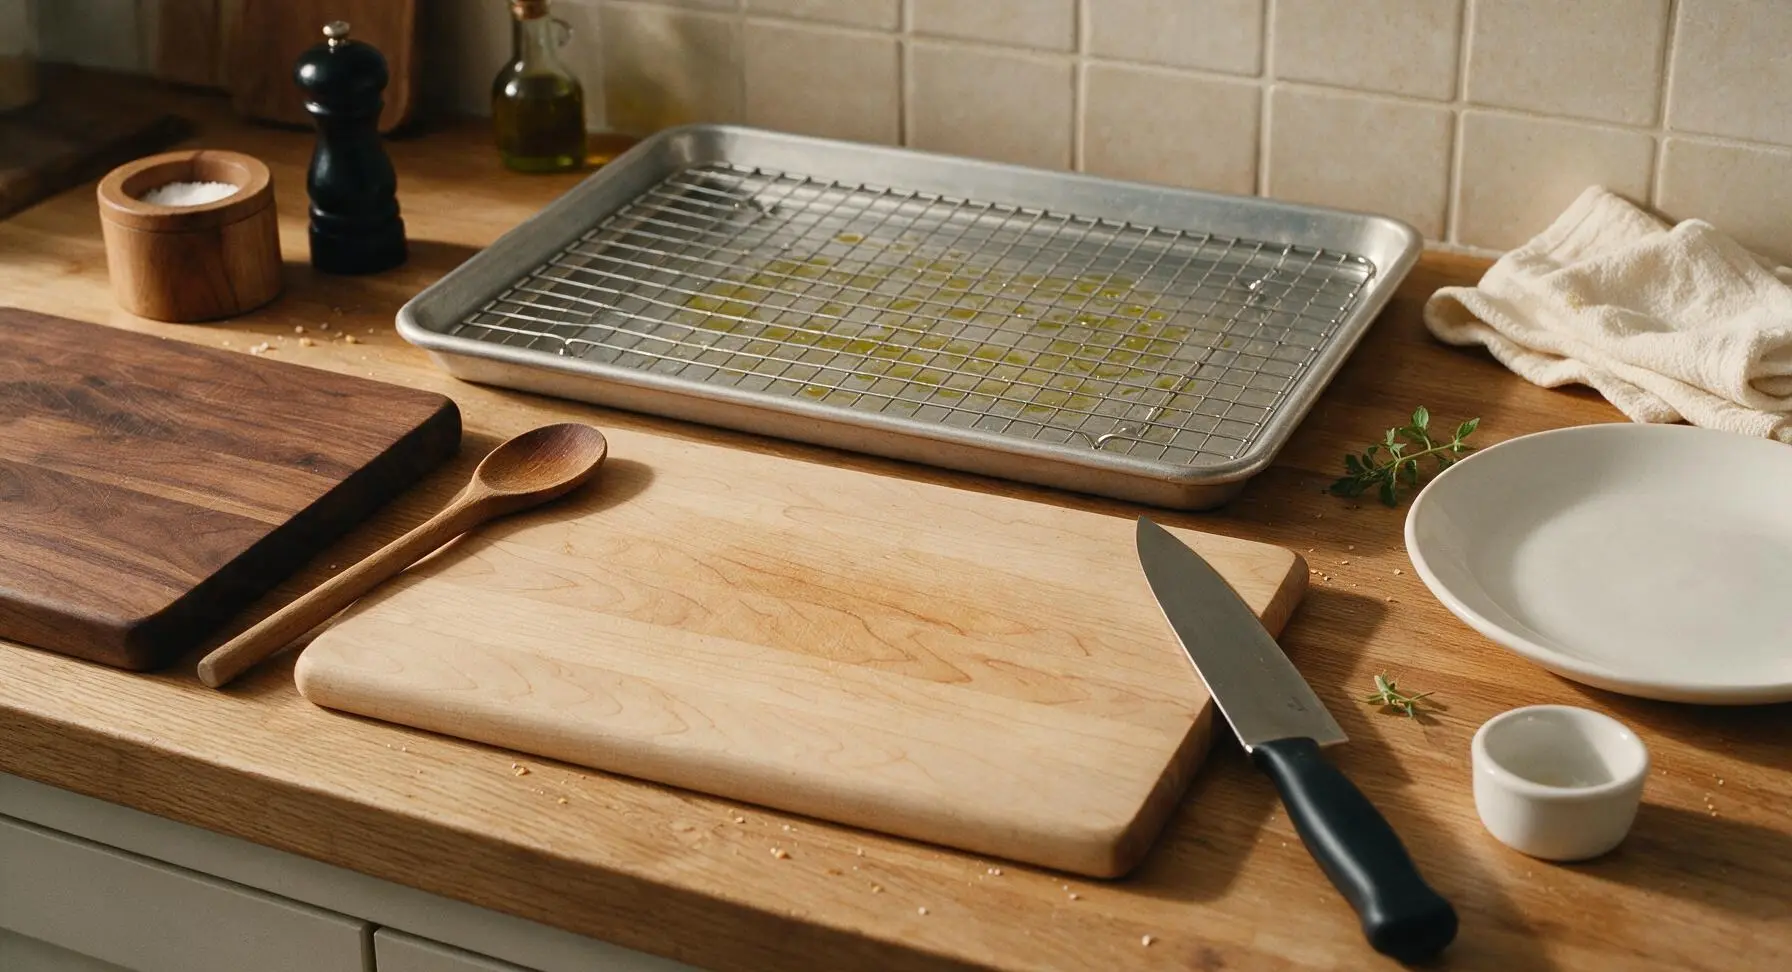
Adjust oven rack to the middle position, preheat oven to 425°F (220°C). Place the chrome wire cooling rack inside the rimmed aluminum baking sheet, then rub a thin, even layer of olive oil across the rack surface to prevent chicken from sticking during baking. Set the prepared pan on the heat-resistant silicone mat at the back center of the counter while you prep the chicken. Elevating chicken on the rack allows hot oven air to circulate under every piece, eliminating soggy bottom crusts without needing to flip the chicken mid-bake.
Pound Chicken to Even Thickness
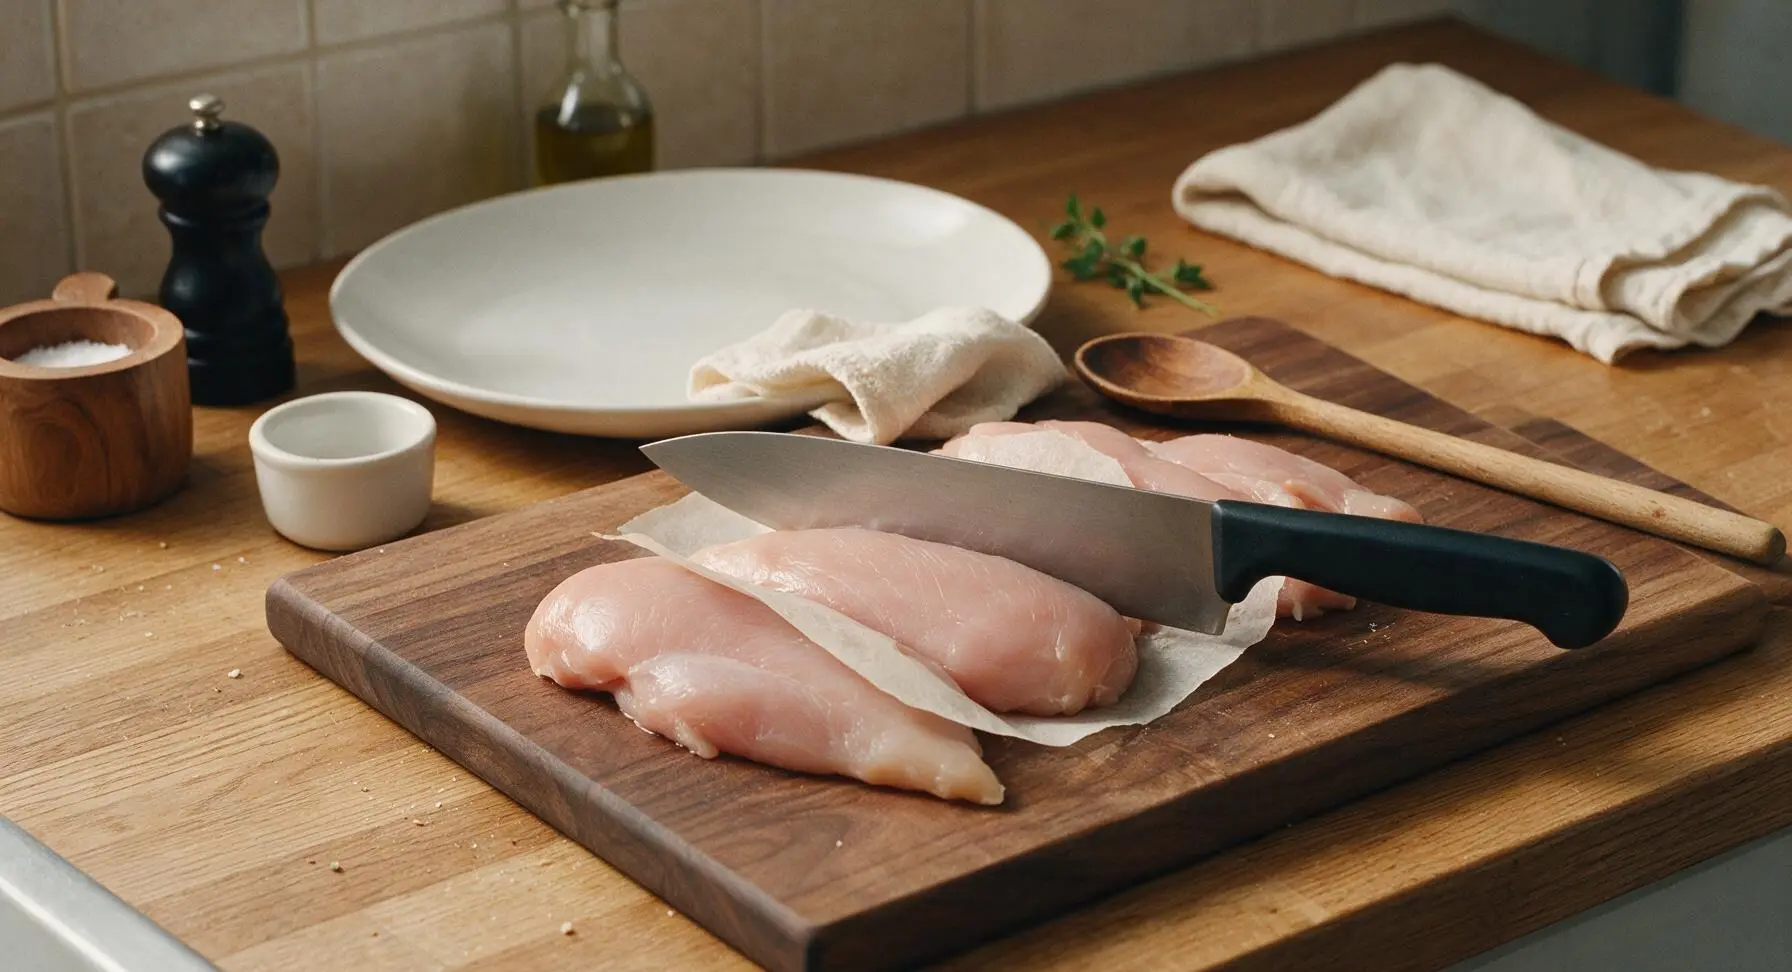
Place the raw boneless, skinless chicken breasts on the maple cutting board. Cover loosely with a small sheet of parchment paper to prevent splatter, then use the flat side of the 8-inch chef knife to gently pound the thickest tapered end of each breast to a uniform 1-inch thickness across the entire piece. Even thickness ensures the chicken cooks consistently, so the thin tapered end does not dry out before the thickest section reaches a safe internal temperature. Pat all chicken surfaces completely dry with a corner of the cream linen towel to help the coating adhere tightly.
Mix Seasoned Panko Coating
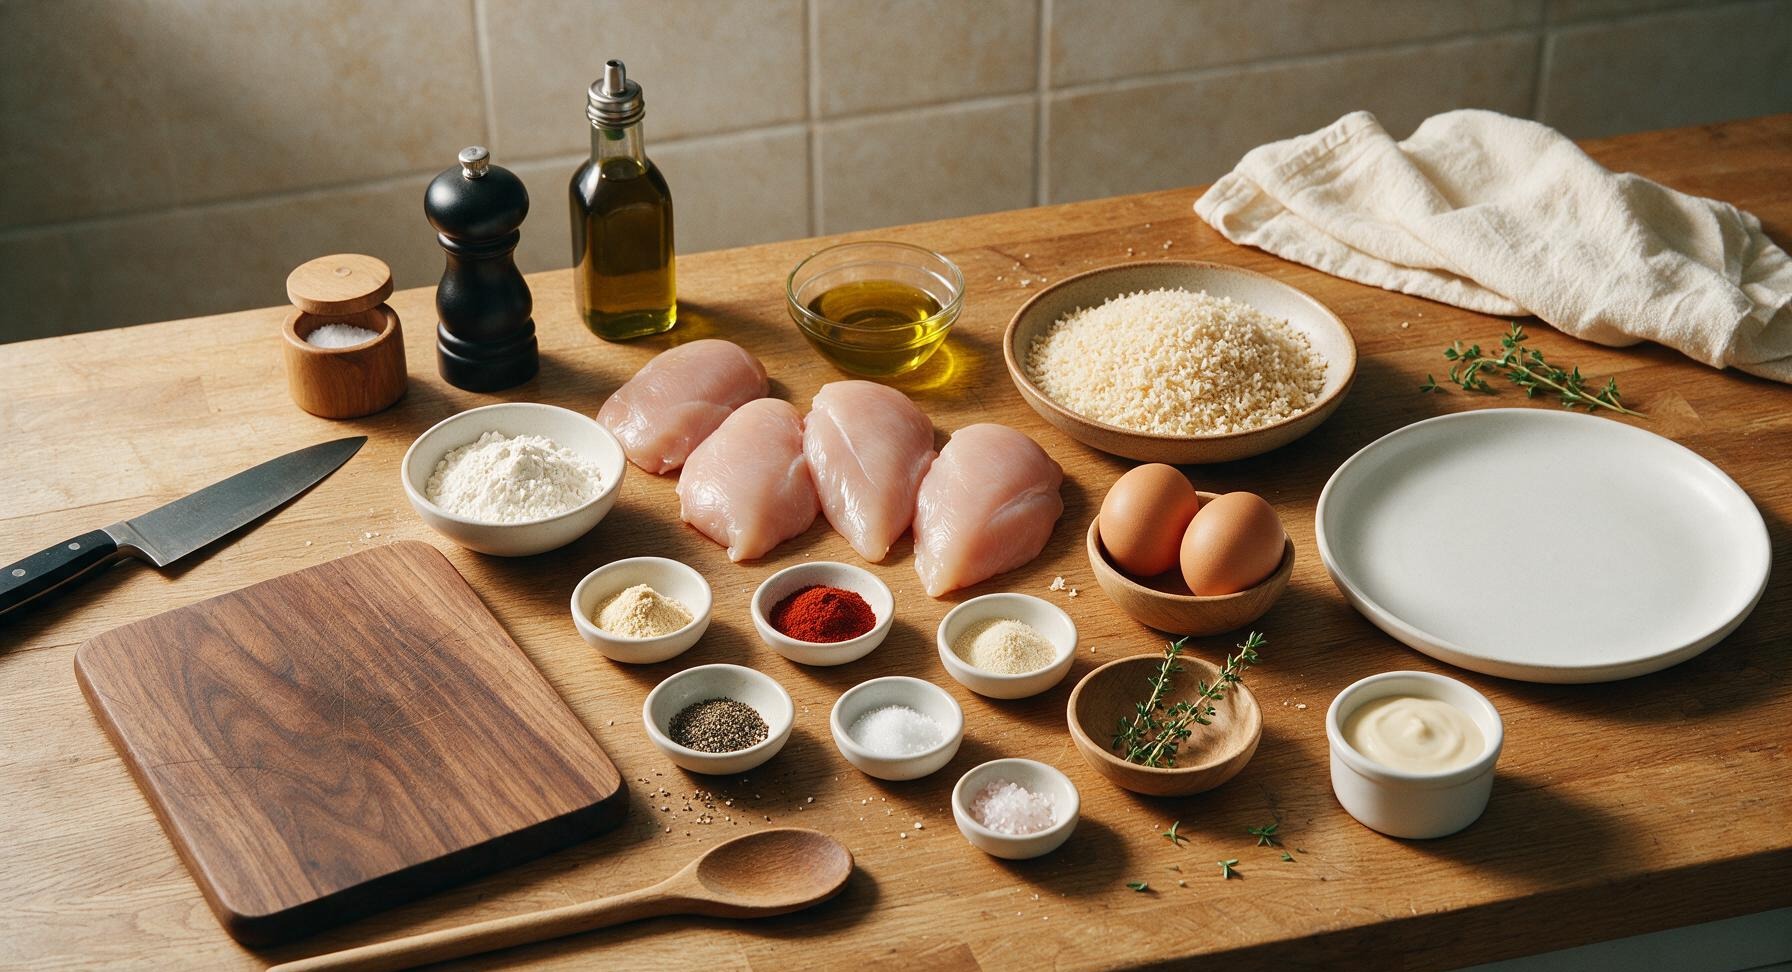
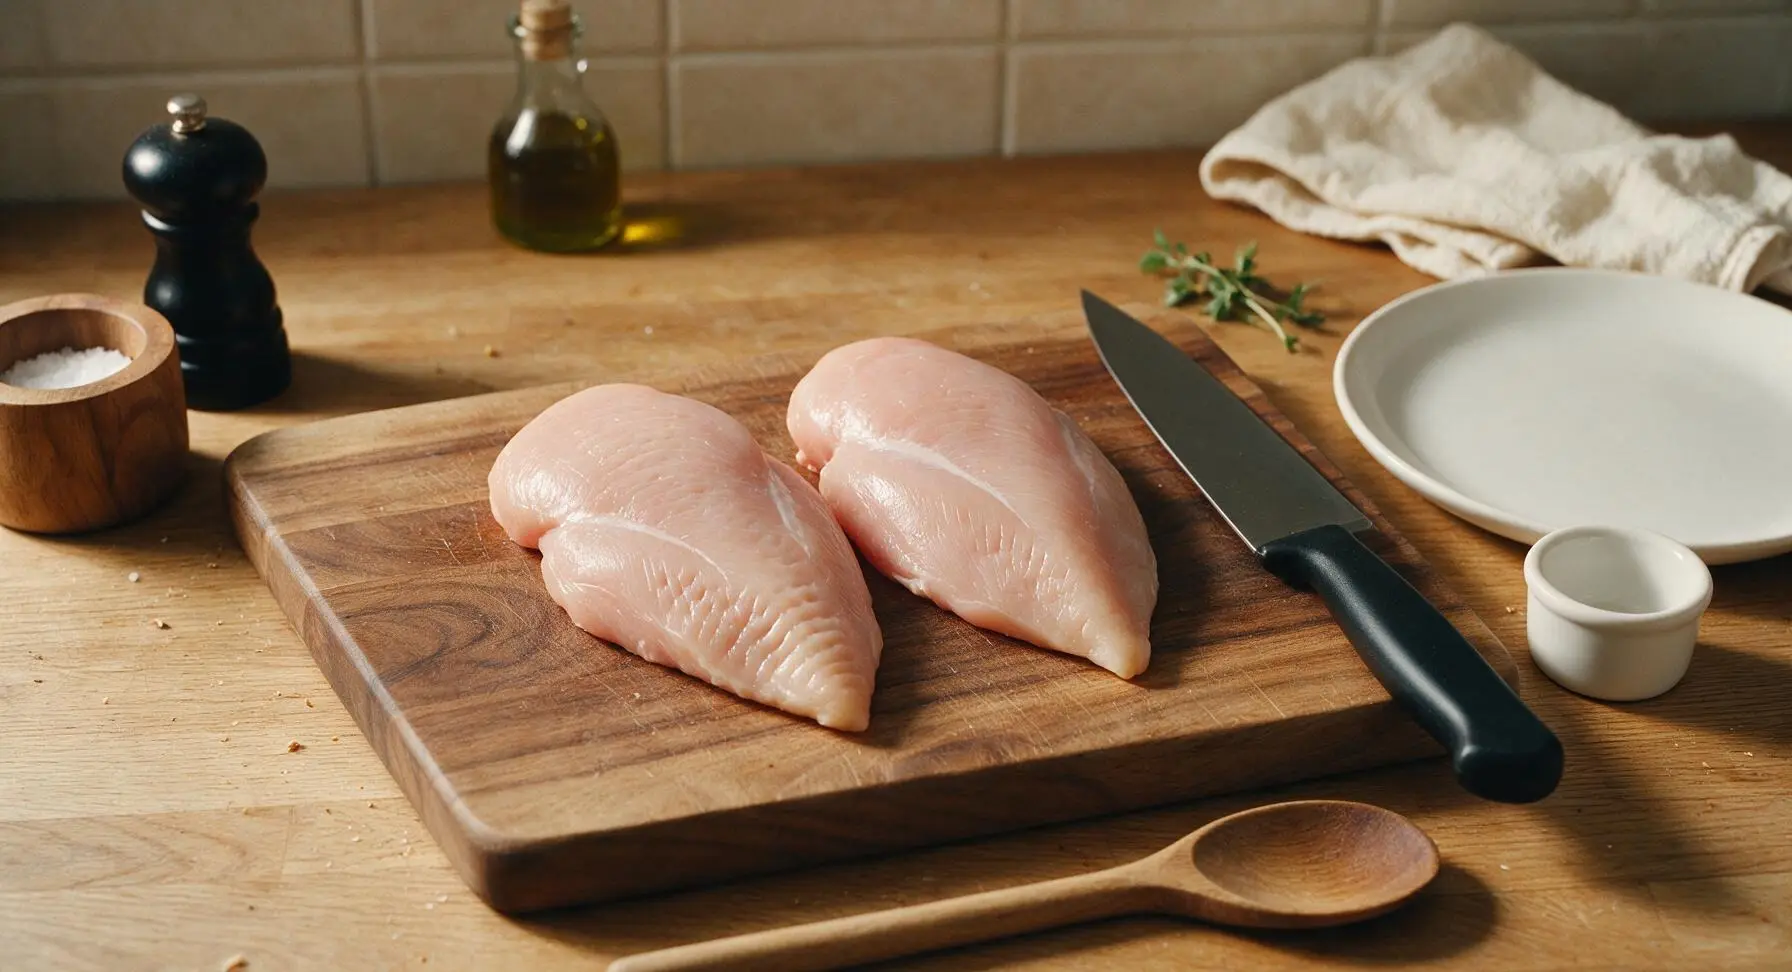
In the clear glass mixing bowl, combine 1 cup panko breadcrumbs, 1 tsp garlic powder, 1 tsp smoked paprika, 1/2 tsp onion powder, 1/2 tsp freshly ground black pepper, and 1/2 tsp kosher salt. Drizzle with 2 tbsp extra-virgin olive oil, then toss thoroughly with the long beech wood spoon until every panko crumb is lightly coated in oil and spice, turning a uniform pale golden-tan color. The oil coating is critical to help crumbs crisp to a fried-like texture in the oven, instead of staying dry and powdery.
Set Up Dredging Station
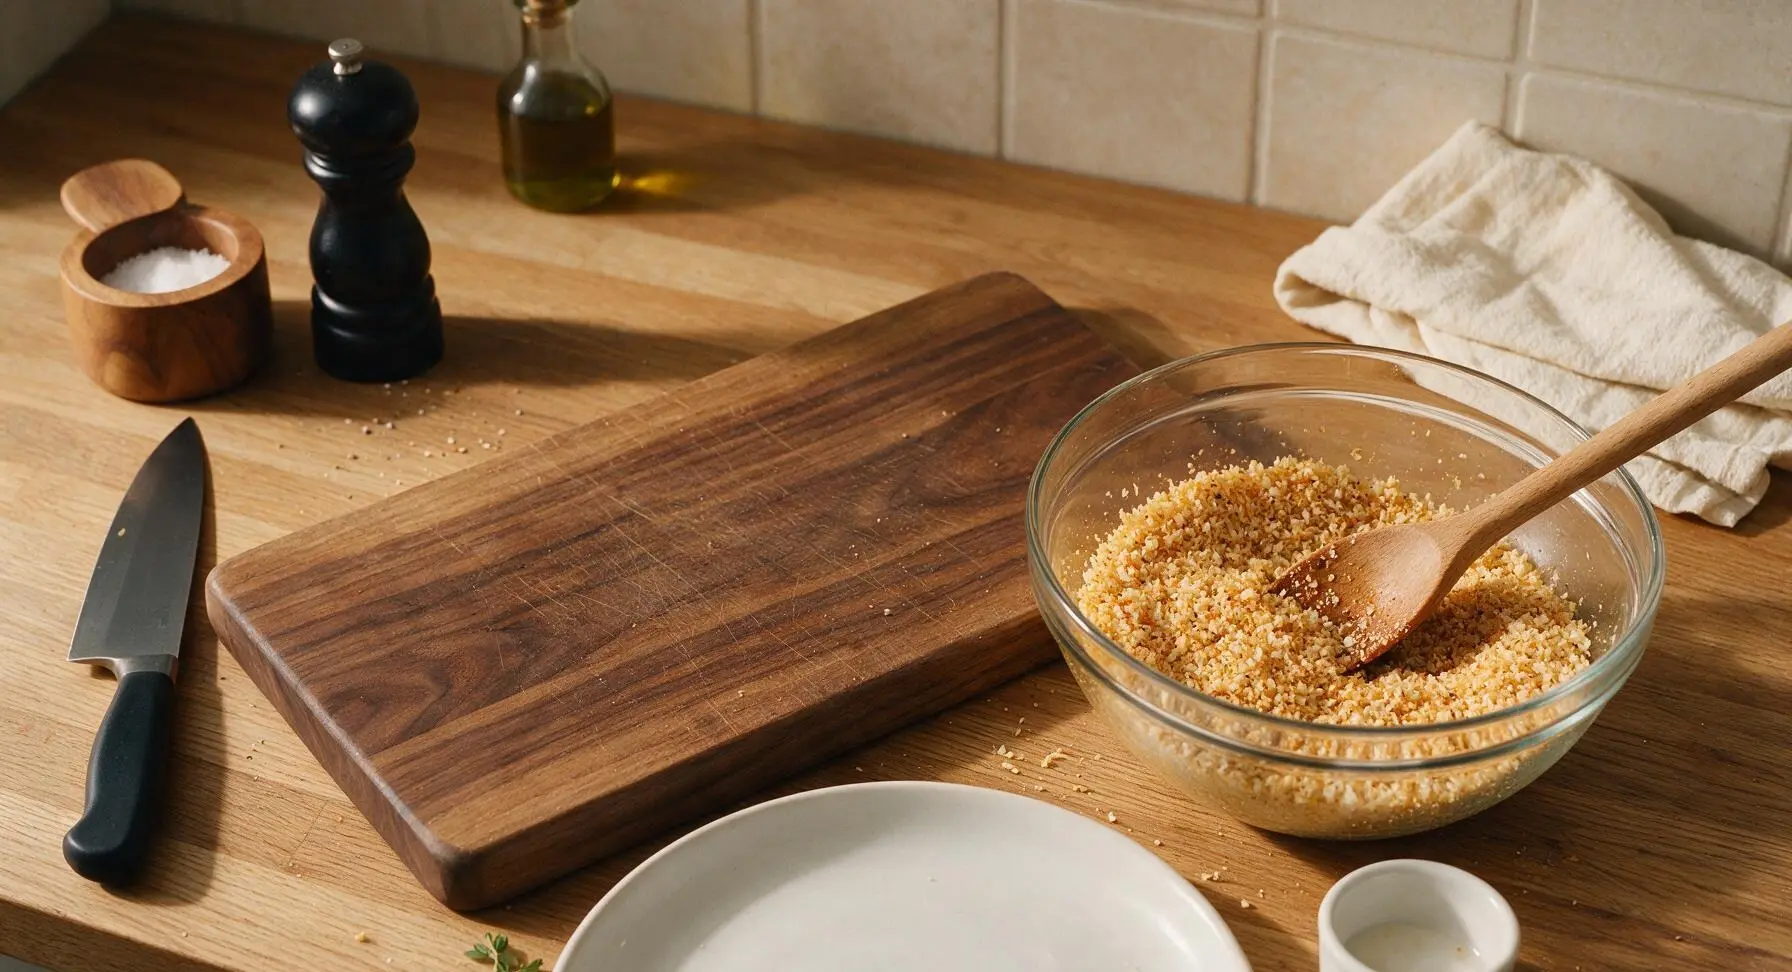
Pull three of the small white ramekins from the back-right stack, arranging them in a straight line left to right between the cutting board and the prepared baking sheet: fill the first with 1/2 cup all-purpose flour mixed with the remaining 1/2 tsp kosher salt, the second with 2 large eggs beaten until completely smooth with no visible streaks of egg white, and the third with the seasoned olive oil-coated panko mixture. Keep the line close to the baking sheet to minimize crumb mess as you coat the chicken.
Coat Chicken in Crust
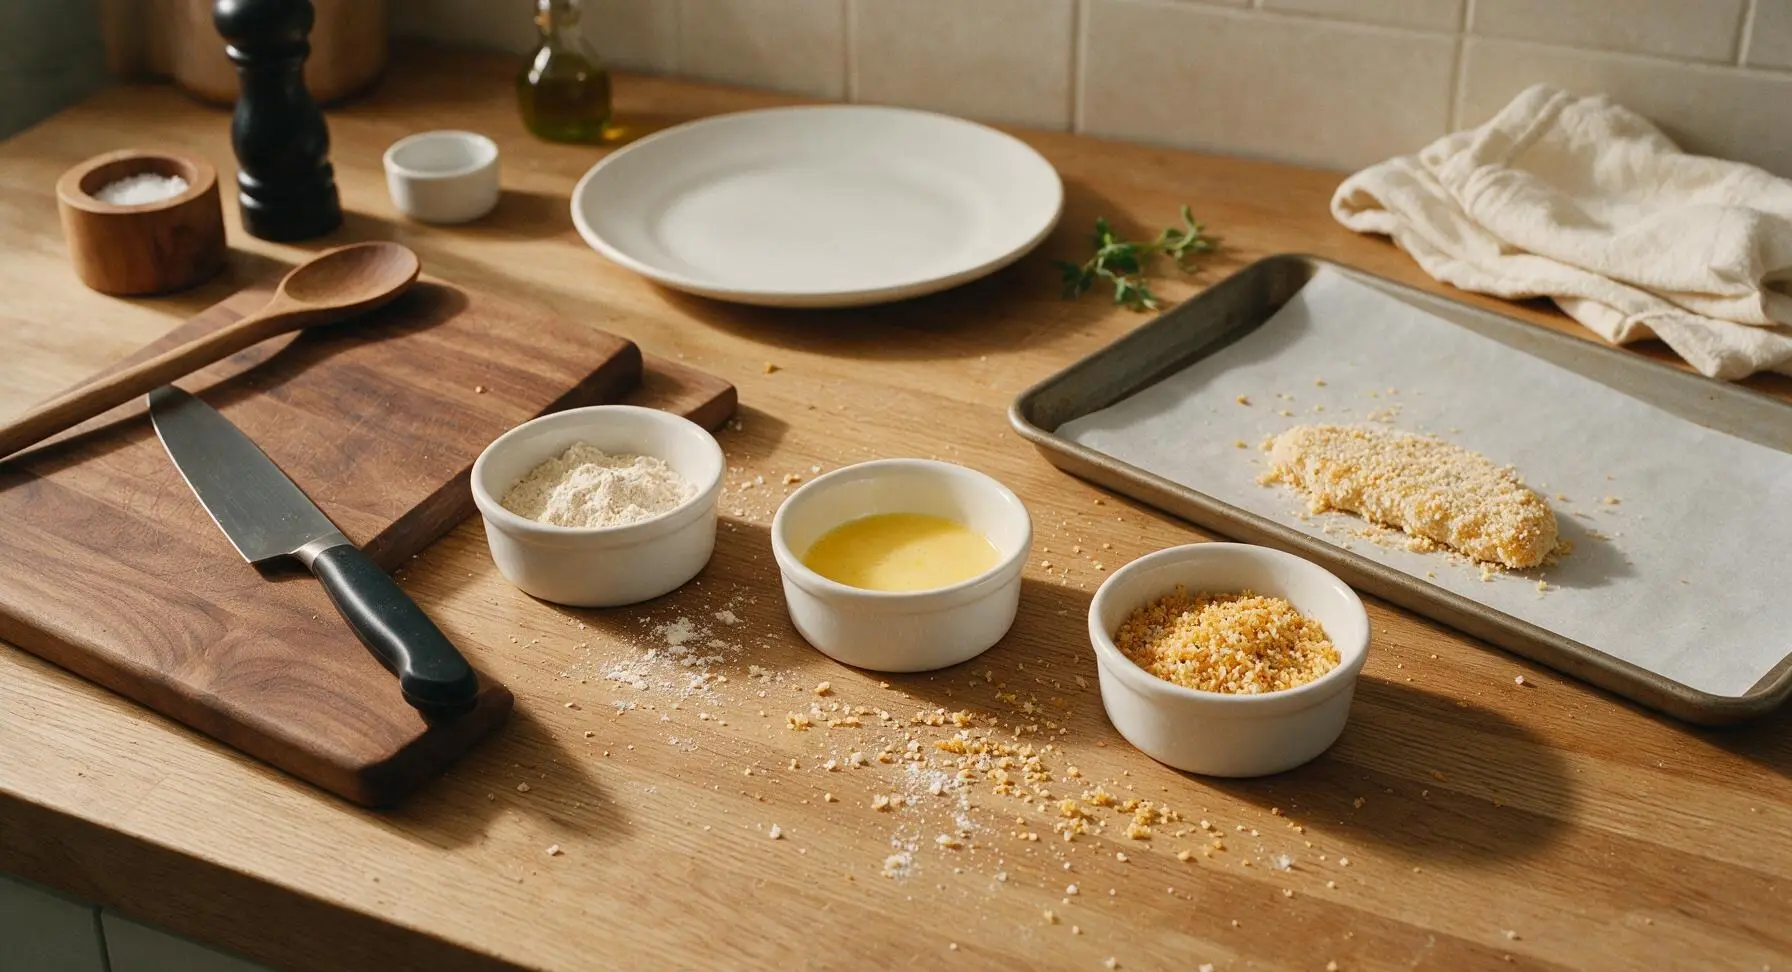
Working one chicken breast at a time: first, dredge fully in the seasoned flour, shaking off all excess so only a thin, even dusting remains (thick flour clumps will create a gummy, soft layer under the crust). Next, dip fully in the beaten egg, letting excess egg drip off for 2 seconds to avoid drips. Finally, press firmly into the panko mixture on all sides, making sure crumbs adhere to every surface, pressing gently to create a thick, even crust with no bare chicken spots. Place each coated chicken breast directly onto the oiled wire rack on the baking sheet, leaving 1 inch of space between pieces for unobstructed air flow.
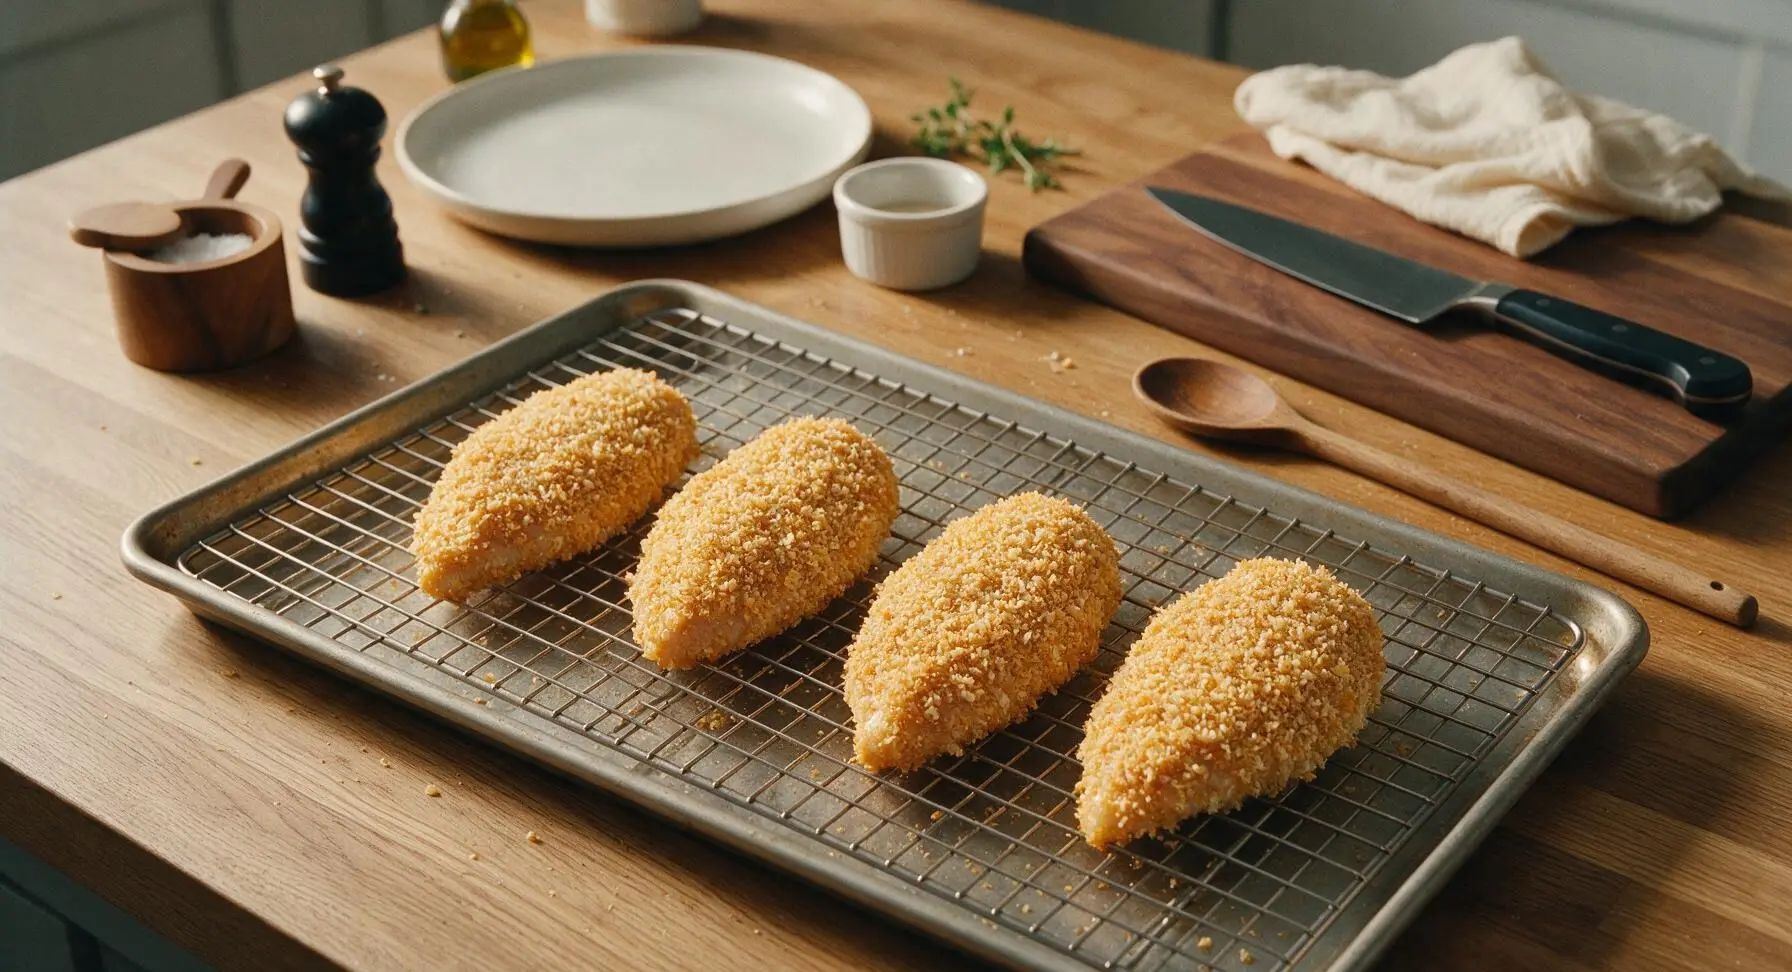
Bake to Golden Crisp
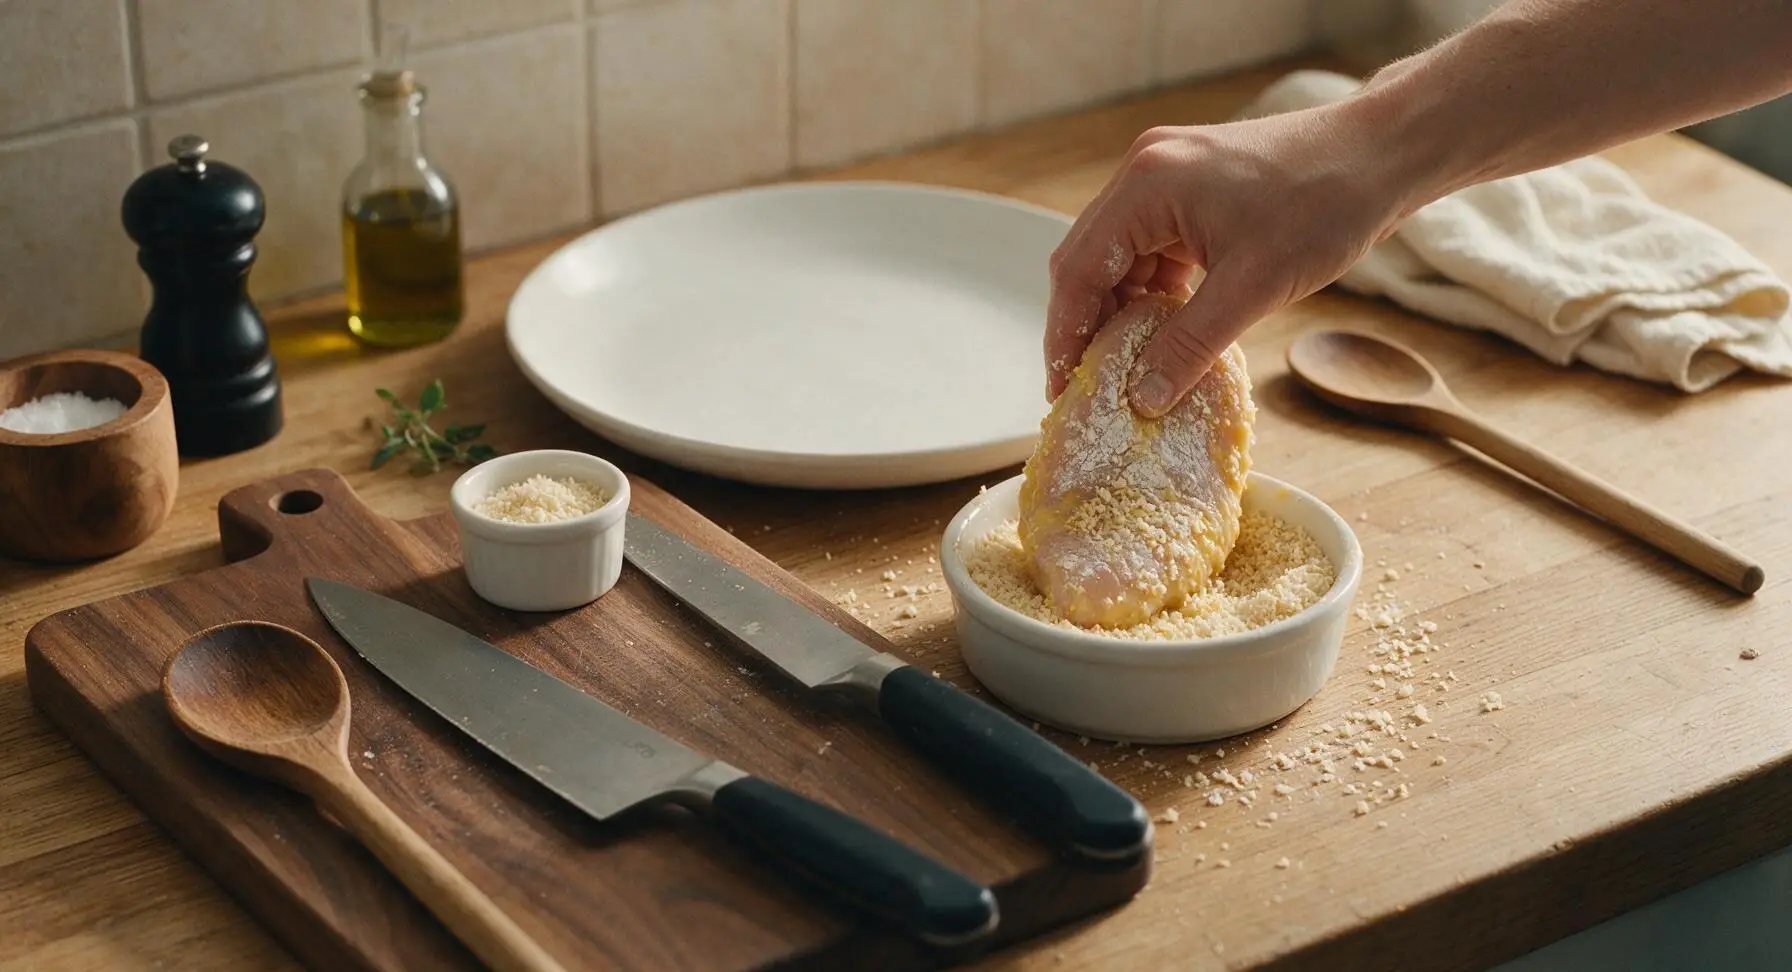
Carefully transfer the baking sheet to the middle oven rack, bake at 425°F (220°C) for 22-25 minutes, without flipping the chicken. Check for doneness by inserting the digital instant-read meat thermometer into the thickest part of the largest breast: it should read 165°F (74°C), and the crust should be a deep, even golden brown and crispy to the touch. If the crust darkens too quickly before the chicken reaches temperature, tent loosely with a small piece of aluminum foil for the remaining cook time to prevent burning.
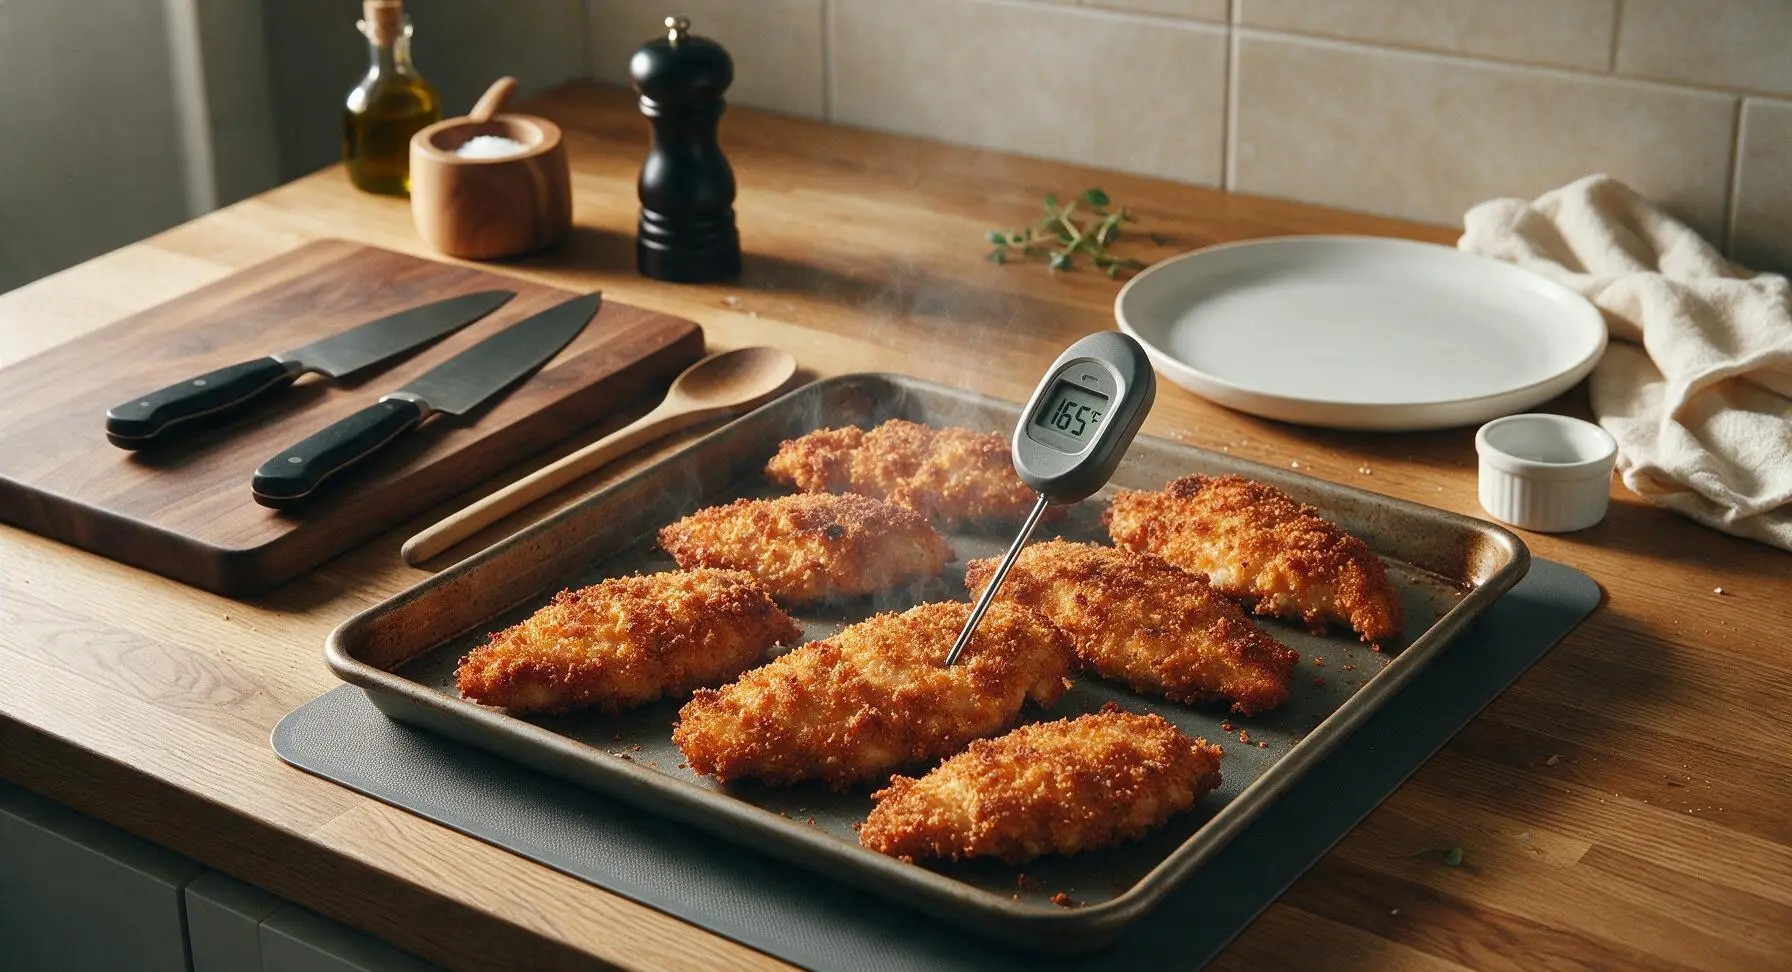
Rest and Season to Serve
Let the chicken rest on the wire rack for 5 minutes after removing from the oven—this allows muscle fibers to relax and juices to redistribute, so they do not run out onto the plate when sliced, and keeps the bottom crust crisp by allowing trapped steam to escape. Sprinkle lightly with flaky sea salt from the salt cellar immediately after resting, then transfer to the matte off-white ceramic dinner plate, garnished with a couple sprigs of fresh thyme from the bunch on the counter.
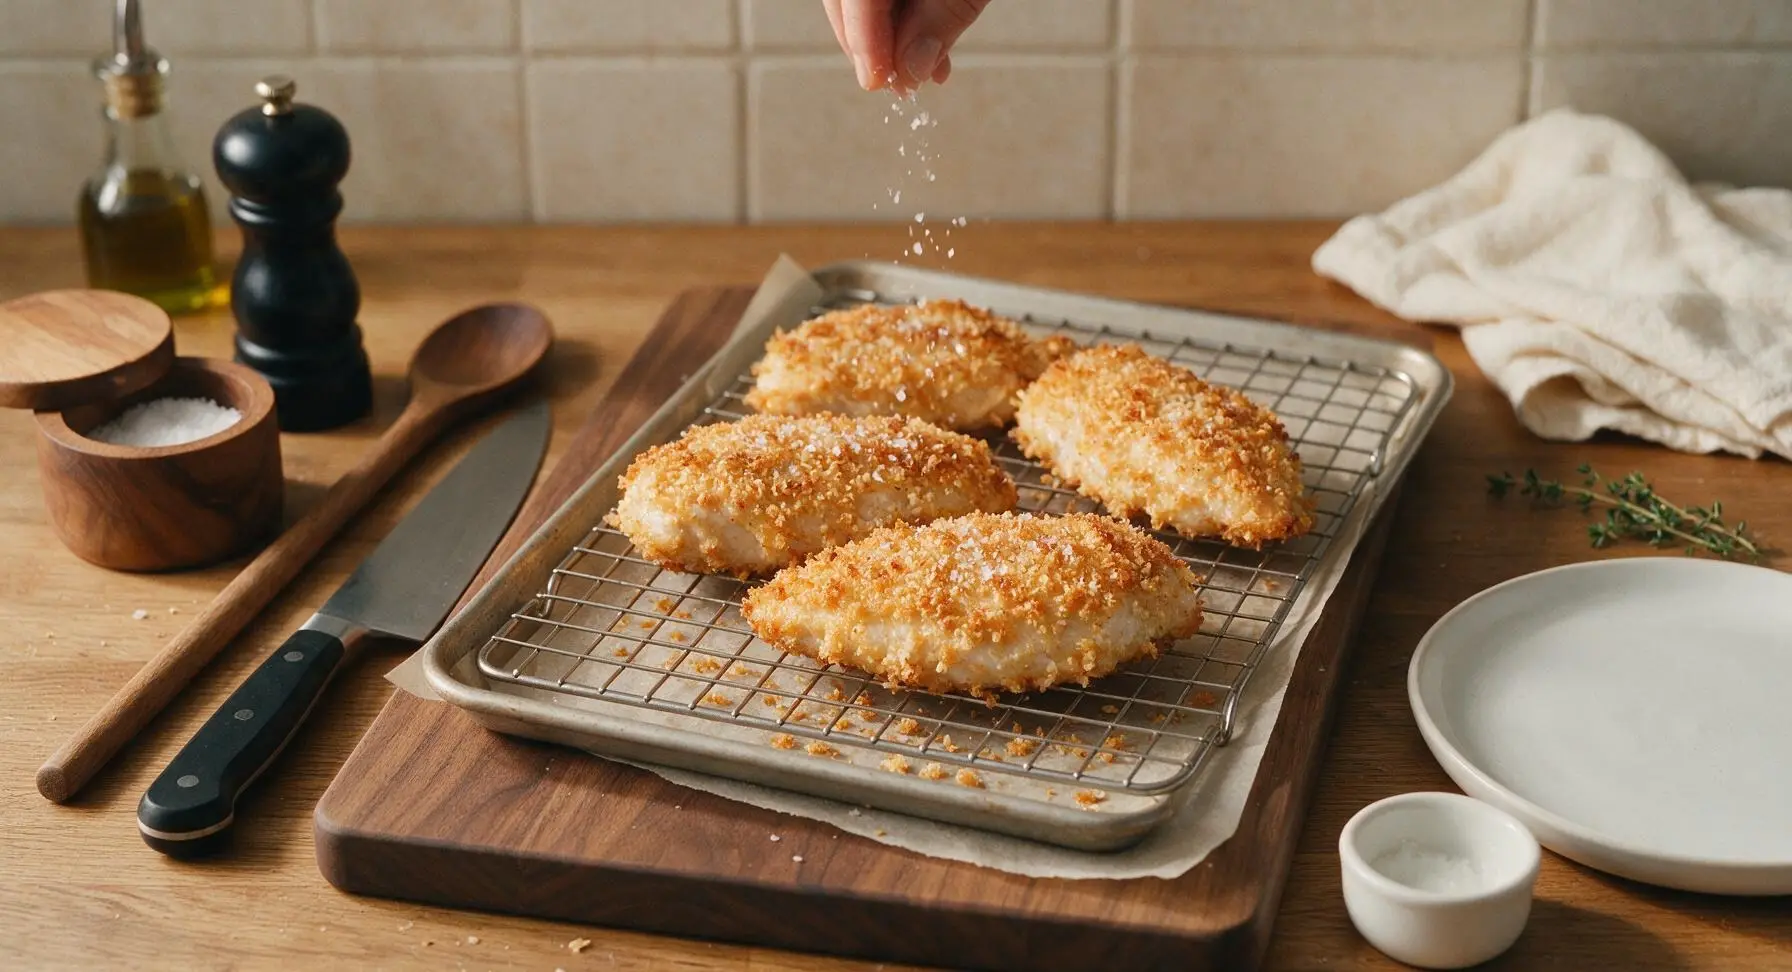
Tips
2.Always bake chicken on an elevated wire rack instead of directly on the baking sheet: Elevation allows hot oven air to circulate under every piece, preventing a soggy bottom crust and creating even crispness on all sides without needing to flip the chicken mid-bake.
3.Let chicken rest for 5 full minutes after baking: Resting allows muscle fibers to relax and redistribute juices, so every bite stays moist instead of having all flavorful juice run out onto the plate when you slice into it.






Just made a big batch of this for my weekly meal prep! Cook time was so quick at 25 minutes, perfect for my Sunday rush. The crust stayed crispy even after reheating in the air fryer the next day. SO good, I’m adding this to my permanent rotation!
I brought this to our neighborhood potluck last weekend and people were begging me for the recipe! Everyone thought I spent hours frying chicken on the stove, nope — just popped it in the oven. So much less mess too!
OMG this is so good! Super easy recipe even for someone who burns toast half the time! Only had to pick up a couple simple ingredients from the corner market, 25 minutes later I had actual crispy chicken that didn’t taste like sad dorm food. Total game changer for my dorm cooking, 10/10
I made this last week with regular panko and it was amazing (4 stars because I had to guess a couple seasoning amounts since I was out of garlic powder)! Wait, has anyone tried this with gluten free panko? I’m gluten intolerant and want to make it for my sister who visits next week, would love to know if the swap works!
Made this last night for dinner and my wife said it’s better than the fast food fried chicken we usually get on busy nights. Only complaint? I didn’t make enough! We only had two breasts and everyone fought over the last piece.
I added a little extra paprika and a pinch of cayenne to the breading mix and wow, that kick was chef’s kiss. Base recipe is so solid, it’s super easy to tweak the seasonings to match whatever vibe you’re going for.
I really want to love this, but every oven fried chicken recipe I’ve tried turns out so dry I can barely swallow it, even when I follow the cook time exactly. I’m giving it 3 stars for now because I haven’t tested it yet — is the chicken actually juicy? I don’t want to waste chicken breasts on another dud!
This recipe is so simple even my 10 year old granddaughter helped me make it when she visited last weekend. She loved dipping the chicken in the egg wash and coating it in the breadcrumbs, and we had such a fun little cooking project together.
Great macro-friendly option! I’ve been looking for a high protein, lower fat alternative to regular fried chicken that doesn’t taste like diet food, and this hits every single mark. The crunch is unreal for something baked in the oven.
I paired this with the roasted garlic mashed potatoes and roasted broccoli from your site for my book club dinner, and every single person asked for the full menu. The chicken was the star of the show for sure!
25 minute cook time is a lifesaver for nights when I get home from work at 6 and have zero energy to cook. No fancy steps, no weird ingredients, just crispy juicy chicken that my whole family eats without complaining — my kids loved it so much they asked for it again this week! 10/10 will be a weekly staple.
Wait, my breading slid right off the chicken when I baked it! What did I do wrong? I followed the recipe step by step but ended up with naked chicken and a pile of crumbs on the pan. Bummed because it smelled so good!
I didn’t feel like heating up the whole oven so I tossed these in my air fryer at 400 for 12 minutes, flipping halfway, and they came out even crispier! Will definitely make this again, such a versatile recipe.
I’ve never cooked chicken in my life (seriously, I live off takeout) and this turned out perfect first try! I was so nervous I’d undercook it or burn the breading, but the recipe instructions were so clear and easy to follow. Even my roommate said it was restaurant quality!
We usually do fried chicken for Sunday supper but standing over a pot of hot oil in this Texas summer heat is miserable. This oven version was just as crispy, no sweat, and I didn’t have to deal with oil splatters all over my stove. Total win!
The crunch on this chicken is INSANE. I was fully expecting that sad, soft breading most oven fried chicken recipes have, but this is shatteringly crisp just like actual deep fried chicken. I’ll never go back to pan frying again.
I used dill pickle brine to brine the chicken for an hour before making this, just like my grandma used to do for her fried chicken, and oh my gosh it was so juicy and flavorful. Highly recommend that little hack if you have pickle juice in the fridge!
This is so budget friendly! I bought chicken breasts on sale for $1.99 a pound, already had panko and spices in my pantry, so the whole meal cost me under $10 to make for four people. Way cheaper than takeout and way tastier too.
Made this for my boyfriend for our at-home date night last night, served it with mac and cheese and coleslaw, and he said it’s better than the fancy fried chicken restaurant we went to for our anniversary. Win for me!
I was worried we’d have a ton of leftovers that would go to waste, but my family demolished every single piece of chicken I made. Even my super picky 7 year old said it’s “the best chicken ever” and asked if I can put it in his school lunch tomorrow.