
oven fried chicken strips
intro
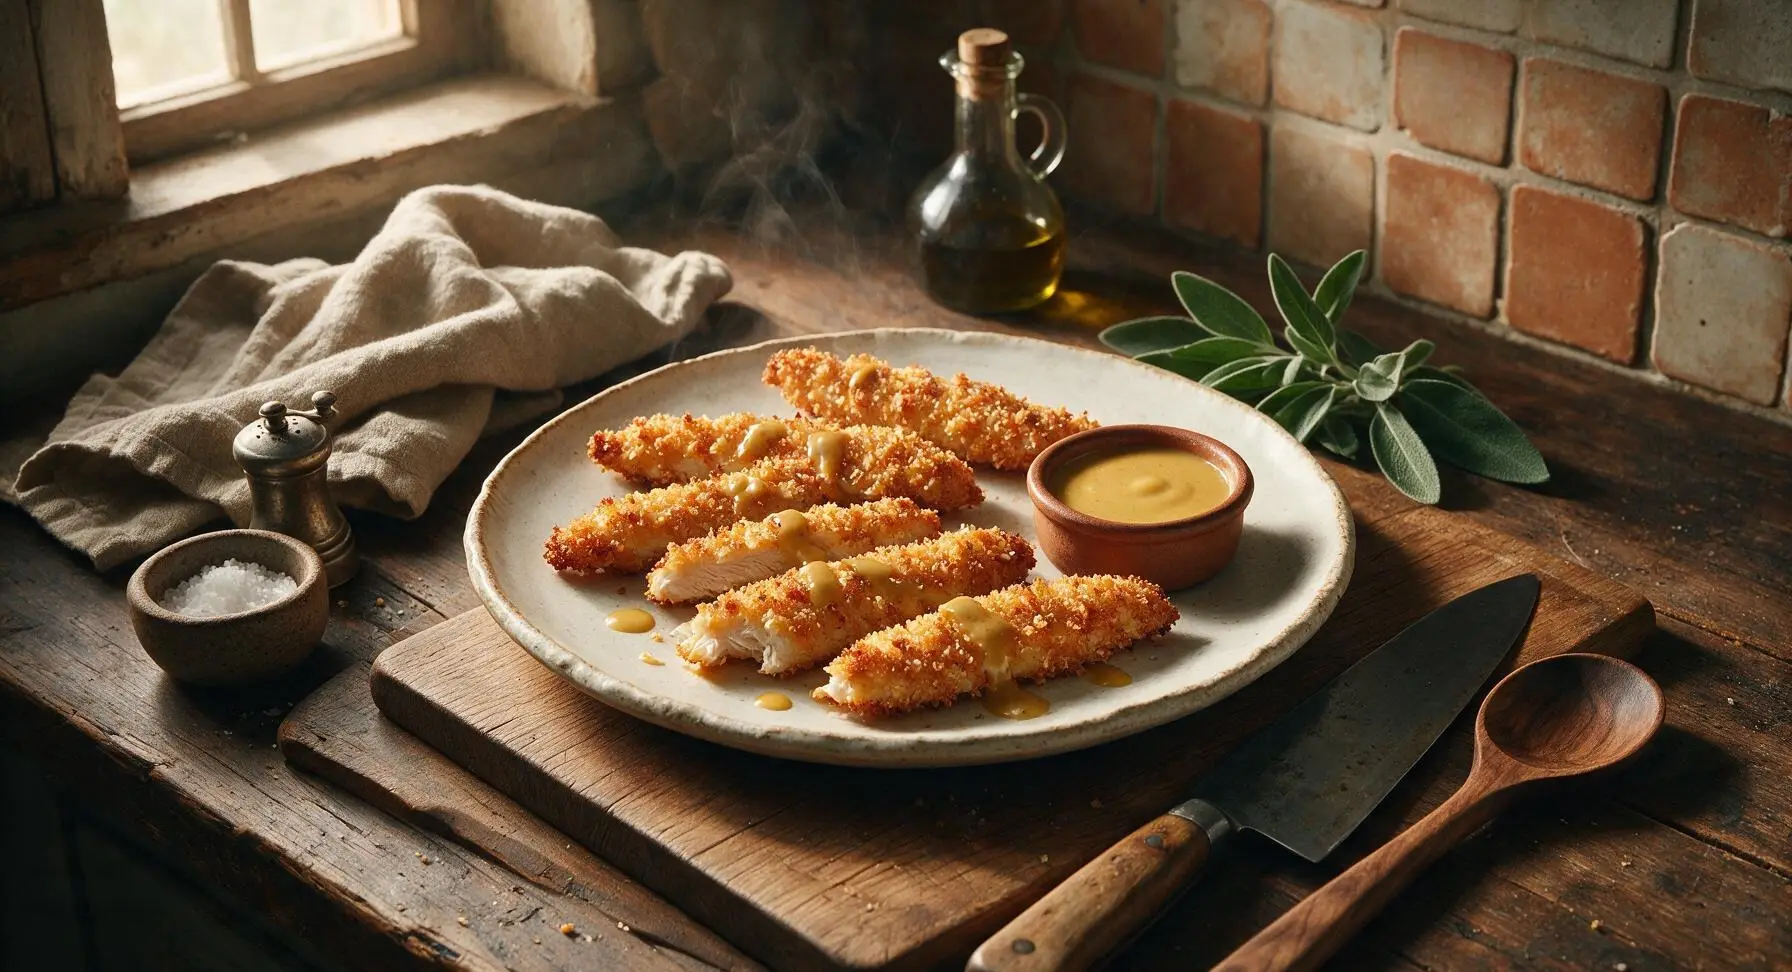
Crispy, golden oven-fried chicken strips with crunchy panko coating, no deep frying required. Juicy, tender chicken inside, served with tangy honey mustard for a fast, family-friendly weeknight meal.
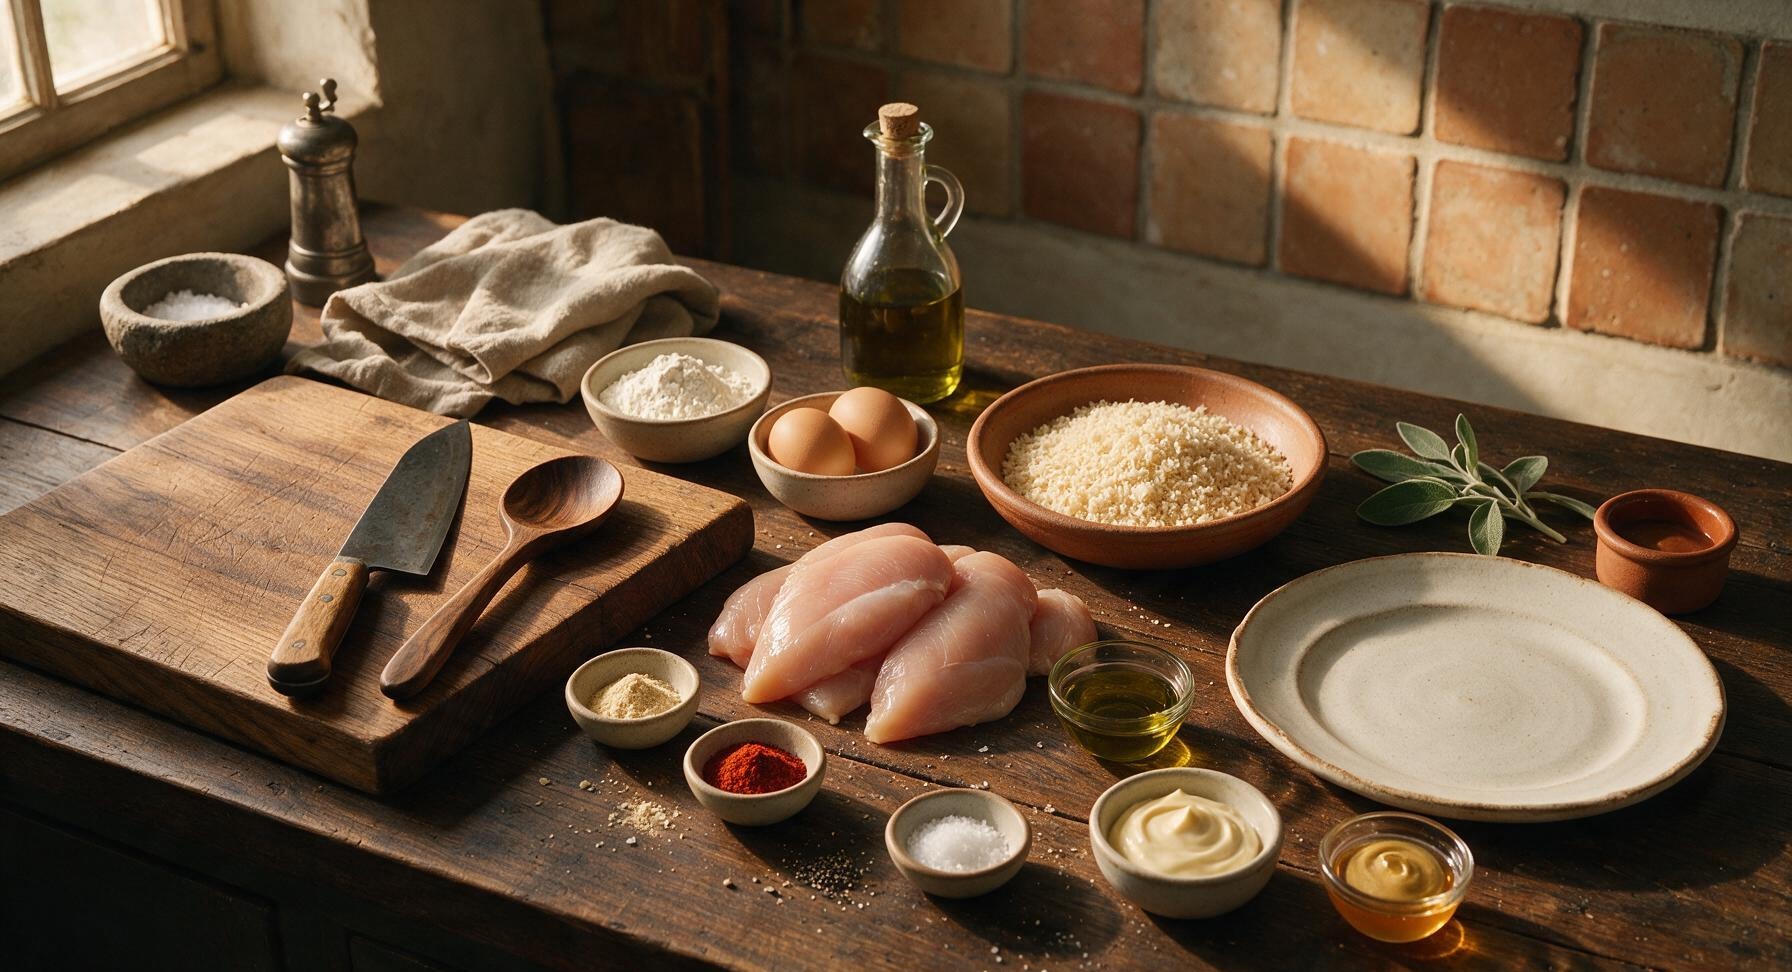
Ingredients
Steps
Cut Chicken into Strips
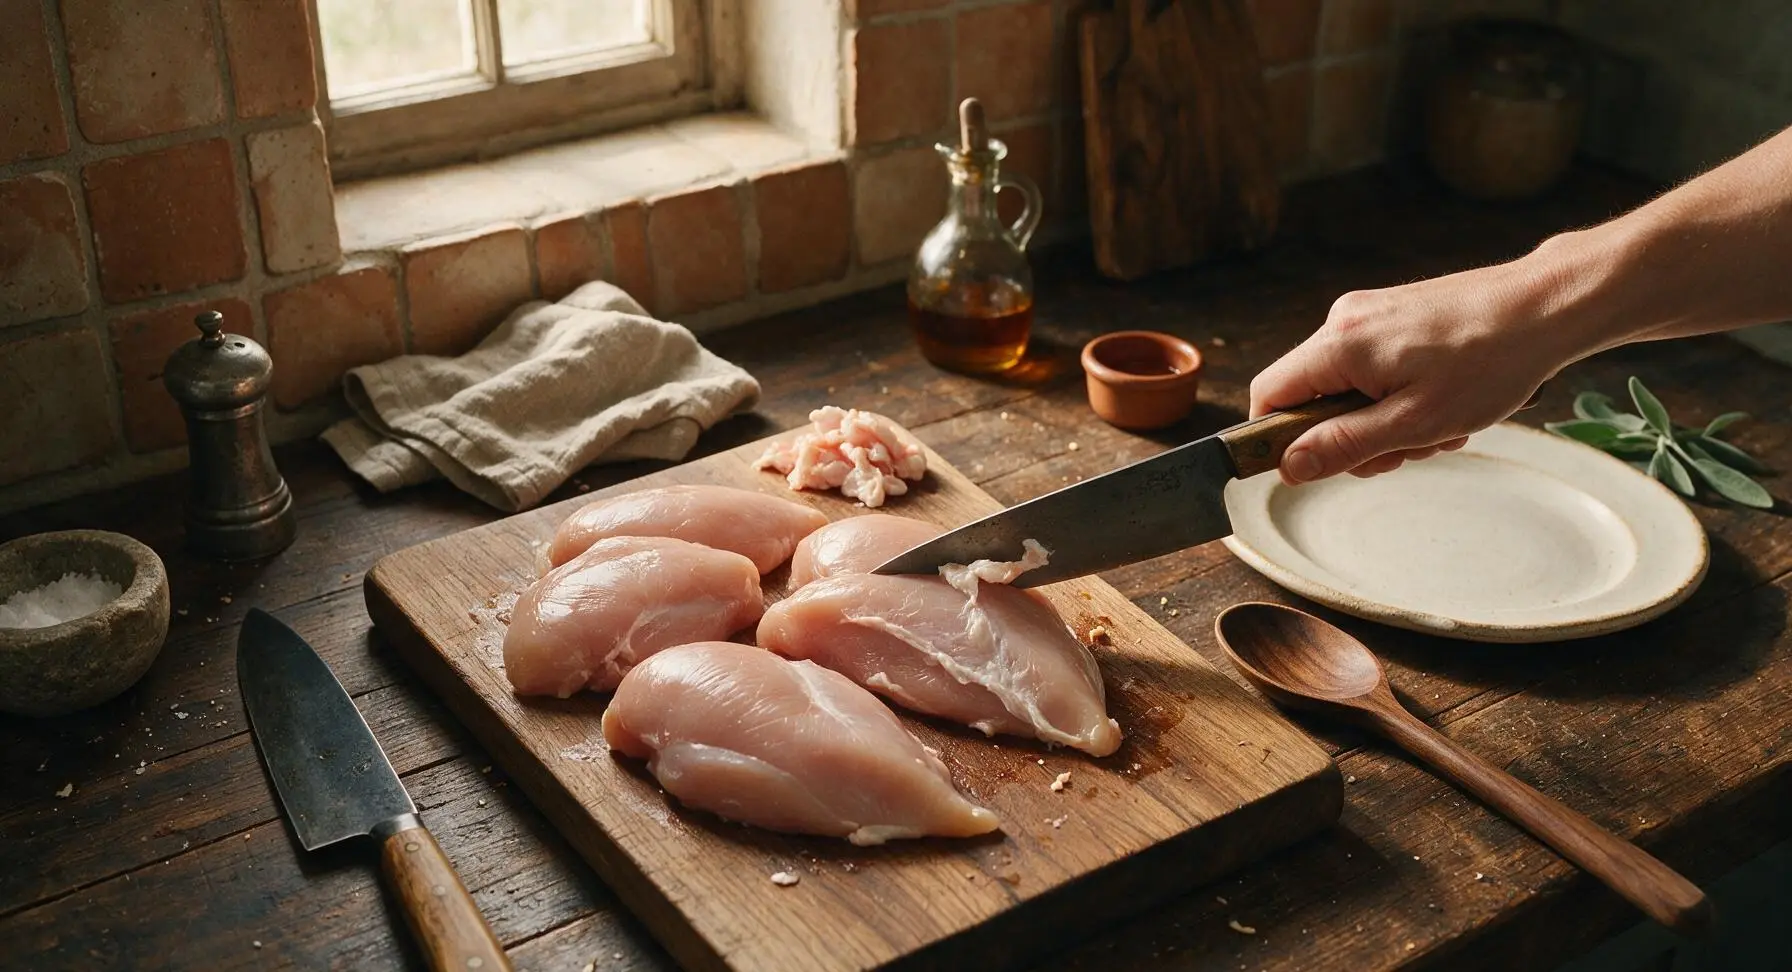
Place 600g boneless, skinless chicken breasts on the maple cutting board. Using the 8-inch chef knife, trim away any visible white fat or tough silver skin from the chicken, then slice against the grain into uniform 2.5cm (1-inch) wide, 10cm long strips. Pat all chicken strips completely dry with clean paper towels to ensure crisp coating adhesion; properly dried chicken will have a matte, non-slippery surface.
Arrange Breading Station
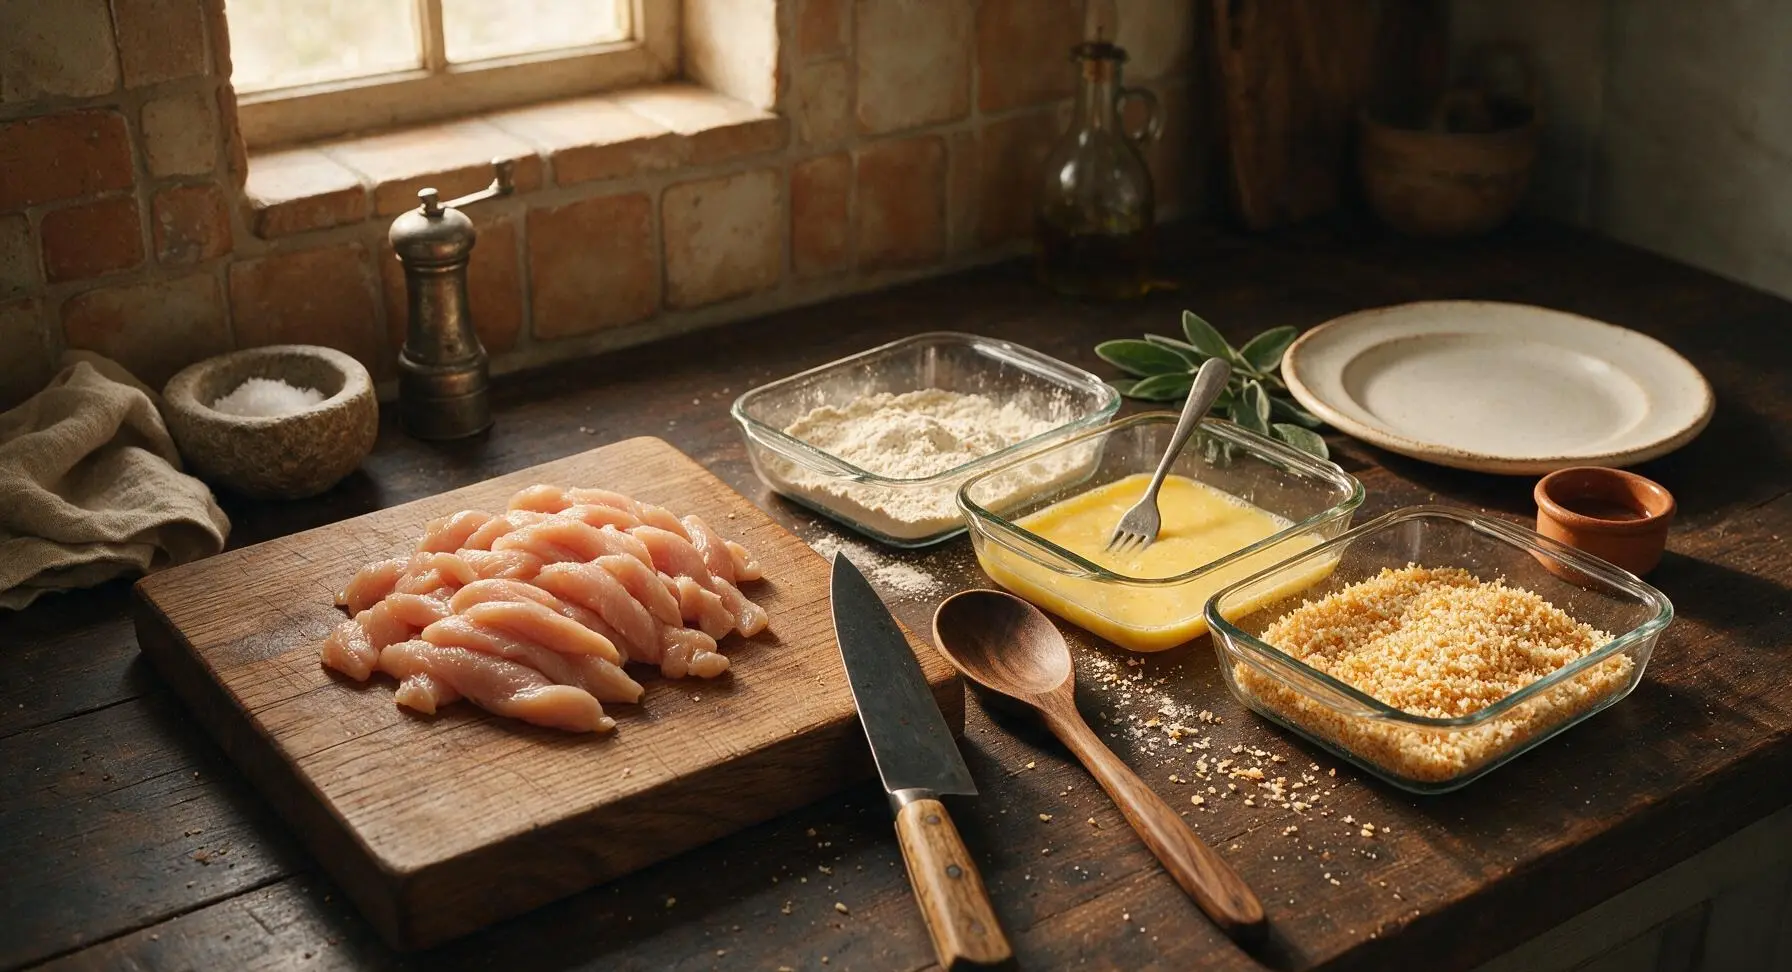
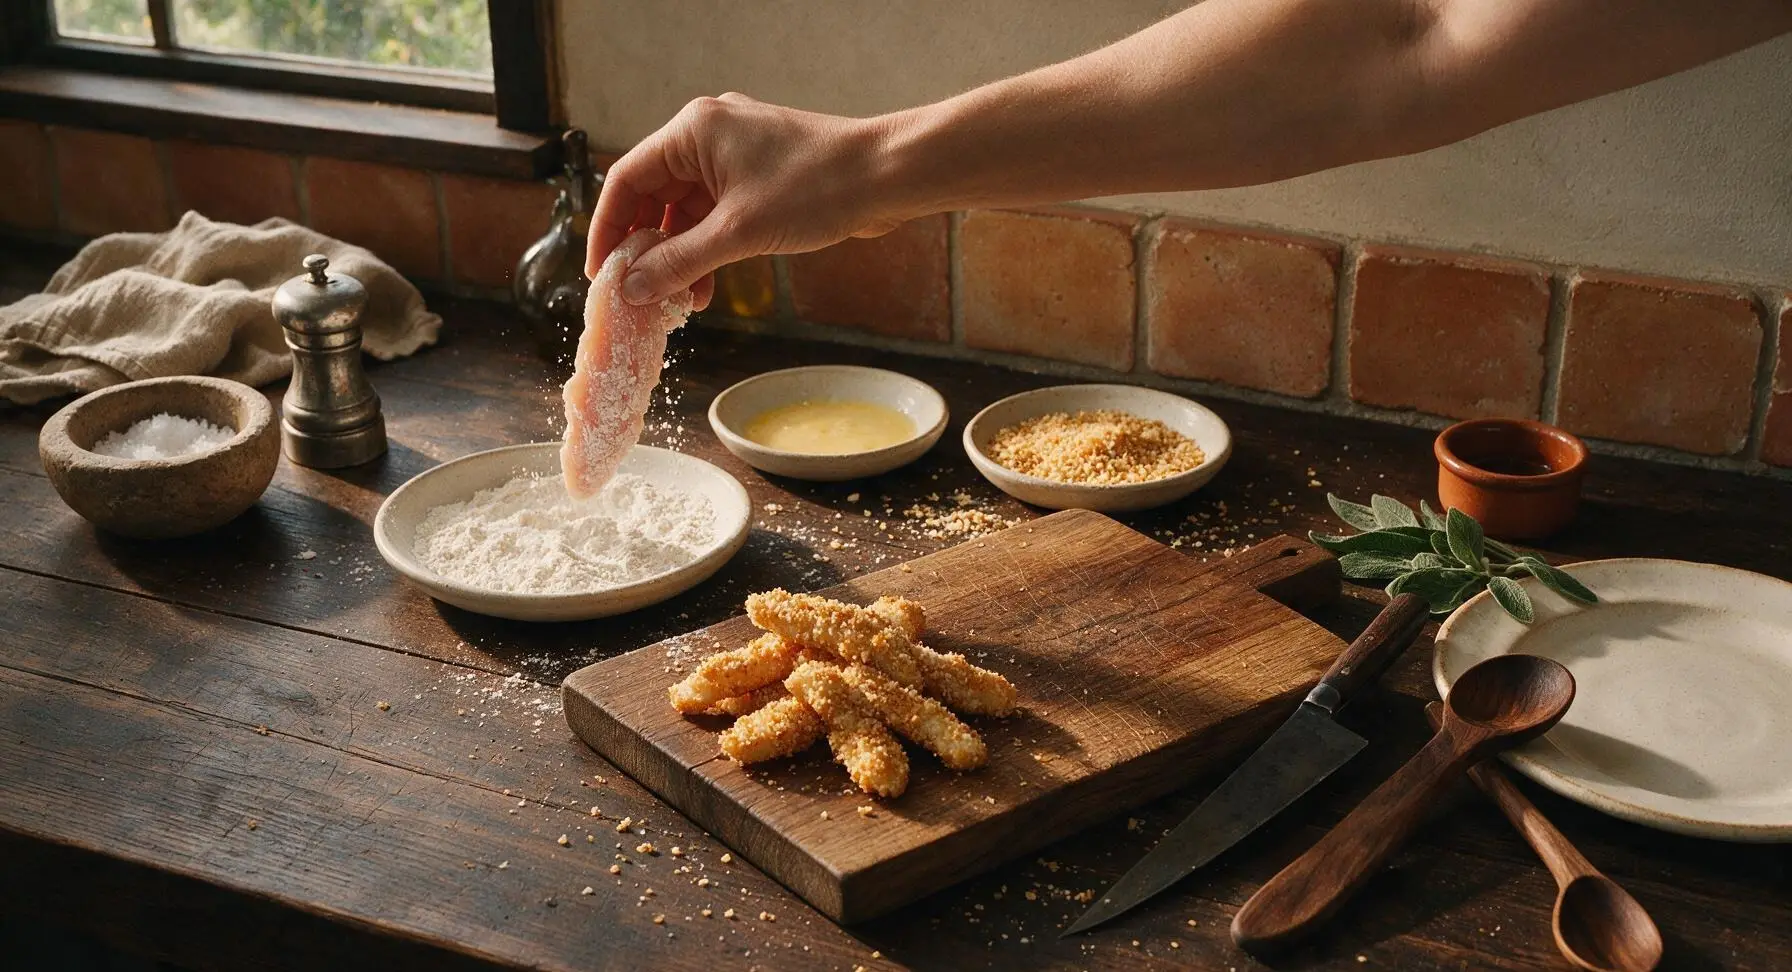
Line up the three clear glass baking dishes to the right of the cutting board. In the first dish, mix 60g all-purpose flour with 1/2 tsp fine sea salt, 1/4 tsp black pepper, 1/2 tsp garlic powder, and 1/2 tsp smoked paprika, stirring to combine evenly. In the second dish, crack the 2 large eggs and whisk with a fork until completely smooth, with no visible streaks of egg white remaining. In the third dish, toss 150g panko breadcrumbs with 2 tbsp olive oil, the remaining 1/2 tsp salt, 1/4 tsp pepper, 1/2 tsp garlic powder, 1/2 tsp smoked paprika, and 1/2 tsp onion powder, mixing until every crumb is lightly coated in oil with a pale golden sheen.
Coat Chicken Evenly
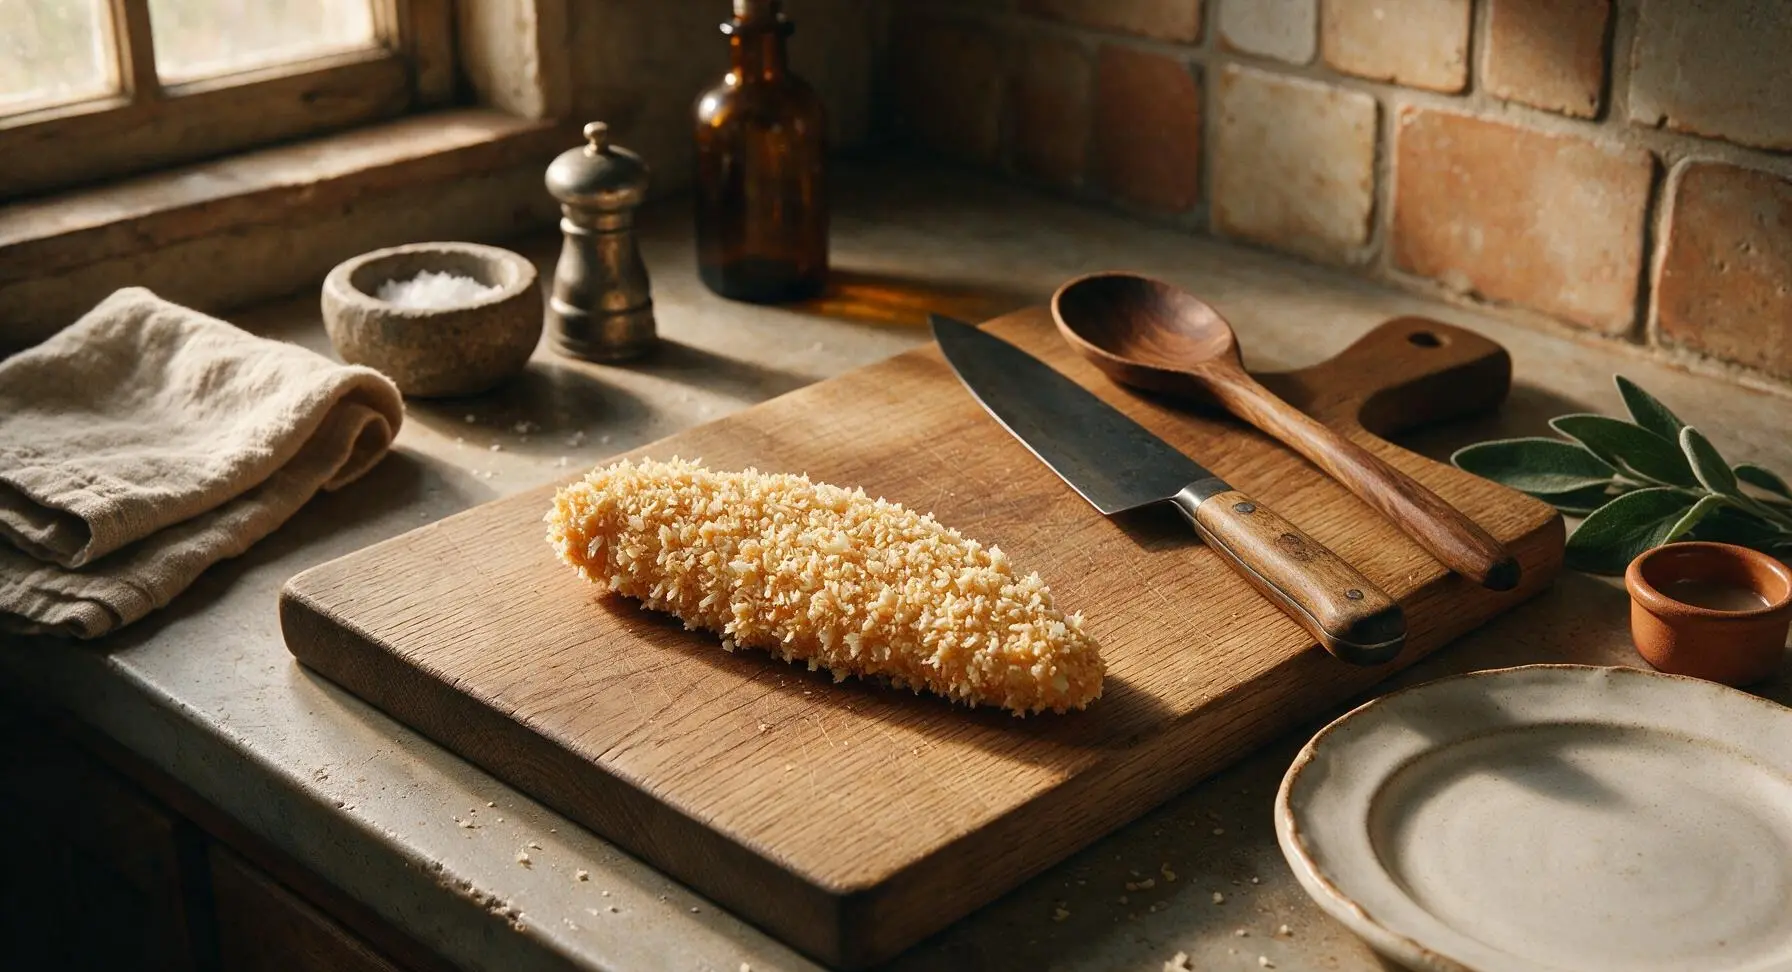
Working one strip at a time, first dredge a chicken strip in the seasoned flour, pressing gently so flour coats every surface, then shake off excess flour so no dry clumps remain. Next, dip the floured strip fully into the whisked egg, letting excess egg drip off for 2 seconds so no thick egg pools remain. Finally, press the strip firmly into the seasoned panko mixture, turning to coat every side, pressing crumbs into the chicken so they adhere fully. Set breaded strips on a clean section of the cutting board as you work, ensuring no strips overlap.
Prep Baking Rack
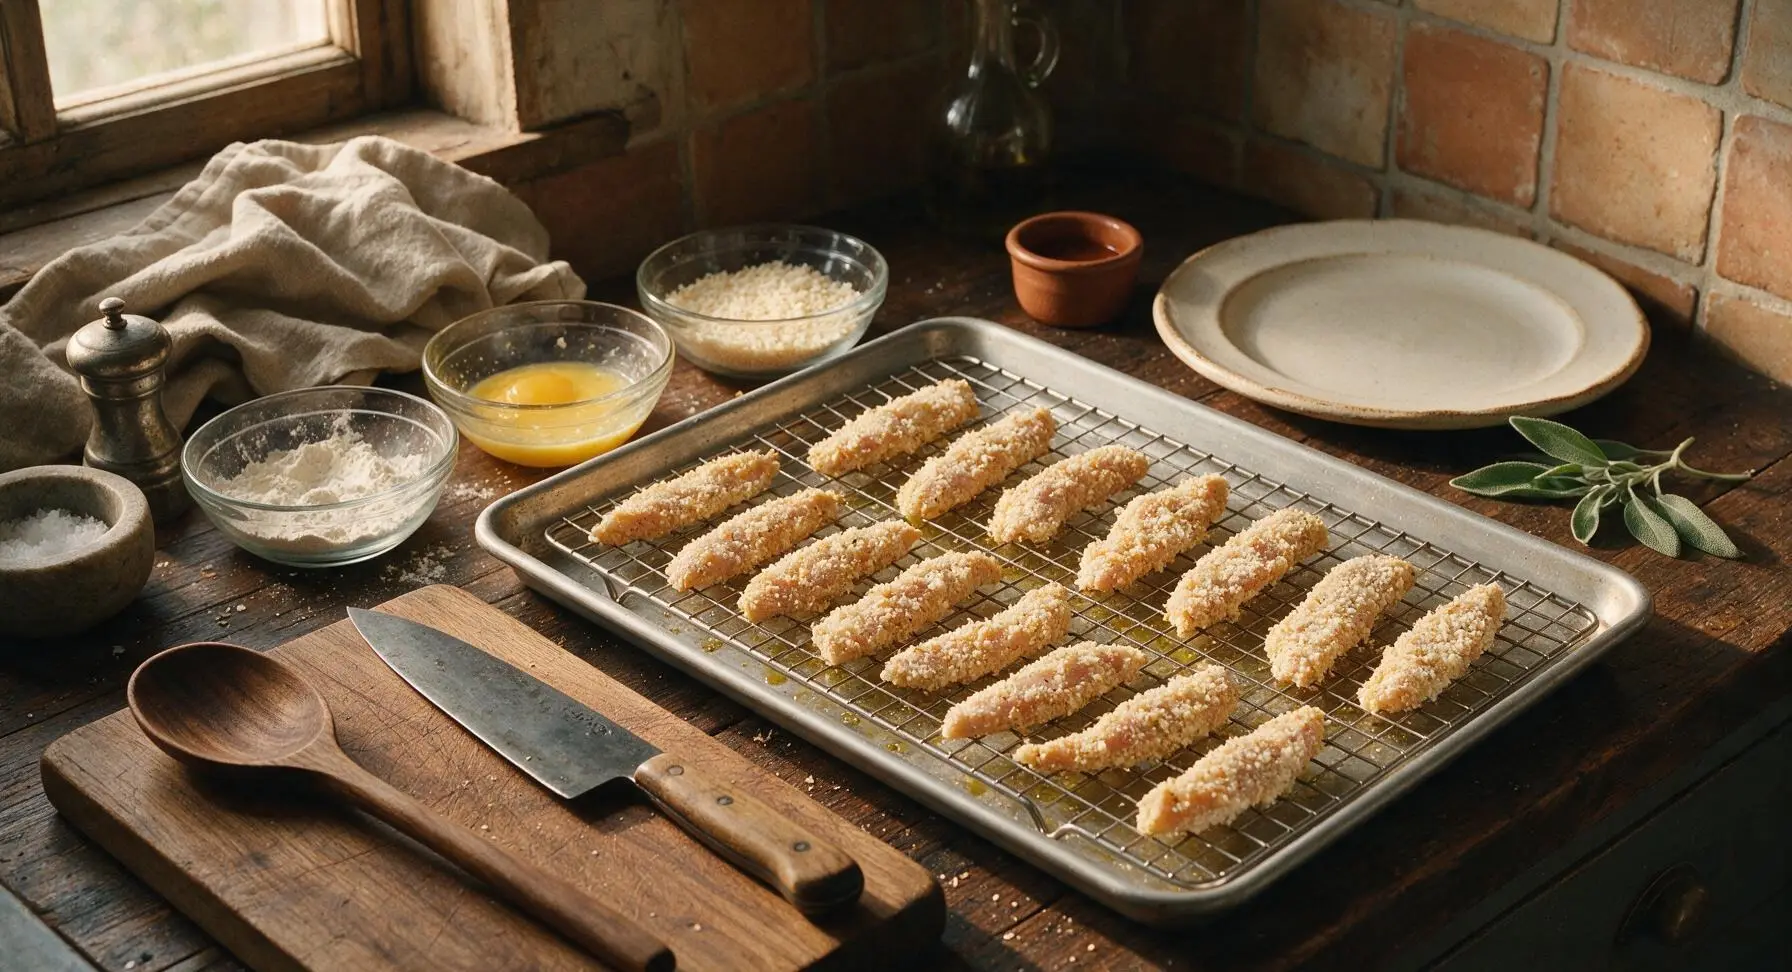
Position the rimmed aluminum baking sheet with the inserted wire cooling rack at center-right of the counter. Lightly brush the rack surface with a thin coat of olive oil to prevent sticking. Arrange all breaded chicken strips in a single even layer on the wire rack, leaving 1cm of space between each strip to allow air circulation—this is critical for all-around crispiness and preventing soggy bottoms. Do not place strips directly on the baking sheet, as the rack allows hot oven air to circulate under the chicken.
Bake to Crispy Perfection
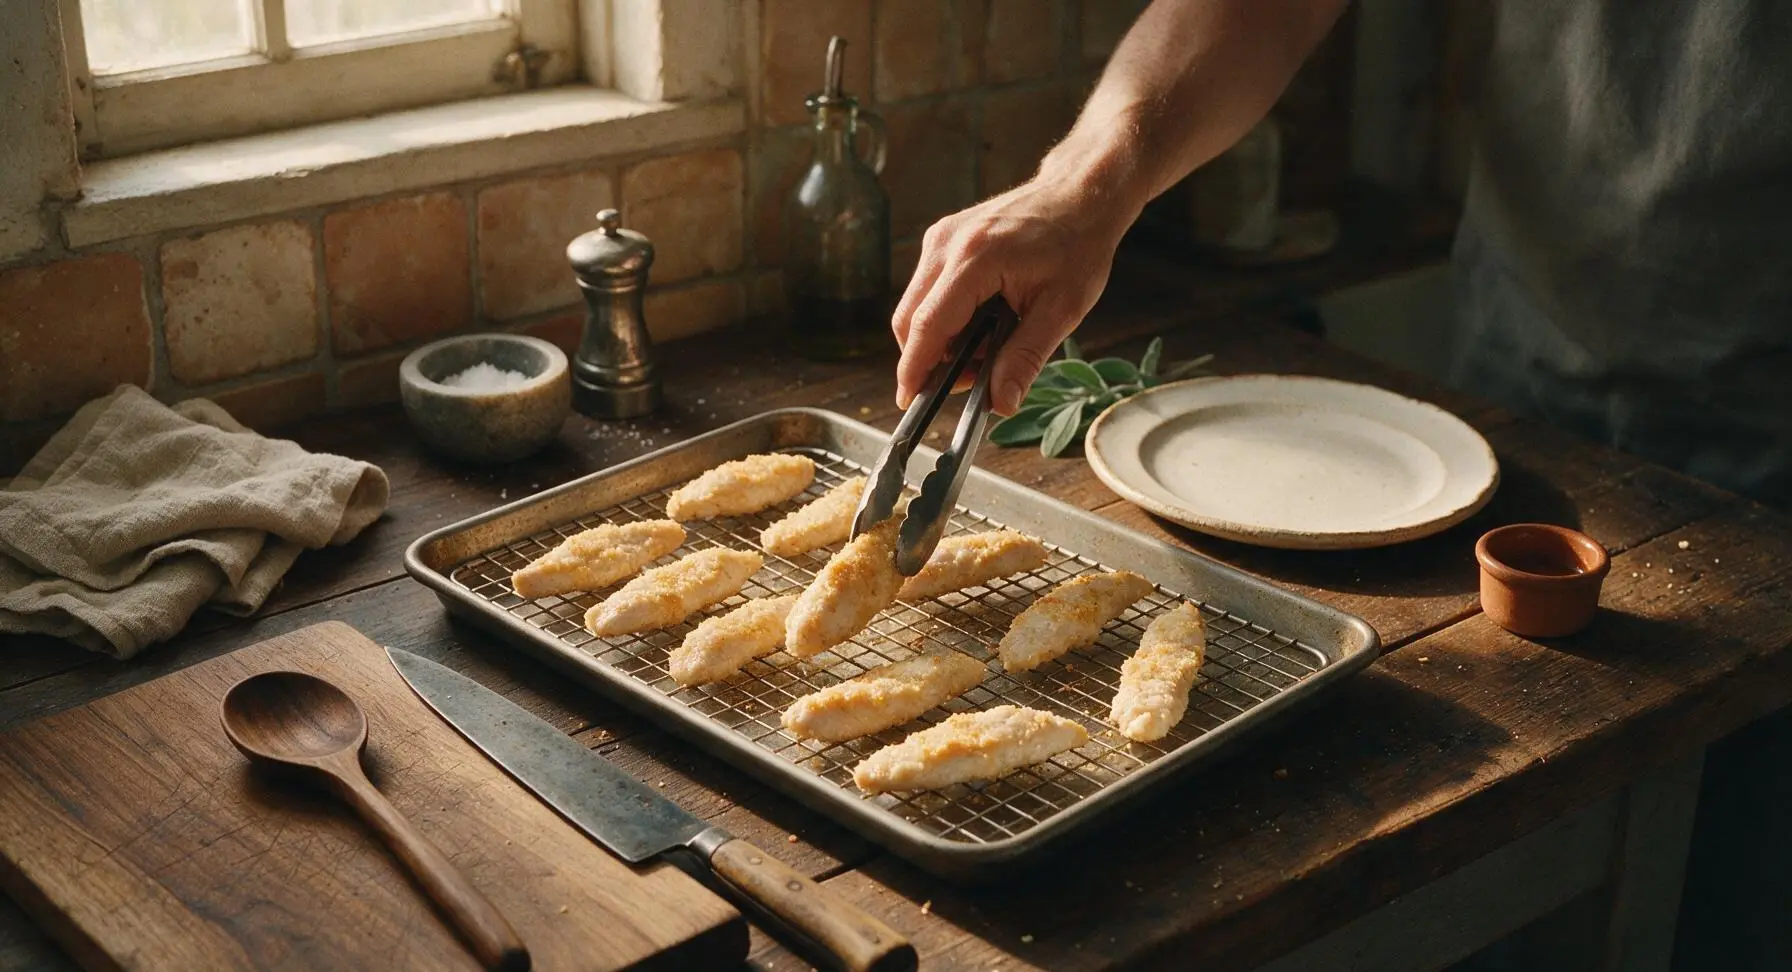
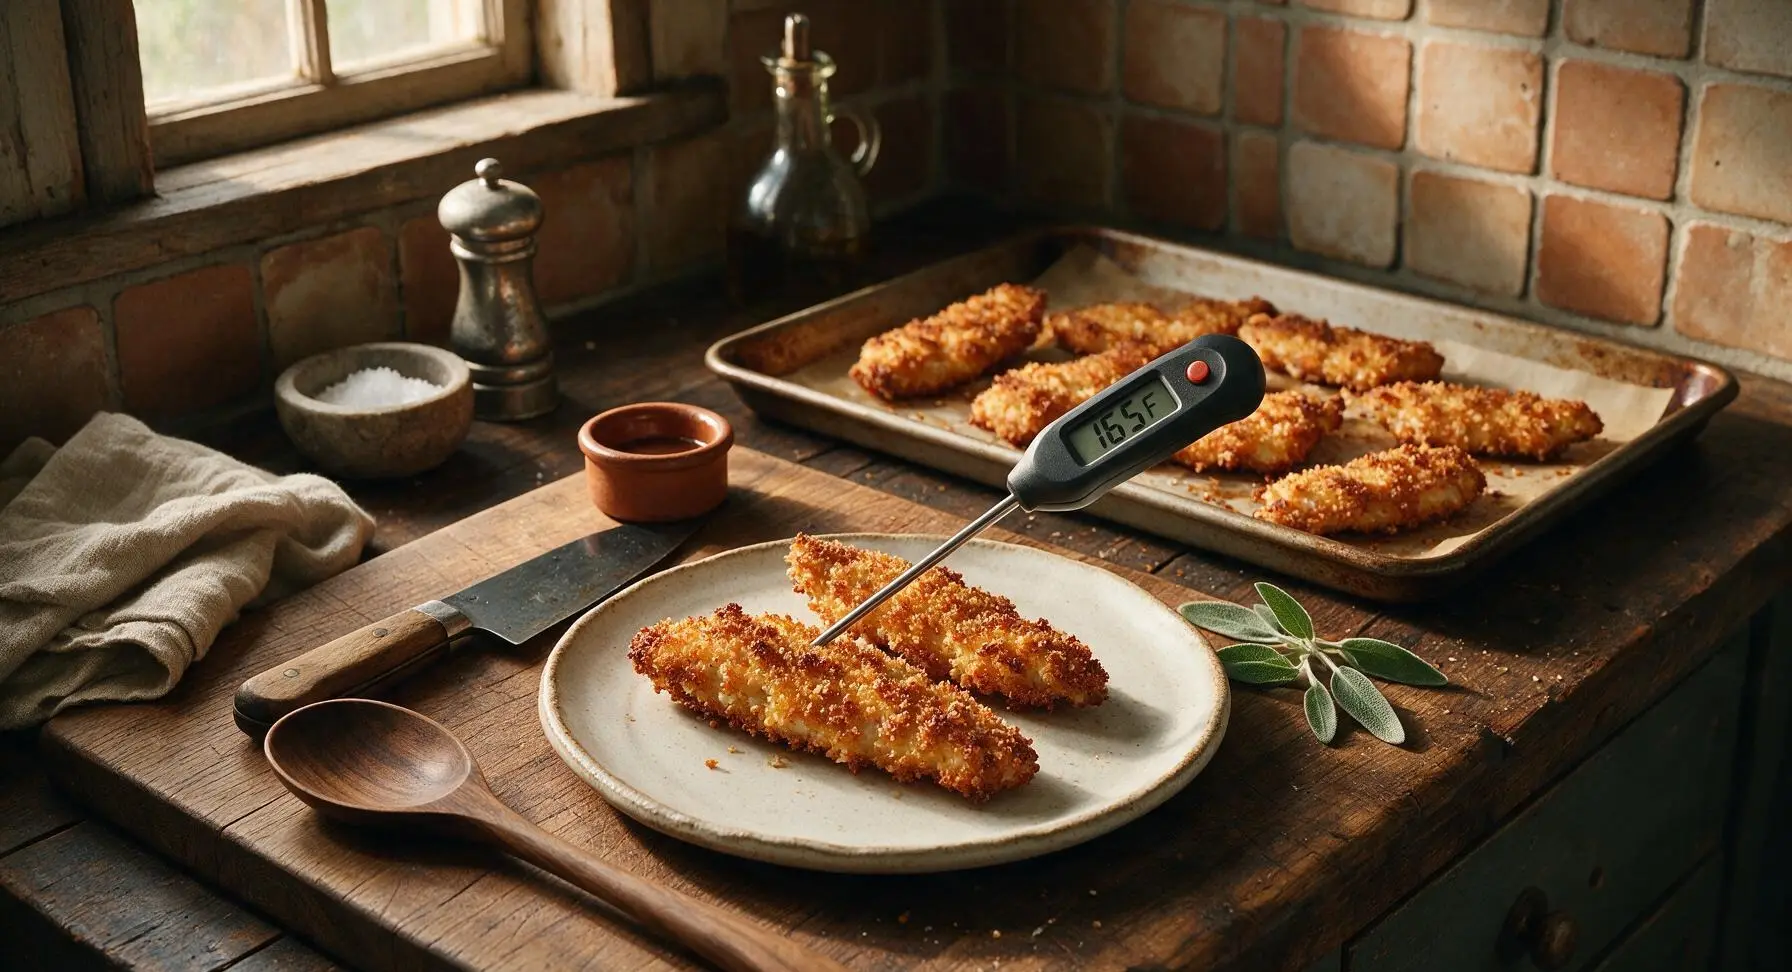
Place the baking tray in a preheated 220C (425F) oven on the middle rack. Bake for 10 minutes, then use tongs to carefully flip each chicken strip, and bake for an additional 8-10 minutes, until the panko coating is deep golden brown and crispy all over, and the internal temperature of the chicken reaches 75C (165F) when checked with the instant-read thermometer. Do not overbake, as chicken will become dry.
Mix Dipping Sauce
While the chicken bakes, stir together 60g mayonnaise, 2 tbsp honey, and 1 tbsp Dijon mustard in the small matte off-white ramekin until completely smooth, with no streaks of mustard or honey remaining. Set the ramekin back next to the dinner plate until serving.
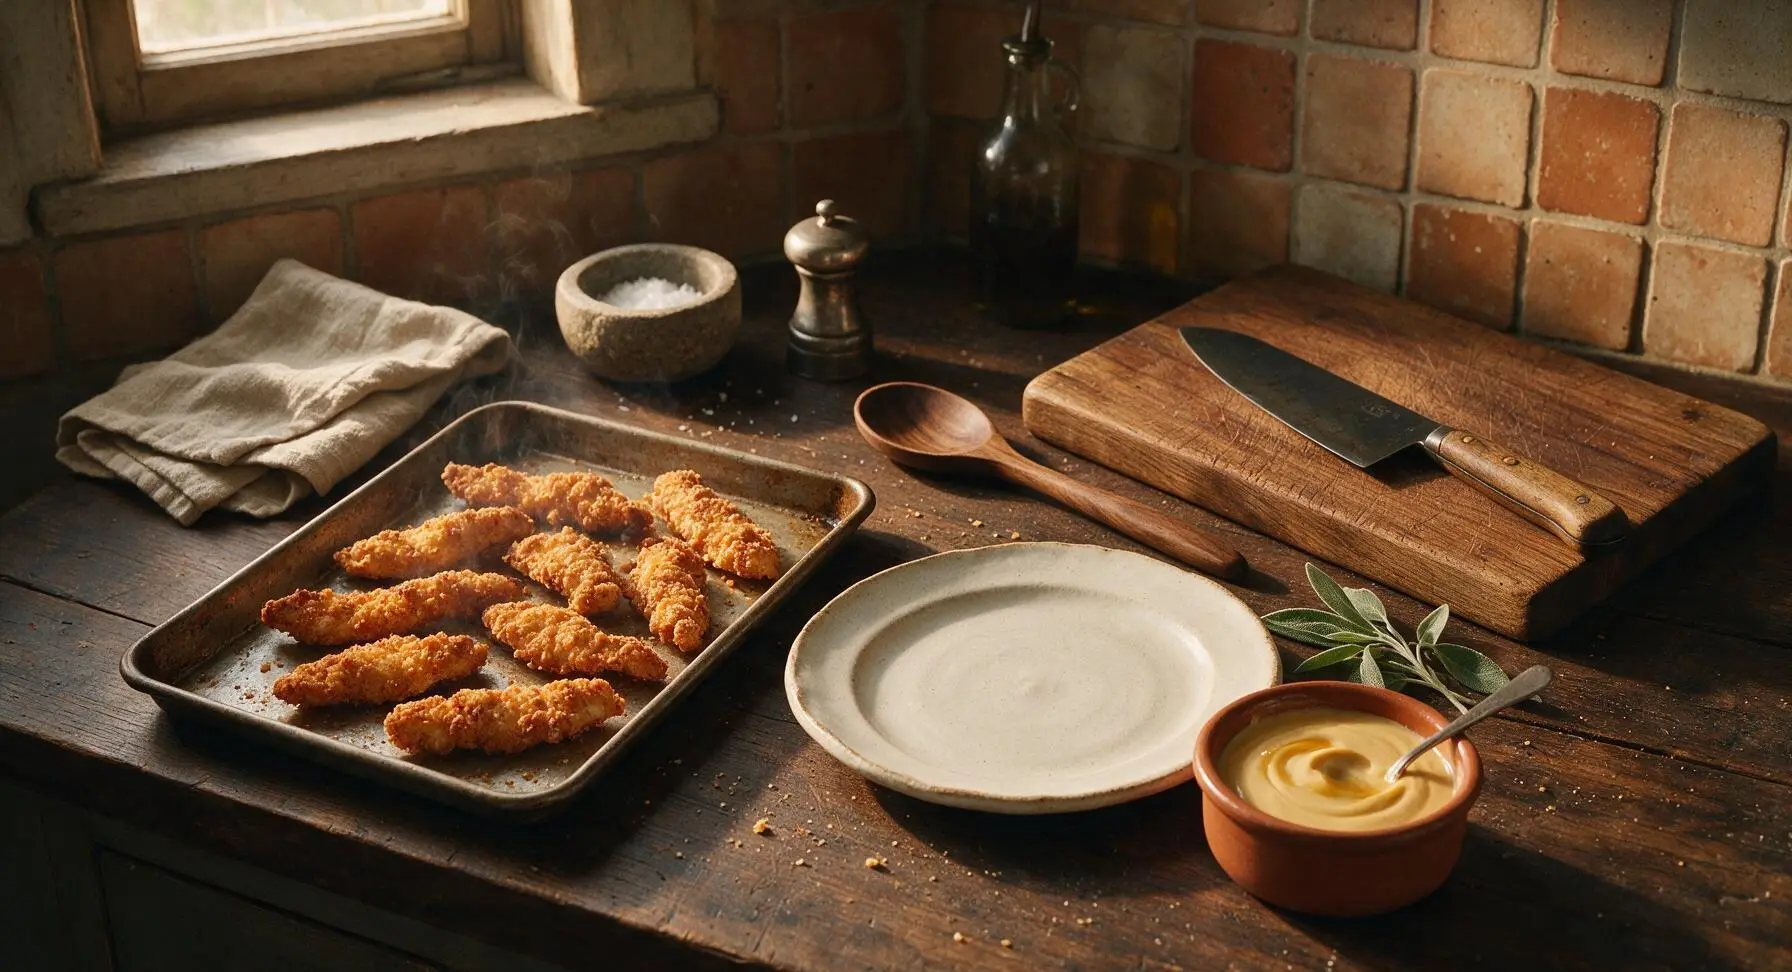
Plate and Serve
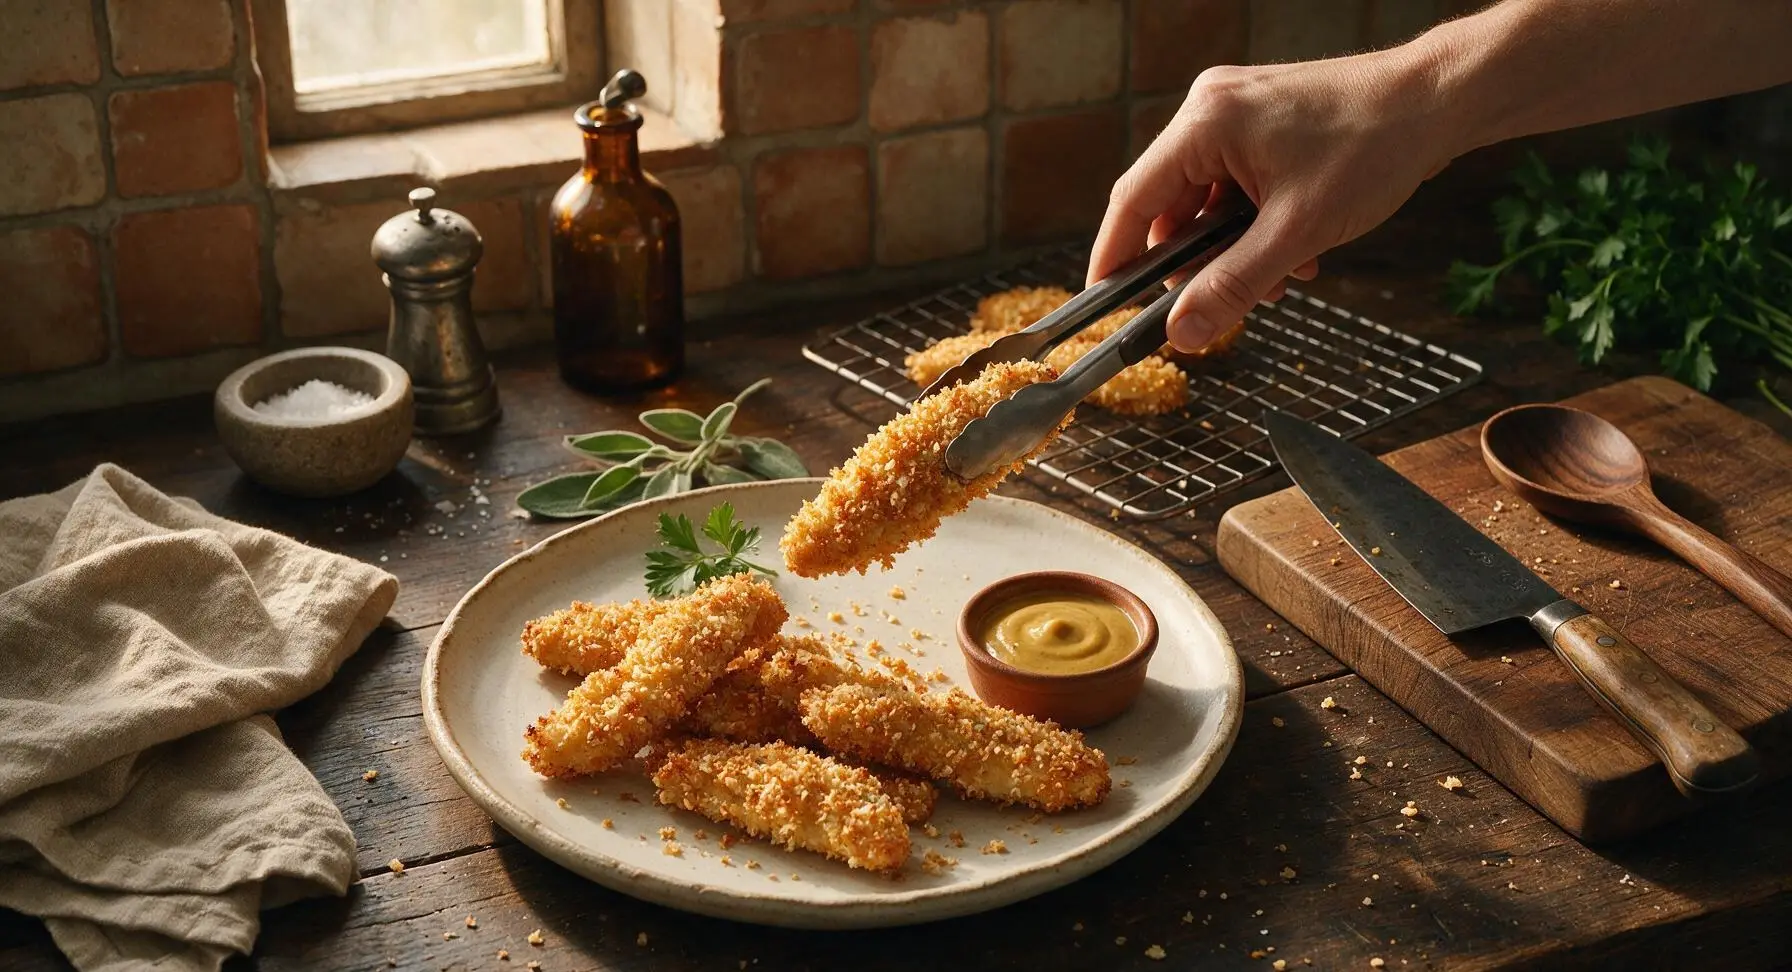
Transfer the hot crispy chicken strips to the matte off-white ceramic dinner plate, piling them loosely. Sprinkle lightly with a pinch of flaky sea salt from the terracotta salt cellar, tuck a small sprig of fresh parsley next to the strips for garnish, and set the ramekin of honey mustard sauce on the plate. Serve immediately while the coating is hot and crisp.
Tips
2.Always bake breaded chicken on an elevated wire rack set inside a baking sheet, rather than directly on the sheet pan: the rack allows hot oven air to circulate under every strip, preventing soggy, steamed bottoms and ensuring 360 degrees of crispness.
3.Pat raw chicken completely dry with paper towels before breading: excess surface moisture on the chicken will cause the coating to slide off during baking, leading to bare spots and soggy, uneven breading that does not adhere properly.






OMG these came out SO crispy! I was so skeptical oven fried chicken could actually crunch like fast food but no, these delivered. My 3 kids devoured an entire batch in 10 minutes flat for dinner last night. Will 100% be adding this to our weekly rotation!
Game changer for game night! I brought these to our Sunday football potluck and they were gone before the first quarter ended. The breading stuck perfectly, no weird crumb mess all over the plate. Only change I made was adding a little extra paprika for a smoky kick.
Perfect for my weekly meal prep! These hold up so well in the fridge for 3-4 days, and reheat great in the air fryer for 3 minutes when I’m ready to eat. Way less mess than pan frying, and the 20 minute cook time is unbeatable for busy work nights.
Super easy even for someone who burns toast half the time lmao. I didn’t have panko so I used crushed cornflakes and it still slapped. Dipped them in ranch and honestly better than the frozen strips I usually buy.
Made these before a day trip up to Mount Rainier last weekend and they were the perfect portable snack! Stayed crispy even in the cooler for a few hours, didn’t get all soggy like I was worried they would. Dipped them in honey mustard, chef’s kiss.
I grew up on deep fried chicken strips so I had really high standards, and these actually held up! The crust is crunchy, the chicken stays juicy inside, no dry rubbery chicken at all. I will say I sprayed the tops with a little olive oil spray before baking and that helped get that golden brown color.
My son is the pickiest eater on the planet, like will only eat 5 foods total picky. I made these on a whim last night and he ate THREE strips plus a side of broccoli? I almost fell out of my chair. The seasoning is mild enough for kids but still has enough flavor for adults. 10/10.
Great high protein option for when I’m sick of plain grilled chicken! Each strip is like 18g of protein if you use chicken breast, and the breading is light enough that it doesn’t feel like a heavy cheat meal. I paired mine with a side salad and roasted veggies for a super balanced dinner.
Made these for my office potluck earlier this week and everyone was hounding me for the recipe! I served them with 3 different dipping sauces: ranch, buffalo, and honey mustard, so there was something for everyone. They were even good cold when I snacked on the leftovers at my desk later.
I swapped the regular breadcrumbs for gluten free panko and these turned out perfectly! No weird gritty texture that a lot of GF breadings have, my husband who eats regular gluten didn’t even notice the difference. Finally a GF chicken strip recipe that doesn’t suck.
Okay I made these last night but I had a quick question for next time! I didn’t have a wire rack for my baking sheet so I put them straight on parchment paper, and the bottoms were a little less crispy than the tops. They still tasted amazing, just wanted to fix that for next batch!
These are great but I needed more heat! I tossed the breading with a teaspoon of cayenne and a half teaspoon of garlic powder, and dipped them in Nashville hot sauce after baking. *Chef’s kiss* Tastes just like the hot chicken strips I get at my favorite food truck, way less greasy.
20 minute cook time? Sign me up. With twin 2 year olds running around I don’t have time for 45 minute recipes on weeknights. These came together in no time, I didn’t even have to prep ahead, just breaded the strips while the oven preheated. Both twins gobbled them up, wife loved them too. New weeknight staple.
Wait how do you get the breading to stick? I tried making these tonight and half the breading fell off when I flipped them 😭 Did I do something wrong? I dipped in egg first like the recipe said, but it just slid right off while baking.
Served these for our family Sunday dinner last weekend alongside mac and cheese, collard greens, and cornbread, and everyone raved. Even my 82 year old dad who swears nothing is as good as his mom’s fried chicken said these were fantastic. No greasy mess all over the stove from deep frying, which is a huge bonus for me.
Wait I didn’t even make these in the oven! I popped them in my air fryer at 400 degrees for 12 minutes, flipping halfway, and they were so crispy I thought I’d deep fried them. Great base recipe that’s super easy to tweak no matter what appliance you have. 10/10 will make again.