
oven fried chicken tenders
intro
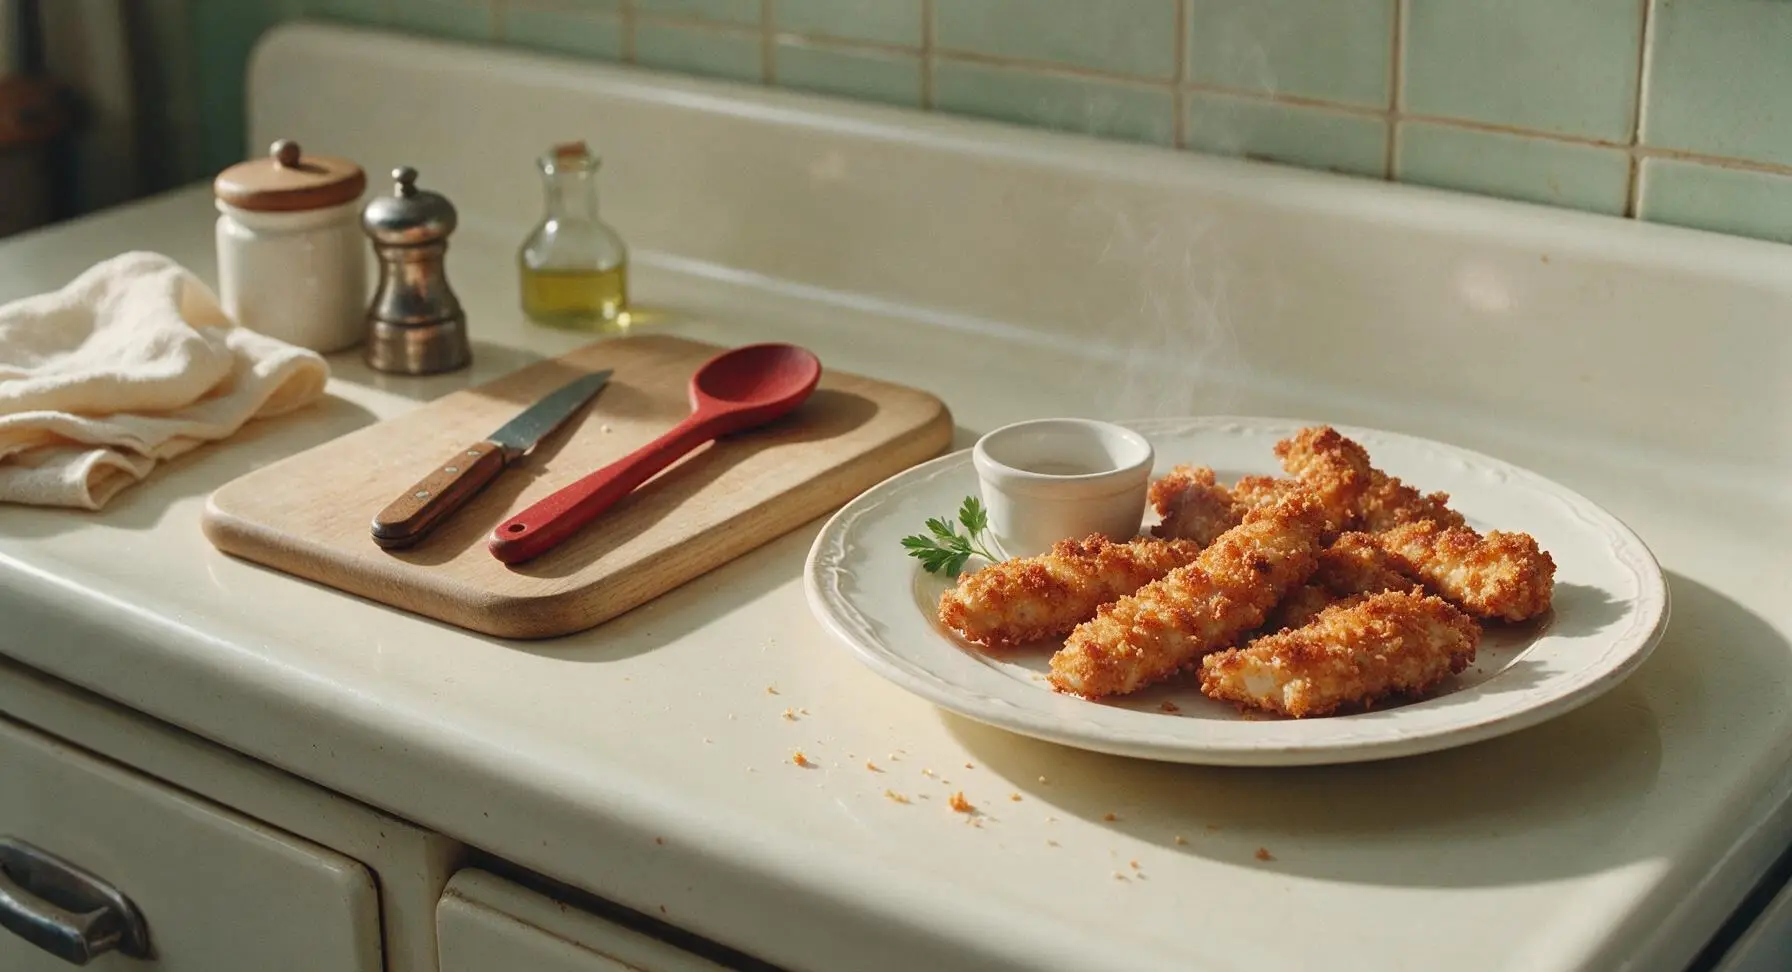
Crispy, juicy, golden-crusted chicken tenders baked instead of fried for easy cleanup, with all the crunchy comfort food flavor of classic fried chicken in half the time.
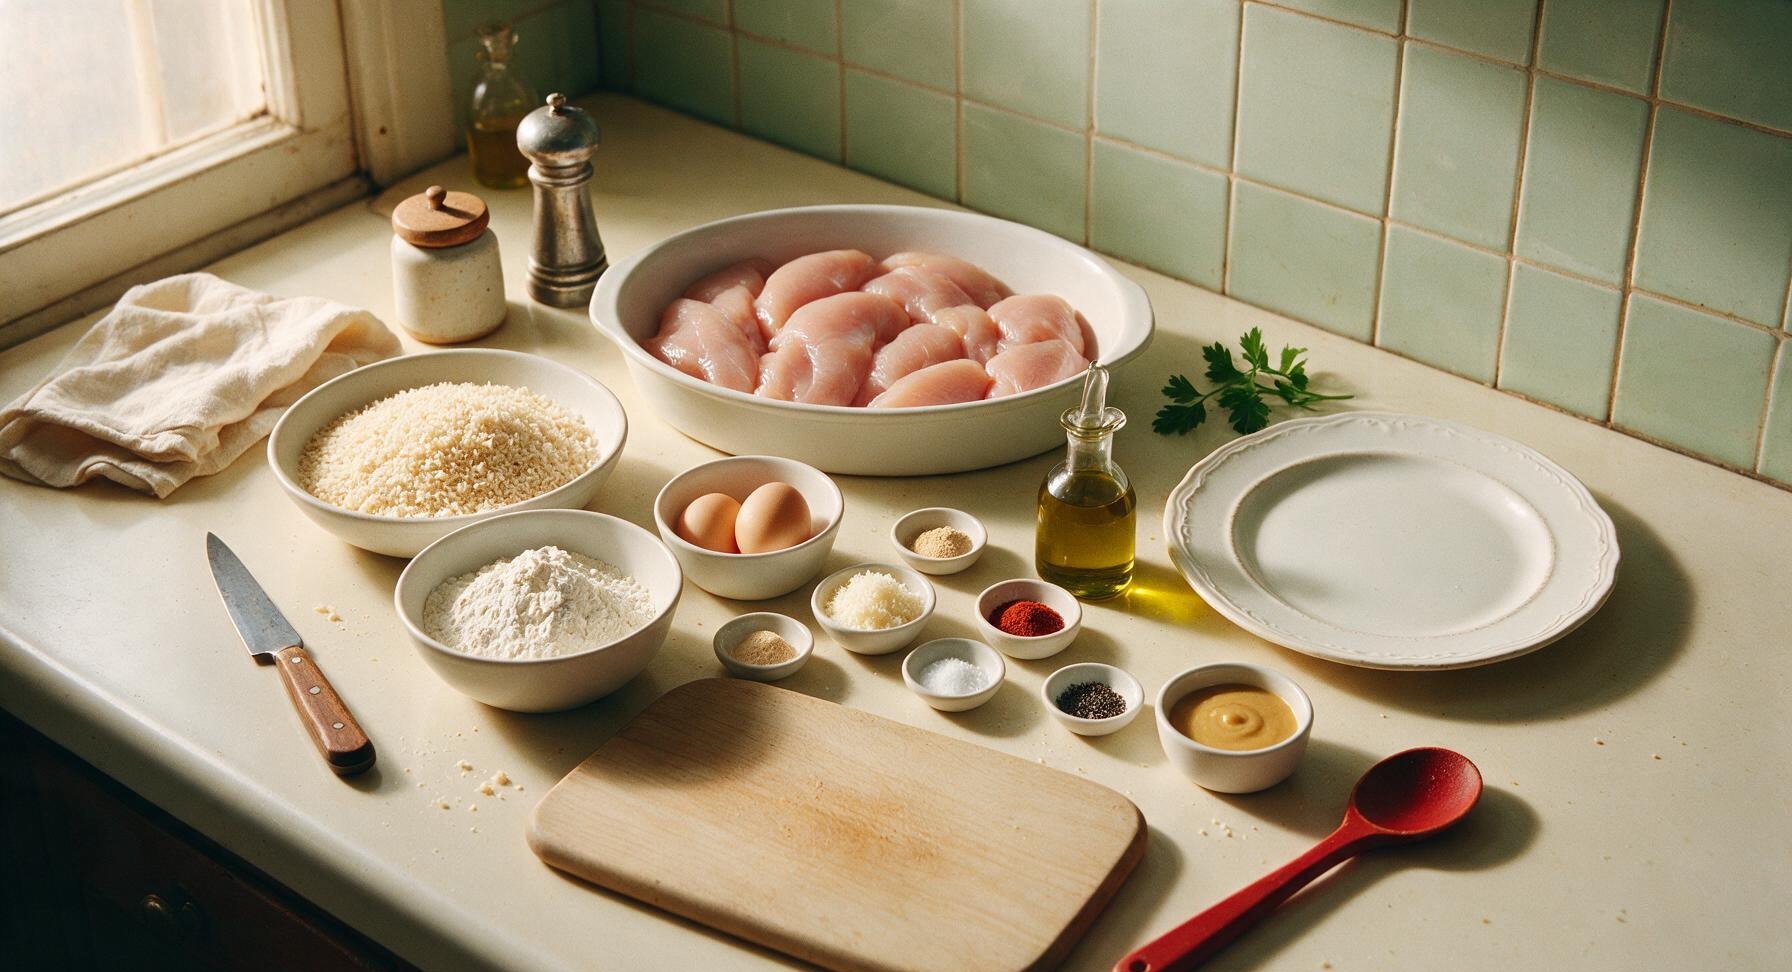
Ingredients
Steps
Prep Oven and Chicken
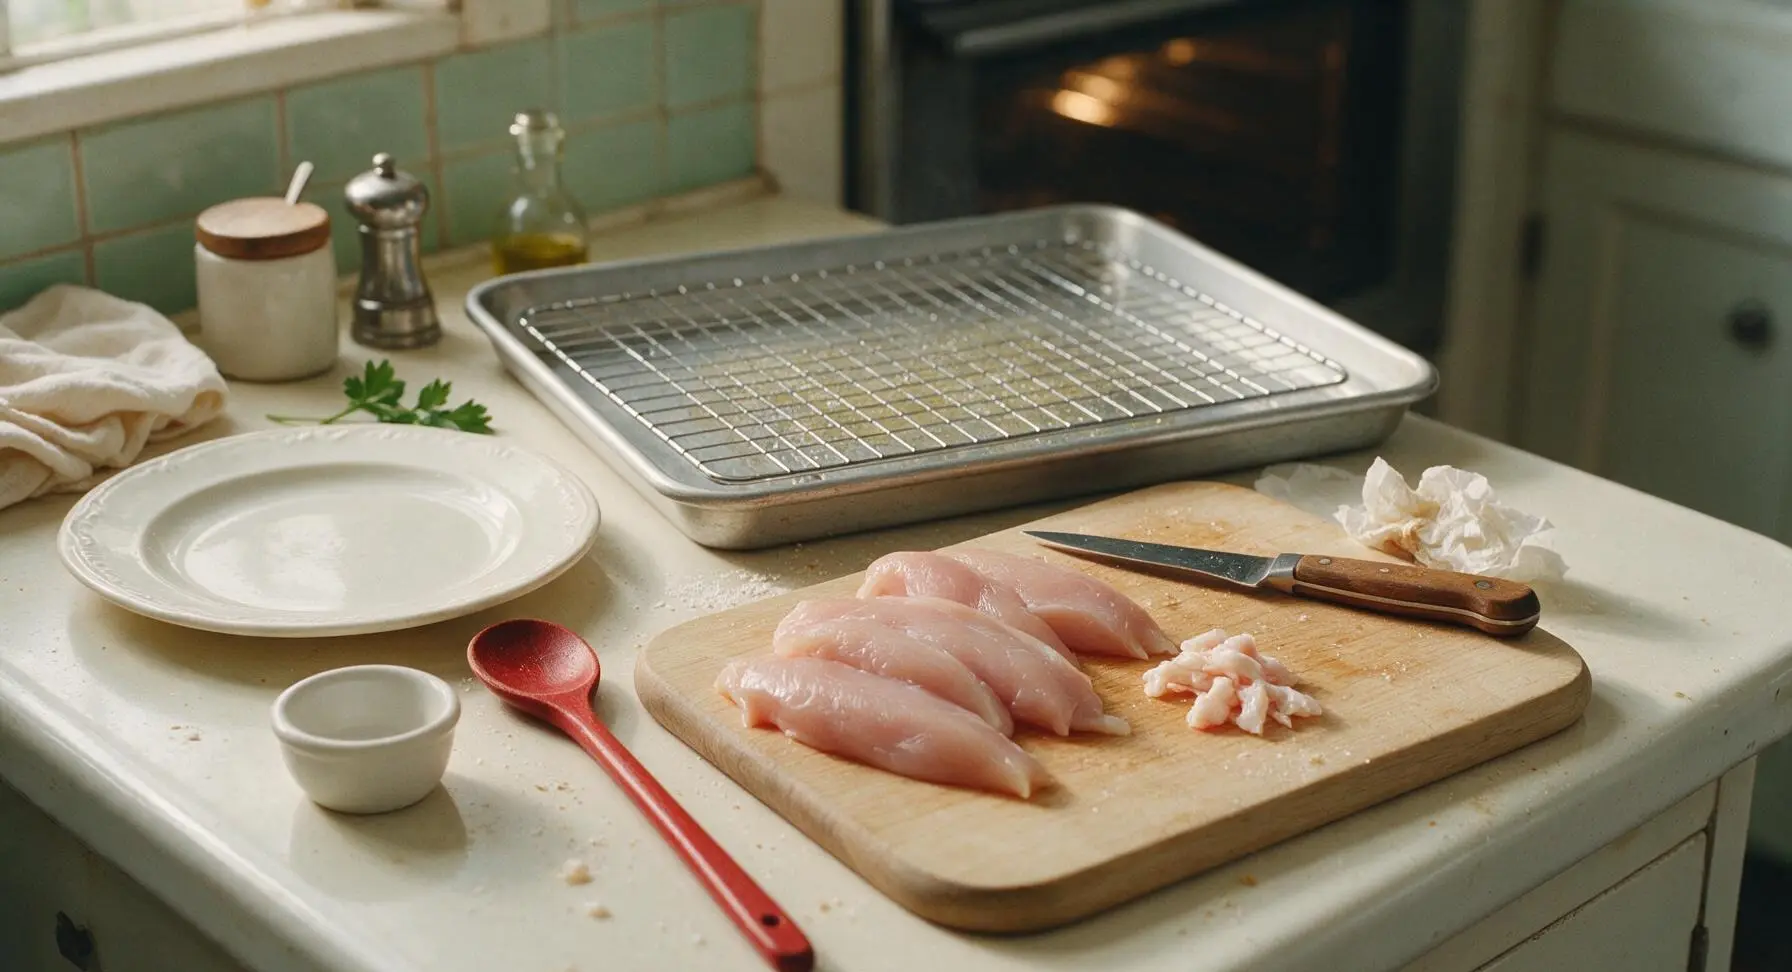
Adjust oven rack to middle position, preheat oven to 425°F (220°C). Place the chrome wire rack inside the matte aluminum rimmed baking sheet, spray rack lightly with olive oil cooking spray to prevent sticking. Pat chicken tenderloins completely dry with paper towels, trimming any excess white tendon or fat with the 6-inch boning knife as needed. Dry chicken ensures the crust adheres properly and crisps instead of steaming.
Set Up Breading Stations
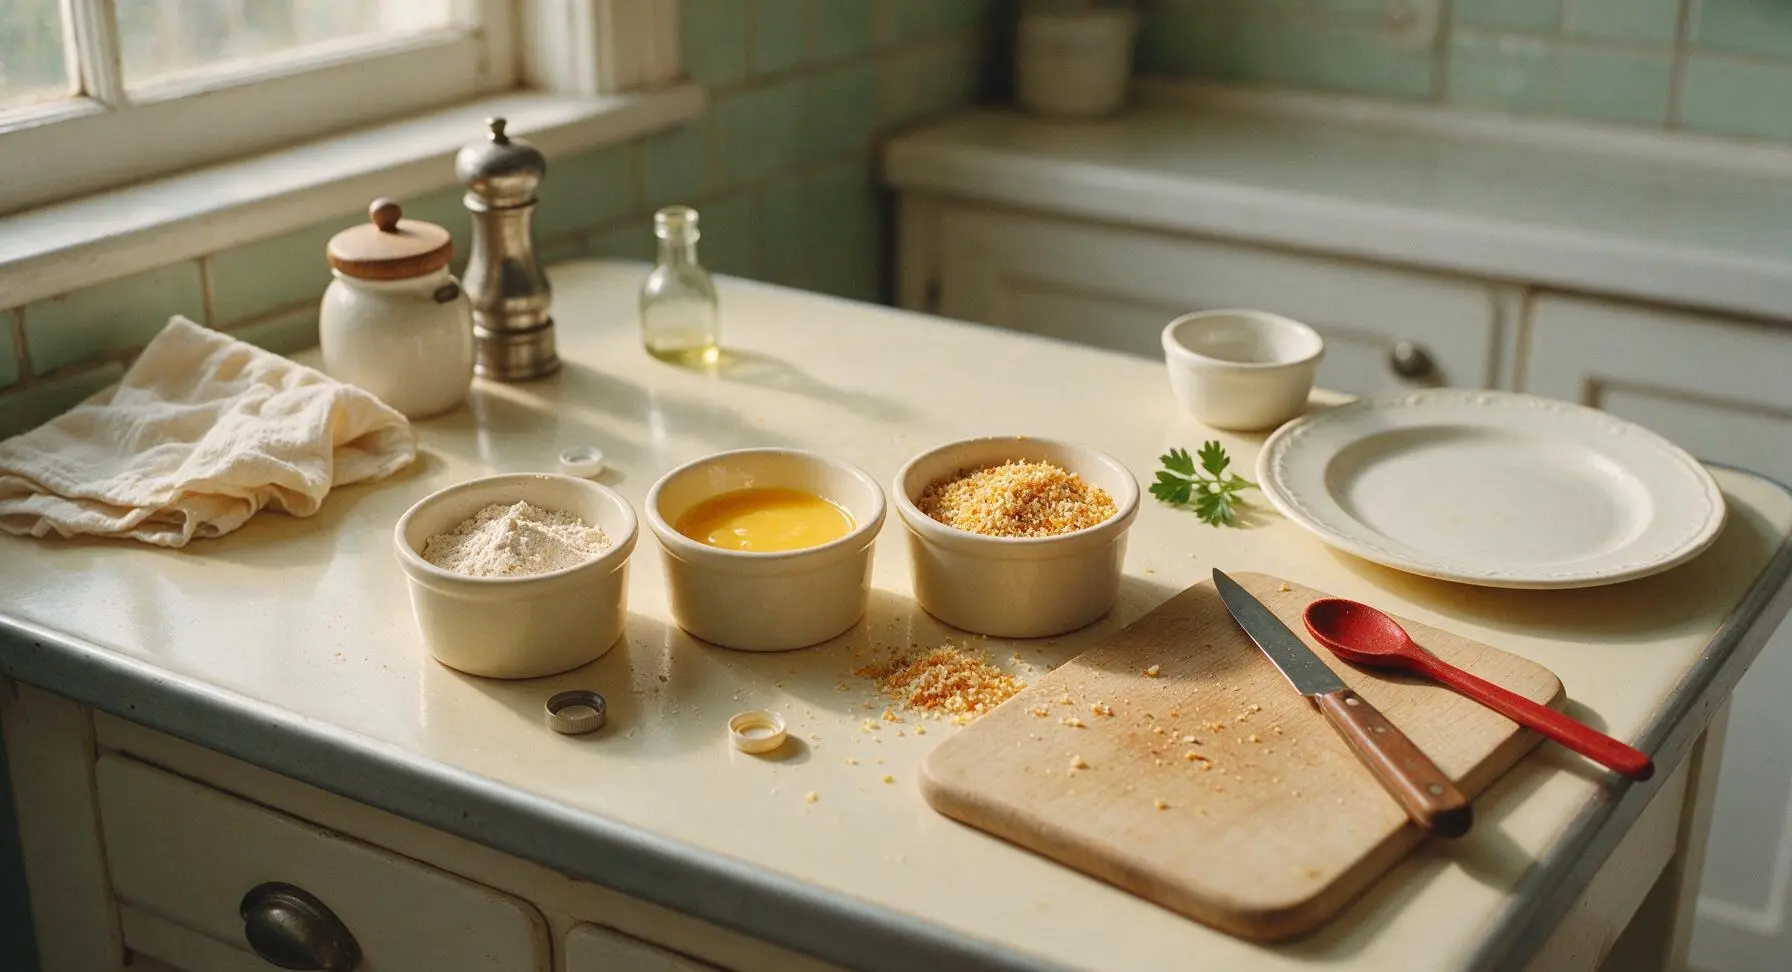
Arrange the three matte cream ramekins in a straight line left of the cutting board for easy one-way breading: fill the first ramekin with ½ cup all-purpose flour mixed with ½ tsp kosher salt and ¼ tsp black pepper; fill the second with 2 large eggs, beaten until completely smooth with no streaks of egg white; fill the third with 1.5 cups panko breadcrumbs, ¼ cup grated parmesan, 1 tsp garlic powder, 1 tsp smoked paprika, ½ tsp onion powder, and the remaining ½ tsp salt and ¼ tsp pepper, stirred until evenly combined.
Dredge in Seasoned Flour
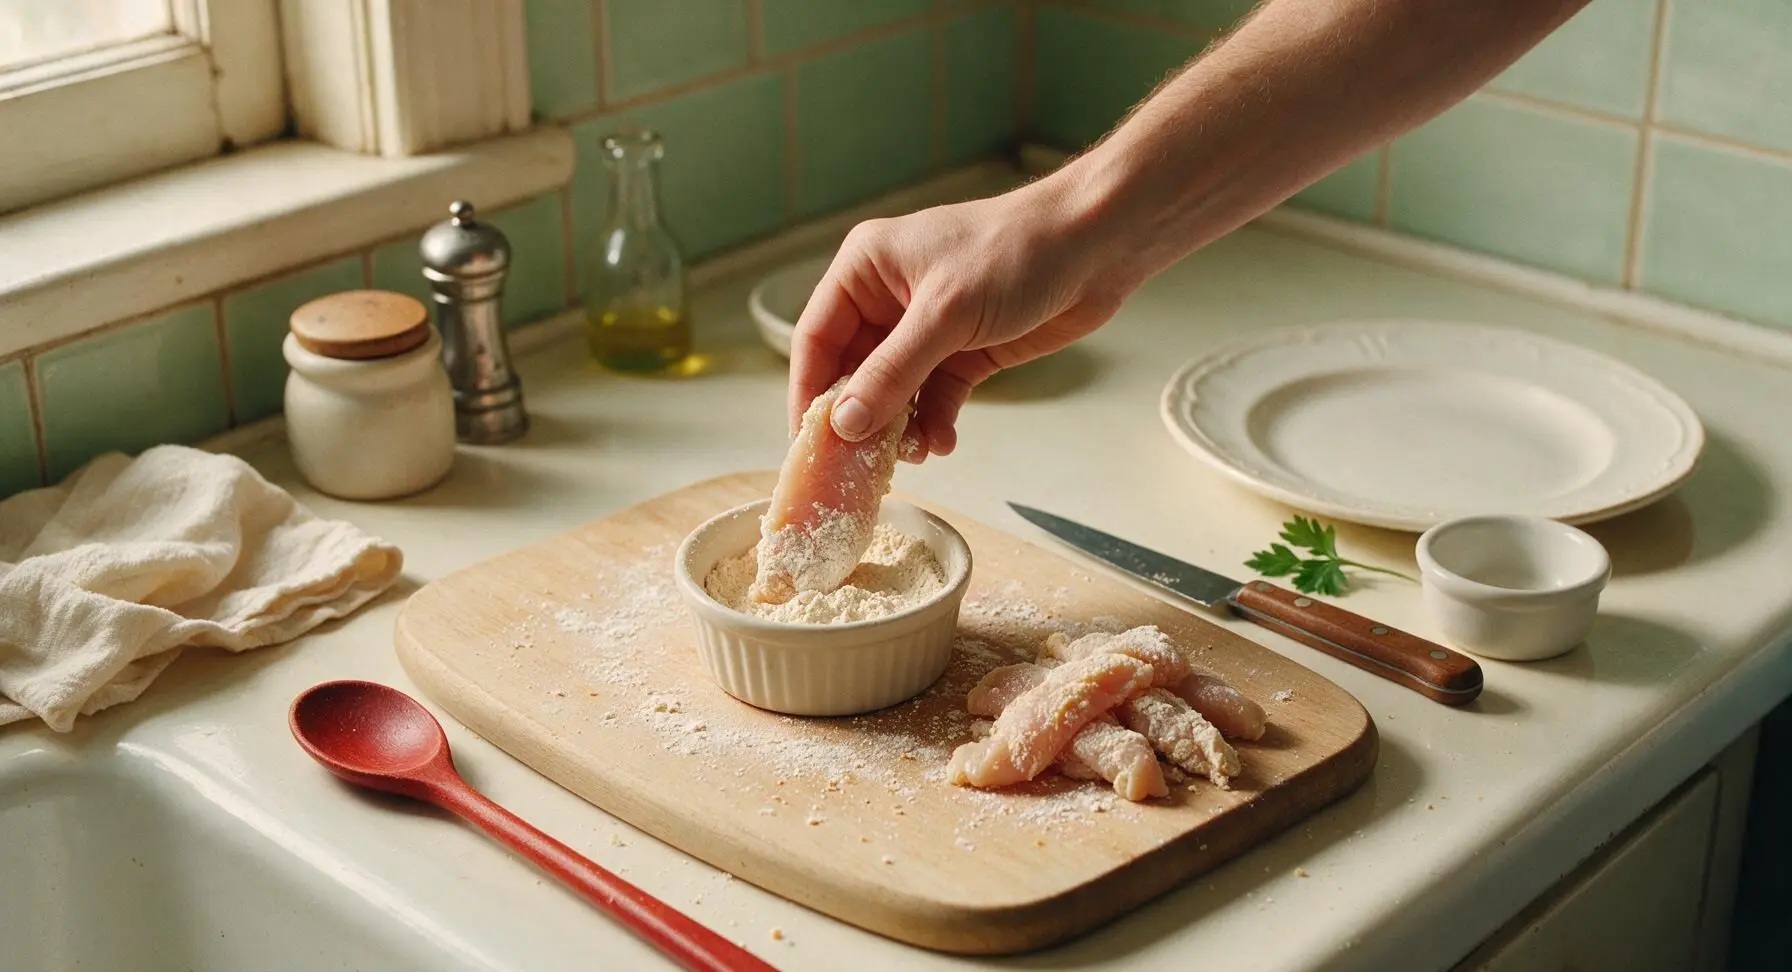
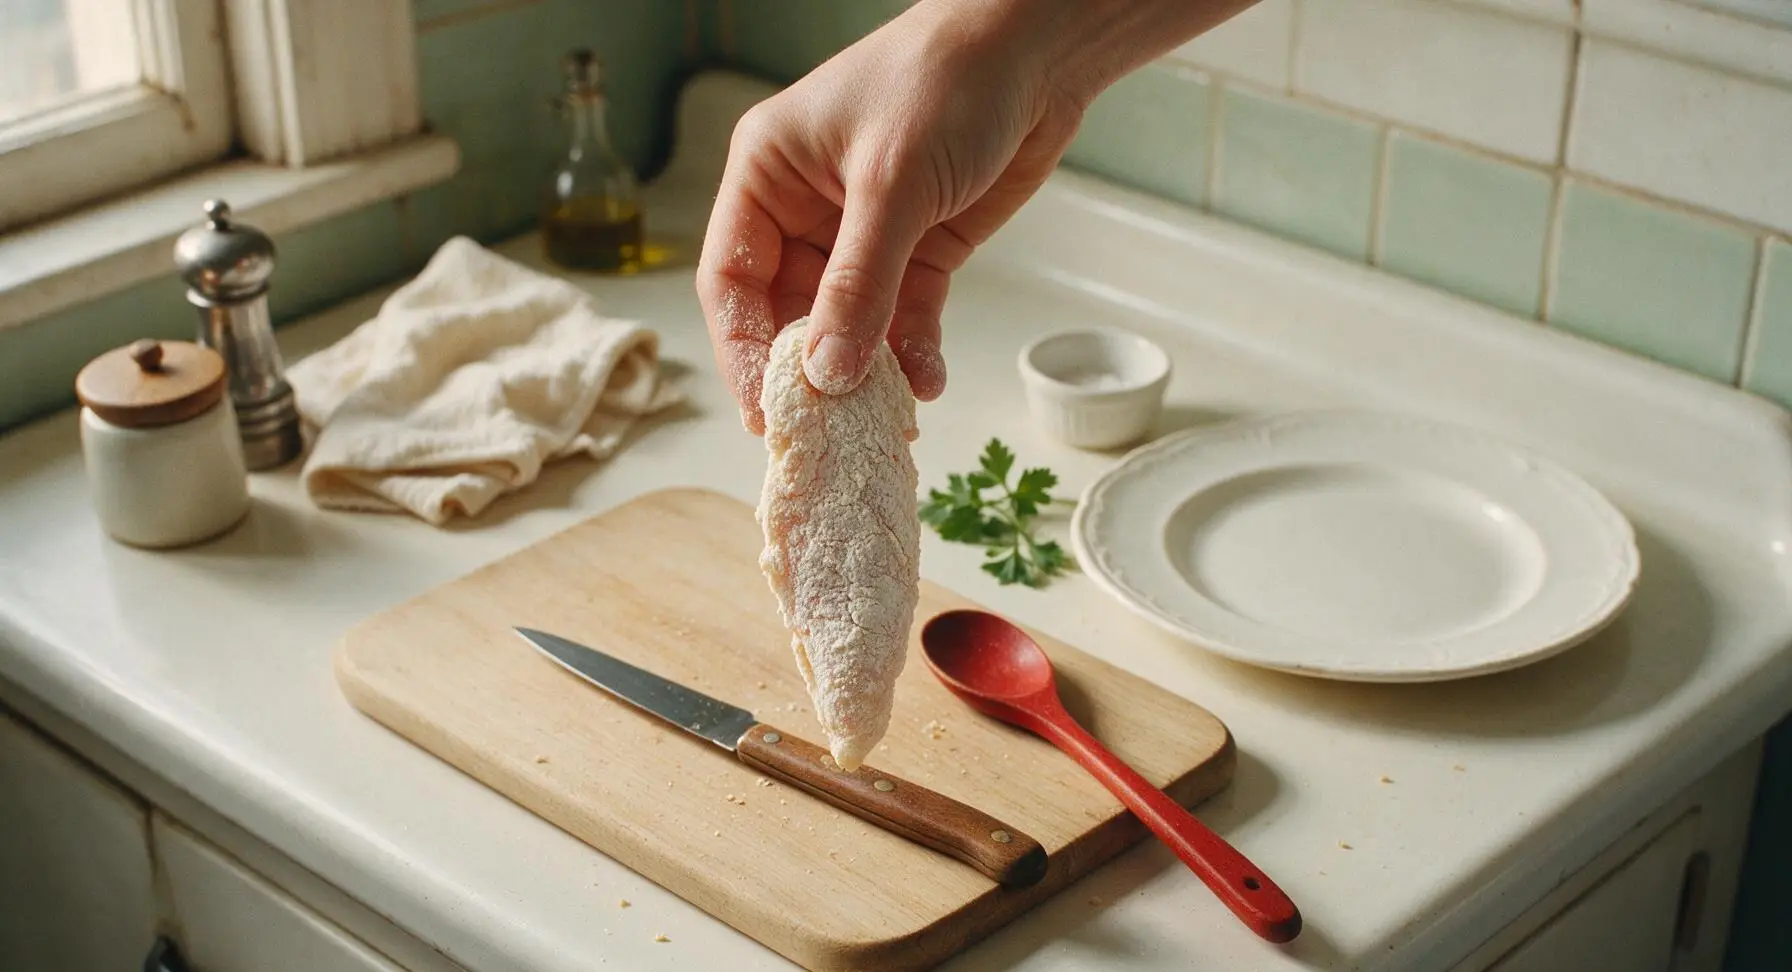
Working one tender at a time, coat each chicken piece fully in the seasoned flour, pressing gently so flour adheres to all surfaces. Shake off excess flour completely, leaving only a thin, even coating—thick clumps of flour will create gummy, doughy spots under the crust as the chicken bakes. Set floured tenders on a clean corner of the cutting board as you work.
Coat in Egg Wash
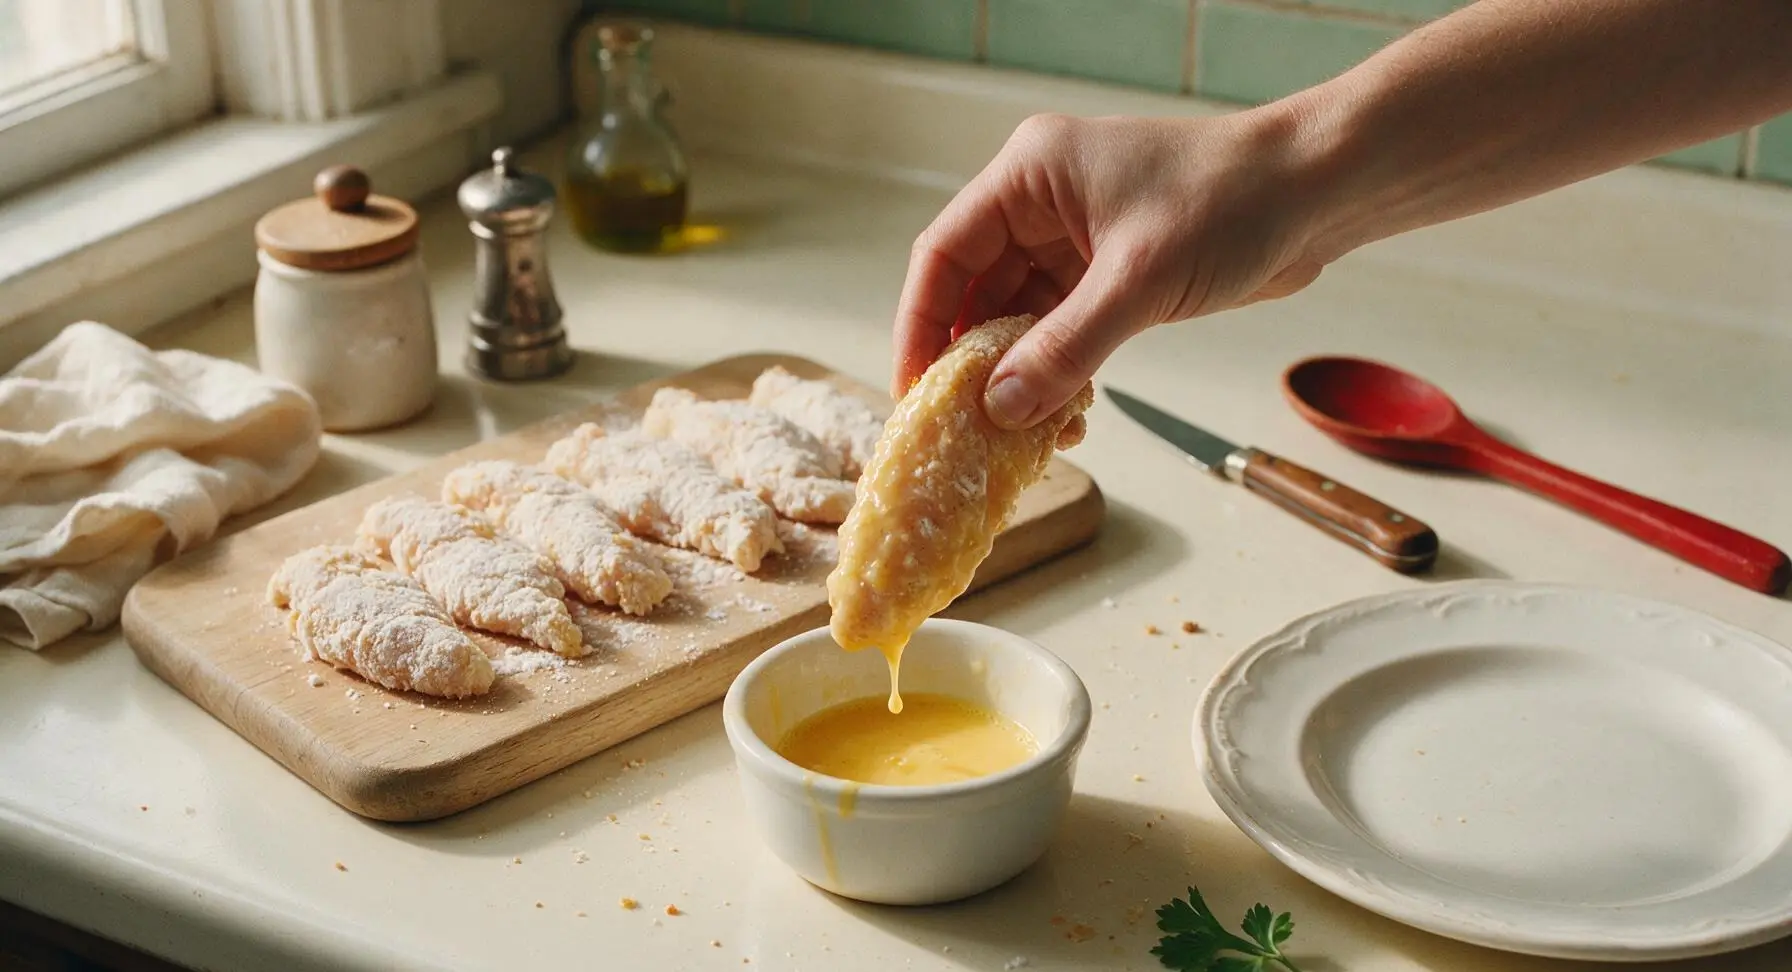
Transfer each floured tender to the egg wash ramekin, turning to fully coat every surface. Hold the tender above the ramekin for 2 seconds to let excess egg drip off, preventing soggy breading from pooled liquid. The egg layer acts as an edible glue to hold the panko crust firmly in place during baking.
Press On Panko Coating
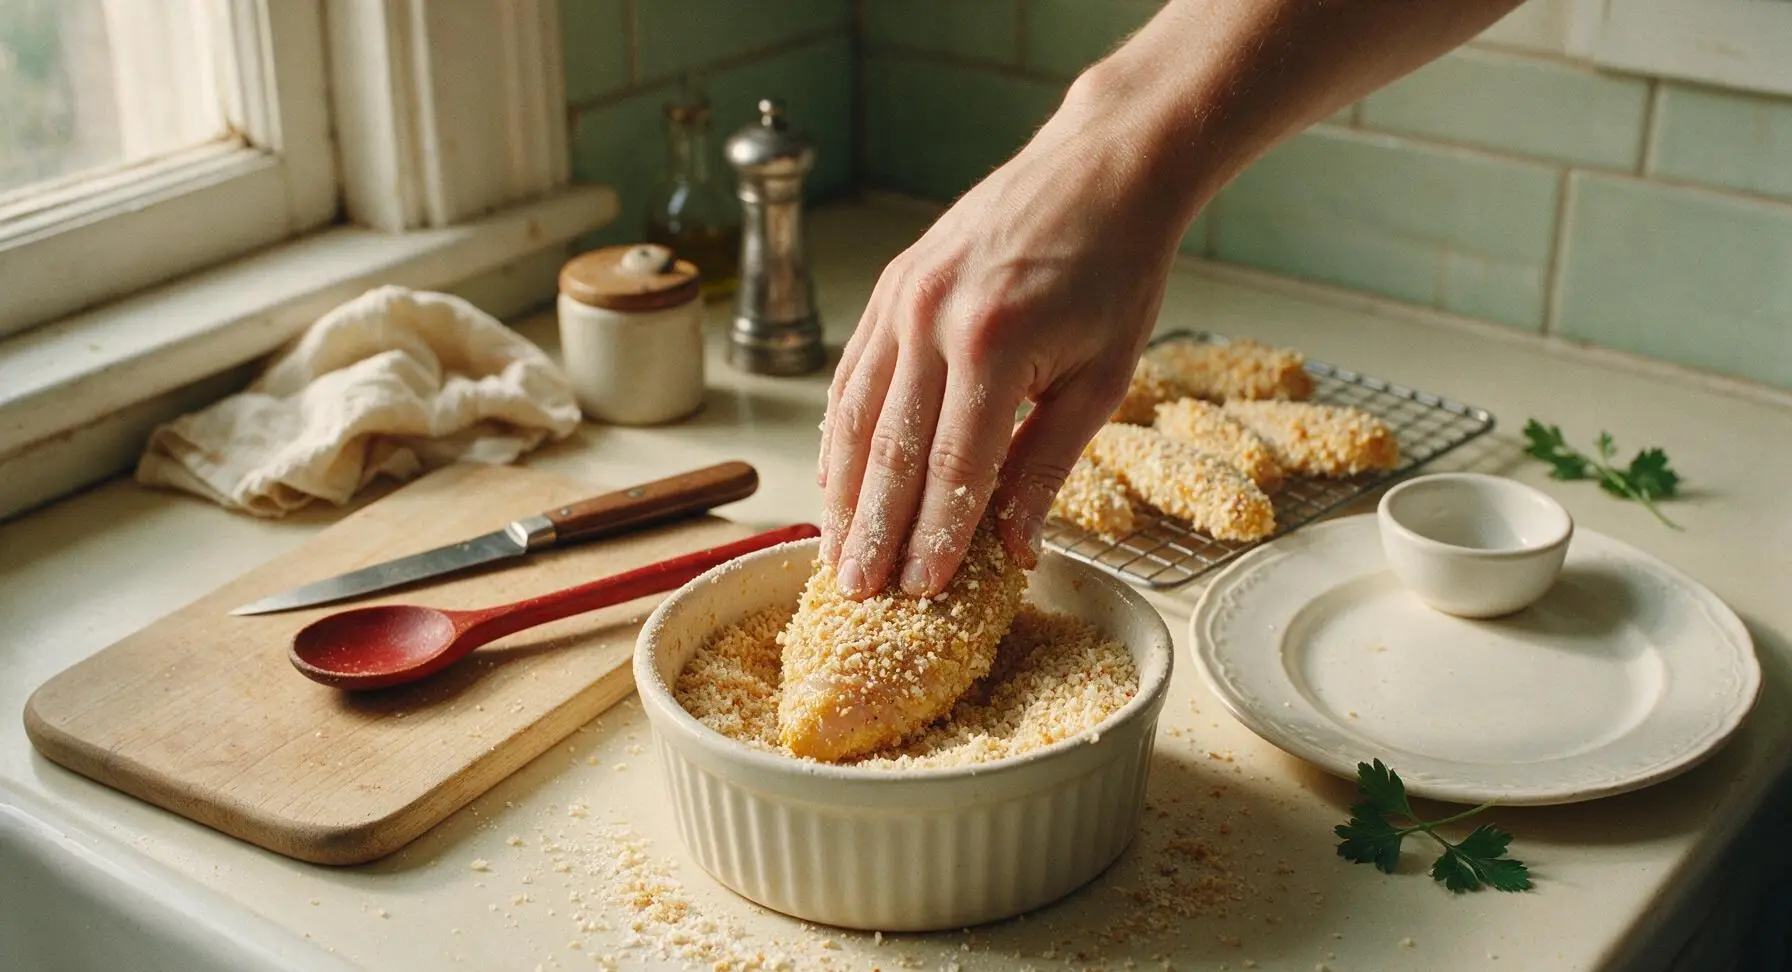
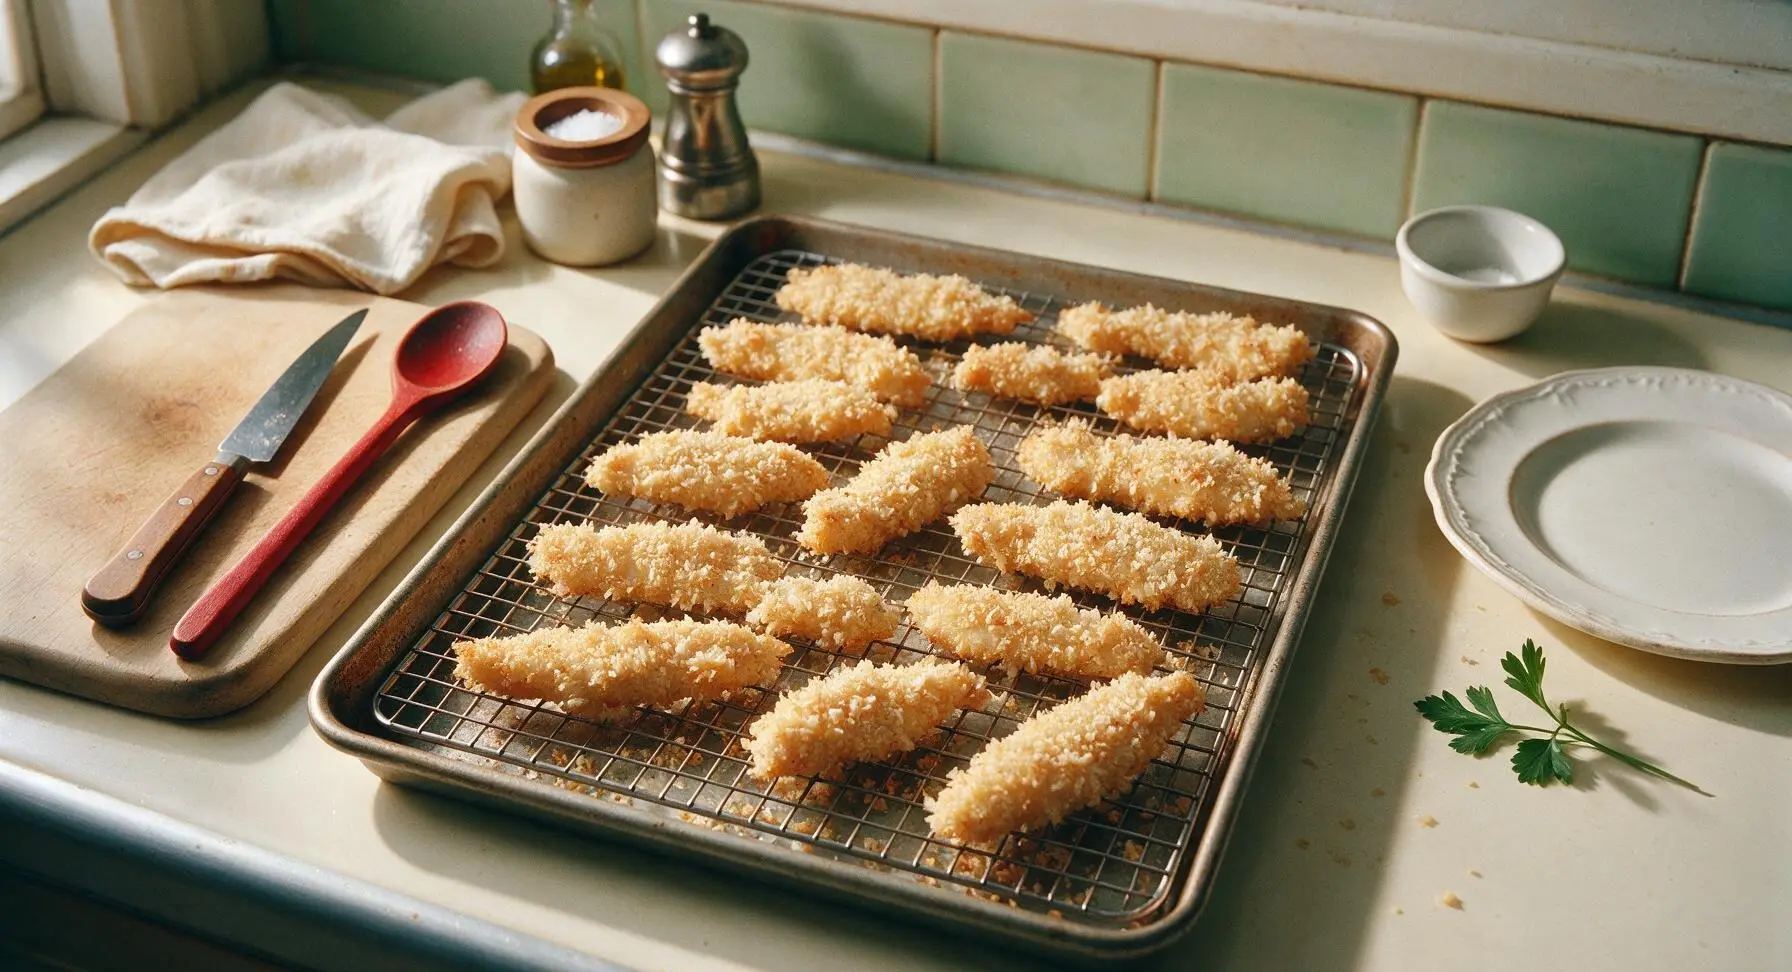
Place each egg-coated tender into the panko-spice mixture. Press crumbs firmly onto every side of the tender to ensure full, even coverage with no bare chicken spots. Do not just dip—pressing helps crumbs adhere and creates a craggy, extra-crispy crust. Set fully breaded tenders on the prepared oiled wire rack, leaving ½ inch of space between each piece to allow hot air flow.
Bake to Golden Crisp
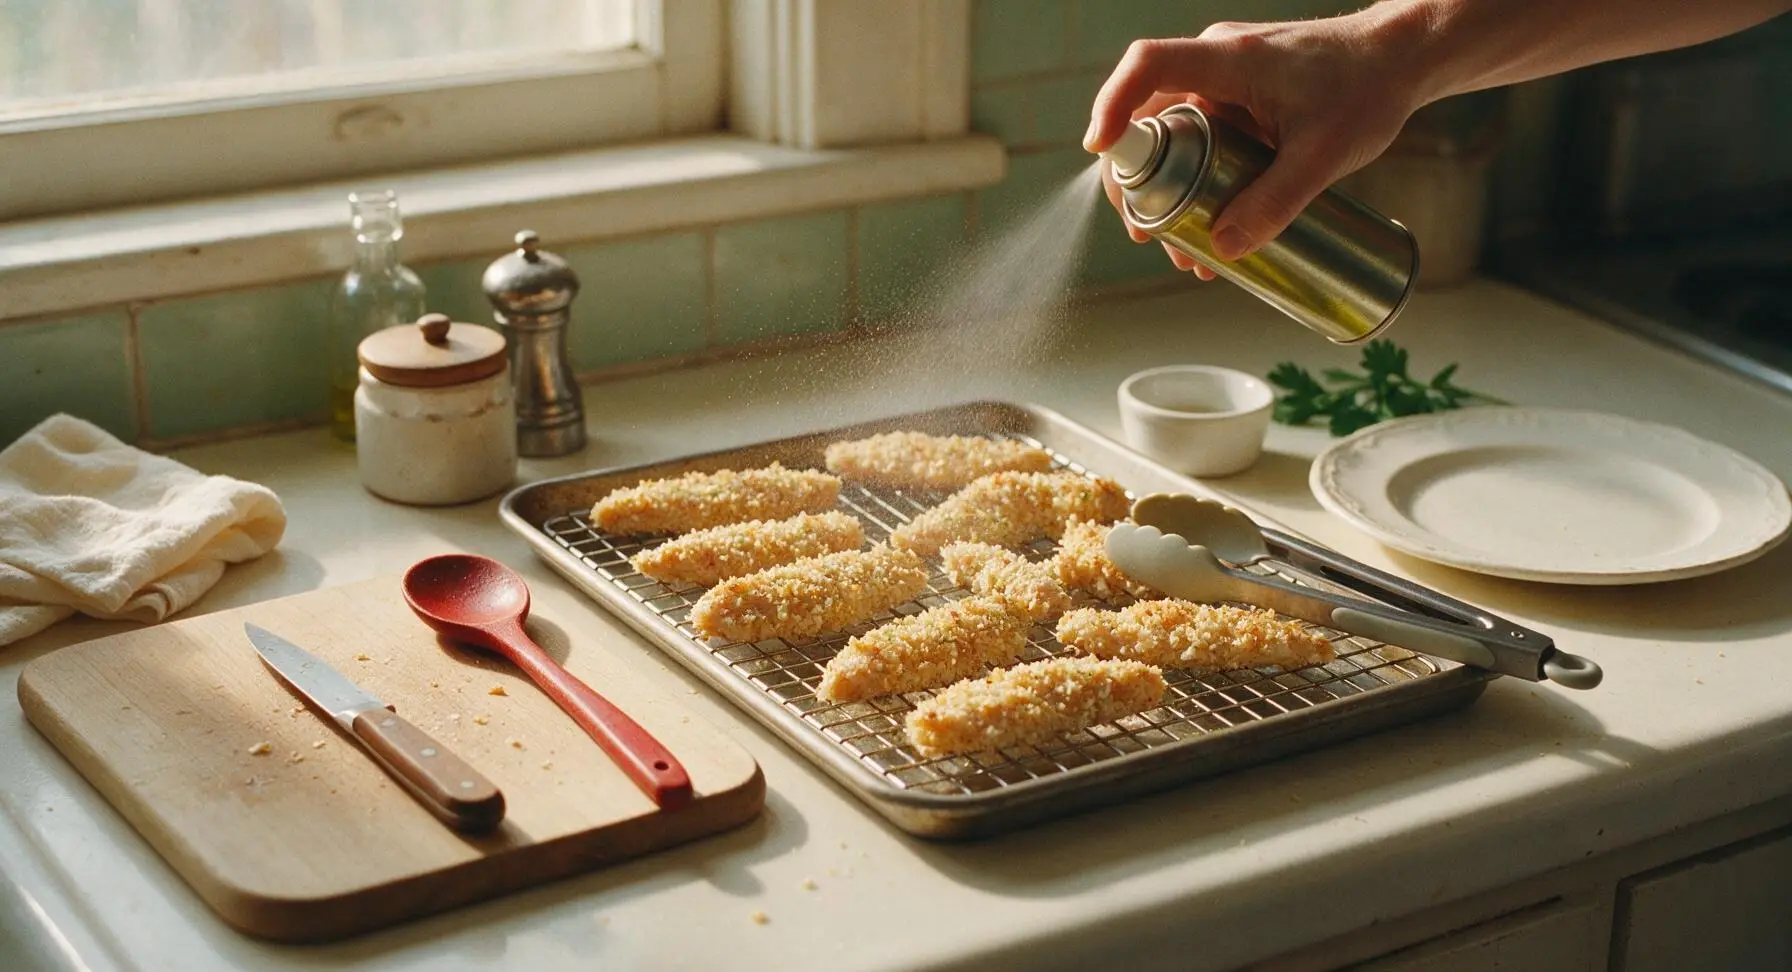
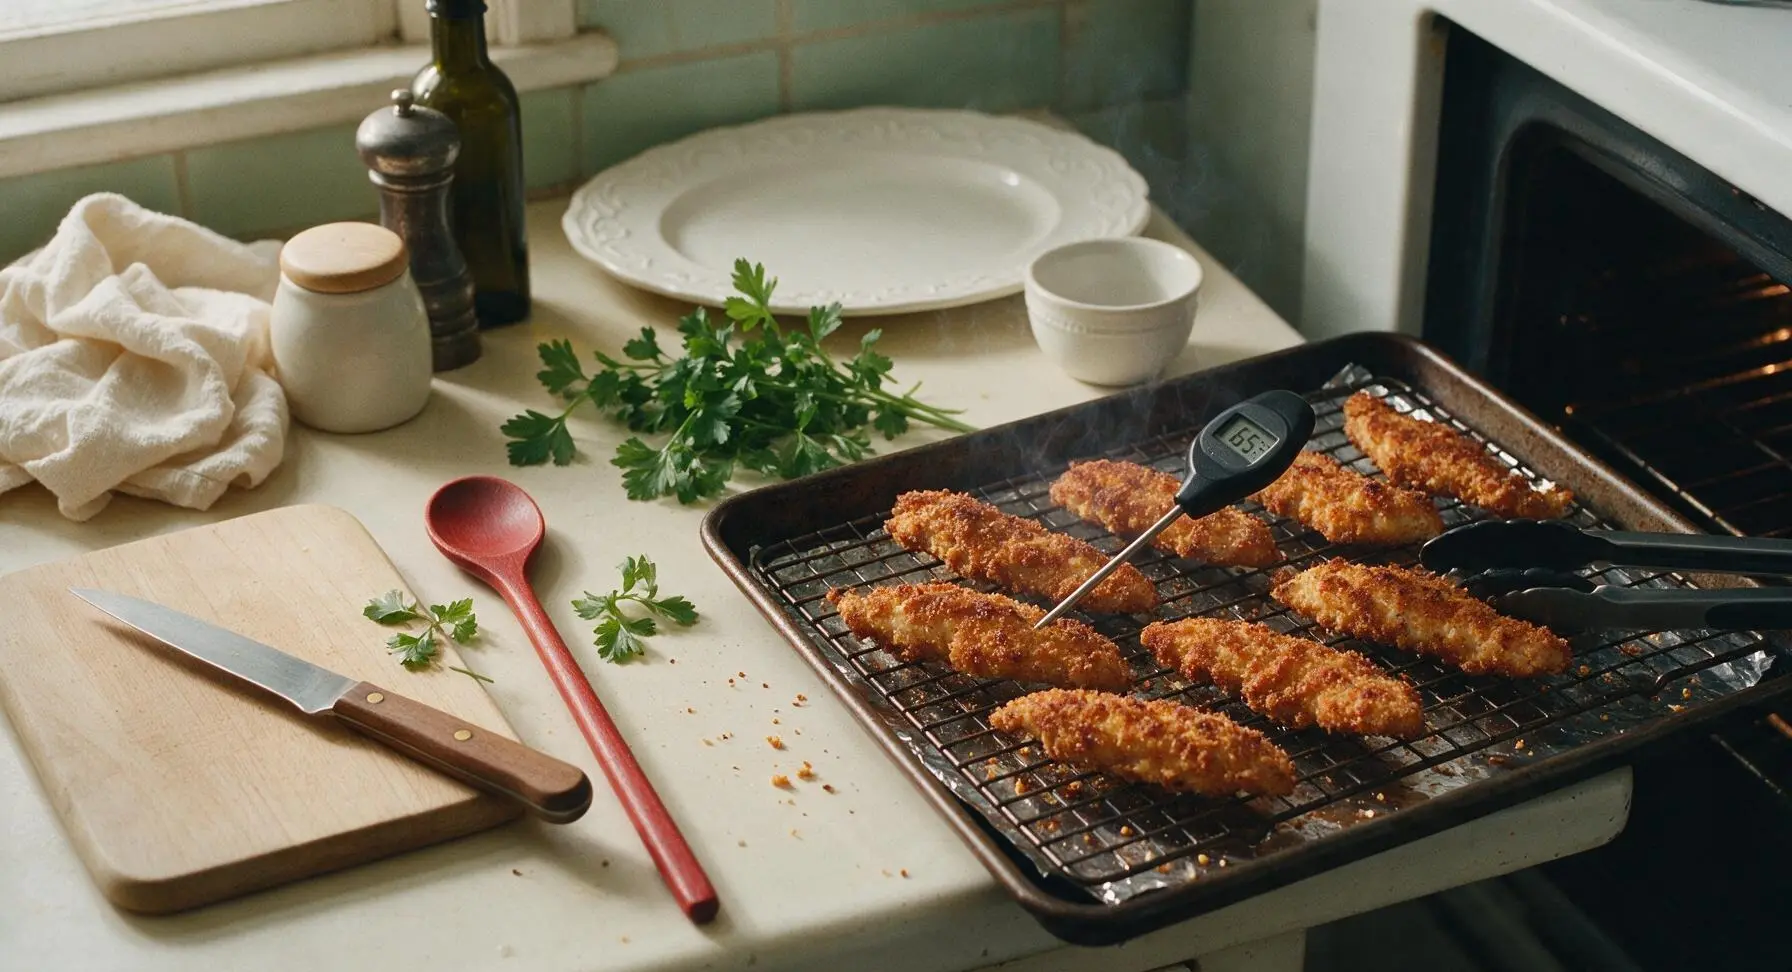
Lightly spray the top of every breaded tender with olive oil cooking spray, holding the can 6 inches away to create an even fine mist that helps crumbs turn deep golden and crispy instead of staying dry and pale. Place the baking sheet on the middle oven rack, bake for 10 minutes at 425°F (220°C), then use the silicone-tipped tongs to carefully flip each tender. Spray the second side lightly with oil, then bake for another 8-10 minutes, until the crust is deep amber-gold and chicken reaches an internal temperature of 165°F (74°C) when checked with the digital meat thermometer inserted into the thickest part of the largest tender.
Rest and Plate Tenders
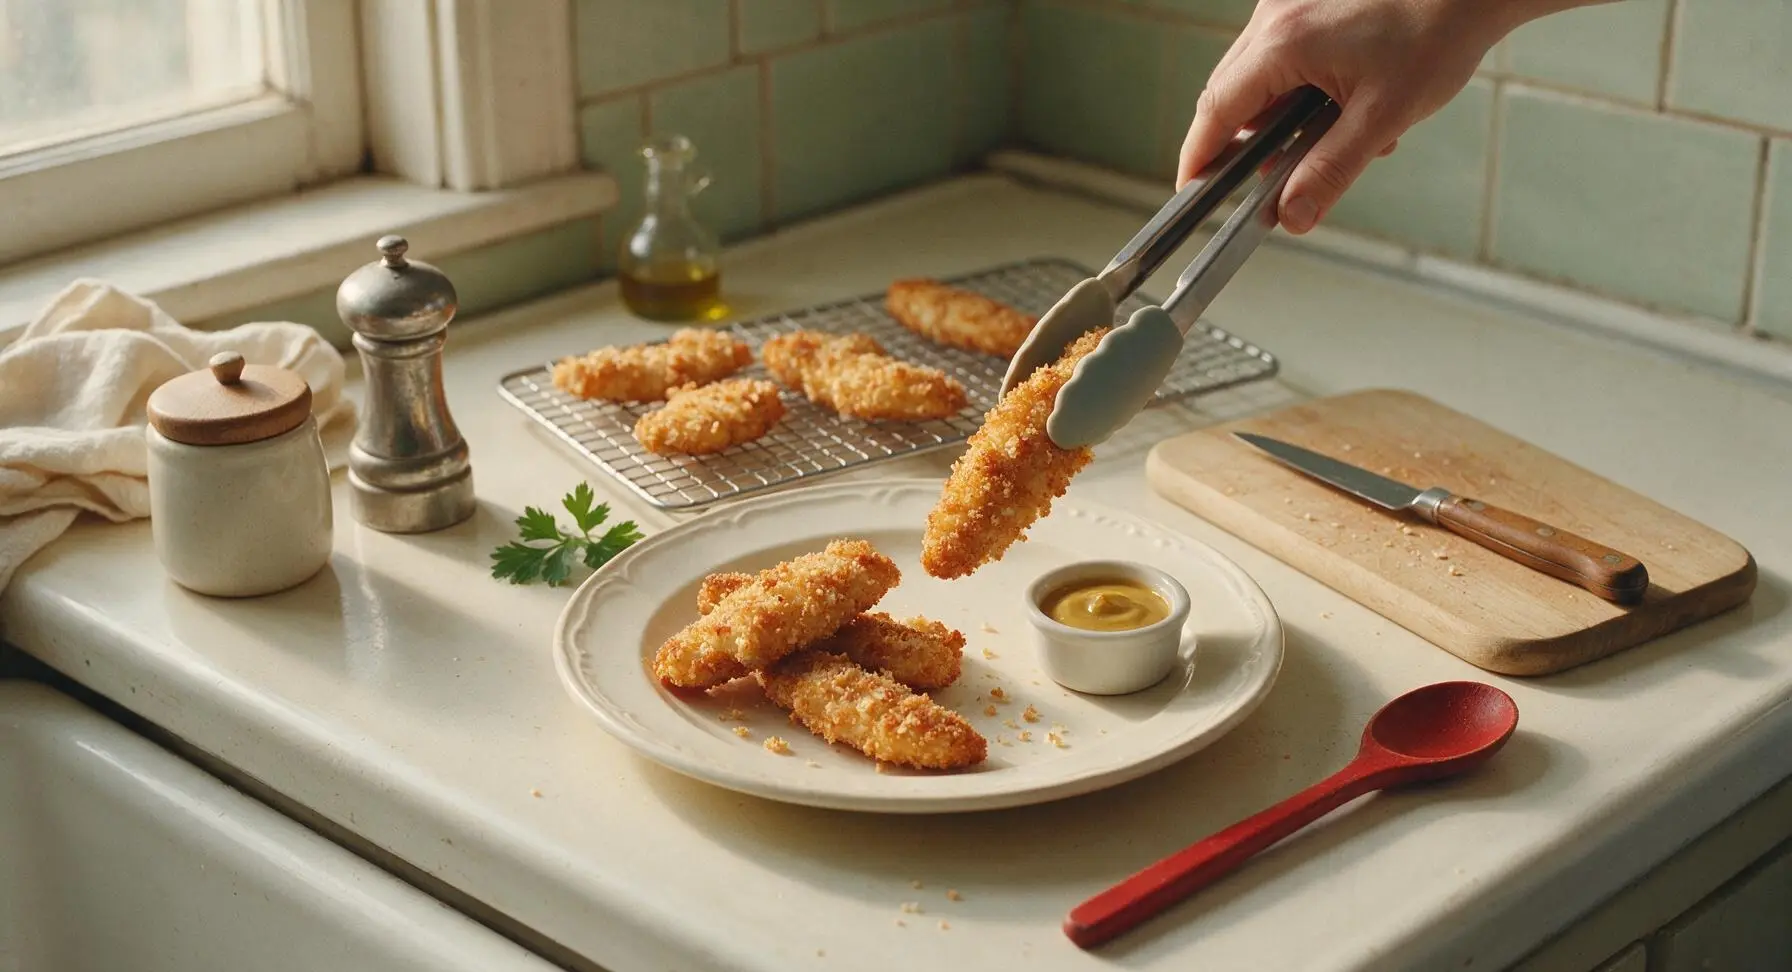
Remove the baking sheet from the oven, let tenders rest on the wire rack for 3 minutes to let juices redistribute—this prevents juice from running out when you bite into the chicken, keeping each bite juicy. Transfer tenders to the matte cream serving plate, sprinkle lightly with a pinch of flaky sea salt, and serve with honey mustard for dipping.
Tips
2.Pat chicken completely dry with paper towels before breading: excess surface moisture on raw chicken creates steam under the coating as it bakes, leading to gummy breading that slides off instead of a crisp, firmly attached crust.
3.Press panko crumbs firmly onto the egg-coated chicken instead of lightly dipping: loose, unpressed crumbs fall off during baking, leaving bare spots on the chicken, while firmly pressed crumbs create a craggy, extra-crunchy texture that stays attached through every bite.






OMG these are a total game changer! I’ve tried so many oven fried chicken tender recipes that come out soggy no matter what I do, but these were perfectly crispy even after baking. My kids devoured every single one at dinner last night and asked if I can make them every week for school lunch prep. 10/10 no notes!
Made these for my Sunday football watch party with the guys and they were gone in 10 minutes flat. Everyone thought I fried them in oil! Dipped them in homemade ranch and honey mustard, absolute home run. Way easier than standing over a pot of hot oil for an hour.
SO good! I prepped a double batch on Sunday for my work lunches this week, they reheat perfectly in the air fryer for 3 minutes and stay crispy. Only thing I did different was use whole wheat panko because that’s what I had in the pantry, worked like a charm.
Wait, has anyone tried these with gluten free panko? I have a celiac kiddo and I’m always hunting for easy weeknight recipes he can eat without worry. These look perfect!
Brought these to our neighborhood block party potluck last weekend and I must have given out the recipe to 6 different neighbors! They’re great at room temp too which makes them perfect for bringing to events where you can’t keep food warm the whole time.
Wow, as someone who literally burns toast half the time, I was shocked how easy these turned out! 20 minute cook time is no joke, I had dinner on the table faster than I could run through the fast food drive thru down the street. Will be making these nonstop now.
These are great but I wish they had a little more kick! I added a teaspoon of cayenne and a dash of hot sauce to the egg wash on my second batch and it was perfect for my taste. Anyone else add extra heat?
Made these last night with my 7 year old, he loved helping dip the tenders in the flour and panko! Super easy for little kids to help with, and clean up was way less messy than actual fried chicken. 10/10 for family dinner nights.
Wait, has anyone made these in the air fryer instead of the oven? I barely use my regular oven anymore since I got my air fryer, would love to know if the cook time adjusts before I make them for dinner tonight!
Such an affordable recipe! I picked up chicken tenders on sale for $3 a pound and already had all the spices and panko in my cabinet, so this whole meal cost me under $10 for 4 servings. Way cheaper than takeout and way tastier too.
These are perfect for my high protein meal plan! Each tender is packed with protein, way less grease than fast food tenders, and I don’t feel sluggish after eating them. Paired them with roasted broccoli and sweet potato fries for the perfect balanced meal.
I was skeptical that oven baked tenders could hold a candle to the deep fried ones I grew up eating in Georgia, but wow! The seasoning blend is spot on, the crust is crunchy, and there’s no messy oil splatters all over my stove. I may never go back to traditional fried chicken tenders again!