1.What’s the difference between over-hard, over-medium, and over-easy eggs?
▾
Over-hard eggs have fully opaque, set whites and a completely firm, non-runny yolk, with no oozing when cut. By contrast, over-easy eggs have a very runny yolk and soft, barely set top white, while over-medium eggs have a thick, semi-runny yolk center. Over-hard is the sturdiest style, perfect for breakfast sandwiches or meals where you don’t want messy yolk.
2.Why do my over-hard eggs always turn out rubbery instead of tender?
▾
Rubbery eggs almost always come from cooking over too-high heat or leaving them on the pan too long after flipping. High heat rapidly tightens egg proteins, making whites tough and yolks chalky. Stick to medium-low heat, follow the recommended cook times, and pull eggs as soon as the yolk feels firm to the touch to avoid that tough, rubbery texture.
3.Do I have to use unsalted butter, or can I use other fats?
▾
Unsalted butter lets you control exactly how much salt goes into your eggs so they don’t end up overly salty, but it’s not mandatory. If you use salted butter, just cut the added kosher salt by half. Avocado oil or light olive oil works for dairy-free diets, but butter delivers that classic rich, nutty diner-style edge that oil can’t quite match.
4.How do I flip over-hard eggs without breaking the yolk early?
▾
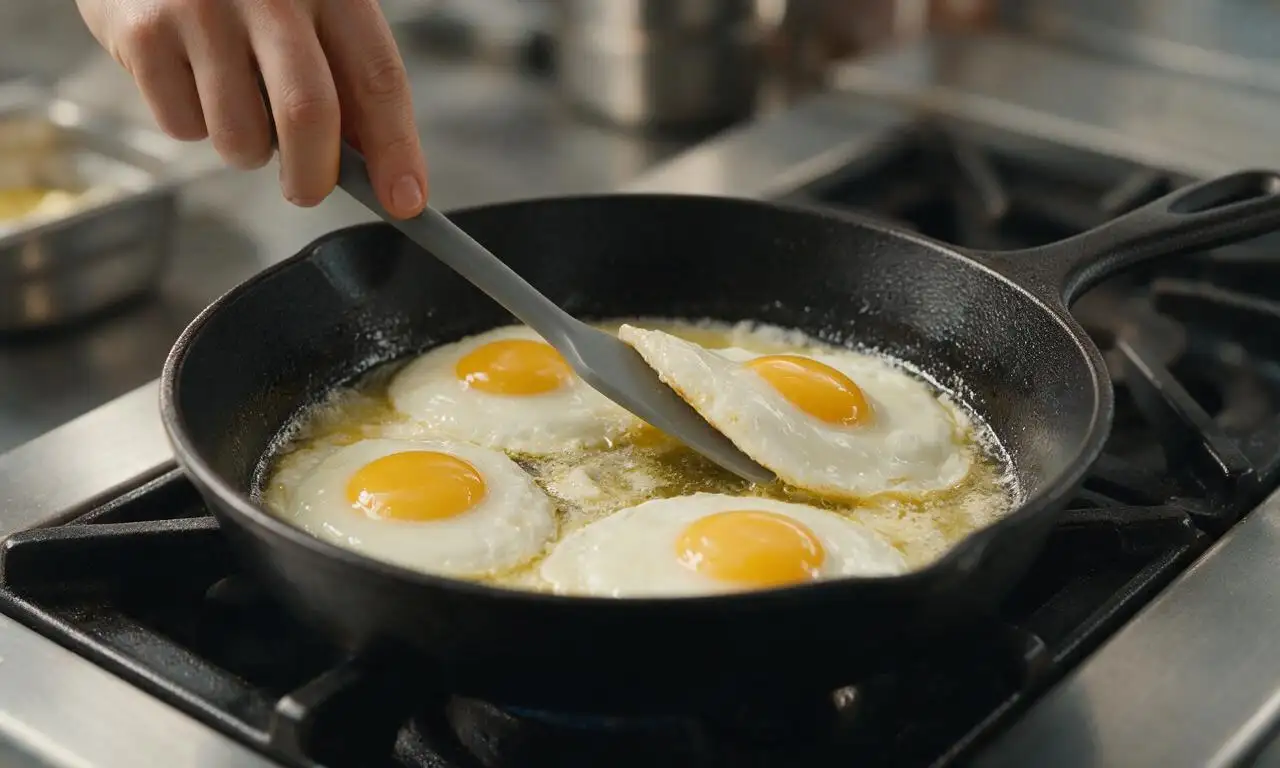
Let the white fully set on the first side (2–3 minutes) first, so the yolk is anchored firmly in place instead of loose. Use a thin, flexible silicone spatula to slide completely under the center of the egg, then lift and flip in one smooth, low motion—don’t hoist the egg high above the pan, as the impact of landing can split the yolk easily.
5.How long should I cook over-hard eggs on each side for a fully set yolk?
▾
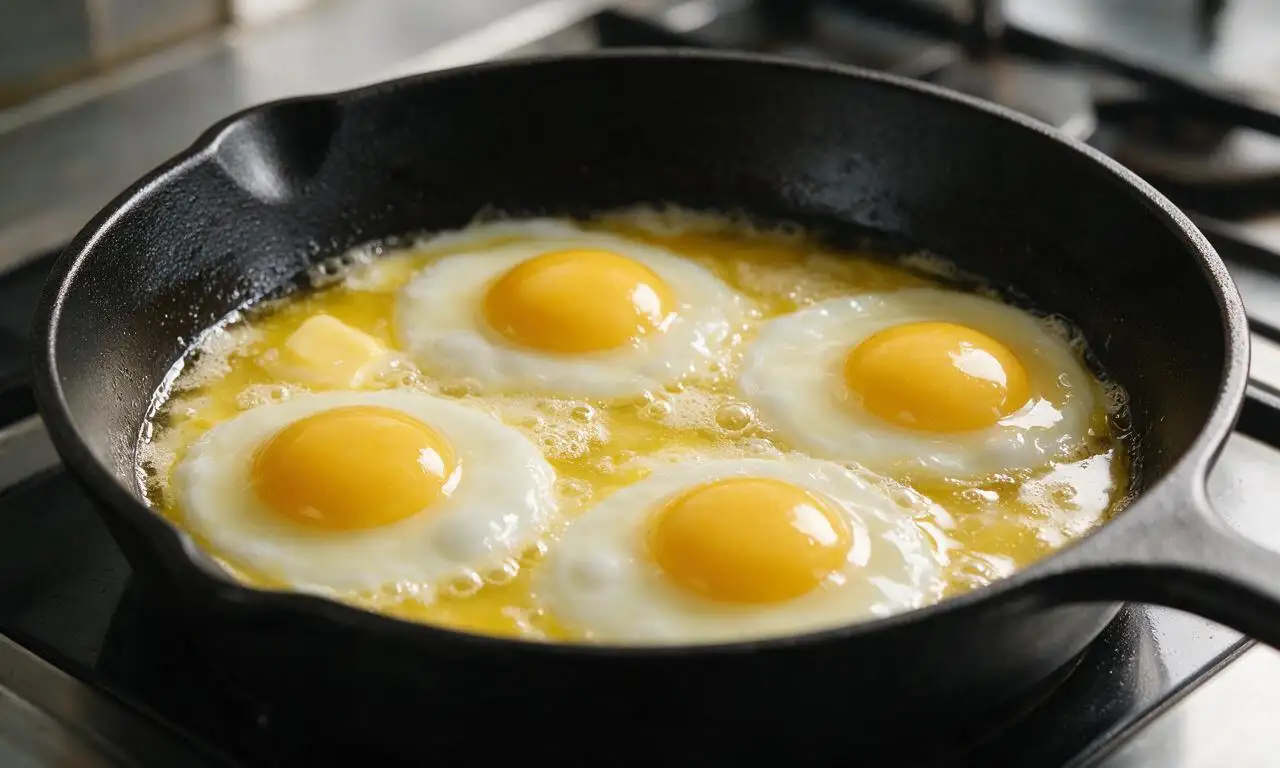
Aim for 2.5 to 3 minutes on the first side over medium-low heat, until the white is fully opaque and the top edge of the white is just starting to firm up. After flipping, cook 1 to 1.5 minutes on the second side. This timing yields a fully set, non-chalky yolk with no liquidy, runny center when you cut into it.
6.Why do my eggs stick to the pan even when I use butter?
▾
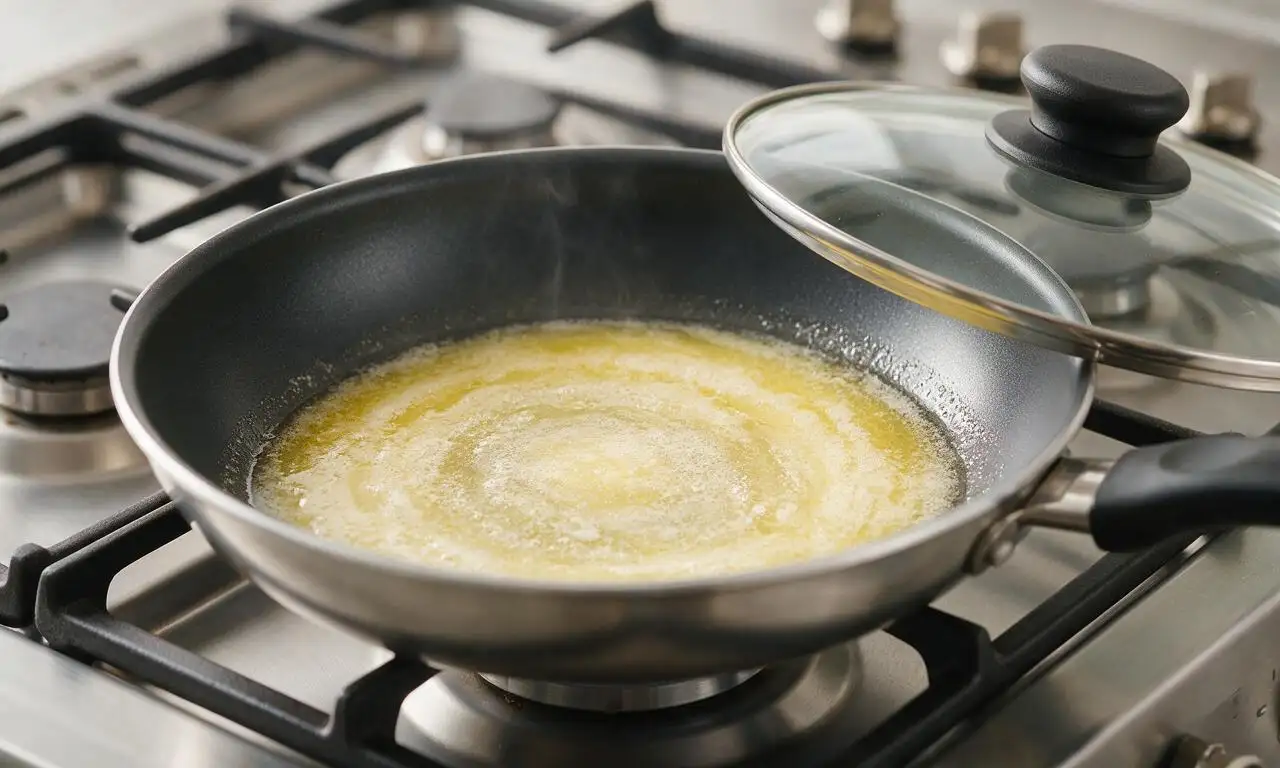
Sticking usually happens if your pan isn’t properly preheated, or you’re using a pan with scratched, worn nonstick coating. Let the pan warm for 1 minute over medium-low before adding butter, wait until the butter is foamy (not browned) to add eggs, and don’t move the eggs for the first minute of cooking so the white forms a non-stick sealed crust.
7.Can I make over-hard eggs ahead for meal prep?
▾
They’re best eaten fresh, but you absolutely can prep them ahead. Cook eggs fully, let them cool completely, then store in an airtight container in the fridge for up to 3 days. Reheat gently in a dry nonstick pan over low heat for 30 seconds per side, or in the microwave for 15 seconds—don’t overheat, or they’ll turn dry and rubbery.
8.What type of pan works best for cooking over-hard eggs?
▾
A well-seasoned cast iron skillet or heavy-gauge nonstick pan works perfectly. Cast iron creates those signature crisp, lacy diner-style edges when properly seasoned, while nonstick is ultra-forgiving for new cooks, making flipping easy and sticking rare. Skip thin, cheap stainless steel pans, as they have hot spots that burn eggs quickly.
9.Should I season my eggs before or after cooking?
▾
Add a pinch of kosher salt right after cracking eggs into the pan, before the first side finishes cooking—salt breaks down egg proteins slightly to keep them tender, rather than tough. Add freshly ground black pepper right after flipping, so it doesn’t burn in the hot butter and turn bitter, and do a quick taste to adjust salt right before serving.
10.How do I get those crispy, lacy diner-style edges without burning eggs?
▾
The secret is using about 1 teaspoon of unsalted butter per large egg and holding steady medium-low heat, not high. As the butter melts and foams, it will bubble up around the edges of the egg white, frying the thin outer layer into that golden, crisp lace. If the butter starts to turn deep brown before adding eggs, turn the heat down a touch.
11.Should I crack eggs directly into the pan, or into a bowl first?
▾
Cracking eggs into a small ramekin first is the safer bet, especially for new cooks. It lets you fish out any tiny bits of fallen eggshell easily, and prevents you from breaking the yolk early when cracking straight into a hot pan. If you’re a confident cook, cracking straight into the pan works—just crack on a flat surface, not the pan edge, to avoid shell shards.
12.Why is my yolk still runny even when I follow the recommended cook times?
▾
Cook times can shift based on your stove’s actual heat output and how cold your eggs are. If you use eggs straight from the fridge, they’ll need an extra 30 seconds on the second side to set the yolk fully. Test doneness by gently pressing the center of the yolk with your spatula—if it feels firm, not squishy, it’s fully set.
13.What toppings or sides pair best with over-hard eggs?
▾
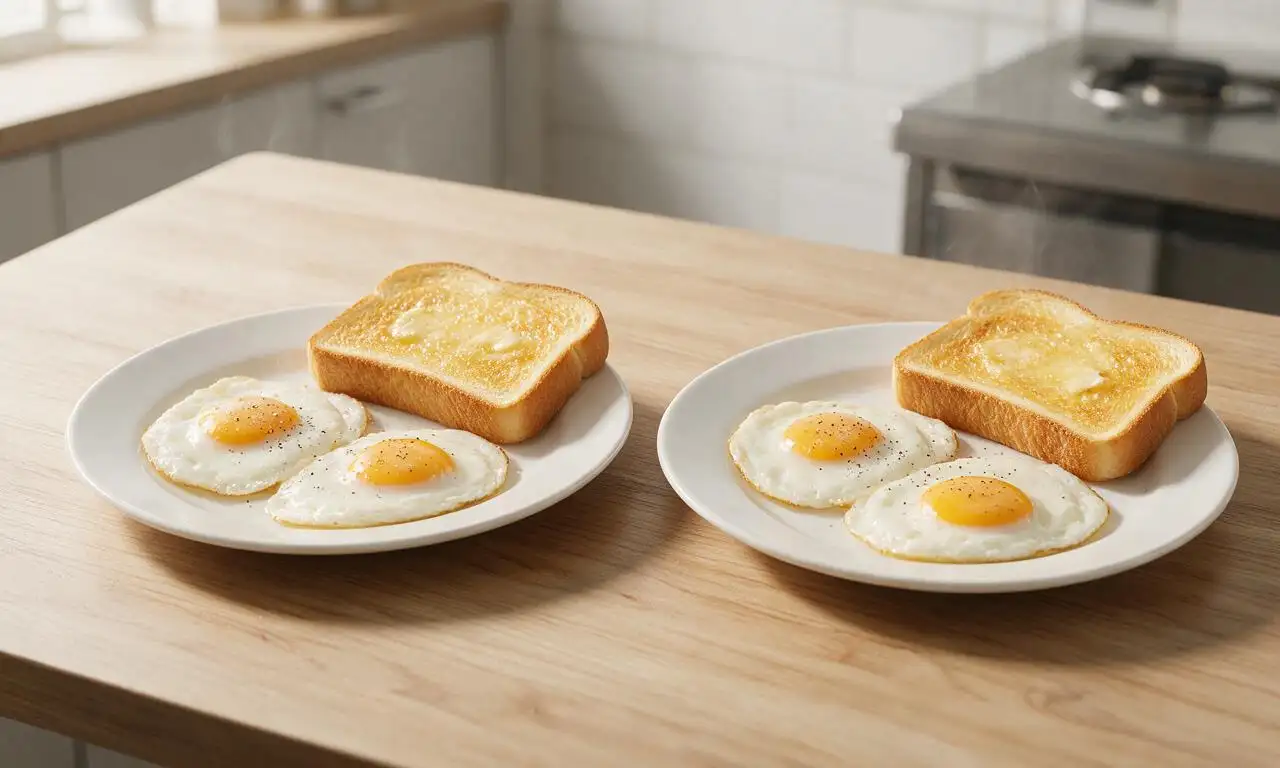
Classic diner pairings include a sprinkle of shredded cheddar added the last 30 seconds of cooking, a dash of hot sauce, or sides of crispy bacon and buttered toast. You can tuck them into breakfast sandwiches, top with avocado and everything bagel seasoning, or serve over crispy hash—their firm yolk won’t make bread soggy like runnier egg styles.
14.Can I cook more than two over-hard eggs at a time in one pan?
▾
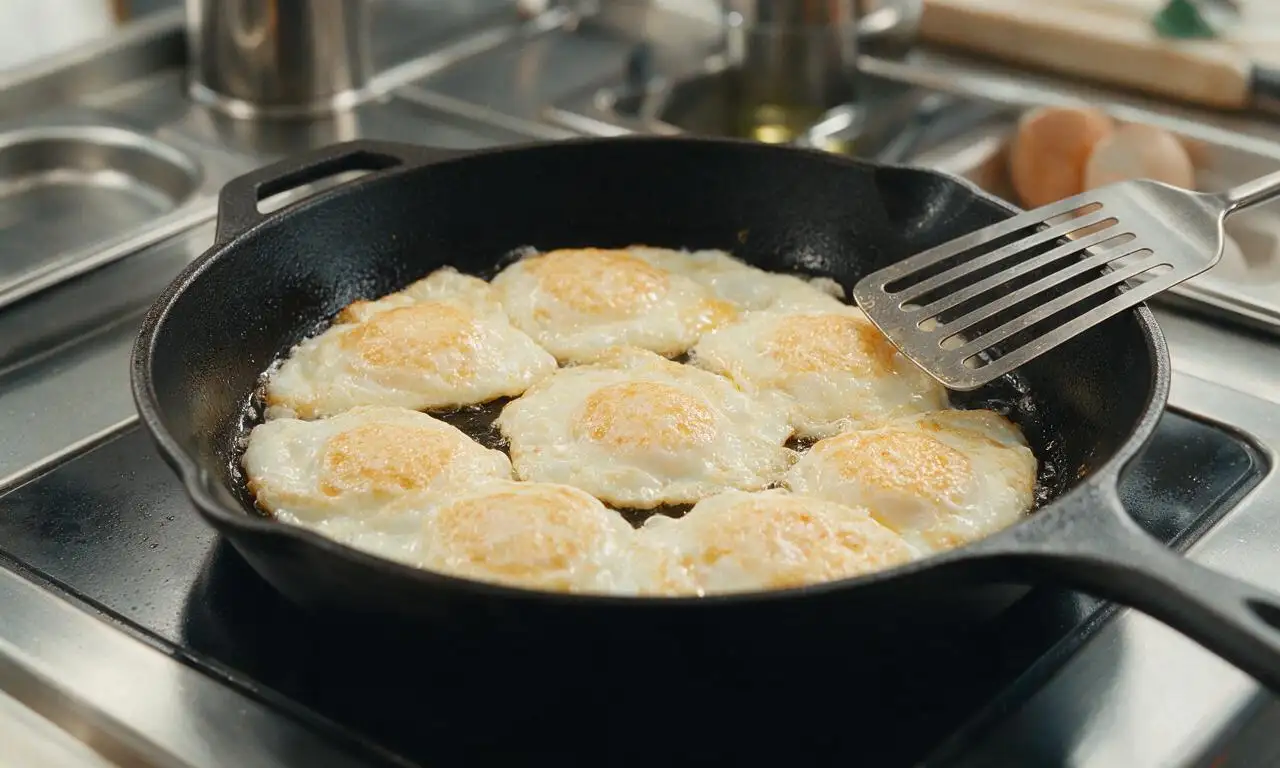
You can, as long as your pan is large enough—plan for about 4 inches of space per egg, so a 12-inch pan fits 3 to 4 eggs comfortably. Don’t crowd the pan, though: if eggs are too close together, their whites will merge, making flipping hard, and trapped steam will make edges soggy instead of crisp.
15.Are over-hard eggs safe to eat for people who need to avoid runny yolks?
▾
Yes! Over-hard eggs cook to an internal temperature of 160°F, the FDA-recommended safe temperature for eggs, which kills any potential salmonella bacteria. That makes them a great option for pregnant people, young kids, older adults, or anyone with a compromised immune system who can’t safely eat eggs with undercooked, runny yolks.







I’ve always been so intimidated to make over-hard eggs because I could never get the yolk fully set without burning the whites. This method is SO easy! Tossed a couple on my breakfast sandwich for meal prep this week and they held up perfectly, and my kids loved them with a side of fruit for breakfast yesterday. No more paying extra for egg add-ons at the drive thru!
Super straightforward recipe, perfect for my tiny dorm kitchen. I don’t have a fancy spatula so I used a plastic pancake turner and it still worked! Only took 6 minutes total which is perfect between early morning classes.
Made these for our Sunday church potluck breakfast bar and they were a hit! Everyone was asking how I got them so evenly cooked without those crispy brown edges that over-hard eggs usually get. Will be printing this recipe out for my recipe box for sure.
Game changer for my high protein breakfast rotation! I used to make scrambled eggs every morning because I couldn’t nail over-hard, but these come out perfect every single time. I pair them with avocado and whole wheat toast and it keeps me full straight through my morning workout and work meetings.
My 7 year old is obsessed with dippy eggs but refuses to eat runny yolks? Total contradiction, right? These over-hard eggs have fully set yolks but are still soft enough that he thinks they’re “special dippy eggs” with toast cut into strips for dipping. Total parent win, I didn’t even have to fight him at breakfast this morning.
I’ve cooked eggs a hundred different ways over 40 years in restaurant kitchens, and I’ll admit I was skeptical a “beginner” recipe could teach me anything. Tried this last week and the timing is spot on, no grey ring around the yolk, no rubbery whites. Great recipe for new cooks and old pros alike.
Hosted a girls’ brunch last weekend and made a whole platter of these eggs to go with mimosa flights and hash brown casserole. All my friends were raving, even the one who swears she can’t cook eggs to save her life asked for the recipe. So easy to scale up for a crowd too!
I work night shifts so I make breakfast for dinner when I get home at 7am, and these eggs are my new go-to. Quick, minimal cleanup, way better than the frozen breakfast patties I used to heat up. I sprinkle a little paprika and garlic powder on top right before flipping and it’s chef’s kiss.
I make a dozen of these every Sunday to grab and go on weekday mornings. They stay good in the fridge for 4 days no problem, and I don’t have to dirty a pan before work. Way cheaper than buying breakfast sandwiches from the café downstairs, saves me like $15 a week easy.
Literally the first thing I’ve ever cooked that didn’t come out burnt or underdone? I just moved out on my own last month and have been living off takeout, so this was a huge win. Super easy to follow the steps, no confusing jargon, exactly what a new cook needs.
I have a ton of food sensitivities so I’m always on the hunt for simple, no-fuss recipes that don’t require weird specialty ingredients. These are perfect, just eggs, a little butter, salt and pepper! I serve them over roasted veggies for a quick gluten free, dairy free (I use olive oil instead of butter) breakfast.
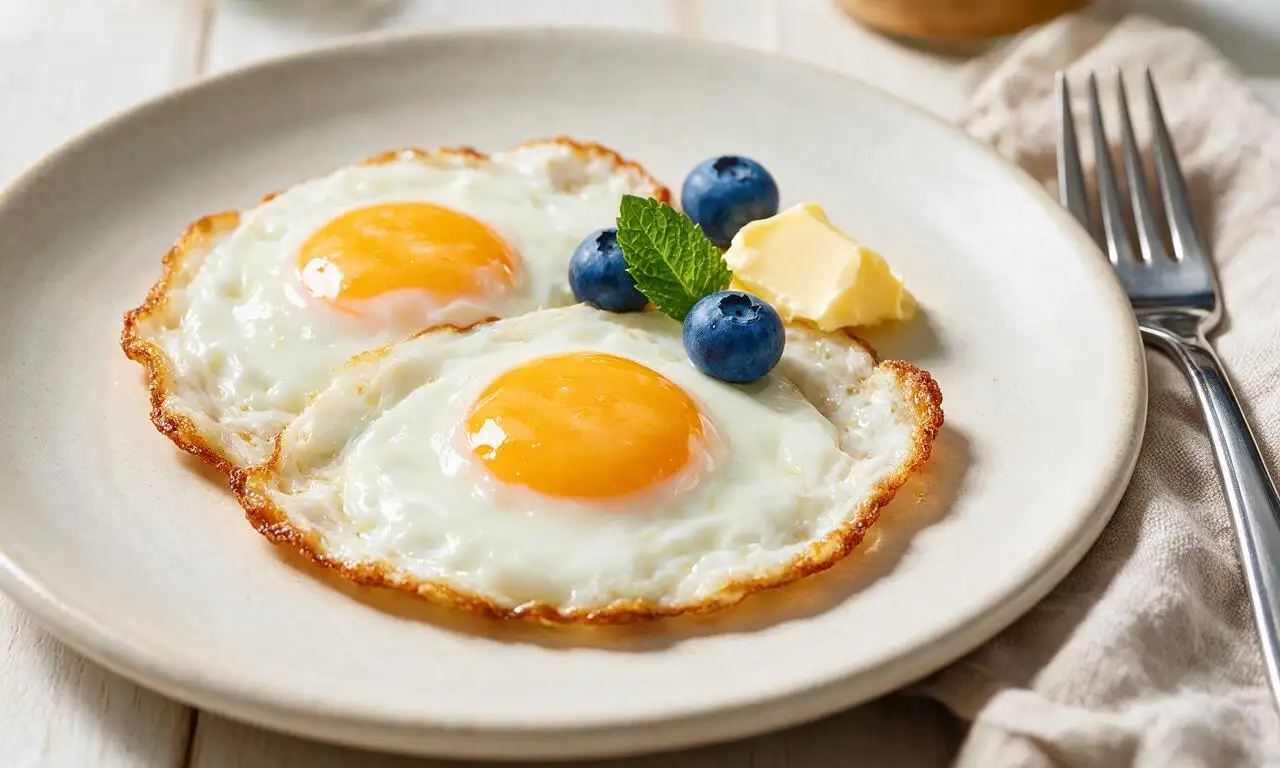
I’ve been chasing that perfect diner-style over-hard egg for years, you know the ones that are slightly crispy on the bottom but the yolk is totally set not runny at all? This recipe nails it, they’re SO good. Tastes exactly like the eggs I get at my local spot on Saturday mornings, but I can make them in my pajamas now. Unbeatable.
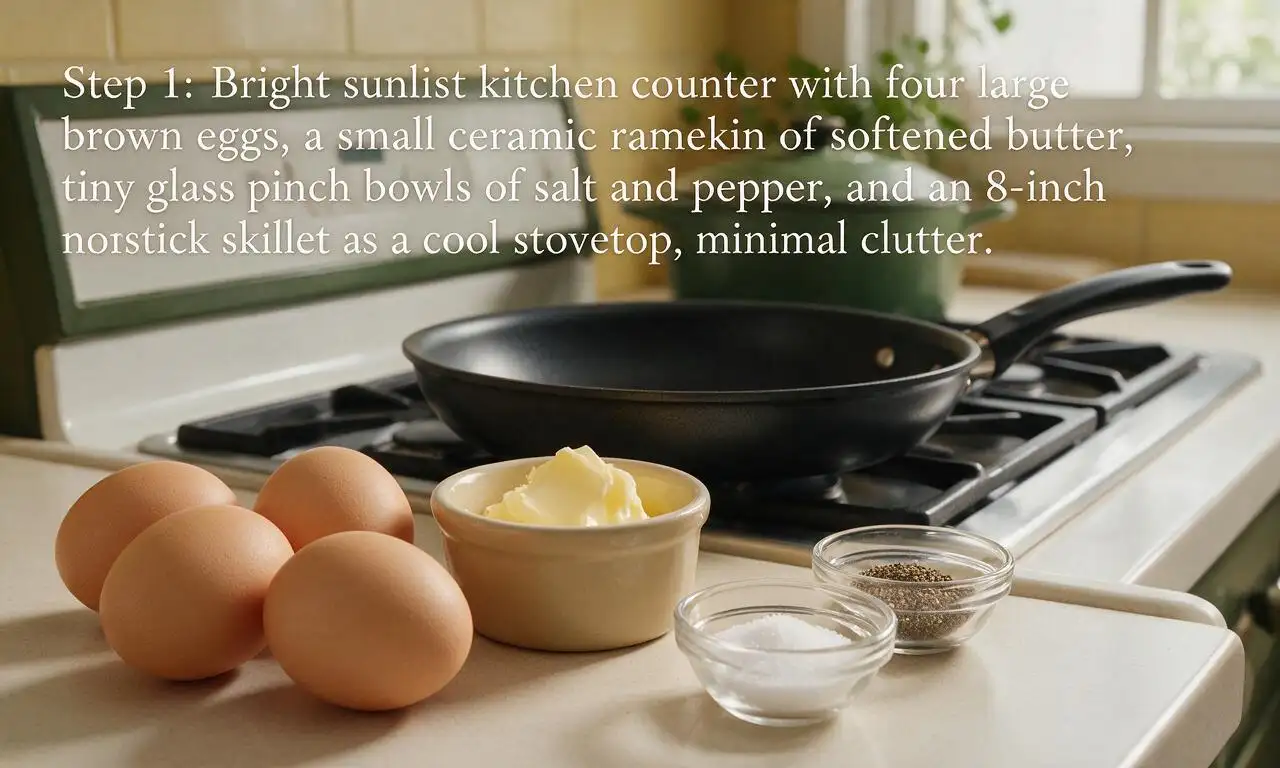
Love that this recipe doesn’t require any fancy gadgets! I already had everything I needed in my kitchen, no special egg rings or fancy spatulas required. Cuts down on kitchen clutter and saves me money, plus the eggs come out perfect every time. 10/10 for simplicity.