
Oyakodon
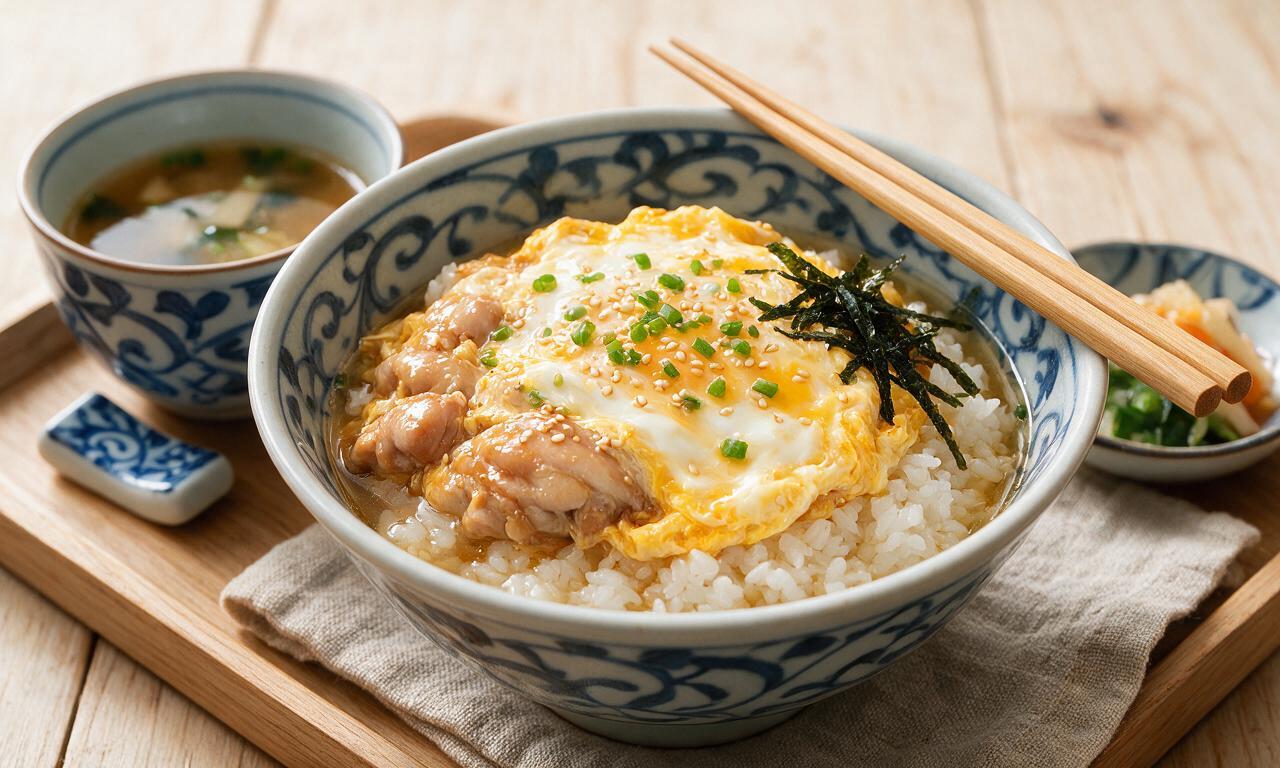
intro
A cozy, savory Japanese rice bowl with tender chicken, creamy soft-set eggs, and sweet-savory dashi broth over fluffy rice, ready in just 30 minutes.
Ingredients
Steps
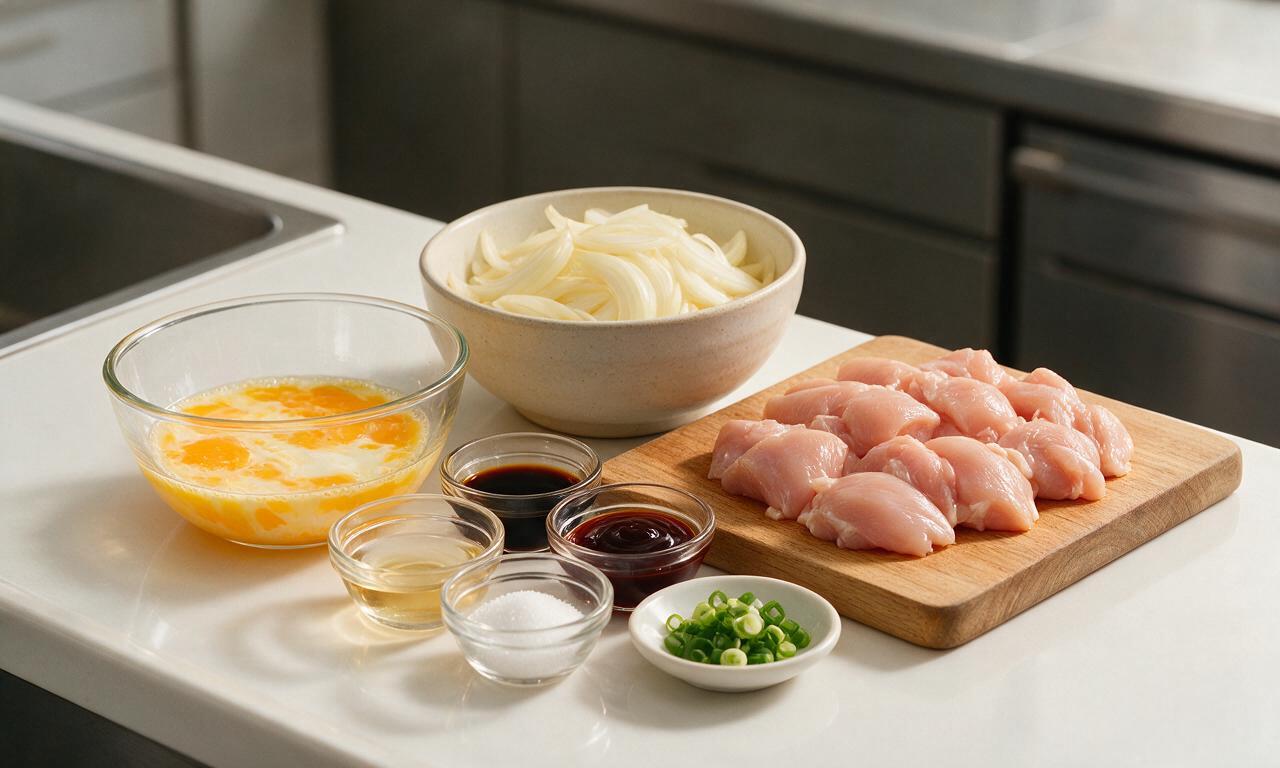
Prep all ingredients
First, cut 600g boneless, skinless chicken thighs into uniform 2cm bite-sized pieces, patting dry with paper towels to remove excess moisture. Thinly slice 2 medium yellow onions into 5mm half-moons, then slice 4 scallions, separating the firm white parts from the tender green parts. Lightly beat 8 large eggs in a medium bowl—do not fully whisk, as leaving visible streaks of separate yolk and egg white creates a better textured curd. Measure out all broth components (400ml dashi, 90ml low-sodium soy sauce, 60ml mirin, 30ml cooking sake, 8g granulated sugar) and set within easy reach of the stovetop.
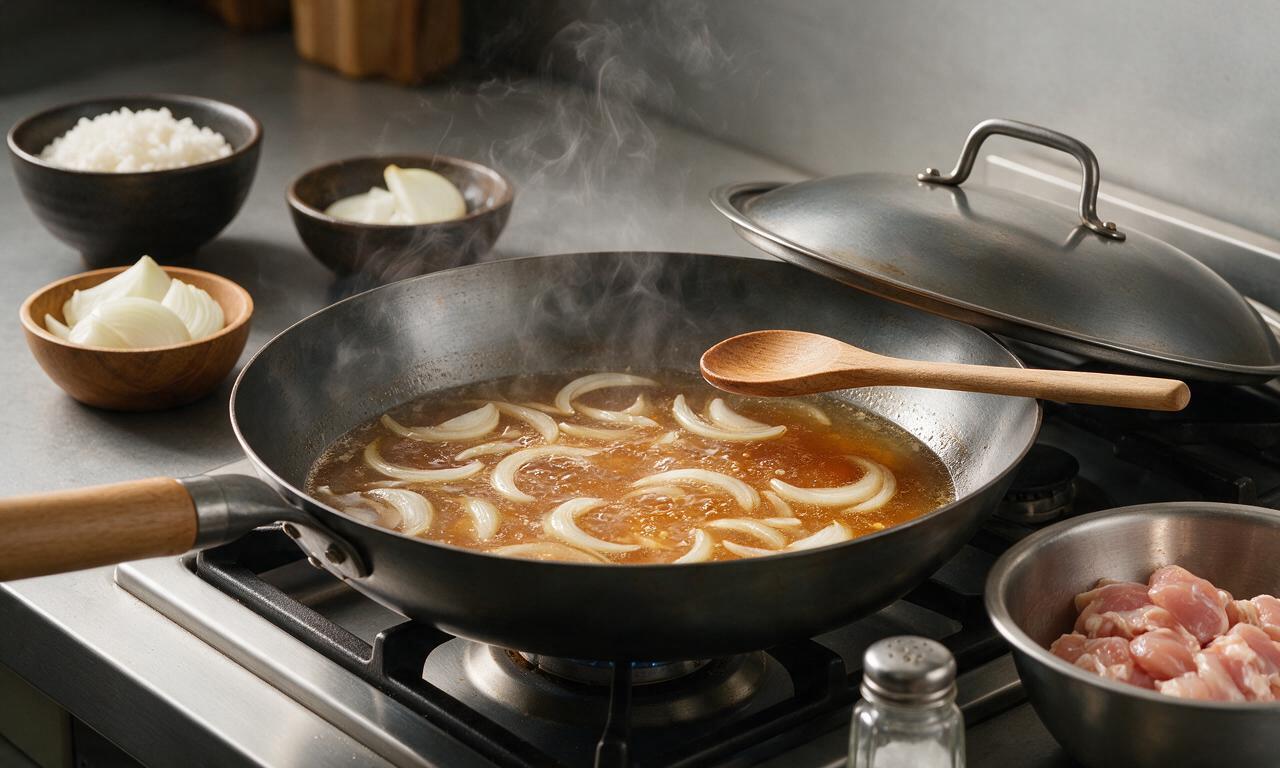
Simmer broth and onions
Place a 30cm (12-inch) lidded skillet (or two smaller 24cm pans for batch cooking) on the stovetop over medium heat (160°C/320°F for electric cooktops). Pour in the measured dashi, soy sauce, mirin, sake, and sugar, stirring with a wooden spoon to fully dissolve the sugar. Bring the liquid to a gentle, rolling simmer (about 3 minutes), then add the sliced onion and white scallion parts. Cook uncovered for 3 minutes, until the onion softens slightly and turns translucent at the edges.
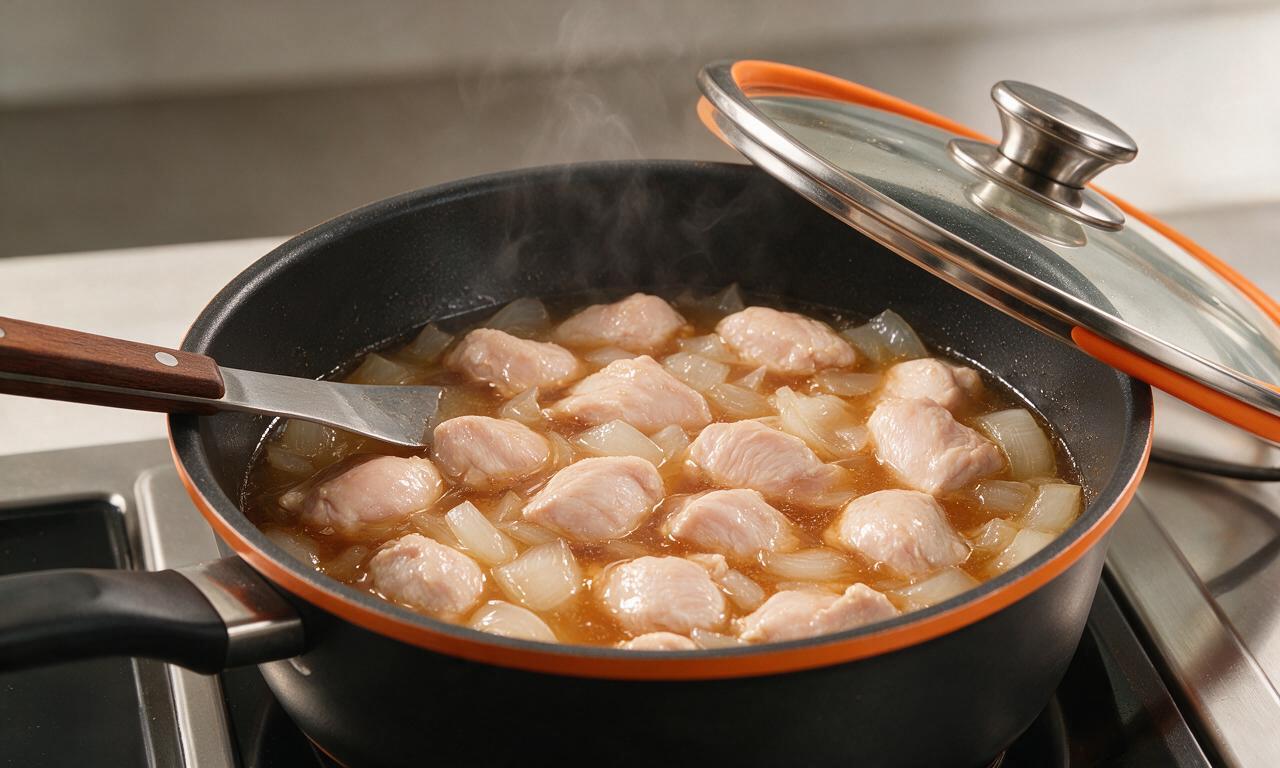
Cook chicken pieces
Arrange the cut chicken thigh pieces in a single even layer across the simmering broth and onions, working in two batches if your pan is too small to hold all chicken without crowding. Reduce heat to medium-low (140°C/285°F), cover the pan with its lid, and cook for 4 minutes total per batch, using tongs to flip each chicken piece at the 2-minute mark, until the chicken is just opaque and no longer pink in the center. Do not boil rapidly, as high heat will toughen the chicken.
Add first egg layer
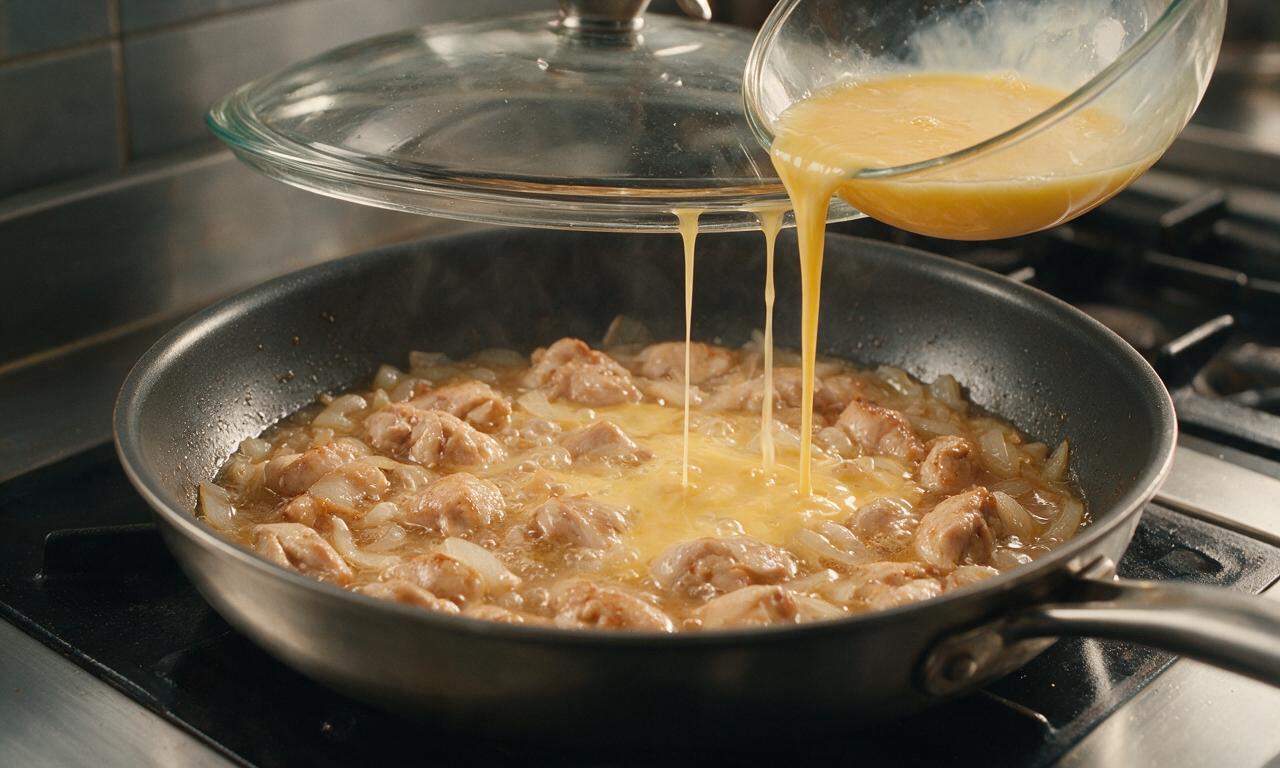
Adjust heat back to medium (160°C/320°F). Slowly drizzle two-thirds of the lightly beaten egg mixture evenly over the chicken and onions, pouring in a slow circular motion starting at the outer edge of the pan and moving toward the center to distribute egg evenly. Do not stir the mixture. Place the lid back on the pan and cook for exactly 1 minute, until the egg around the pan edges is just set but the center remains glossy and runny.
Add final egg layer
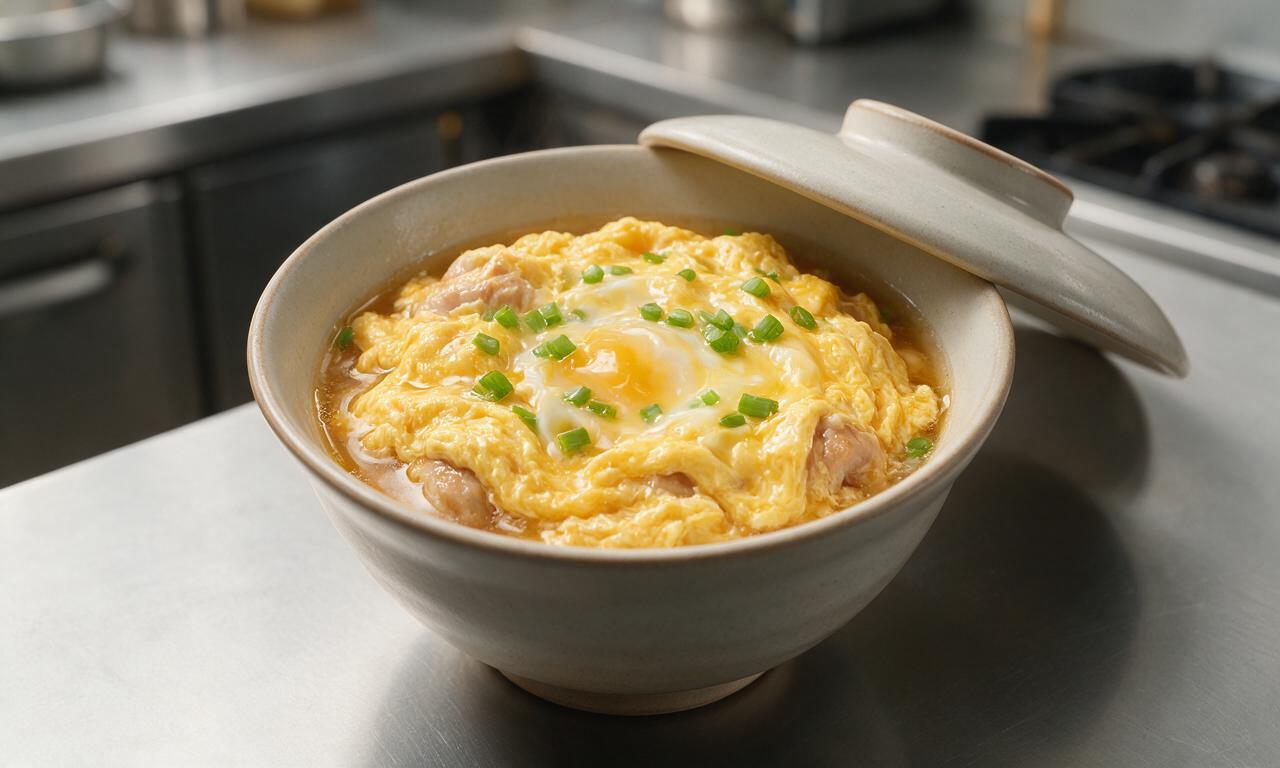
Drizzle the remaining one-third of the beaten egg over the top of the mixture in the same circular motion, then scatter half of the reserved green scallion slices across the surface. Immediately place the lid back on the pan, turn off the stovetop heat entirely, and let the residual pan heat cook the egg for 45 seconds, until the egg is soft-set with a creamy, slightly jiggly, custard-like texture. Avoid overcooking, as hard, fully cooked egg will ruin the dish’s signature texture.
Assemble and serve
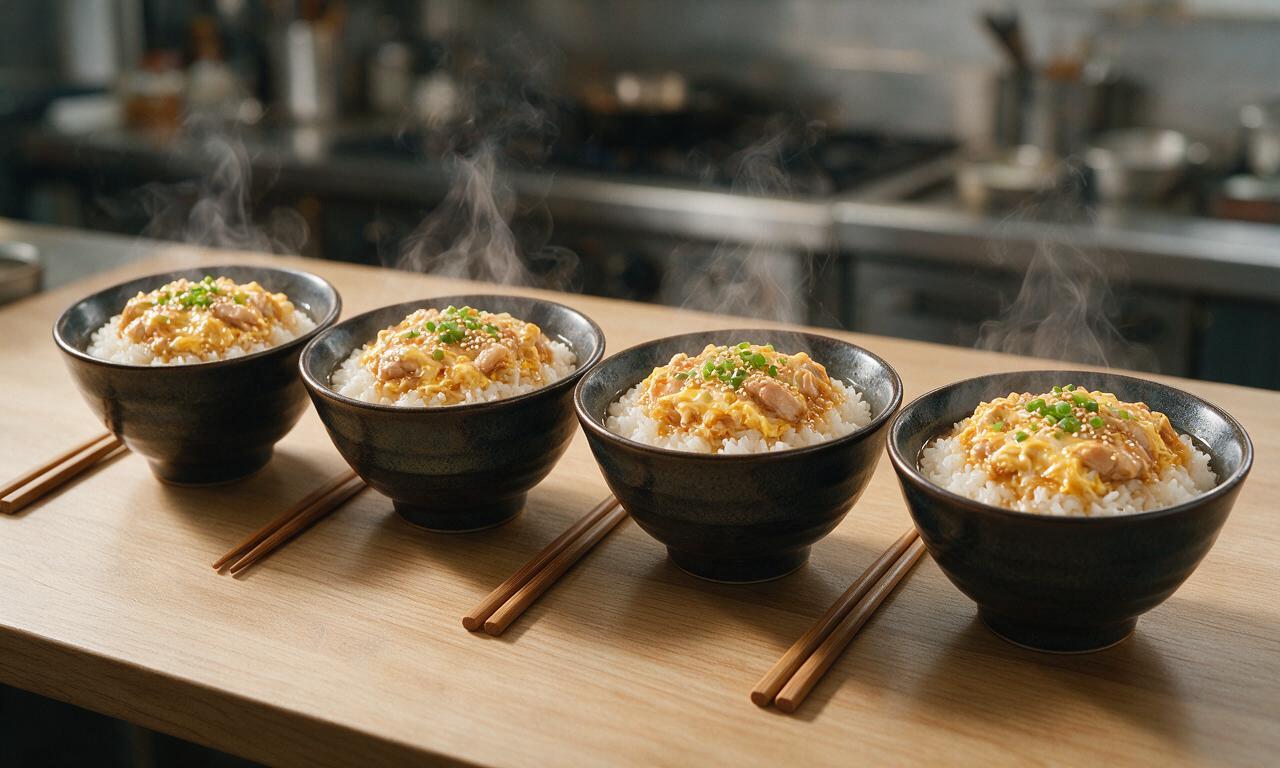
Divide 1200g of hot, freshly cooked short-grain white rice evenly between four deep donburi bowls. Carefully tilt the pan to slide the chicken, egg, and broth mixture directly over the rice in each bowl, making sure to pour all the savory broth over the rice so it soaks in slightly. Garnish each bowl with an equal portion of the remaining sliced green scallions and toasted white sesame seeds (about 1/2 teaspoon per bowl), then serve immediately while piping hot.
Tips
2.Use boneless chicken thighs instead of chicken breast: thighs stay juicy during the short simmer, while breast will quickly dry out and become tough.
3.Residual heat is key for perfect eggs: turn off the stove before the egg is fully set, as the covered pan will continue to cook the egg to a creamy, custardy consistency without turning rubbery.






OMG this oyakodon is SO good!!! I’ve been intimidated to make Japanese food at home forever because I thought it’d be super complicated, but this was 30 minutes total even with me fumbling around the kitchen. My 8 and 10 year old devoured it and asked for seconds before they even finished their first bowl. Total weeknight dinner game changer!!
Meal prepped this for my work lunches this week and wow, it holds up way better than I thought it would! I stored the chicken/egg mixture separate from the rice and just heated it up in the microwave for 90 seconds at lunch, tasted just as fresh as night one. 10/10 will be adding this to my regular rotation.
Made this in my dorm room with a tiny electric hot plate and it came out perfect!!! I didn’t have ready-made dashi so I used a pinch of hondashi mixed with water and no one could tell the difference. Saved me $15 from ordering takeout down the street, will be making this constantly.
I brought this to our neighborhood potluck last weekend and people were hounding me for the recipe all night! I was a little worried the soft eggs would weird people out, but everyone went back for more. Even my picky mother-in-law said it was restaurant quality, which is the highest compliment I can possibly get tbh.
Took a star off because I wish the recipe noted how runny the eggs are supposed to be! I cooked mine a little too long first try so they were totally set instead of that soft, creamy texture you get at restaurants. Flavor was still incredible though, just user error on my end.
Swapped the regular soy sauce for tamari to make this gluten free and it was absolute perfection! It tastes exactly like the oyakodon I had when I visited Tokyo a few years ago, I can’t believe how easy it is to make at home. My husband who swears he ‘hates sweet savory dishes’ ate two full bowls.
This is so quick and easy I made it on a night I got home late from work and had zero energy to cook. Only used one pan too, so cleanup was basically nothing. 10/10, no notes, will be making this on every busy weeknight from now on.
I swapped the chicken for extra firm tofu pressed and cubed to make this vegetarian, and it was SO good! I marinated the tofu in a little extra soy and mirin for 10 minutes before cooking and it soaked up all the flavor perfectly. My meat-eating roommate even stole half my portion.
Added a little squirt of sriracha and a sprinkle of togarashi on top for a tiny kick and wow, that’s my new favorite way to eat this. Don’t get me wrong, the original is perfect, but the extra heat takes it to a whole new level for anyone who loves a little spice.
This was the first Japanese dish I’ve ever made from scratch and I was so nervous I’d mess it up, but the instructions were so clear and easy to follow! It came out tasting exactly like what I get at my local sushi spot, I felt like a real chef making it. My roommate thought I ordered delivery lmao.