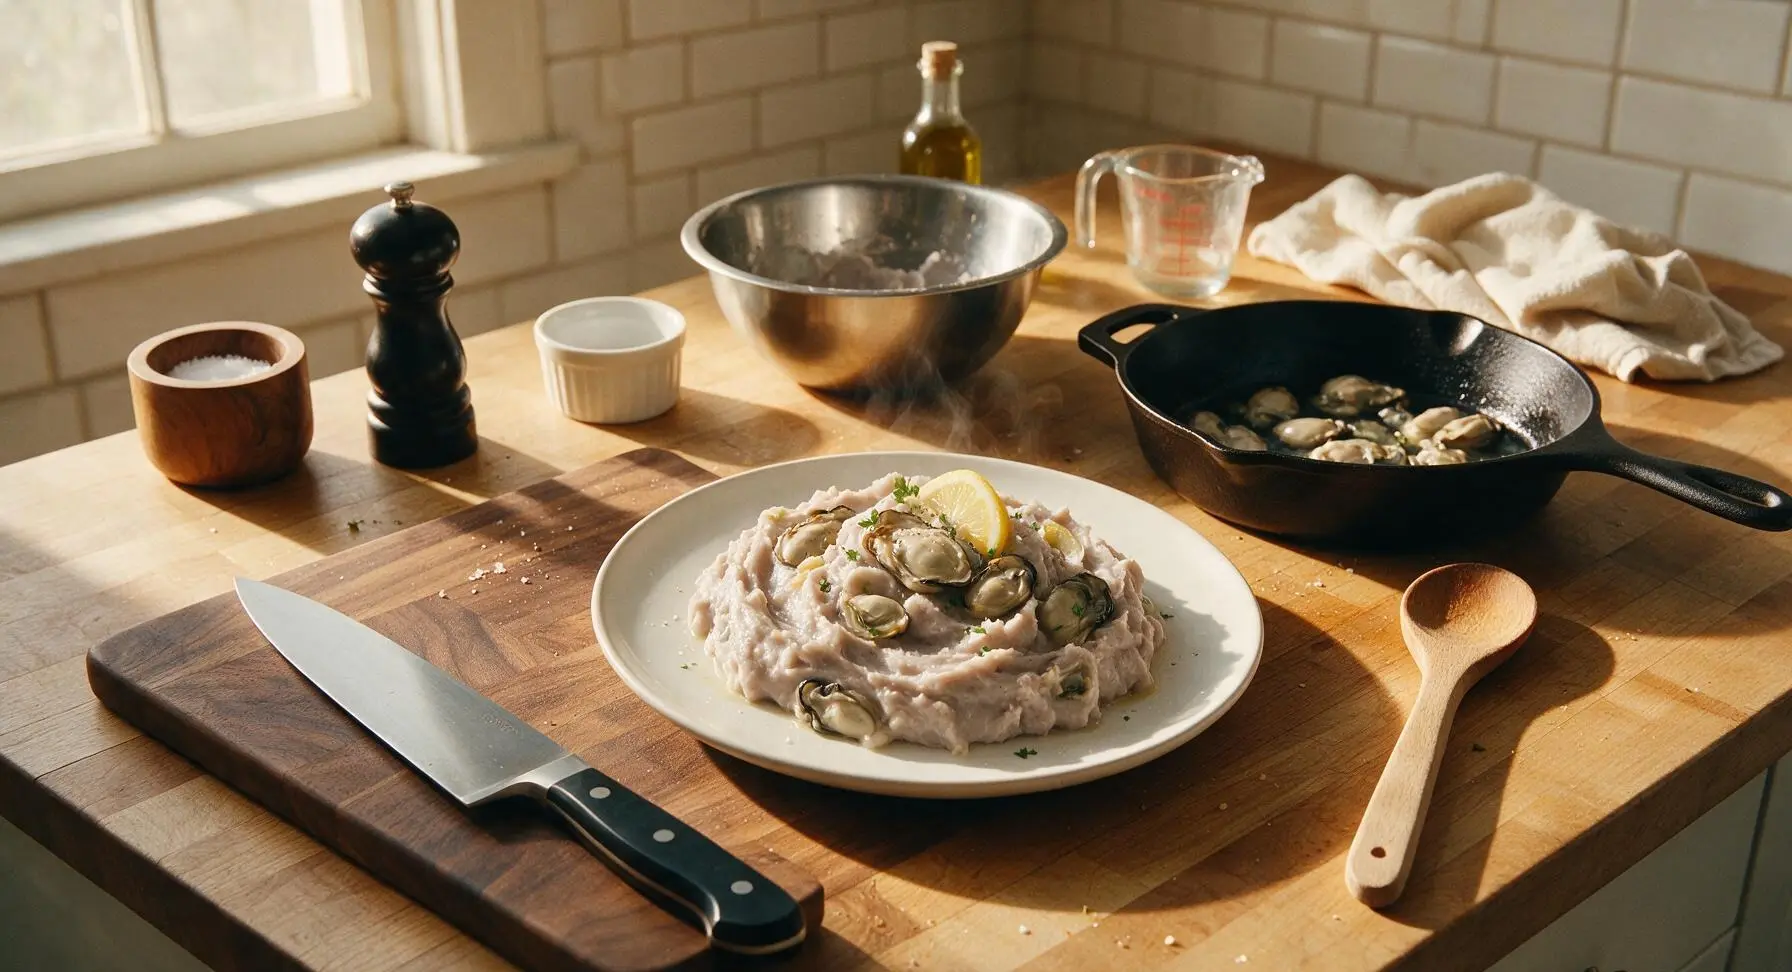
Oyster Poi

title 1
Oyster Poi
⏱️ cook time 0 minutes (10 minute chill time)
🍽️ servings 4
⚡ Difficulty easy

intro

Silky, earthy taro poi folded with briny fresh oysters, brightened with lemon and a pinch of salt — a cool, umami-rich Hawaiian coastal classic perfect for warm days.

Ingredients
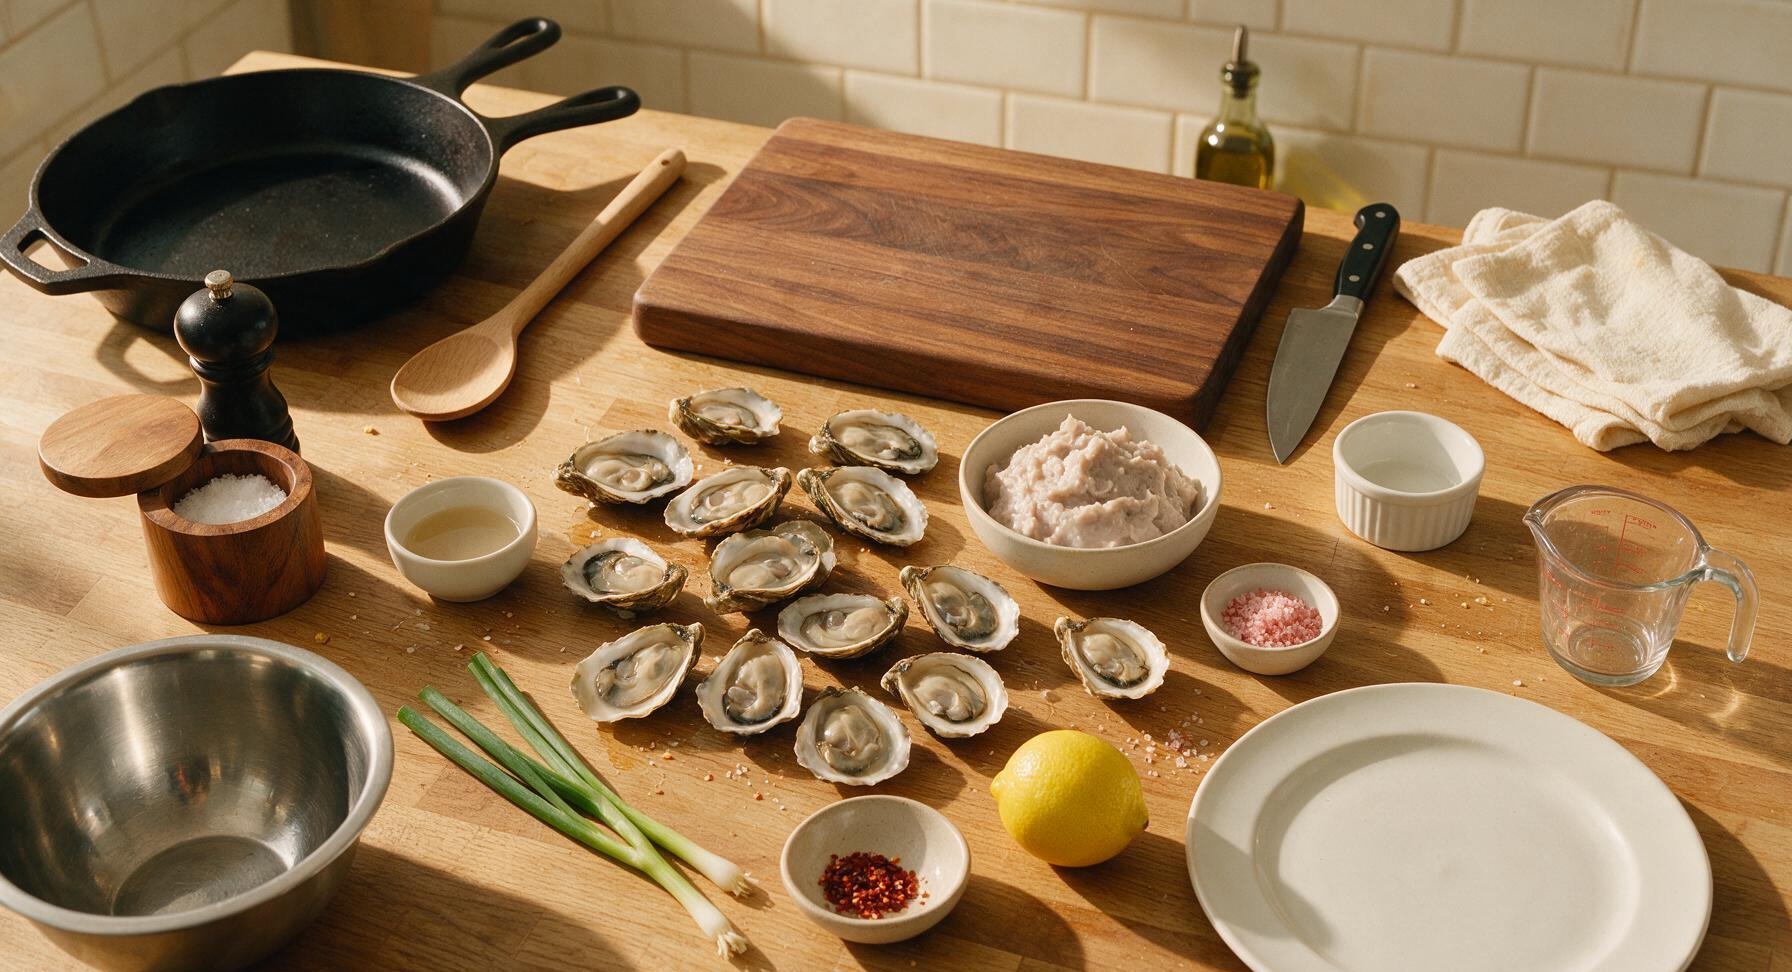
Fresh medium oysters (with natural liquor) 12 (approx 340g total)
Prepared fresh poi (taro root paste) 450g
Coarse red Hawaiian alaea sea salt 1 tsp
Fresh green onions 3 stalks
Fresh lemon 1 medium (zest + 2 tbsp juice)
Red pepper flakes (optional) 1/4 tsp

Steps

1

Shuck Fresh Oysters

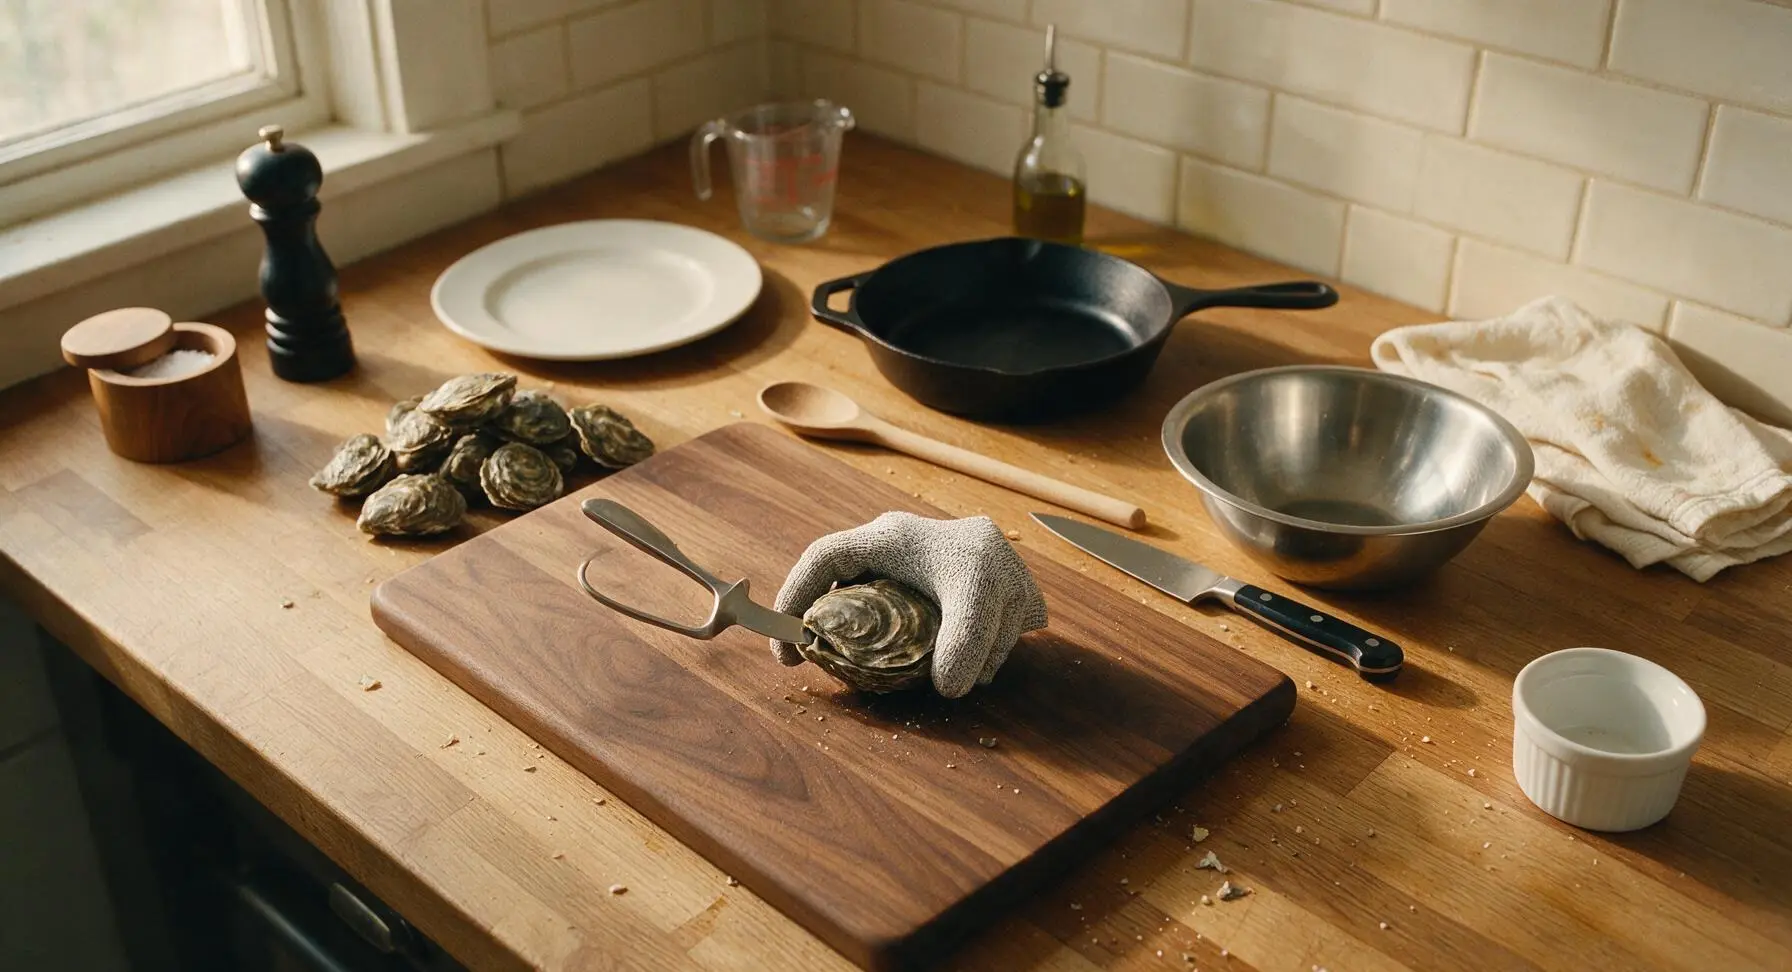
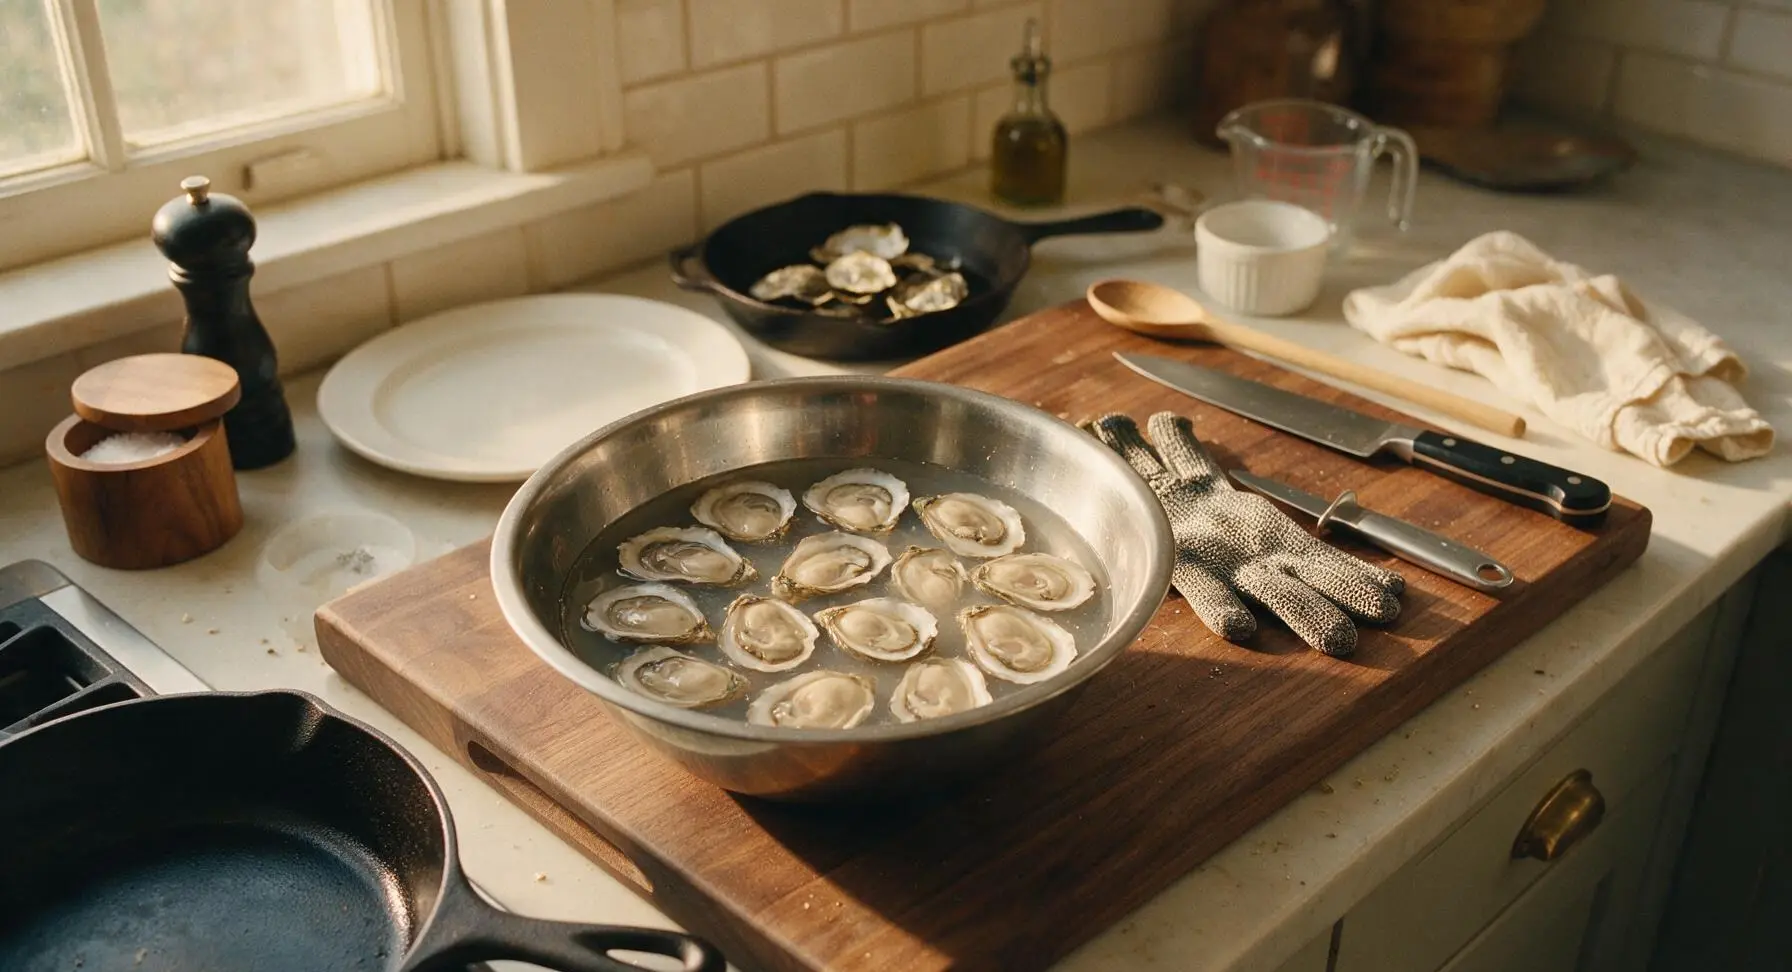
Put on the cut-resistant oyster shucking glove on your non-dominant hand. Hold each oyster firmly, cupped side down, on the koa wood cutting board. Wedge the tip of the stainless steel oyster knife into the oyster’s natural hinge, apply gentle twisting pressure to pop the shell open, then slide the knife along the interior of the top shell to sever the adductor muscle. Tip each oyster and its clear, briny natural liquor into the medium clear glass mixing bowl, taking care not to drop any sharp shell fragments into the bowl. Discard top shells, and set aside 4 clean, smooth bottom shells for garnish if desired. Shucking 12 oysters takes approximately 12 minutes for a home cook.
Step 1
step1:Shuck Fresh Oysters
Step 1
step1:Shuck Fresh Oysters
2

Prep Aromatic Garnishes

Keep the koa wood cutting board centered on the rattan placemat. Use the small paring knife to trim the dry root ends from the green onion stalks, then finely slice the pale green and white parts into 2mm thin rings; set aside 1 tablespoon of sliced onion for final garnish. Use the fine microplane zester to remove 1 teaspoon of thin, bright yellow lemon zest from the whole lemon, taking care not to grate the bitter white pith beneath the skin. Cut the zested lemon in half crosswise for juicing.
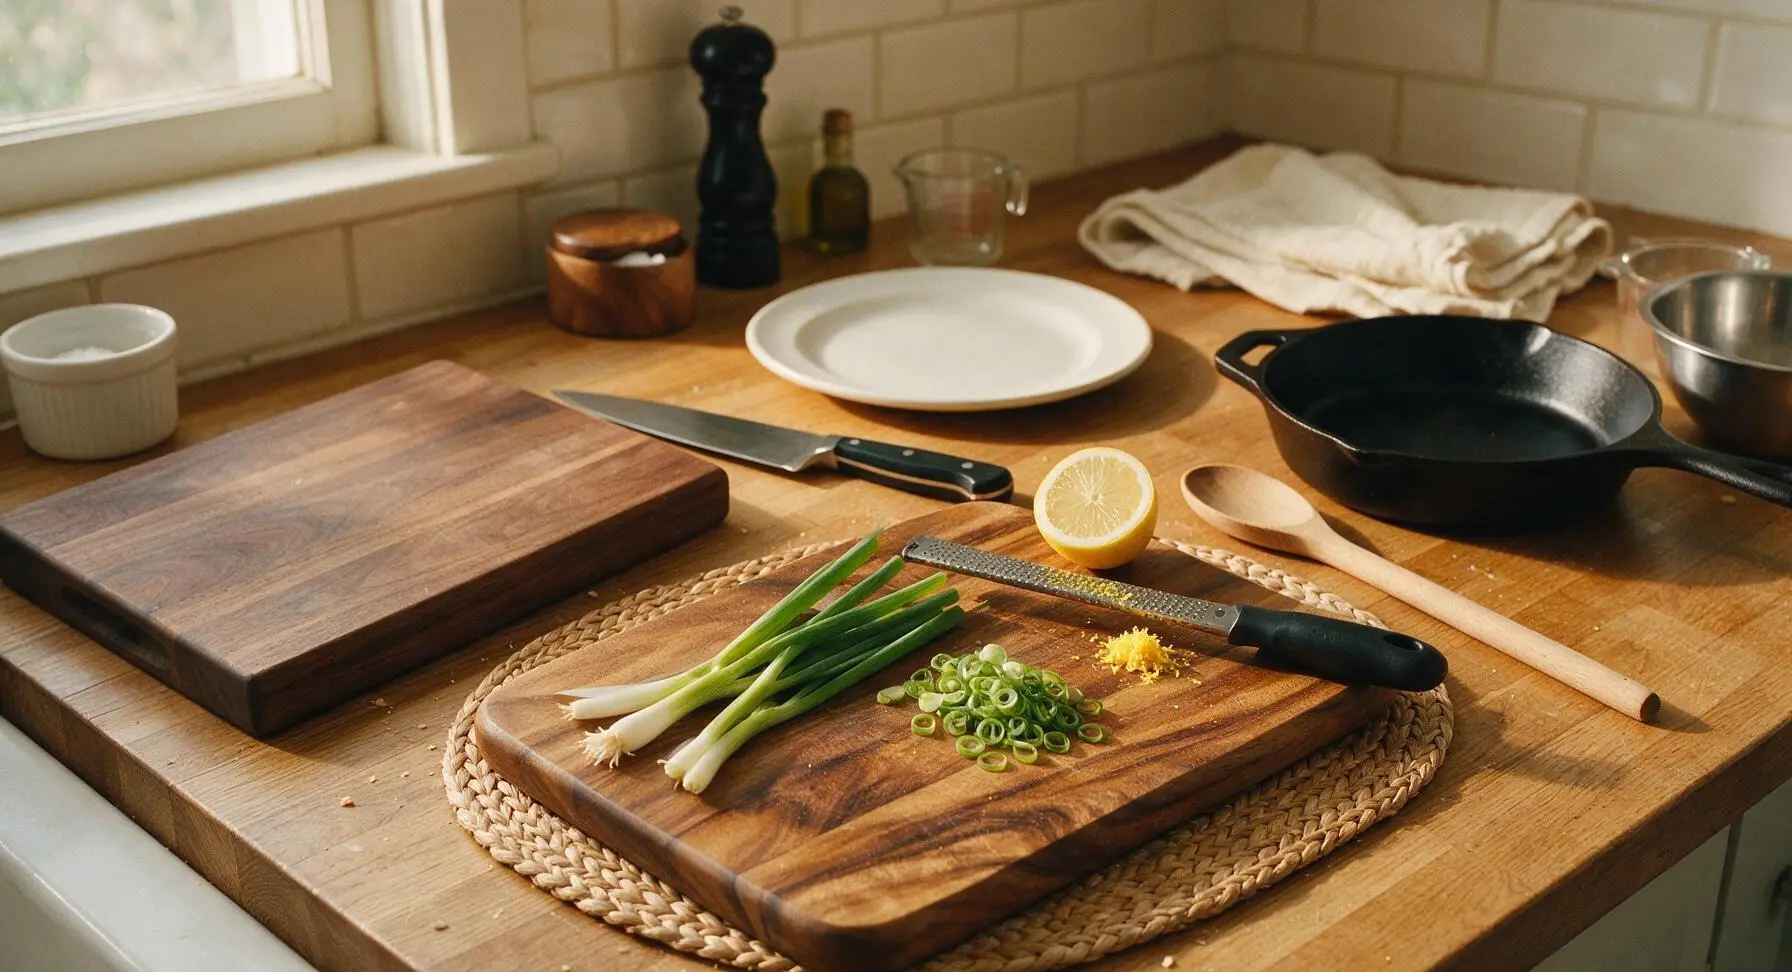
Step 2
step2:Prep Aromatic Garnishes
3

Juice Fresh Lemon

Hold the koa wood lemon reamer directly over the glass mixing bowl of shucked oysters. Squeeze each lemon half firmly over the reamer to extract exactly 2 tablespoons of fresh lemon juice, letting the juice drip through the reamer slots into the bowl while catching seeds in the reamer ridges. Discard the squeezed lemon halves and any collected seeds. The lemon juice will lightly cure the outer edges of the oysters as it mixes with their natural liquor.
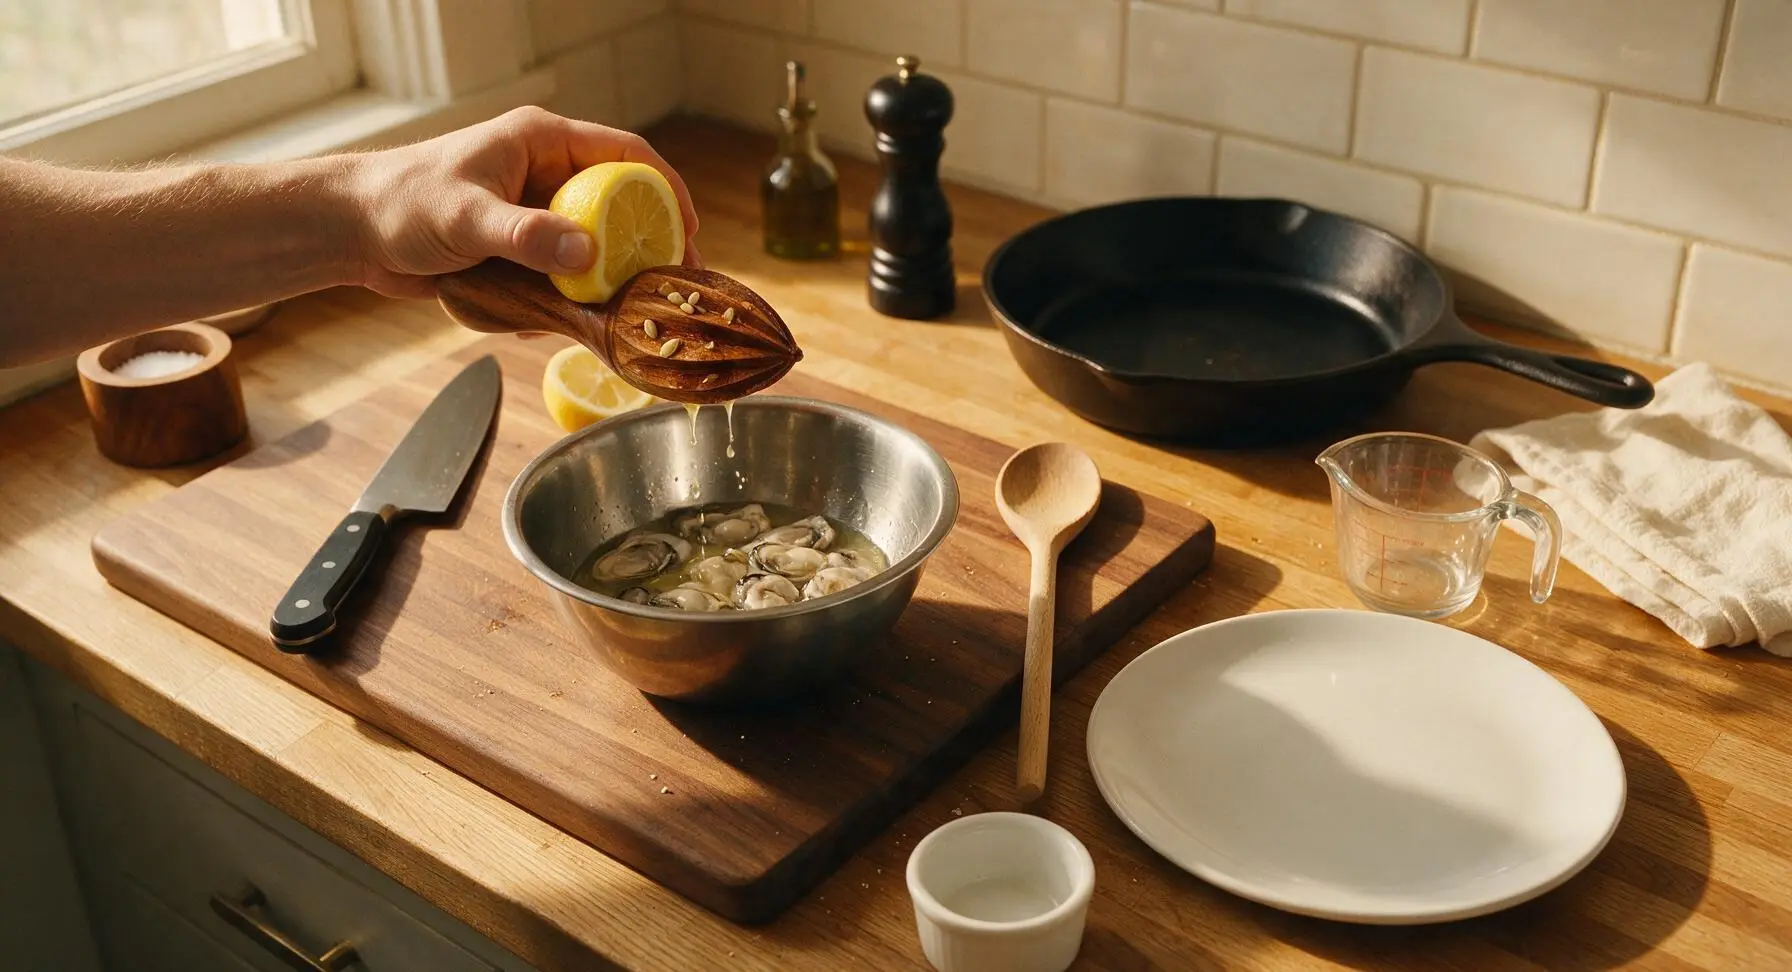
Step 3
step3:Juice Fresh Lemon
4

Season Oyster Mixture

Use the 15ml stainless steel measuring spoon to add 1 teaspoon of coarse red Hawaiian sea salt (and the optional 1/4 teaspoon red pepper flakes, if using) to the oyster, liquor, and lemon juice mixture in the glass bowl. Stir very gently with the tip of the sea foam green silicone spatula to distribute the salt evenly, taking care not to tear the soft, delicate oyster flesh. Let the mixture rest for 2 minutes at room temperature to allow the salt to fully dissolve.
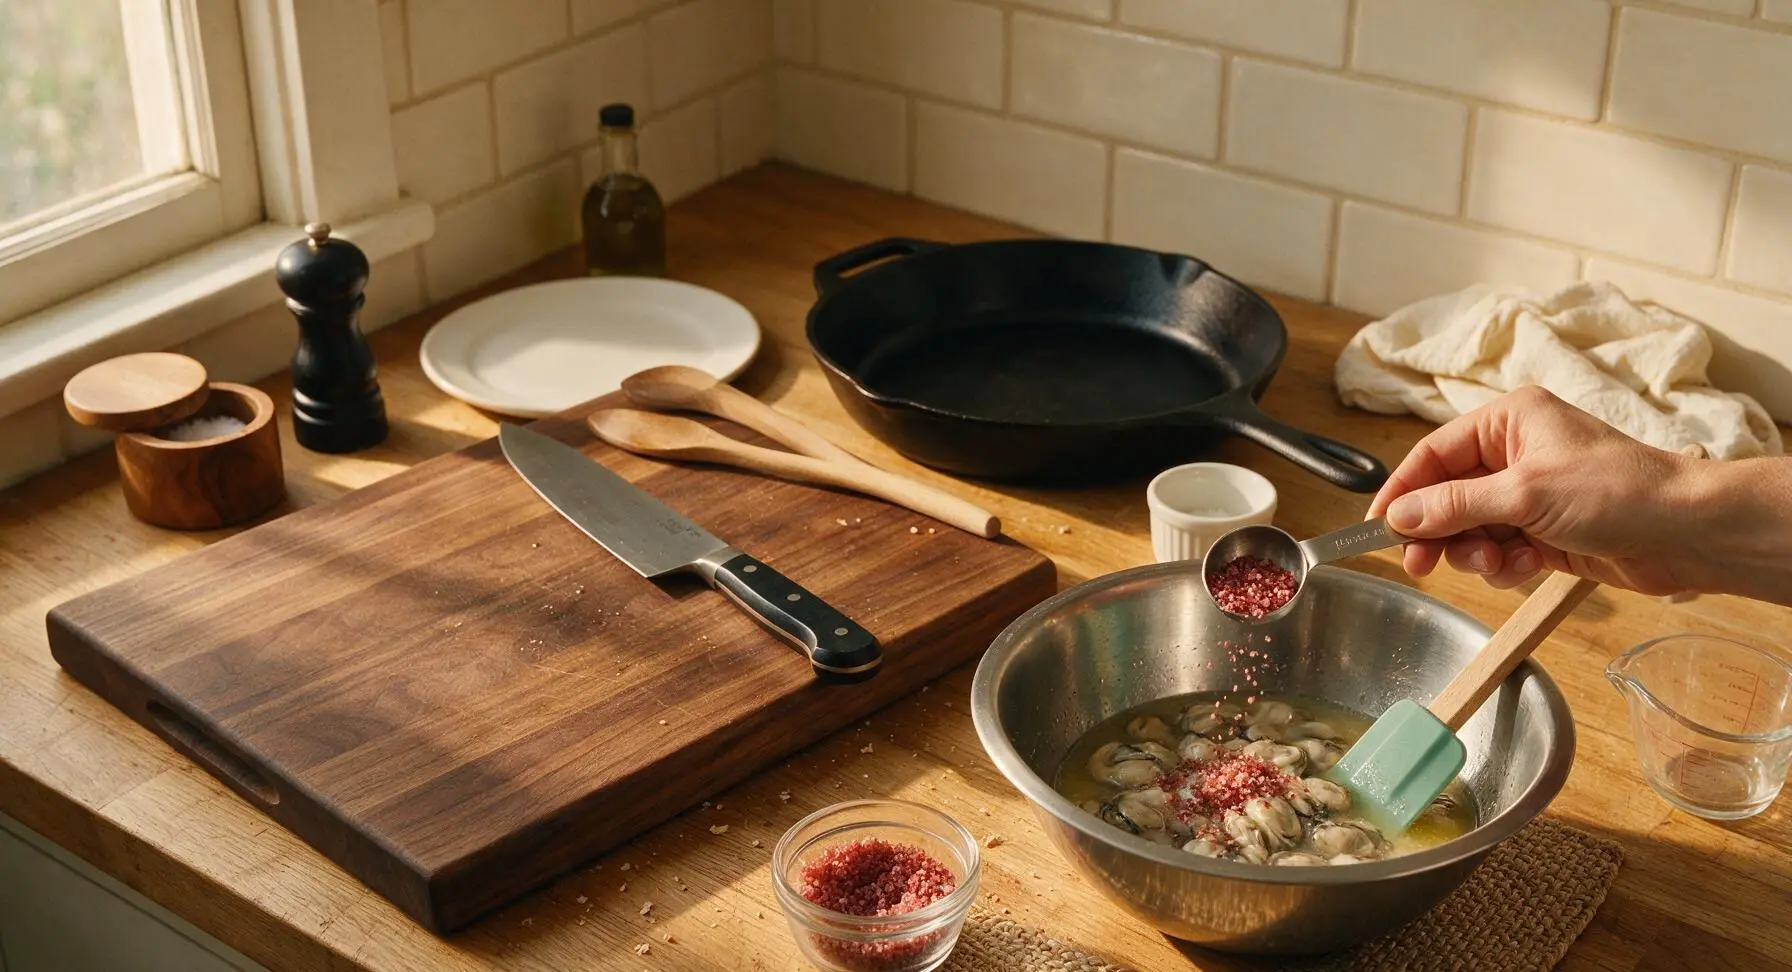
Step 4
step4:Season Oyster Mixture
5

Fold in Fresh Poi

Add all 450g of prepared fresh poi to the seasoned oyster mixture in the glass bowl. Use the sea foam green silicone spatula to fold the poi gently through the oysters and liquor, scraping the bottom of the bowl and turning the mixture over repeatedly until it reaches a smooth, thick, evenly creamy consistency, with oysters evenly distributed throughout. Do not overmix, as this will develop excess starch and make the poi gluey in texture; the finished mixture should hold a soft, slow-dropping shape when lifted with the spatula.
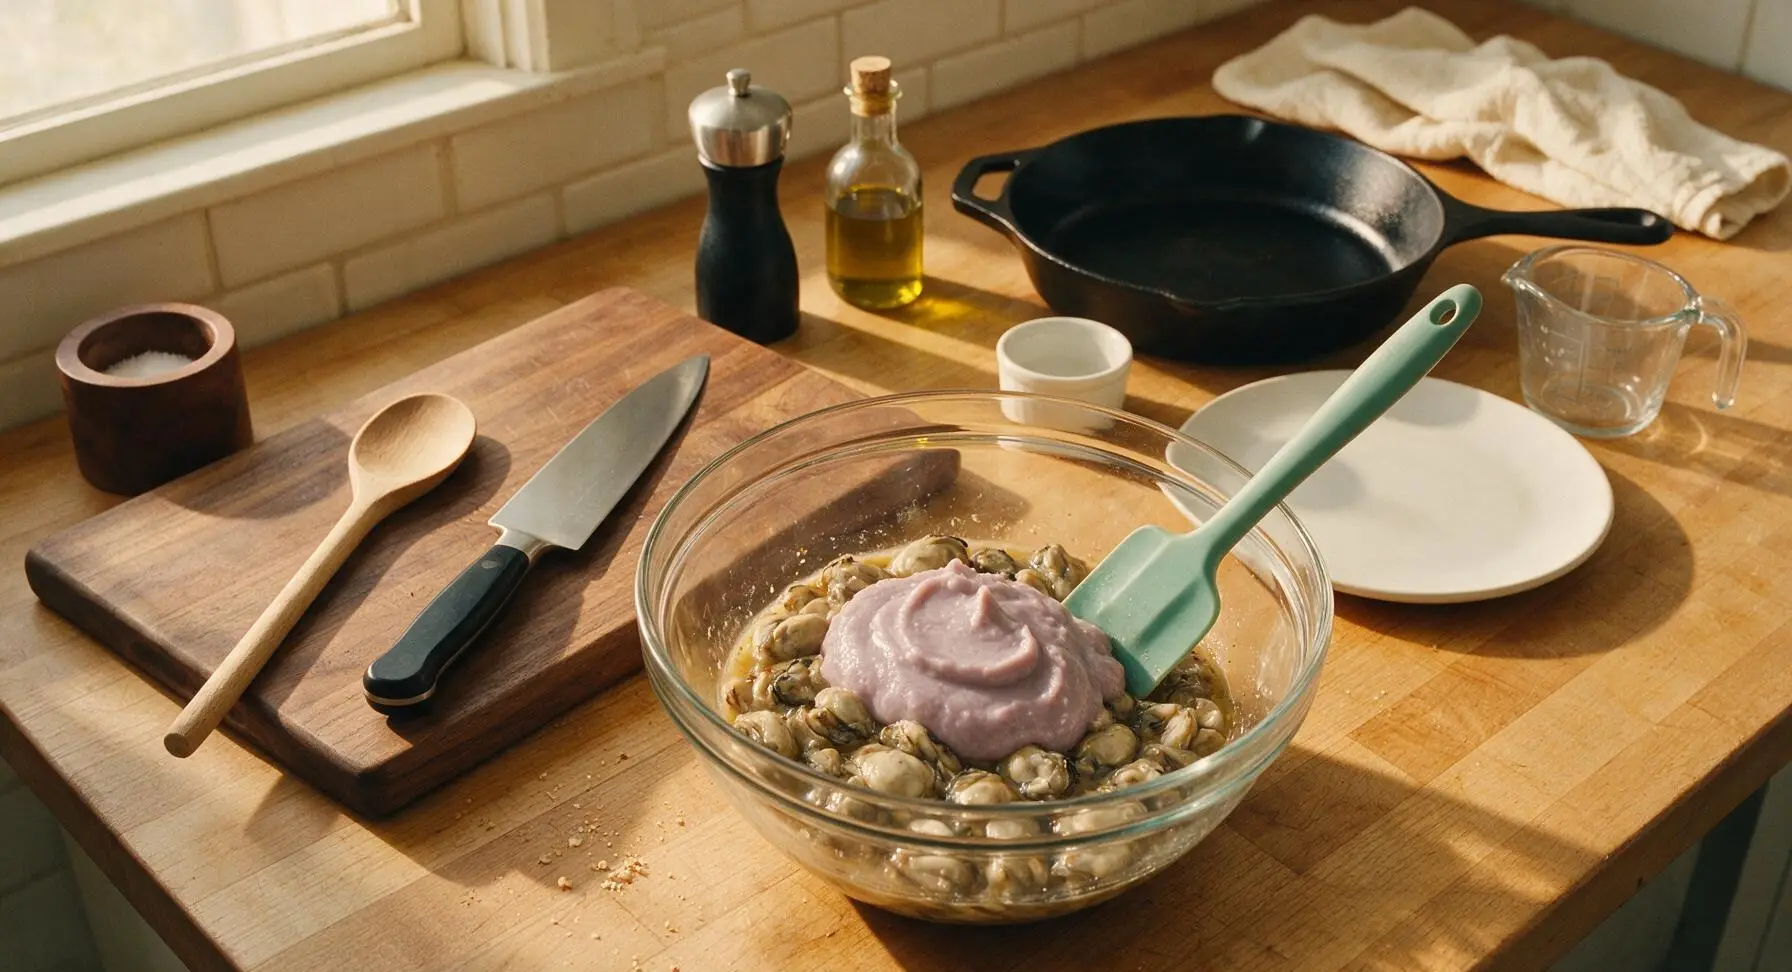
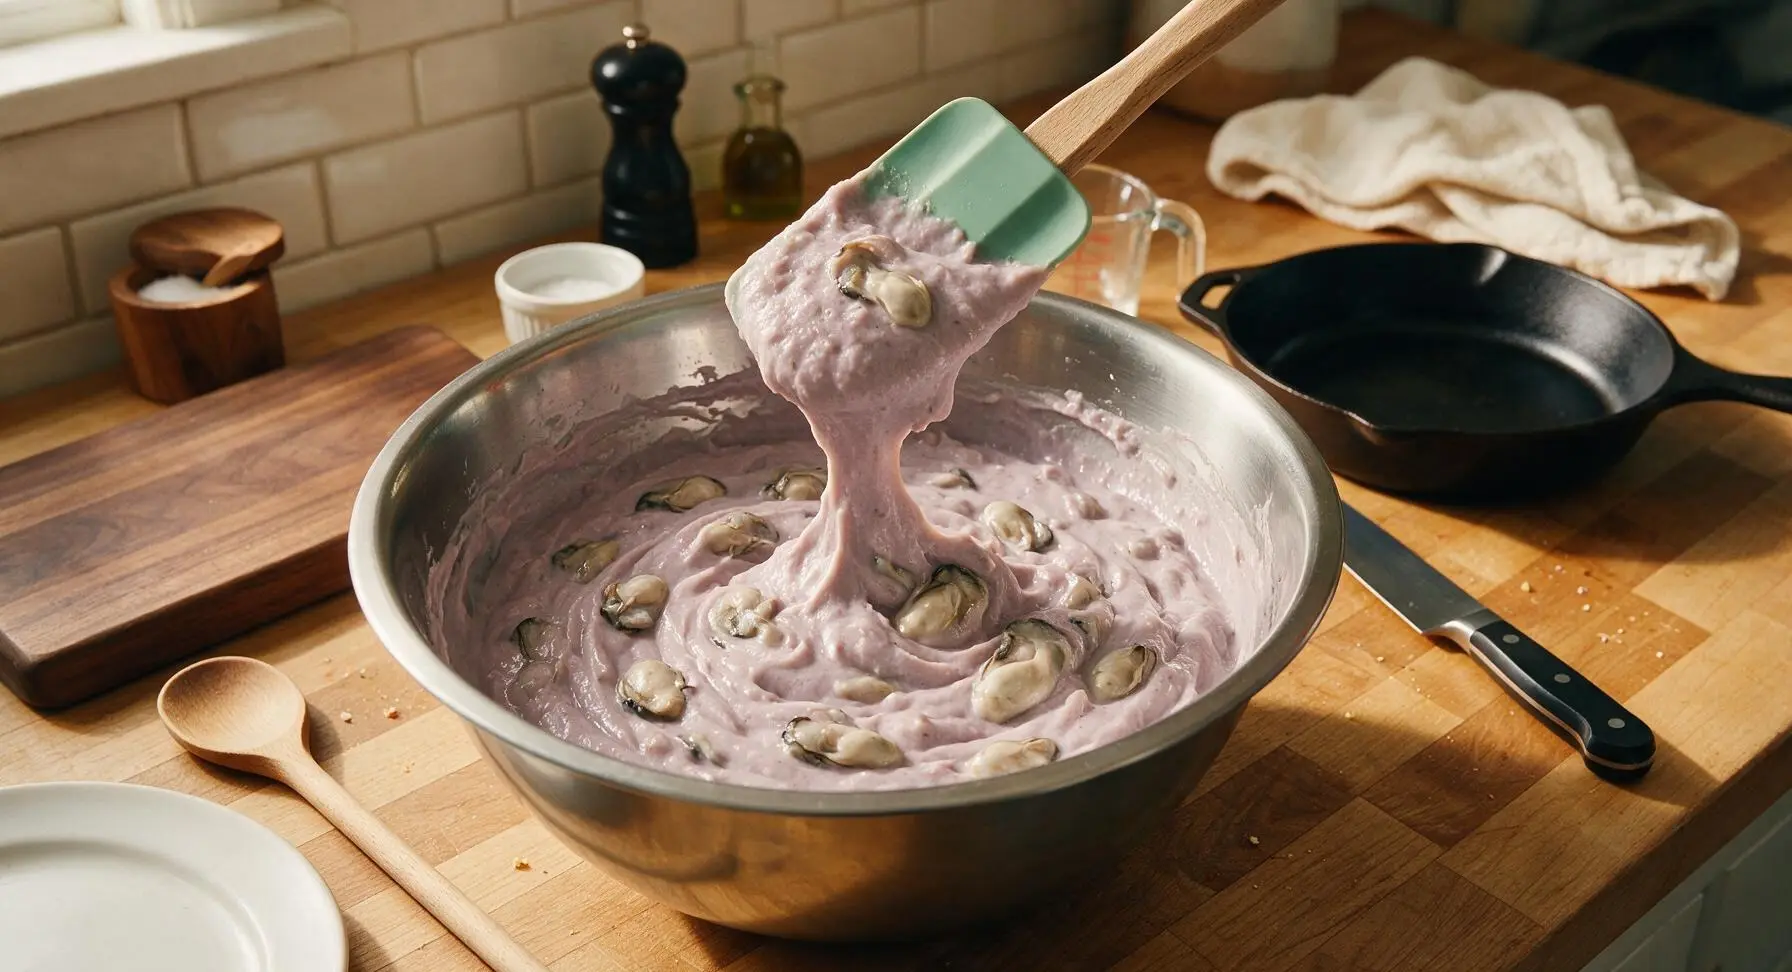
Step 5
step5:Fold in Fresh Poi
Step 5
step5:Fold in Fresh Poi
6

Chill Briefly to Meld

Cover the glass mixing bowl with a thin sheet of natural beeswax wrap and place it in the refrigerator for exactly 10 minutes to allow the flavors to meld and the mixture to firm up slightly. Do not chill for longer than 30 minutes, as extended cold will make the poi overly stiff and mute the bright briny flavor of the oysters.
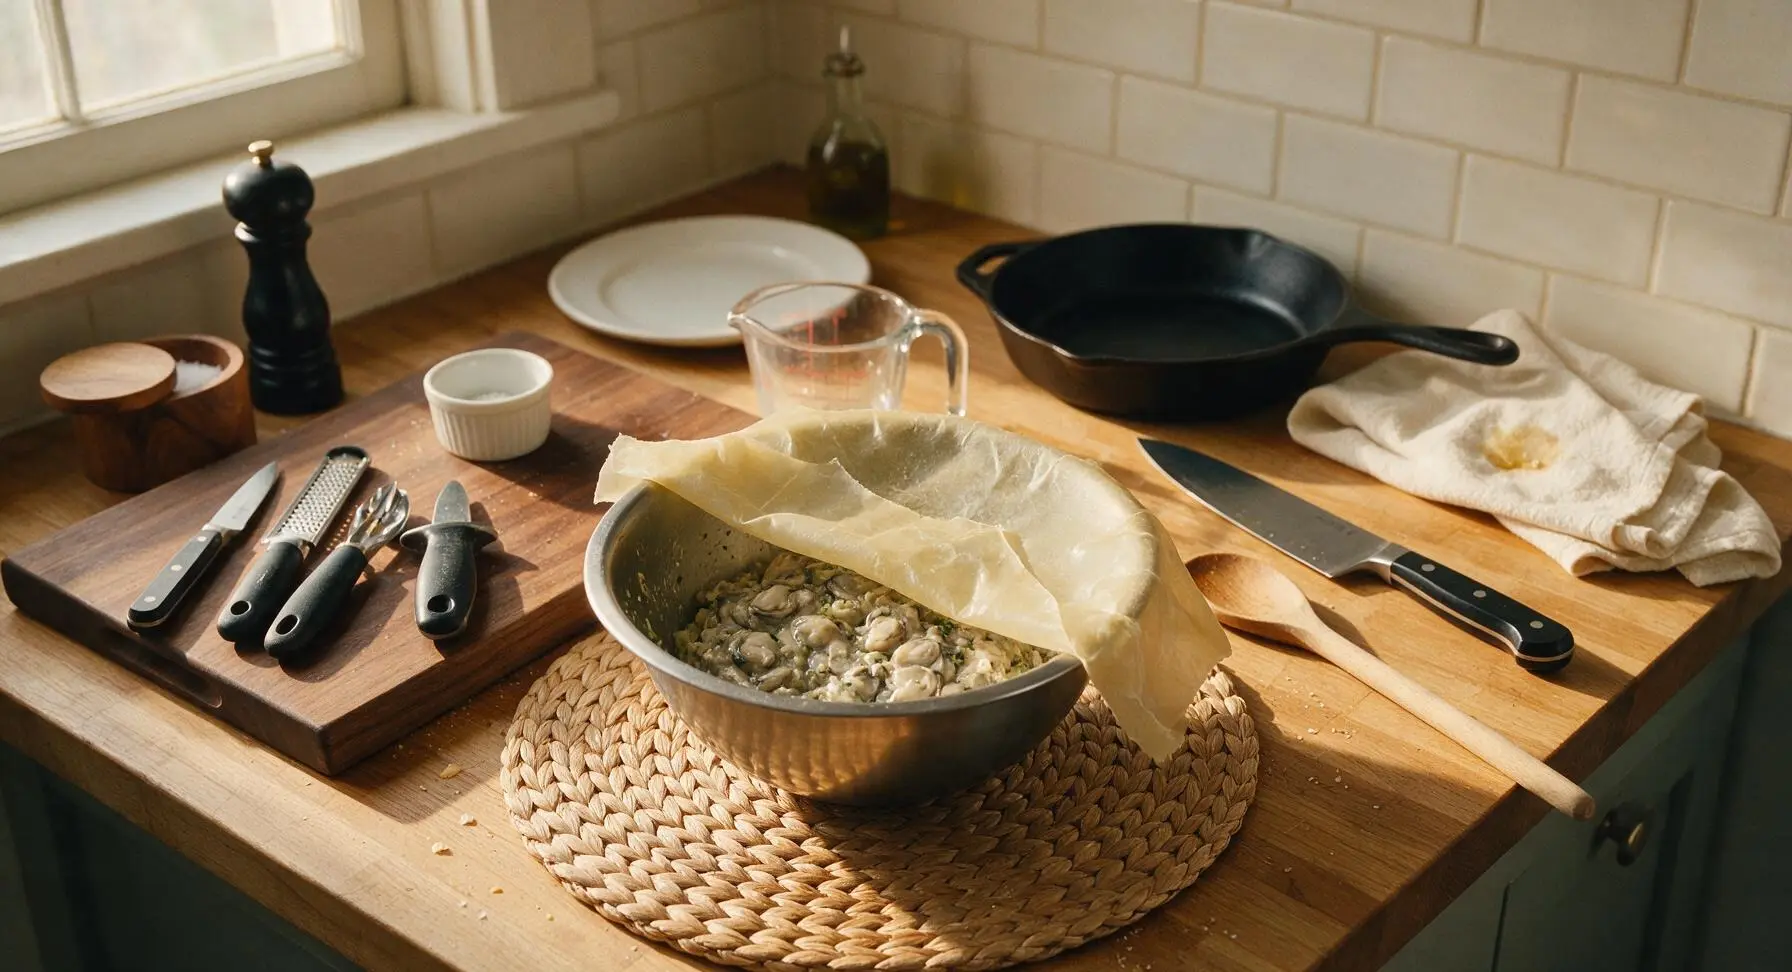
Step 6
step6:Chill Briefly to Meld
7

Plate and Garnish

Remove the chilled oyster poi from the refrigerator and peel off the beeswax wrap. Use the sea foam green silicone spatula to divide the mixture evenly between the 4 small matte terracotta serving bowls, mounding it slightly in the center of each bowl. Top each serving with a light sprinkle of the reserved sliced green onion, a pinch of reserved lemon zest, and a tiny extra pinch of red alaea salt for color contrast. Tuck one reserved clean oyster shell against the side of each mound if using for garnish.
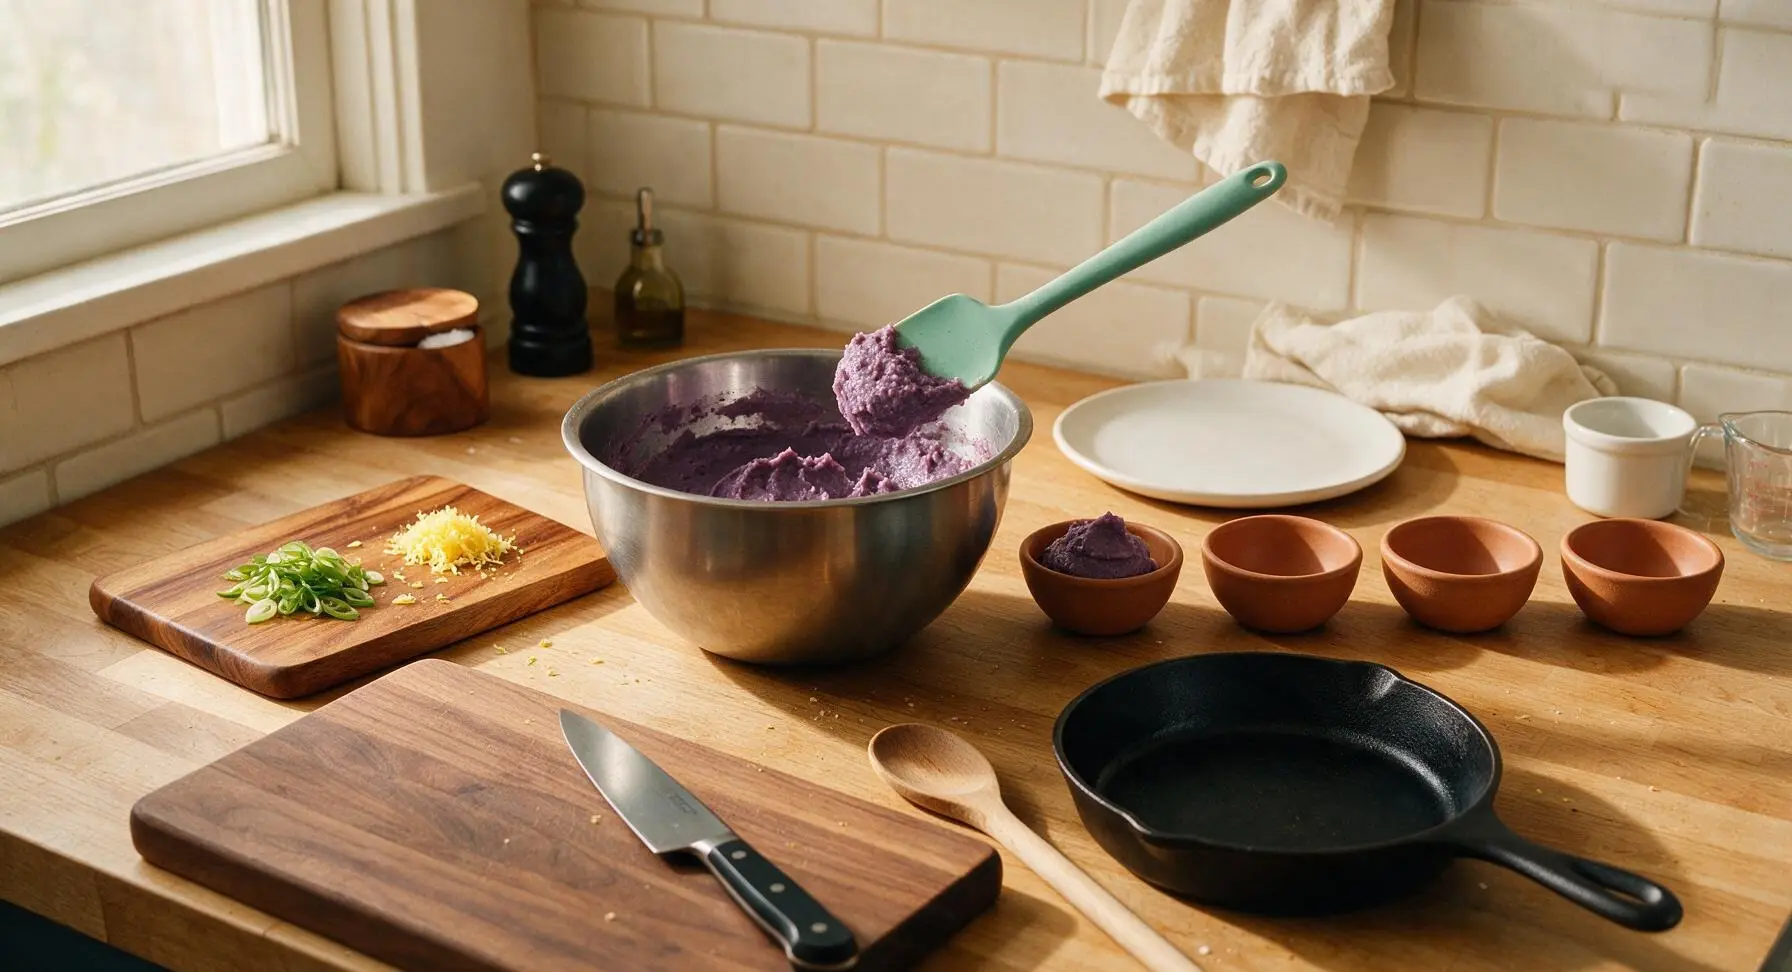
Step 7
step7:Plate and Garnish

Tips

1.If you are new to shucking oysters, ask your local fishmonger to shuck oysters to order and pack them in their natural liquor. Use the oysters within 24 hours of purchase for the brightest, briniest flavor, as pre-shucked oysters lose their sweet, fresh taste quickly when stored.
2.Avoid overmixing the poi: use gentle folding motions rather than rapid stirring, as overworking develops excess starch that turns the dish gluey and heavy. Stop mixing as soon as no streaks of unblended poi remain, with oysters evenly distributed through the creamy base.
3.Adjust poi consistency as needed: if your prepared poi is thicker than thick Greek yogurt, stir in 1-2 teaspoons of cold filtered water or reserved oyster liquor before folding with the seasoned oysters. Poi thickens as it sits in the fridge, so thinning it slightly first ensures a silky, spoonable final texture.
✨ You May Also Like

Seafood
🍜 United States

An iconic Door County, Wisconsin tradition of flaky boiled whitefish, tender potatoes, and sweet corn, cooked outdoors for casual, communal summer gatherings.

⏱️ 45 minuteSeafood ★ 4.7
Seafood
🍜 United States

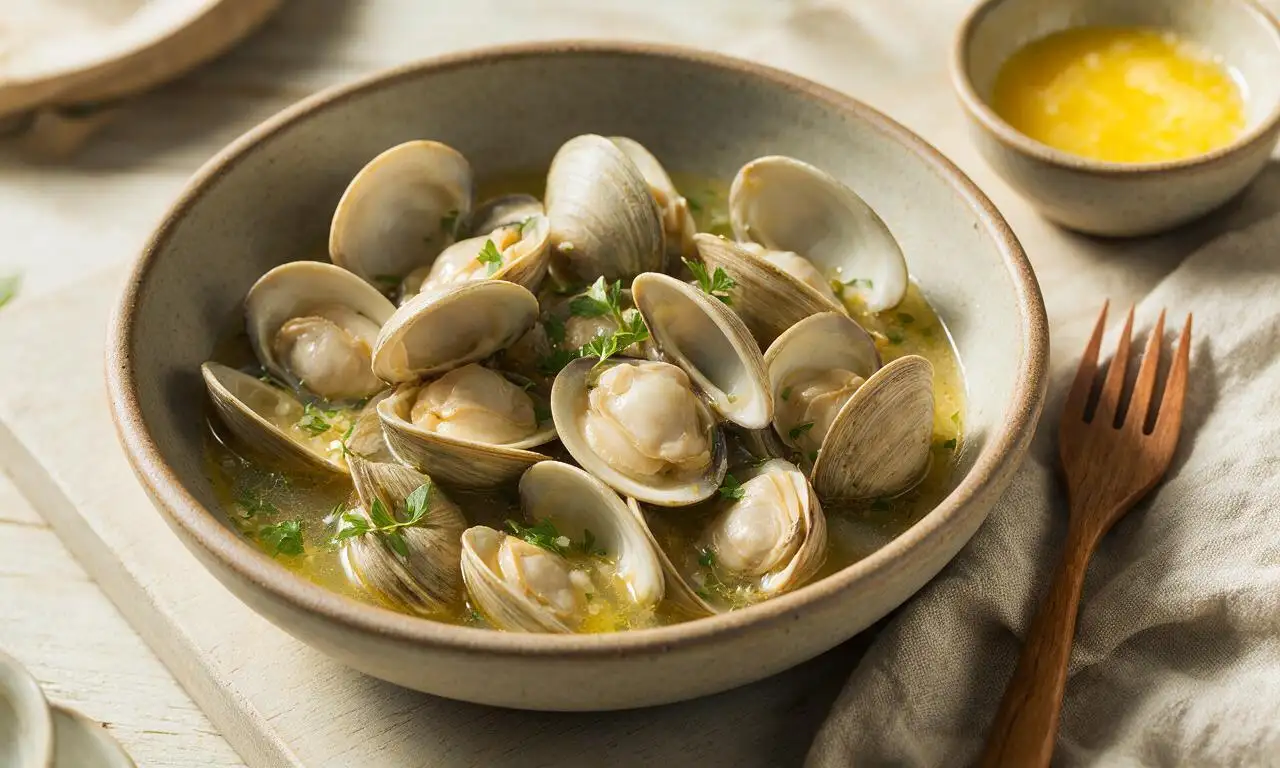
Tender, briny soft-shell clams steamed in garlicky white wine broth, served with warm broth and melted butter for dipping—classic coastal comfort food.

⏱️ 30 minuteSeafood ★ 4.7
Seafood
🍜 United States

Iconic zesty, savory spice blend from Maryland’s Chesapeake Bay, perfect for seafood boils, grilled fare, fries, and corn, made fresh without preservatives.

⏱️ 10 minuteSeafood ★ 4.9
Seafood
🍜 China

Tender, crisp, sweet blanched geoduck topped with fragrant sizzled ginger and scallion, a luxurious Cantonese dish highlighting the clam’s natural briny, delicate flavor.

⏱️ 30 minuteSeafood ★ 4.7
Seafood
🍜 United States

Succulent sweet crab legs coated in rich garlic butter, steamed to tender perfection for a juicy, indulgent seafood feast that requires minimal prep and cook time.

⏱️ 25 minuteSeafood ★ 4.7
Seafood
🍜 United States

A nostalgic chilled jellied seafood staple of 1950s American potlucks, loaded with tender shrimp, lump crab, crisp veggies, and bright creamy tang.

⏱️ 4 hours 2Seafood ★ 4.6

Oyster Poi:Frequently Asked Questions

1.What exactly is oyster poi? ▾
Oyster poi is a beloved no-cook Hawaiian coastal classic: silky, earthy prepared taro poi gently folded with briny shucked fresh oysters (and their natural liquor), finished with a bright squeeze of lemon, pinch of nutty red alaea sea salt, and sliced green onion. It’s served chilled, with a rich, balanced umami kick that’s perfect for hot, sunny days.
2.Can I use canned oysters if I can’t find fresh shucked oysters? ▾
I strongly recommend sticking to fresh, shucked oysters with their natural liquor for the best bright, briny flavor, but if fresh is totally unavailable, opt for high-quality refrigerated shucked oysters packed in their own juice. Skip shelf-stable canned oysters—they have a metallic, overly salty, cooked flavor that throws off the delicate, cool balance of this dish.
3.What is Hawaiian alaea sea salt, and can I substitute it if I don’t have any? ▾
Alaea salt is a traditional Hawaiian coarse sea salt blended with iron-rich red volcanic clay, which gives it a subtle nutty, earthy flavor and signature rust hue. If you don’t have it on hand, substitute coarse unrefined sea salt mixed with a tiny pinch of sweet smoked paprika to mimic that earthy depth. Skip fine table salt, as it will taste harsh and overly sharp in this delicate dish.
4.Do I need to cook the oysters before mixing them into the poi? ▾
No, this dish is traditionally made with raw, freshly shucked oysters for that bright, briny, melt-in-your-mouth texture, similar to Hawaiian poke. That said, only use oysters labeled safe for raw consumption, kept properly chilled from purchase to prep, and shucked right before mixing to minimize food safety risk, especially if serving immunocompromised guests.
5.My prepared poi is really thick and pasty—how do I get it to the right consistency for this recipe? ▾
Prepared poi ranges from thick, doughy "one-finger" poi to thinner "three-finger" poi depending on water content. For oyster poi, aim for a smooth, thick Greek yogurt-like consistency: stir in small splashes of cold filtered water, a teaspoon at a time, until it folds easily without being runny, so it coats the oysters evenly without drowning them.
6.How far in advance can I make oyster poi before serving? ▾
Oyster poi tastes best when made 30 minutes to 1 hour before serving, kept tightly covered in the fridge to let the briny, earthy flavors meld gently. I don’t recommend making it more than 2 hours ahead: the raw oysters will start to break down, the lemon juice will cure them into a firmer ceviche-like texture, and the poi can turn stiff and gummy as it chills too long.
7.Should I drain the natural liquor from the oysters before adding them to the poi? ▾
Don’t drain that natural oyster liquor! That clear, briny liquid inside the oyster shell is packed with bright, umami-rich oyster flavor that thins the poi perfectly and amplifies that classic coastal taste. The only time you should discard liquid is if it looks murky, has a sharp, off fishy smell, or has bits of broken shell you need to strain out first.
8.What’s the best way to serve oyster poi? ▾
Serve oyster poi well-chilled, in small individual bowls or on chilled appetizer plates, garnished with an extra tiny pinch of alaea salt, a thin lemon wedge, and a sprinkle of thinly sliced green onion tops. It works beautifully as a light pupu (Hawaiian appetizer) for summer cookouts, a side for grilled fish, or even a cool, satisfying light lunch on sweltering hot days.
9.Can I make this recipe if I have a shellfish allergy? ▾
Unfortunately, oyster poi is centered around fresh shellfish, so it is not safe for anyone with a shellfish allergy. If you want a similar cool, earthy taro dish with that same umami kick, swap the oysters for diced firm ripe avocado and a sprinkle of crumbled dried nori for a briny, ocean-adjacent flavor that pairs beautifully with the poi and lemon.
10.Why does my poi taste slightly sour? Is it spoiled? ▾
Fresh poi has a mild, sweet, earthy taste, but it naturally ferments after a few days in the fridge, developing a tangy, slightly sour flavor. For oyster poi, use the freshest, least sour poi you can find, because that tang will clash with the briny oysters and bright lemon. Sour fermented poi isn’t spoiled, but it’s better saved for eating plain or mixing into cooked savory dishes.
11.What size oysters work best for this recipe? ▾
Medium-sized oysters are ideal for oyster poi, because they strike a perfect balance of briny, sweet flavor and tender, bite-sized texture that doesn’t get lost in the silky poi. Skip extra-large oysters, which can be chewy and overly briny, and tiny cocktail oysters, which are so small you won’t get that distinct fresh oyster taste in every bite.
12.Do I need to add any other seasonings besides salt, lemon, and green onion? ▾
This dish is all about balancing three core flavors: earthy taro, briny oyster, and bright lemon, so you don’t need heavy extra seasonings that will overpower that delicate balance. Skip additions like soy sauce, hot sauce, garlic, or sesame oil on the first pass. If you want a little extra kick after tasting, a tiny pinch of crushed red pepper or light sprinkle of limu (Hawaiian seaweed) works beautifully.
13.How should I store leftover oyster poi, and how long will it keep? ▾
Store any leftover oyster poi in a tightly sealed, airtight container in the coldest part of your fridge, and eat it within 24 hours of making it. I don’t recommend freezing oyster poi, because the oysters will turn rubbery when thawed, and the poi will break down into a grainy, watery texture that’s impossible to bring back to that signature silky consistency.
14.Can I make this with homemade taro poi instead of store-bought prepared poi? ▾
Absolutely! Homemade poi, made from steamed or boiled taro root pounded until smooth with a little cold water, will actually give you the best, freshest flavor for this recipe. Just make sure you cook the taro completely until fork-tender before pounding, and remove all fibrous outer skin fully, so your final poi is completely silky with no gritty, stringy bits mixed in.
15.Is oyster poi a traditional Hawaiian dish, or a modern fusion creation? ▾
Oyster poi is a traditional coastal Hawaiian preparation, with roots in community gathering and lūʻau food from islands where shellfish and taro were both abundant, core staple ingredients. It’s far less widely known than plain poi or lomi lomi salmon, but it has been enjoyed by Hawaiian families for generations as a cool, nourishing dish for warm coastal weather.
16.My oysters have a really strong fishy smell—are they safe to use? ▾
Fresh, raw oysters safe to eat should smell like clean, briny ocean water, with no strong, sharp fishy or rotten odor. If your oysters have a pungent, off smell when you shuck them, throw them out immediately—they are spoiled, and eating raw spoiled shellfish can cause serious foodborne illness, even if you mix them with lemon or salt.
17.Should I mix the green onions and lemon right before serving, or can I fold them in early? ▾
Fold the thinly sliced green onions (both white and pale green parts) in with the oysters and poi when you first mix the dish, so their mild onion flavor infuses gently as it chills. Wait to stir in the fresh lemon juice and add the final lemon garnish until right before serving, though—adding lemon too early will cure the oysters and make the poi taste overly tart as it sits.

Comments (4)

3 days ago

OMG I brought this to our neighborhood luau potluck last weekend and people were literally begging for the recipe! It’s so easy to throw together, zero cooking required which is perfect for these brutal 90-degree summer days. The briny oysters pair so perfectly with the creamy, earthy poi, I didn’t even need to add extra salt. 10/10 will be making this again for our next beach cookout!

2 days ago

Wait quick question—did you use fresh shucked oysters or the canned smoked ones? I want to make this for my book club potluck next week and don’t want to mess it up!

yesterday

Great question! Fresh shucked oysters work best for that bright, classic briny flavor, but high-quality canned smoked oysters are a fantastic budget-friendly swap if you don’t have easy access to fresh. Just be sure to drain them really well before mixing so your poi doesn’t get watery!

1 week ago

Total game changer for quick weeknight sides! I threw this together while the kids were setting the table, popped it in the fridge to chill while we grilled hot dogs, and even my super picky 7-year-old asked for seconds. I added a tiny squeeze of fresh lime at the end and it was chef’s kiss. SO good, this is definitely going into our regular meal prep rotation!

5 days ago

Love that fresh lime squeeze idea! That bright, zesty kick is such a nice complement to the rich oysters and mellow poi, I’ll have to test that variation myself next time I whip this up. So glad your picky eater approved—those are the best wins!

2 days ago

Wait, zero cook time? I was super skeptical at first because I almost always cook my oysters, but this raw preparation is so light and refreshing. I made it for my at-home date night last night and my partner thought I spent hours prepping in the kitchen. Little did they know it only took 10 minutes total including the chill time! Only tweak I’ll make next time is add a sprinkle of chili flakes for a little heat.

yesterday

The chili flakes idea is genius! I added a dash of my favorite habanero hot sauce last time I made it and it hit so hard, 10/10 recommend giving that a shot too.

2 weeks ago

I grew up eating poi on family trips to Hawaii when I was a kid, and this oyster twist is such a fun, delicious modern take! It’s creamy, briny, and tastes exactly like the kind of pupu you’d get at a casual beachside food truck. It was so easy to make even for someone like me who’s not super confident in the kitchen, no fancy equipment or fancy skills required at all.