1.Why do you recommend bone-in, skin-on chicken thighs and drumsticks instead of boneless, skinless cuts for this recipe?
▾
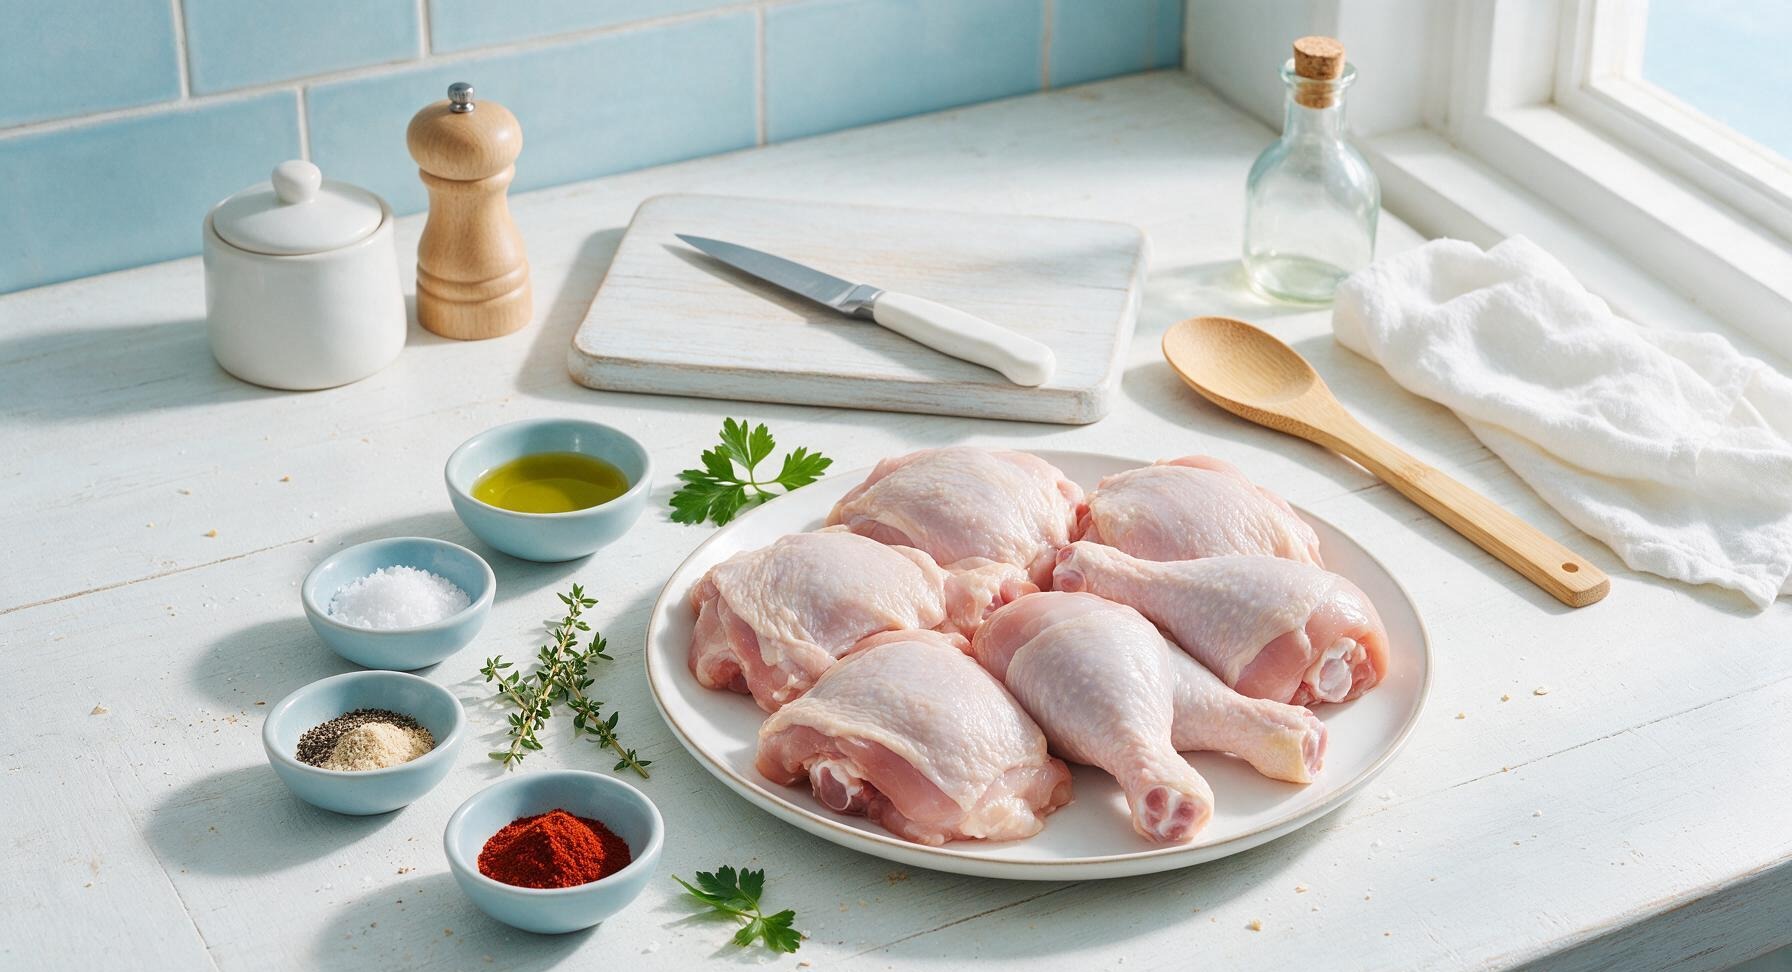
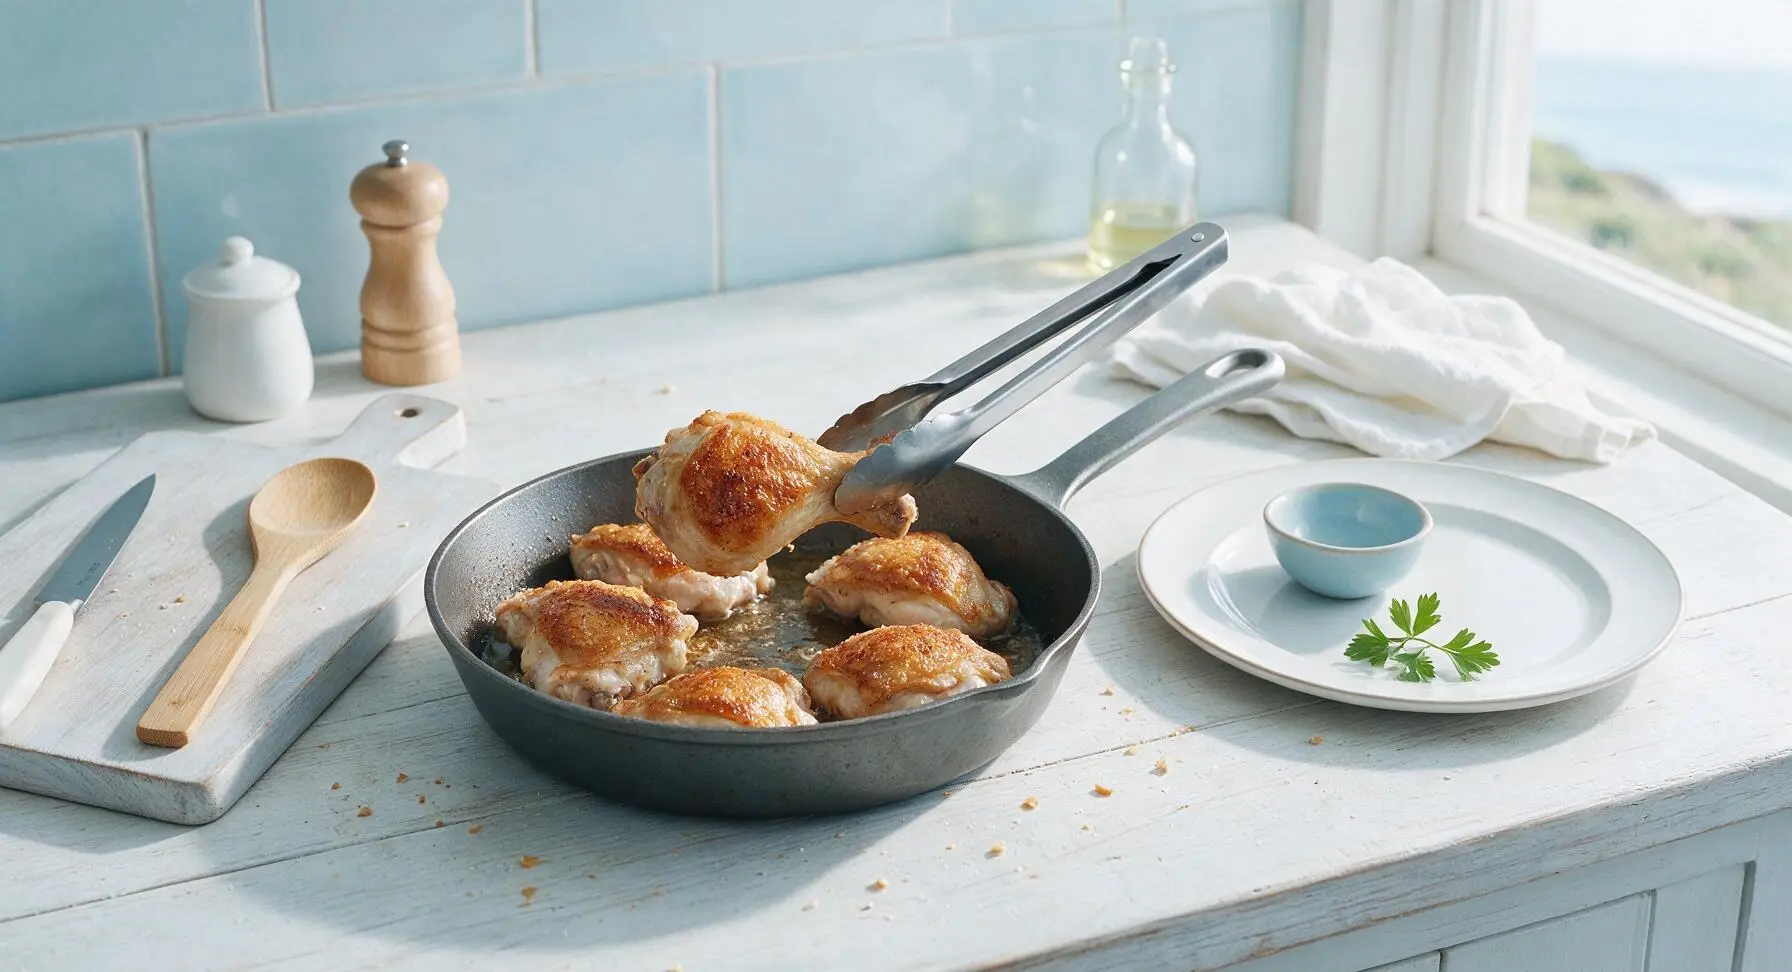
Bone-in, skin-on cuts are key for that signature shatteringly crisp crust and juicy, tender meat! The skin renders rich, flavorful fat as it cooks, which you use to crisp the exterior instead of loading up on extra oil, while the bone insulates the meat to prevent drying out over high pan heat. Boneless, skinless cuts will cook too fast and won’t develop that perfect crispy texture.
2.Can I use chicken breasts instead of thighs and drumsticks if that’s what I already have in my fridge?
▾
You can, but adjust your cooking time carefully to avoid dry, tough meat. Opt for bone-in, skin-on breasts if possible, and pound the thick end to an even 1.5-inch thickness so it cooks uniformly. Expect a 12-15 minute total cook time, and pull it from the pan once it hits 160°F internal temp, as carryover cooking will bring it to the safe 165°F as it rests.
3.Do I need to add a lot of oil to the pan to get a crispy crust, since this isn’t deep-fried?
▾
Nope, you only need 1-2 teaspoons of a high-smoke-point oil like canola or avocado to start! The chicken skin will render 2-3 tablespoons of rich, savory fat as it cooks, which is more than enough to crisp the seasoned crust. Adding too much extra oil will make the crust soggy and greasy instead of light and crisp, so start light.
4.How do I keep the chicken skin from sticking to the pan when I start frying?
▾
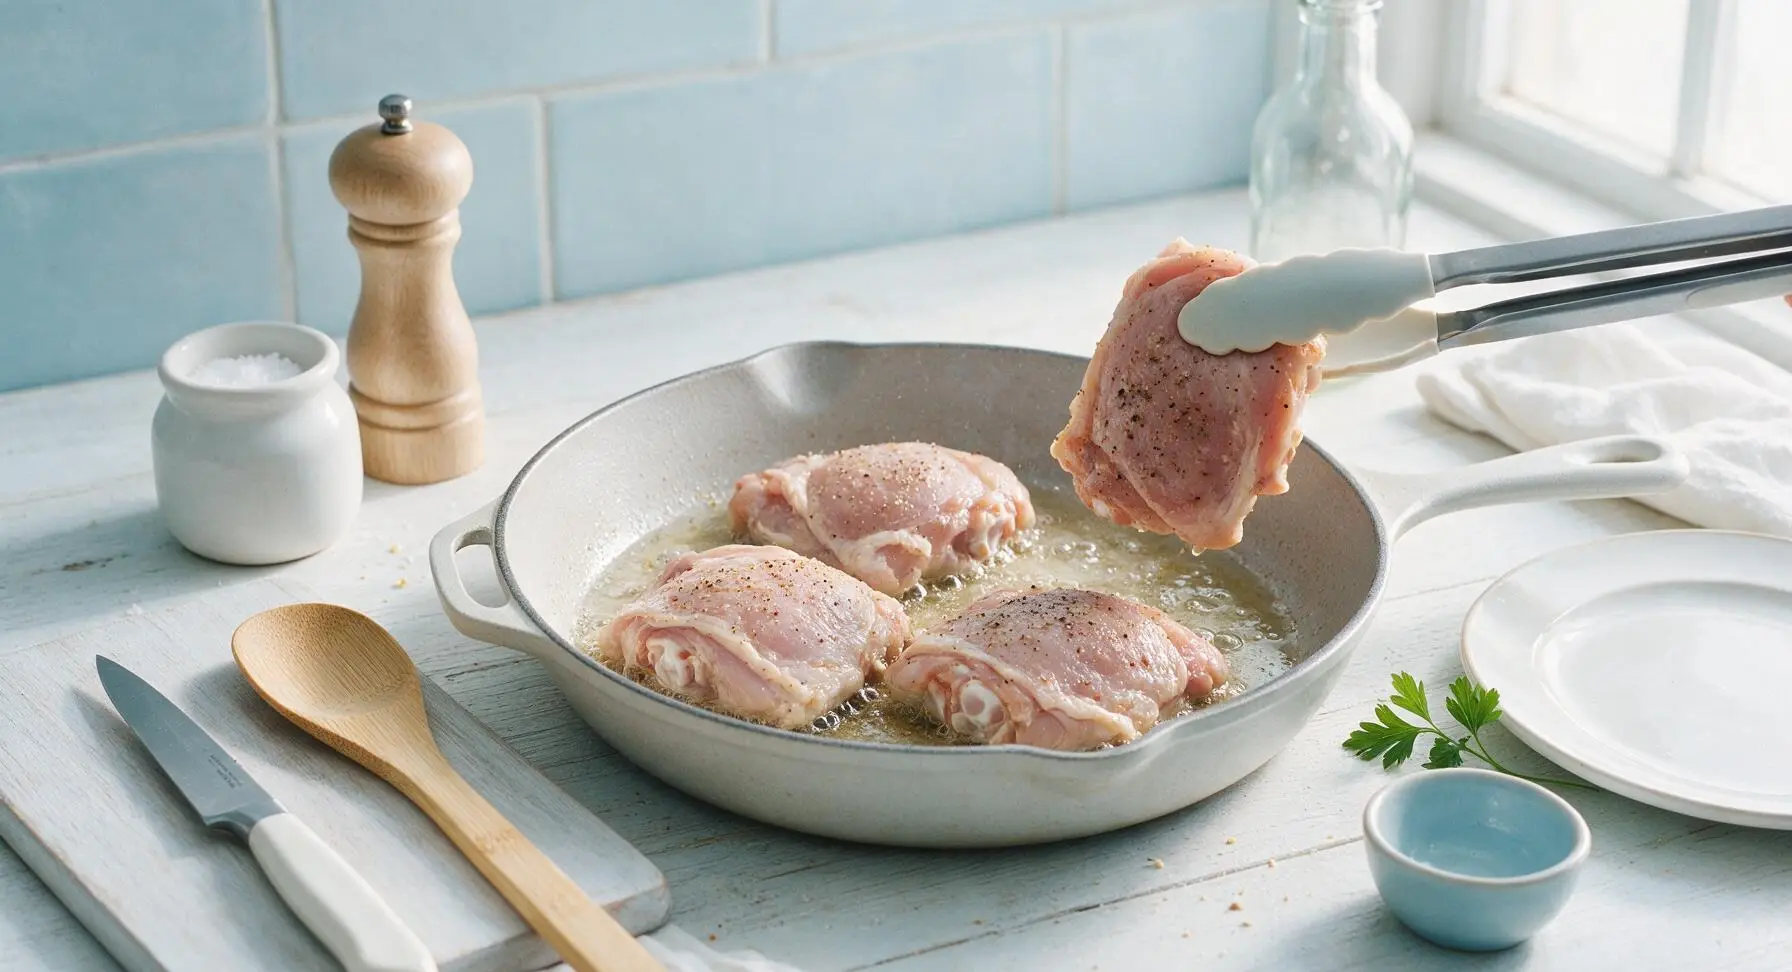
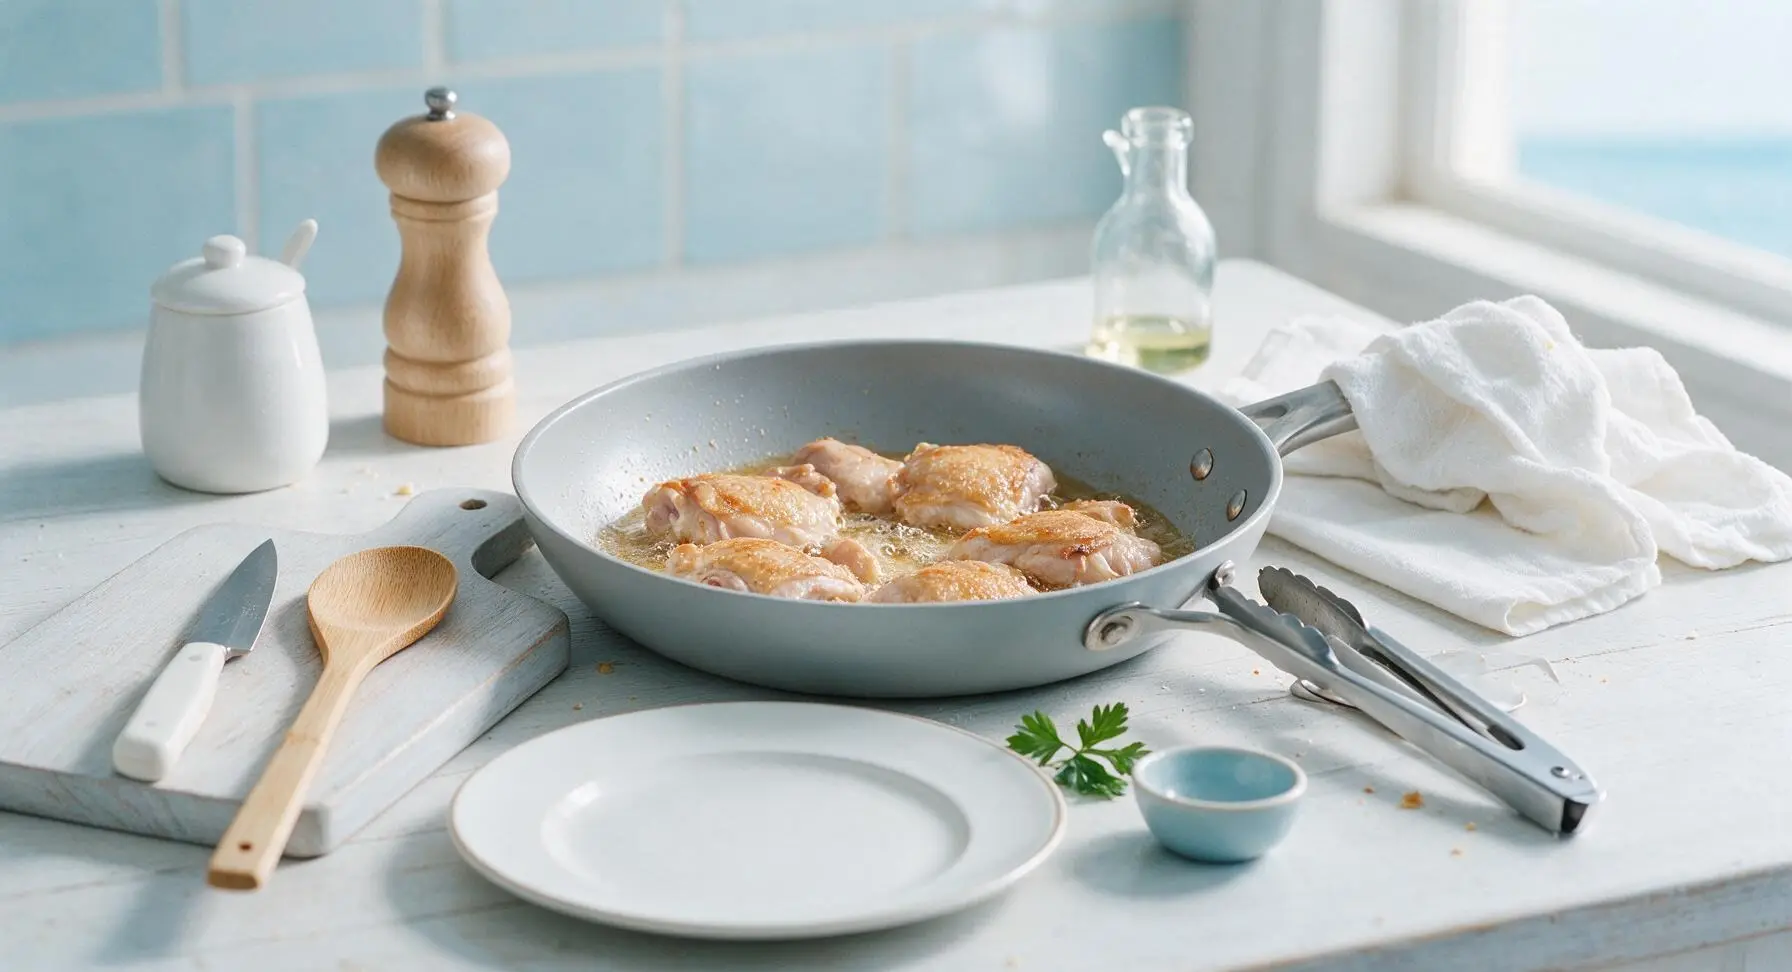
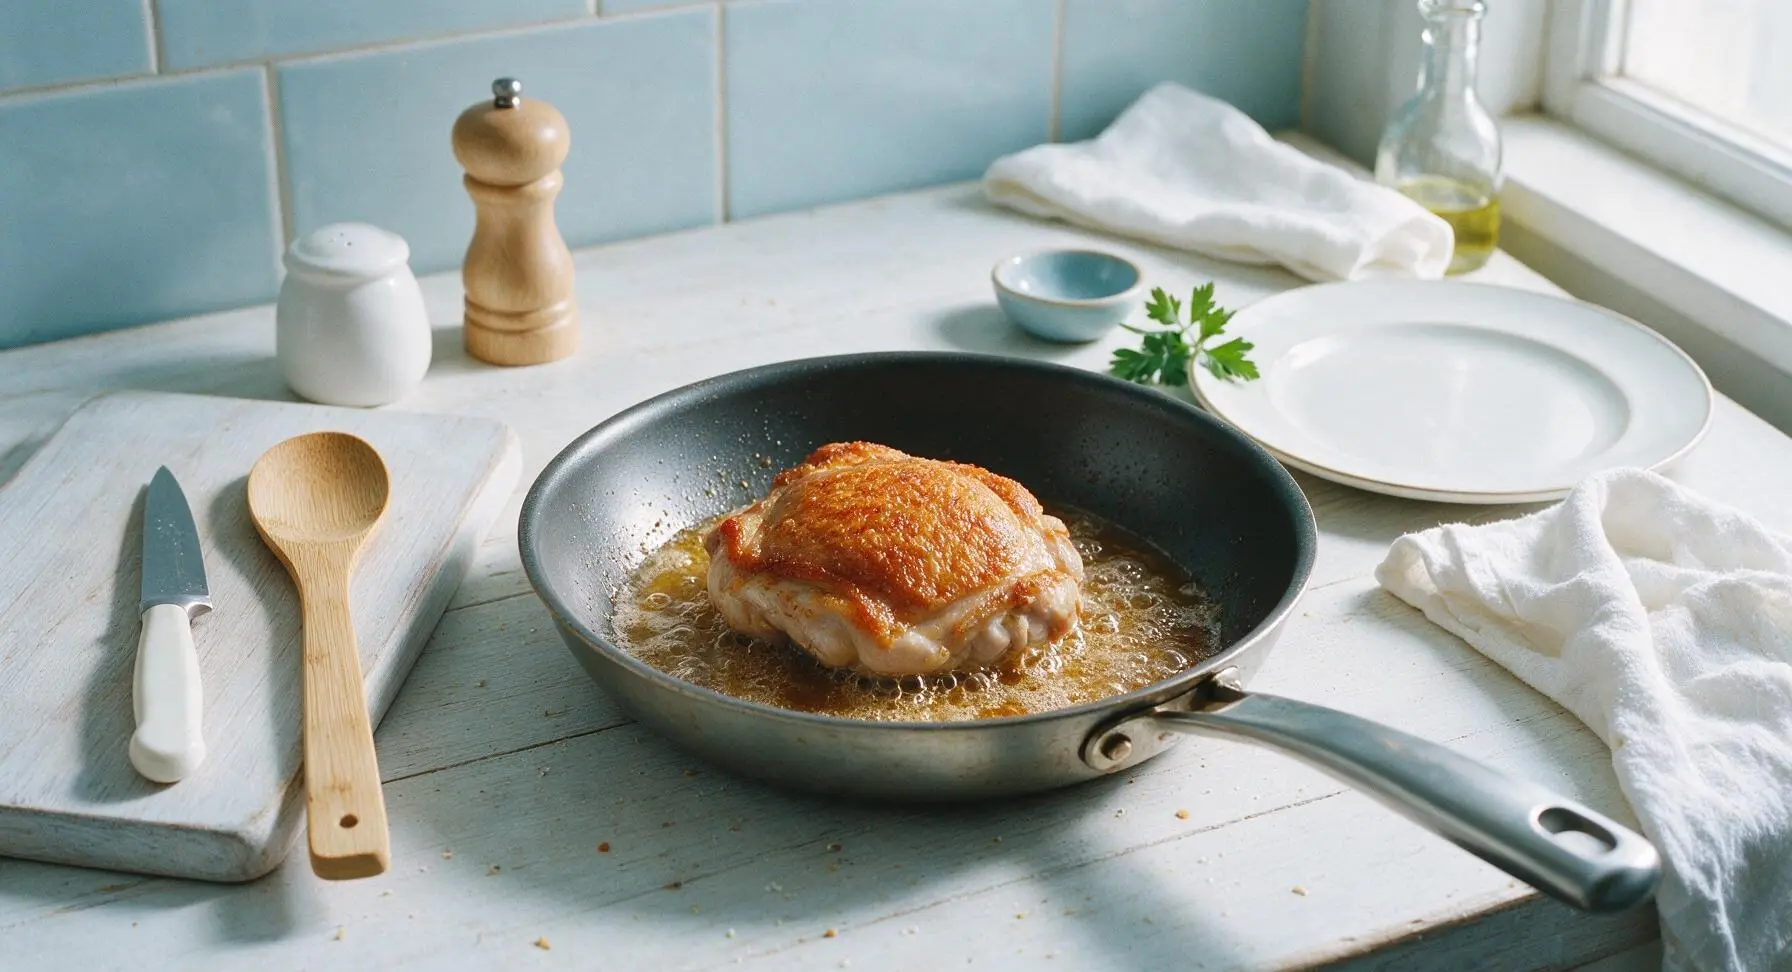
The number one rule is don’t move the chicken too early! Start with fully patted-dry chicken, a preheated pan over medium heat, and place the chicken skin-side down first. Let it cook undisturbed for 8-10 minutes—once the fat renders and the crust forms a solid golden layer, it will release easily from the pan without tearing when nudged with a spatula.
5.What’s the benefit of using kosher salt instead of regular table salt for this recipe?
▾
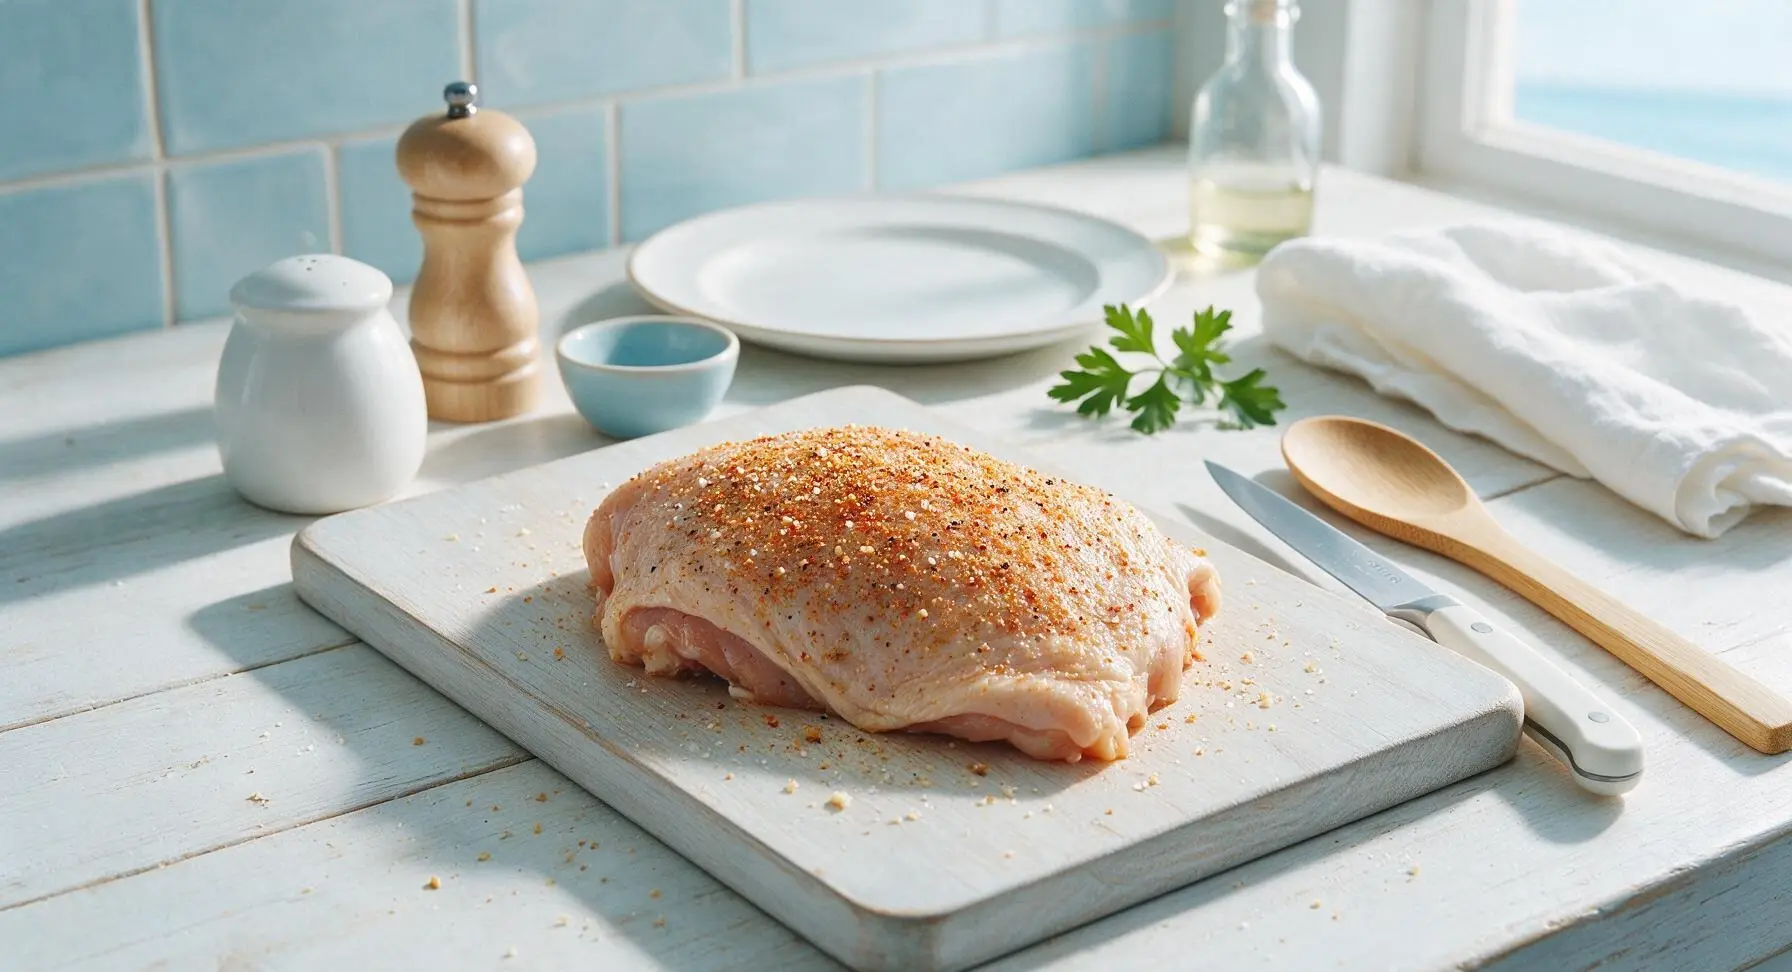
Kosher salt has larger, flakier crystals that distribute more evenly across the chicken skin and meat, so you don’t get random overly salty bites. It also draws out just enough surface moisture from the skin as it rests pre-cook, which helps that ultra-crispy crust form. If you use table salt, cut the amount by half to avoid over-salting.
6.Can I add extra spices beyond the smoked paprika, garlic powder, salt, and pepper listed in the recipe?
▾
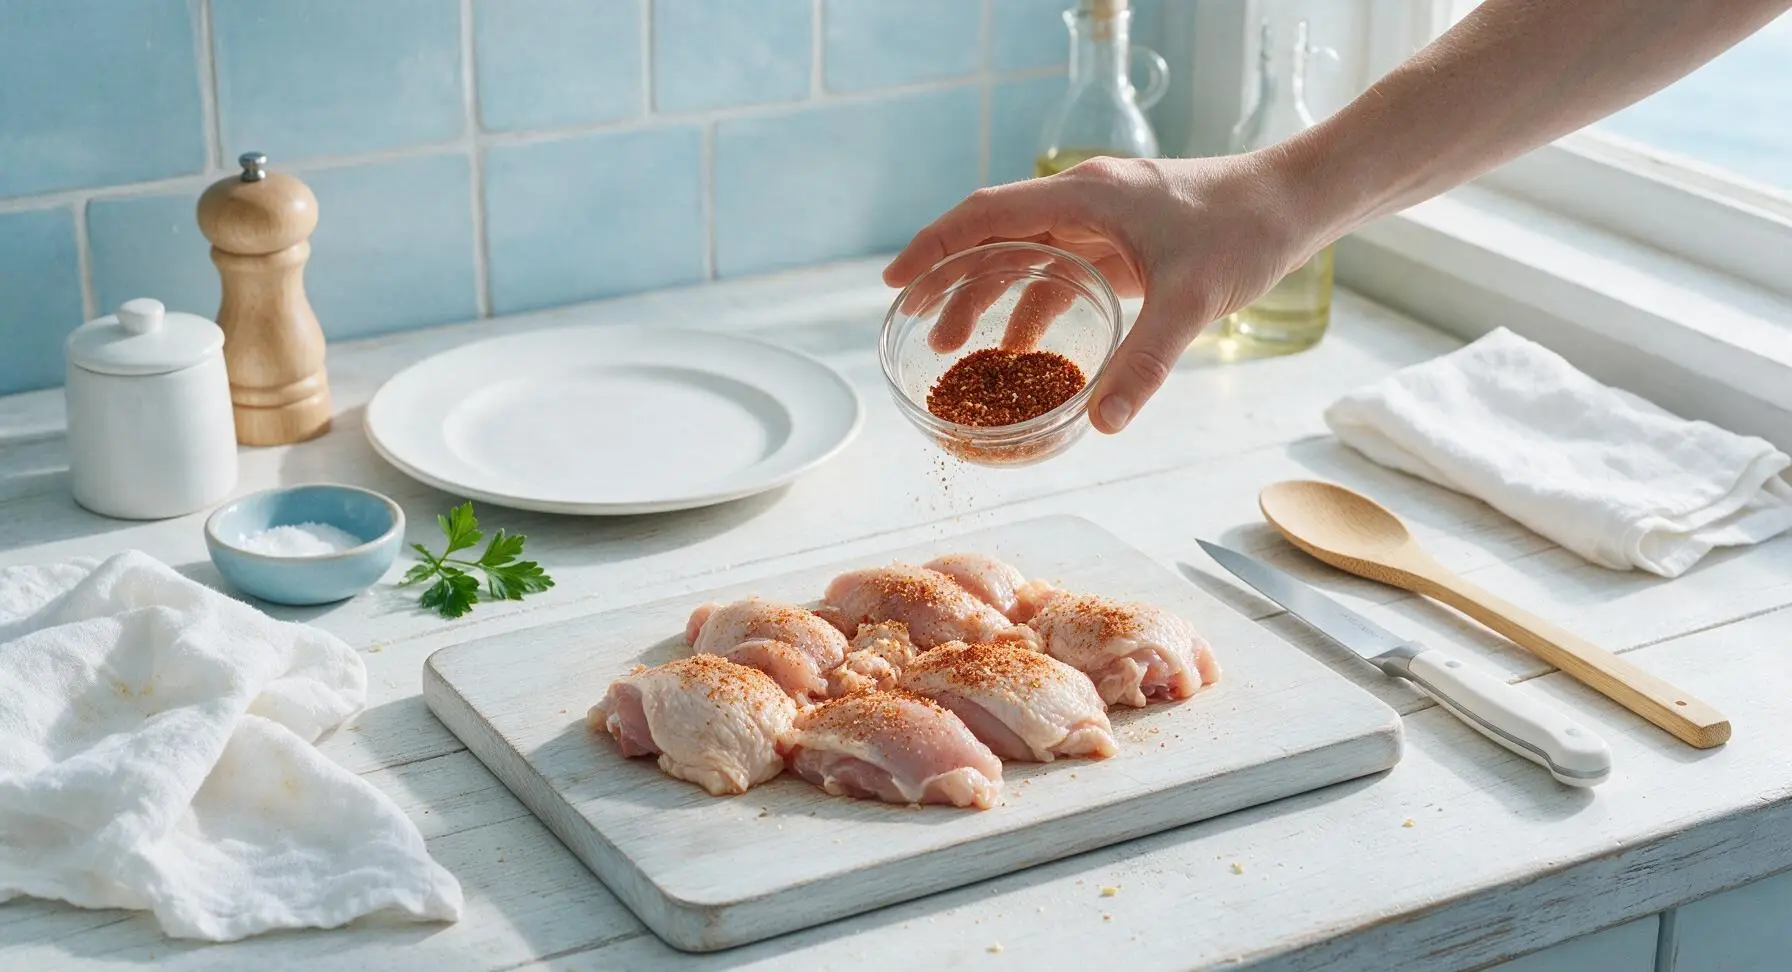
Absolutely! The base spice blend is super versatile, so you can mix in add-ins like ¼ teaspoon of cayenne for gentle heat, a pinch of dried thyme for herby depth, or ½ teaspoon of onion powder for extra savoriness. Just keep total dry seasoning to under 2 tablespoons for 2 pounds of chicken, so you don’t overload the skin and prevent crisping.
7.How long should I let the seasoned chicken rest before putting it in the hot pan?
▾
For the best crust, let seasoned chicken sit at room temperature for 15-20 minutes before frying. This does two key things: it lets the salt penetrate the meat for more even, deep flavor, and it lets the skin surface dry out slightly, which cuts down on oil splatter and helps the crust crisp faster instead of steaming when it hits the pan.
8.What internal temperature should I cook the chicken to so it’s juicy but safe to eat?
▾
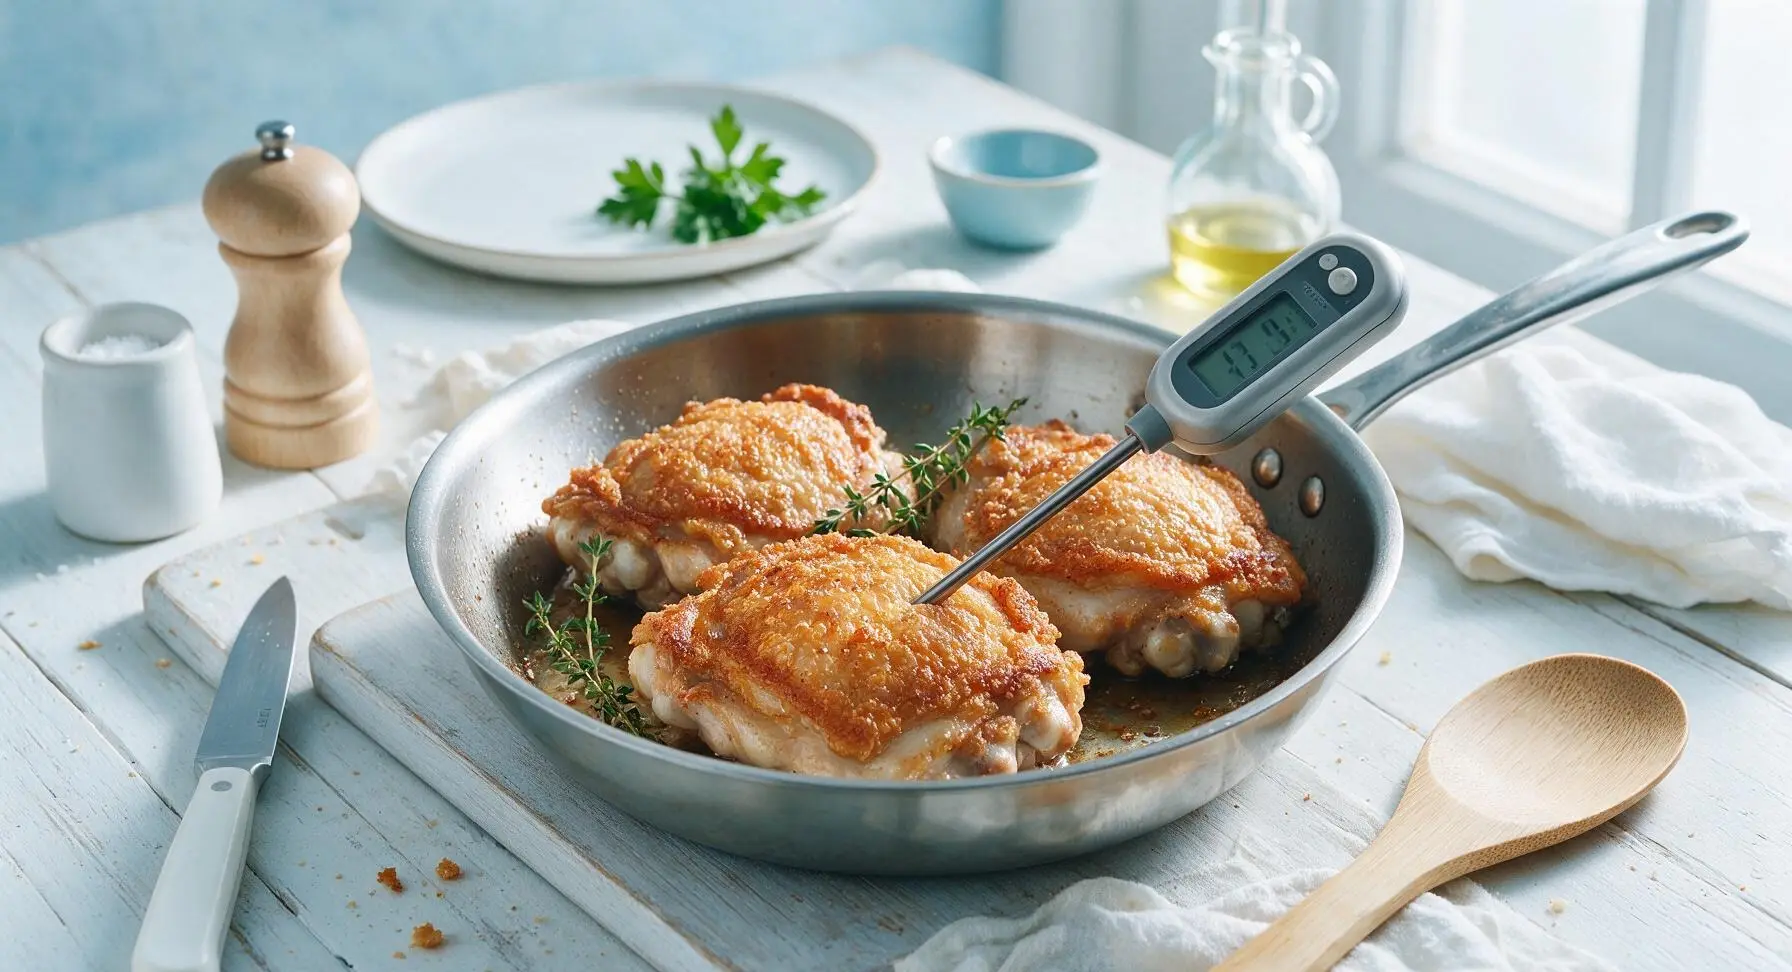
Pull your thighs and drumsticks from the pan once the thickest part (not touching bone) hits 160°F. As the chicken rests for 5 minutes off heat, carryover cooking will bring it up to the FDA-recommended 165°F safe internal temp, and the dark meat will stay juicy and tender instead of turning tough and dry from overcooking.
9.Why is my chicken crust coming out soggy instead of crispy when I make this?
▾
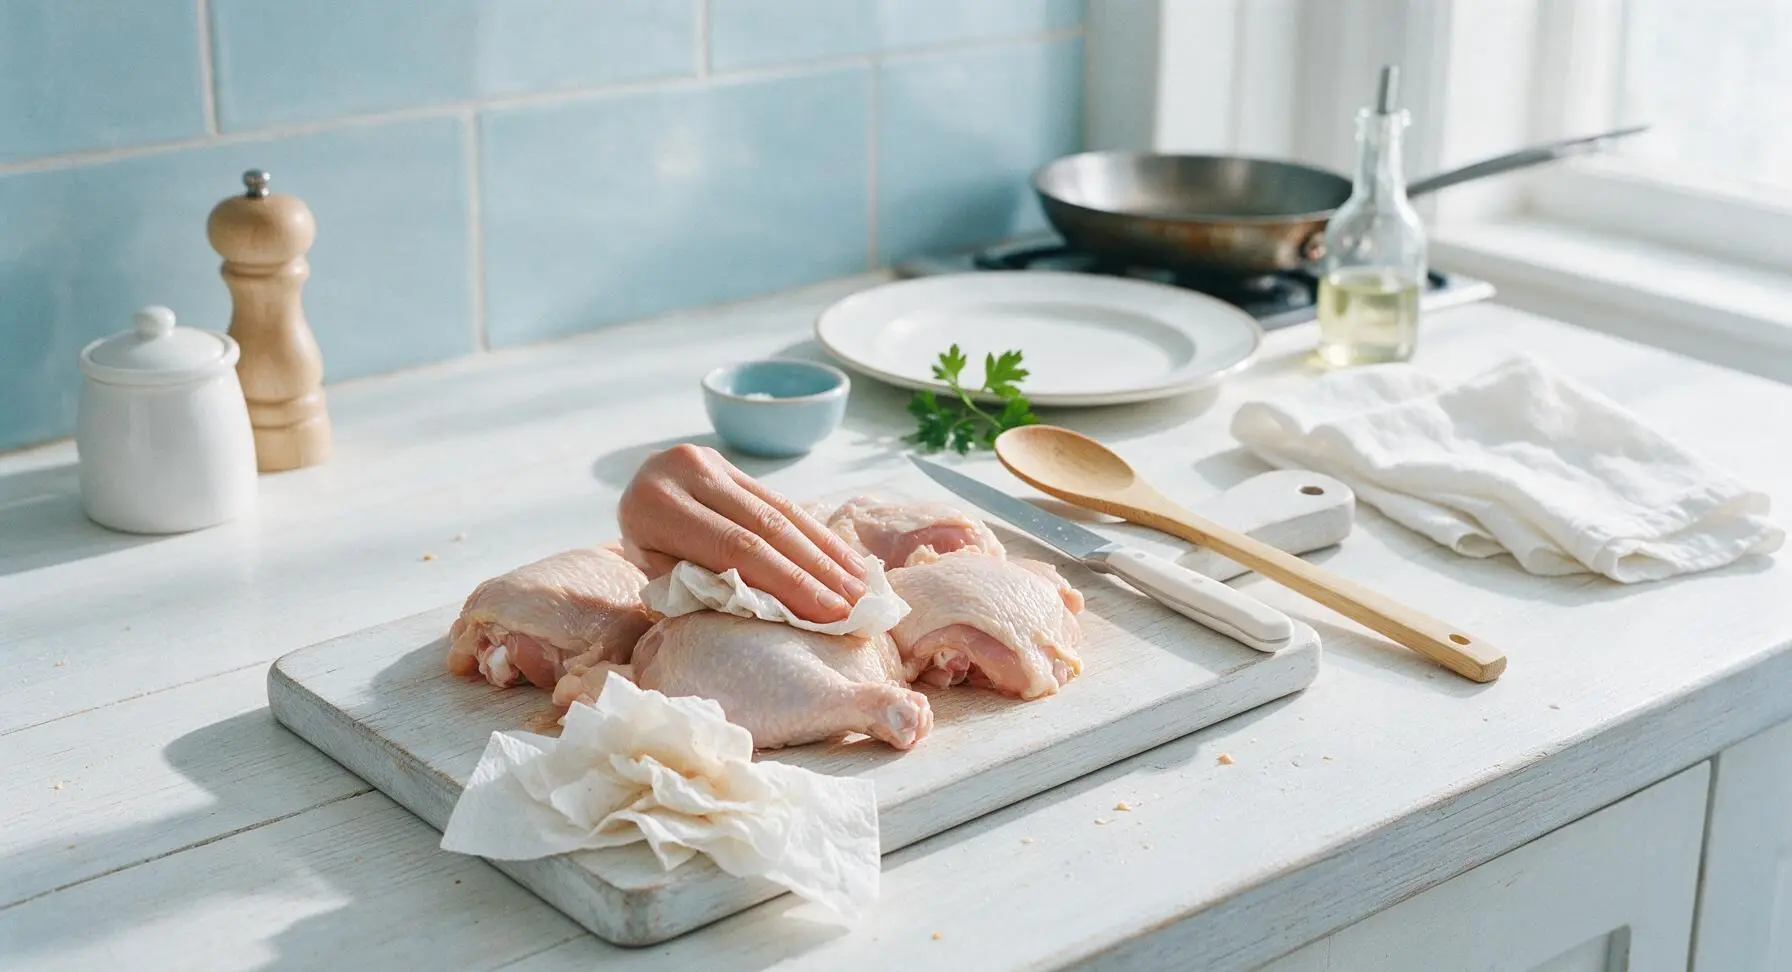
Soggy crust almost always traces back to three common mistakes: your pan wasn’t hot enough when you added the chicken, you moved the chicken too early before the crust fully set, or there was excess moisture on the chicken skin when it went into the pan. Pat skin completely dry, preheat your pan properly, and don’t disturb the chicken as the skin renders.
10.Do I need to use a cast iron skillet for this recipe, or will other types of pans work?
▾
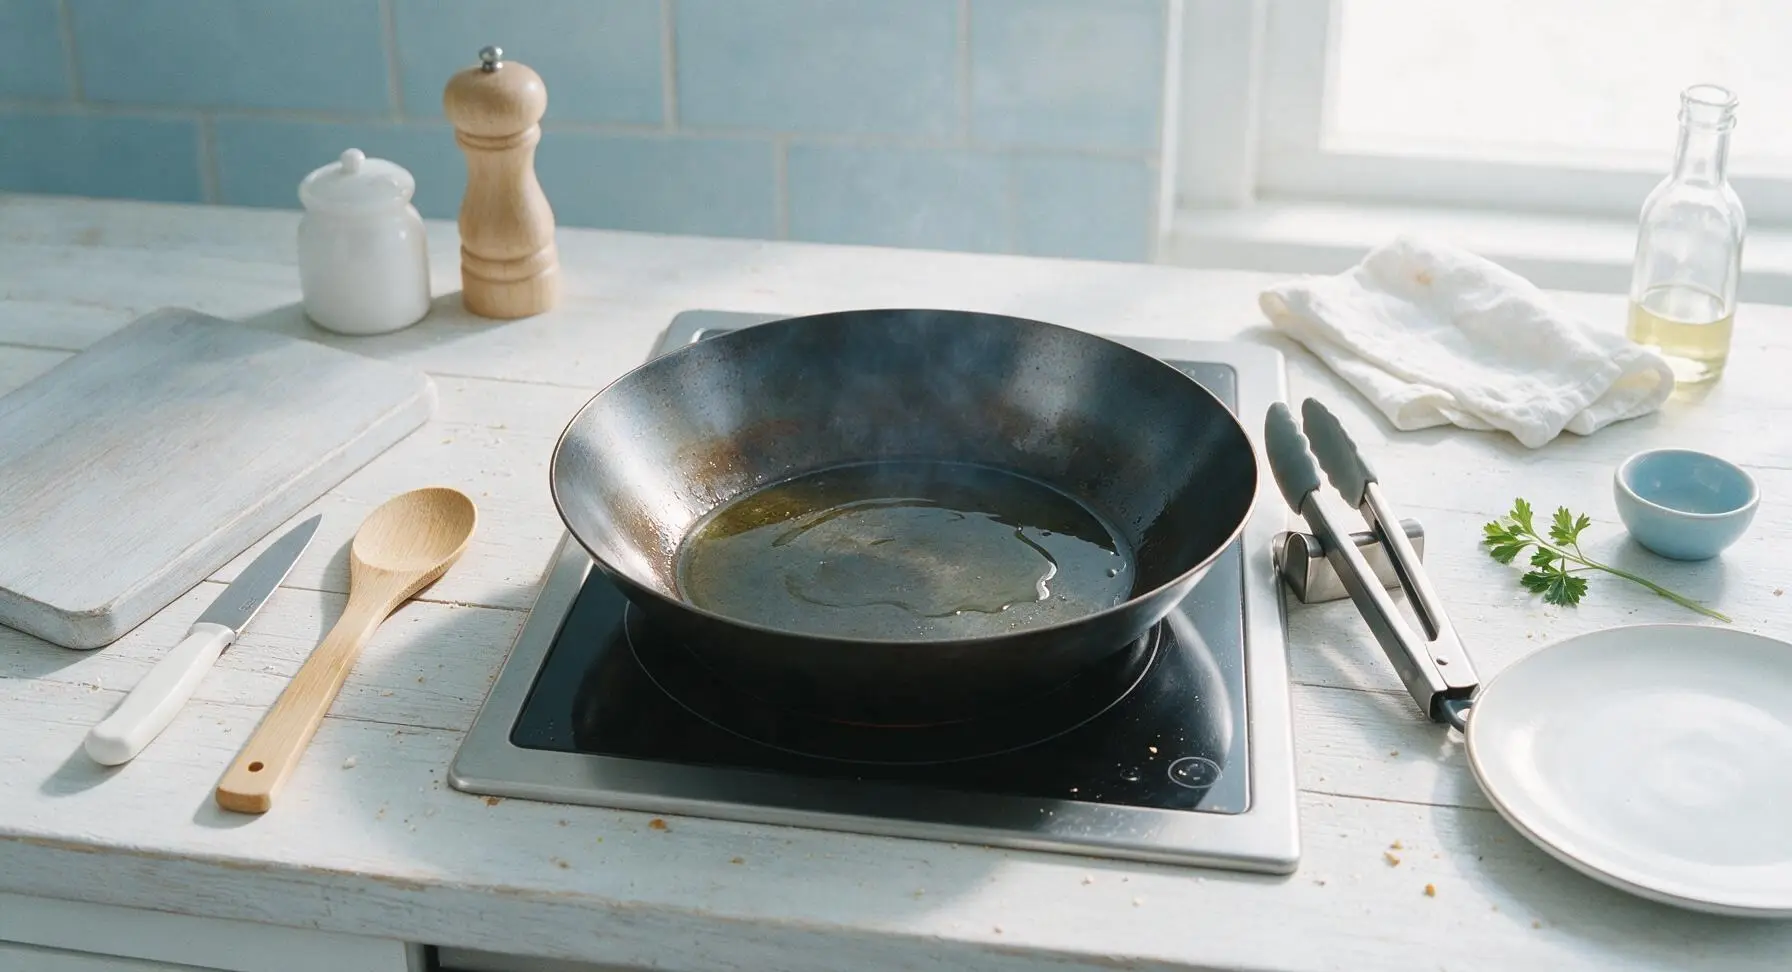
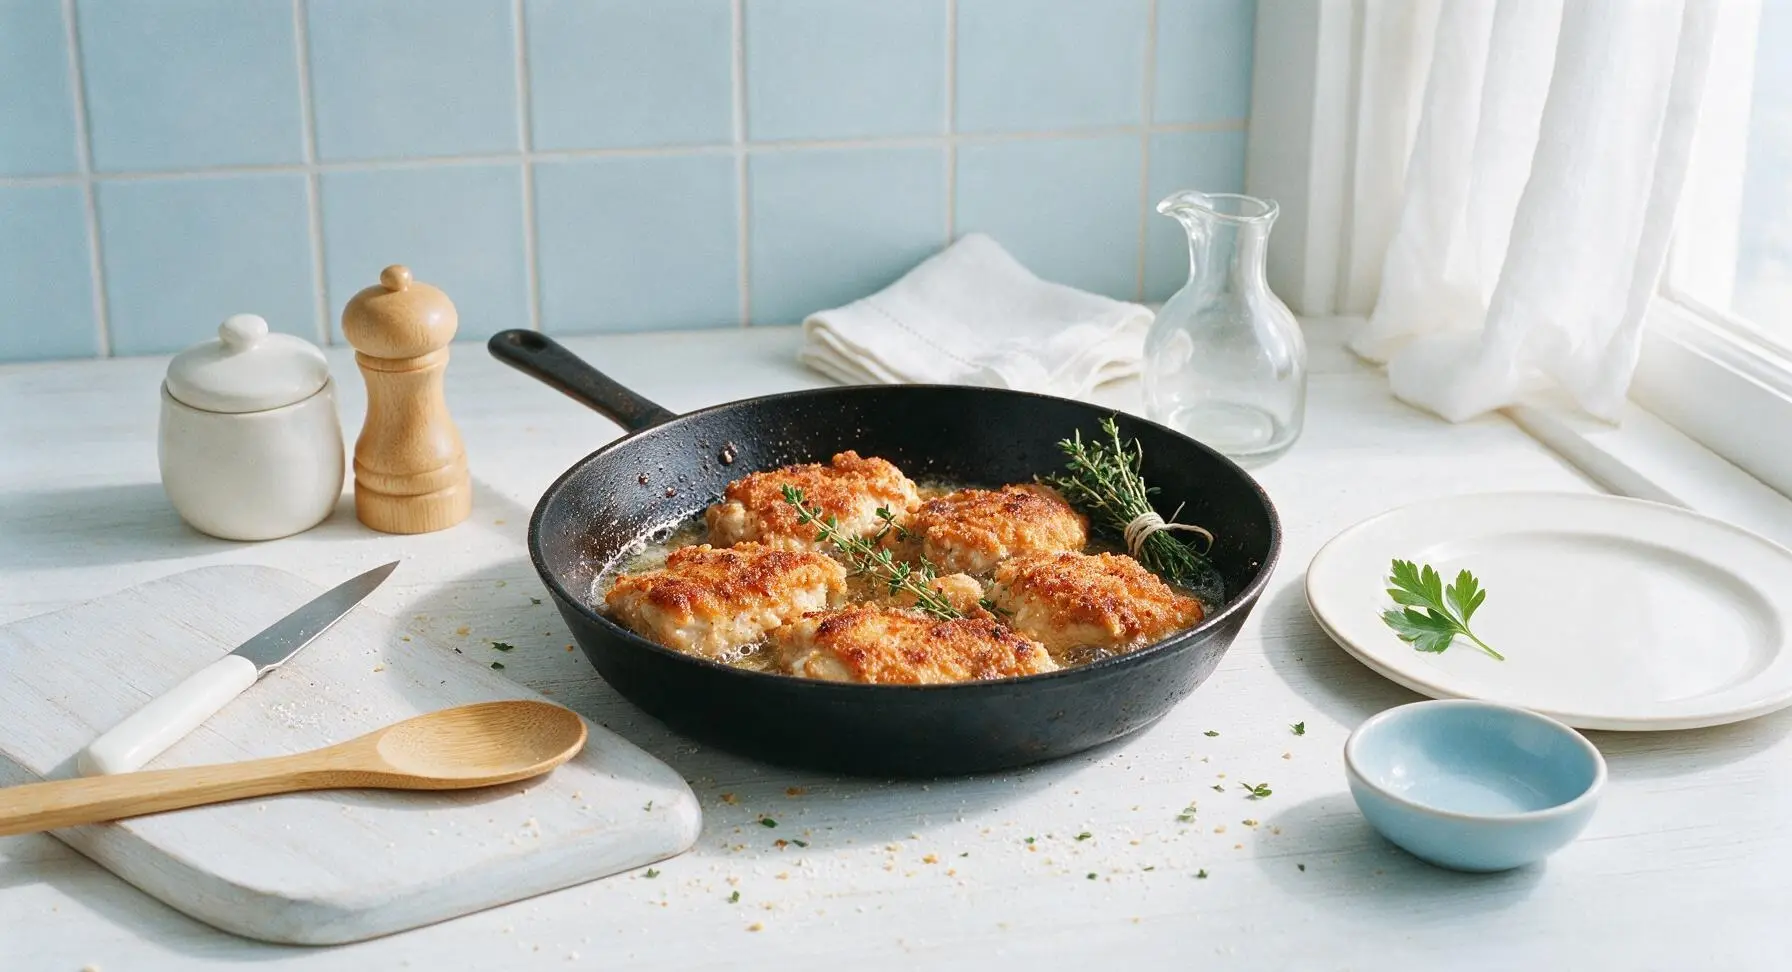
Cast iron is ideal because it holds even, consistent heat and creates a beautifully even golden crust, but you don’t need one to get great results. A heavy-bottomed stainless steel skillet works perfectly too—just avoid thin, lightweight nonstick pans, as they can’t hold the steady medium heat needed to crisp skin without burning the spice coating.
11.How do I cut down on messy oil splatter when pan-frying the chicken?
▾
First, pat the chicken completely dry with paper towels before adding it to the pan, as excess moisture is the main cause of popping, splattering oil. Use a mesh splatter screen over the top of the skillet if you have one, and avoid turning the heat higher than medium—too-high heat will make the rendered fat pop and burn, rather than gently crisping the skin.
12.Can I prep this chicken ahead of time to make weeknight dinners faster?
▾
You can season the chicken up to 24 hours in advance, stored uncovered on a wire rack in the fridge. This actually makes the crust even crispier, as circulating fridge air dries out the skin completely! When you’re ready to cook, just pull it out 15 minutes to take the chill off, then pan fry as directed for a super fast meal.
13.What’s the difference between regular paprika and smoked paprika in this recipe?
▾
Smoked paprika is made from dried, smoke-roasted peppers, so it adds a deep, warm, subtly smoky flavor that makes this simple pantry-staple chicken taste rich and complex, no heavy batter needed. Regular sweet paprika has a milder, brighter, fruitier pepper flavor that works as a substitute, but you’ll miss that signature cozy smokiness.
14.Should I cover the pan with a lid while the chicken cooks?
▾
Skip the lid for most of the cooking process! Covering the pan traps steam, which will make the crispy skin turn soggy and prevent that golden crust from forming. You can loosely tent the pan with foil for the last 3 minutes of cooking if you notice the spices browning too fast, but keep it uncovered for the initial skin-side down cook for best results.
15.How much garlic powder is too much? I don’t want it to make the chicken taste bitter.
▾
For 2 pounds of chicken, stick to 1 to 1.5 teaspoons of garlic powder, as listed in the base recipe. Garlic powder burns much faster than fresh garlic at high heat, so using more than that can lead to a bitter, burnt taste on the crust. If you love extra garlic flavor, toss a couple crushed fresh garlic cloves in the pan during the last 2 minutes of cooking instead.
16.Why do I need to let the chicken rest after cooking, and how long should it rest?
▾
Let the chicken rest on a wire rack (not a plate, which traps moisture and sogs out crust) for 5 full minutes after you pull it from the pan. This gives the hot, fast-moving juices in the meat time to redistribute back into the muscle fibers, so every bite is juicy instead of having all the juice run out onto your plate when you cut in right away.
17.Is this recipe gluten-free? I need to serve it to a guest with celiac disease.
▾
This recipe is naturally gluten-free as written! There’s no flour, batter, or breadcrumb coating in the base ingredient list—all the crispiness comes from rendered chicken skin and the simple dry spice rub of salt, pepper, smoked paprika, and garlic powder. Just double check that your spice brands don’t have hidden gluten-based anti-caking agents for severe allergies.
18.How do I get freshly ground black pepper to stick to the chicken instead of falling off into the pan?
▾
Pat the chicken completely dry first, then season the pepper (and all other spices) directly onto the skin right after drying, pressing the spices gently into the skin with your fingers so they adhere well. If you season the chicken and let it sit in a sealed container too long, excess surface moisture can make the pepper slide off as it cooks.
19.What should I do with the rendered chicken fat left in the pan after cooking?
▾
Don’t pour that delicious fat down the drain! Let it cool slightly, then strain it into a glass jar and store it in the fridge for up to 3 months. You can use it to roast vegetables, fry eggs, make crispy roasted potatoes, or sauté greens for an extra rich, savory flavor that tastes way better than plain neutral cooking oil.
20.What quick, easy side dishes pair well with this crispy chicken for a weeknight meal?
▾
Since this chicken comes together in under 30 minutes, pair it with fast, low-prep sides: roasted broccoli tossed in a little of the reserved rendered chicken fat, quick mashed potatoes, a simple green salad with lemon vinaigrette, buttered sweet corn, or pan-fried potato wedges. All of these cook in the time the chicken rests, for a fast, satisfying dinner.

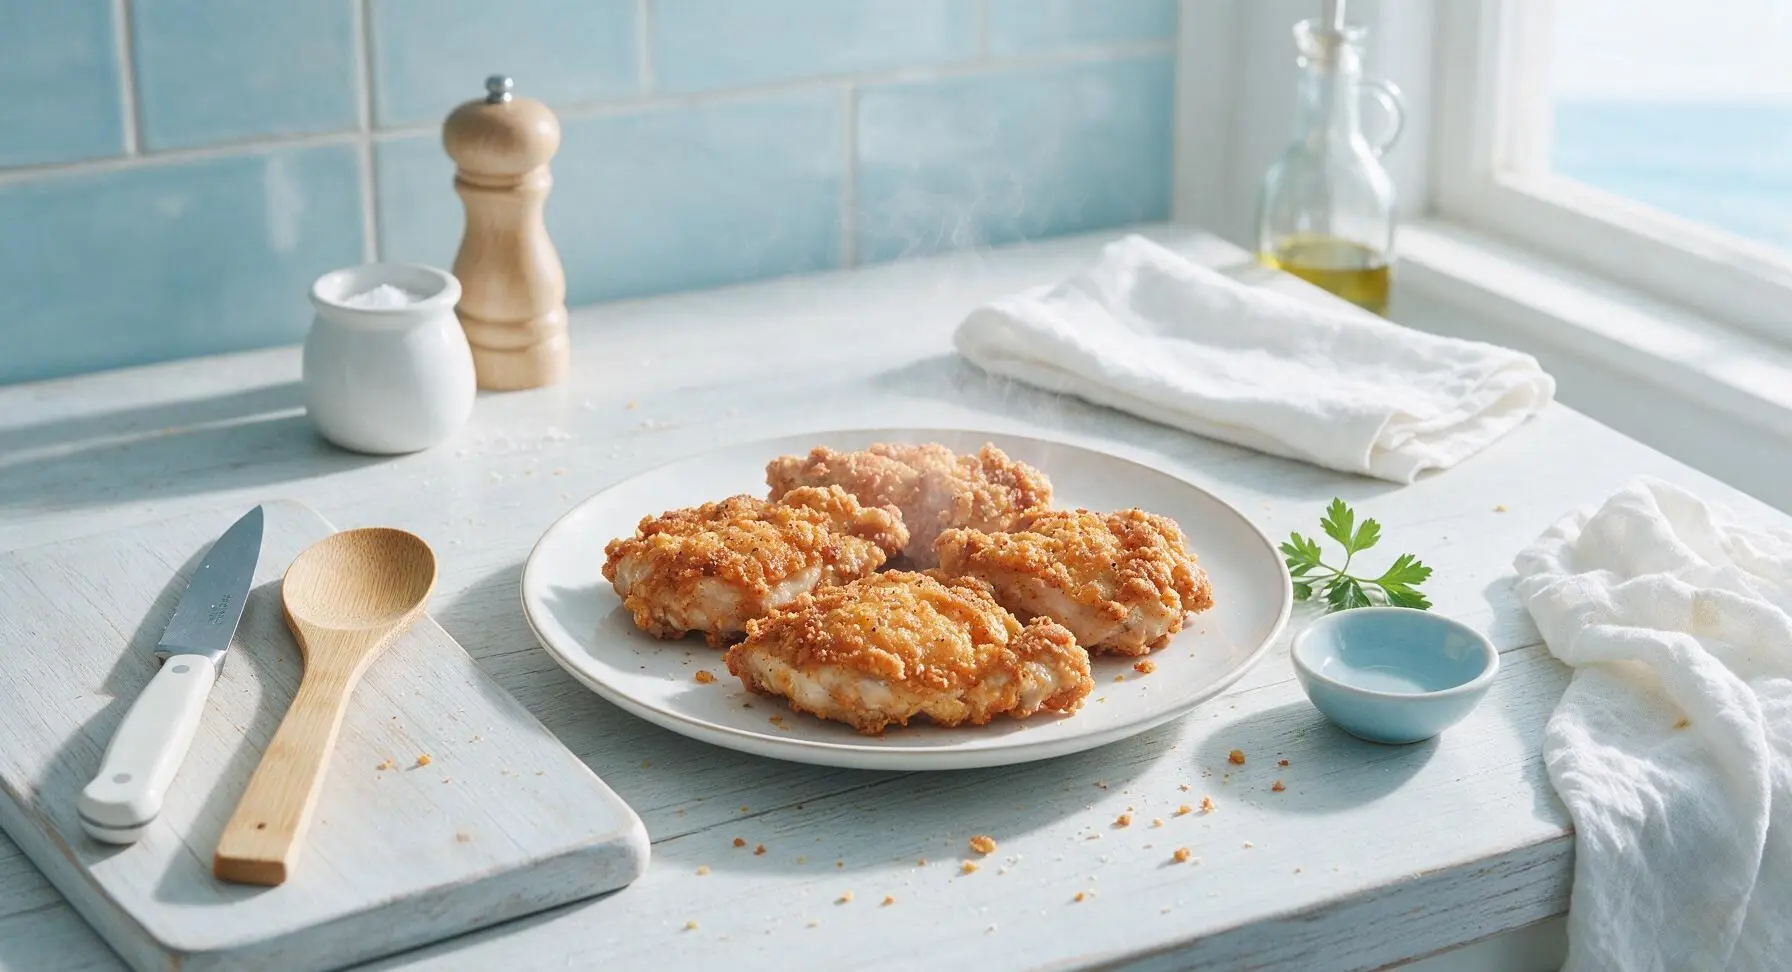
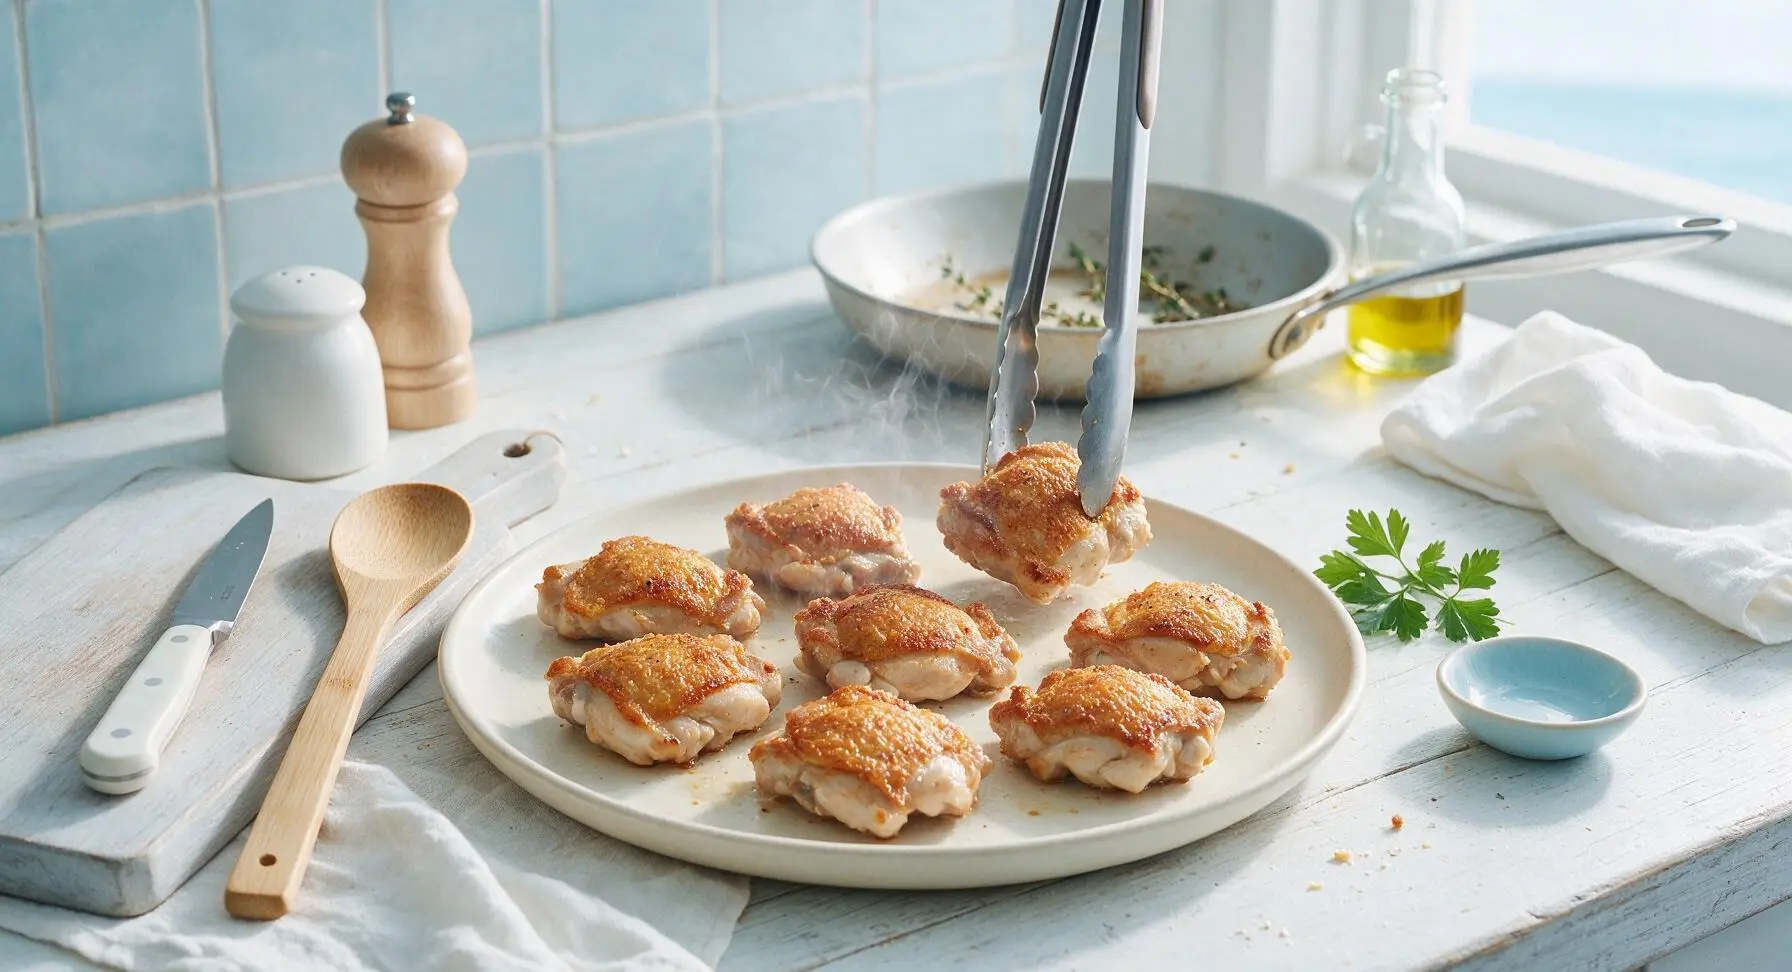






OMG this crispy pan-fried chicken is a total game changer! I made it for family dinner last night and my two super picky kids devoured three pieces each before I even sat down to eat. The crust stayed perfectly crunchy even after I drizzled a little extra hot honey on top, and it only took 25 minutes total which is chef’s kiss for chaotic weeknights. 10/10 will be adding this to my regular meal prep rotation!
Super easy recipe that came out great for my first time ever pan-frying chicken! The only tiny note I have is that I had to cook my bone-in thighs a couple minutes longer than the recipe stated because they were a little thicker than average, but the crisp factor was unreal. Tasted just like the fried chicken my grandma used to make but without all the messy splatter and hassle of deep frying.
SO good! I made this for a day hike with friends last week and everyone kept badgering me to send them the recipe. The chicken stayed crispy even after I packed it in my cooler for a few hours, which I was fully not expecting. Will definitely be making this for our upcoming fall camping trip too!