
pancake mix to waffle mix
intro
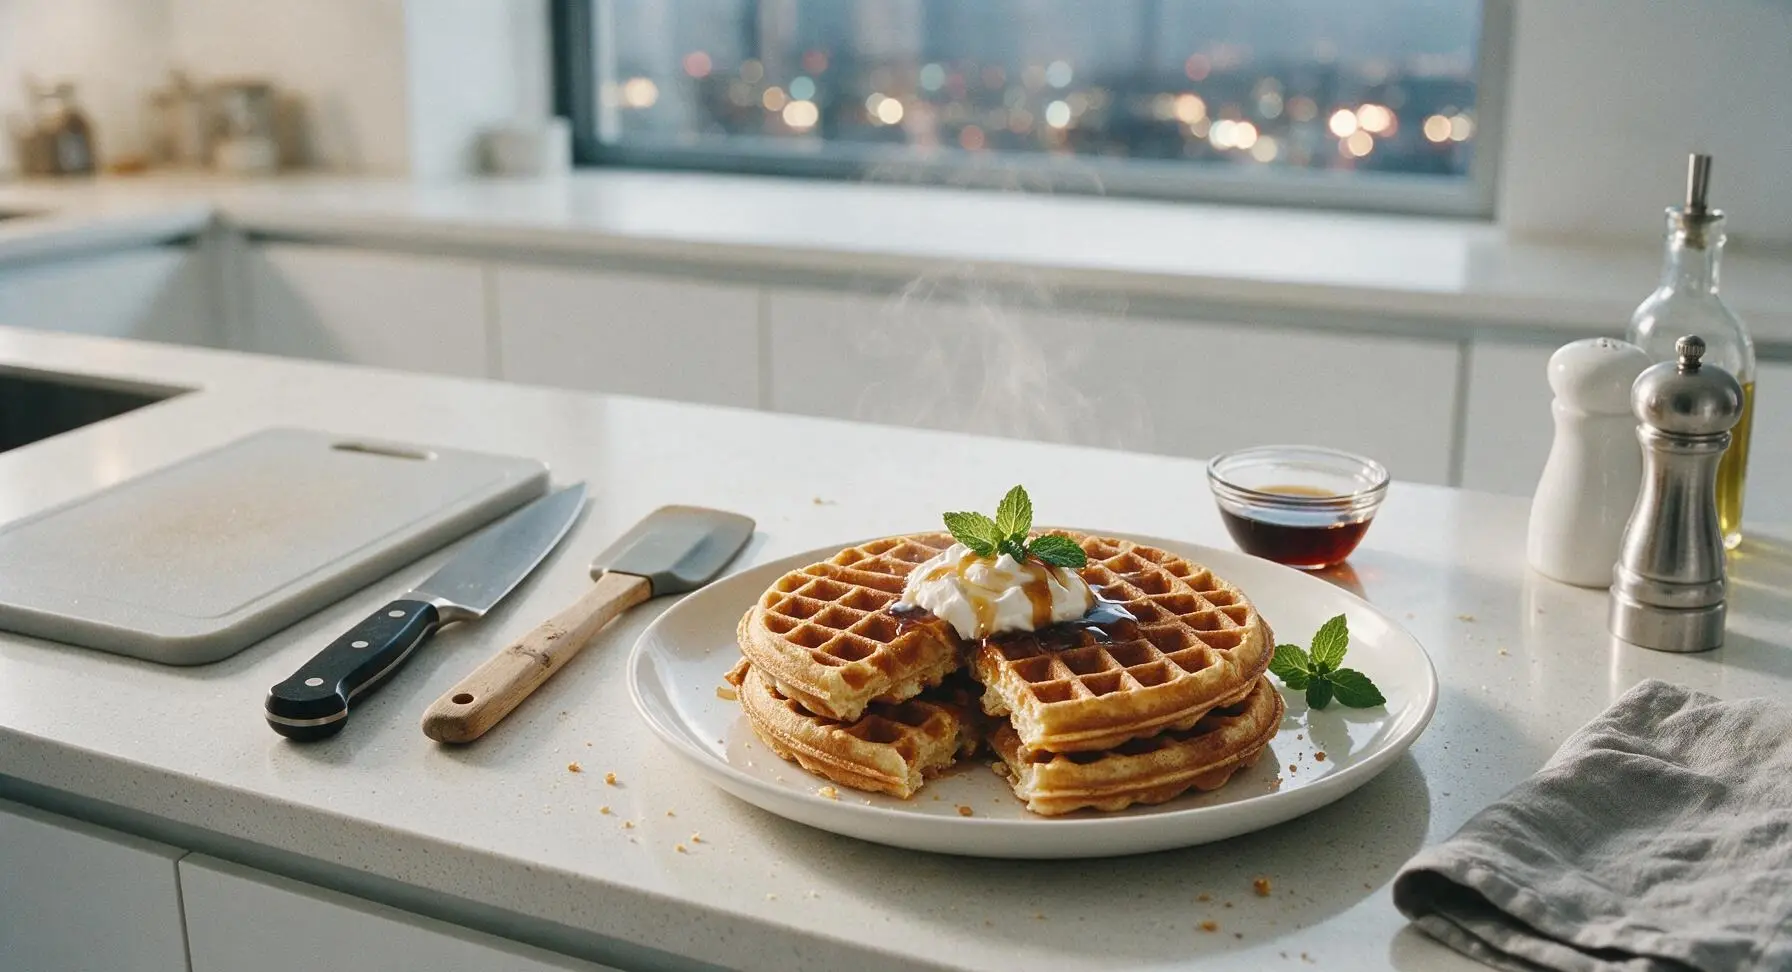
Turn ordinary storebought pancake mix into light, golden, crispy-edged waffles with a few simple pantry additions — no separate waffle mix required for this fast, cozy meal.
Ingredients
Steps
Preheat the Waffle Iron
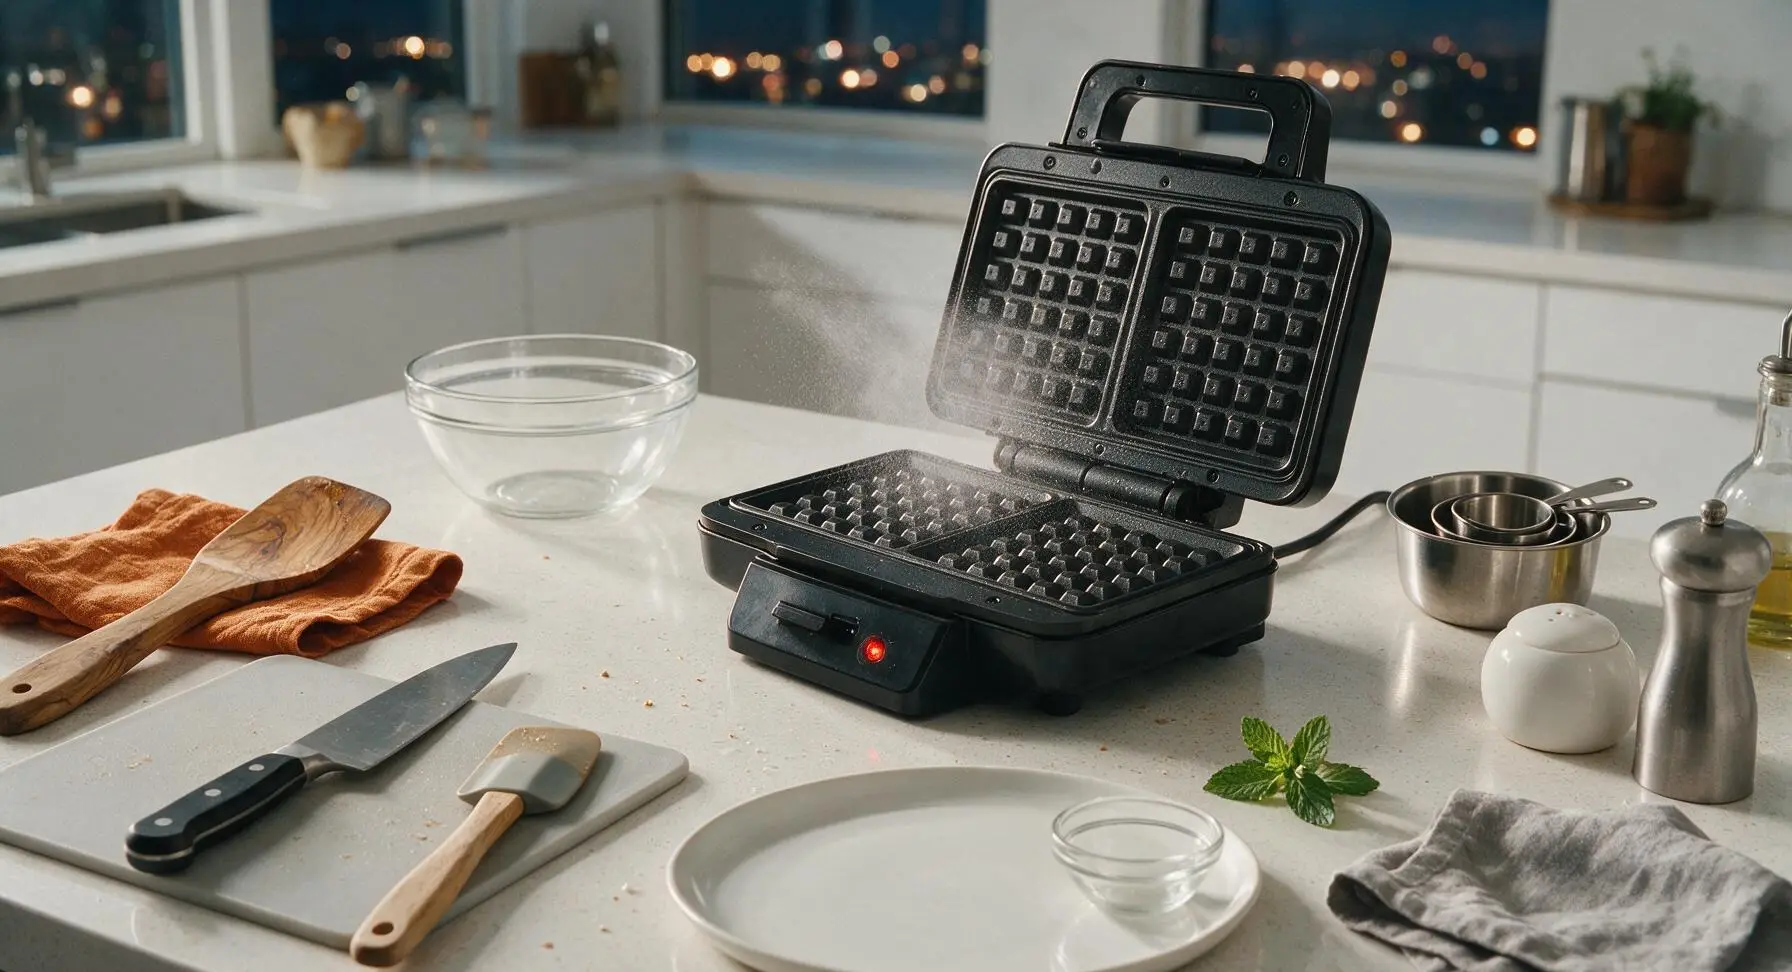
Plug in the matte black waffle iron and preheat to medium-high heat (375°F / 190°C). Wait until the built-in indicator light shows it is fully heated, approximately 3 minutes. Lightly coat the top and bottom cooking grids with nonstick cooking spray or a thin brushed layer of melted butter to prevent sticking, even on nonstick surfaces.
Measure Dry Ingredients
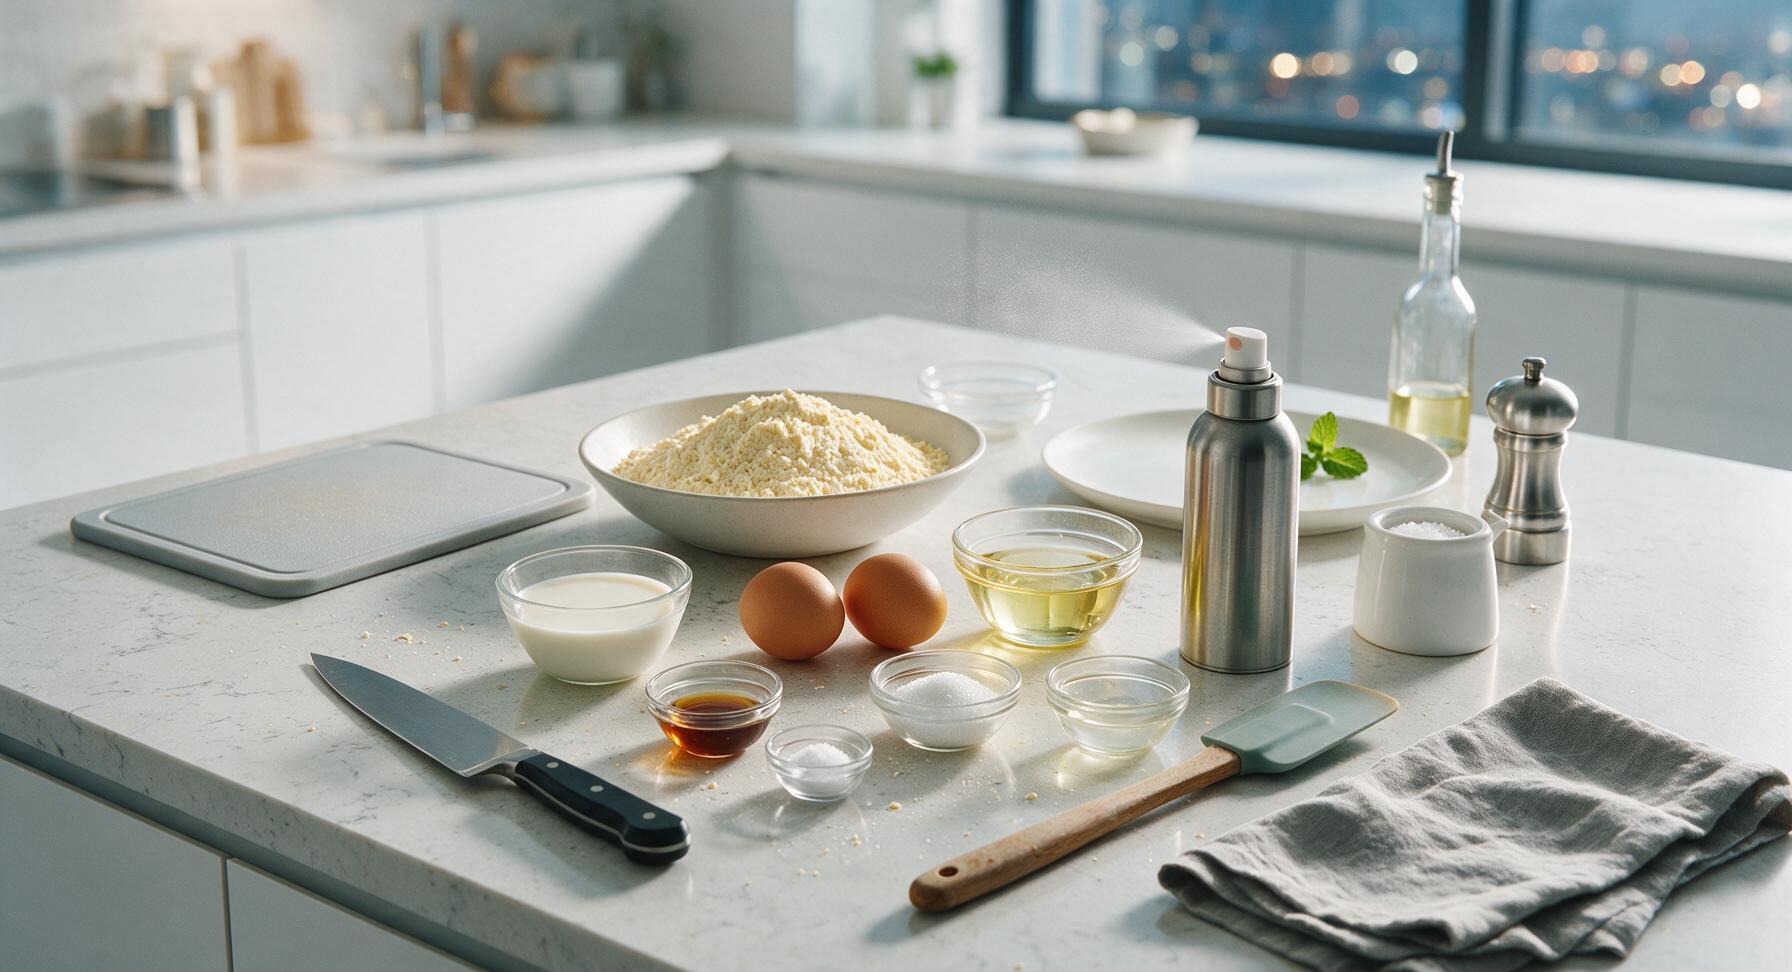
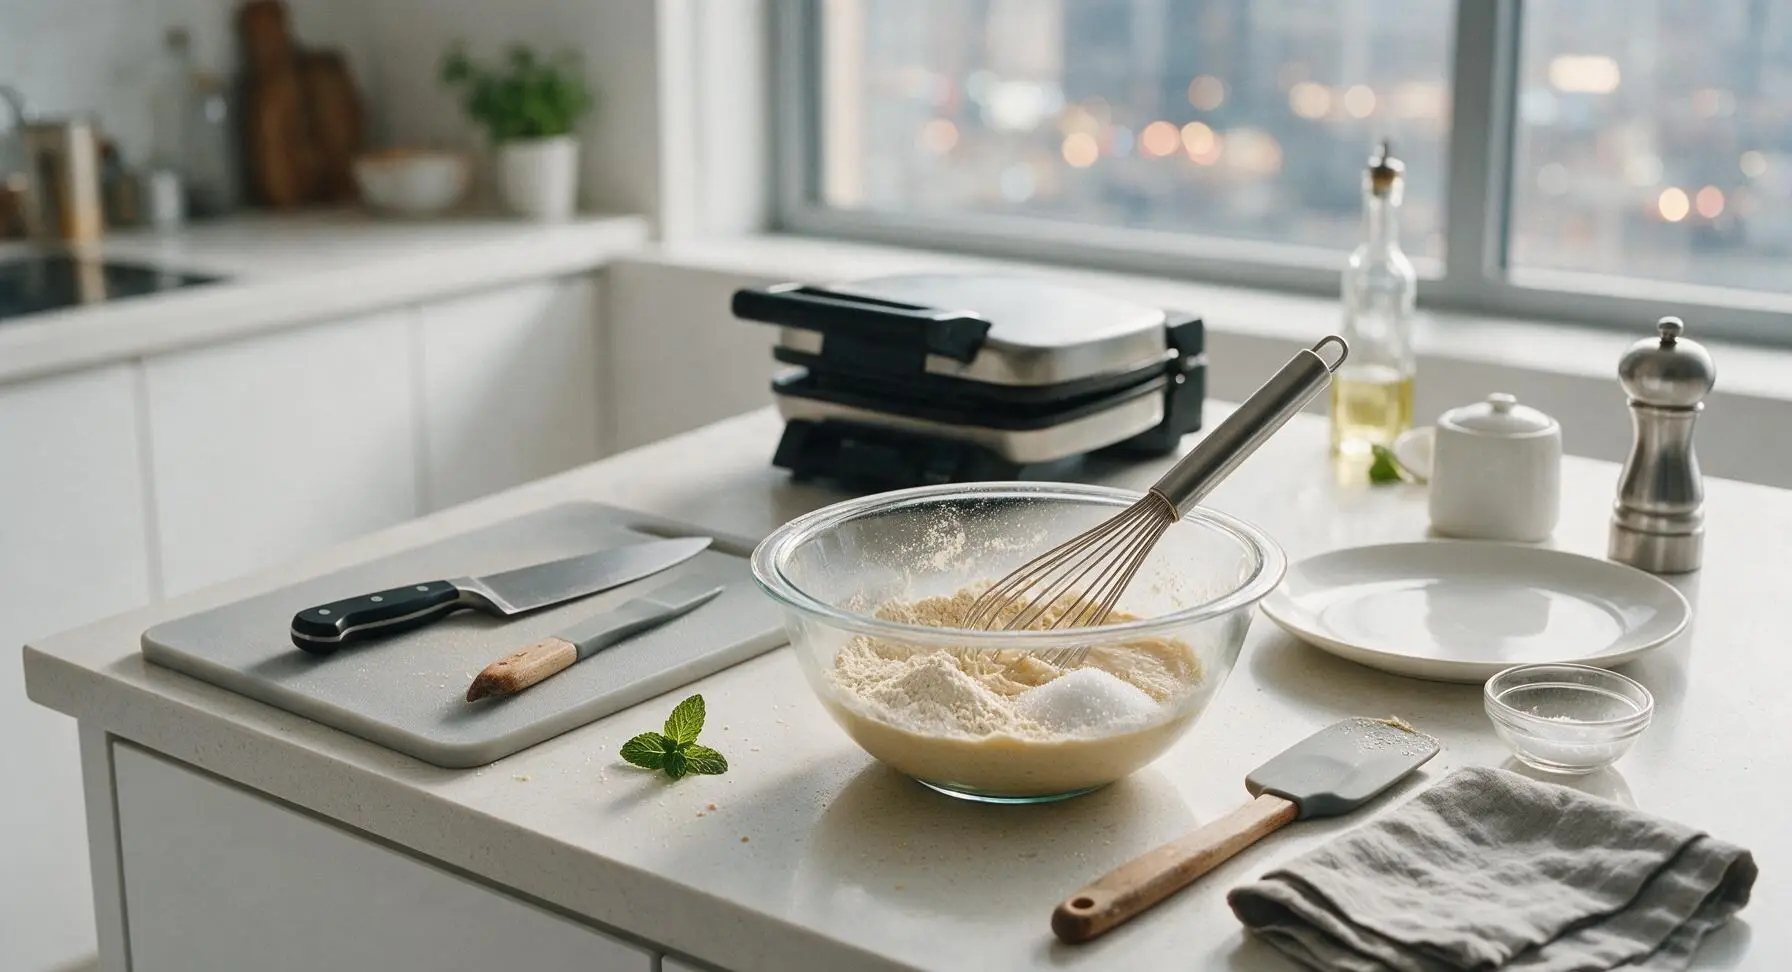
Add 2 cups of original storebought pancake mix to the clear glass mixing bowl. Add 1 tablespoon granulated sugar (to boost caramelization for crisp edges) and 1/4 teaspoon fine table salt (to cut sweetness and amplify flavor) to the bowl. Whisk briefly with the stainless steel whisk for 10 seconds to evenly combine the dry ingredients, breaking up any small compacted clumps in the pancake mix.
Add Wet Ingredients
Make a 2-inch wide well in the center of the dry mix with the tip of the whisk. Crack 2 large eggs into the well, then pour in 3/4 cup whole milk (slightly less than standard pancake instructions, for thicker batter), 1/4 cup neutral vegetable oil (the extra fat creates crisp, non-soggy waffles), and 1 teaspoon pure vanilla extract for depth of flavor. Do not over-pour milk; use the exact measurement to avoid thin, runny batter that makes soggy waffles.
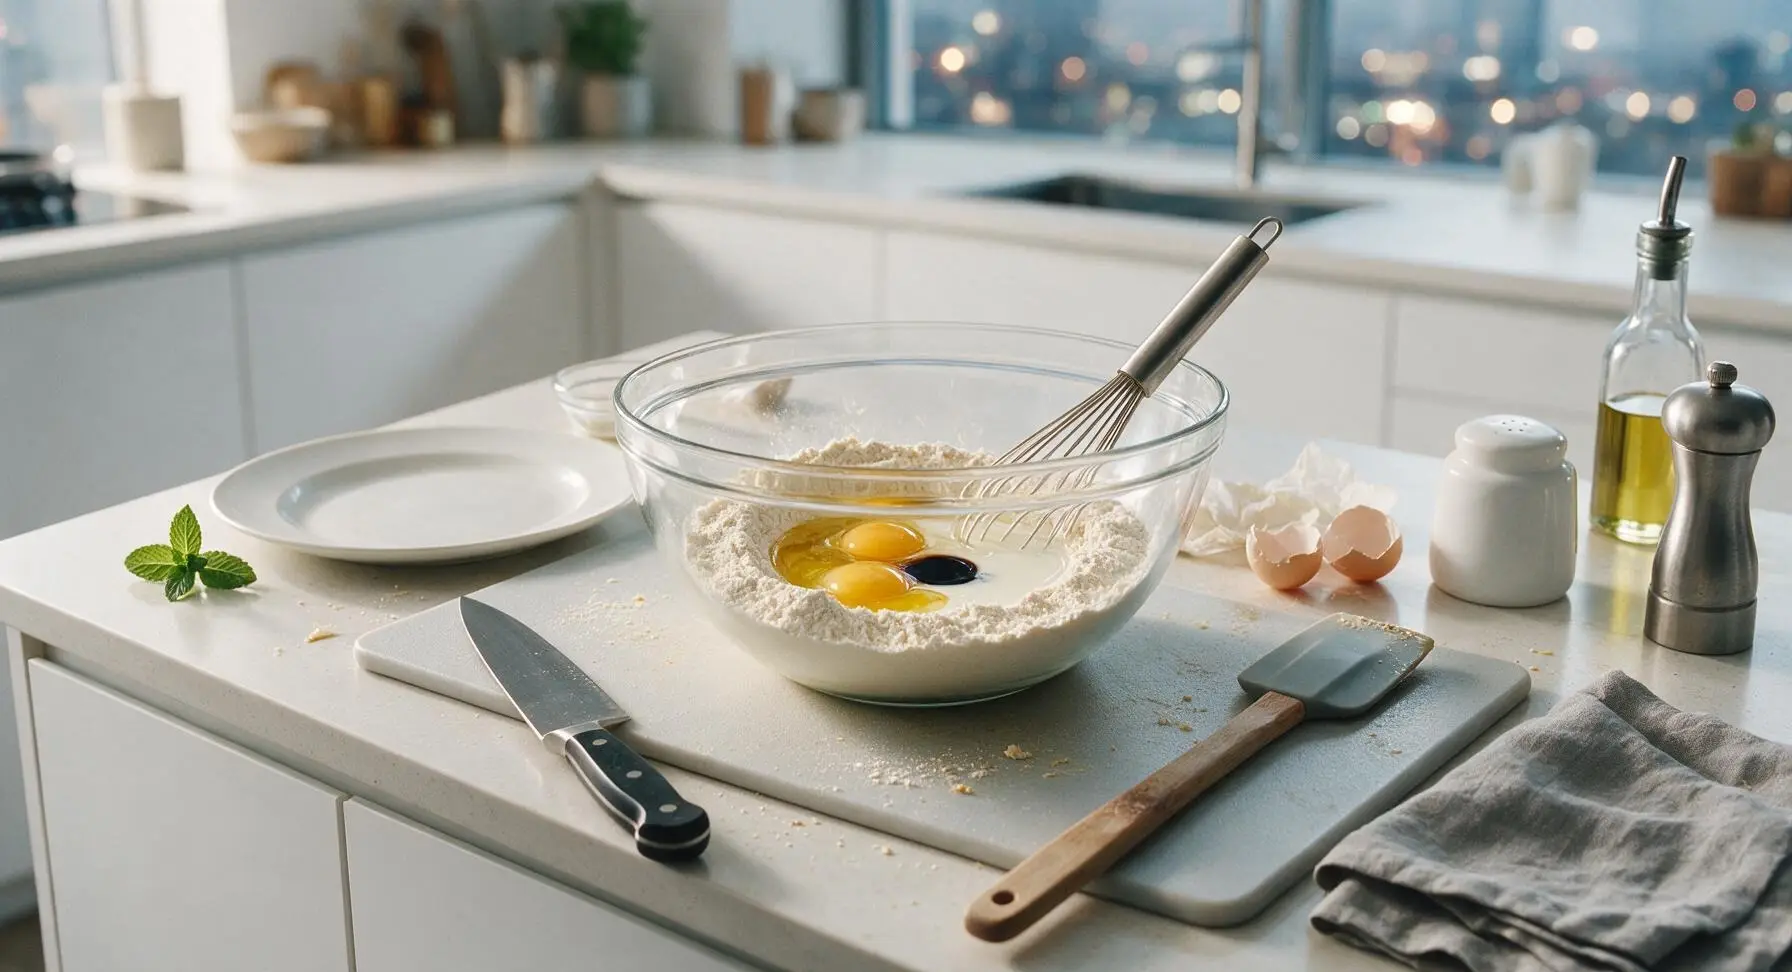
Mix Waffle Batter
Use the stainless steel whisk to gently stir the wet and dry ingredients together, mixing just until no large pockets of dry pancake mix remain. Stop mixing as soon as the batter comes together — small, pea-sized lumps are normal and desired; overmixing develops gluten and will create tough, dense waffles instead of light, crisp ones. Let the batter rest for 2 minutes at room temperature to thicken slightly; it will be thicker than standard pancake batter, which is key for crisp waffles.
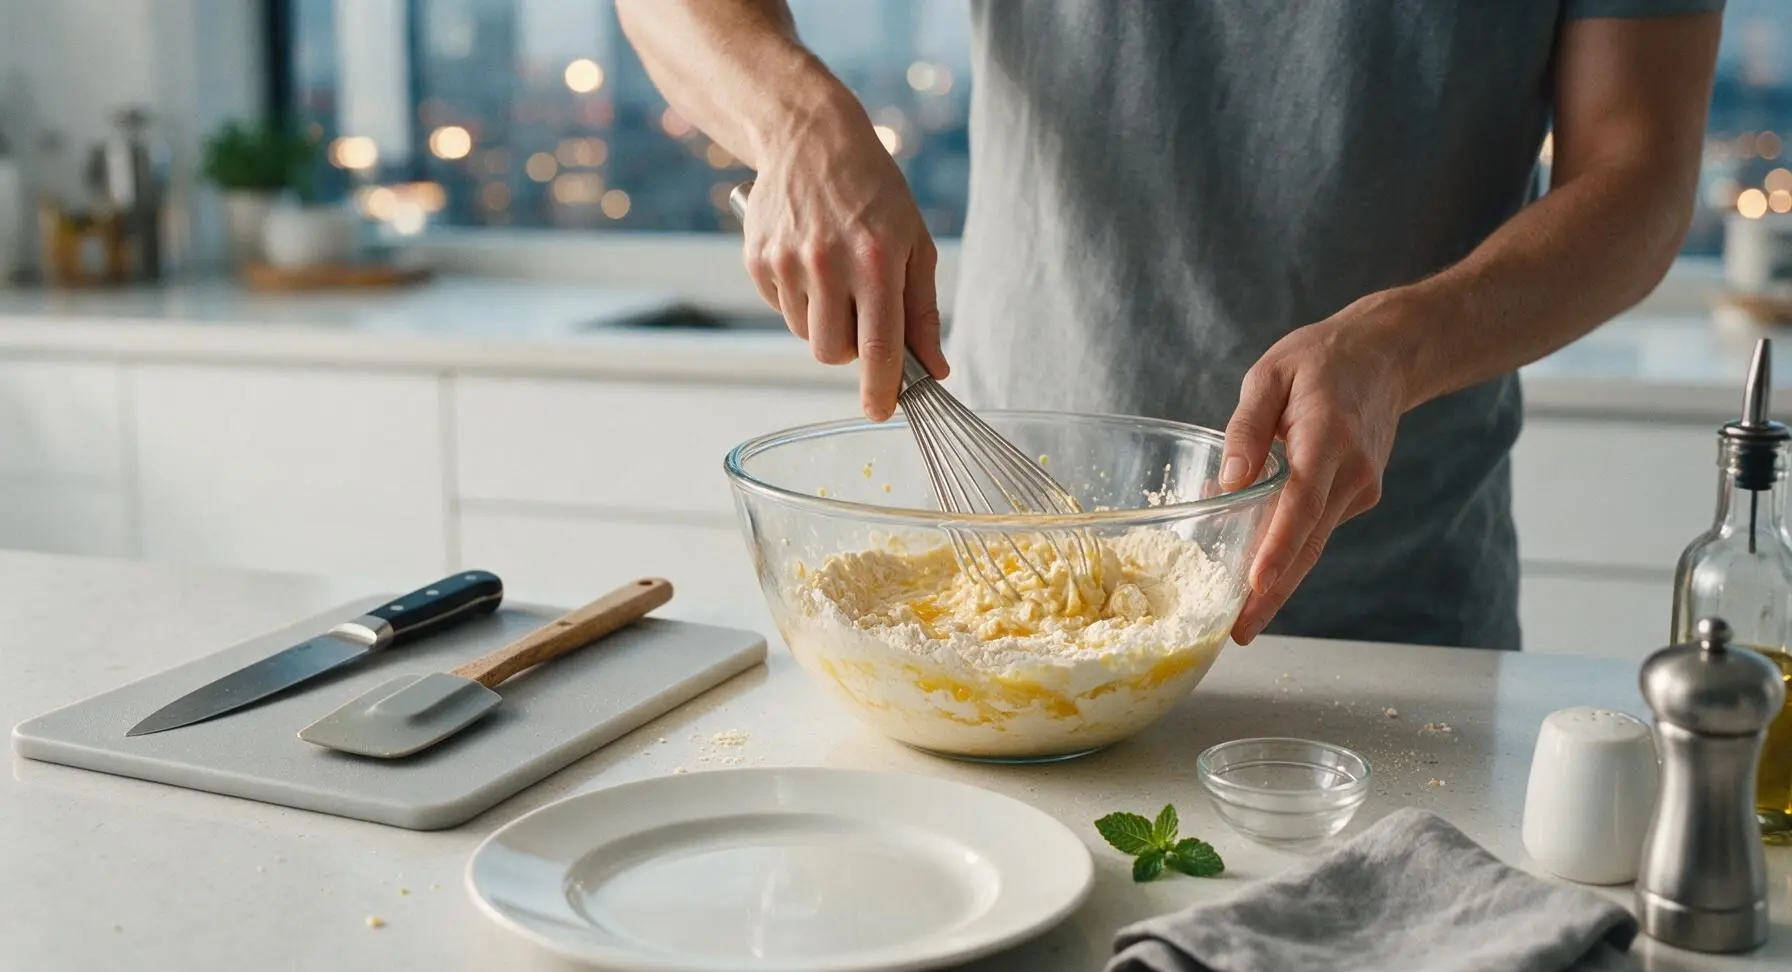
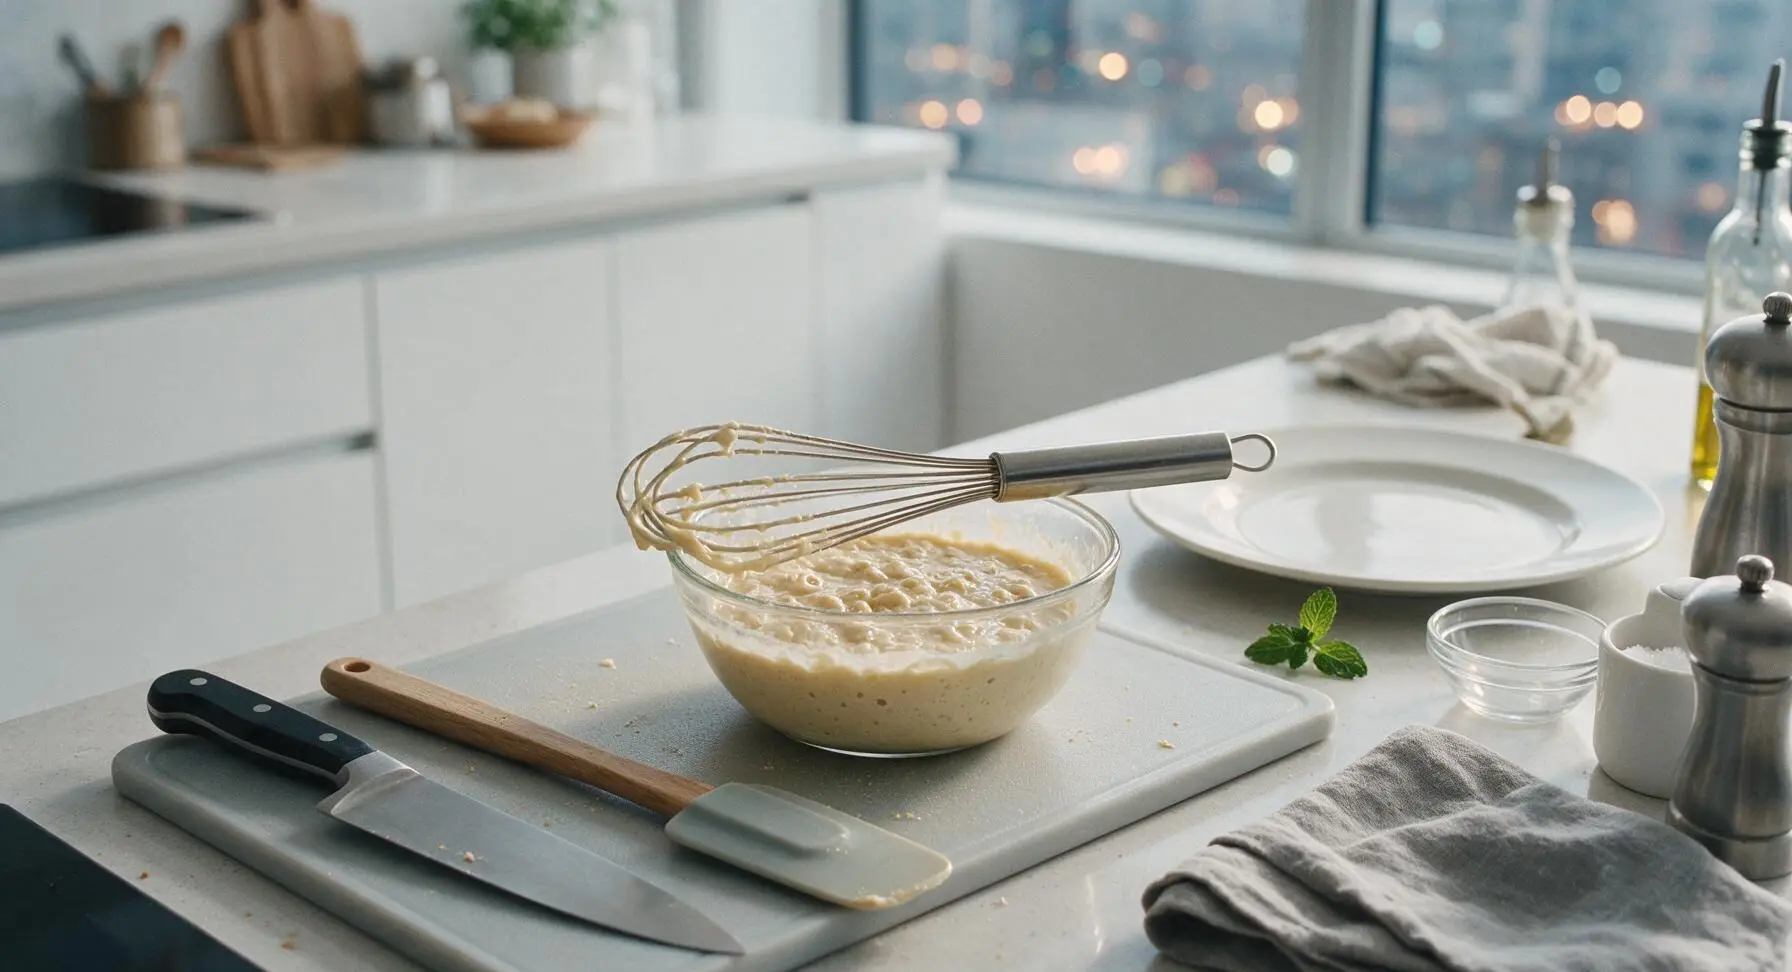
Pour Batter Onto Iron
Once the waffle iron is fully preheated and batter has finished its 2-minute rest, scoop 1/2 cup of batter using the stainless steel 1/2 cup measure, and pour it directly onto the center of the lower waffle grid. Do not spread the batter with a spoon; it will spread evenly outward as you close the lid, and over-spreading will cause batter to leak over the iron edges.
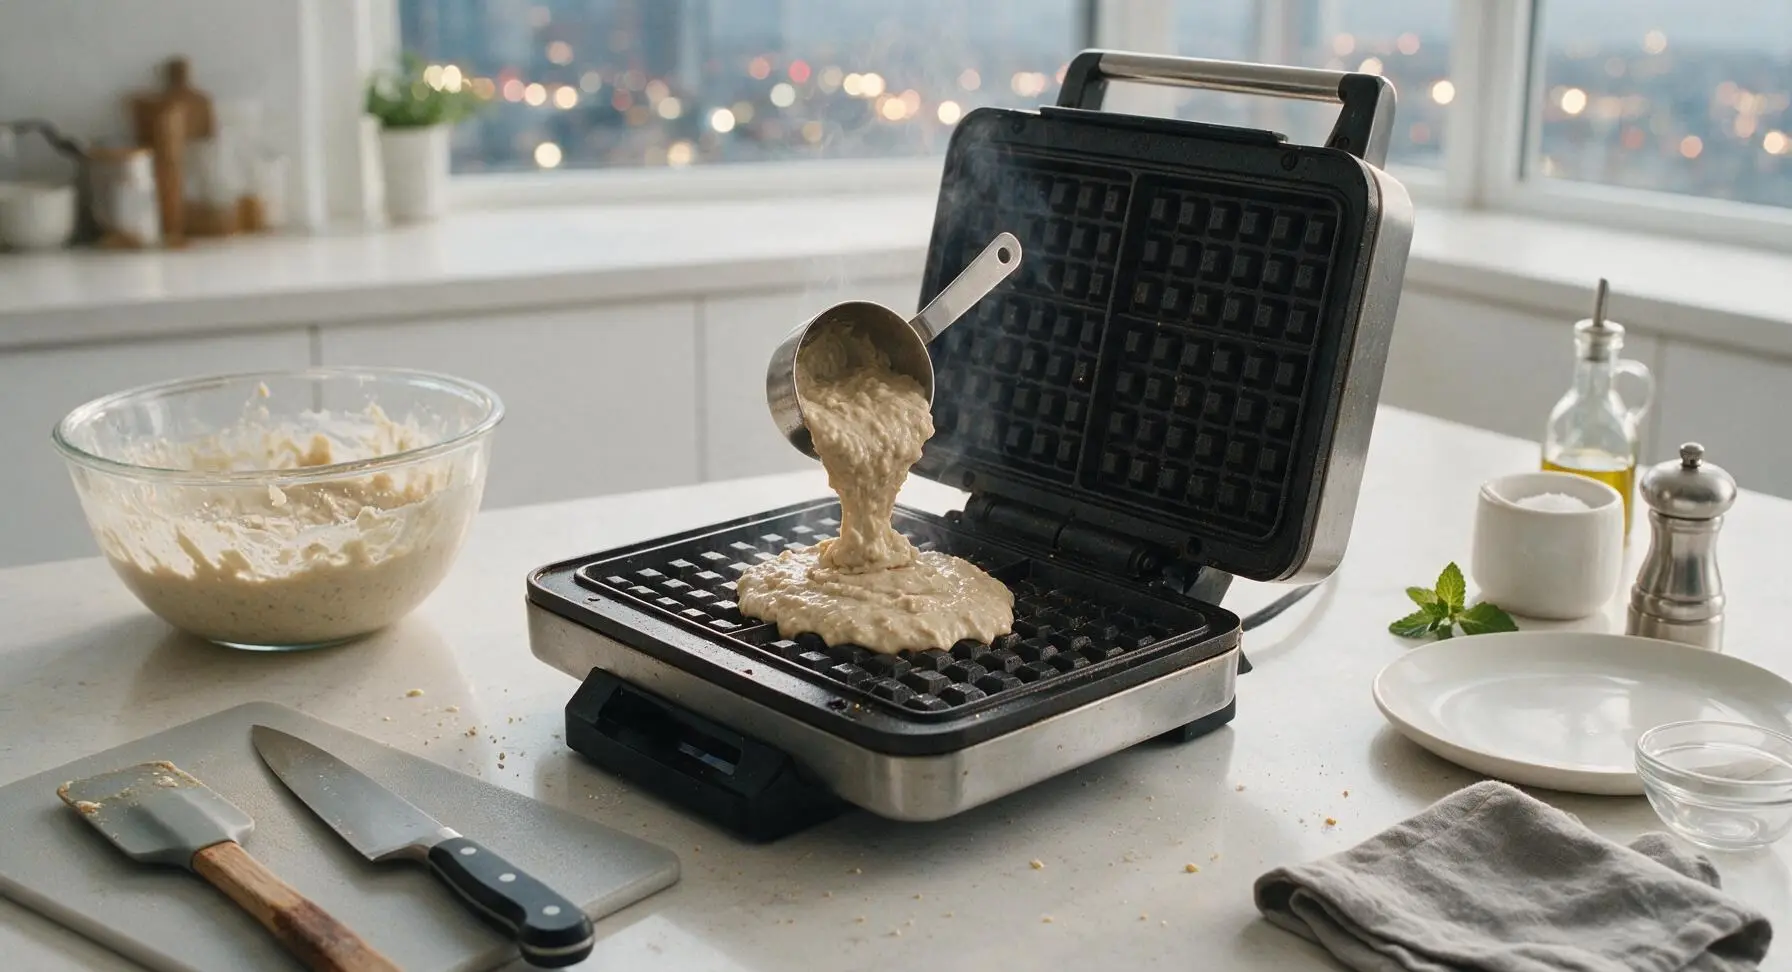
Cook Until Crispy
Close the waffle iron lid and cook for 3 to 4 minutes at 375°F, until wispy white steam stops escaping from the edges of the iron (a visual cue the waffle is done) and the waffle is deep golden brown with crisp, caramelized edges. Do not open the lid before the 3-minute mark, as this will cause the waffle to split, stick, or deflate.
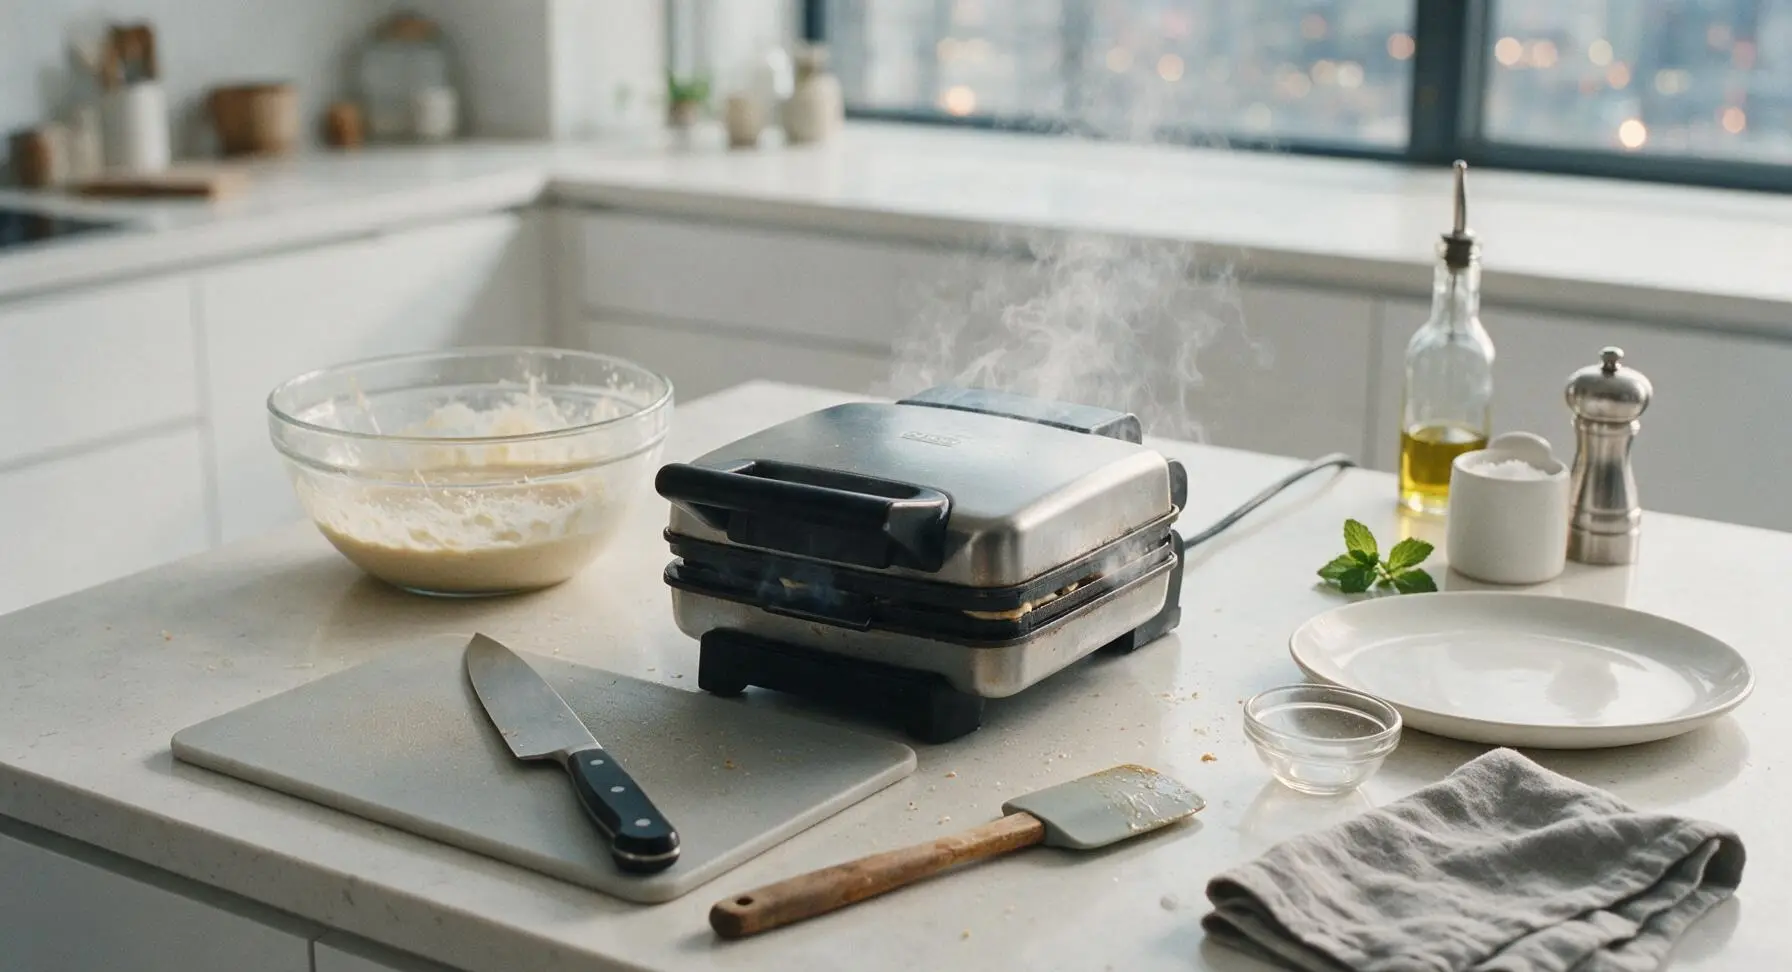
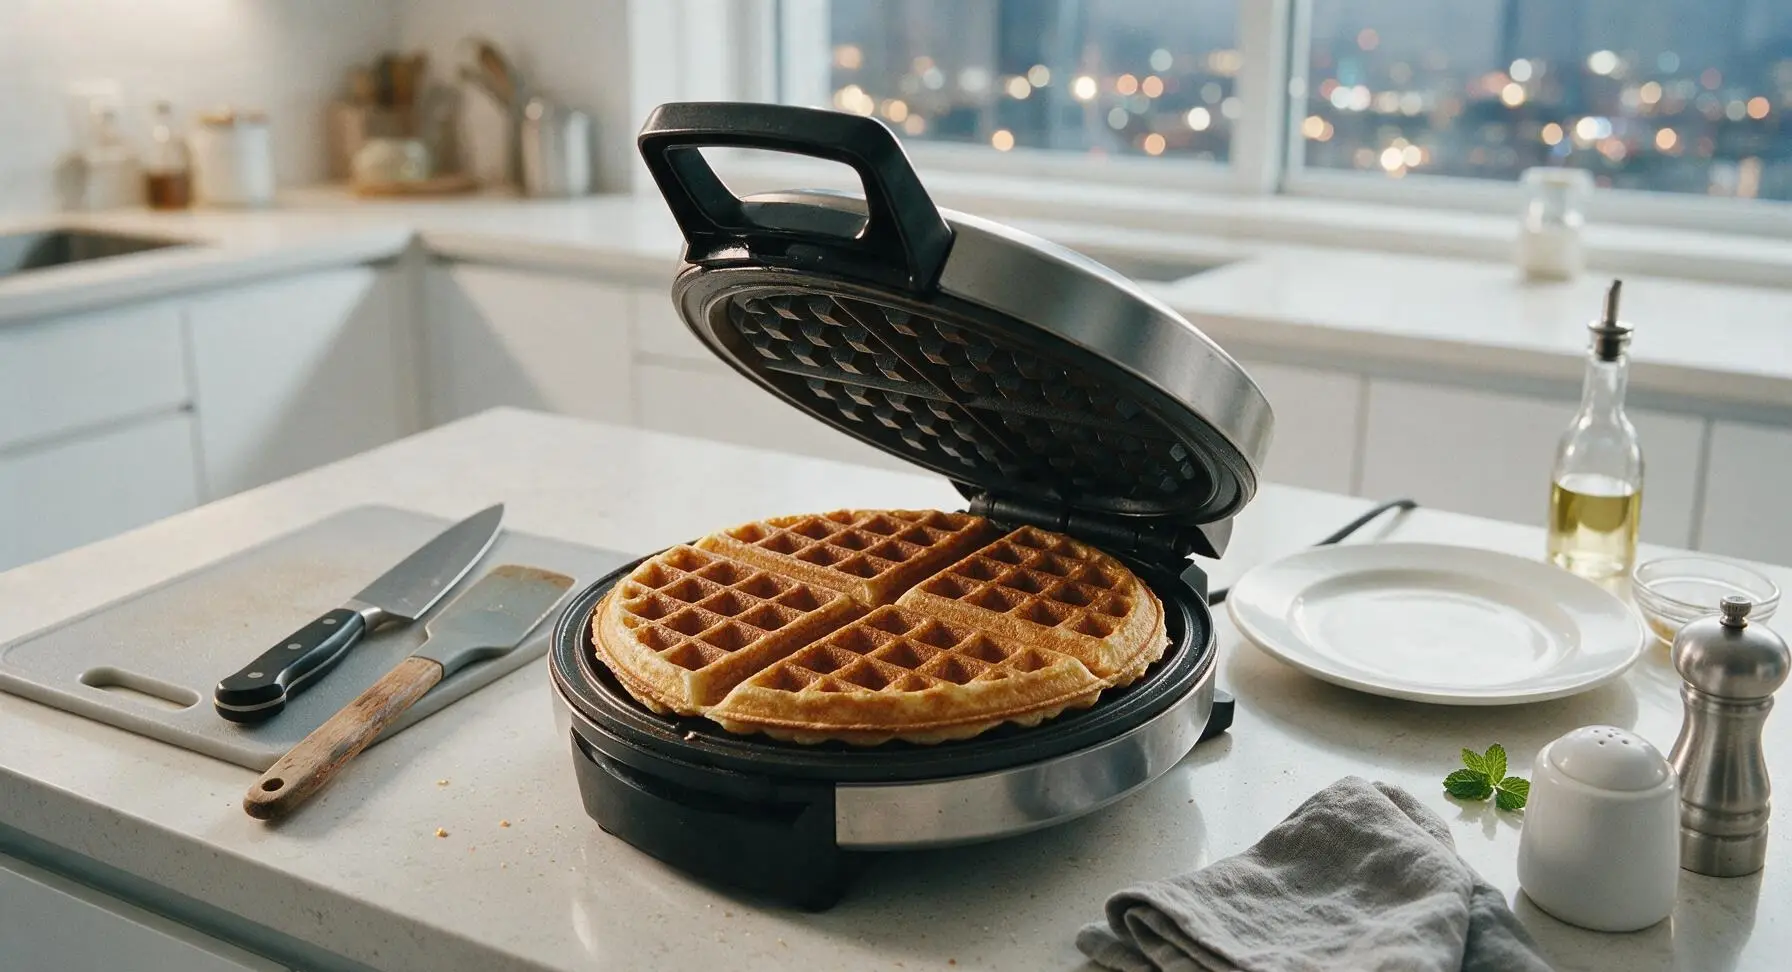
Plate and Serve
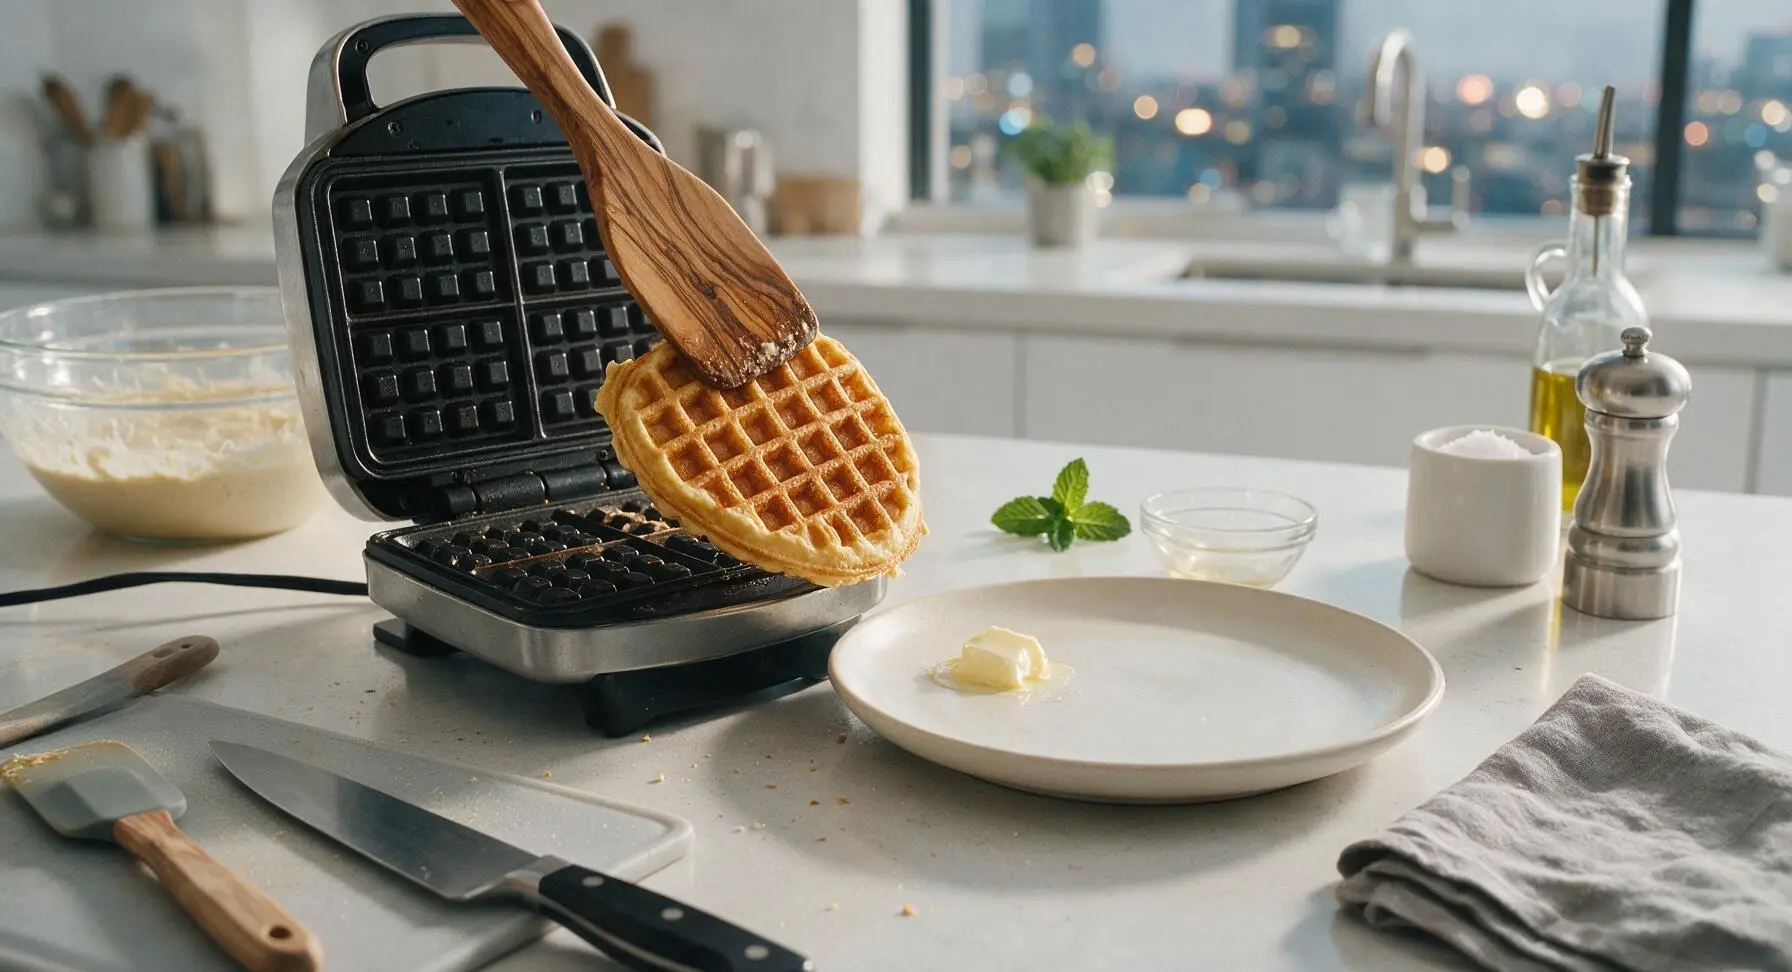
Use the olive wood turner spatula to carefully transfer the cooked waffle to the matte creamy white ceramic plate. Repeat the pouring and cooking process with remaining batter, stacking cooked waffles loosely on the plate (do not press down or stack tightly, as trapped steam will soften crisp edges). Top with a pat of softened butter and warm maple syrup to serve immediately.
Tips
2.Don’t overmix the batter: Small, pea-sized lumps are completely normal and desirable. Overstirring develops gluten in the pancake mix, resulting in tough, dense waffles instead of light, tender centers with crisp outsides.
3.Wait for steam to stop before opening the waffle iron: Wispy white steam leaking from the iron edges means the waffle is still releasing moisture and cooking. Opening the lid early releases heat and can cause the waffle to split, stick, or deflate.






OMG this is such a game changer! I always have a giant box of pancake mix in the pantry but never remember to buy waffle mix, and my kids beg for waffles every Saturday morning. Tried this conversion today and the waffles came out SO crispy, not soggy at all like when I tried to use straight pancake mix before. 10/10 will be using this every weekend from now on!
Super easy hack! I was skeptical at first because I thought waffle mix was totally different from pancake mix, but this took literally 2 minutes to stir together and cooked perfectly in my old cheap waffle maker. Cook time was spot on 12 minutes total for a full batch for me and my roommate.
I prepped a big jar of this converted mix last Sunday to have on hand for quick weekday breakfasts, and it's held up perfectly all week! I add a little cinnamon and vanilla powder to the dry mix so it's ready to just mix with milk and eggs when I'm half asleep before work. Total lifesaver.
Took these to a neighborhood potluck brunch last weekend and people were asking me for the waffle recipe left and right! Nobody believed me when I said I started with cheap storebrand pancake mix. The crisp factor is unreal, even when I topped them with fruit and whipped cream they didn't get soggy for 20 minutes while everyone served themselves.
Great base recipe! I used my favorite gluten free pancake mix to do this conversion and it worked really well, though I had to add an extra splash of milk because the batter was way thicker than regular waffle batter. Still came out crispy and delicious, just had to tweak the liquid a tiny bit.
Tried this for my kids' sleepover breakfast last weekend and a bunch of 10 year olds ate literally an entire batch in 10 minutes. I didn't even get a full waffle for myself! Definitely making a double batch next time. Way crispier than the Bisquick waffle recipe I've been using for years.
Bro this saved my lazy Sunday. I only had pancake mix left in my dorm, no waffle mix, and was craving crispy waffles so bad. Didn't even measure exactly, just eyeballed the extra oil and sugar, threw it in my tiny countertop waffle maker, and it banged. 10/10 no notes.
I added a handful of mini chocolate chips to the batter after mixing it up, and it made the most insane chocolate chip crispy waffles. My partner said they're better than the ones we get at our local diner! I will say, make sure you don't overmix the batter or they get a little tough, I learned that the hard way on my first waffle.
This is a really solid hack! My only note is that if you have a super deep Belgian waffle maker, you might need to cook them a minute or two longer than the recipe says to get them fully crispy all the way through. Mine were a little soft in the middle on the first go round, but the second batch I added 2 minutes and they were perfect. My kids ate them with zero complaints, even my super picky 5 year old!
I made a batch of this to take camping last weekend and cooked it over the campfire in my cast iron waffle iron, and it worked flawlessly! So much easier than packing separate pancake and waffle mix for the trip, it saved so much space in my cooler and dry bin. The waffles were crispy even over the uneven campfire heat, I was shocked.
I've tried so many pancake to waffle conversions before and they always turn out dense and squishy, but this one actually delivers on the crispy promise! The tiny bit of extra sugar is the secret I was missing I think — it helps the edges caramelize so good. My go-to from now on.
That 12 minute cook time is no joke! I rolled out of bed at 10am, stirred the extra ingredients into my pancake mix, and had perfectly crispy waffles on my plate by 10:12 exactly. No fancy ingredients, no fussy steps, just straight up delicious waffles. I'm never wasting money on separate waffle mix again — this hack is too easy to pass up.