
Panini

title 1
Panini
⏱️ cook time 9 minutes
🍽️ servings 4
⚡ Difficulty easy

intro

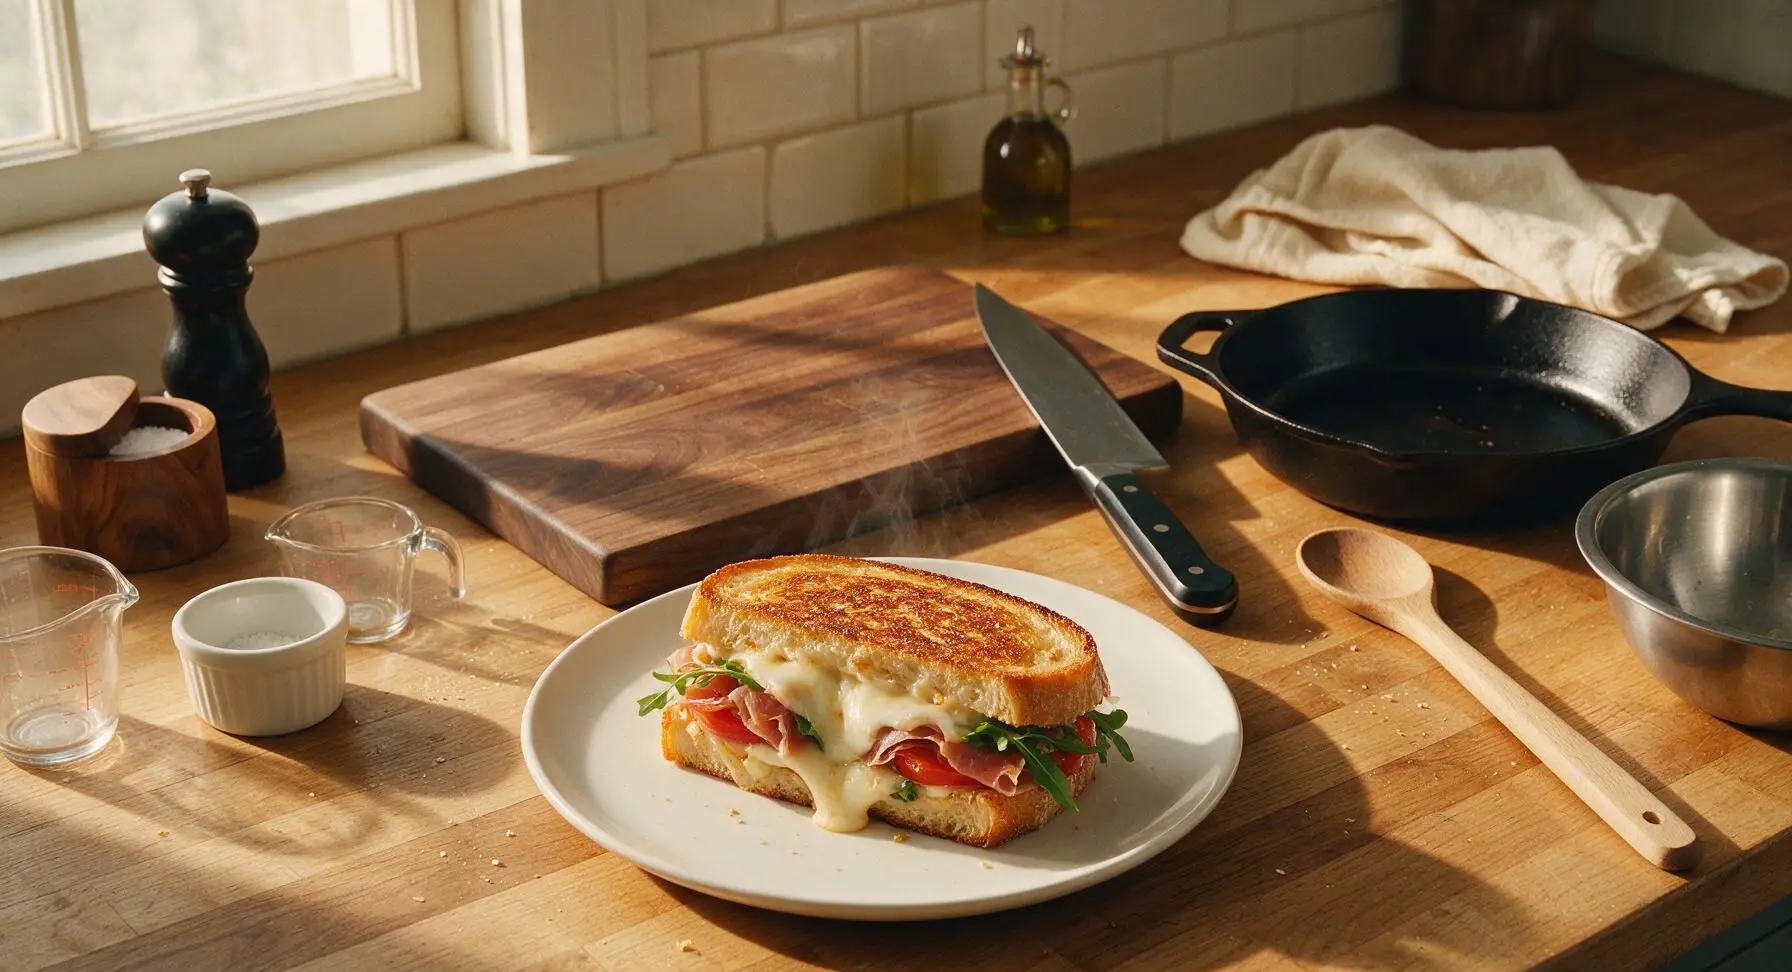
Crispy golden pressed bread oozing with melted provolone, layered with salty prosciutto, peppery arugula, and bright tomato—this classic panini delivers toasty, satisfying crunch in every bite.

Ingredients
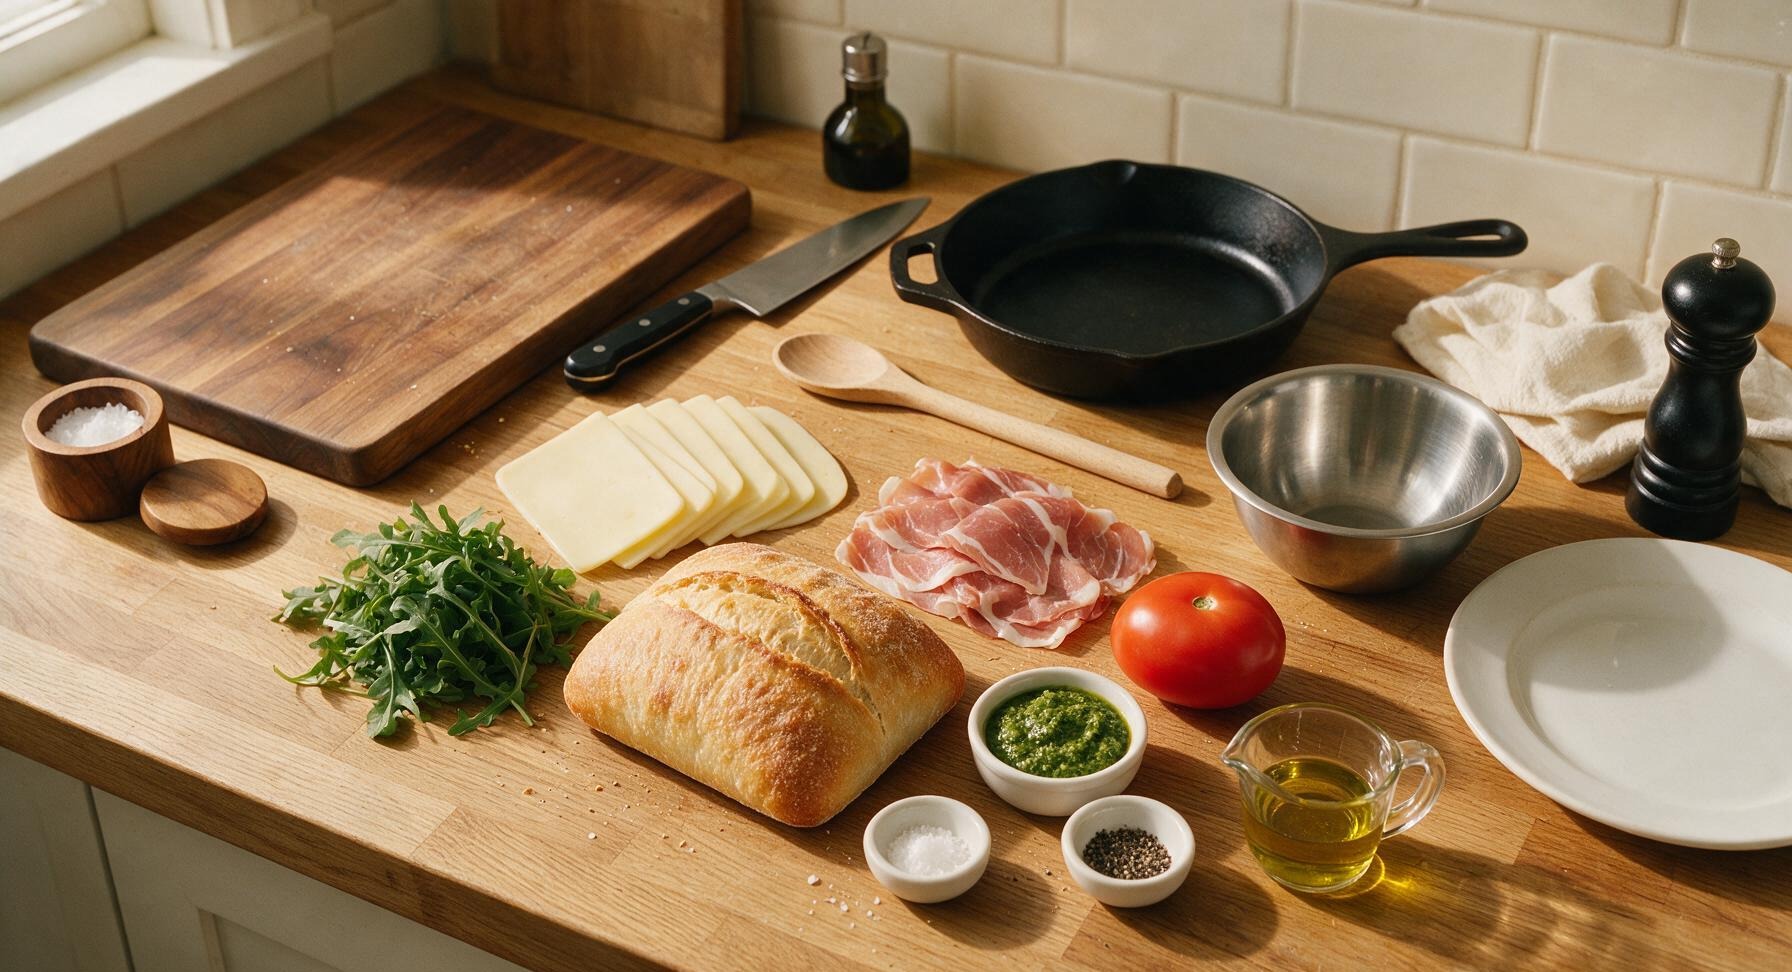
Ciabatta loaf 400g (1 large loaf)
Sliced provolone cheese 120g (8 thin slices)
Thinly sliced prosciutto 80g (8 thin slices)
Roma tomato 1 medium (about 120g)
Fresh arugula 1 cup, lightly packed
Basil pesto 2 tablespoons
Extra virgin olive oil 1 tablespoon
Flaky sea salt 1/4 teaspoon
Freshly cracked black pepper 1/4 teaspoon

Steps

1

Prep Sandwich Ingredients

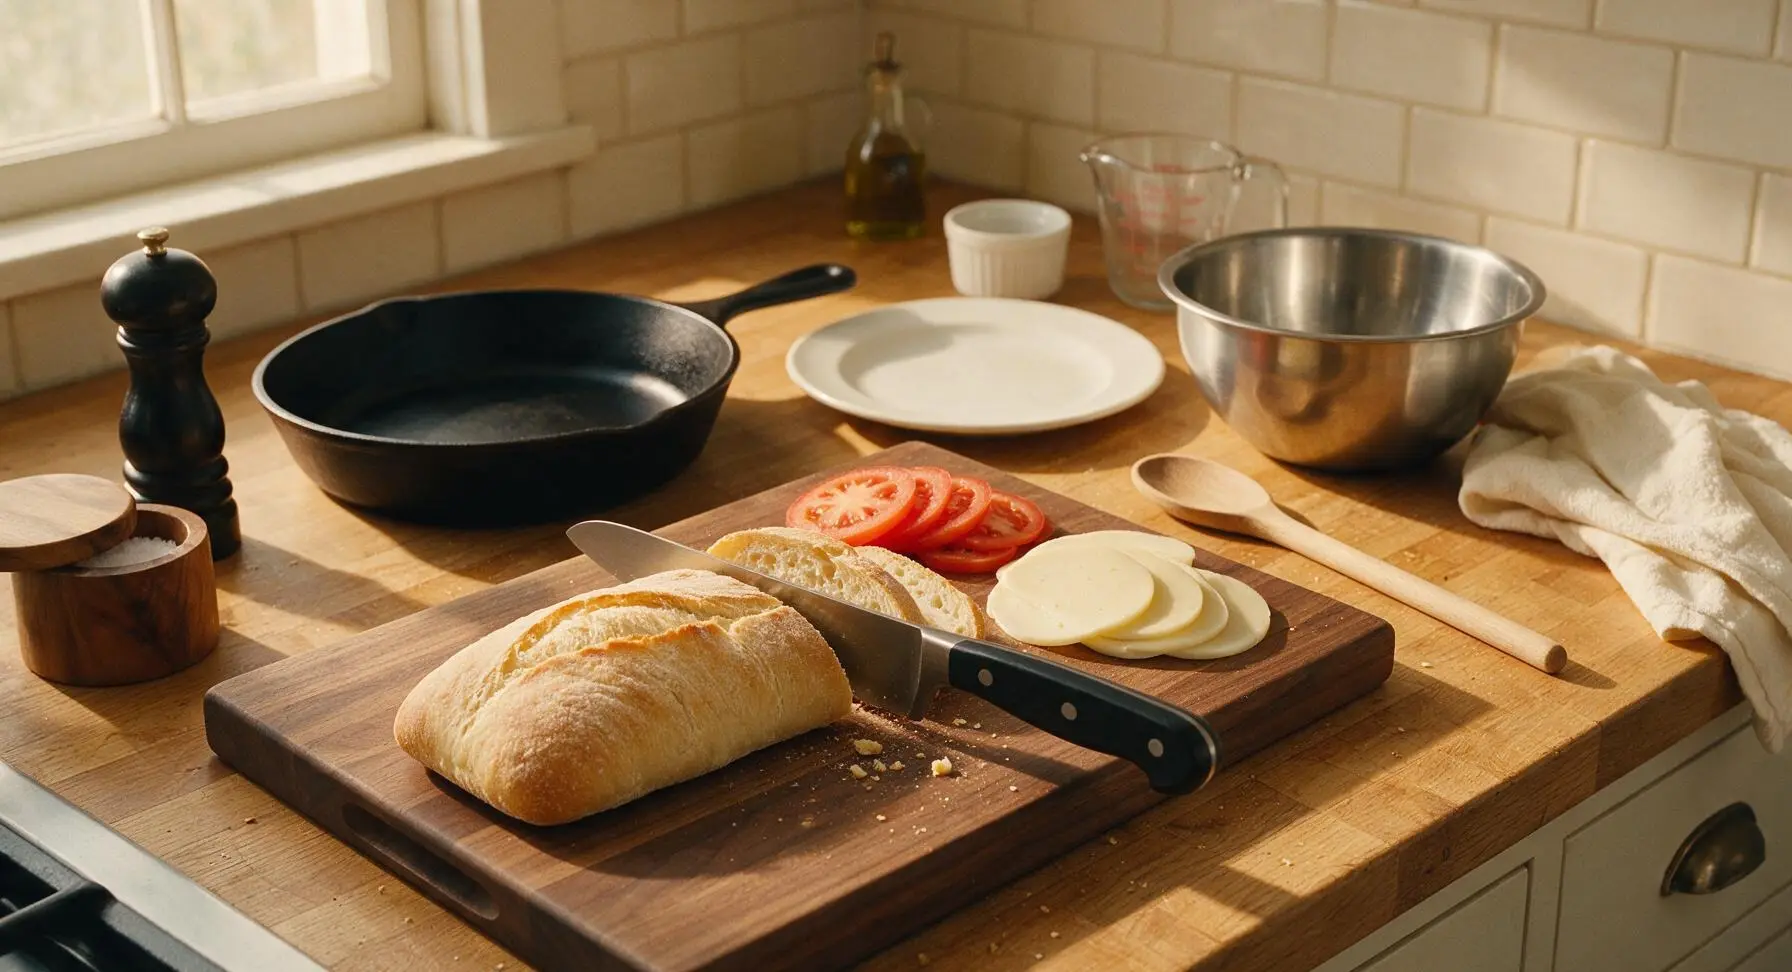
Place the ciabatta loaf on the maple cutting board. Using the 8-inch chef knife, slice the loaf into four equal 1-inch thick slices, discarding the narrow end heels if desired. Slice the roma tomato into 1/4-inch thick rounds, then pat each slice firmly with a paper towel to remove excess seeds and watery pulp that would cause sogginess. If using a block of provolone, slice it into 8 even 1/8-inch thick slices.
Step 1
step1:Prep Sandwich Ingredients
2

Spread Pesto Base

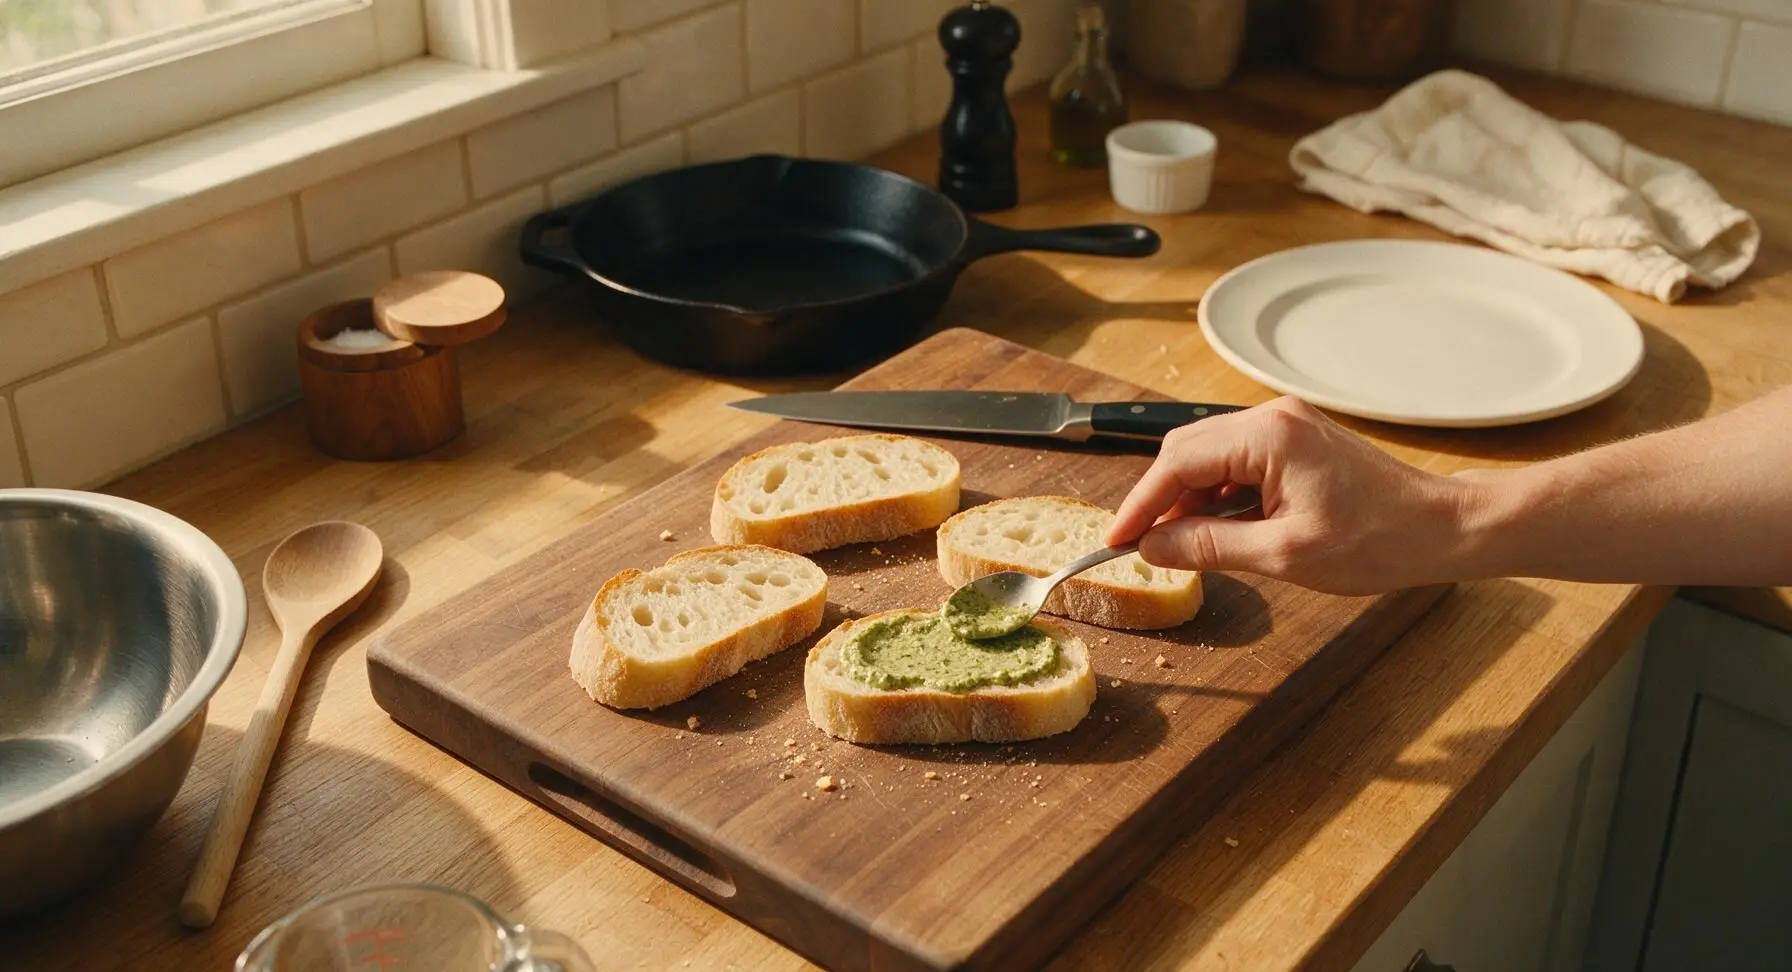
Lay the four ciabatta slices cut-side up on the cutting board. Use the small stainless steel spoon to spread 1/2 tablespoon of basil pesto evenly across the cut side of each bread slice, leaving a 1/4-inch border around the edge to prevent pesto from squeezing out when pressed. Aim for a thin, even coating—thick pesto will make the bread soggy.
Step 2
step2:Spread Pesto Base
3

Layer Panini Fillings

On two of the pesto-coated bread slices, layer ingredients in this order: 2 slices of provolone (to create a moisture barrier against the bread), 4 folded slices of prosciutto, 2-3 dried tomato slices, and a light 1/4 cup mound of arugula per sandwich. Top the fillings with a second layer of 2 provolone slices to help seal the sandwich, then place the remaining two bread slices pesto-side down on top to form two whole sandwiches. Press down gently on each sandwich with the palm of your hand to compact the fillings slightly, so they do not shift when pressed.
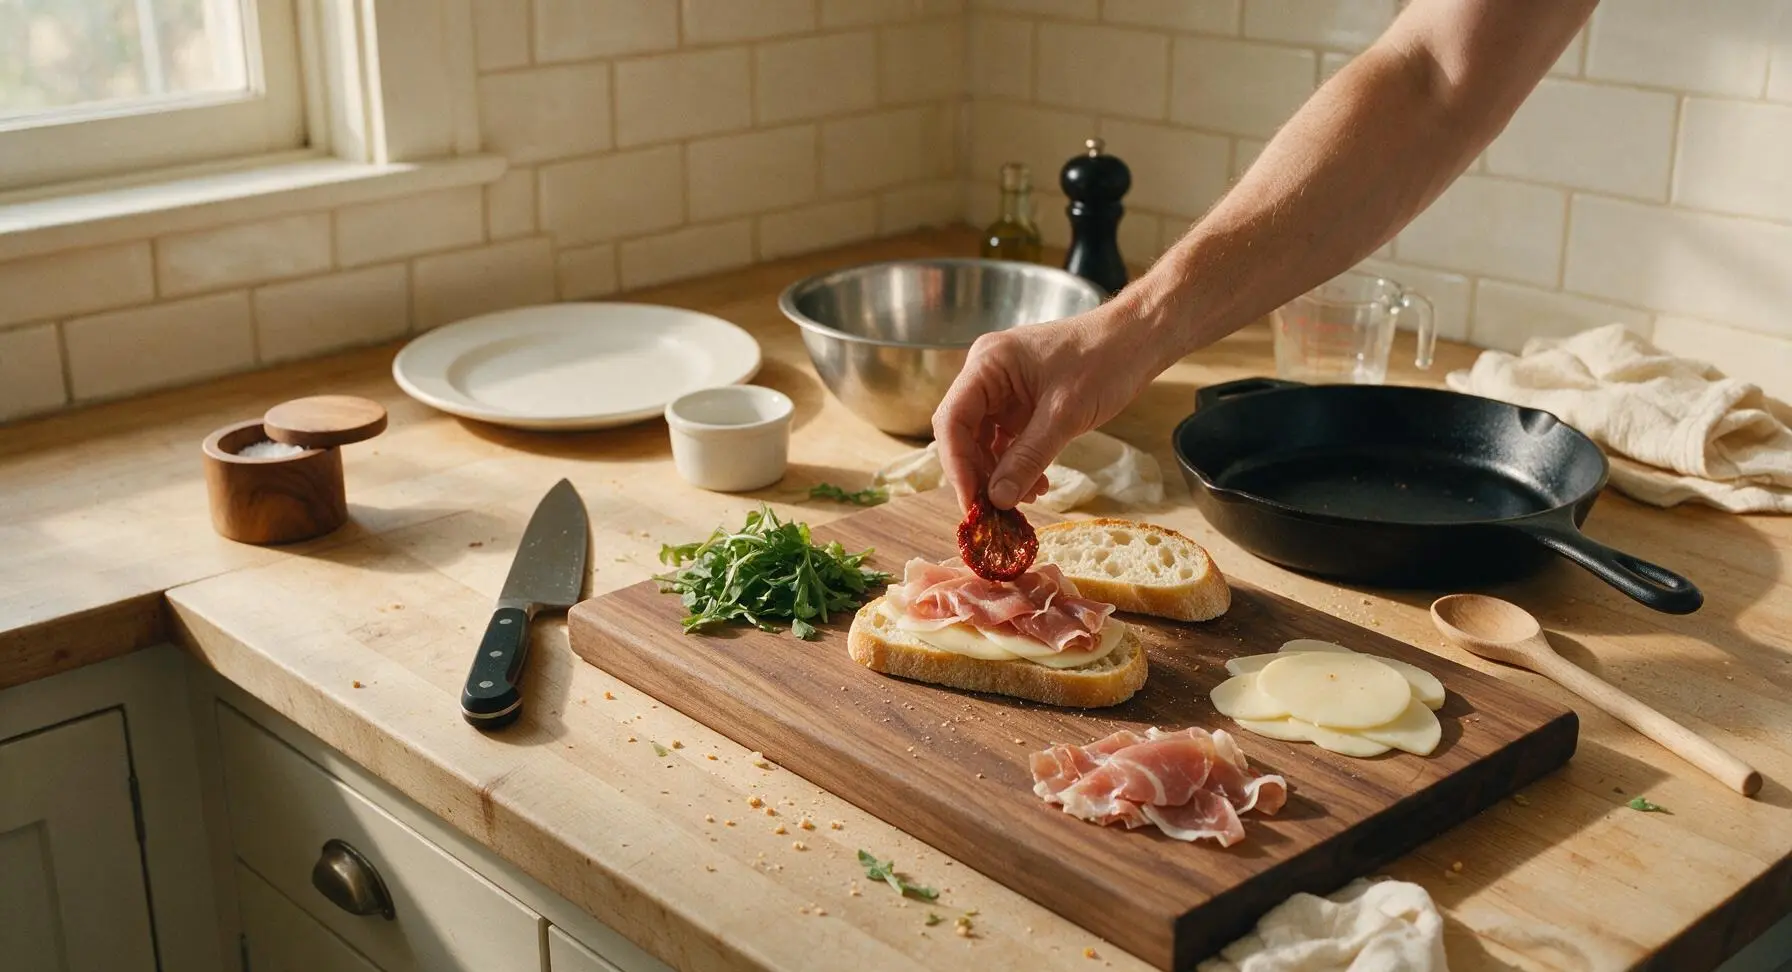
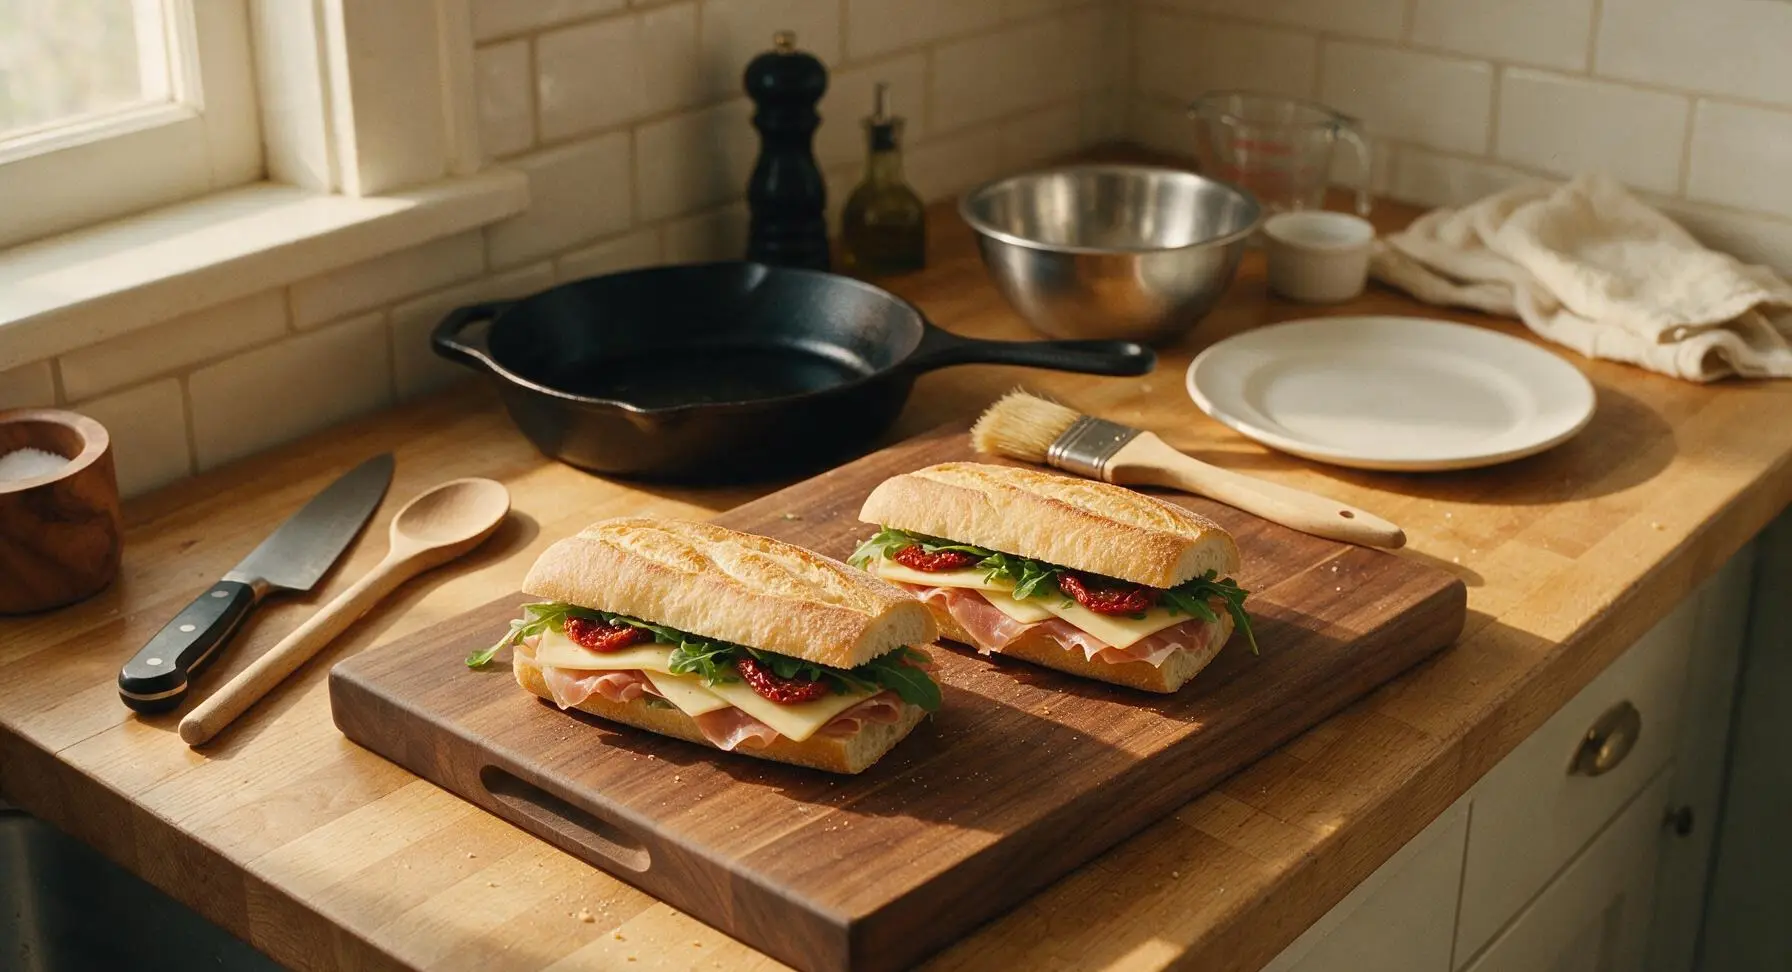
Step 3
step3:Layer Panini Fillings
Step 3
step3:Layer Panini Fillings
4

Coat Bread with Oil

Use the natural boar bristle pastry brush to lightly coat the outer top and bottom crusts of each assembled sandwich with extra virgin olive oil, using approximately 1/2 tablespoon of oil total across both sandwiches. The oil coating should be thin and even—do not drench the bread, as this will make it greasy instead of crisp. Lightly season the oiled outer surfaces with a pinch of flaky sea salt and cracked black pepper.
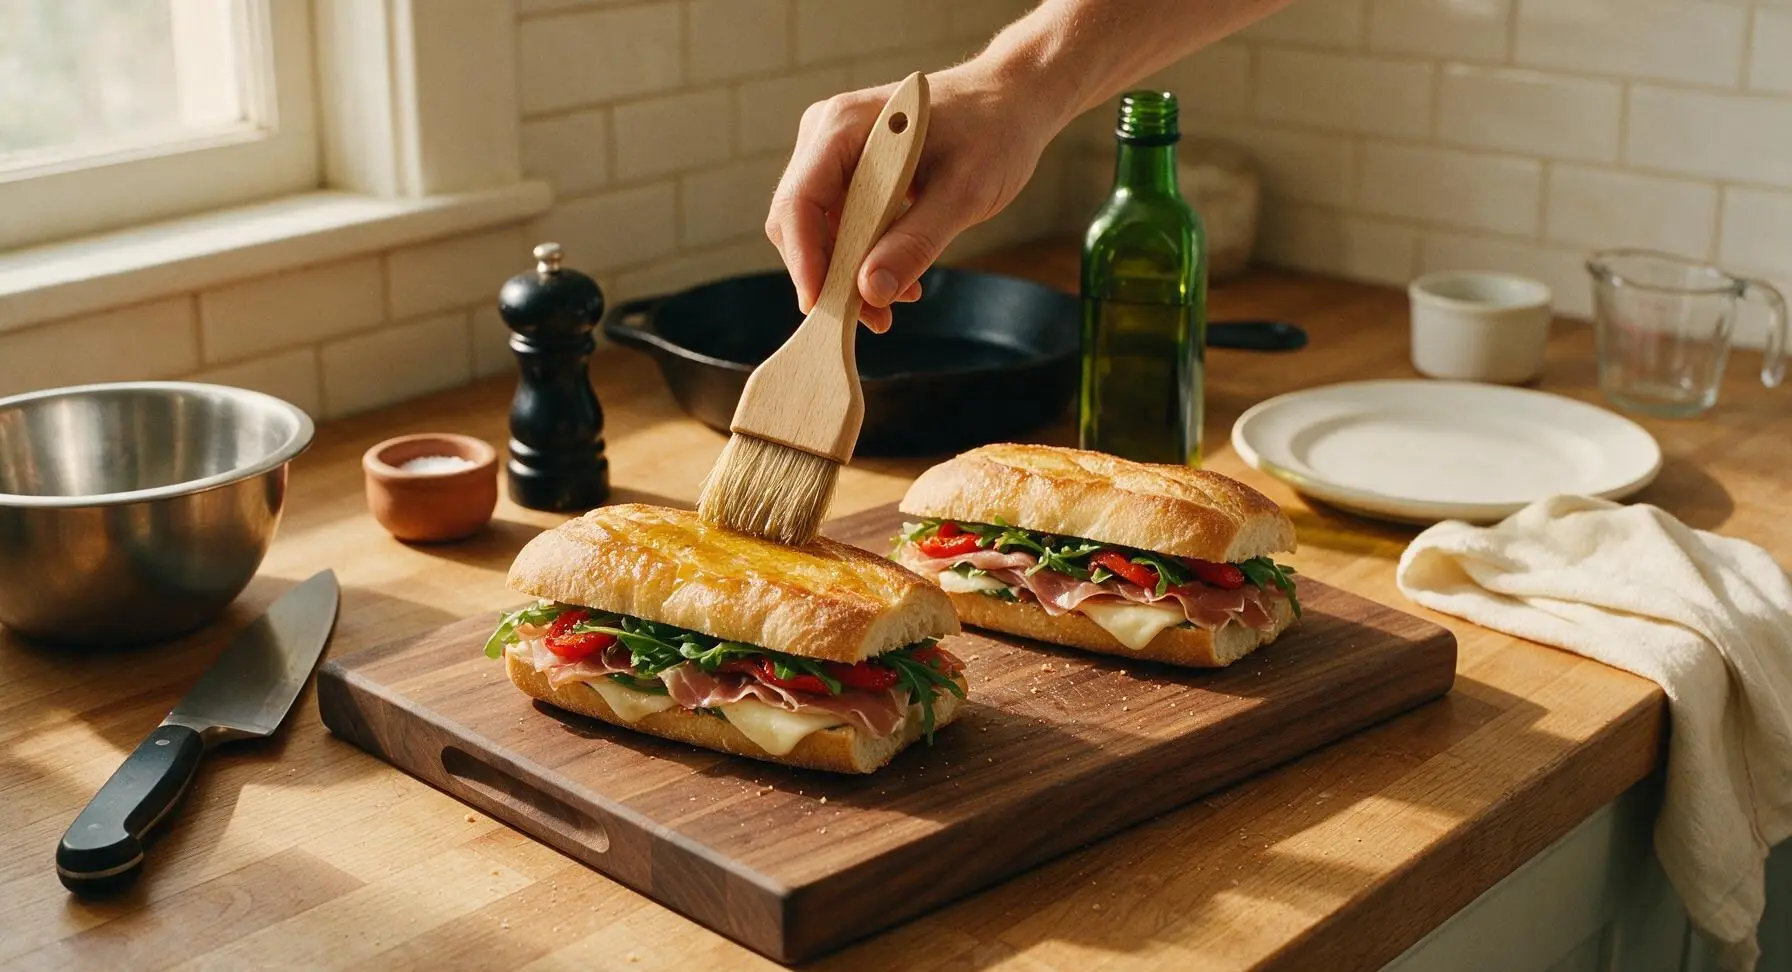
Step 4
step4:Coat Bread with Oil
5

Preheat Grill Pan

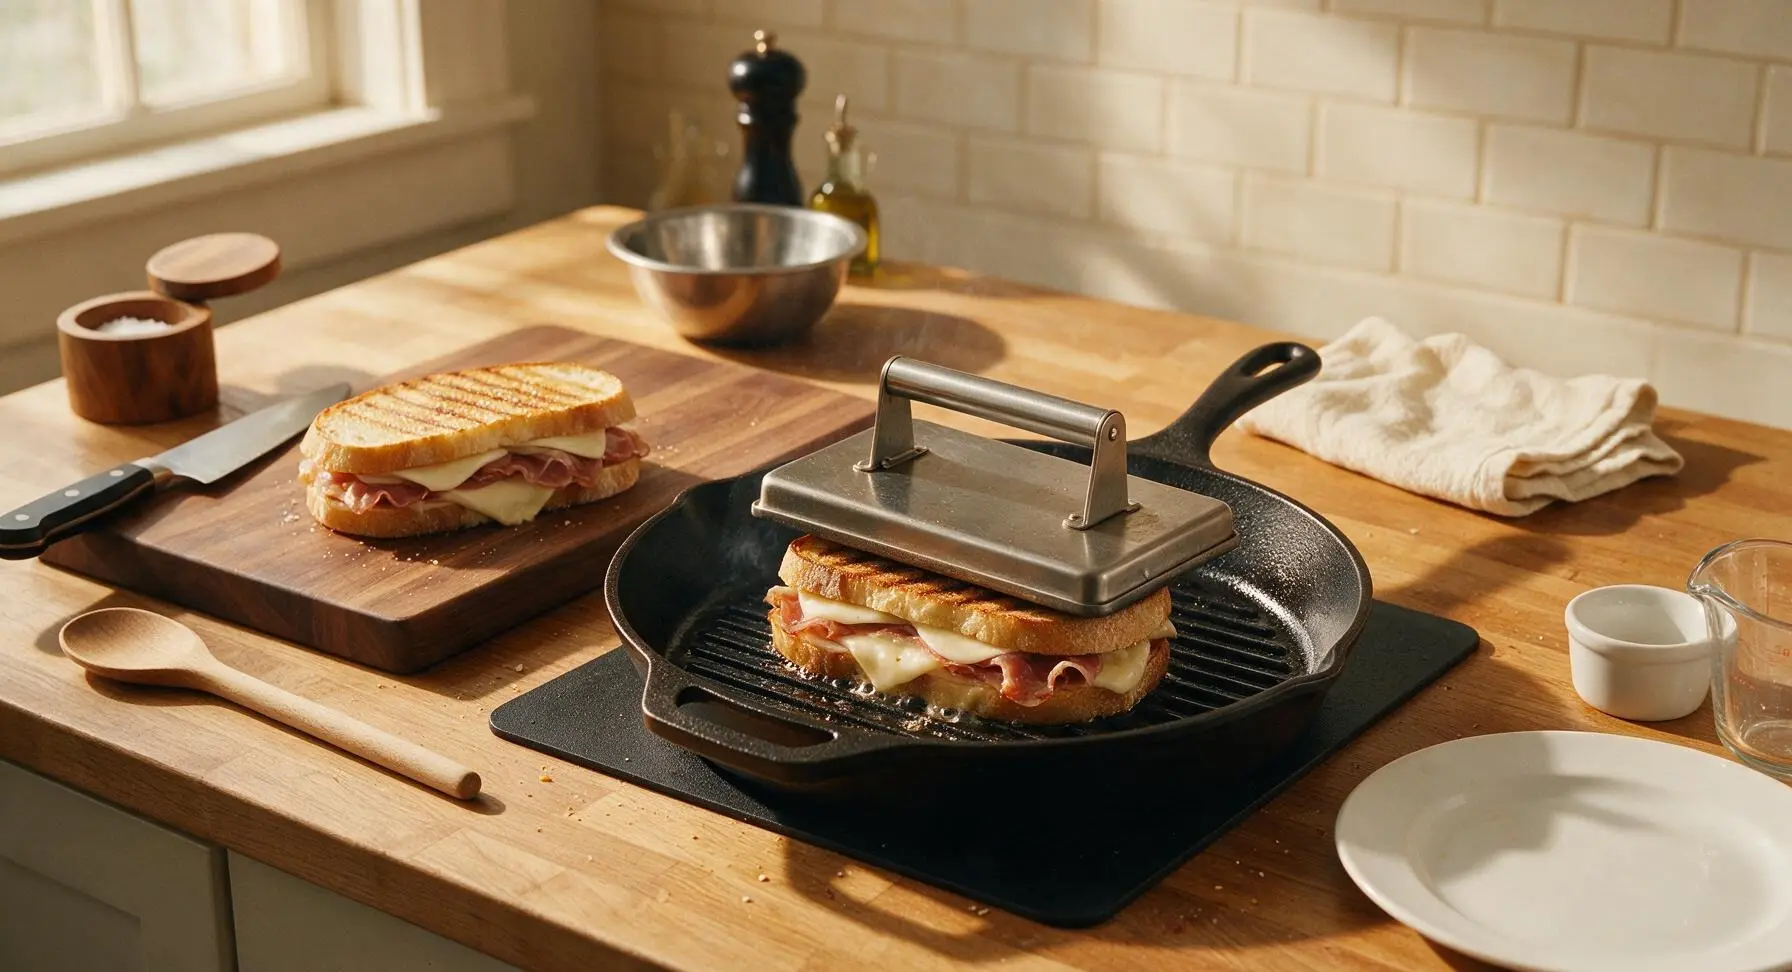
Place the round matte black silicone heat mat on the right side of the counter, then set the 12-inch matte black cast iron grill pan on top of the mat. Heat the pan over medium heat (350°F / 175°C) for 3 minutes, until a drop of water flicked onto the surface sizzles and evaporates immediately on contact. Place the weighted stainless steel panini press on the pan surface to preheat alongside the pan, so it creates even, crisp grill marks when applied.
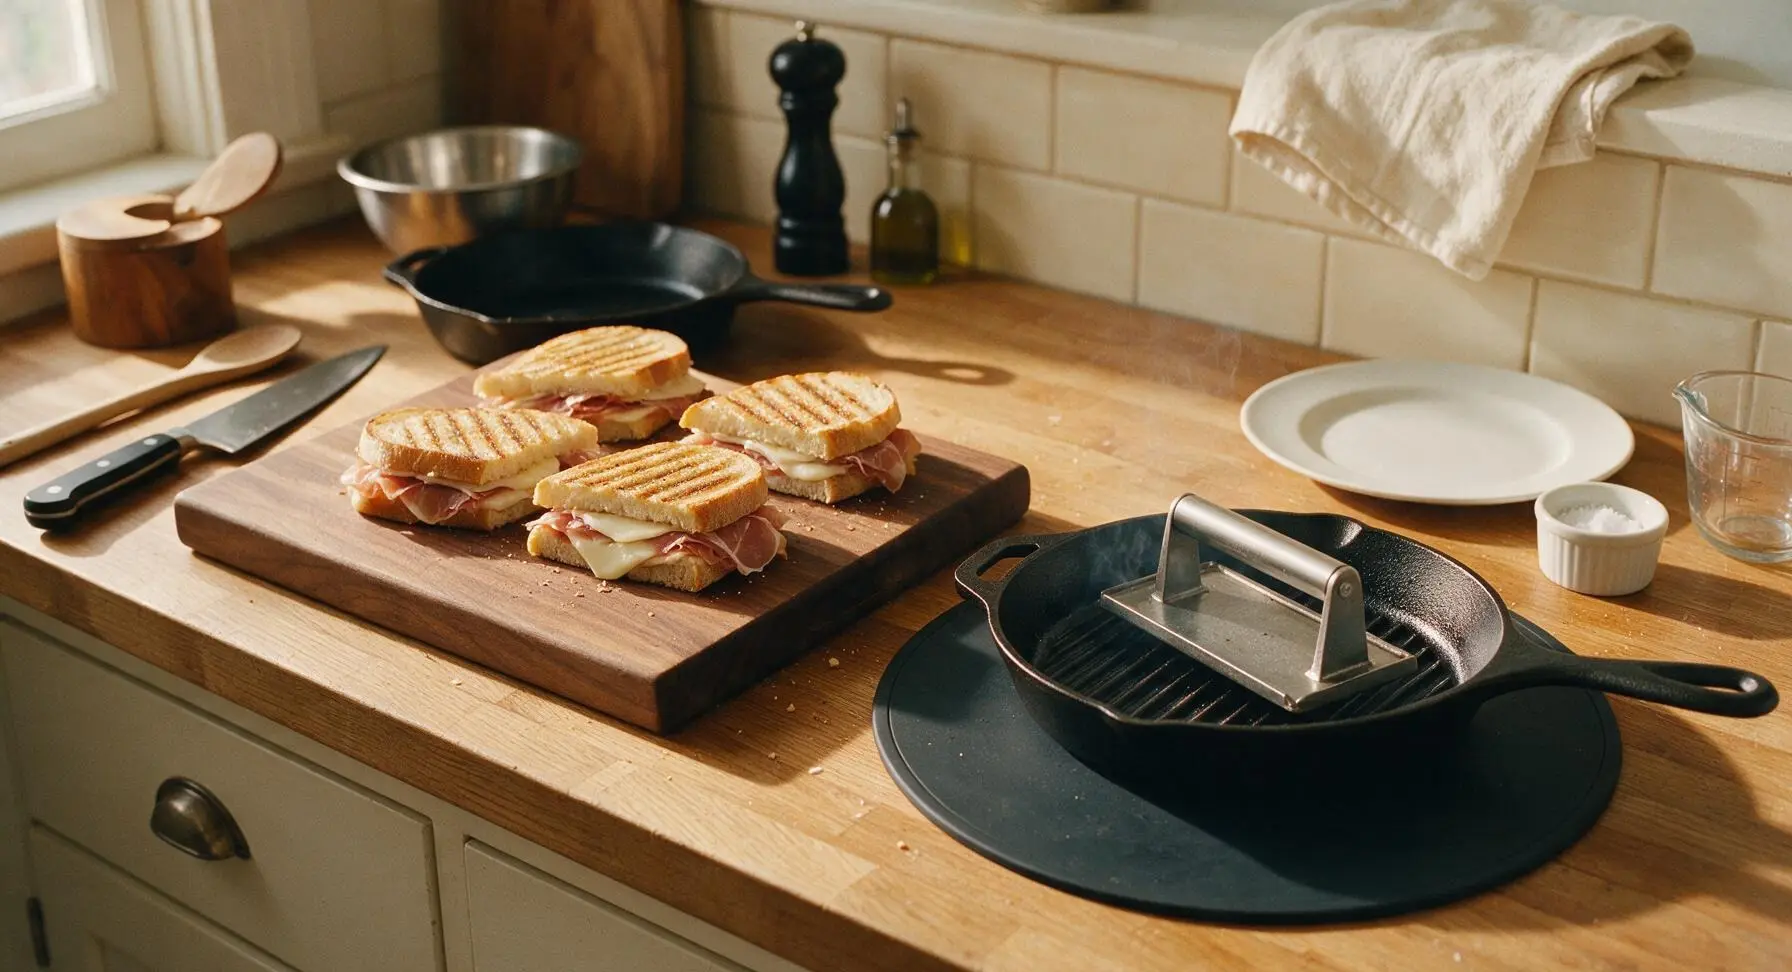
Step 5
step5:Preheat Grill Pan
6

Press and Cook Panini

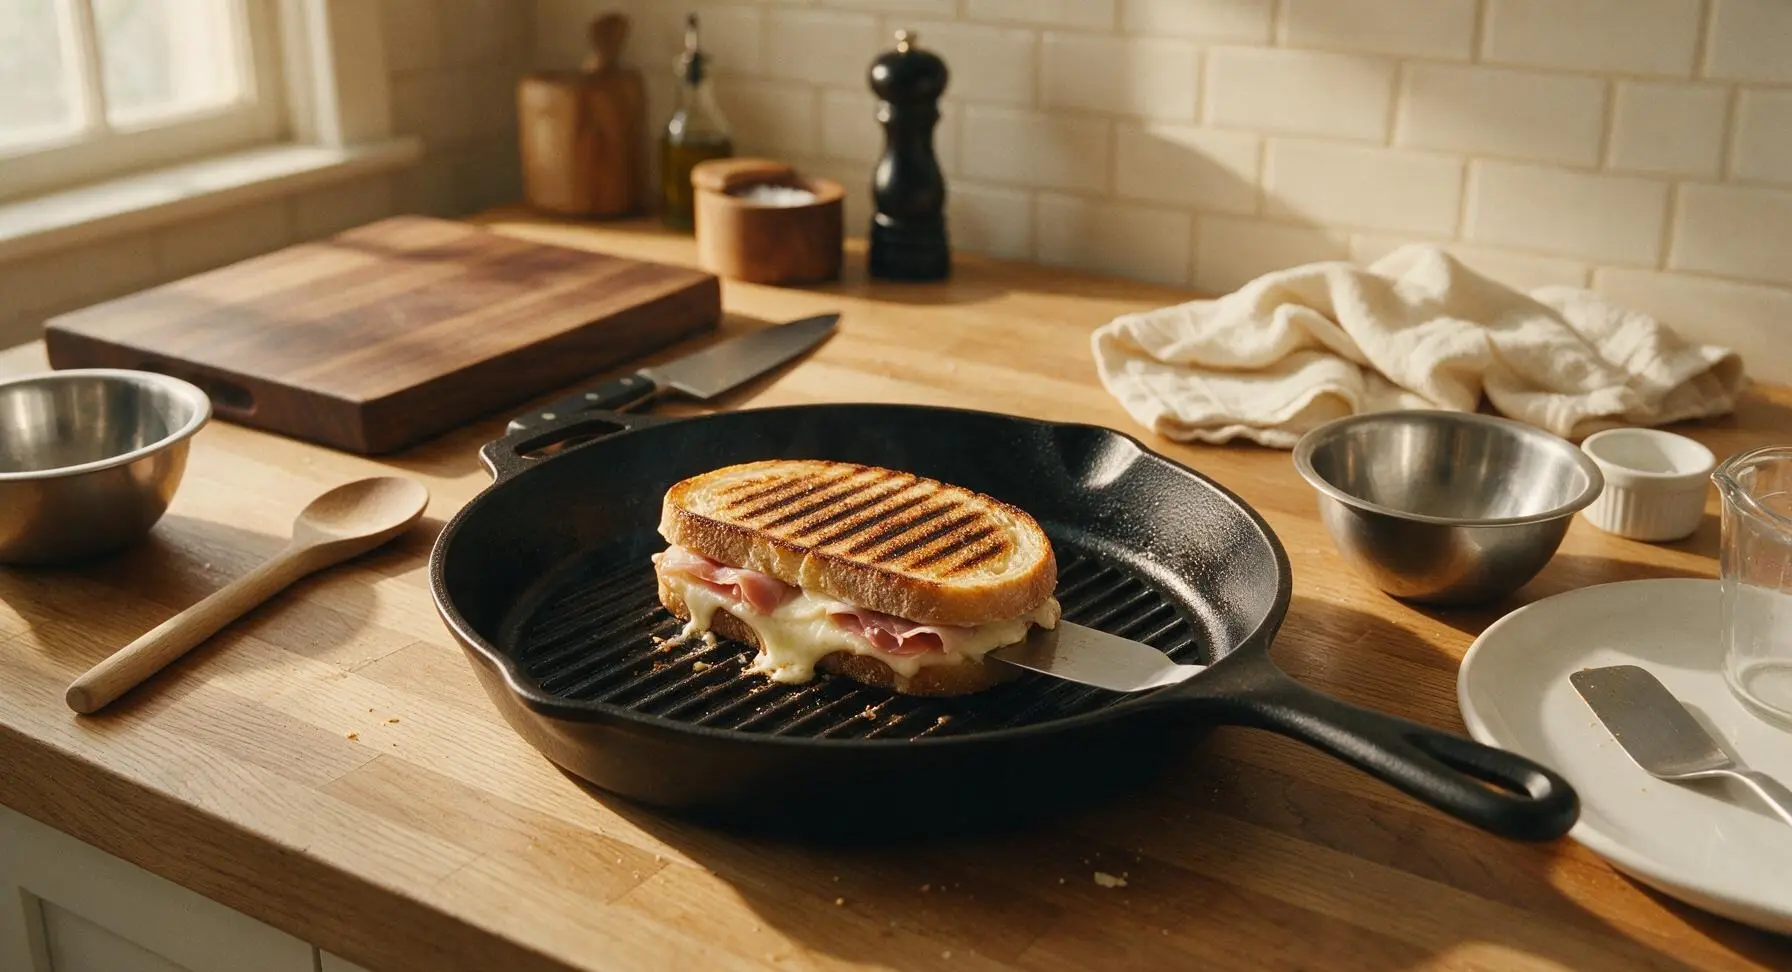
Carefully place one oiled panini on the preheated grill pan. Set the preheated weighted panini press directly on top of the sandwich, applying gentle, even pressure (do not press so hard that fillings squeeze out). Cook for 3 minutes, until the bottom bread is deep golden with distinct dark grill marks and the cheese is just starting to melt around the edges. Use the small stainless steel offset spatula to carefully flip the panini, replace the press, and cook for another 2-3 minutes on the second side, until the second side is equally crisp and grill-marked, and the cheese is fully melted and oozing slightly at the seams. Transfer the cooked panini back to the cutting board, then repeat the cooking process with the second panini.
Step 6
step6:Press and Cook Panini
Step 6
step6:Press and Cook Panini
7

Rest, Slice, and Serve

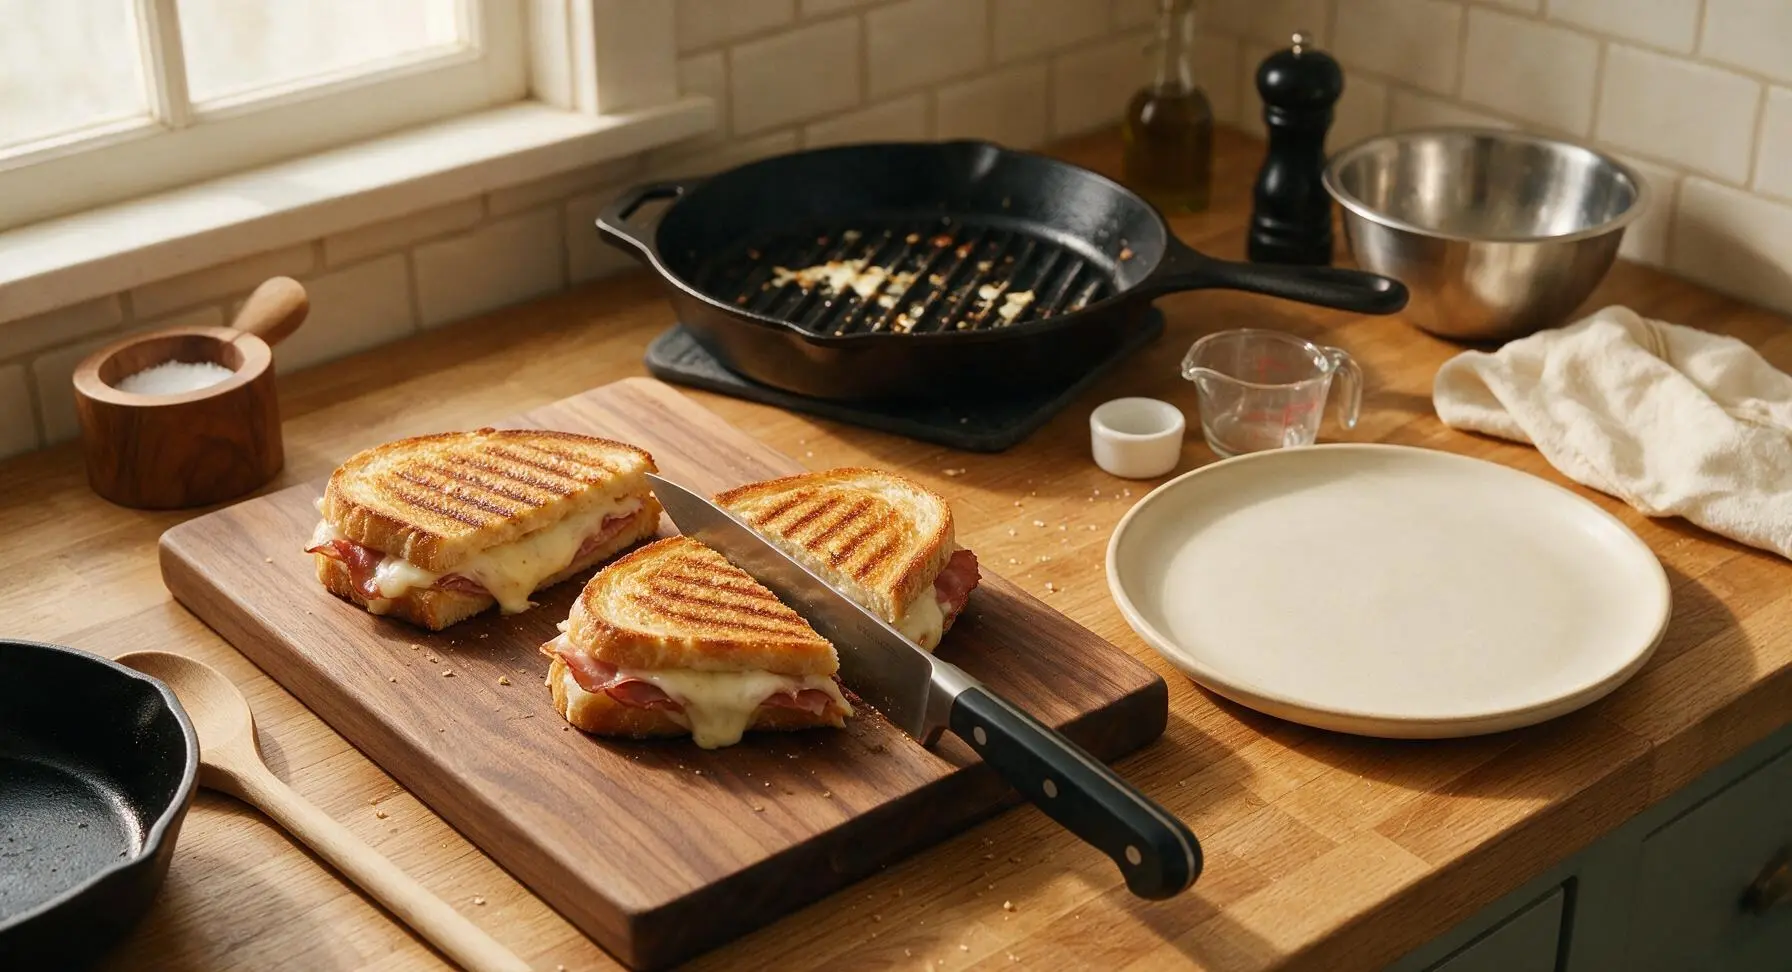
Let the cooked panini rest on the cutting board for 1 full minute to allow the melted cheese to set slightly—this prevents fillings from sliding out when cut. Using the chef knife, cut each panini diagonally into two equal triangular halves. Arrange the four halves on the matte cream ceramic dinner plate, garnish with a single fresh basil leaf, and serve immediately while warm.
Step 7
step7:Rest, Slice, and Serve

Tips

1.Pat tomato slices thoroughly dry with a paper towel before layering: excess tomato juice and seeds will soak through the bread during pressing, leading to a soggy, limp panini instead of the desired crisp crust.
2.Avoid overstuffing the sandwiches: too many fillings will prevent even cheese melt, cause ingredients to squeeze out the sides under the press, and make the panini difficult to eat without making a mess. Stick to thin, even layers for best results.
3.Preheat both the grill pan and the metal press for 3 full minutes before adding the sandwich: cold cooking surfaces will cause the bread to stick, prevent deep, crisp grill marks from forming, and lead to unevenly toasted bread.


✨ You May Also Like

Main Course
🍜 United Kingdom

A showstopping classic of tender seared beef, savory mushroom duxelles, and crisp prosciutto wrapped in flaky golden puff pastry, baked to juicy perfection.

⏱️ 2 hours 1Main Course ★ 4.7
Main Course
🍜 India

Tender charred marinated chicken simmered in a rich, spiced creamy tomato sauce, this iconic Anglo-Indian curry pairs perfectly with basmati rice or warm naan.

⏱️ 50 minuteMain Course ★ 4.6
Main Course
🍜 Thailand

Classic tangy, sweet, and savory Thai stir-fried rice noodles with shrimp, tofu, and crunchy garnishes, balancing all five core Thai flavor profiles.

⏱️ 30 minuteMain Course ★ 4.5
Main Course
🍜 United Kingdom

Crispy golden beer-battered cod and fluffy double-fried chips, served with tangy tartar sauce and malt vinegar: the timeless, beloved British pub comfort classic.

⏱️ 45 minuteMain Course ★ 4.7
Main Course
🍜 Mexico

Smoky, chile-marinated pork tacos with caramelized pineapple, fresh cilantro, and lime: a beloved classic Mexican street food perfect for casual summer gatherings.

⏱️ 1 hour 45Main Course ★ 4.8
Main Course
🍜 United States

Crunchy Fritos corn chips layered with savory beef chili and melted cheddar, topped with cool, zesty fixings for a beloved, cozy Tex-Mex comfort food.

⏱️ 35 minuteMain Course ★ 4.8

Panini:Frequently Asked Questions

1.Do I need a specialty panini press to make this recipe? ▾
No, you don’t! If you don’t have a press, use a heavy cast-iron skillet to weigh the sandwich down as it cooks. Heat a second skillet over medium, place the assembled panini in the pan, set the foil-wrapped heavy skillet on top for easy cleanup, and flip halfway through to get that even, crispy golden crust on both sides.
2.Can I use a different bread if I don’t have ciabatta? ▾
Absolutely, though ciabatta’s airy crumb and chewy crust is ideal for holding fillings without getting soggy. Great swaps include sourdough boule slices, rustic Italian bread, or a split soft French baguette. Avoid super soft, thin sandwich bread—it will compress too much under pressure and turn mushy from tomato juices.
3.How do I keep my panini from getting soggy from the tomato and arugula? ▾
Great question—sogginess is the most common panini pitfall! First, seed your Roma tomato slices and pat them dry with paper towels before layering to remove excess watery pulp. Add arugula after cooking if you prefer extra crisp, or tuck it between cheese layers so it doesn’t sit directly against wet tomato as the sandwich presses.
4.What’s the best way to get the prosciutto extra crispy without burning it? ▾
You don’t need to pre-cook the prosciutto! The thin slices will crisp up perfectly from the press’s direct heat as the cheese melts, as long as you keep your cooking heat at medium, not high. If you love shatteringly crisp prosciutto, pan-fry slices for 30 seconds per side first, then layer them into the sandwich before pressing.
5.Can I substitute provolone with a different cheese? ▾
Definitely, though provolone’s mild, slightly smoky melt pairs perfectly with salty prosciutto. Great melting swaps include low-moisture mozzarella, fontina, or young Asiago. Avoid crumbly cheeses like feta or super soft cheeses like brie that won’t hold structure or create that signature stretchy, oozing texture when pressed.
6.How long should I press the panini to get the perfect crisp? ▾
For a standard panini press set to medium-high heat, 3 to 4 minutes is all you need. You’ll know it’s done when the bread is deep golden brown with distinct grill marks, and the provolone is fully melted and oozing slightly at the edges. If using the stovetop skillet method, cook 2 to 3 minutes per side for even crunch.
7.Can I make these panini ahead of time for meal prep or a party? ▾
You can prep components up to 2 days ahead: slice and pat dry tomatoes, portion prosciutto and cheese, and split ciabatta loaves, but wait to assemble and press until right before serving. Pressed panini get soggy as they sit, so for parties, set up a build-your-own station and press sandwiches to order in small batches.
8.Should I butter or oil the outside of the bread before pressing? ▾
Yes, a thin layer of fat on the bread exterior is key for that shatteringly crisp, golden crust instead of dry, tough bread. Use softened unsalted butter for a rich, nutty flavor, or a light brushing of extra-virgin olive oil for a brighter, Italian-inspired taste. Avoid thick slathers—too much fat makes bread greasy, not crispy.
9.My arugula gets wilted and mushy when I press the panini—how do I fix that? ▾
If you hate overly wilted greens, hold the arugula until after the panini comes off the press. Once you pull the hot, crispy sandwich open, tuck fresh peppery arugula inside so it gets slightly warmed from residual heat but stays bright and crisp, rather than steaming and turning slimy under the press’s high heat and pressure.
10.What add-ins work well with the classic prosciutto and provolone flavor combo? ▾
Stick to small, balanced add-ons so you don’t overpower the classic flavors! A thin spread of fig jam, a sprinkle of red pepper flakes, a few thin slices of well-patted roasted red pepper, a smear of basil pesto, or a light drizzle of balsamic glaze all pair beautifully without making the sandwich too heavy or soggy.
11.How thin should I slice the Roma tomatoes for this panini? ▾
Slice Roma tomatoes into ¼-inch thick rounds, no thicker. Thicker slices will release too much moisture as they cook and make your bread soggy, and they’ll make the sandwich slide apart when you take a bite. Always scoop out the seedy, juicy core from each slice before layering to cut down on excess water even more.
12.Can I make a vegetarian version of this panini? ▾
Absolutely! Swap the prosciutto for thin slices of marinated, pressed artichoke hearts, roasted eggplant, or crispy pan-fried portobello slices for that same savory, salty depth. Keep the provolone, arugula, and tomato, and add a light sprinkle of flaky sea salt to make up for the salt you’d normally get from cured meat.
13.Why does my cheese melt out of the sides of the panini and make a mess? ▾
That usually happens if you overstuff the sandwich or set your heat too high. Keep cheese layers tucked all the way inside the bread, not hanging over the edges, and don’t pile more than 2 thin slices of provolone per sandwich. Medium heat lets cheese melt slowly before bread burns, so it stays inside instead of running onto the press.
14.What’s the best way to cut and serve these panini? ▾
Let the pressed panini rest for 1 minute after pulling it off the heat—this lets the melted cheese set slightly so it doesn’t gush out when you cut it. Slice it on the diagonal with a sharp serrated knife for easy handling, and serve with marinara for dipping, a small green salad, or a cup of tomato soup for a cozy meal.
15.Can I freeze assembled panini for quick future meals? ▾
You can freeze un-pressed assembled panini for up to 3 months, as long as you leave out the arugula and pat tomatoes completely dry to avoid ice crystals. Wrap each tightly in plastic wrap and foil, then press directly from frozen (add 2 extra minutes of cook time), tucking fresh arugula in after cooking for that signature peppery bite.

Comments (4)

2 days ago

OMG this panini was such a game changer for weeknight dinners! I had leftover prosciutto from a charcuterie board last weekend and grabbed provolone on my way home from work, threw this together in literally no time — the 9 minute cook time is totally spot on! My 8 and 10 year old devoured theirs and asked if we can have these every Friday now. SO crispy, the prosciutto gets that perfect salty crunch that pairs so well with the melty cheese. 10/10 no notes!

yesterday

Wait did you add any extras to yours? I’m planning to make these for my poker night this weekend and was thinking of tossing in some roasted red peppers, wondering if that meshes well!

yesterday

So glad your family loved these, Liz! Roasted red peppers or a light arugula toss with balsamic glaze make fantastic additions without overpowering the prosciutto and provolone — those are actually two of our favorite customizations for potlucks!

5 days ago

Super easy recipe, perfect for meal prep! I made a batch of these on Sunday, wrapped them tight, and pressed them fresh each morning before work all week. My only tiny note is that my prosciutto got a little chewy instead of crispy on my first try — I think I had my pan press heat too low? Flavor was still incredible though, provolone melts so evenly with this method.

3 days ago

Thanks for the great feedback, Mike! If your prosciutto is coming out chewy, try turning your press heat up just a touch and making sure you’re not overcrowding the pan — that extra 30 seconds of high heat is all it takes to get that perfect crispy edge. So smart to prep these for the work week!

2 hours ago

Made this for a quick lunch date with my partner today and they are already asking when I’m making it again! I used sourdough bread instead of the suggested ciabatta because that’s what I had in the pantry, and it still turned out perfectly crispy. The salt from the prosciutto cuts through the creamy provolone so well, I didn’t even need to add extra mayo or mustard. 10/10 will be in my regular rotation.

30 minutes ago

Sourdough swap is genius! I did the same last week and added a little thin-sliced tomato, game on. So much better than the sad paninis I used to get at the café down the street.

yesterday

Wow, this could not be easier! I was skeptical a 9 minute cook time would be enough to get everything melted and crispy but it was exactly spot on. Packed these for a day hike with my dog (don’t worry, I didn’t slip him any prosciutto — too salty for pups!) and they held up way better than I thought they would, no soggy bread at all even after being tucked in my pack for 3 hours. Will absolutely be making these for all my upcoming trail days.



