
panko fried chicken breast
intro
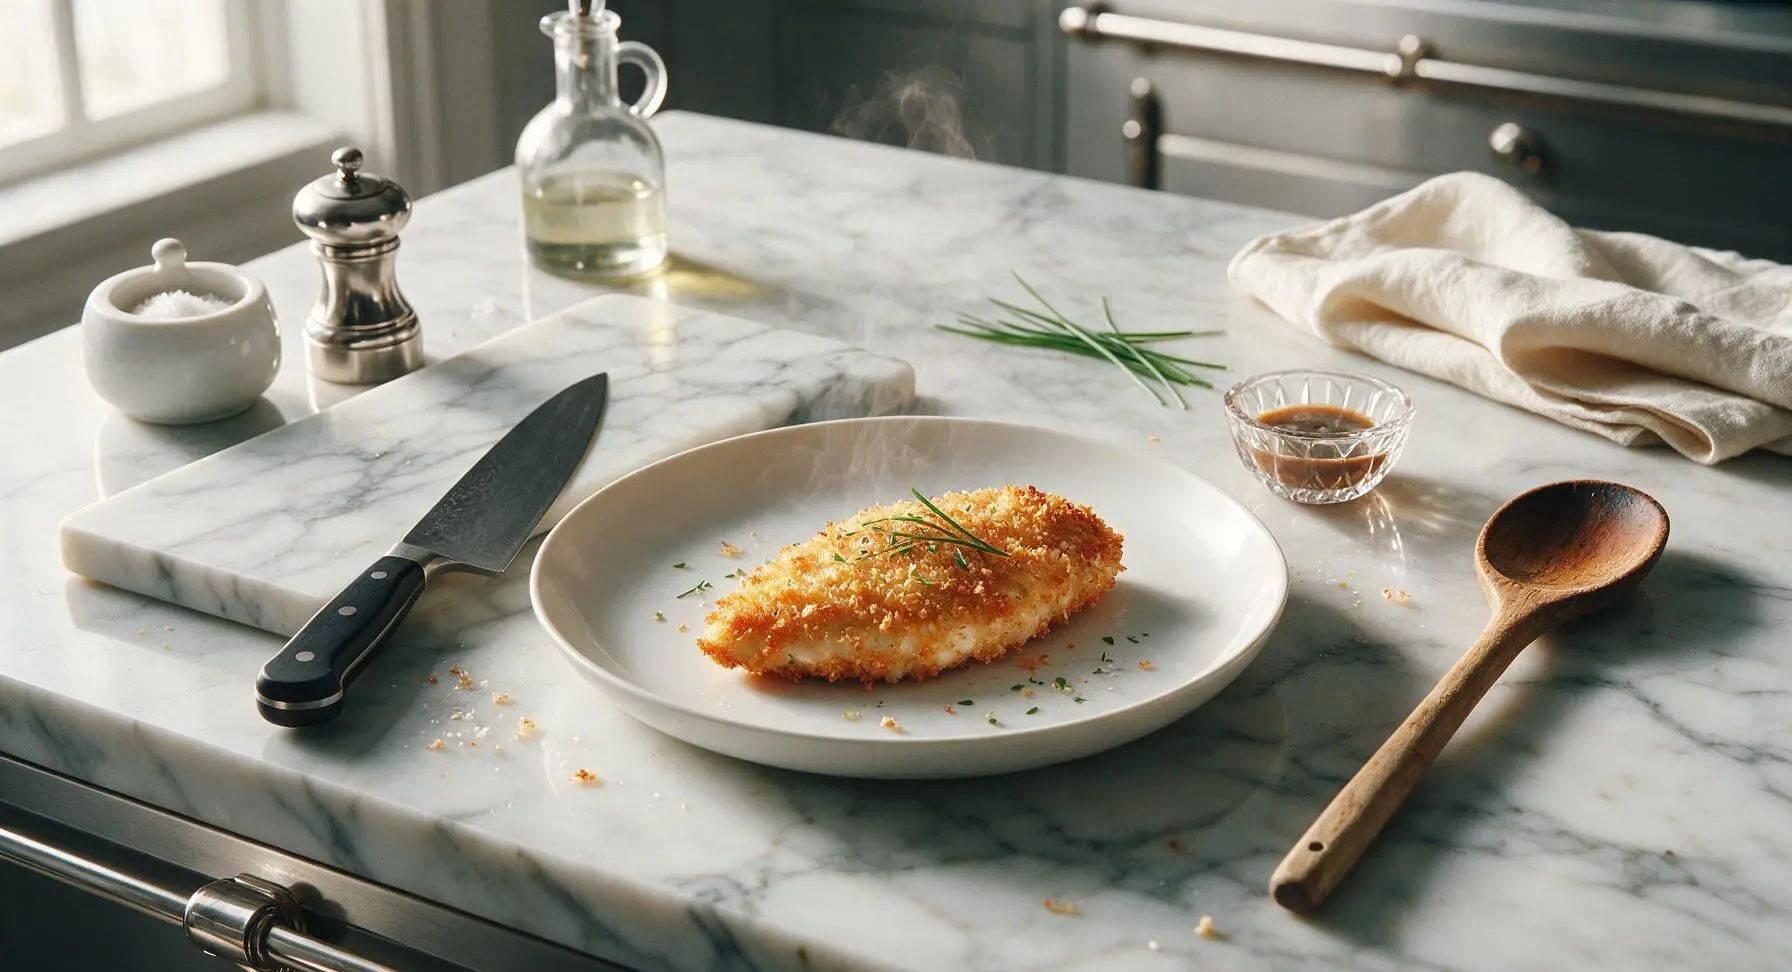
Crispy golden panko-crusted chicken breast with a juicy, tender interior, quick to prepare, perfect for pairing with rice, salads, or veggies on busy nights.
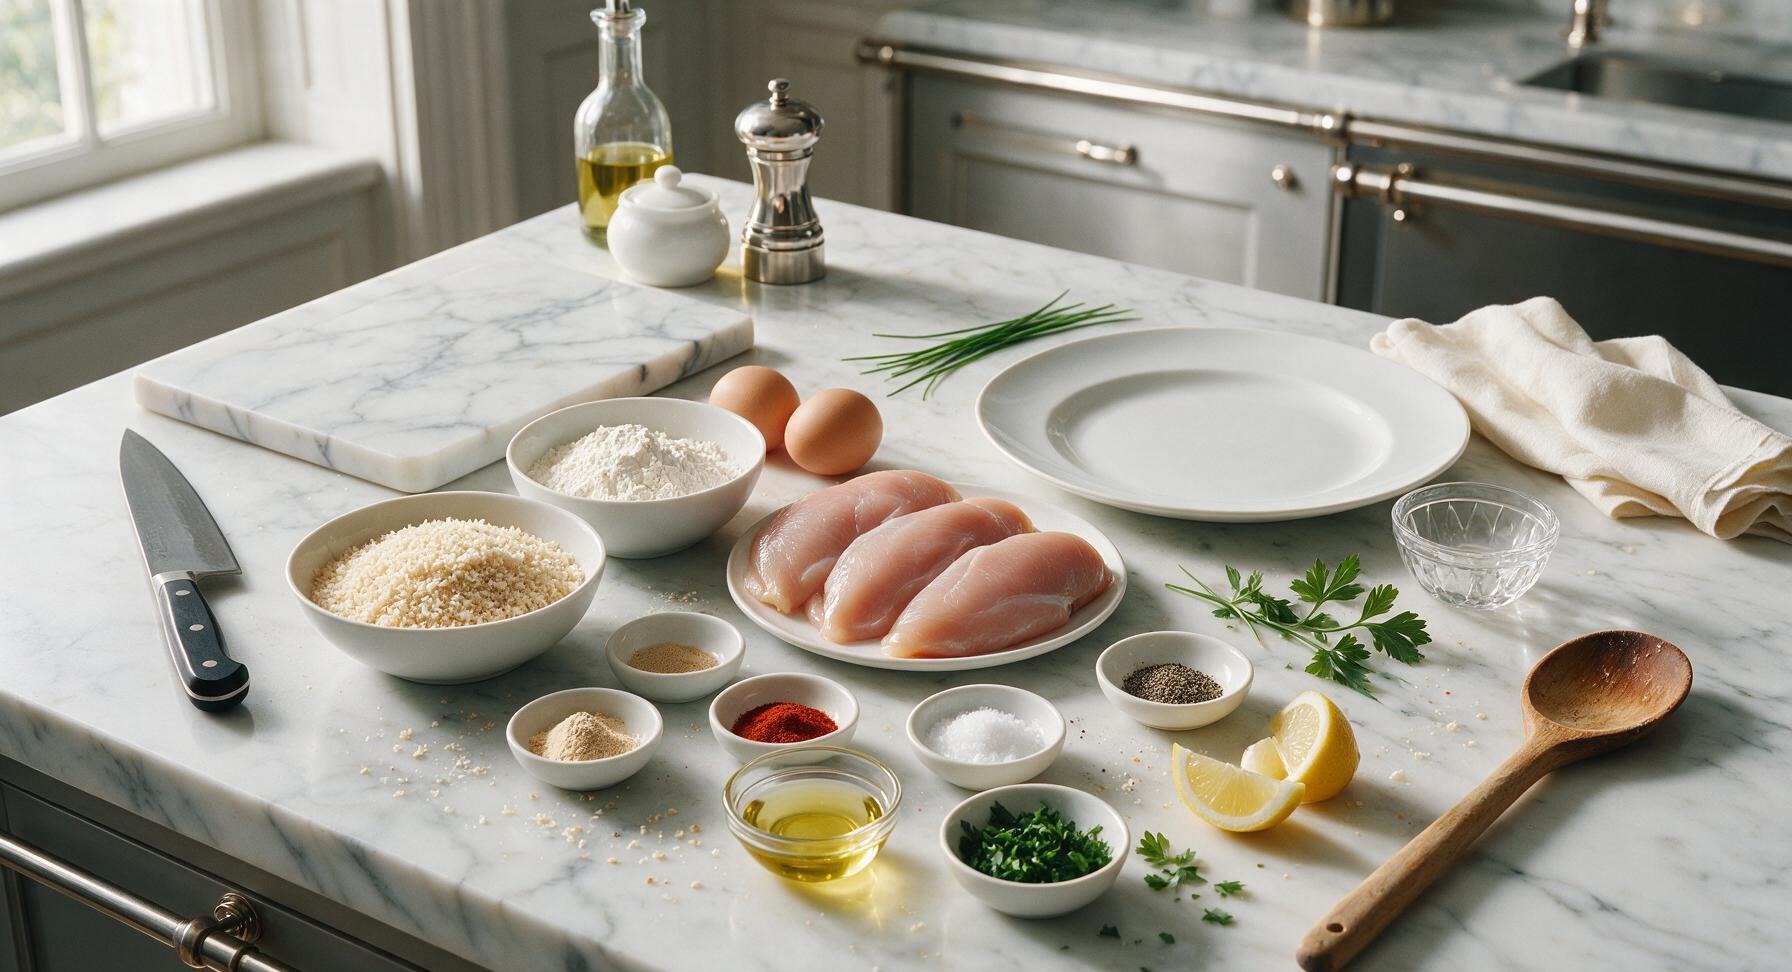
Ingredients
Steps
Pound Chicken Breasts
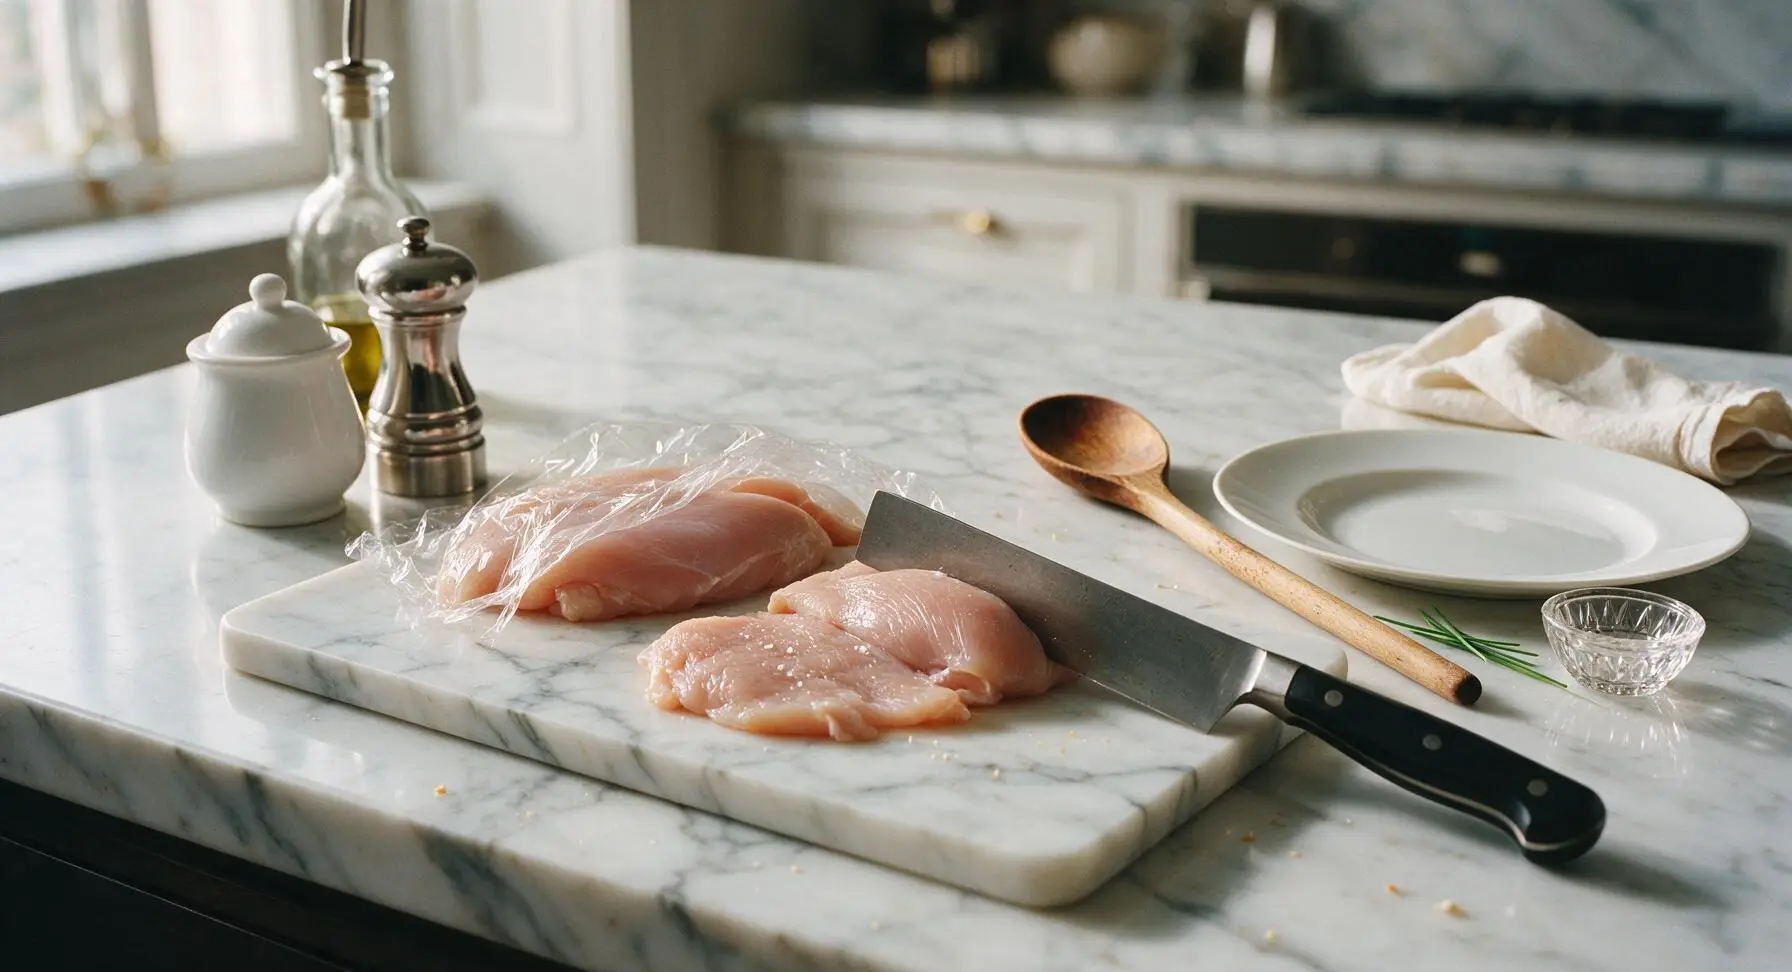
Place the 4 boneless skinless chicken breasts on the walnut cutting board. Cover loosely with a sheet of plastic wrap to prevent splatter. Using the flat side of the chef knife blade, gently pound the thickest part of each breast to an even 2cm thickness across the entire cut. This ensures even cooking, eliminating dry overcooked thin edges or undercooked thick centers. Season both sides lightly with ½ tsp of the kosher salt and ¼ tsp black pepper.
Arrange Breading Station
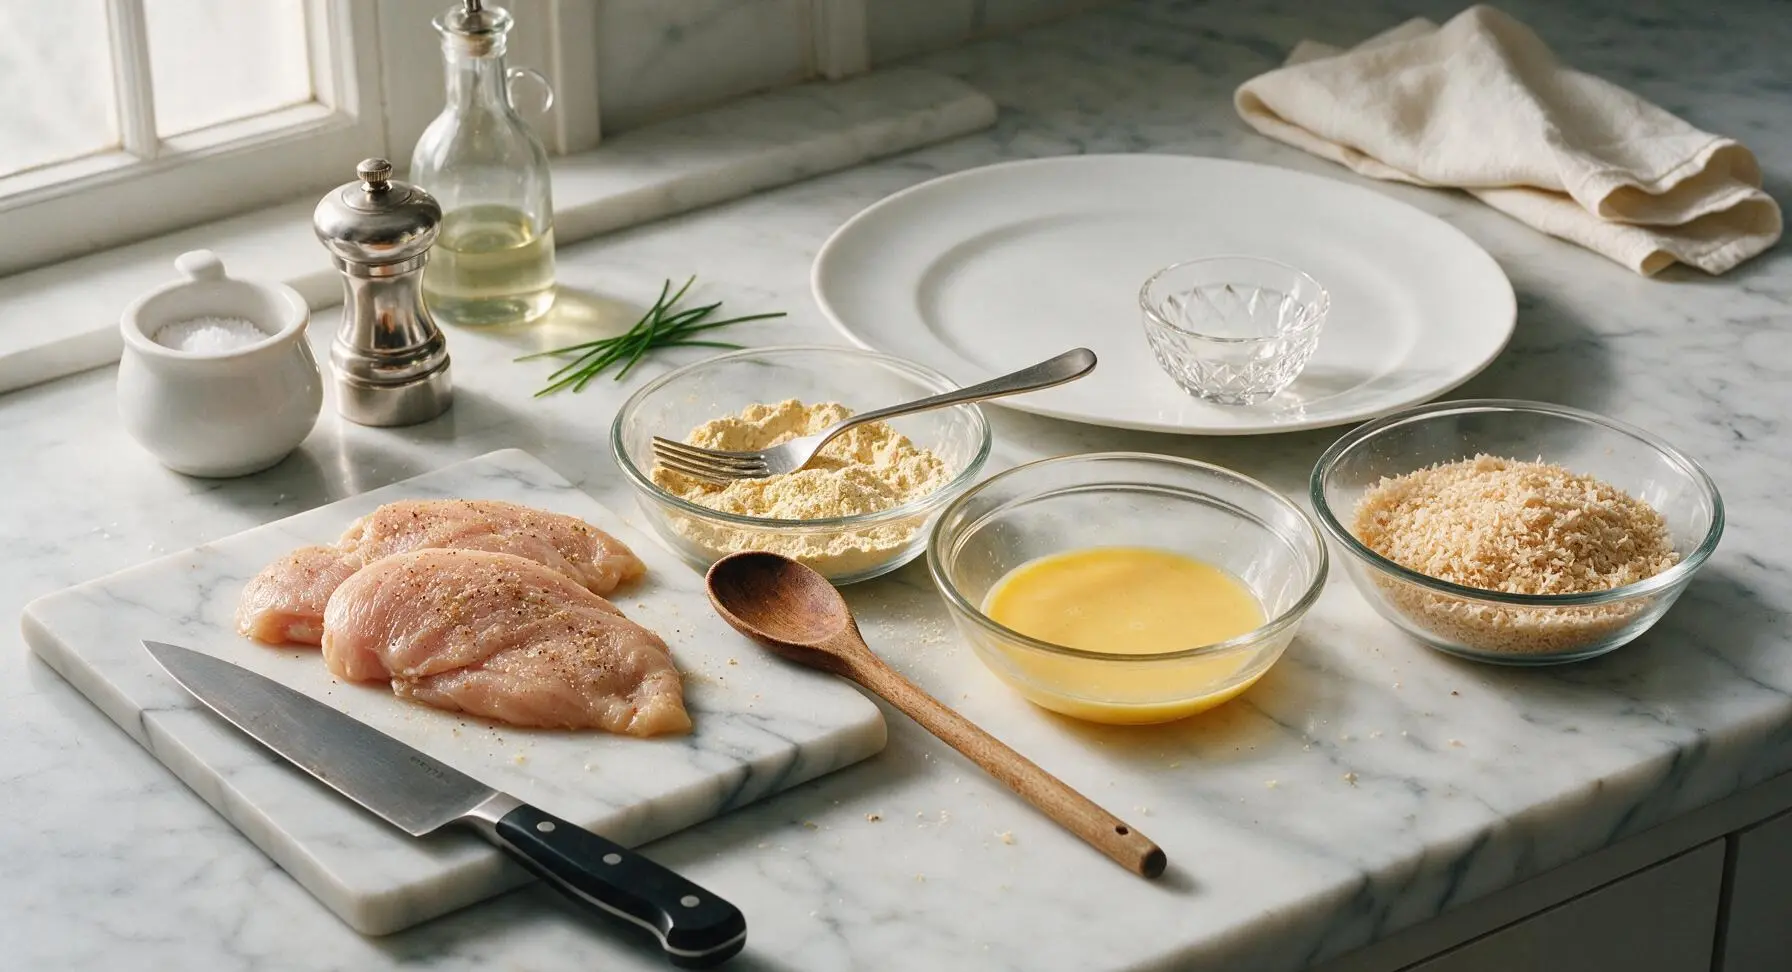
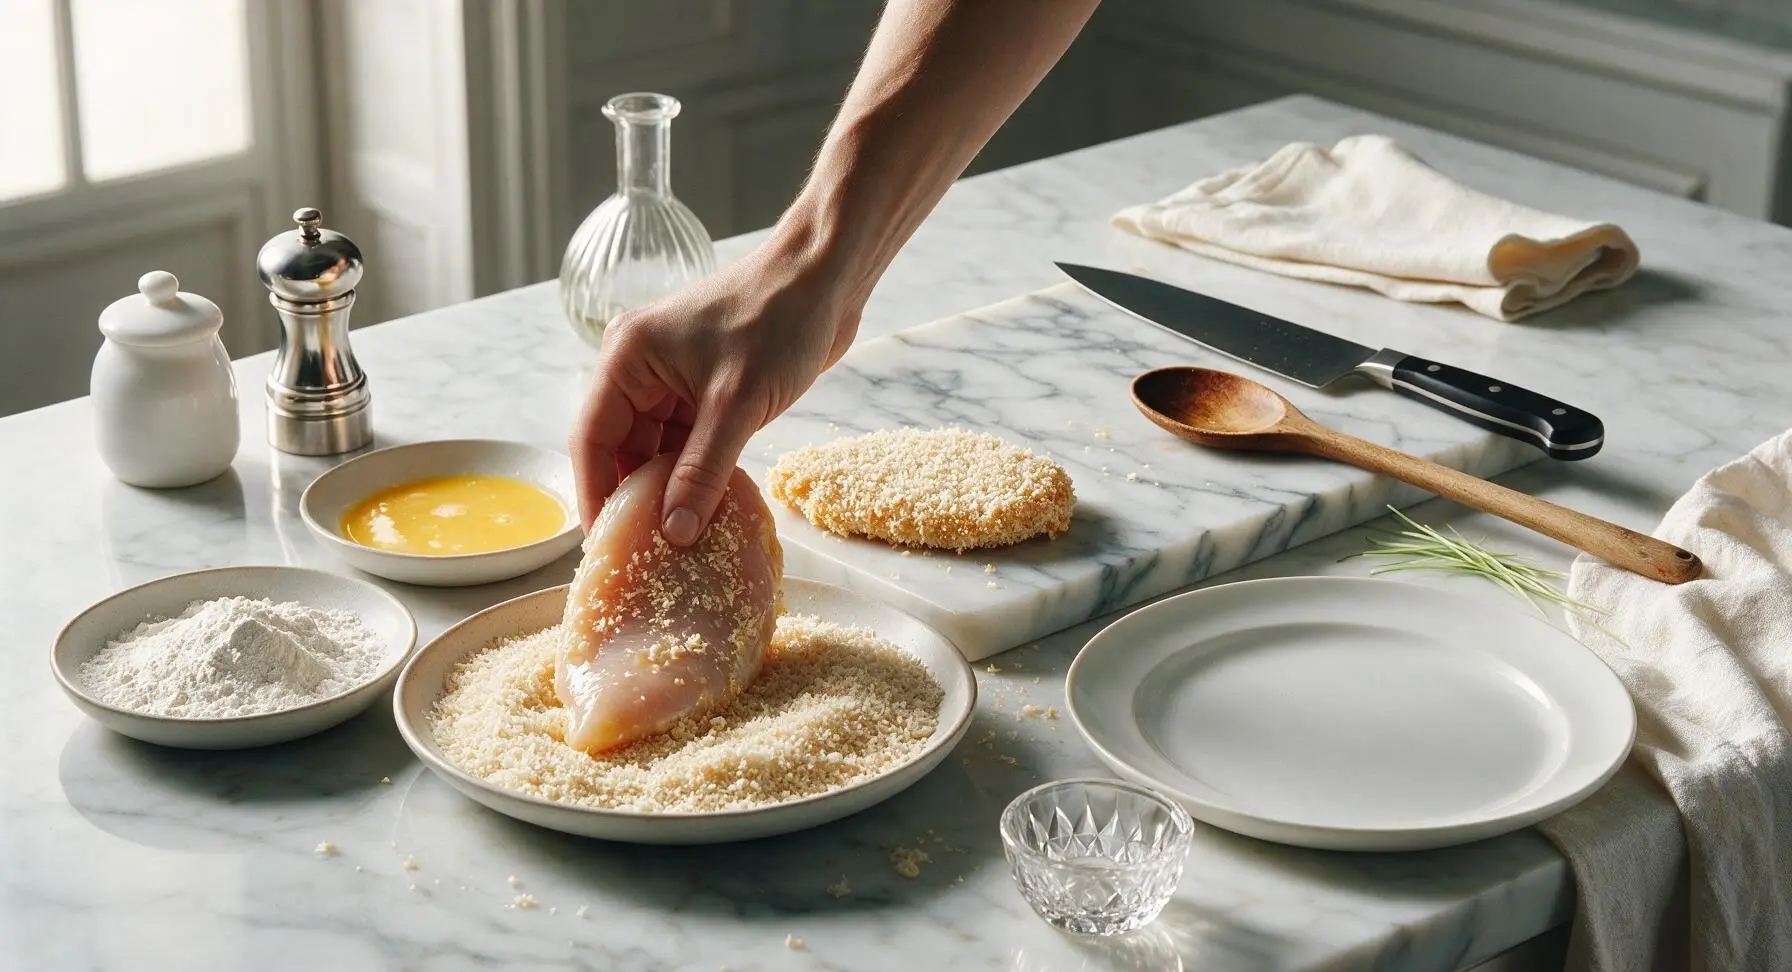
Set the three clear shallow glass dishes in a row to the right of the cutting board. Fill the first dish with ½ cup all-purpose flour mixed with the remaining ½ tsp kosher salt, ¼ tsp black pepper, 1 tsp garlic powder, and ½ tsp smoked paprika, stirred with the dinner fork to fully combine. Crack the 2 large eggs into the second dish, beat lightly with the fork until smooth yolk and white are fully combined with no streaks. Fill the third dish with 1.5 cups panko breadcrumbs, fluffed lightly with the fork to remove any large clumps.
Coat Chicken in Breading
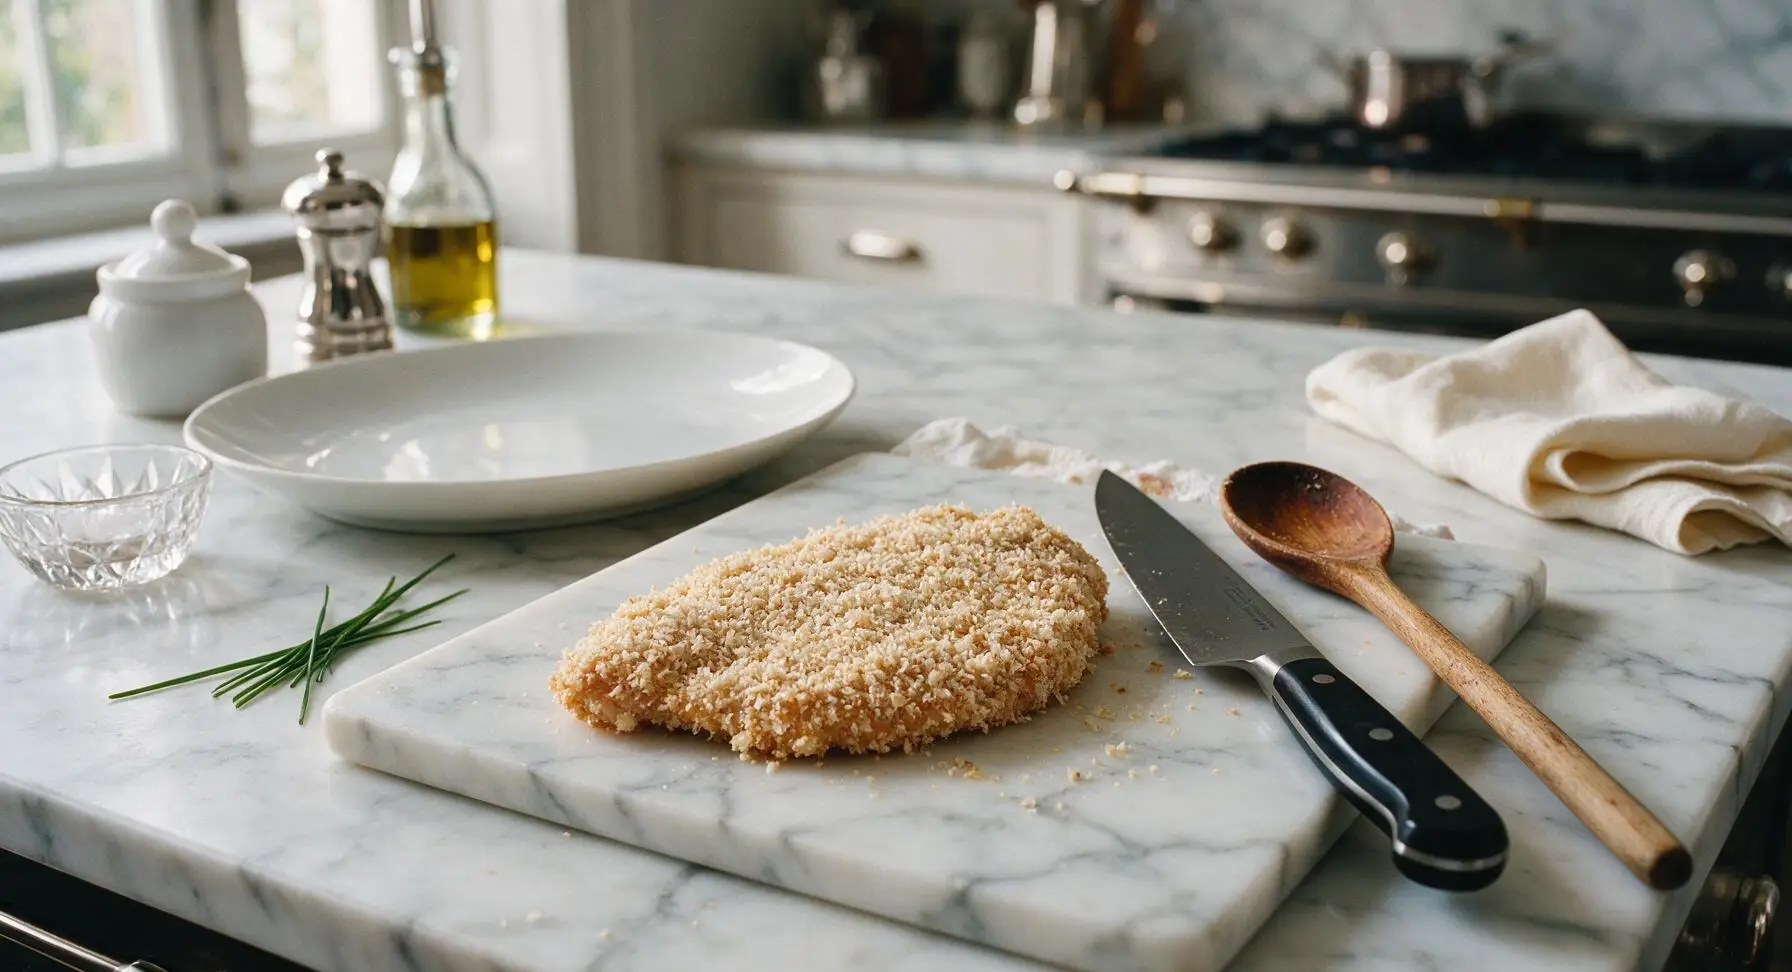
Working one chicken breast at a time, dredge first in the seasoned flour, pressing firmly to coat all surfaces, then shake off excess flour. Dip the floured chicken fully into the beaten egg, letting excess egg drip off for 2 seconds. Finally, press the chicken firmly into the panko breadcrumbs, turning to coat every side, pressing crumbs into the surface so they adhere fully. Set breaded cutlets on a clean section of the cutting board for 5 minutes to let the breading set, which prevents crumbs from falling off during frying.
Heat Oil in Skillet
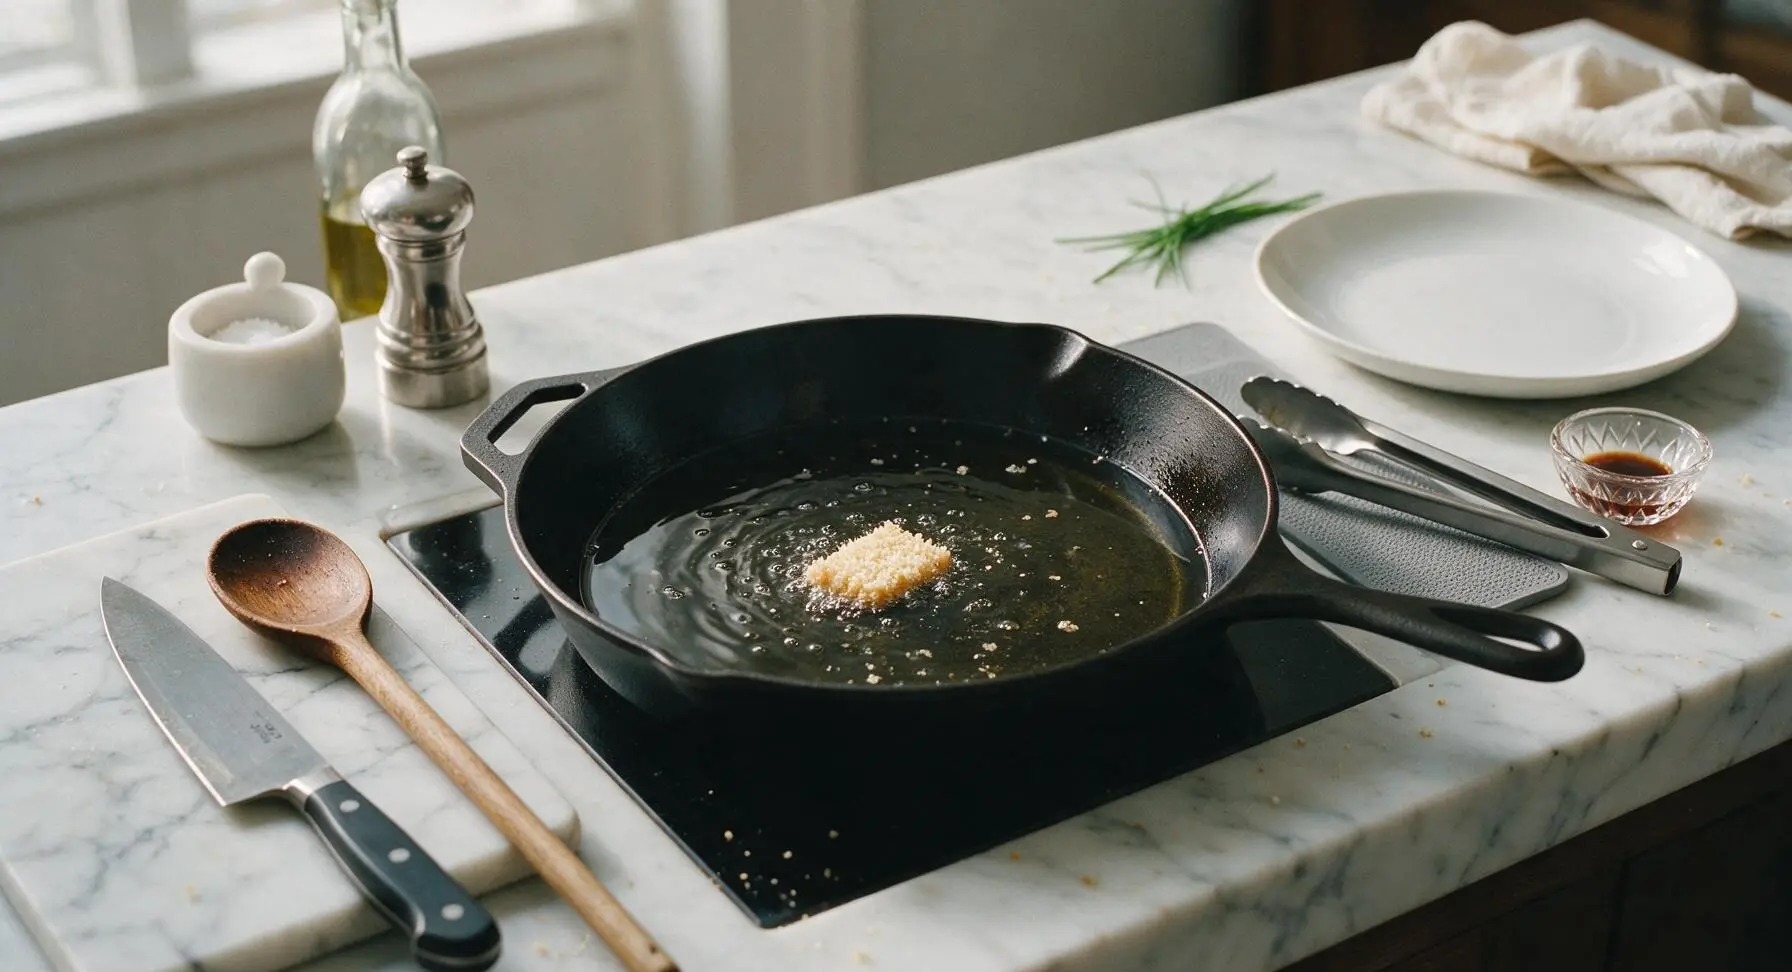
Place the 12-inch carbon steel skillet on the stovetop cutout over medium heat, setting the silicone mat next to the skillet to hold hot utensils. Add ¼ cup neutral cooking oil, and heat until the oil shimmers and reaches 175C (350F). Test the oil temperature by dropping a single panko crumb into the oil: it should sizzle immediately and turn golden in 10 seconds, not burn instantly or sit without bubbling.
Fry First Chicken Side
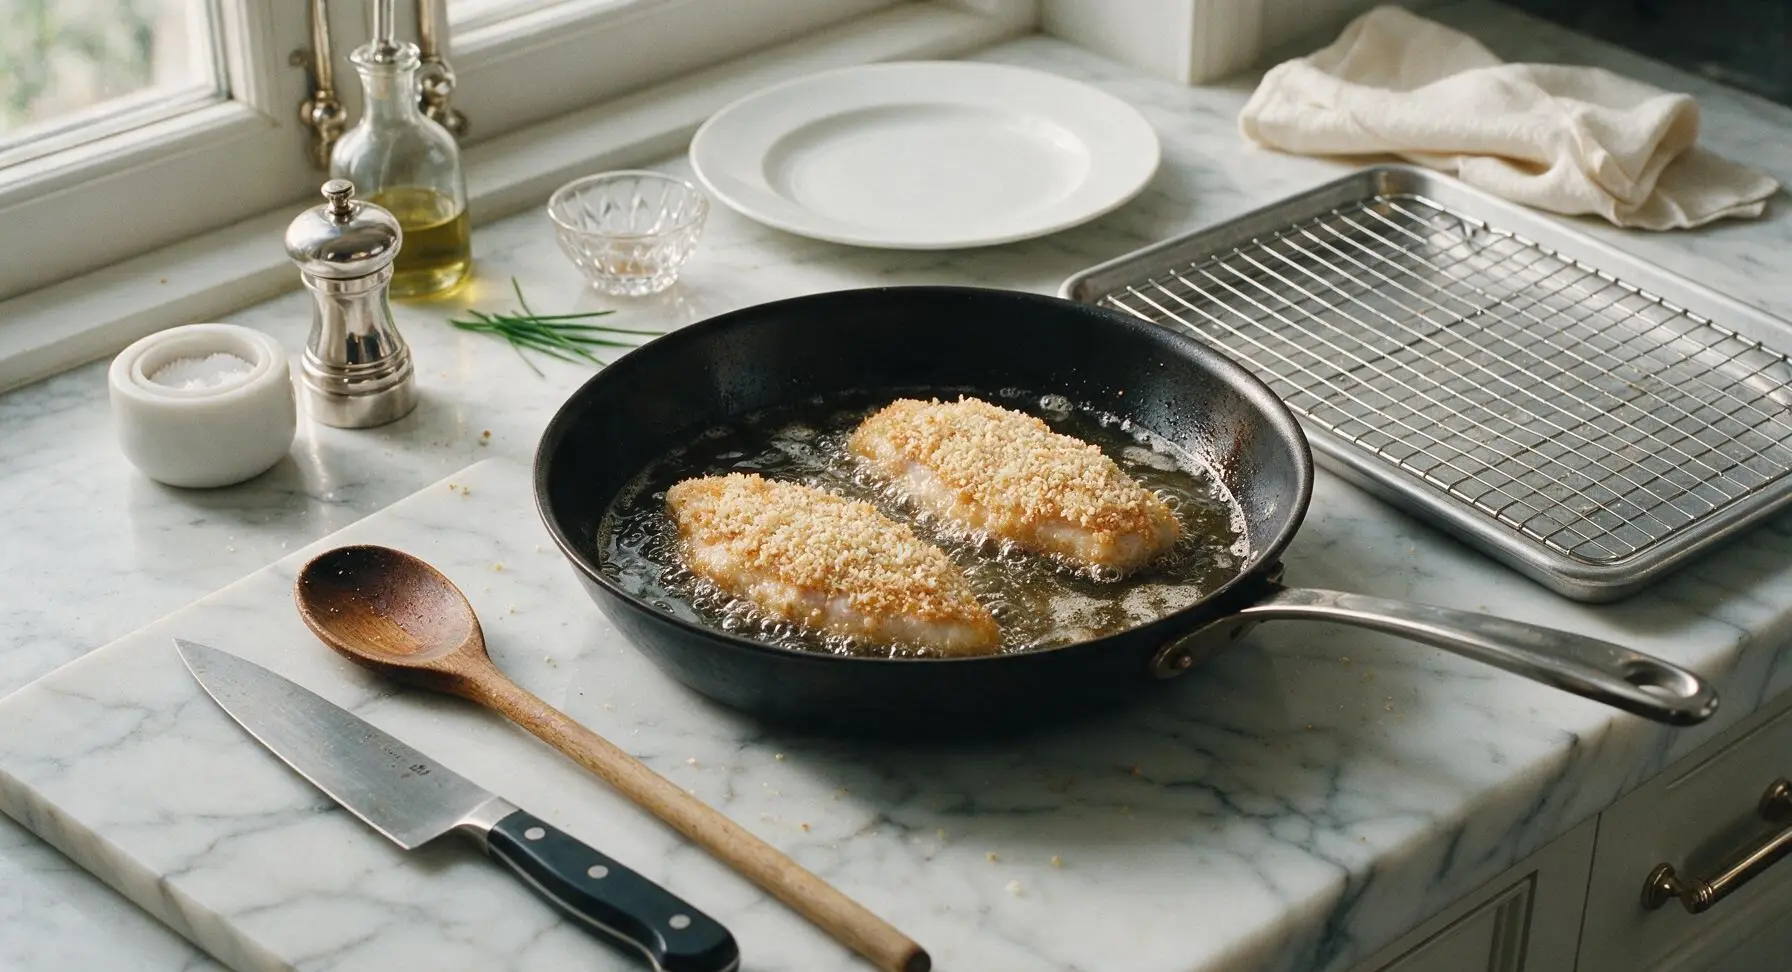
Set the wire cooling rack on its aluminum baking sheet to the right of the skillet. Using the tongs, carefully lower 2 breaded chicken breasts into the hot oil, laying them away from you to avoid oil splatter. Do not overcrowd the pan – cook in 2 batches if needed to keep the oil temperature consistent. Fry for 3-4 minutes, until the bottom crust is deep golden brown and crispy, adjusting heat slightly if the crust browns too quickly or too slowly.
Flip and Cook Through
Use the tongs to carefully flip each chicken breast to the second side. Fry for an additional 3-4 minutes, until the second side is equally deep golden and crispy. Verify doneness by inserting the digital meat thermometer into the thickest part of the breast: it should read 74C (165F). If the crust browns before the chicken reaches temperature, lower heat slightly to avoid burning.
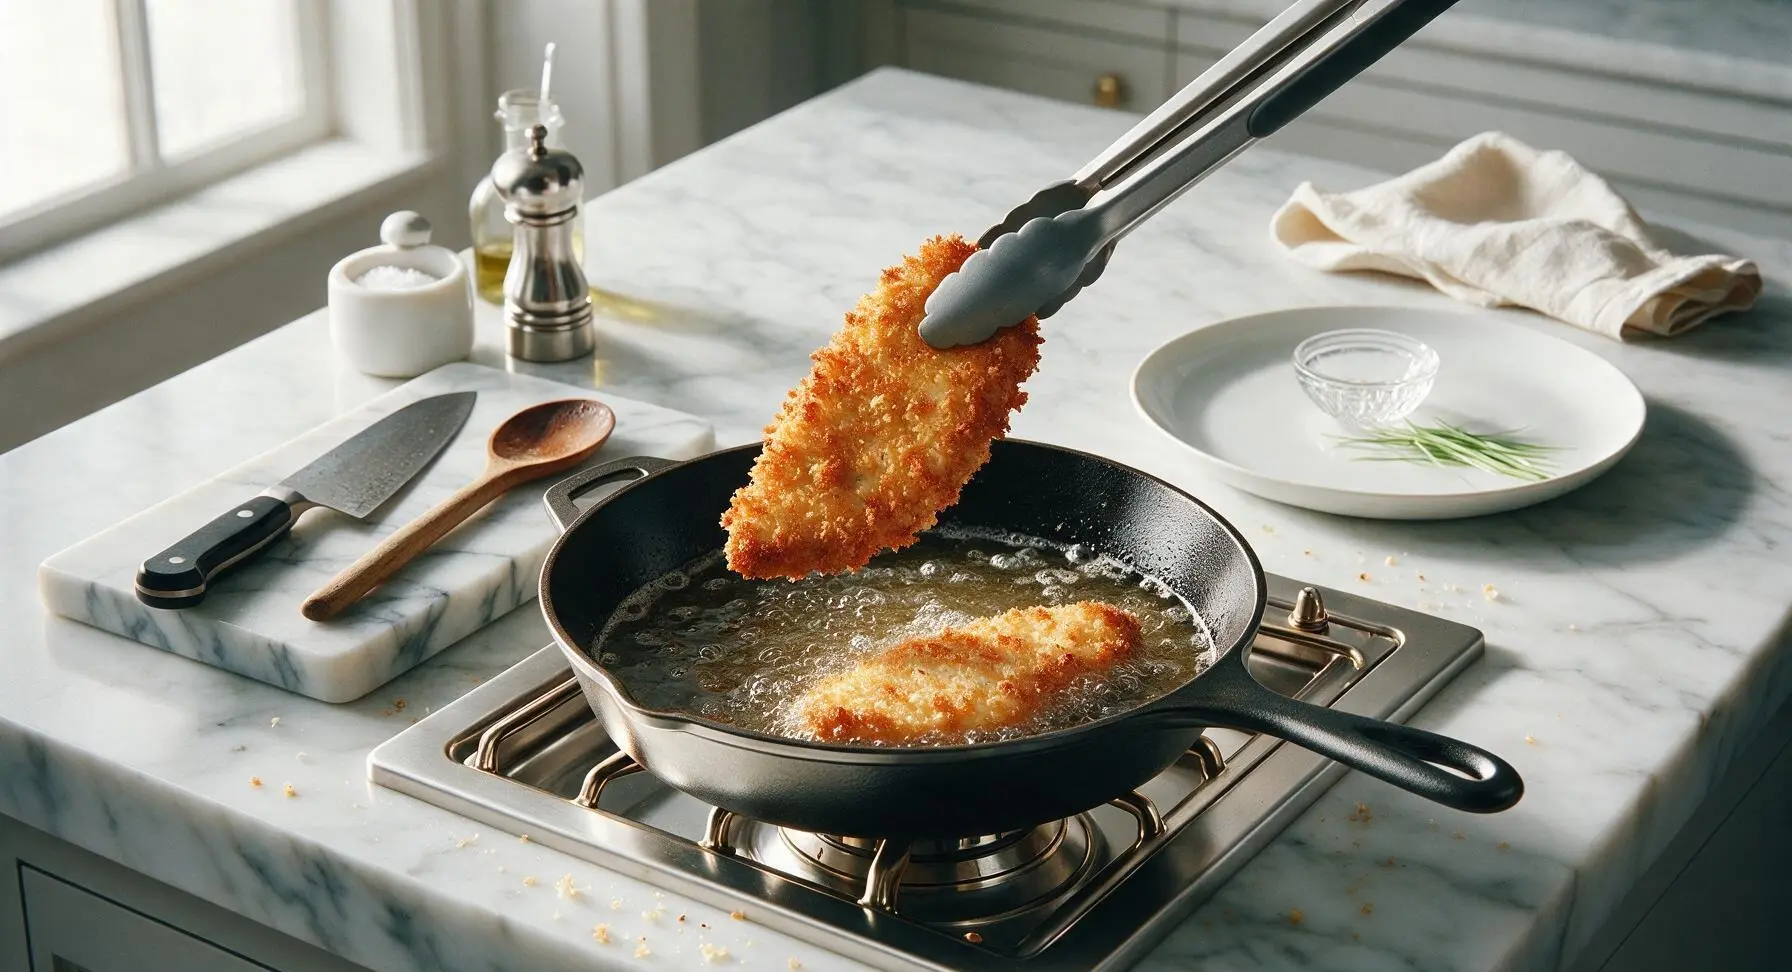
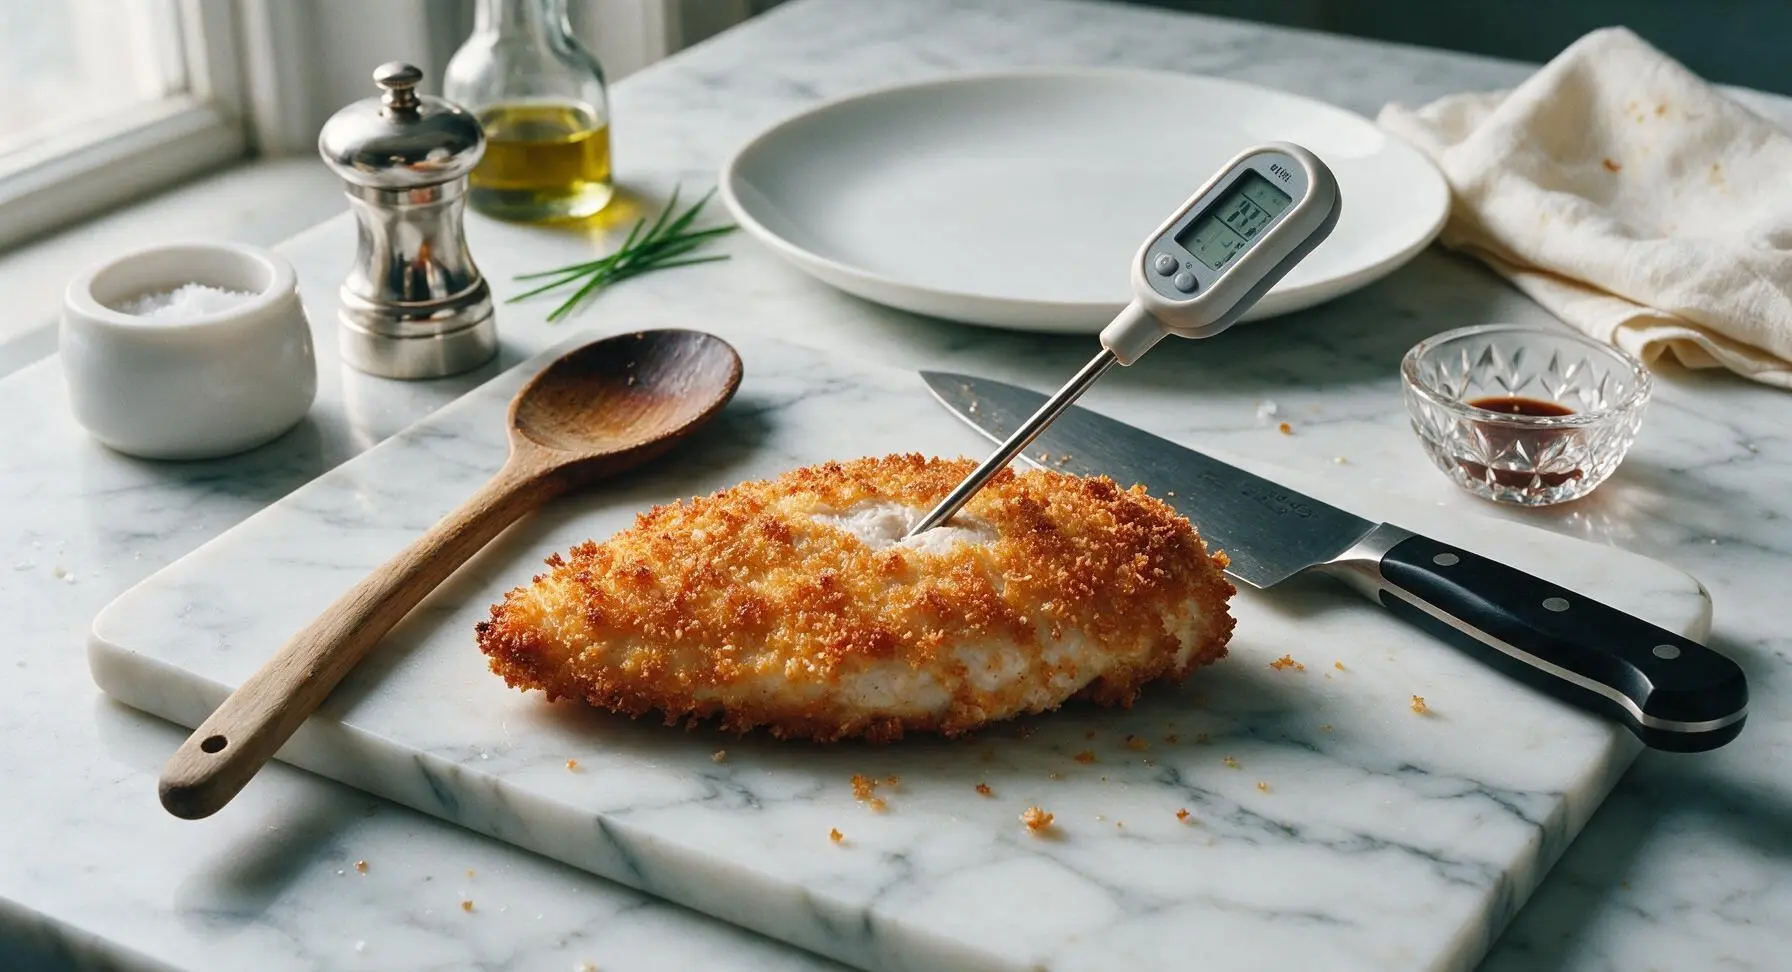
Drain and Rest Cutlets
Use the tongs to lift cooked chicken breasts from the oil, letting excess oil drip back into the skillet for 2 seconds, then transfer them to the chrome wire cooling rack set over the baking sheet. Lightly sprinkle the hot crust with a pinch of flaky sea salt from the wooden salt cellar immediately, so the salt sticks to the oily surface. Let the chicken rest for 3 minutes before serving, which allows juices to redistribute so they don't run out when sliced. Repeat the frying process with the remaining 2 breaded cutlets.
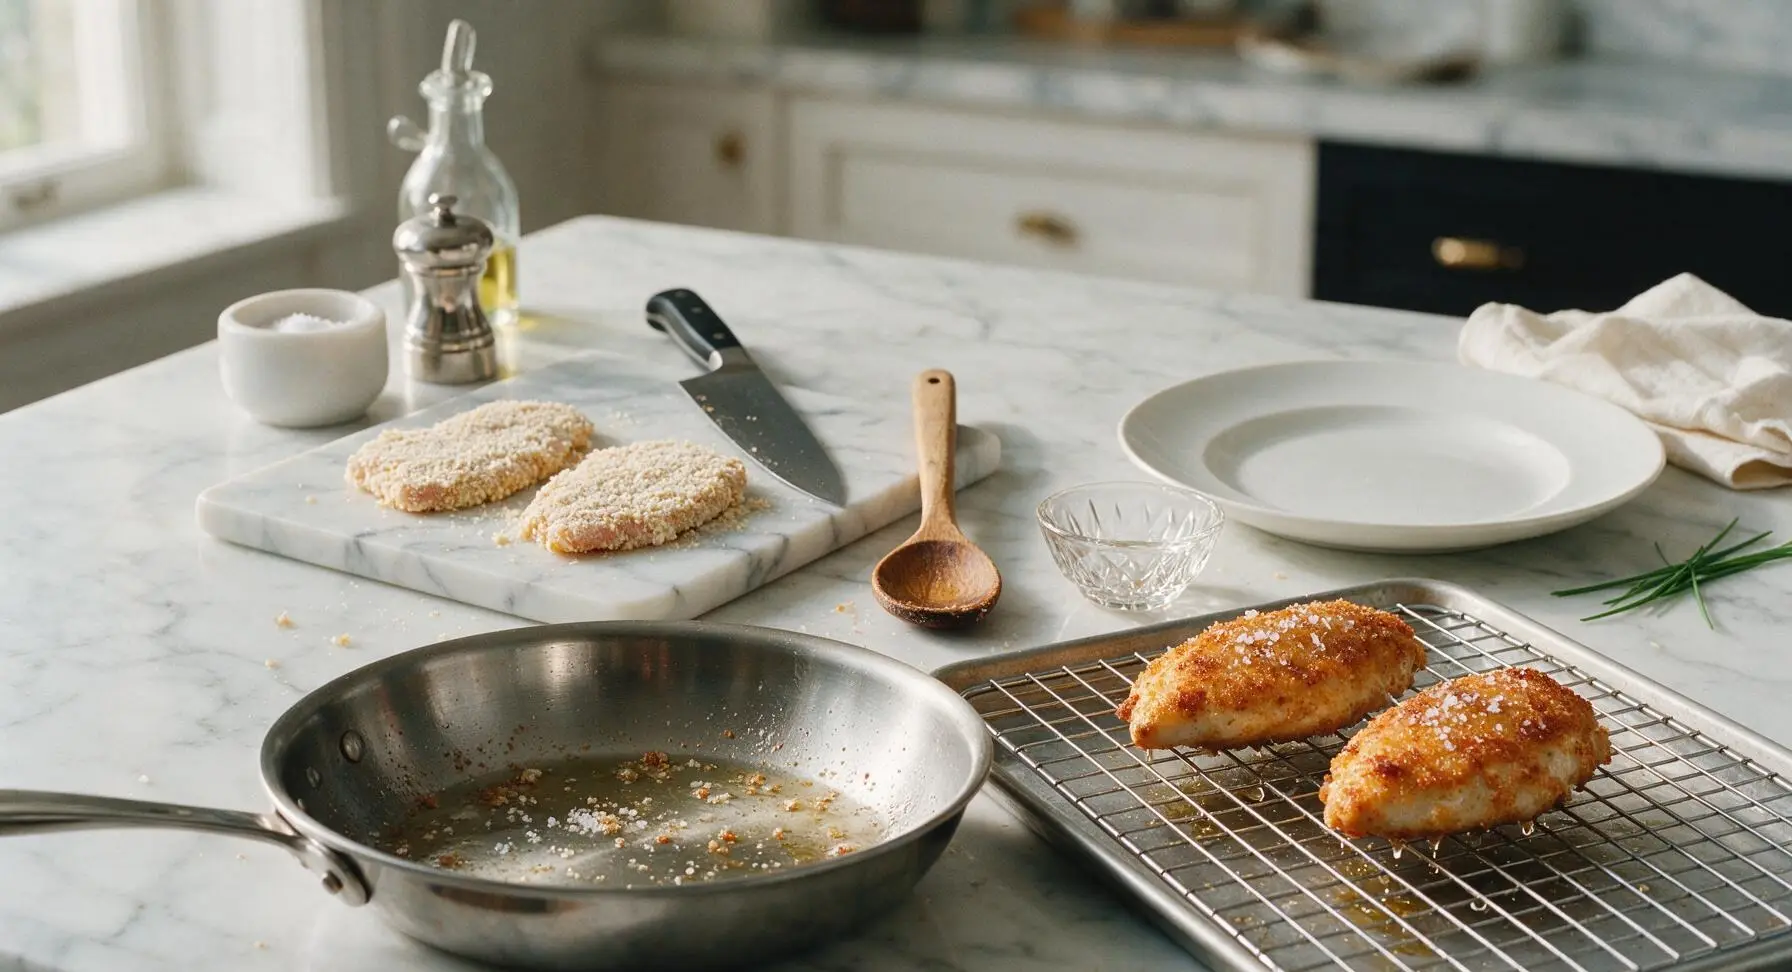
Slice and Plate to Serve
Transfer all rested chicken breasts to the walnut cutting board. Use the chef knife to slice each breast diagonally into 2cm thick slices, revealing the juicy white interior with no pink. Arrange sliced chicken on the matte cream ceramic dinner plate, garnish with a sprig of fresh parsley from the counter bunch and lemon wedges for squeezing over top.
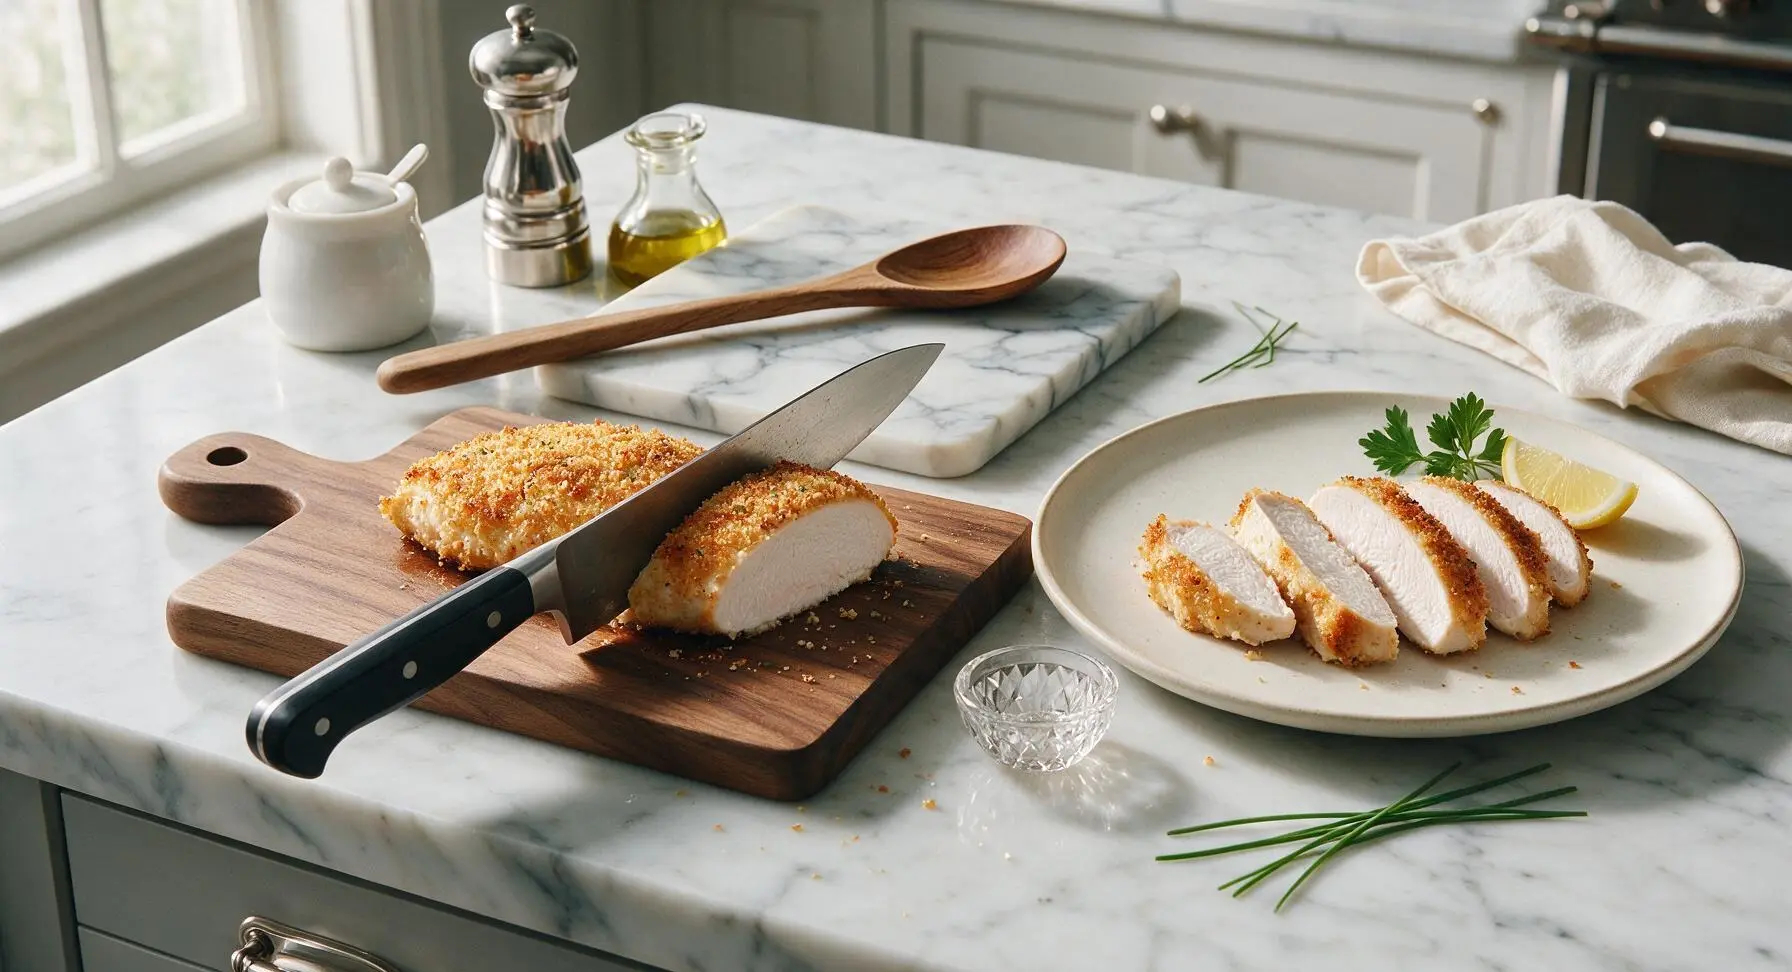
Tips
2.Avoid overcrowding the skillet: adding too many cutlets at once drops the oil temperature rapidly, leading to soggy, oil-soaked crust instead of light, crisp panko. Cook in 2 batches if your pan is smaller than 12 inches, and wait 1 minute between batches for the oil to return to 350F.
3.Rest cooked chicken on a wire rack instead of paper towels: resting on paper towels traps steam against the bottom crust, making it soggy within minutes, while an elevated rack allows air circulation on all sides to keep the panko perfectly crisp while the chicken rests and juices redistribute.






OMG this is a total game changer! I’ve tried so many panko chicken recipes that end up soggy by the time I get them on the table, but this came out perfectly crispy even after sitting for 10 minutes while I rounded up the kids for dinner. Cook time was exactly 12 minutes like the recipe said, no guesswork! My youngest even asked for seconds, which never happens. 10/10 will be adding this to our weekly meal prep rotation.
Super easy recipe, came out way crispier than I expected for pan-fried chicken! I was worried panko would burn before the chicken cooked through, but medium heat per the instructions was perfect. Brought this to a neighborhood potluck last night and people were asking me for the recipe before I even finished my first plate. Only note: I squeezed a little fresh lemon over the top right after pulling it out of the pan, chef’s kiss.
Perfect for quick weeknight dinners! I pounded the chicken breasts to even thickness first like I do for all my fried chicken, and it cooked so evenly in 12 minutes flat. The crunch is unreal—way better than the fast food chicken sandwiches I used to grab on busy nights. I’ve already made this twice this week, it’s that good.
Okay I’m literally the worst at cooking chicken, it always comes out dry or rubbery, but this was foolproof! The panko stayed on the whole time too, I was half expecting it all to fall off in the pan. My roommate said it tasted like restaurant quality, I felt so proud 😂 Only reason it’s not 5 stars is I didn’t have any dipping sauce to go with it, oops! Will definitely be making this again soon.
This recipe is SO good, I’ve made it three times already for weeknight dinners! Quick question for the group: has anyone tested this with gluten-free panko? My sister has a wheat sensitivity and is coming to visit next week, I want to make this for her but don’t want the coating to get soggy or not stick right if I swap for GF crumbs.