
paper bag fried chicken
intro
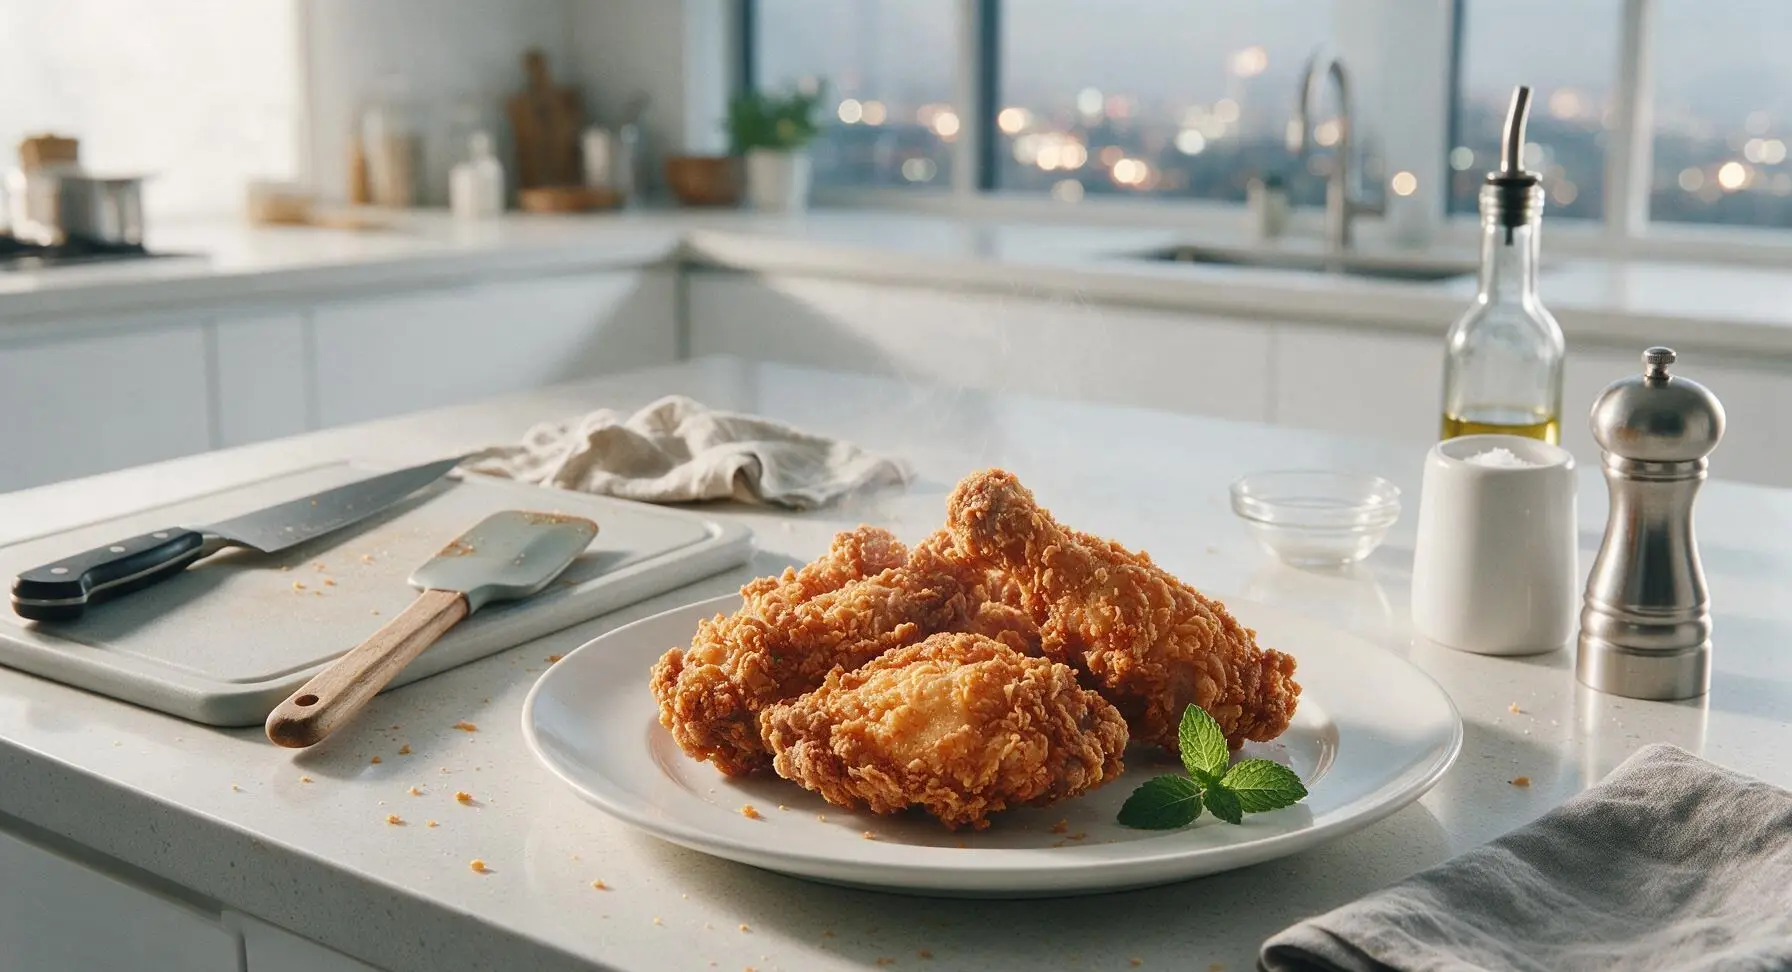
Shatteringly crisp, juicy Southern fried chicken coated by shaking in a paper bag for even, craggy crust—no messy bowls, just classic, portable summer flavor.
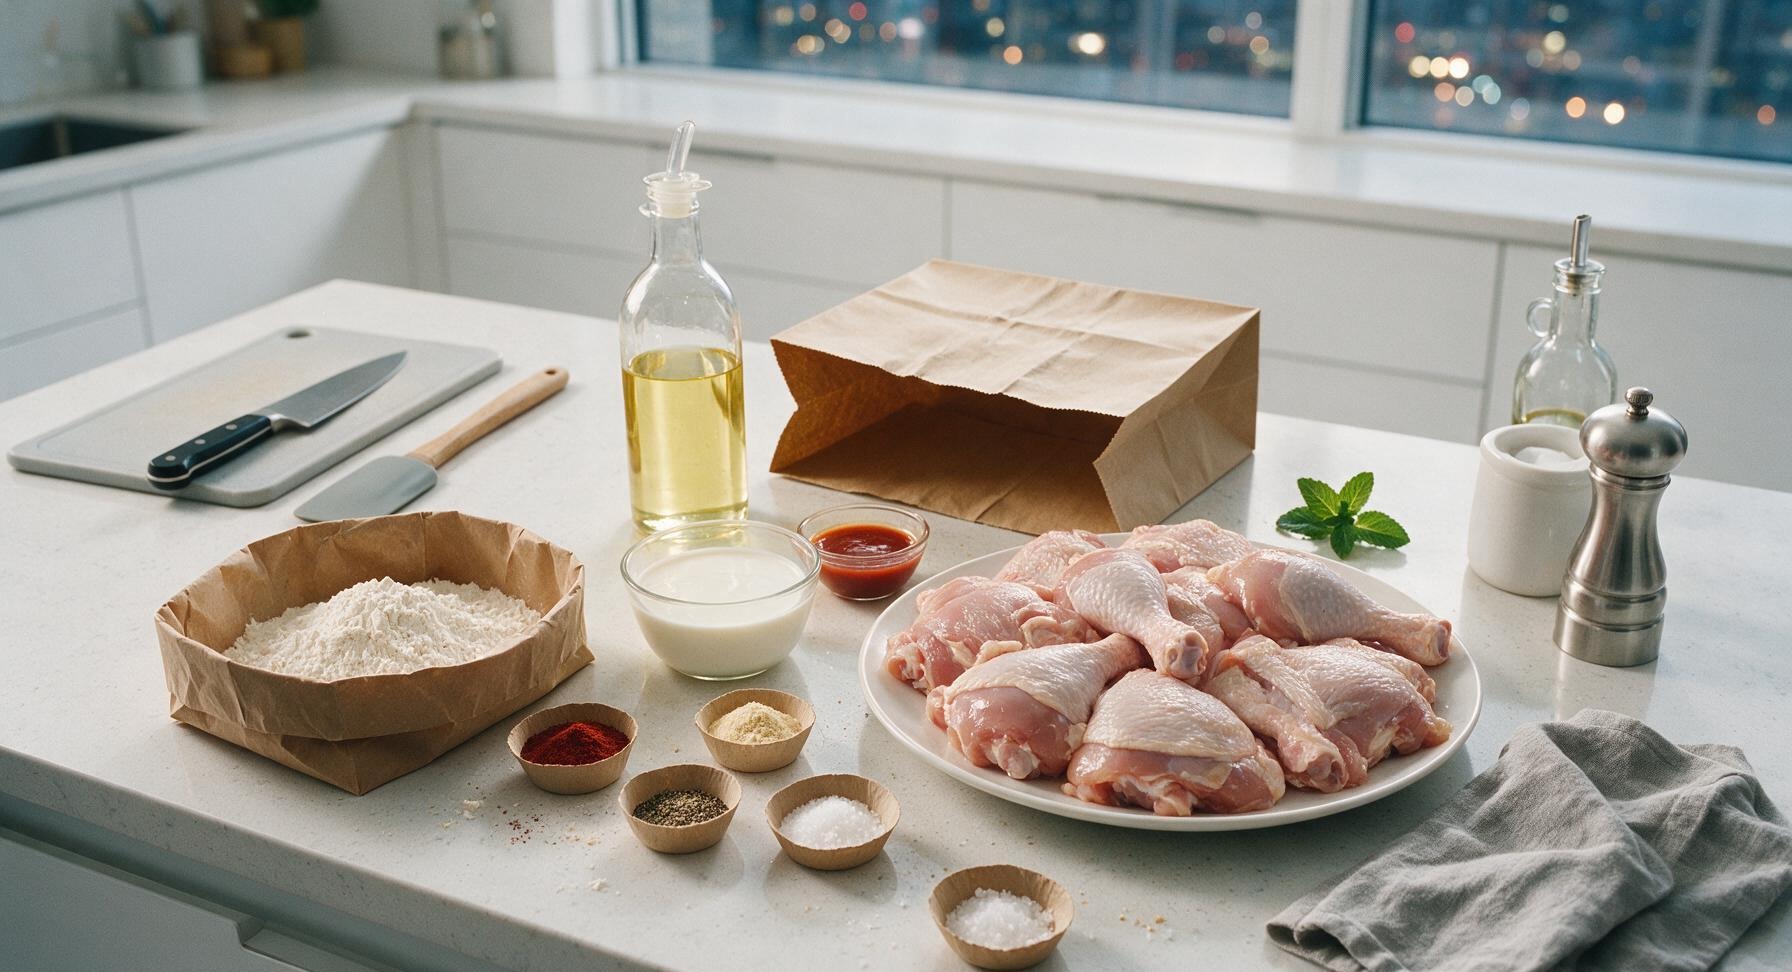
Ingredients
Steps
Prep the Chicken
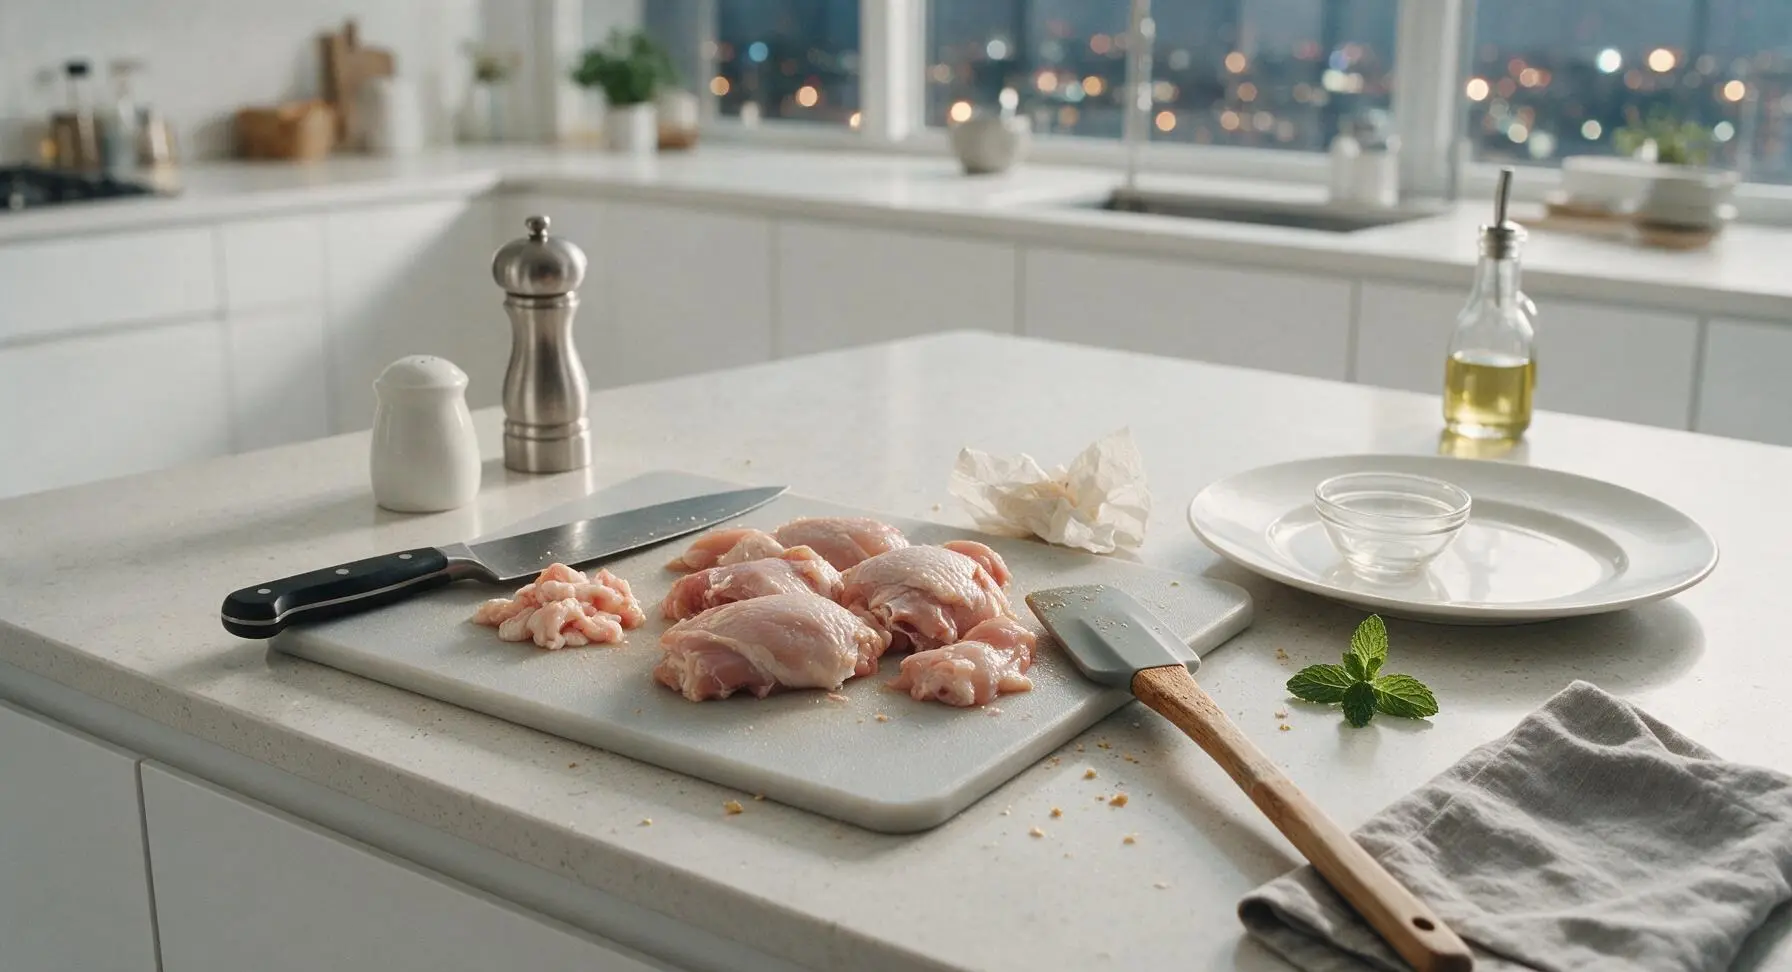
Pat the chicken pieces completely dry with paper towels from the wall-mounted holder, trimming any excess loose skin or large fat deposits with the 8-inch carbon steel chef knife on the honey-toned wooden cutting board. Cut large breast halves into 5cm thick pieces if needed to ensure all pieces are roughly uniform in size for even cooking. Discard any trimmed fat.
Soak in Buttermilk
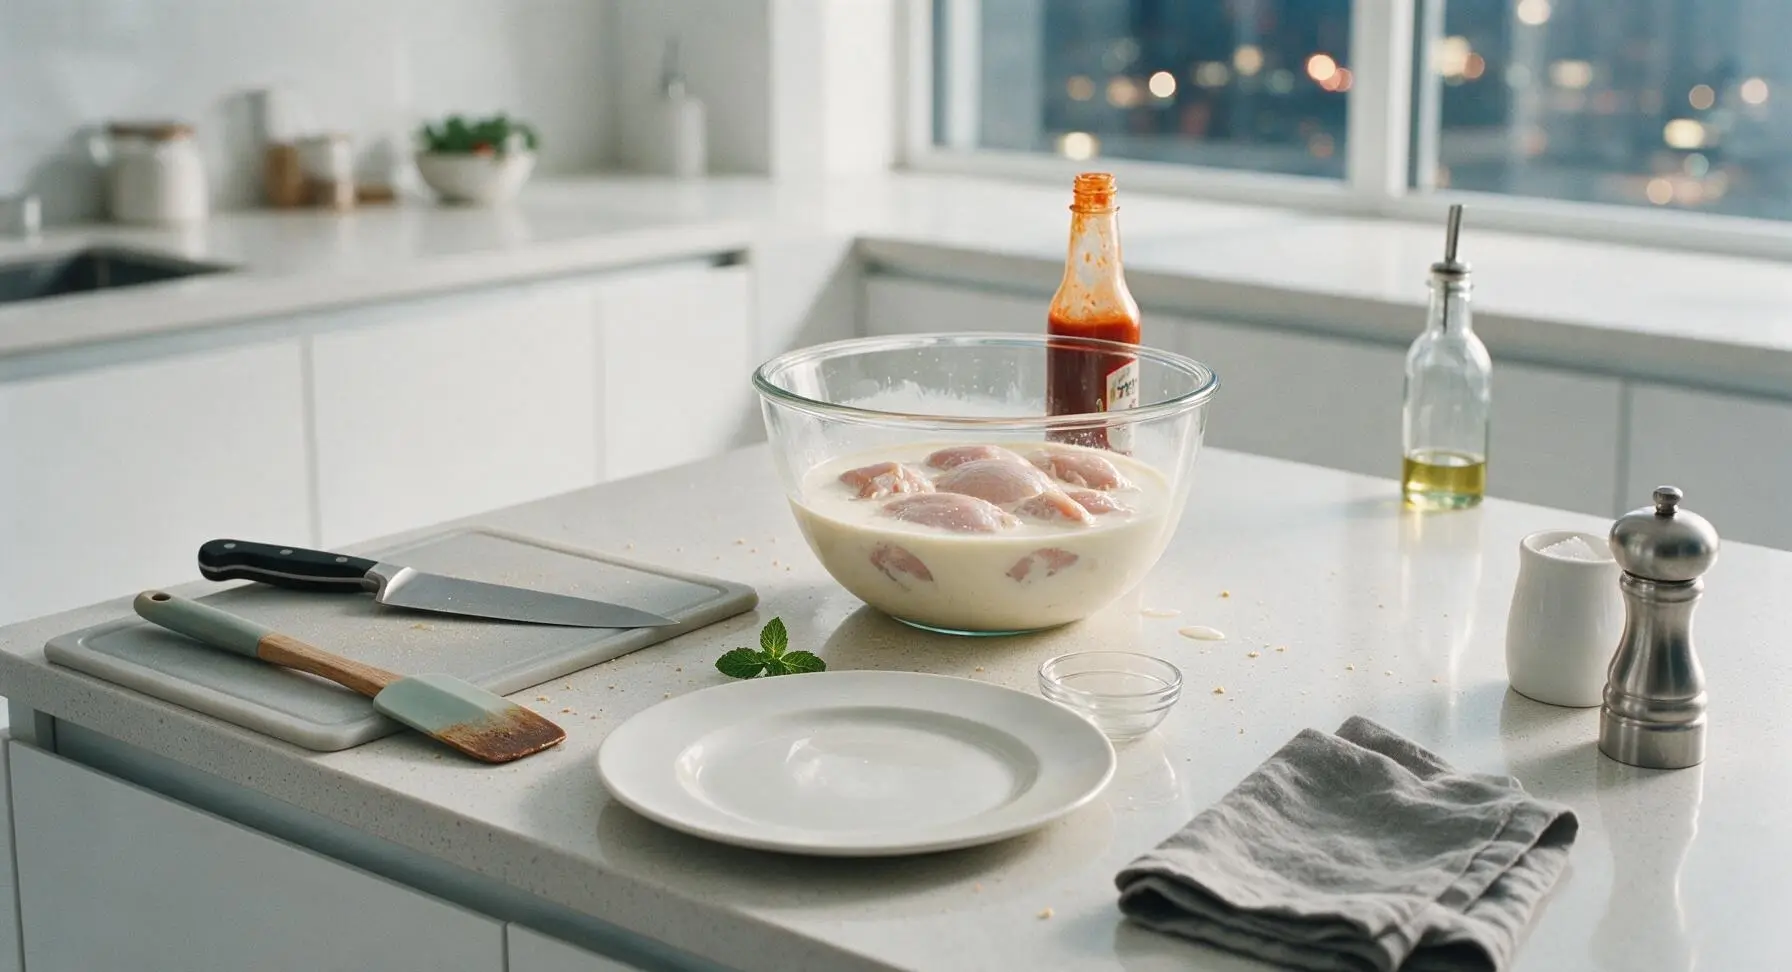
Combine the 360ml whole buttermilk and 2 tbsp hot sauce in the 2L clear glass mixing bowl, stir to combine. Add all dried, trimmed chicken pieces, turning to coat fully. Let rest at room temperature for 15 minutes (or up to 12 hours covered in the refrigerator for extra tender, juicy meat) while you prepare the spiced coating and heat the frying oil.
Fill Paper Bag
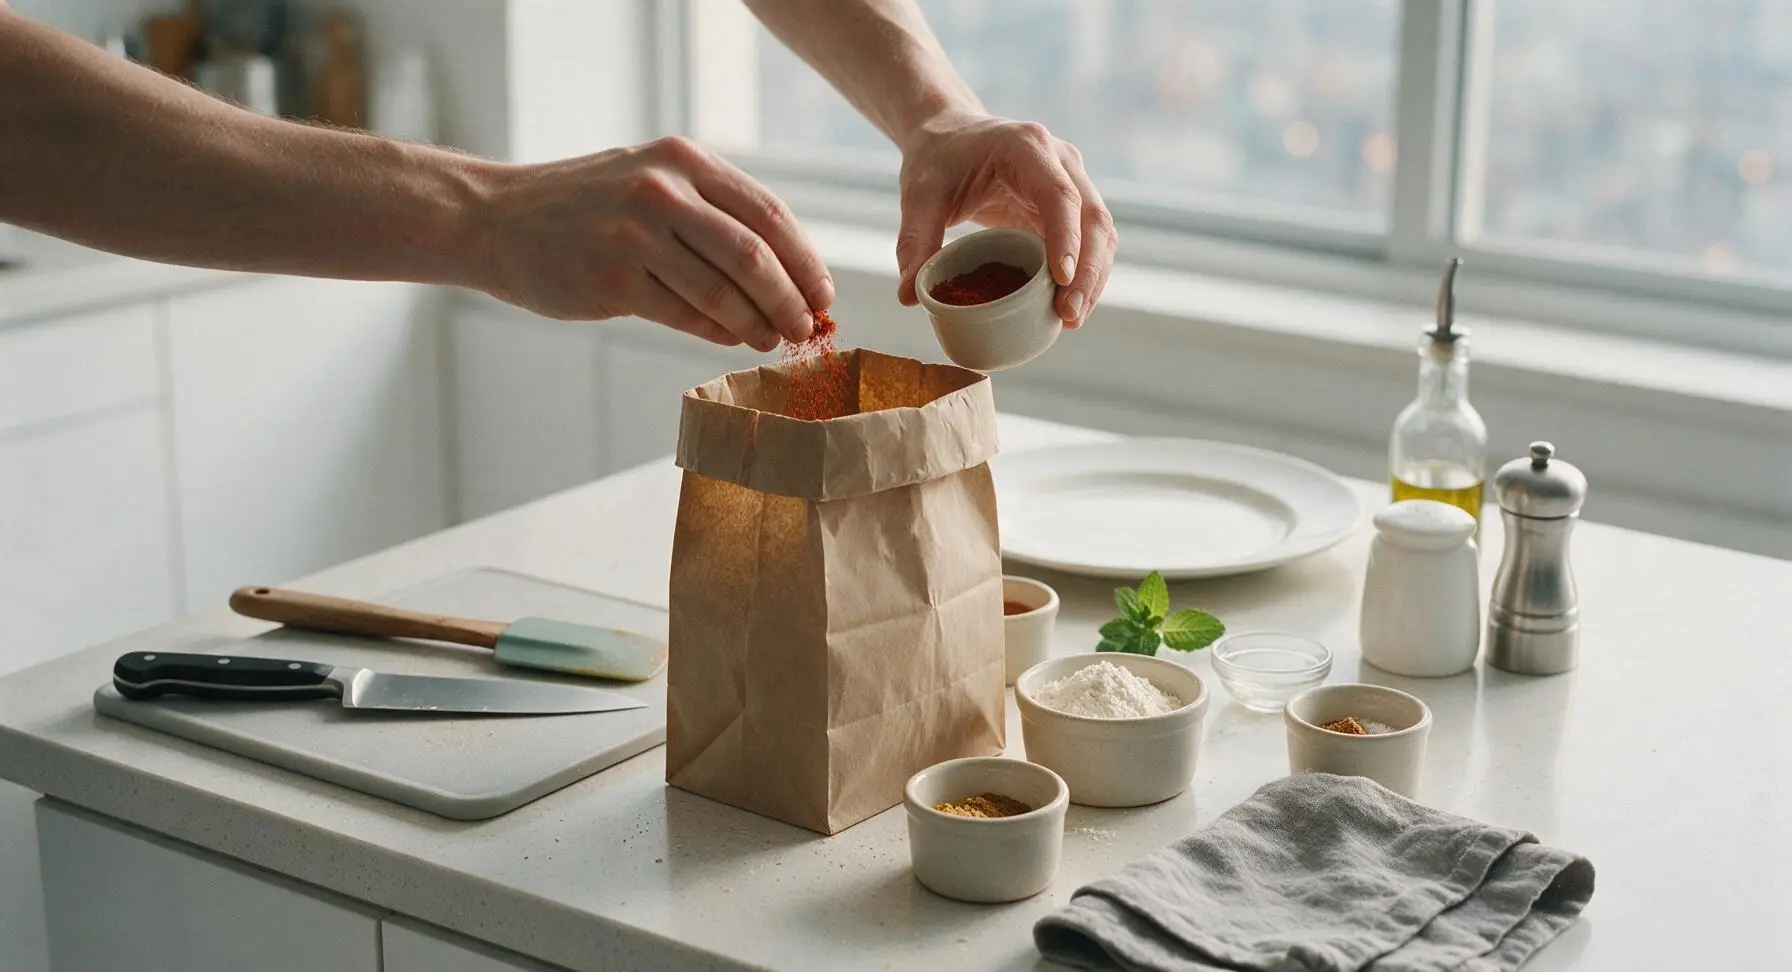
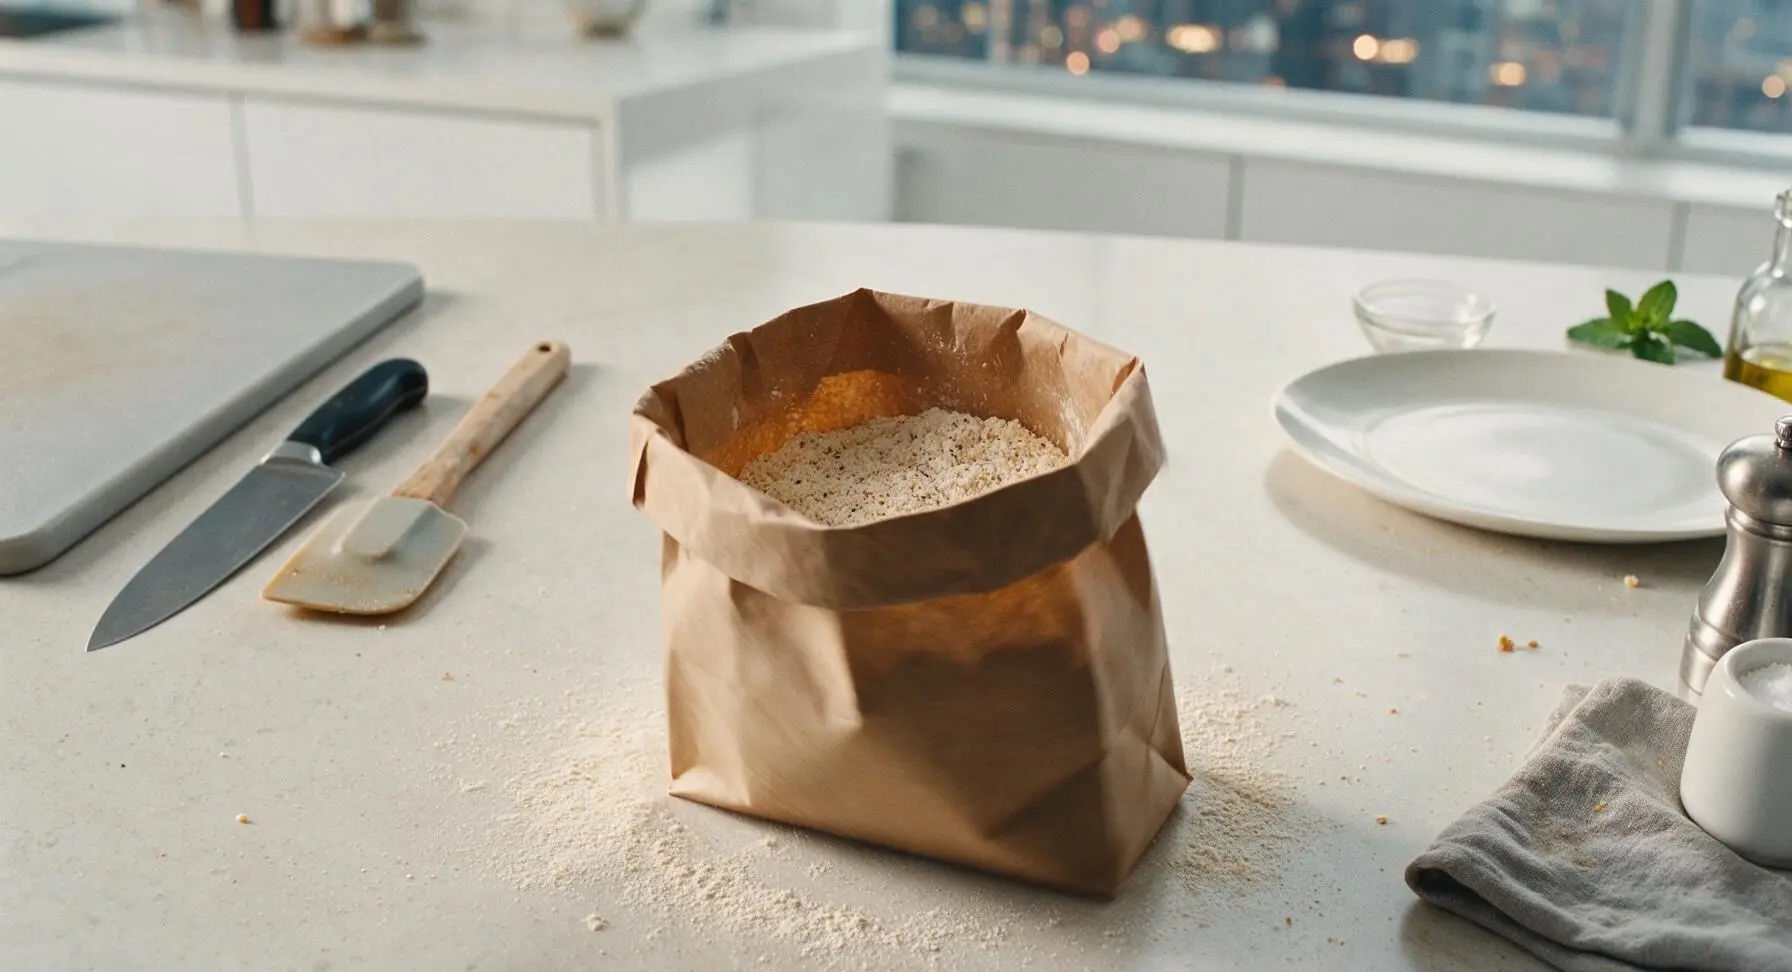
Open the uncoated brown paper grocery bag and fold the top edge down 5cm to keep it stable and upright. Add the 180g all-purpose flour, 1 tbsp smoked paprika, 1 tsp garlic powder, 1 tsp onion powder, 1 tsp black pepper, and 2 tsp kosher salt to the bag. Fold the top closed and shake gently for 10 seconds to evenly mix the spiced flour coating.
Heat Frying Oil
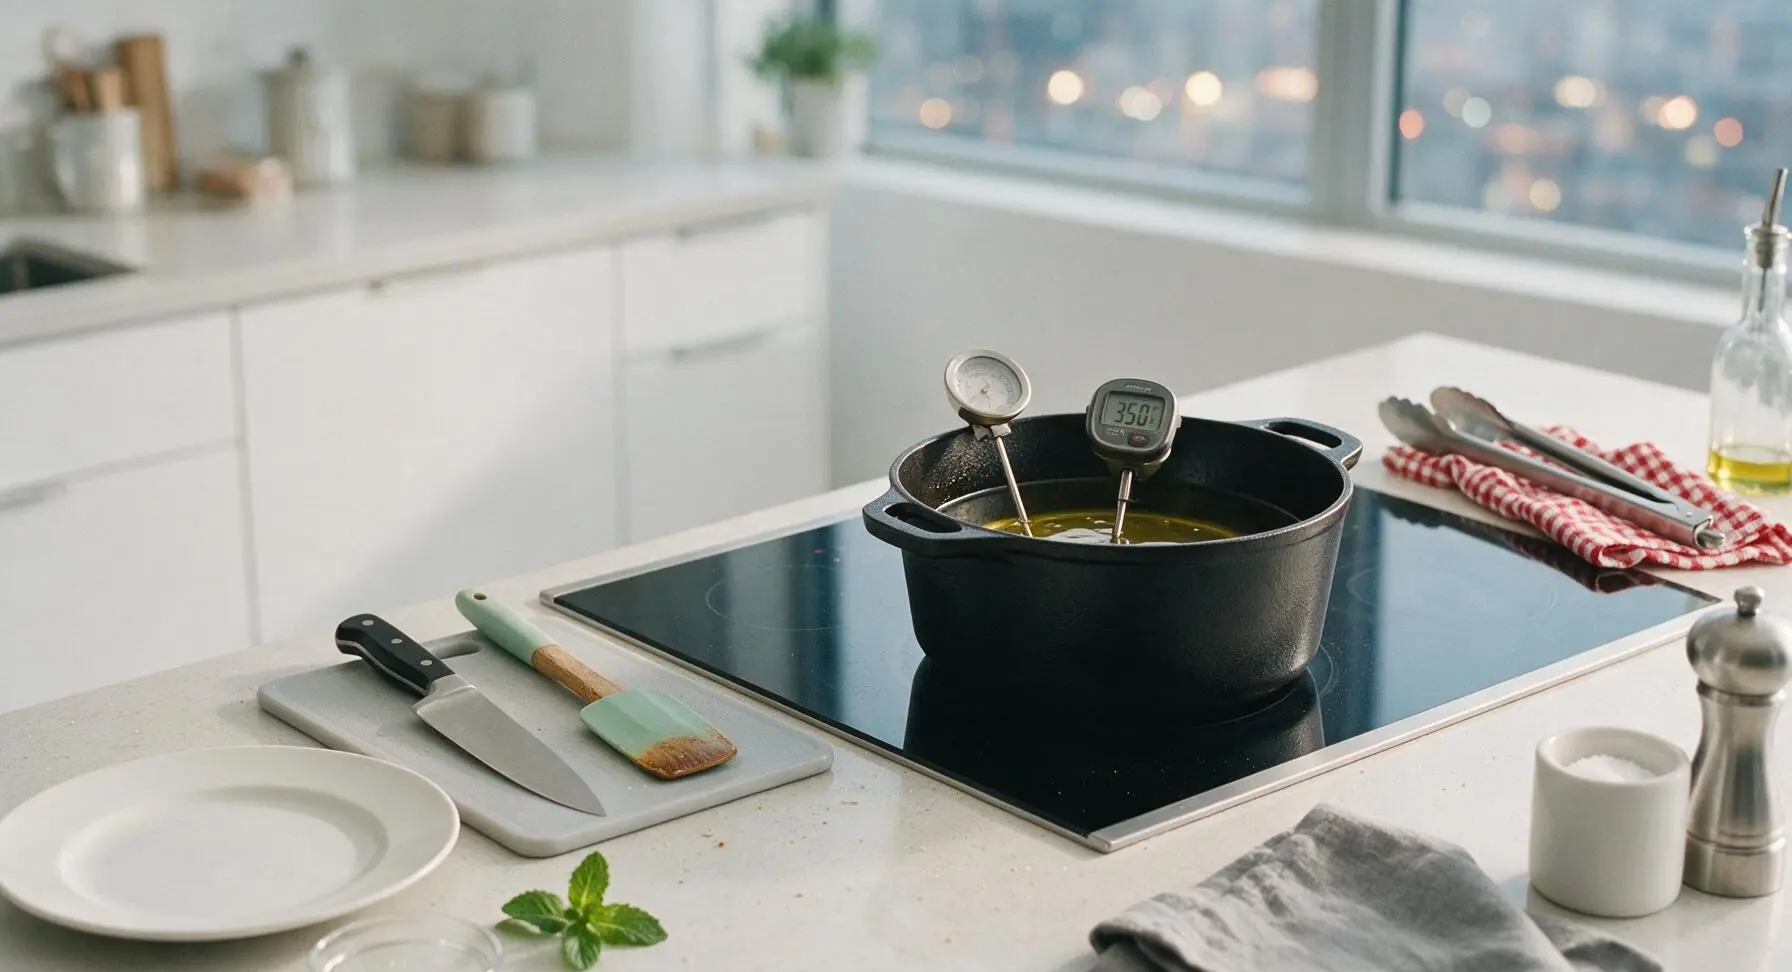
Set the 5-quart enameled cast iron Dutch oven on the flush-mounted black glass induction cooktop set into the counter center-back. Pour 1L of neutral peanut or canola oil into the pot. Heat the oil to a steady 175C (350F), clipping the digital instant-read thermometer to the pot rim to monitor temperature. Do not let the oil reach smoke point; adjust heat as needed to maintain consistent temperature.
Shake to Coat
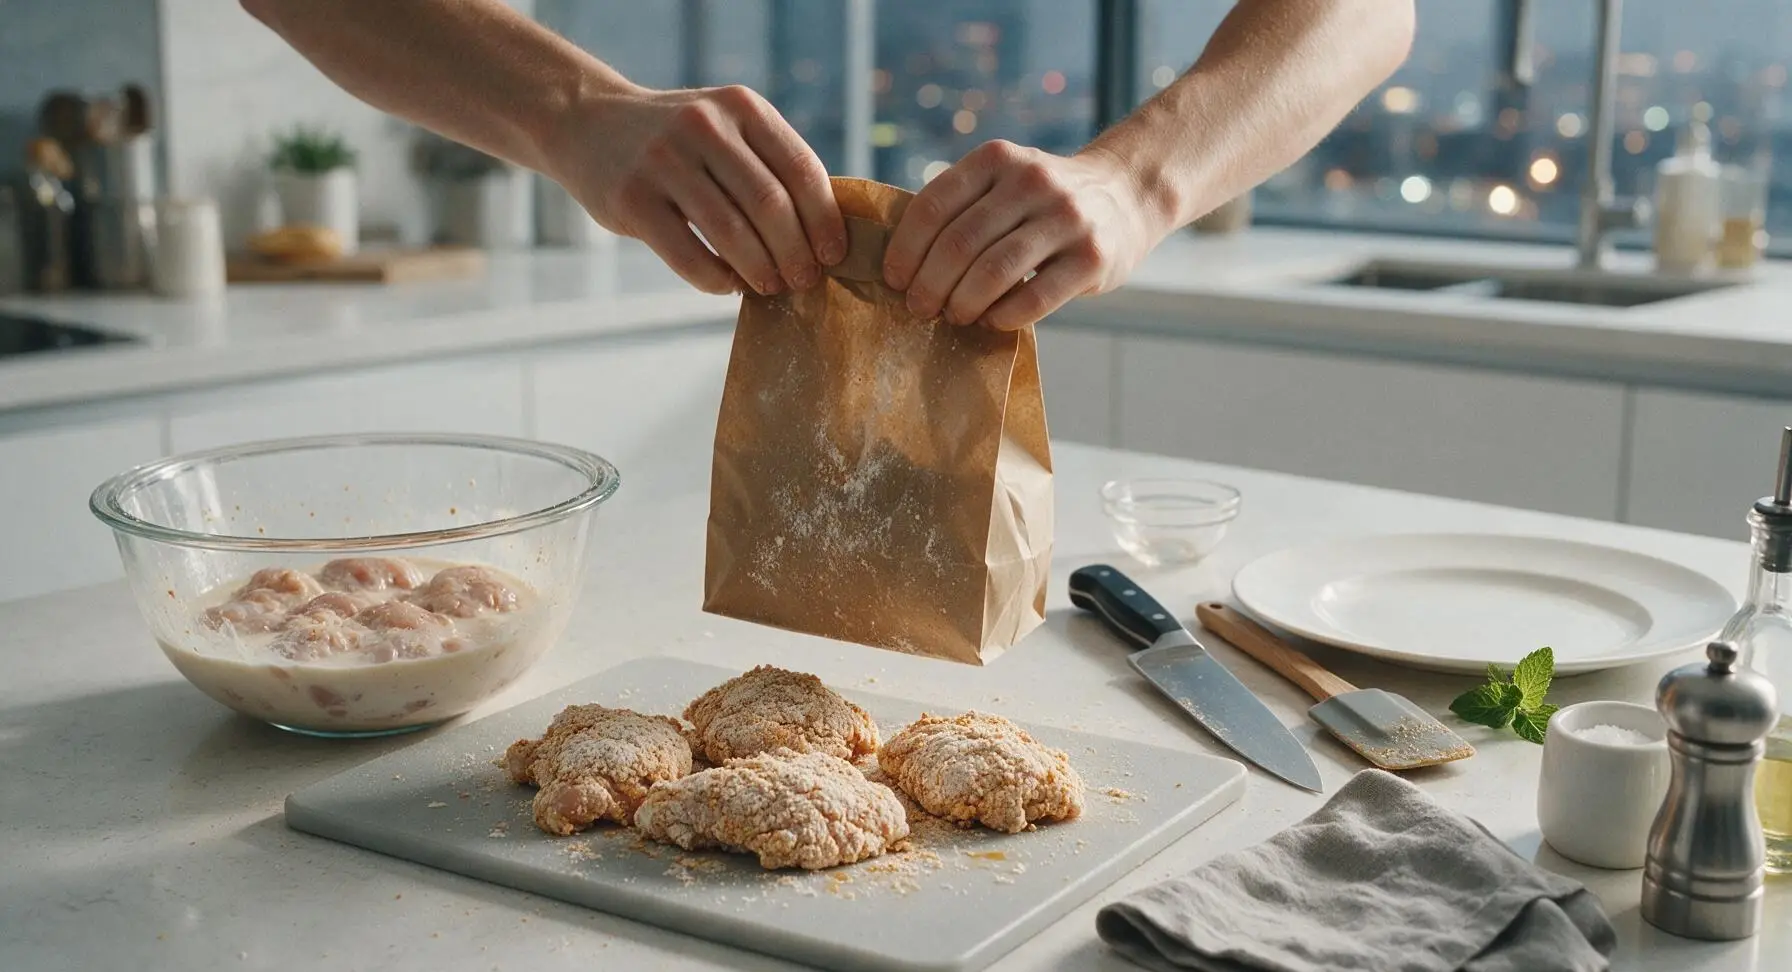
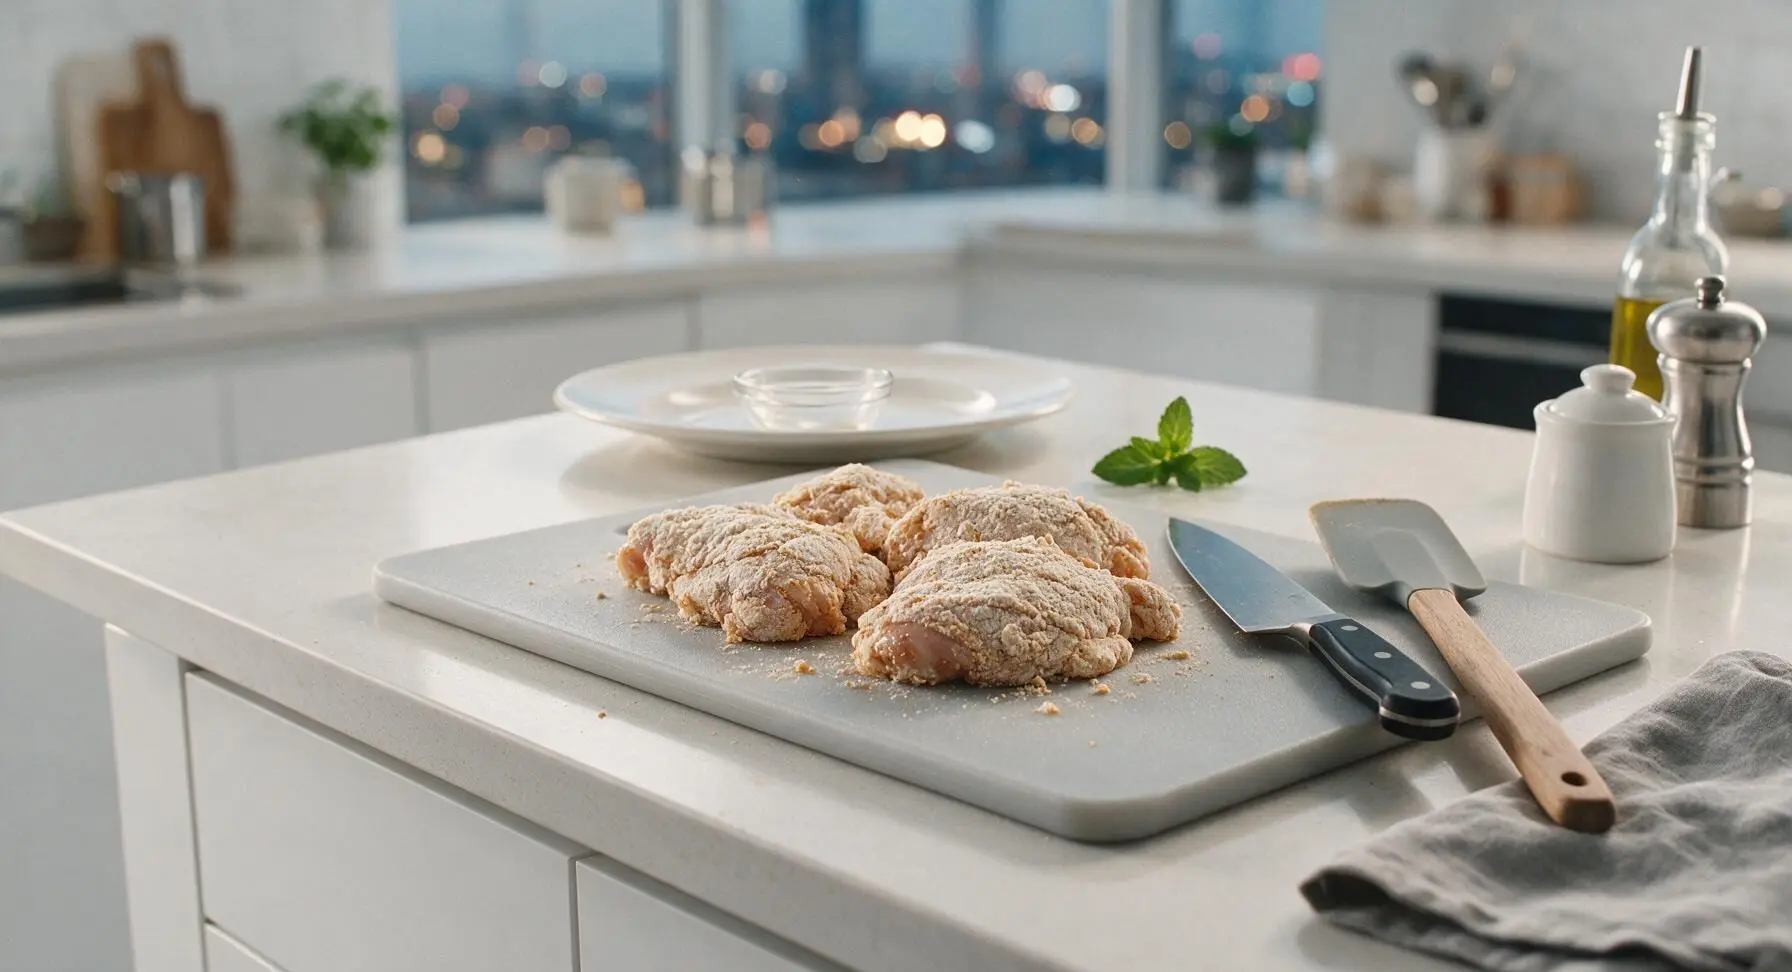
Remove one piece of buttermilk-soaked chicken from the bowl, letting excess buttermilk drip off for 2 seconds. Drop the piece into the paper bag with the spiced flour. Repeat until 3-4 pieces are in the bag (do not overfill the bag, as this prevents even coating). Fold the bag top tightly closed, then shake vigorously for 15 seconds until every surface of the chicken is fully coated in a thick, even layer of spiced flour. Lift pieces out one at a time, shaking off excess flour, and set on the wooden cutting board to rest for 5 minutes before frying to help the coating adhere and prevent it from slipping off during cooking.
Fry in Batches
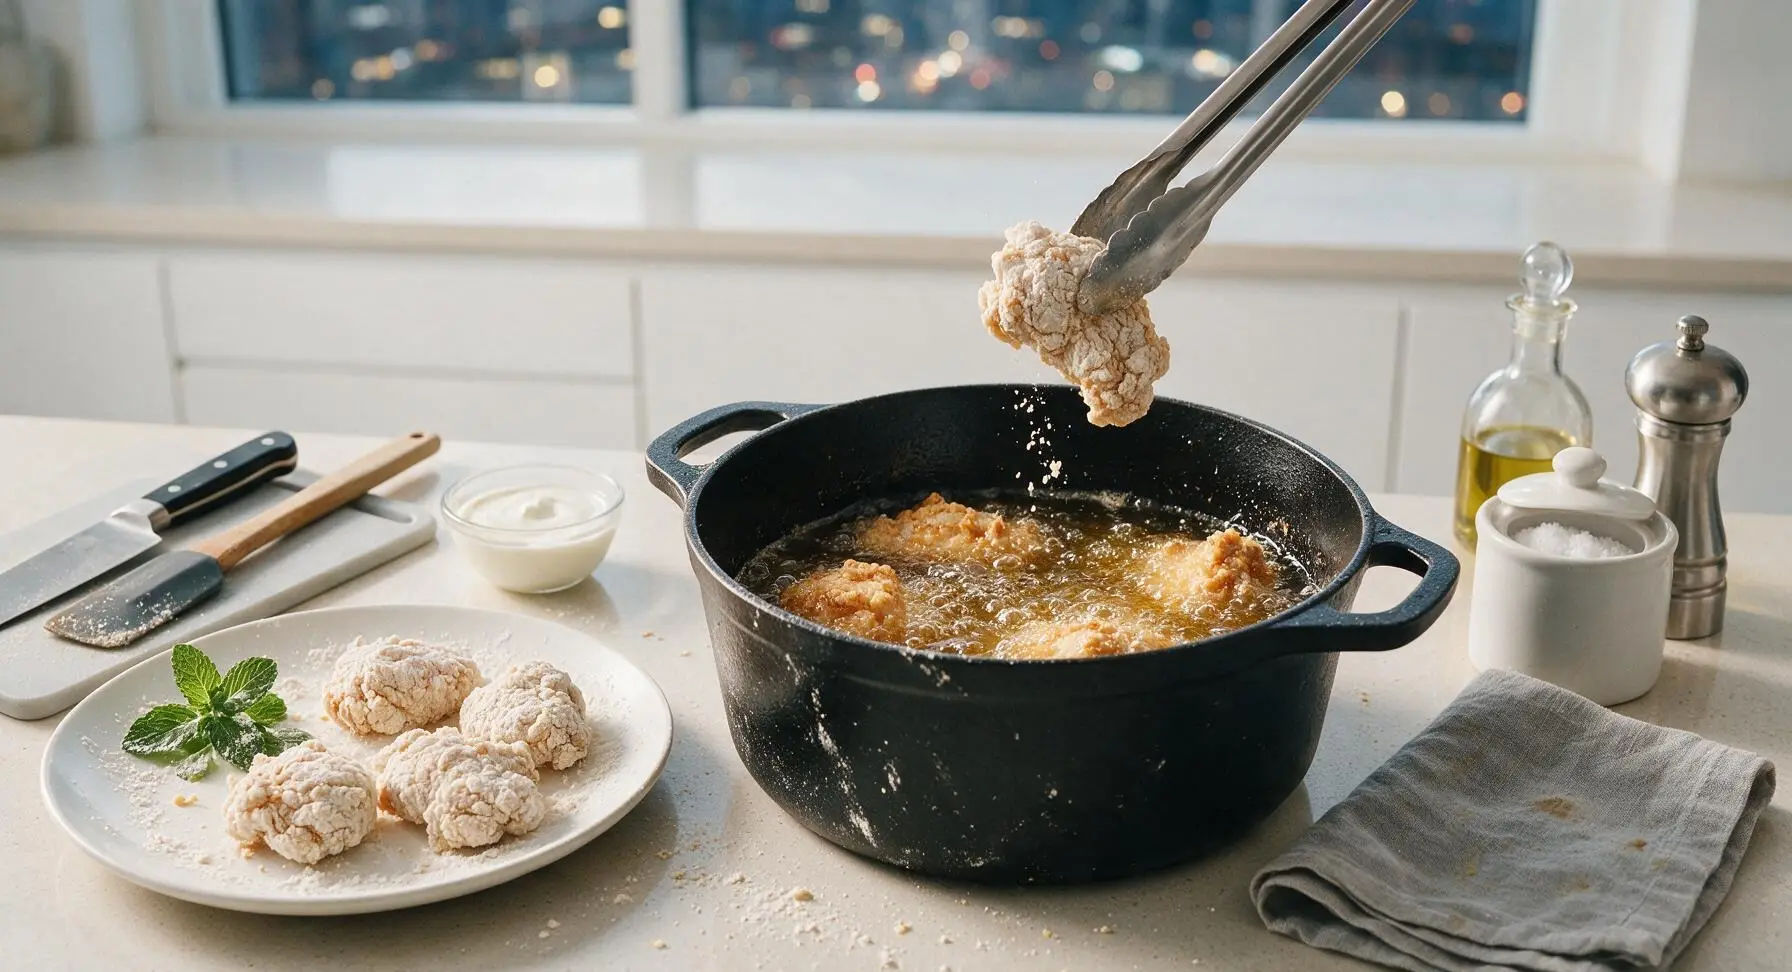
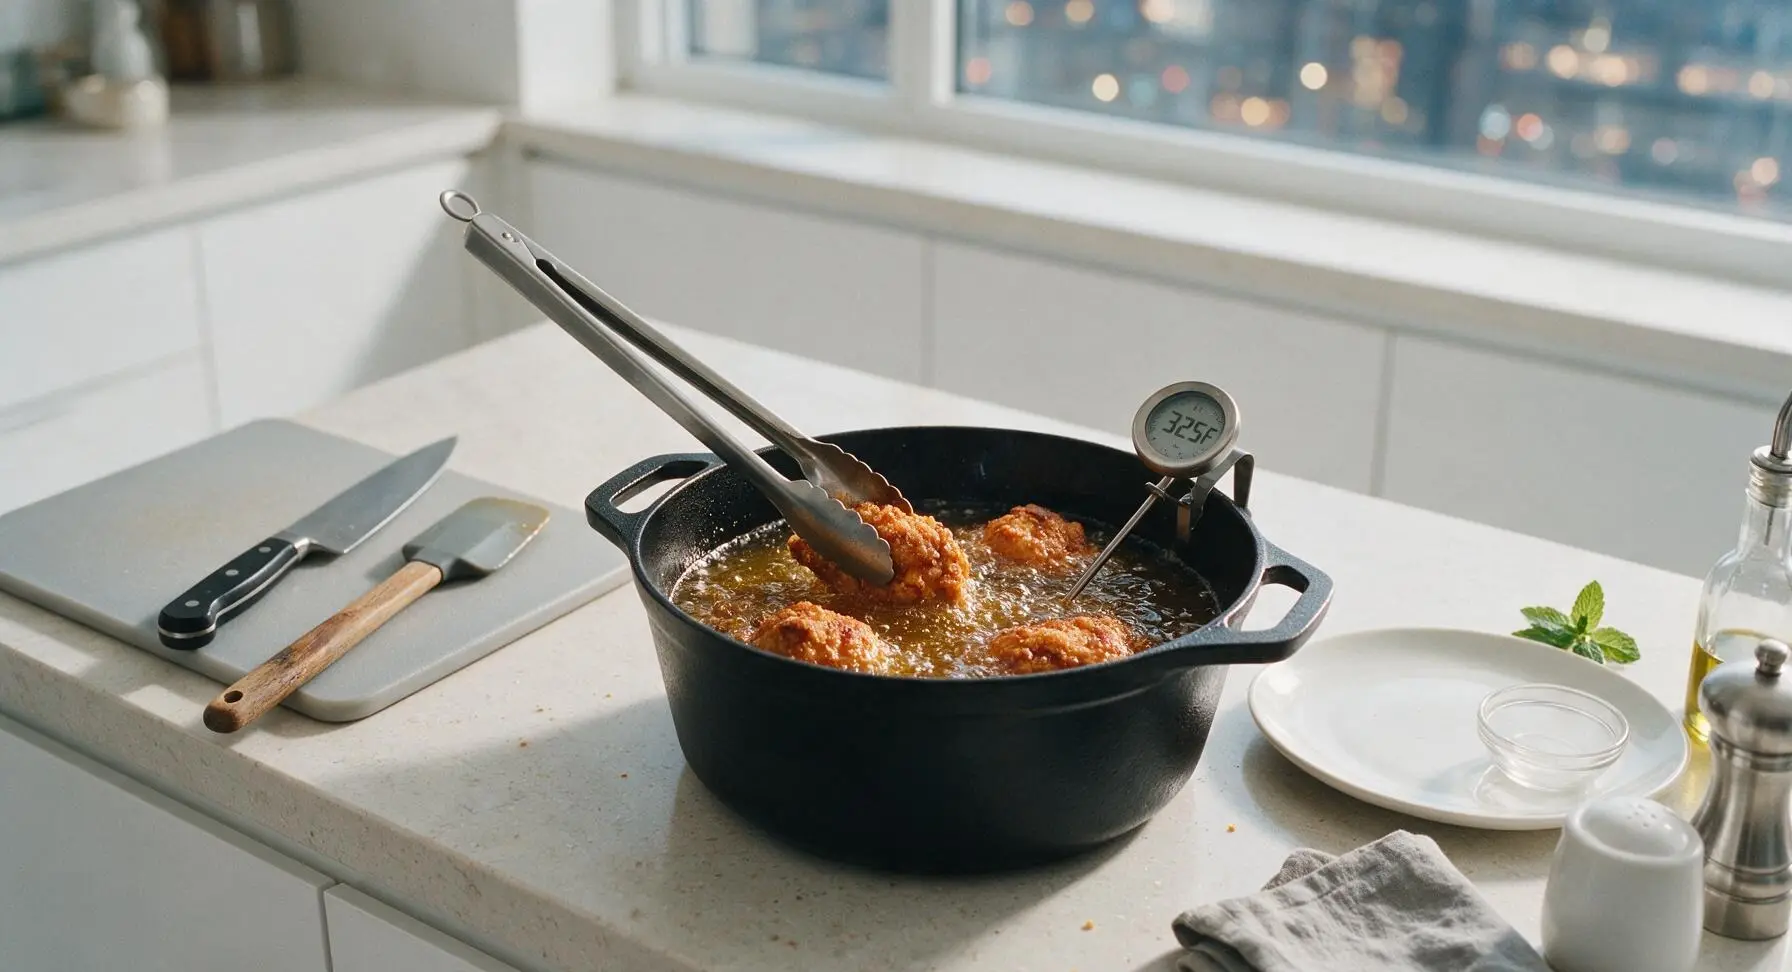
Using the long-handled stainless steel tongs, carefully lower 3-4 coated chicken pieces into the hot oil, placing them away from your body to avoid hot oil splatter. Do not overcrowd the pot; the oil temperature will drop to roughly 160C (325F) after adding chicken—adjust heat to hold this steady temperature throughout frying. Fry for 12-14 minutes total, turning pieces every 3 minutes, until the crust is deep golden brown and the internal temperature reaches 75C (165F) at the thickest part of the meat, not touching bone.
Drain and Season
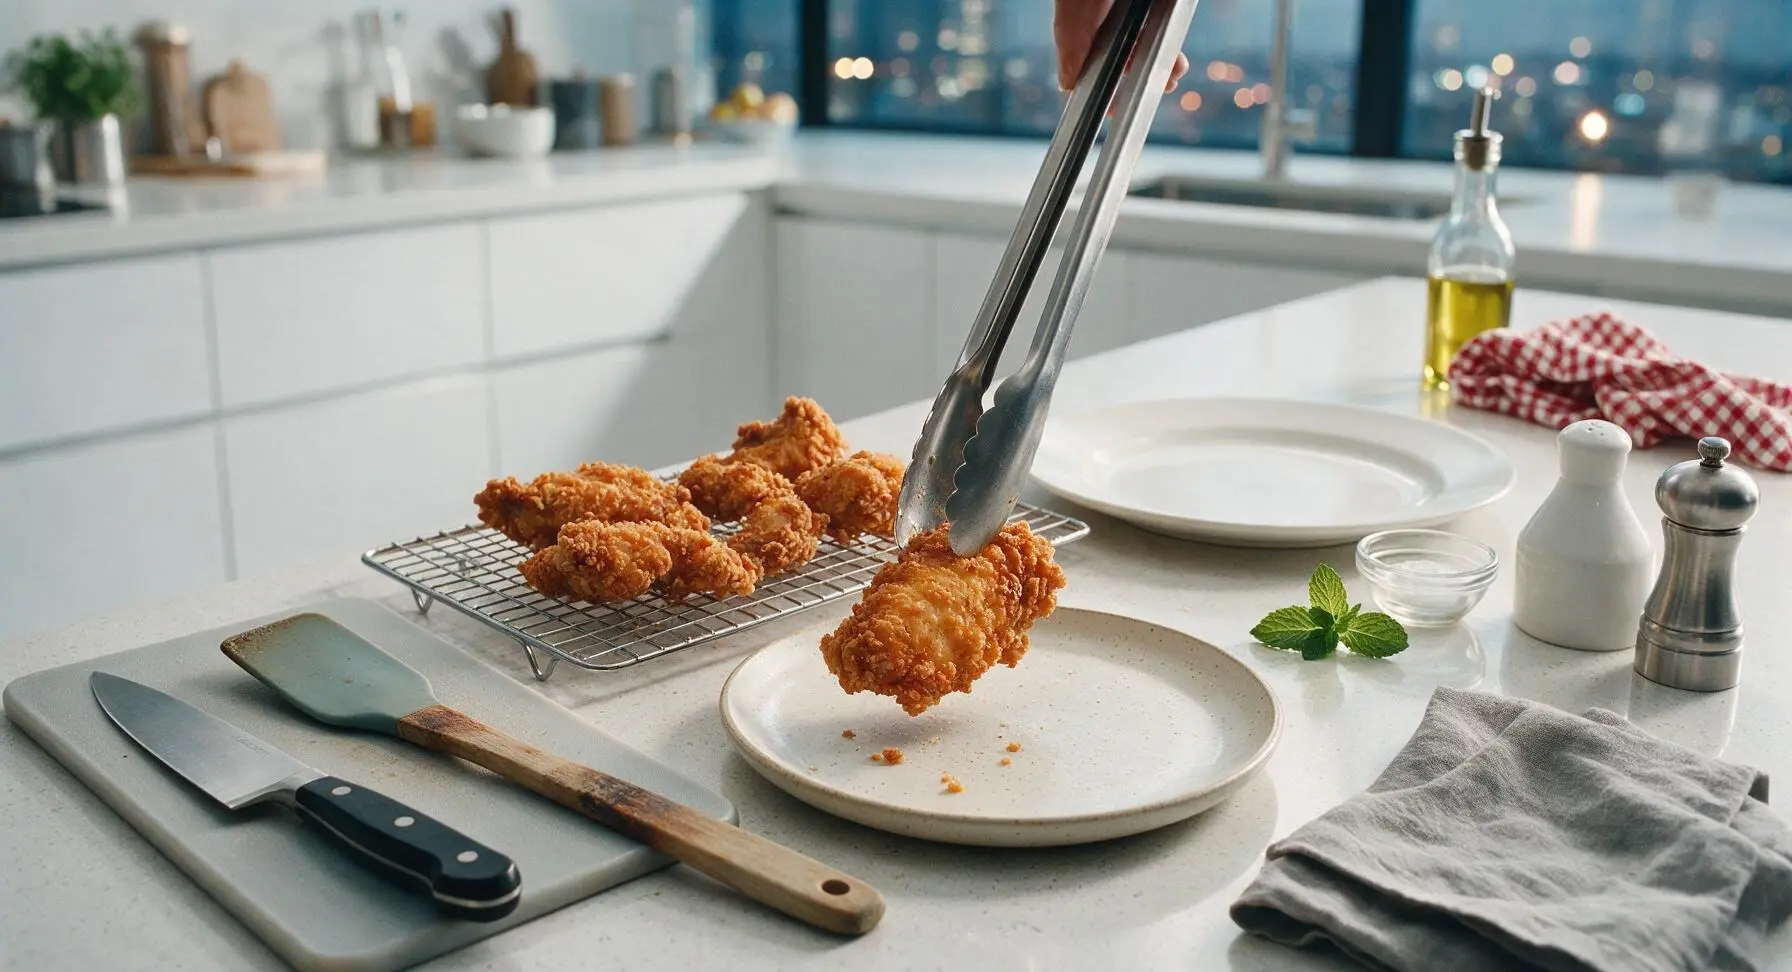
Once chicken reaches the correct internal temperature, use tongs to lift pieces out of the oil, letting excess oil drip back into the pot for 2 seconds. Transfer pieces to the chrome wire cooling rack set over the rimmed aluminum baking sheet positioned right of the cooktop. Immediately sprinkle lightly with flaky finishing salt while the crust is still hot and oil is glistening, to help the salt stick. Let rest 5 minutes before serving; do not drain on paper towels as this will trap steam and make the crust soggy.
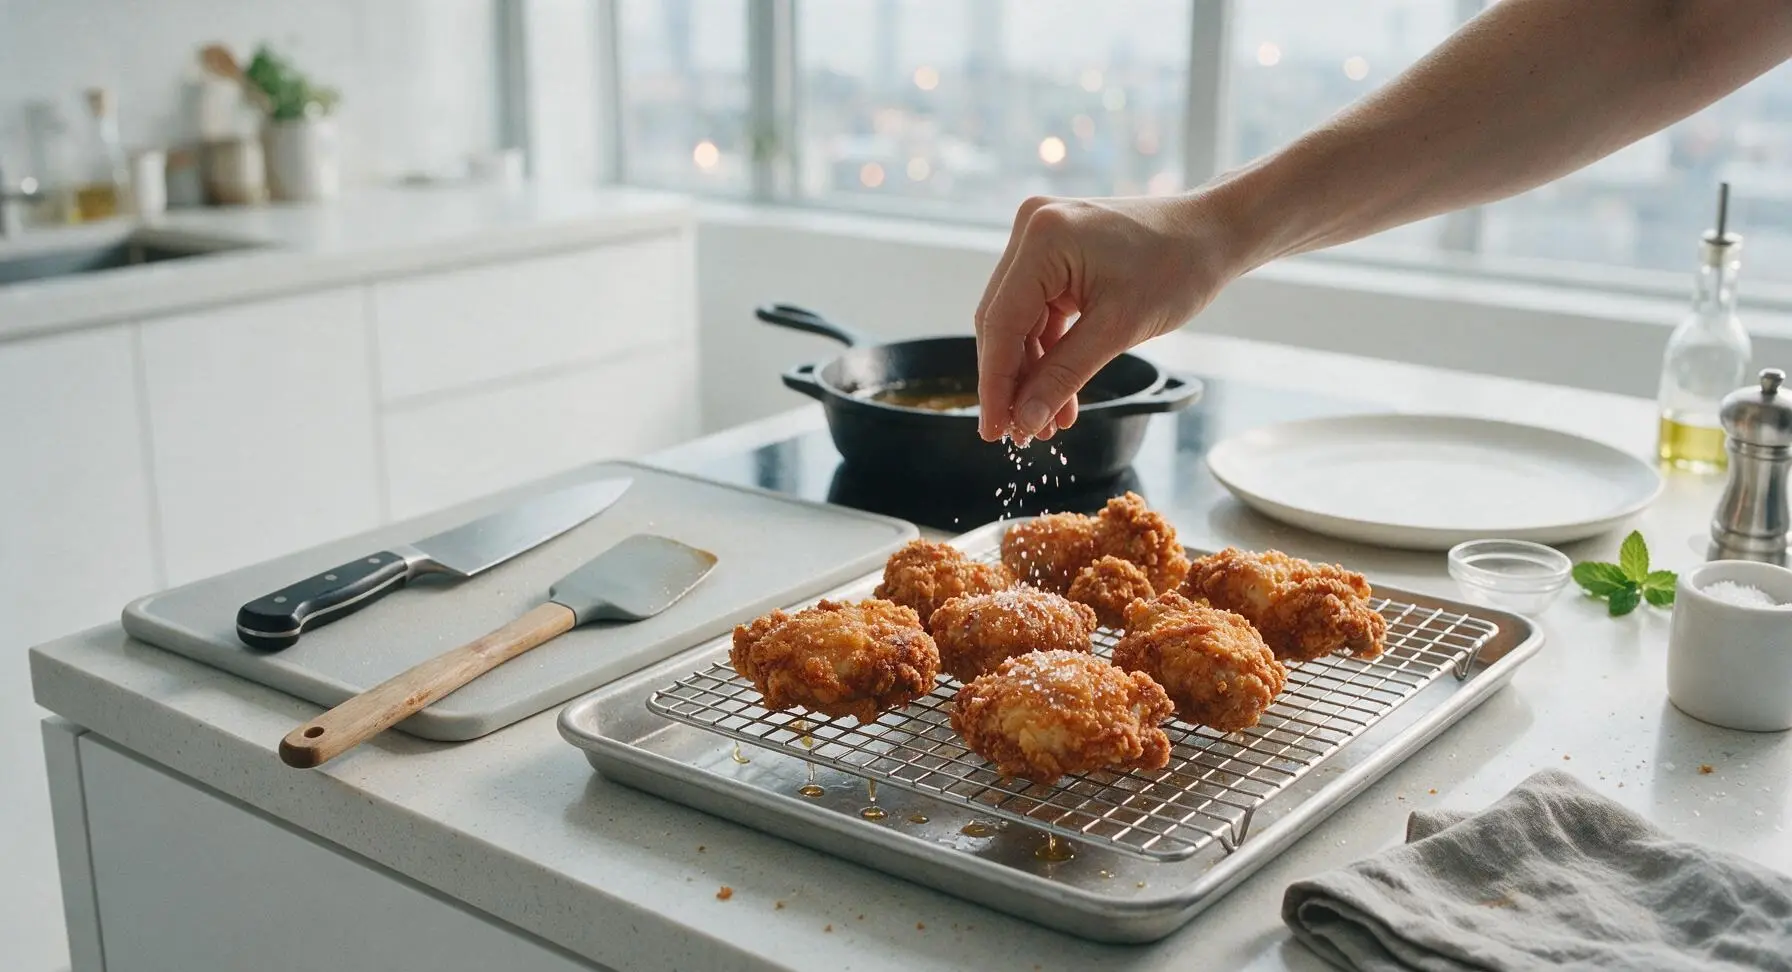
Plate and Serve
Arrange the drained, rested fried chicken pieces casually on the cream speckled ceramic dinner plate. Tuck a small sprig of fresh curly parsley between pieces for a bright pop of color if desired. Serve warm or at room temperature; the crisp crust holds up perfectly for 2 hours, making this ideal for packing for summer picnics.
Tips
2.Maintain consistent oil temperature: if the oil is too hot, the crust will burn before the chicken cooks through; if it is too cold, the chicken will absorb excess oil and turn soggy. Check temperature with the instant-read thermometer between batches and adjust heat as needed to hold 325F while frying.
3.Drain chicken on a wire rack, not paper towels: paper towels trap hot steam against the crisp crust, making it go soft within minutes. Elevating chicken on a rack allows air to circulate around all sides, keeping the crust crisp for up to 2 hours at room temperature—perfect for picnic transport.






OMG this crispy paper bag fried chicken was the star of our Sunday family dinner! I was a little nervous shaking the chicken in the bag with the flour mix at first but it got every piece coated SO evenly, no clumpy dry spots at all. The crunch was insane, juicier than any fast food fried chicken I’ve made at home before. My 8 and 10 year old asked for seconds before they even finished their first piece! 10/10 will be making this for our neighborhood potluck next month.
Game changer for meal prep! I was skeptical fried chicken could hold up for 3 days in the fridge but the crisp actually stays way better than my usual battered recipe when I reheat it in the air fryer for 5 minutes. Cook time was spot on at 25 minutes too, no extra guesswork involved. Only note is I added a little extra smoked paprika to the seasoning mix for a tiny kick, chef’s kiss.
Grew up eating my grandma’s paper bag fried chicken so I had really high standards, and this recipe did not disappoint! The crust is shatteringly crisp just like I remember, and the seasoning doesn’t overpower the chicken itself. I used bone-in thighs like we always did down south and they came out perfectly juicy, no raw spots near the bone at all. Already sent the recipe to my whole family group chat.
Uh, quick question for anyone who’s made this—medium difficulty is no joke for a beginner like me lmao. I tried this last night and my crust came out a little soggier than the photos, did I do something wrong? I used boneless breasts if that makes a difference? Wait also I maybe didn’t let the oil get hot enough? Idk, flavor was great just missing that crunch.
Made these for the college football tailgate last weekend and people were literally begging me for the recipe before the first quarter even ended! Bite-sized drumettes worked perfect for grabbing and eating standing up, no messy plates needed. The paper bag shake method is so much easier than dragging each piece through flour one by one, saved me so much prep time. SO good, this will be a regular in my tailgate rotation all season long.
Wait a second—has anyone tried this with a 1:1 gluten free flour blend? My kid has celiac so we can’t do regular all-purpose flour, but this looks so good I wanna make it for our Friday movie night. I’m assuming it’ll work the same as long as the flour blend is a good cup-for-cup swap, right?
This recipe absolutely slaps! I added a tablespoon of cayenne and extra garlic powder to the flour mix and it had the perfect amount of heat—enough zing to make you reach for your sweet tea, but not so spicy that my cousin who hates all hot food couldn’t enjoy it. The paper bag shake trick is such a genius hack, I can’t believe I spent years individually dredging each piece of chicken before this. My roommate said it’s better than the overpriced fancy fried chicken spot we hit up downtown, that’s literally the highest compliment I could get. Already planning to make a double batch for our house party next weekend.