
parmesan fried chicken

title 1
parmesan fried chicken
⏱️ cook time 20 minutes
🍽️ servings 4
⚡ Difficulty easy

intro

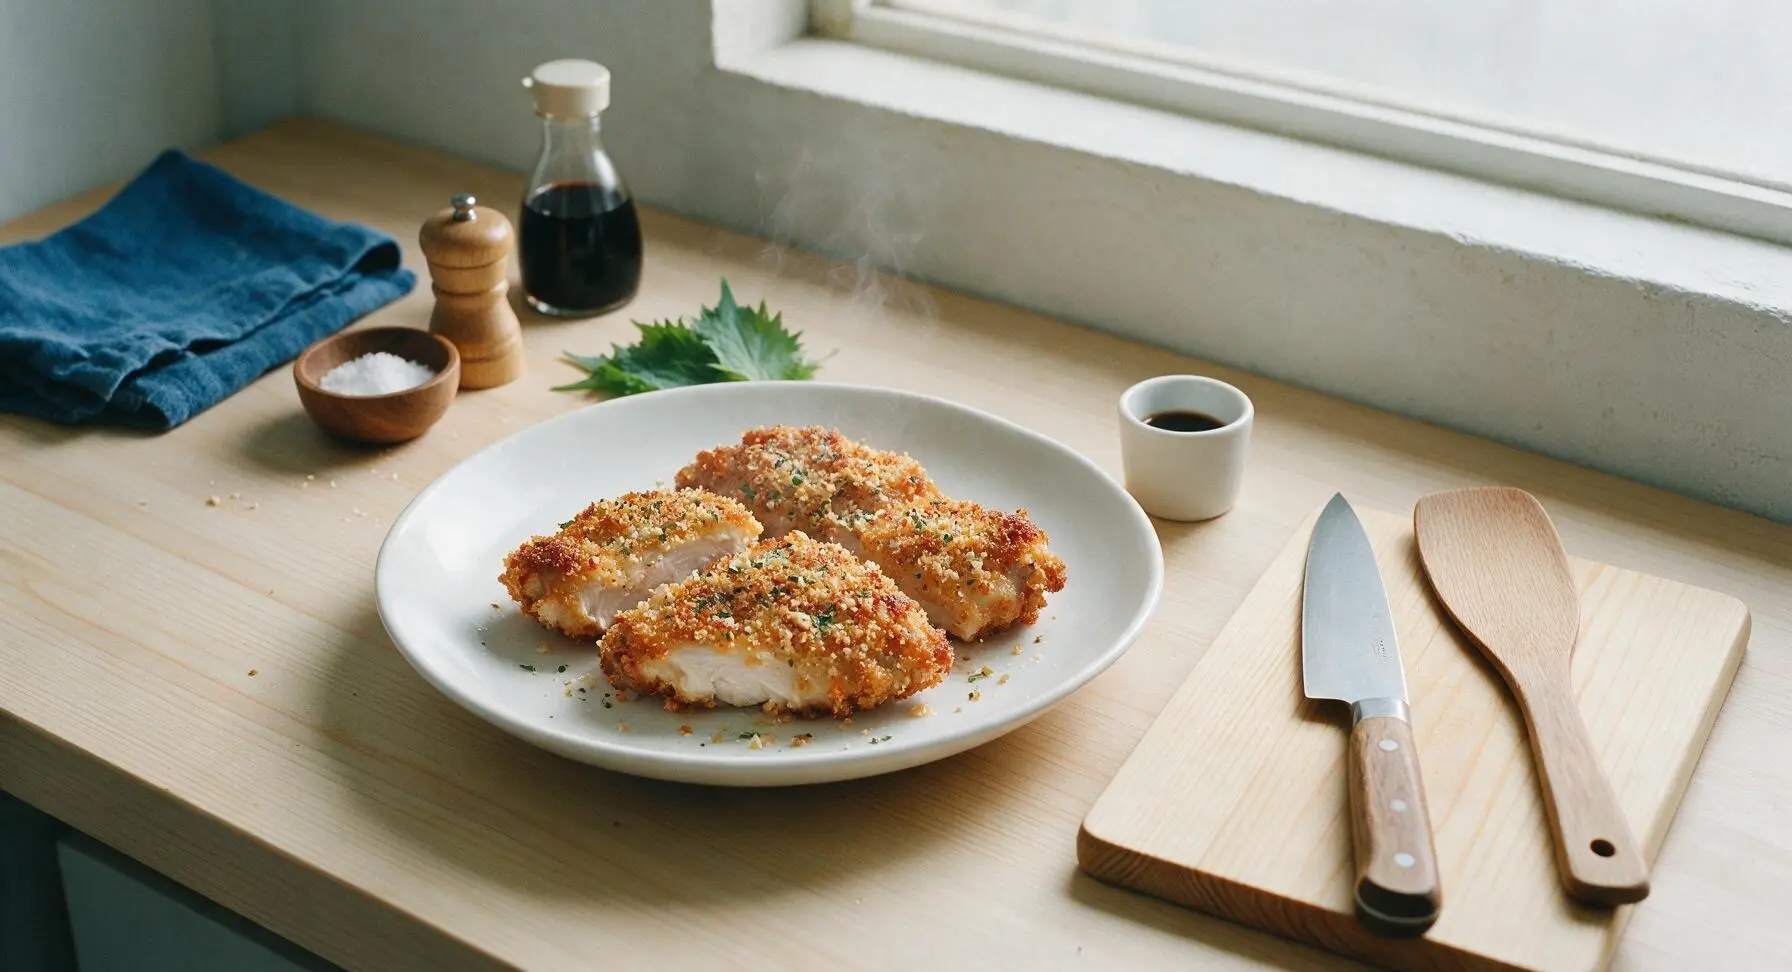
Juicy, tender chicken coated in a crispy, nutty parmesan crust, seasoned with garlic and herbs—crunchy outside, succulent inside, pure cozy comfort food.

Ingredients
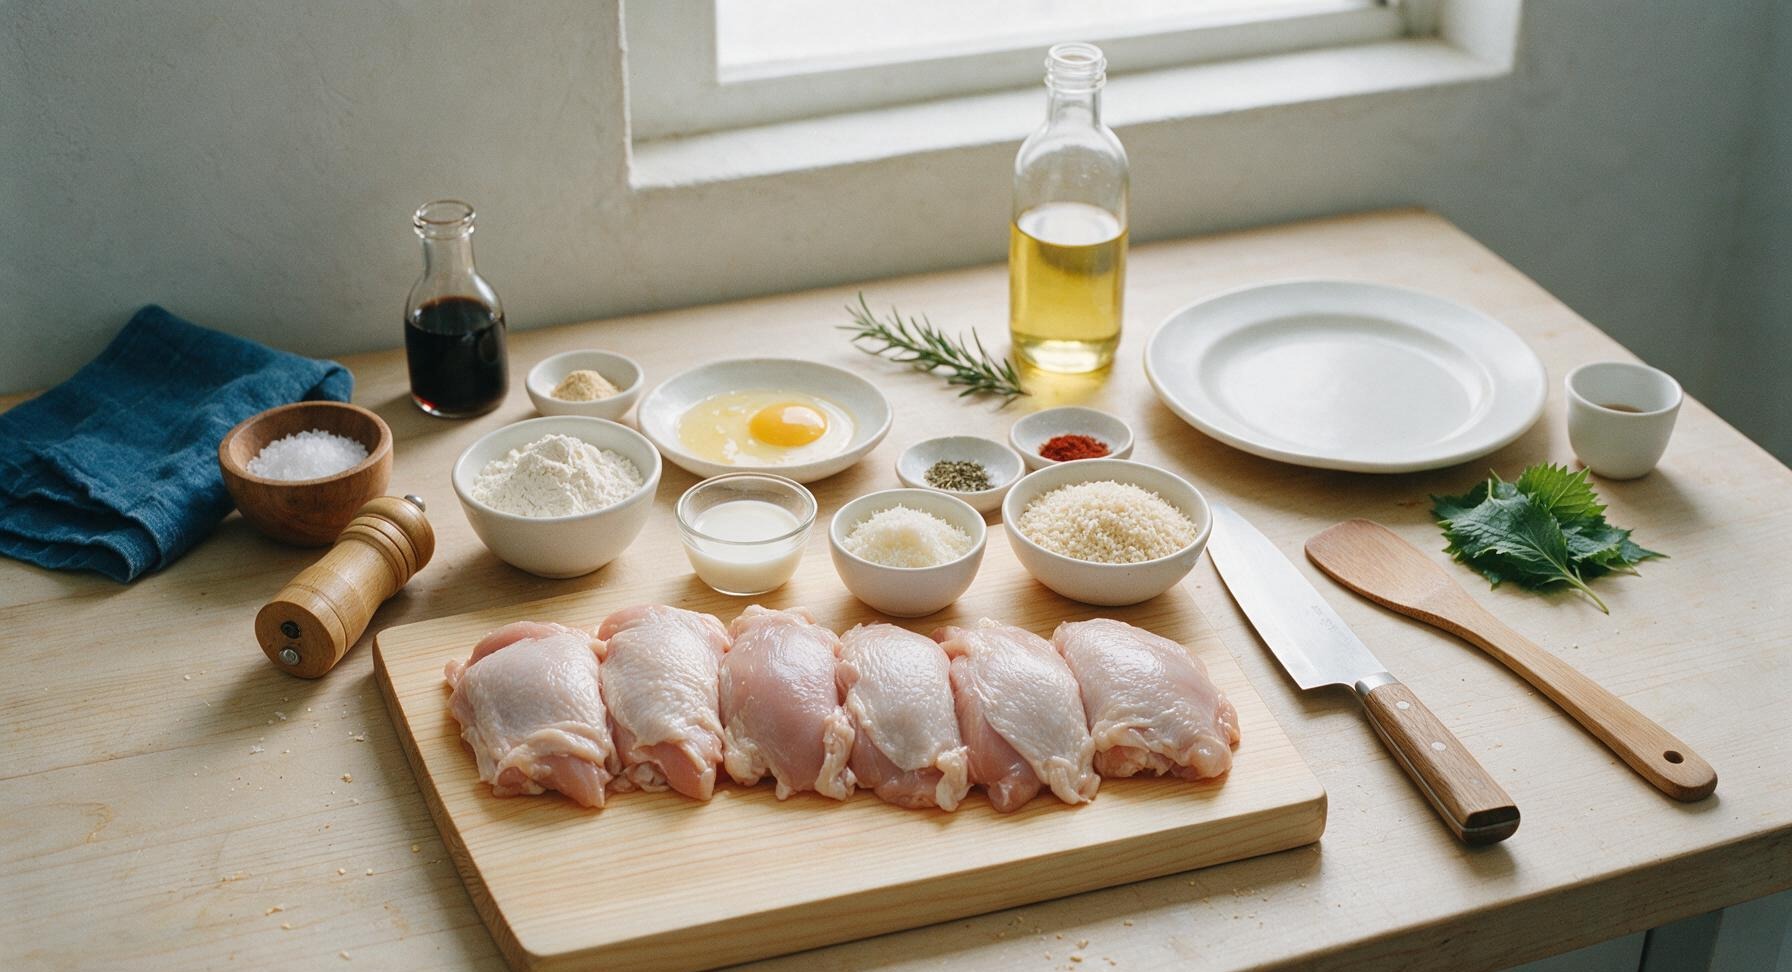
Boneless skinless chicken thighs 700g (6 pieces, trimmed)
All-purpose flour 70g (½ cup)
Large eggs 2
Whole milk 30ml (2 tablespoons)
Finely grated parmesan cheese 100g (1 cup, freshly grated)
Panko breadcrumbs 60g (1 cup)
Garlic powder 3g (1 teaspoon)
Dried oregano 1g (½ teaspoon)
Smoked paprika 1g (½ teaspoon)
Kosher salt 5g (1 teaspoon)
Freshly ground black pepper 1g (½ teaspoon)
Neutral frying oil (avocado or canola) 360ml (1 ½ cups)
Fresh rosemary sprig 1 (5cm, for garnish)

Steps

1

Trim Chicken Thighs

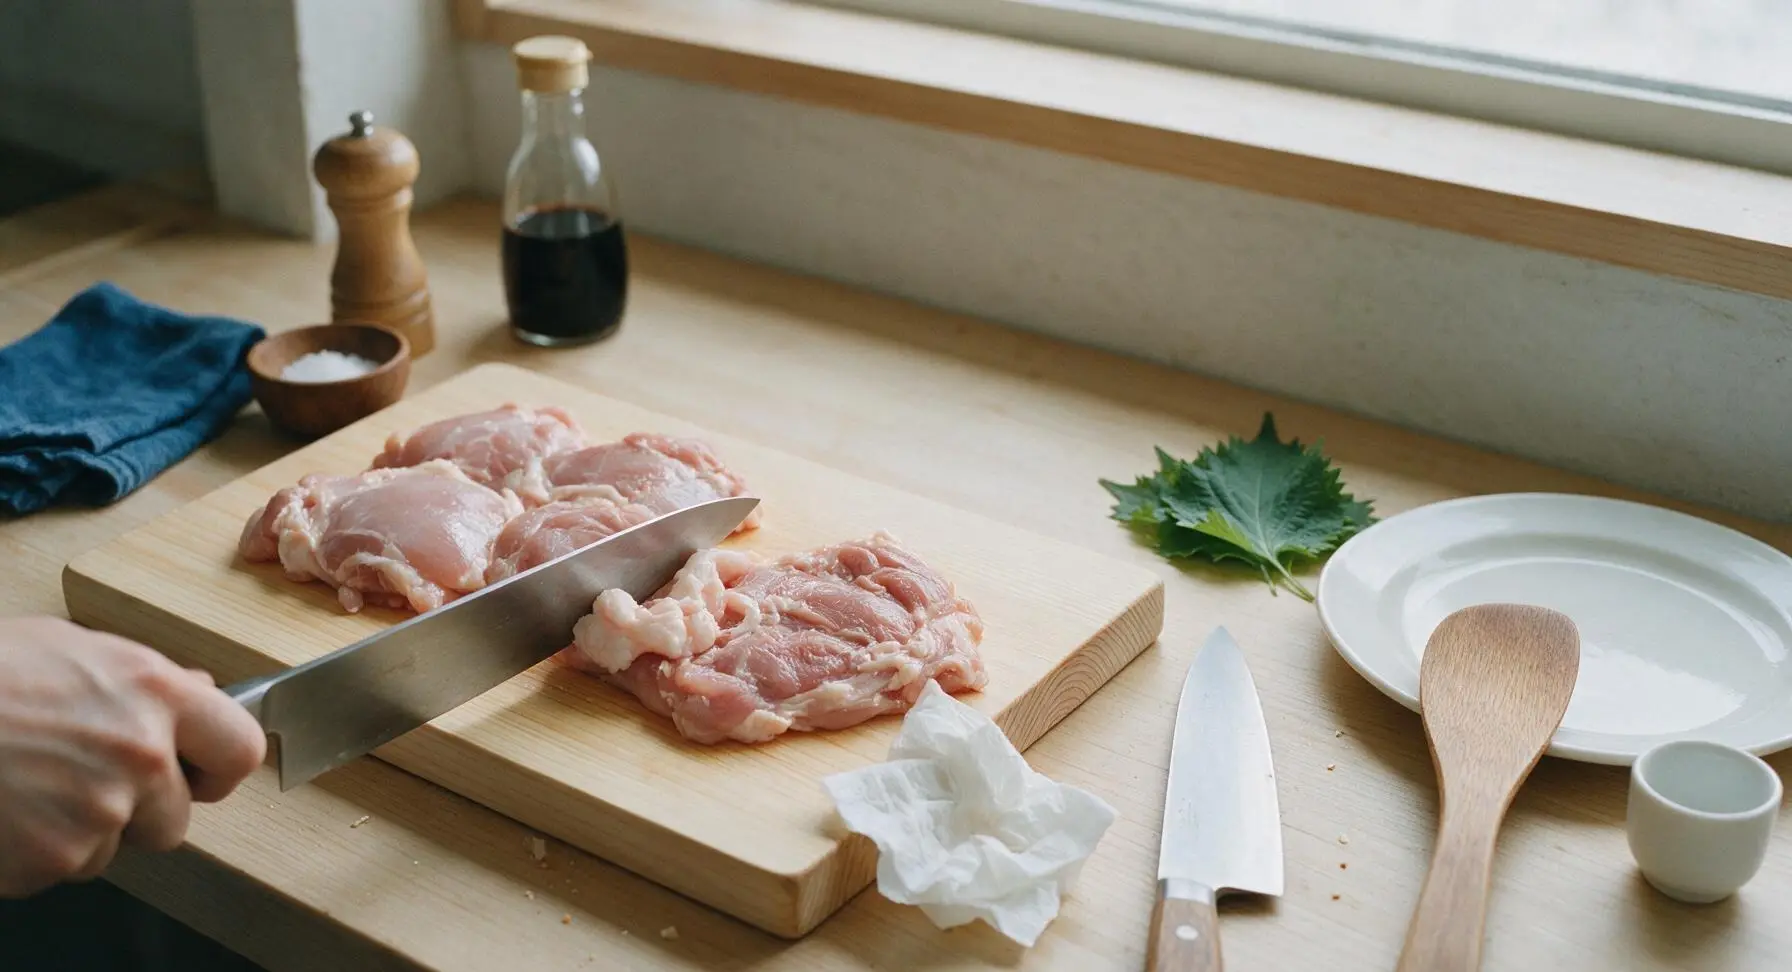
Place the 700g of boneless, skinless chicken thighs on the maple cutting board. Use the 8-inch chef’s knife to trim any large pockets of excess hard fat or loose silver skin from the thighs, leaving a thin layer of soft fat for flavor. Pat all chicken pieces completely dry on both sides with paper towels, as a dry surface ensures crisp breading that adheres well.
Step 1
step1:Trim Chicken Thighs
2

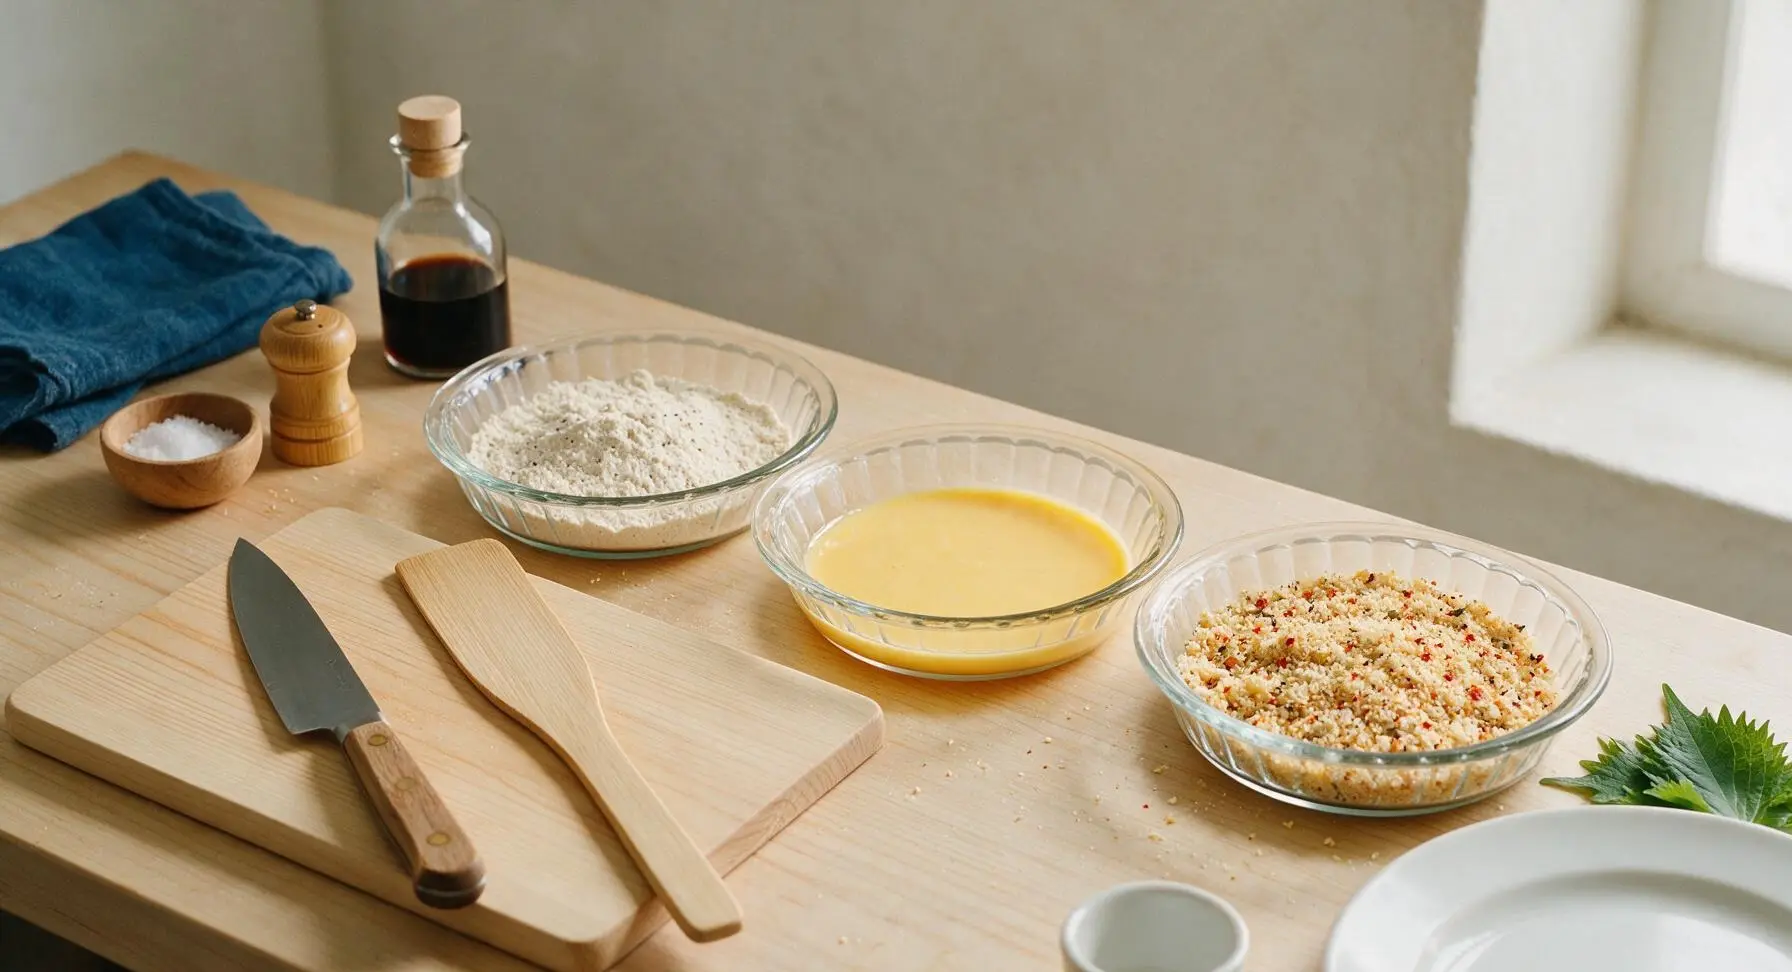
Arrange Breading Stations

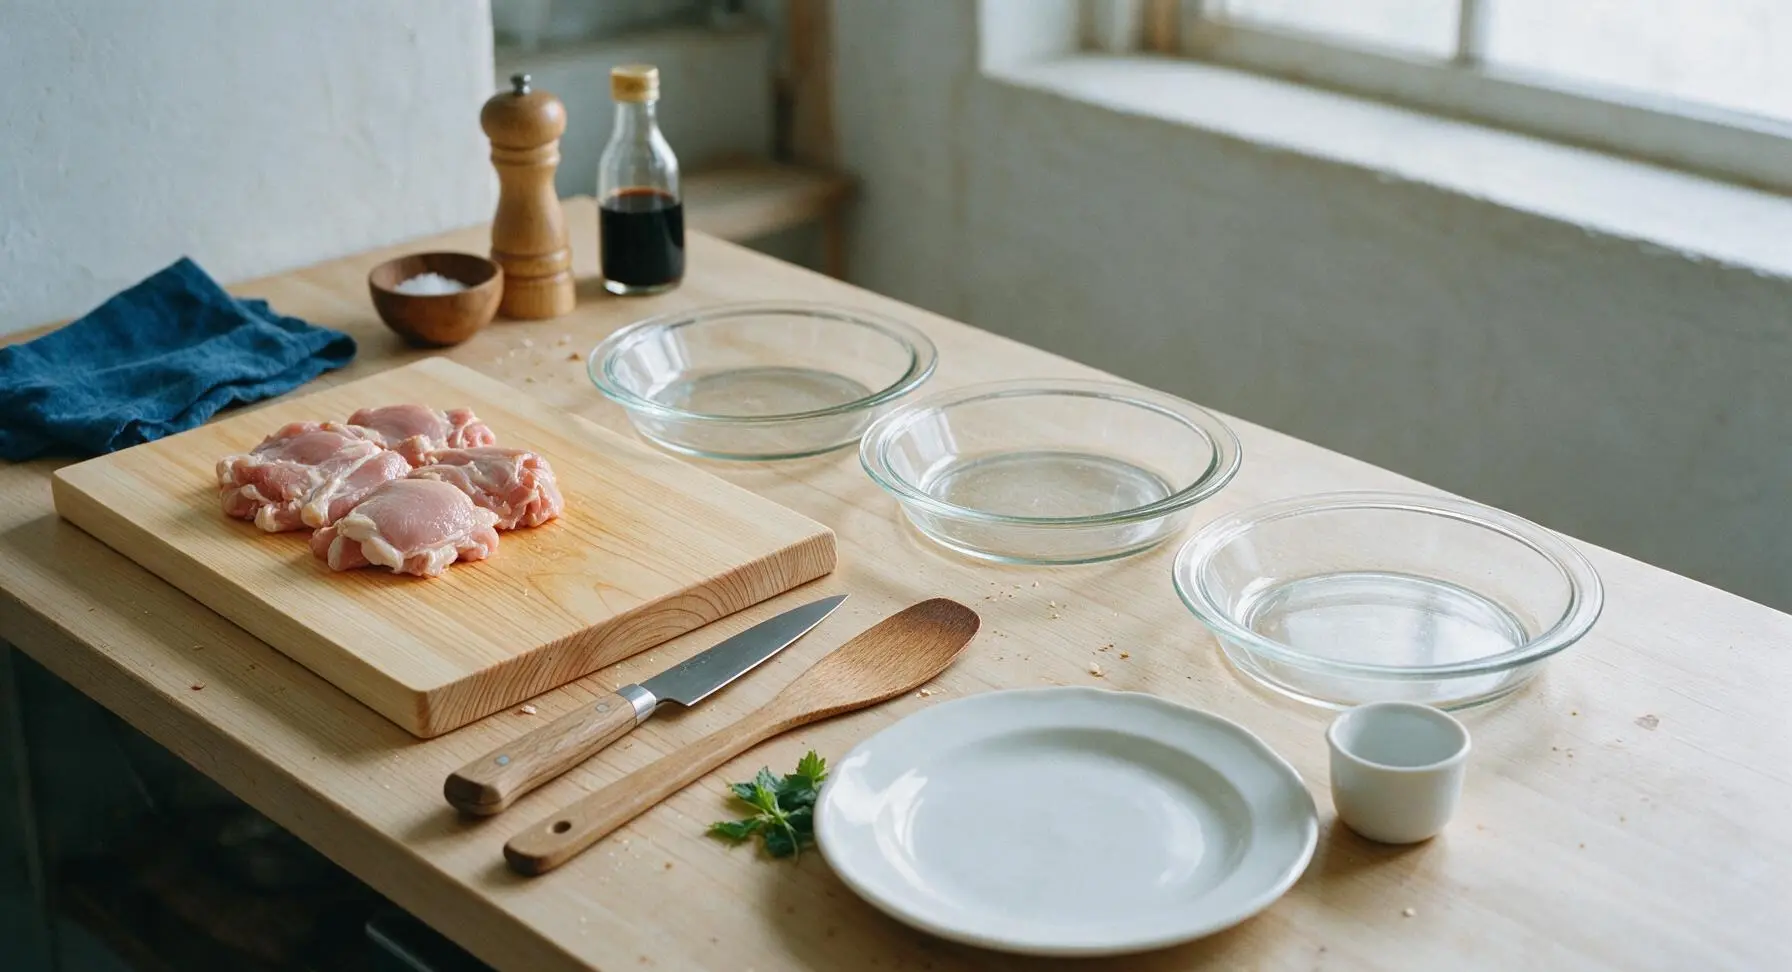
Line up the three clear glass pie dishes left to right on the counter adjacent to the cutting board. In the left dish, combine the 70g all-purpose flour with ¼ teaspoon salt and ¼ teaspoon black pepper, stir to mix. In the middle dish, crack the 2 large eggs, add the 30ml whole milk, and whisk until completely smooth with no streaks of egg white. In the right dish, mix the 100g finely grated parmesan, 60g panko breadcrumbs, garlic powder, dried oregano, smoked paprika, remaining ¾ teaspoon salt, and remaining ¼ teaspoon black pepper, stirring until evenly combined.
Step 2
step2:Arrange Breading Stations
Step 2
step2:Arrange Breading Stations
3

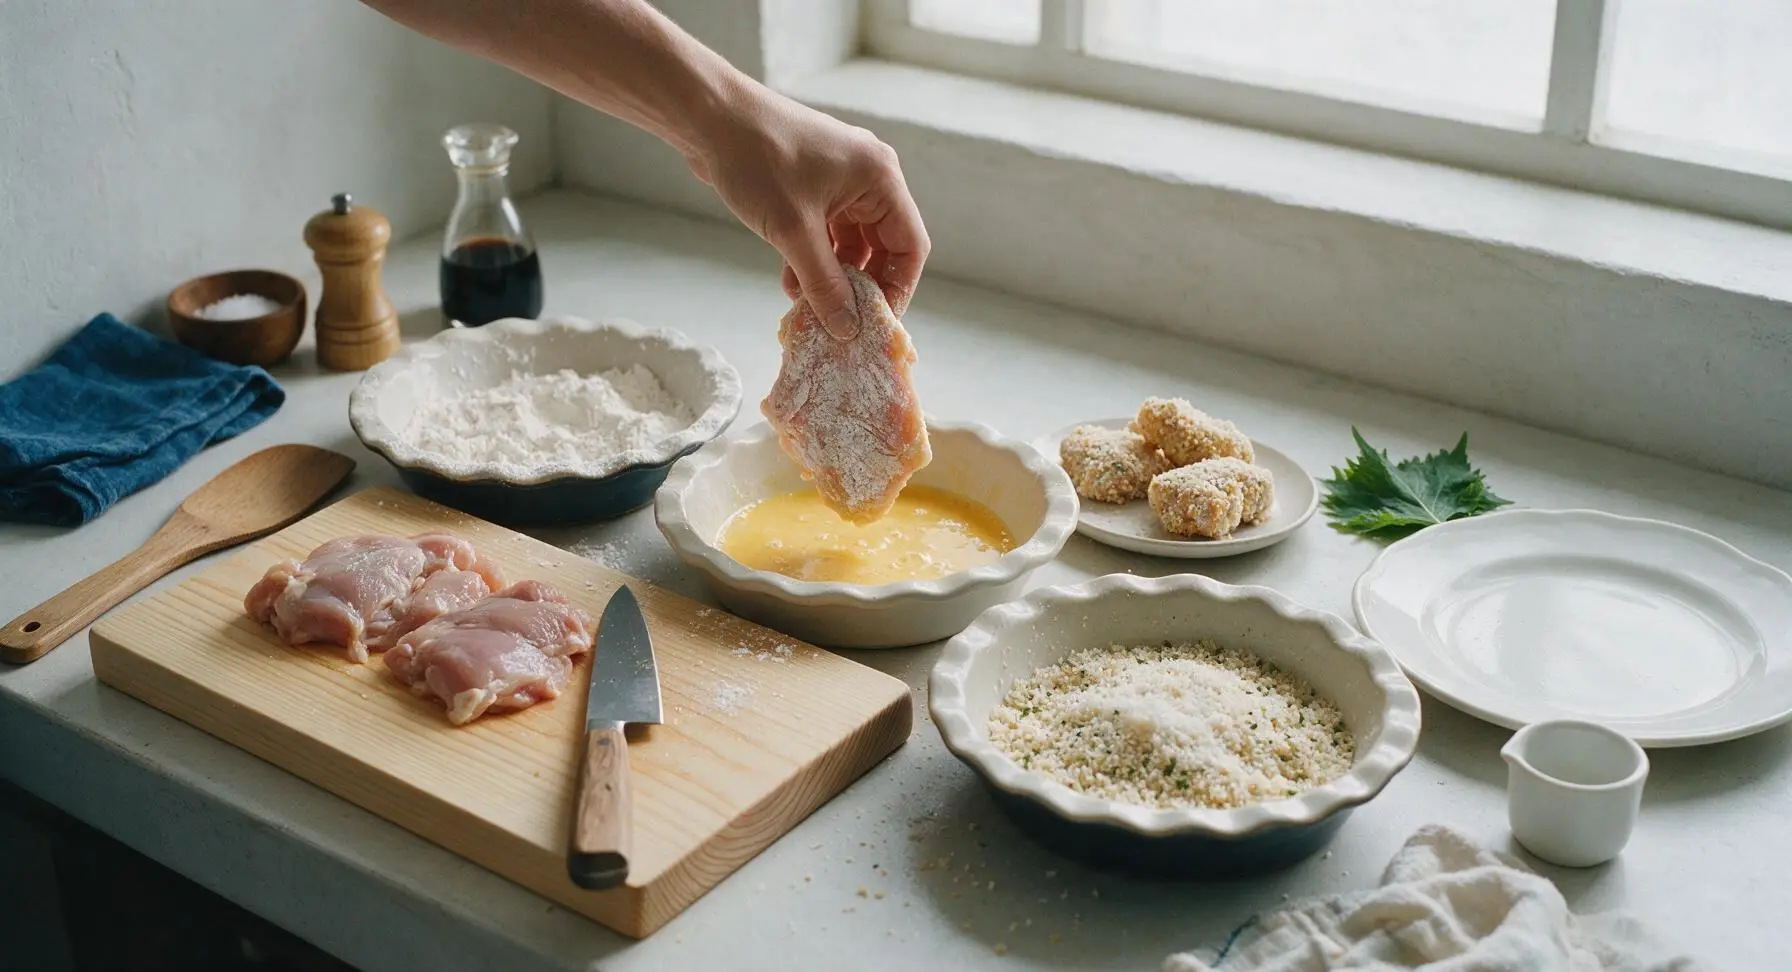
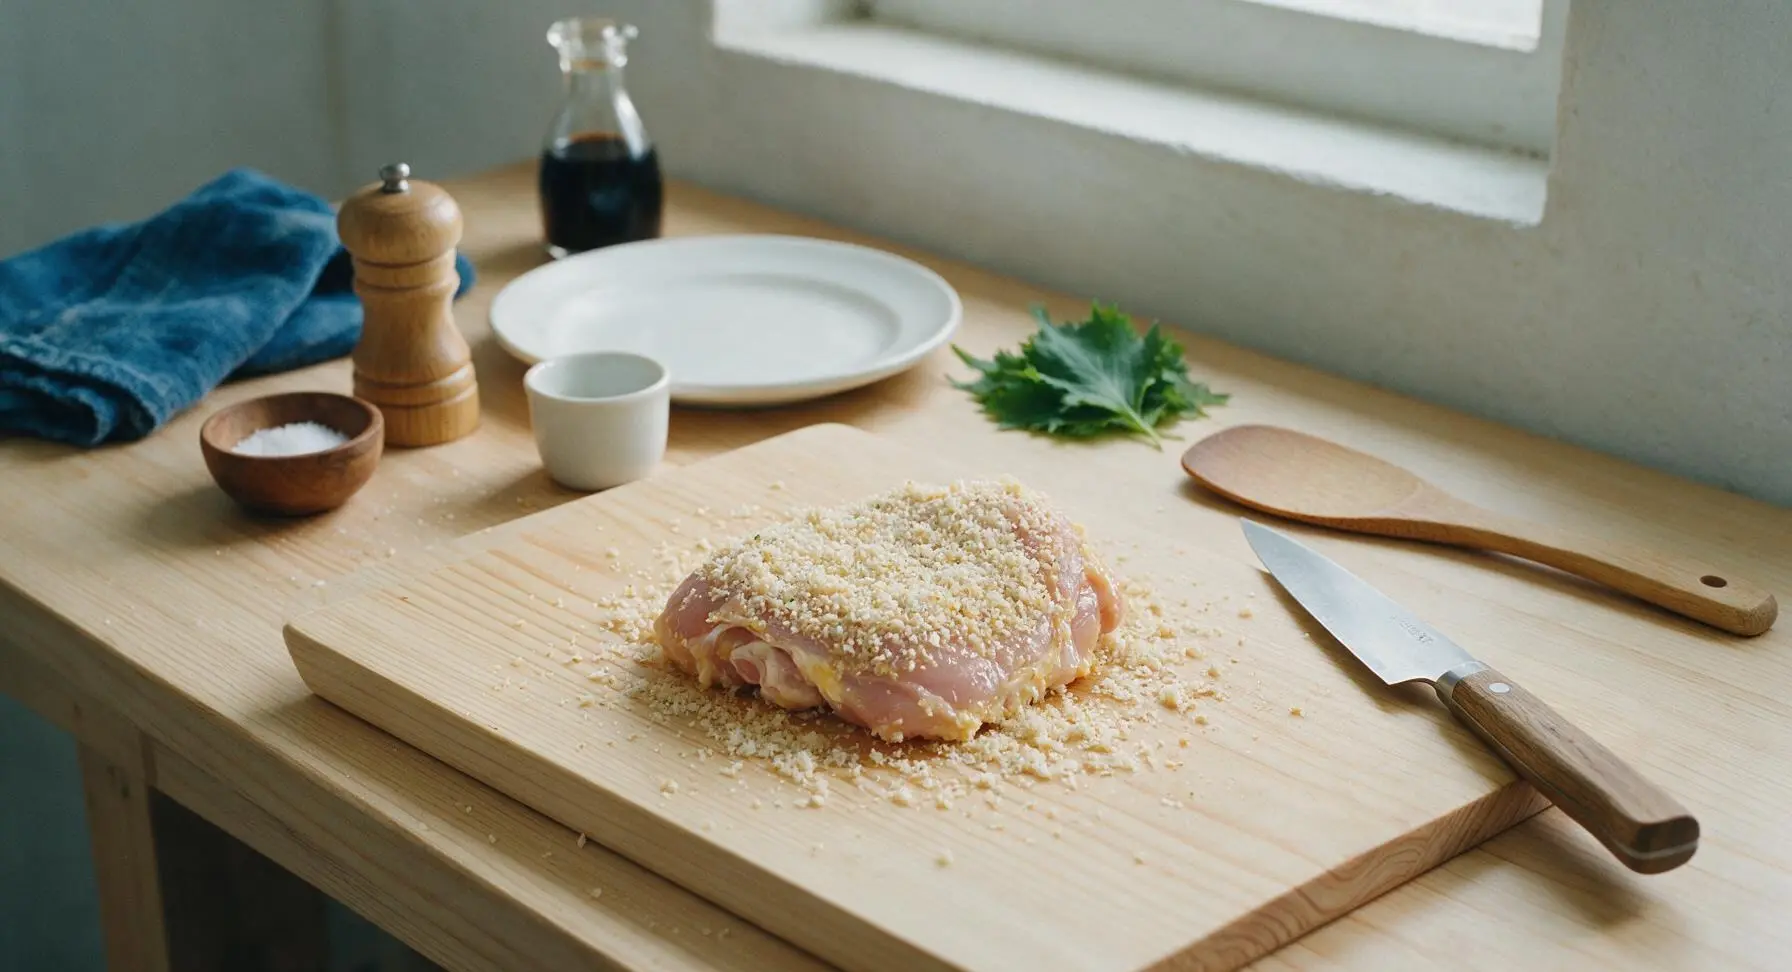
Coat Chicken Evenly

Working one piece at a time, dredge a chicken thigh first in the seasoned flour, turning to coat all sides, and shake off any excess flour so only a thin, even layer remains. Next, dip the floured chicken fully into the egg wash, letting excess egg drip off for 2 seconds. Finally, press the chicken firmly into the parmesan-panko mixture, turning to coat every surface, pressing the crumbs into the chicken to ensure a thick, even crust that does not fall off during frying. Transfer breaded pieces to a clean plate as you work, and let rest 5 minutes to allow the breading to set before frying.
Step 3
step3:Coat Chicken Evenly
Step 3
step3:Coat Chicken Evenly
4

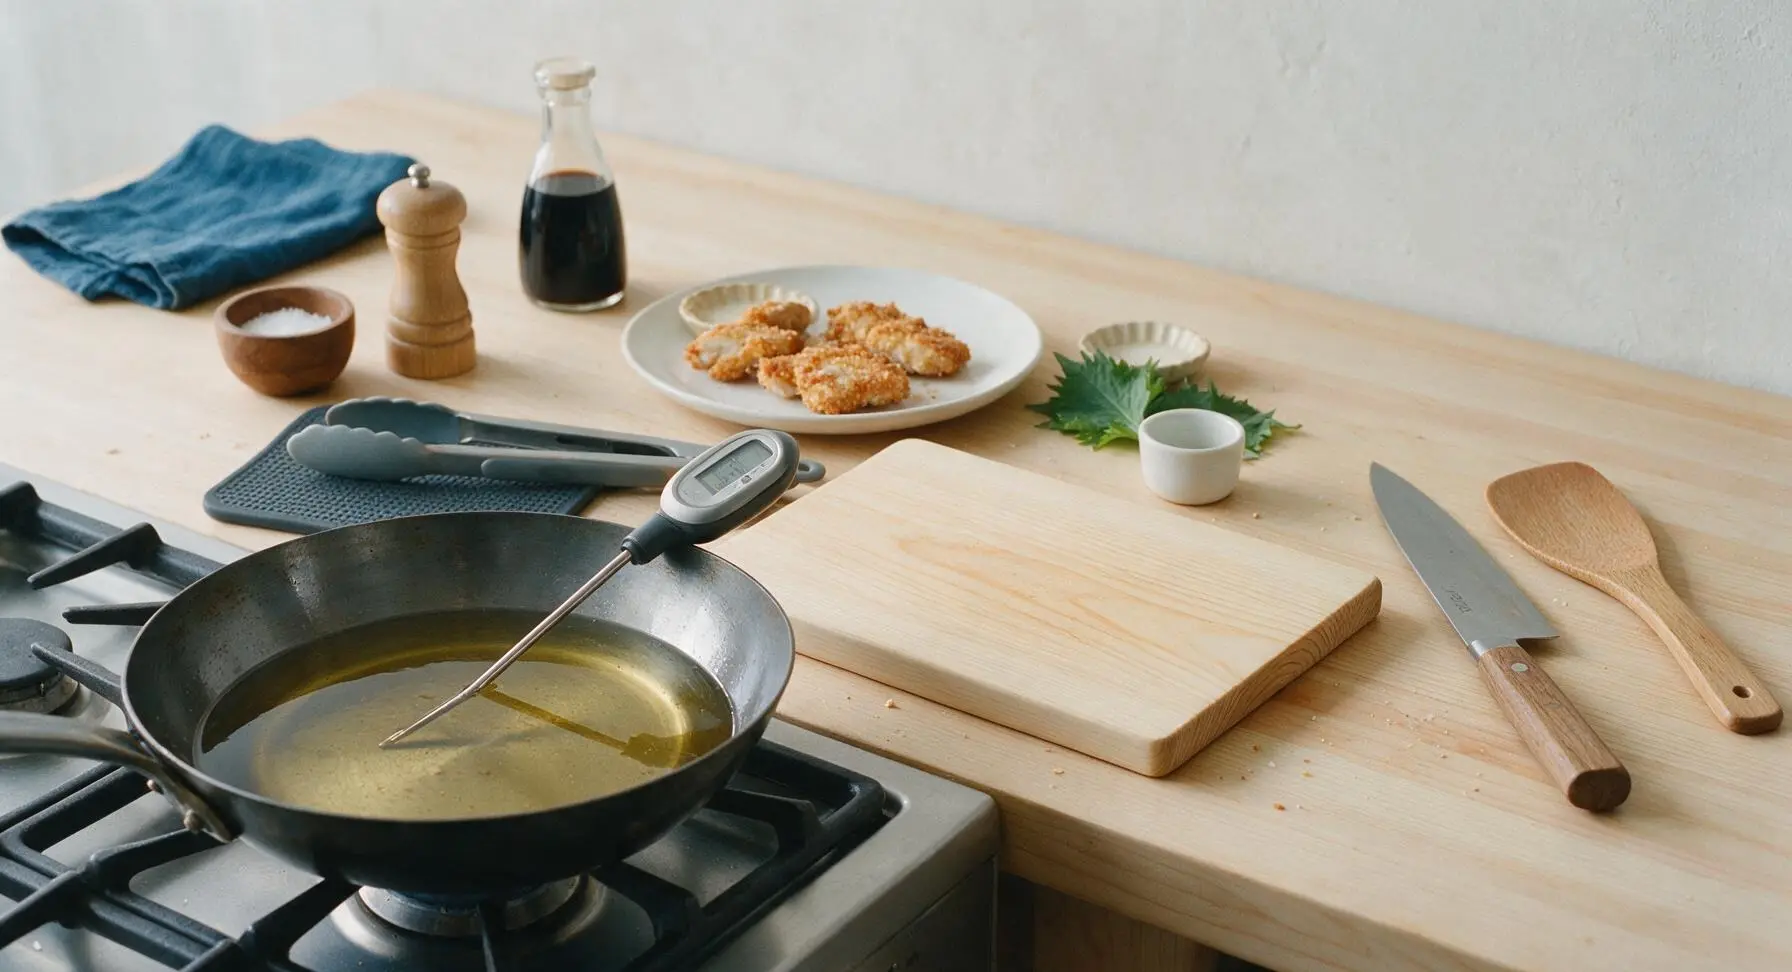
Heat Frying Oil

Place the 30cm carbon steel skillet on the front left burner of the stovetop. Pour in 360ml of neutral frying oil, and heat over medium heat until the oil reaches 175C (350F), measured with the instant-read digital thermometer. Monitor the oil temperature closely: if it gets too hot (above 185C/365F) the crust will burn before the chicken cooks through; if too cool (below 160C/320F) the breading will absorb excess oil and turn soggy.
Step 4
step4:Heat Frying Oil
5

Fry Chicken in Batches

Carefully lower 3 breaded chicken thighs into the hot oil using the silicone-tipped tongs, taking care not to overcrowd the pan (overcrowding drops oil temperature and causes sogginess). Fry for 6-7 minutes on the first side, until the crust is deep golden brown and crispy, then flip each piece with tongs and fry another 5-6 minutes on the second side, until internal temperature reaches 74C (165F) on the instant-read thermometer. Transfer cooked chicken to the wire rack set over the aluminum baking sheet to drain, and let rest 2 minutes before frying the remaining 3 pieces, checking oil temperature and adjusting heat between batches to maintain 175C/350F.
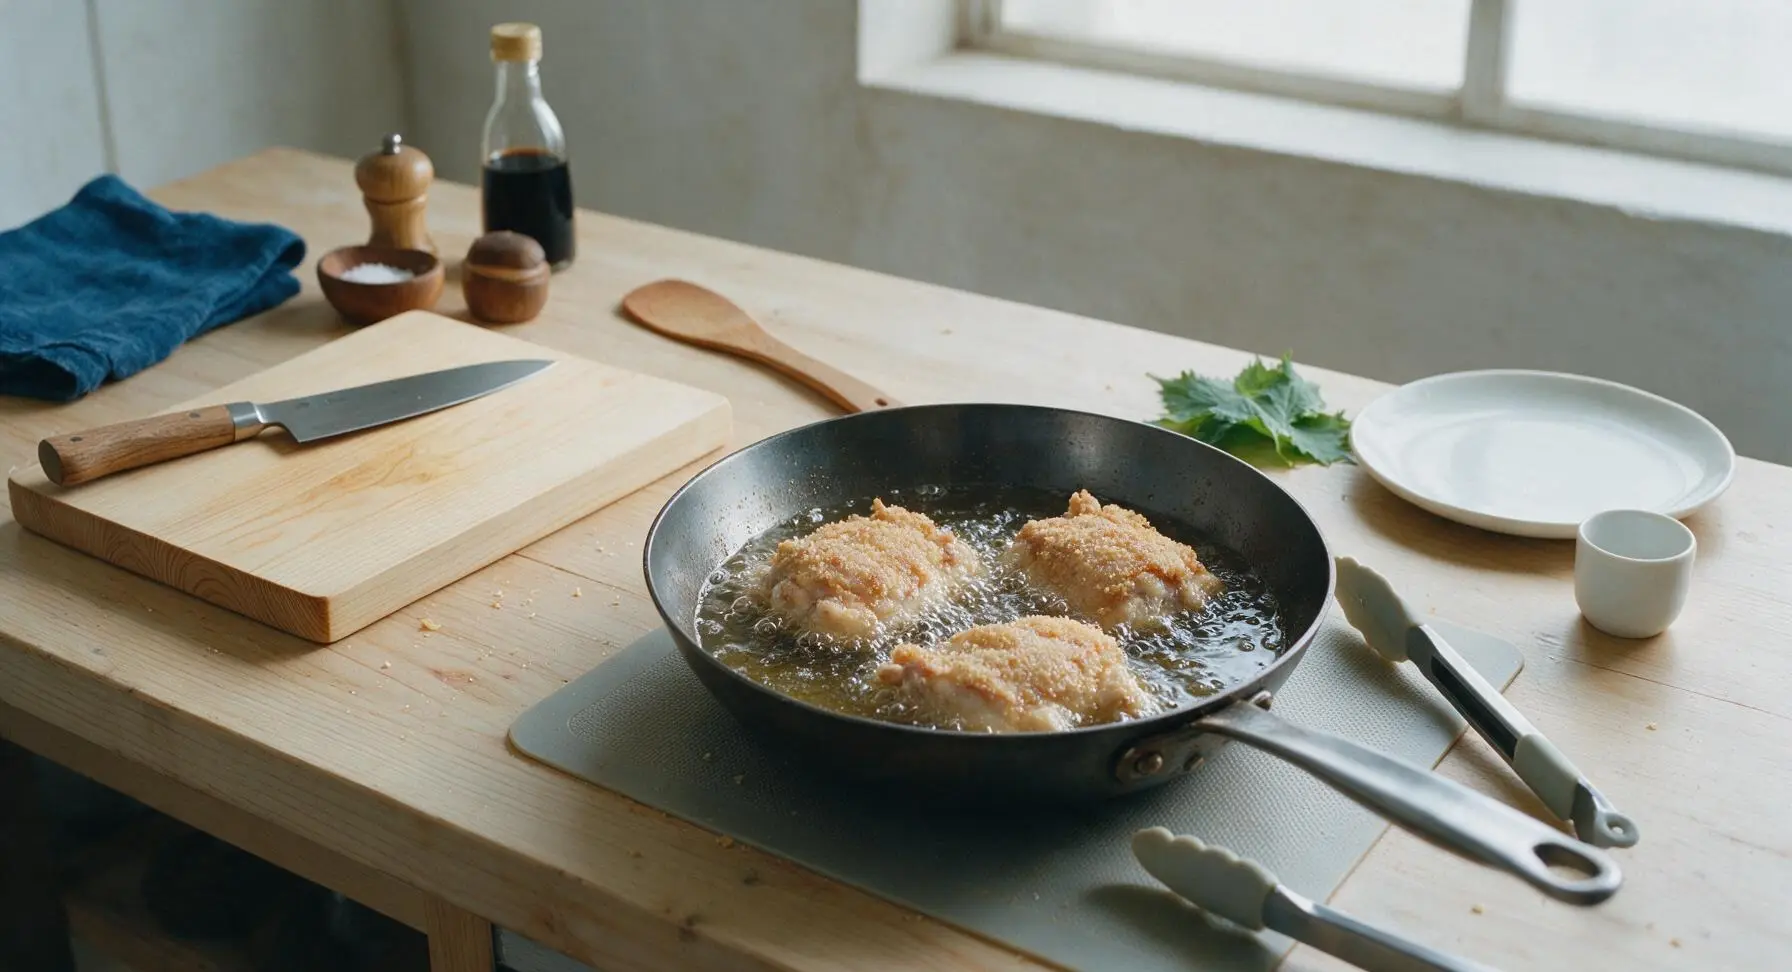
Step 5
step5:Fry Chicken in Batches
6

Drain and Rest Chicken

As each batch finishes frying, transfer the chicken to the chrome wire rack set over the rimmed baking sheet, arranging pieces in a single layer so they do not touch (do not drain chicken on paper towels, as this traps steam and makes the bottom crust soggy). Let chicken rest 3 minutes after the final batch comes out of the oil, allowing excess oil to drip off and juices to redistribute inside the meat.
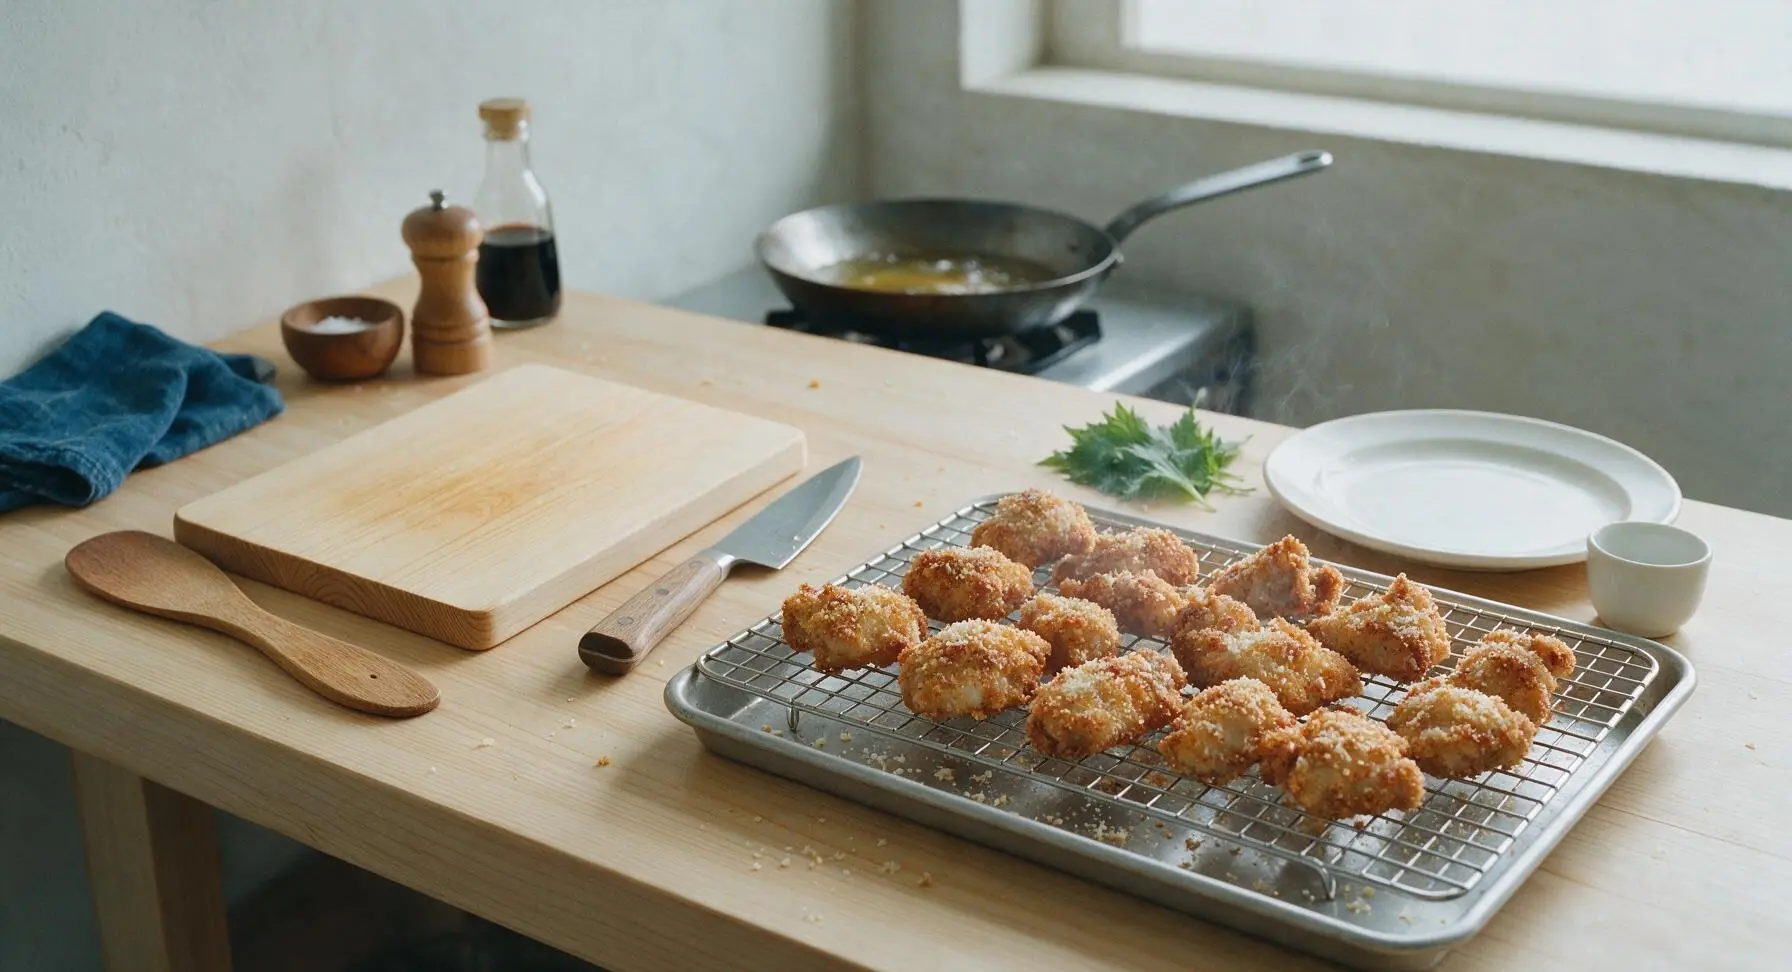
Step 6
step6:Drain and Rest Chicken
7

Plate and Garnish

Arrange the rested fried chicken pieces on the matte off-white ceramic dinner plate, overlapping slightly for a casual, inviting presentation. Tuck the 5cm fresh rosemary sprig among the chicken pieces as a simple garnish. Serve immediately while the crust is hot and crispy.
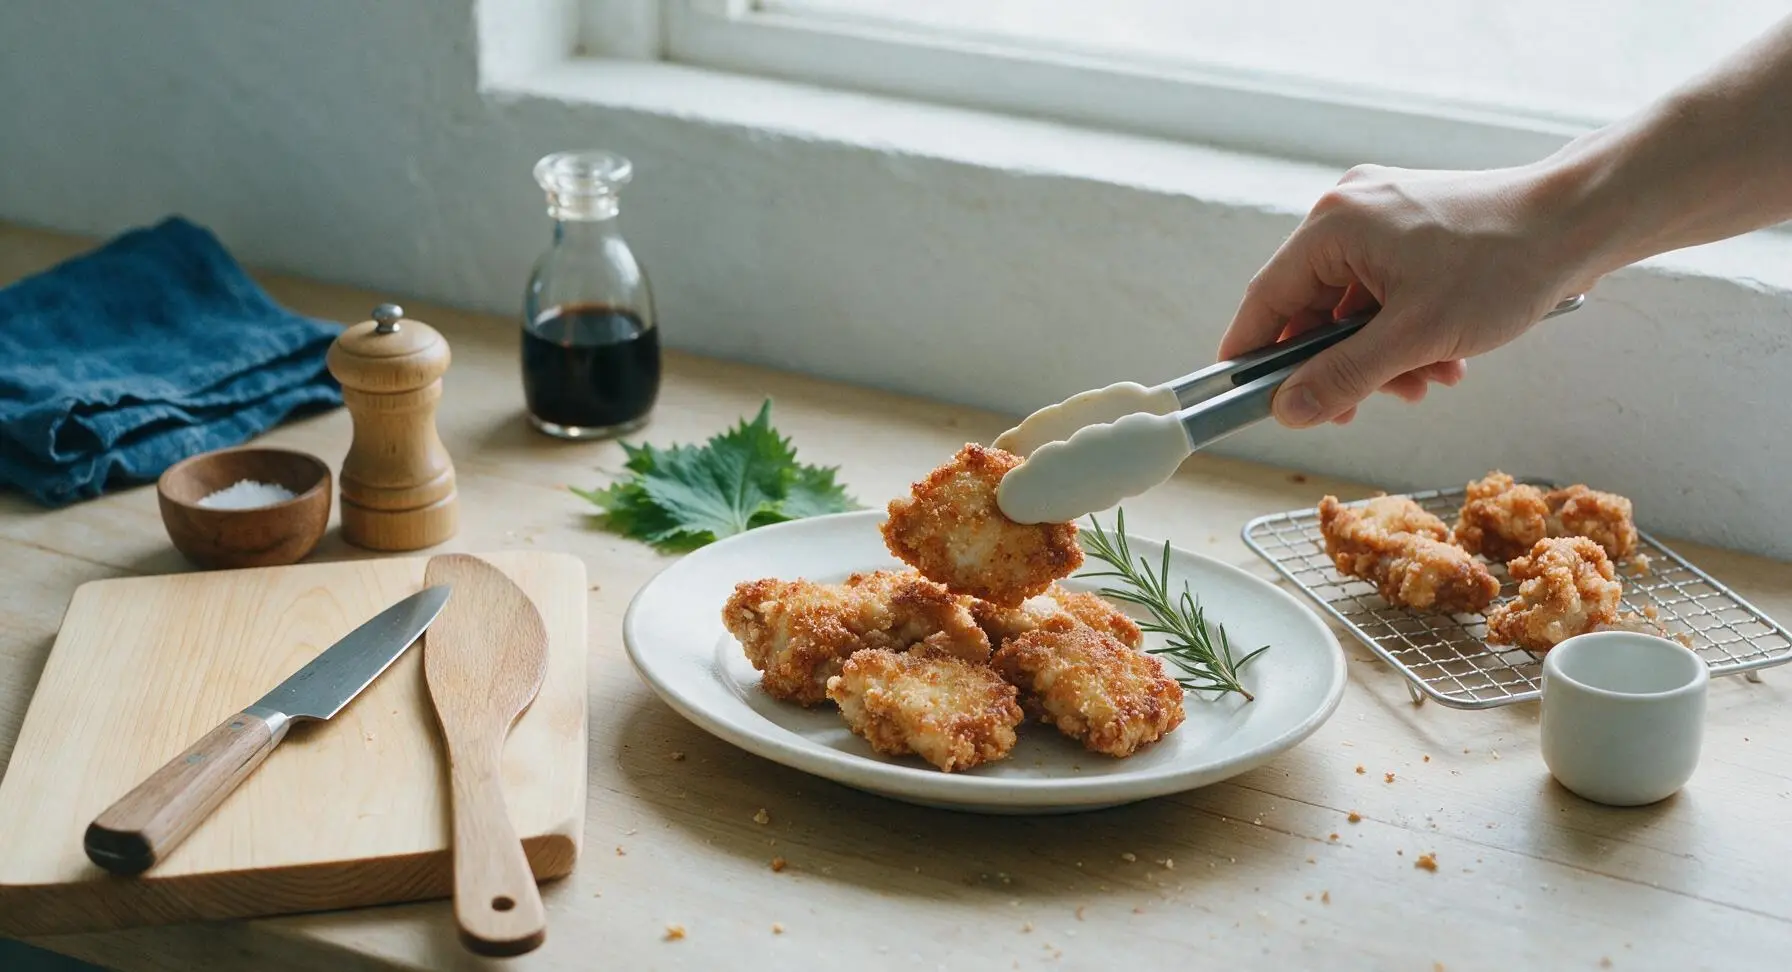
Step 7
step7:Plate and Garnish

Tips

1.Use freshly grated parmesan instead of pre-shredded store-bought cheese: pre-shredded parmesan is coated in potato starch and anti-caking agents that prevent it from melting smoothly into the crust, leading to a grainy texture and breading that slips off the chicken during frying.
2.Let breaded chicken rest 5 minutes before frying, and drain cooked chicken on a wire rack instead of paper towels: resting the breading allows the flour, egg, and crumb layers to bind tightly so they stay attached in the hot oil, while the elevated wire rack lets air circulate under the chicken to keep all sides crispy, rather than trapping steam that sogs out the bottom crust against paper towels.
3.Maintain a consistent oil temperature of 175C (350F) by adjusting stove heat between batches: oil that is too hot will burn the parmesan in the crust to a bitter dark brown before the chicken cooks through, while oil that is too cool will cause the breading to absorb excess oil, resulting in a heavy, greasy crust instead of a light, crisp one.


✨ You May Also Like

Main Course
🍜 United Kingdom

A showstopping classic of tender seared beef, savory mushroom duxelles, and crisp prosciutto wrapped in flaky golden puff pastry, baked to juicy perfection.

⏱️ 2 hours 1Main Course ★ 4.7
Main Course
🍜 India

Tender charred marinated chicken simmered in a rich, spiced creamy tomato sauce, this iconic Anglo-Indian curry pairs perfectly with basmati rice or warm naan.

⏱️ 50 minuteMain Course ★ 4.6
Main Course
🍜 Thailand

Classic tangy, sweet, and savory Thai stir-fried rice noodles with shrimp, tofu, and crunchy garnishes, balancing all five core Thai flavor profiles.

⏱️ 30 minuteMain Course ★ 4.5
Main Course
🍜 United Kingdom

Crispy golden beer-battered cod and fluffy double-fried chips, served with tangy tartar sauce and malt vinegar: the timeless, beloved British pub comfort classic.

⏱️ 45 minuteMain Course ★ 4.7
Main Course
🍜 Mexico

Smoky, chile-marinated pork tacos with caramelized pineapple, fresh cilantro, and lime: a beloved classic Mexican street food perfect for casual summer gatherings.

⏱️ 1 hour 45Main Course ★ 4.8
Main Course
🍜 United States

Crunchy Fritos corn chips layered with savory beef chili and melted cheddar, topped with cool, zesty fixings for a beloved, cozy Tex-Mex comfort food.

⏱️ 35 minuteMain Course ★ 4.8

parmesan fried chicken:Frequently Asked Questions

1.Why use boneless skinless chicken thighs instead of breasts for this recipe? ▾
Boneless, skinless chicken thighs are ideal here because their slightly higher fat content keeps them juicy and succulent even through high-heat frying, with no risk of the dry, tough texture you can get with overcooked breasts. They also have a deeper, savorier flavor that pairs perfectly with the nutty parmesan crust. If you swap for breasts, pound them to ½-inch thickness first and cut cook time by 2-3 minutes to avoid dryness.
2.Can I use pre-shredded parmesan from the grocery store instead of finely grating my own? ▾
I strongly recommend grating your own parmesan fresh for this recipe! Pre-shredded store-bought parmesan is coated in potato starch or anti-caking agents that prevent it from melting smoothly into the crust, leading to a grainy, less adherent coating that won’t get as shatteringly crisp. Finely, freshly grated cheese mixes evenly with the flour and sticks tight to the chicken for that perfect crunchy bite.
3.How do I get the parmesan crust to stay on the chicken instead of falling off while frying? ▾
Follow the standard three-step breading order and don’t skip the rest step! First pat chicken completely dry, dredge lightly in seasoned flour, dip fully in the egg-milk wash, then press firmly into the parmesan-flour mix to coat every side. Let breaded chicken rest on a wire rack for 15 minutes before frying so the coating sets, and don’t overcrowd the pan when cooking to keep the crust intact.
4.What oil is best for frying this parmesan chicken to get the crispiest result? ▾
Opt for a neutral, high-smoke-point oil like canola, vegetable, or peanut oil for frying—these won’t add off-flavors to the chicken and can hold the steady 350°F temperature you need for a crisp crust without burning. Avoid olive oil or butter here, as their lower smoke points will lead to a greasy, burnt-tasting crust and can make the parmesan in the coating turn bitter quickly.
5.How hot should the oil be, and how do I maintain that temperature without a thermometer? ▾
Aim to hold your oil at a steady 350°F throughout cooking for the best results. If you don’t have a candy or deep-fry thermometer, drop a 1-inch cube of white bread into the oil: it should turn golden brown in exactly 60 seconds if the temp is right. Adjust your burner as you cook, since adding chicken will drop the oil temp temporarily, and never let it go above 375°F to avoid burning the parmesan crust.
6.Can I bake this chicken instead of frying it to cut down on oil? ▾
Absolutely! For a baked version, arrange breaded chicken on a wire rack set over a baking sheet (this lets air circulate for crispness, no soggy bottoms), spritz both sides lightly with cooking oil, and bake at 425°F for 22-25 minutes, flipping halfway, until the internal temp hits 165°F. The crust won’t be quite as shatteringly crisp as fried, but it will still be crunchy and delicious with far less oil.
7.What herbs and seasonings work best in the parmesan crust? ▾
Stick to bold, aromatic seasonings that complement the nutty parmesan without overpowering it: I recommend 1 teaspoon of garlic powder, 1 teaspoon of dried oregano, ½ teaspoon of smoked paprika, ½ teaspoon of freshly ground black pepper, and 1 teaspoon of kosher salt mixed right into the flour and parmesan blend. Skip moist seasonings like fresh minced garlic in the coating, as they burn quickly during frying and make the crust soggy.
8.How long do I need to fry the chicken thighs to make sure they’re cooked through but still juicy? ▾
For 6-ounce boneless, skinless thighs, fry for 6-7 minutes total, flipping once halfway through cooking, until the crust is deep golden brown and the thickest part of the chicken reaches 165°F on an instant-read thermometer. Don’t overcook them—thighs stay juicy a few degrees past 165, but going much higher will make them tough and dry, even with their higher fat content.
9.Why is my crust coming out soggy instead of crispy? ▾
Soggy crust almost always traces back to one of three issues: your oil temperature was too low (below 325°F), which makes the chicken absorb excess oil instead of searing the crust; you overcrowded the pan, which drops oil temp fast; or you didn’t pat the chicken dry before breading, leading to moisture that steams the coating instead of crisping it. Letting breaded chicken rest before frying also cuts down on sogginess by letting the coating set.
10.Can I make this recipe ahead of time for a party or meal prep? ▾
You can bread the raw chicken up to 24 hours ahead of time, store it on a wire rack covered in the fridge, and fry it right before serving for the best crispness. If you have leftover cooked chicken, store it in an airtight container in the fridge for up to 3 days, and reheat it on a wire rack in a 400°F oven for 8-10 minutes—skip the microwave, which turns the crispy parmesan crust rubbery and soggy.
11.What’s the purpose of mixing whole milk with the eggs for the wash? Can I use a different milk? ▾
Whole milk thins the beaten eggs just enough to create a thin, even adhesive layer for the parmesan-flour coating, instead of the thick, clumpy egg layer you get with straight beaten eggs. The small amount of fat in whole milk also helps the crust brown more evenly. If you don’t have whole milk, swap in 2% milk, half-and-half, or buttermilk for subtle tang, but skip skim milk, which is too watery.
12.Do I need to brine the chicken thighs first for extra juiciness? ▾
Since boneless skinless chicken thighs are naturally juicier than white meat, a long brine isn’t strictly necessary, but a quick 30-minute brine in 4 cups of water mixed with ¼ cup kosher salt and 2 tablespoons sugar will amp up juiciness and season the meat all the way through. Just pat the chicken completely dry after brining before breading, or the crust won’t stick properly and will turn soggy.
13.Why is my parmesan burning before the chicken is cooked through? ▾
Burnt parmesan usually happens when your oil temperature is too high (above 375°F), or you’re using coarsely grated parmesan that sits on the crust surface and burns faster than finely grated cheese. Make sure to finely grate your parmesan so it mixes evenly into the flour, monitor oil temp closely, and if the crust browns too fast, turn heat down slightly and finish cooking in a 375°F oven to avoid burning.
14.What side dishes pair best with this crispy parmesan fried chicken? ▾
This rich, crunchy chicken pairs perfectly with bright, fresh sides to cut through the savoriness: classic creamy coleslaw, buttery mashed potatoes, roasted garlic broccoli, a simple arugula salad with lemon vinaigrette, or buttered corn on the cob all work beautifully. For a fun twist, slice cooked chicken and toss it on top of a Caesar salad to lean into the complementary parmesan flavor profile.
15.Can I use this parmesan breading mix on other cuts of chicken, like wings or tenders? ▾
Absolutely! This parmesan-herb breading works beautifully on chicken tenders, bone-in skin-on thighs, wings, or even thin-cut pork chops. Just adjust your cook time to match the cut: tenders need 3-4 minutes of frying, bone-in thighs need 10-12 minutes, and wings need 8-10 minutes, always checking for a 165°F internal temp at the thickest point to confirm doneness.
16.Should I let the fried chicken drain on paper towels or a wire rack after cooking? ▾
Use a wire rack set over a baking sheet to drain fried chicken right after it comes out of the oil, rather than piling it on paper towels. Letting it rest on a rack lets excess oil drip away without trapping steam against the crust, which keeps it crispy for 15-20 minutes after cooking. Setting it directly on paper towels traps steam that turns the bottom of the crust soggy in just a couple of minutes.

Comments (10)

1 week ago

OMG, made this for our neighborhood potluck last weekend and people were literally hovering over the platter asking who brought the chicken! The parmesan adds such a perfect salty, nutty kick to the crispy crust, I didn’t even need to whip up extra dipping sauce. It was so easy too, I was shocked how fast it came together — 20 minutes flat, just like the recipe said.

30 minutes ago

Quick question before I make this for dinner tonight! Do you think I can use panko instead of regular breadcrumbs? I’ve got a half box taking up space in the pantry and I don’t want to make a special grocery run with two cranky kids in the car.

5 minutes ago

Great question! Panko works perfectly here — it’ll actually make the crust even crispier, which is a total win. Just press the panko-parmesan mix firmly onto the chicken so it sticks well, and you’re good to go. Hope the kids love it!

3 days ago

My kids loved it!!! I made a big batch on Sunday for weekly meal prep and the chicken stayed crispy even after reheating for lunches all week. 10/10, no notes. Even my picky toddler who refuses 90% of all protein ate two whole tenders and asked for more. Total game changer for busy school nights.

2 days ago

Wait how long and what temp do you reheat it at? I tried reheating fried chicken in the microwave last week and it was so soggy I almost threw the whole container out lol.

yesterday

So glad the whole family loved it, Mia! For anyone reheating leftovers, 375°F in the air fryer for 3-4 minutes gets the crust perfectly crispy again — skip the microwave if you can, it totally kills that parmesan crunch!

yesterday

SO good. I added a little extra garlic powder and a pinch of red pepper flakes to the parmesan breading and it was chef’s kiss. Perfect crunch, juicy chicken inside, zero complaints from my husband who complains about literally every single thing I cook. Absolute win for my weeknight dinner rotation.

2 hours ago

Tried this for the first time tonight and it tasted amazing, but my breading kept sliding off the chicken while I was frying? It looked a little messy by the time I was done, lol. Wondering if I messed up a step somewhere?

30 minutes ago

Sorry to hear the breading slipped on you! The easiest fix is making sure you pat the chicken completely dry before dredging, and let the coated chicken rest for 5 minutes before frying so the coating has time to stick tight. Glad it still tasted great even with the messy look!

5 days ago

Is there a way to make this baked instead of fried? I’m hosting a big game night next weekend and want to make a double batch without standing over the stove for an hour flipping chicken. This recipe sounds too good to pass up!

3 days ago

I baked mine last week! Did 425°F on a wire rack for 20 minutes, spritzed a little olive oil on the coating first, and it got just as crispy as frying. Total game changer for when I don’t want to deal with hot oil.

2 days ago

That baking method is spot on! Using a wire rack is key so air circulates under the chicken and you don’t get a soggy bottom. A light spritz of oil helps the parmesan crisp up perfectly in the oven too — hope your game night is a blast!

5 minutes ago

Made this in my tiny dorm kitchen with a $20 countertop fryer and it turned out better than the fast food fried chicken place down the street from campus. The parmesan makes the crust taste so rich and cheesy, I couldn’t believe how easy it was for a beginner cook. Already sent the recipe to my whole group chat.

2 weeks ago

I used thin-cut chicken breasts for this instead of thighs and it was fantastic. Served it with a side of garlic mashed potatoes and roasted broccoli, my whole family asked for seconds before they even finished their first plate. Will definitely be making this for our regular Sunday dinner spread.

1 week ago

Oh that sounds like such a perfect dinner combo! I was wracking my brain trying to figure out what sides to serve with this when I make it tomorrow, 100% stealing the garlic mashed potato idea.

just now

Quick question! Has anyone tried adding a little cajun seasoning to the breading? I feel like that would pair so good with the parmesan, but I don’t want to mess up the recipe for my date night tonight and embarrass myself, lol.

just now

I did that last month! Added about a teaspoon of cajun seasoning, skipped the extra salt since my blend was pretty salty, and it was incredible. My date thought I was a professional chef, no lie. You’ve got this!

just now

Cajun seasoning is such a delicious add-in! Just like the comment above says, cut back a little on the added salt if your cajun blend has salt in it, and you’ll end up with the perfect spicy, cheesy crispy chicken. Good luck on date night!

2 days ago

Made this with gluten free panko for my sister who has celiac and it was just as crispy as the regular version! No weird gritty GF aftertaste, everyone at the table ate it even without knowing it was gluten free. Total win for our family dinner, since we usually have to make two separate meals for her.

yesterday

That’s such an awesome tip for our gluten free readers, thank you so much for sharing! I’m thrilled it turned out perfectly for your family dinner and you didn’t have to make two separate meals — that’s what easy, crowd-pleasing recipes are all about!



