
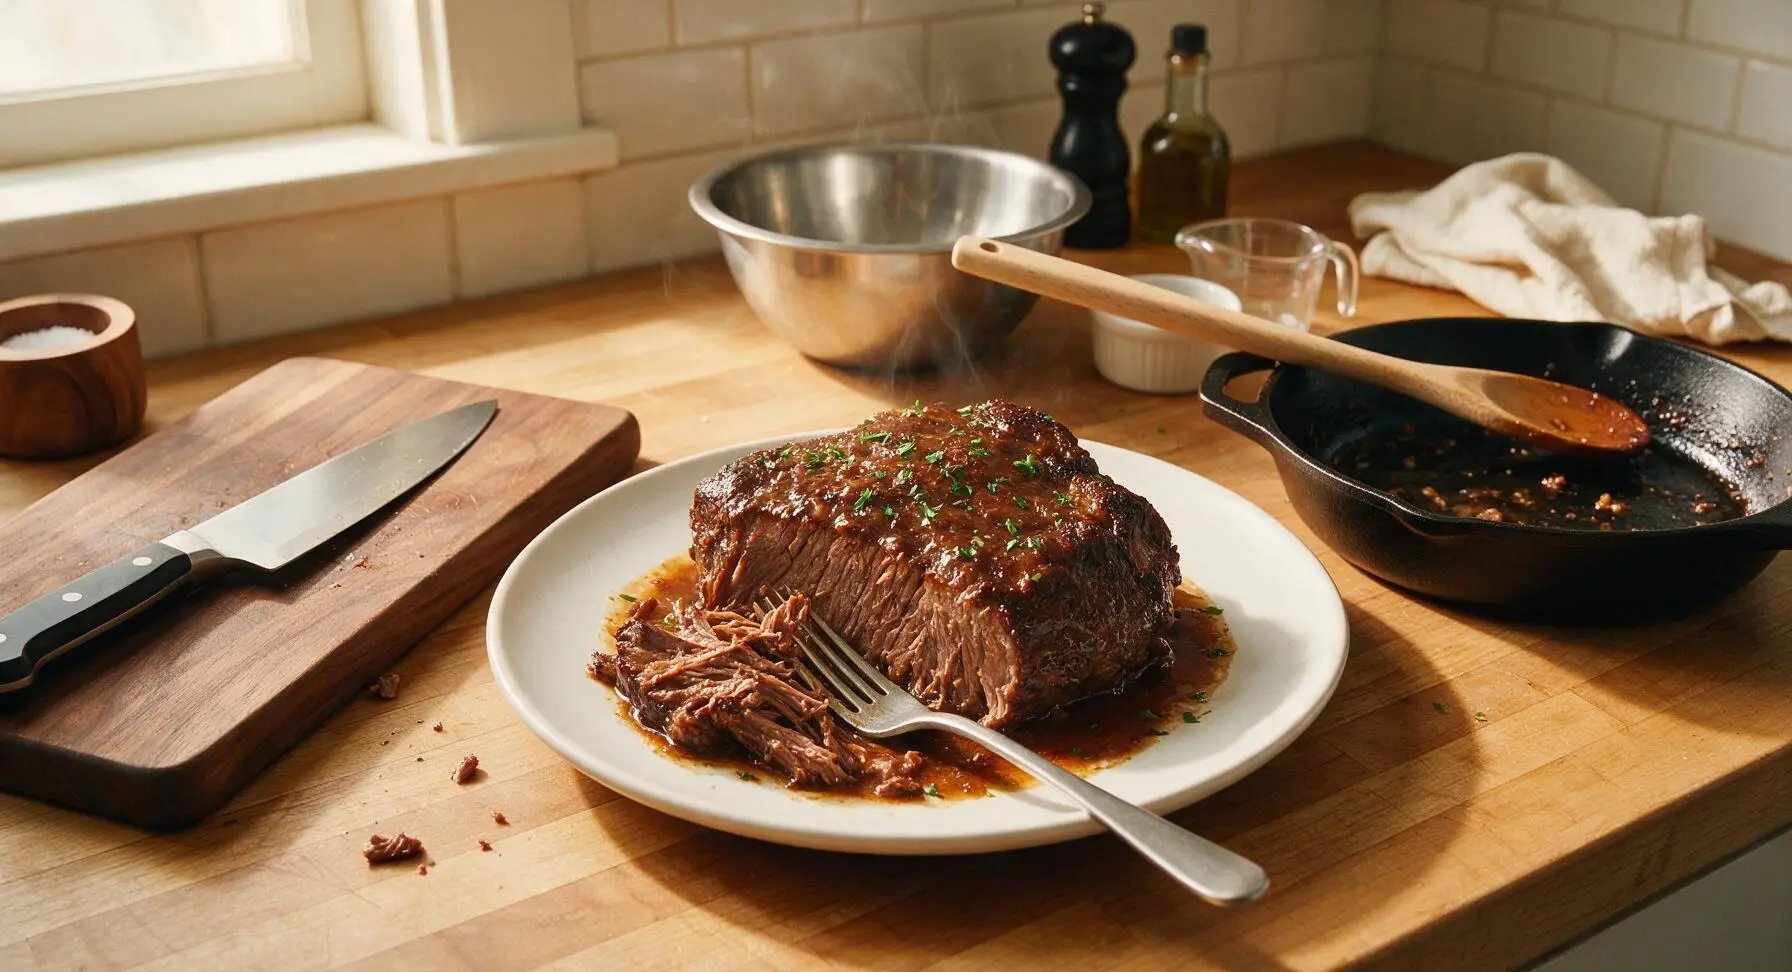
Passover Brisket

title 1
Passover Brisket
⏱️ cook time 3 hours 30 minutes
🍽️ servings 8
⚡ Difficulty medium

intro

Tender, slow-braised brisket with a rich sweet-savory pan sauce, the iconic make-ahead centerpiece of Passover Seders, so soft it pulls apart at the touch of a fork.

Ingredients
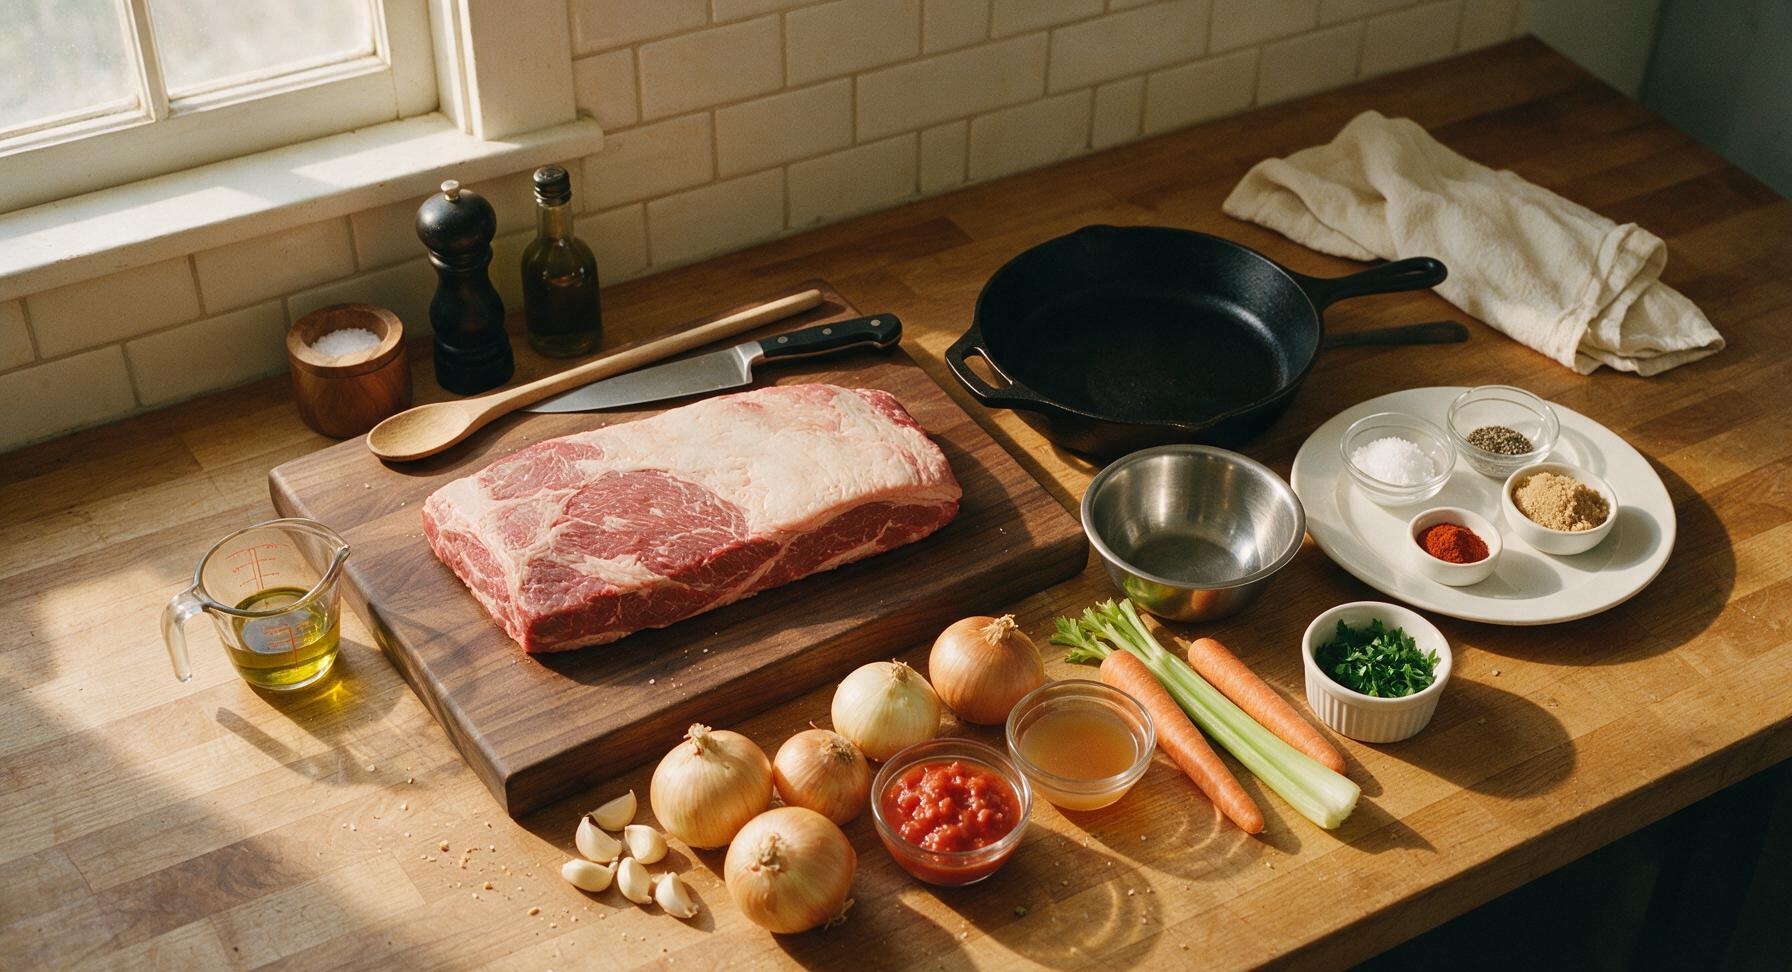
Flat-cut beef brisket 5 lb (2.2kg)
Kosher salt 2 tbsp
Freshly ground black pepper 1 tbsp
Sweet paprika 1 tsp
Extra-virgin olive oil 2 tbsp
Large yellow onions 4 (about 2 lbs total)
Garlic cloves 6
Medium carrots 2
Celery stalks 2
Unsalted crushed tomatoes 1 (28oz/796ml) can
Apple cider vinegar 1/4 cup
Kosher for Passover light brown sugar 2 tbsp
Fresh flat-leaf parsley (chopped, for garnish) 1/4 cup

Steps

1

Trim Brisket Fat Cap

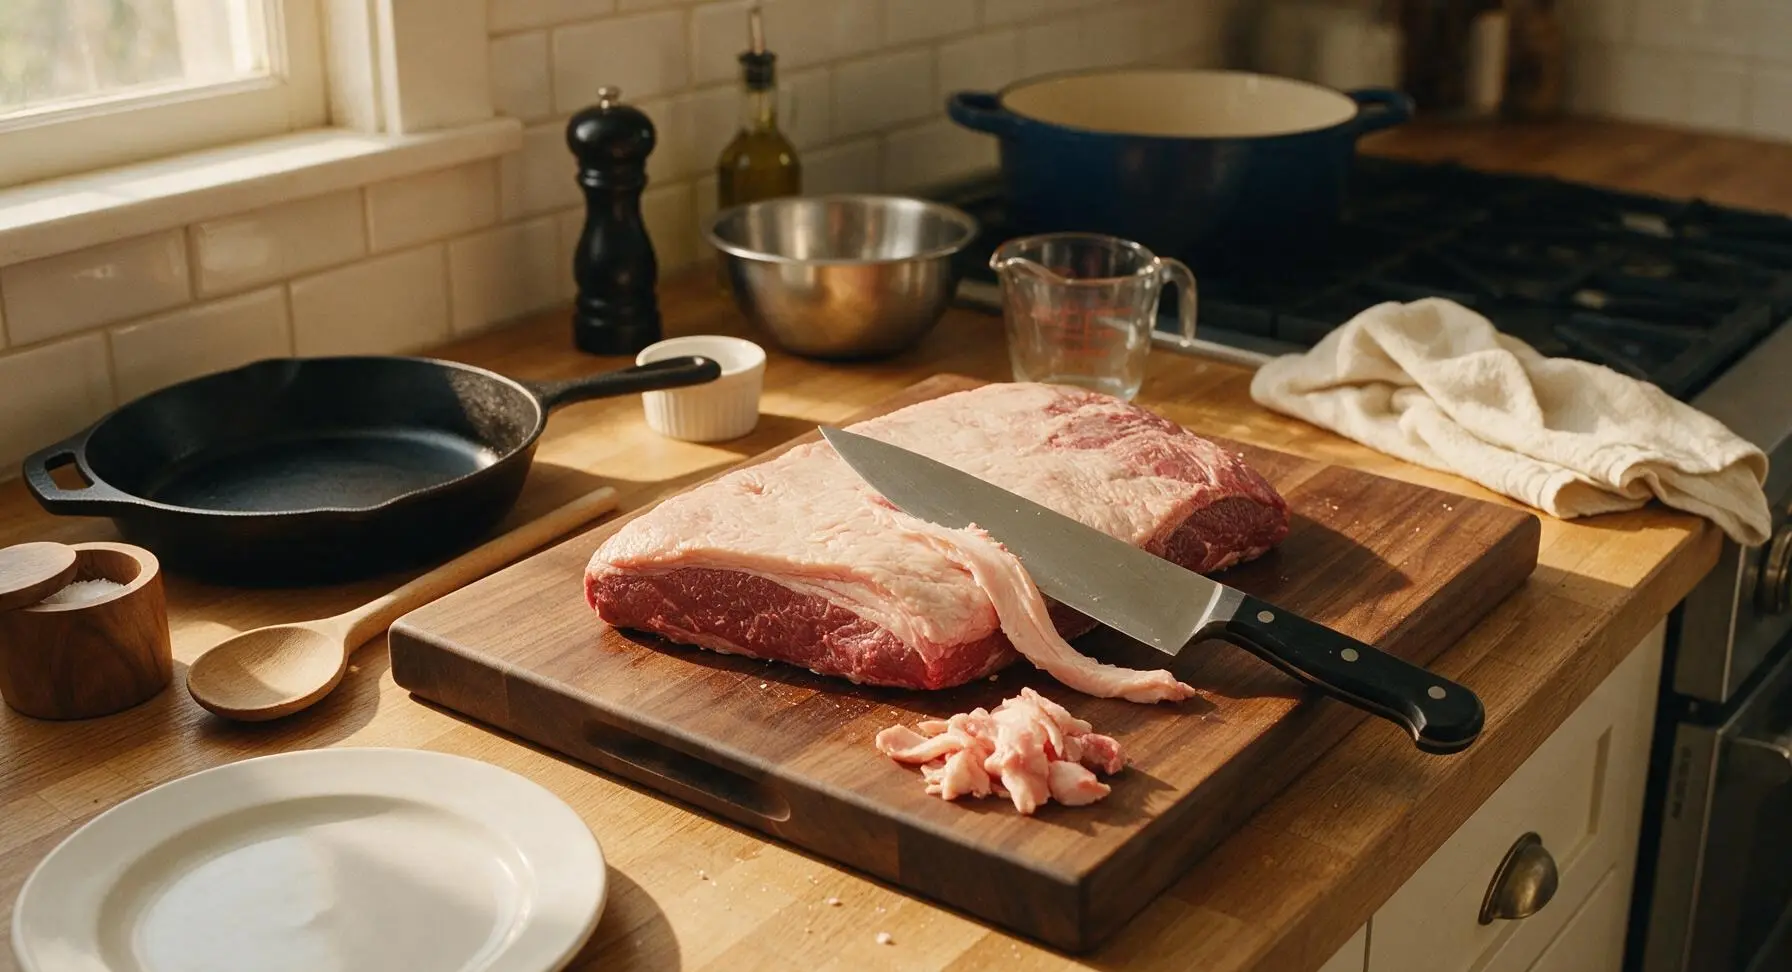
Place the raw 5lb brisket fat-side up on the large maple cutting board. Use the 8-inch chef knife to trim the thick fat cap to a uniform 1/4-inch thickness, removing any hard, waxy fat patches and all silver skin from the meat side. Pat the entire surface of the brisket completely dry with paper towels; dry meat ensures a deep, even sear. The trimmed meat will feel smooth to the touch, with no tough, chewy connective tissue left exposed.
Step 1
step1:Trim Brisket Fat Cap
2

Season Brisket Evenly

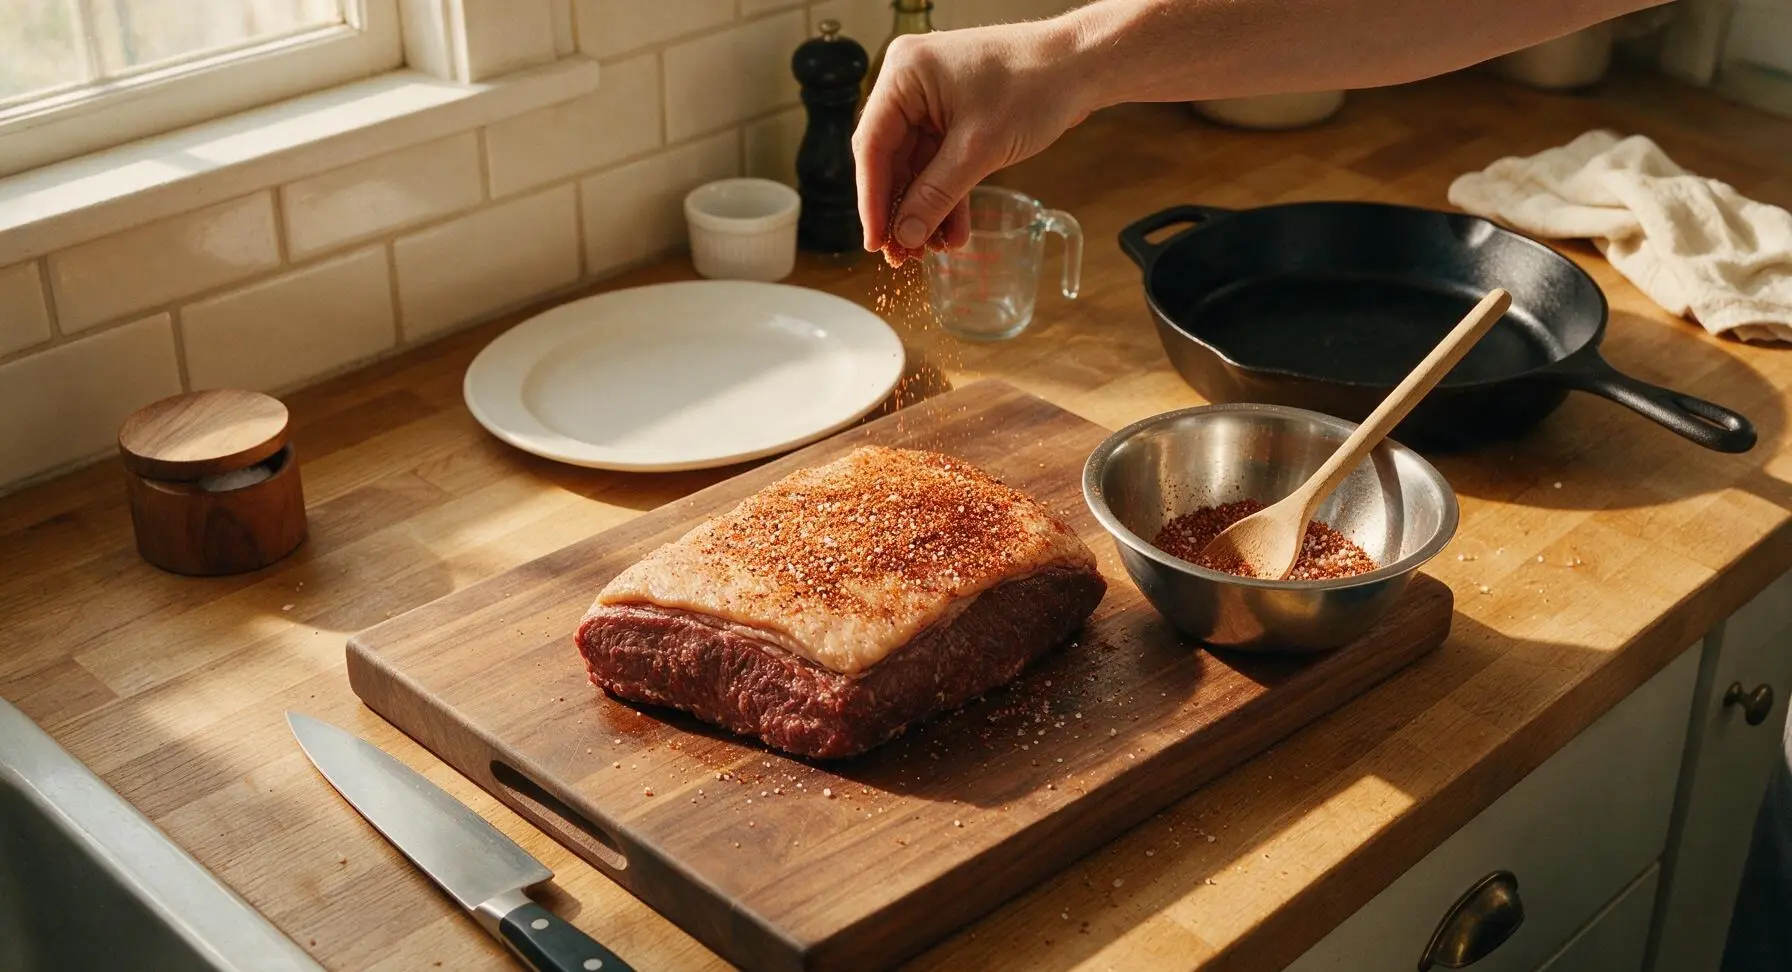
In the medium stainless steel mixing bowl, combine 2 tbsp kosher salt, 1 tbsp black pepper, and 1 tsp sweet paprika. Rub the entire surface of the trimmed, dried brisket with 1 tbsp olive oil, then sprinkle the spice mix evenly over all sides, pressing gently so the spices adhere to the meat. Let the seasoned brisket rest at room temperature for 30 minutes to allow the salt to penetrate the surface.
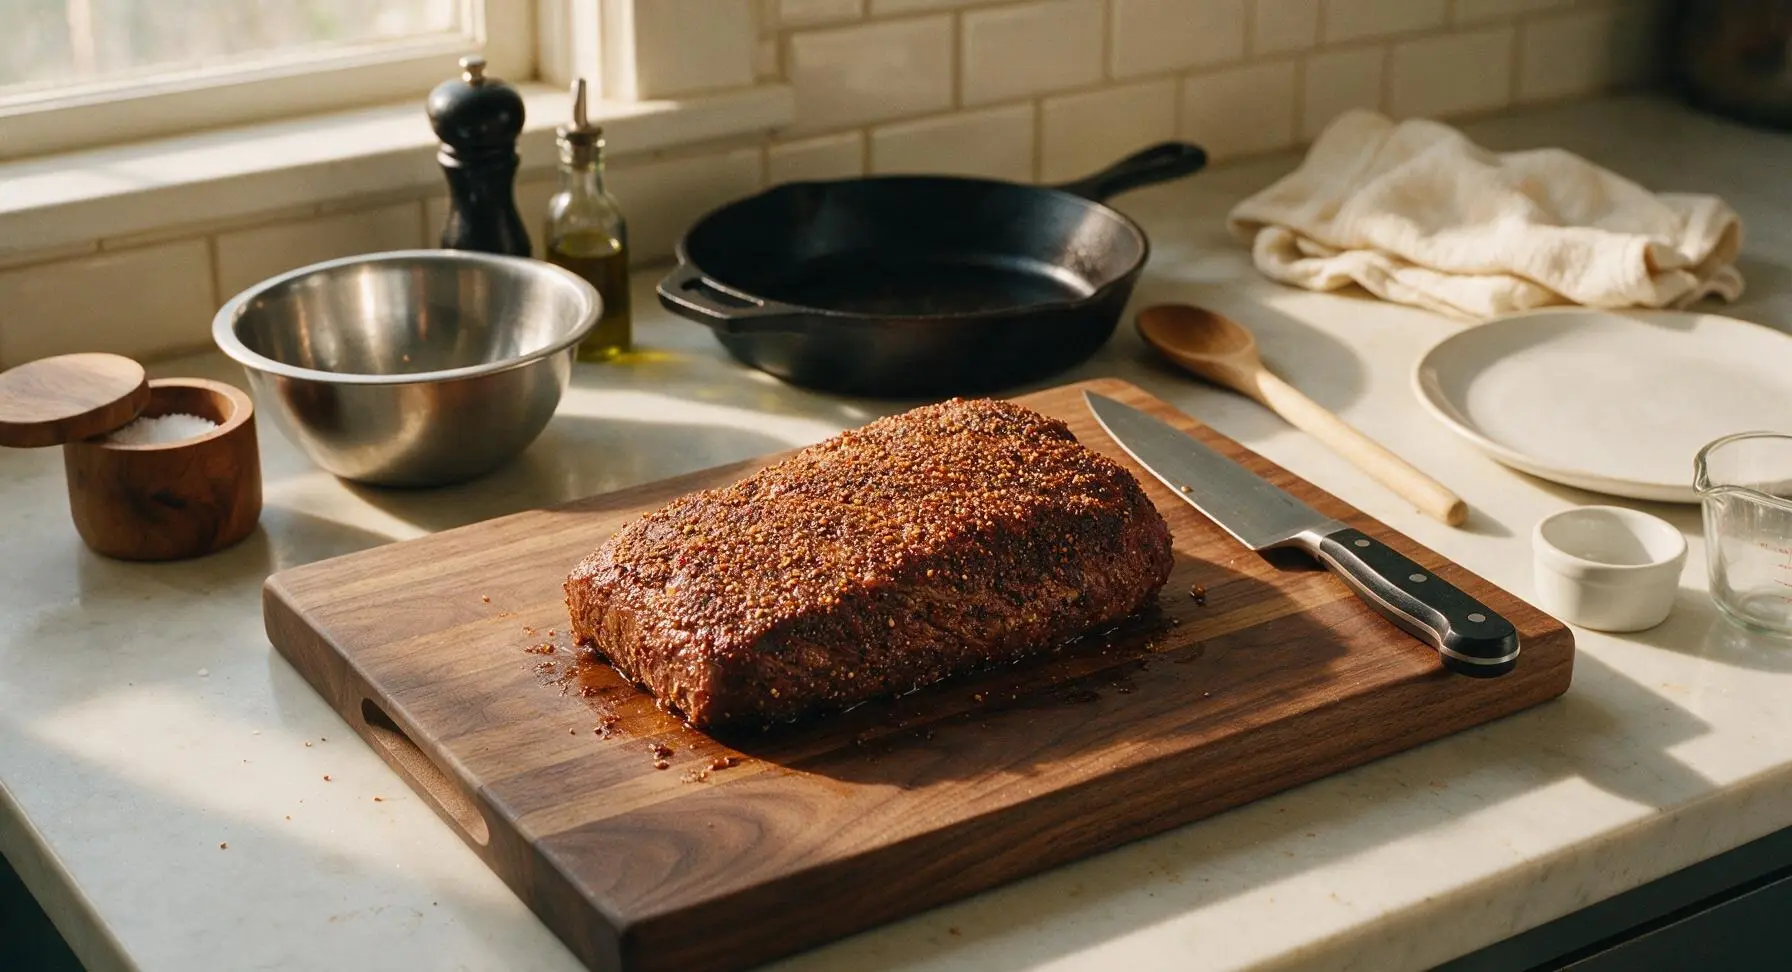
Step 2
step2:Season Brisket Evenly
Step 2
step2:Season Brisket Evenly
3

Sear Until Deeply Browned

Preheat oven to 325°F (165°C). Heat the remaining 1 tbsp olive oil in the 7-quart matte navy enameled Dutch oven over medium-high heat. Once the oil shimmers, use the 12-inch stainless steel tongs to lower the seasoned brisket into the pot, fat-side down. Sear for 4-5 minutes per side, until a deep, dark golden-brown crust forms on every surface. Do not move the brisket while searing to allow the crust to develop fully.
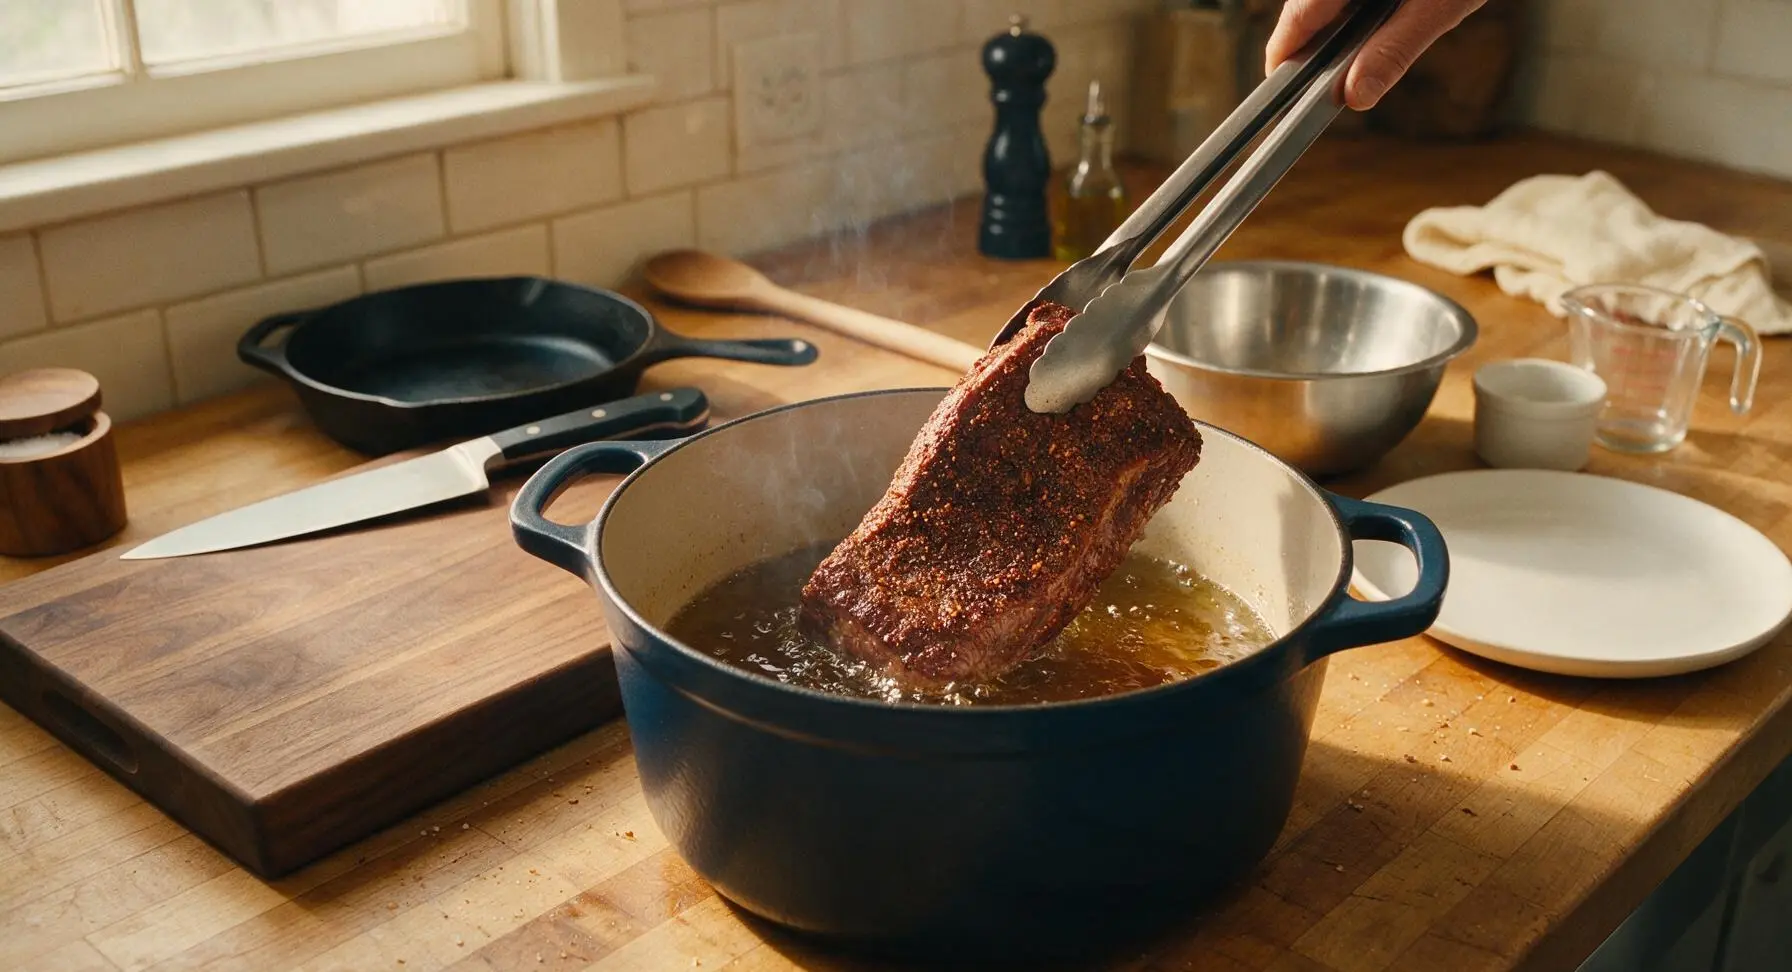
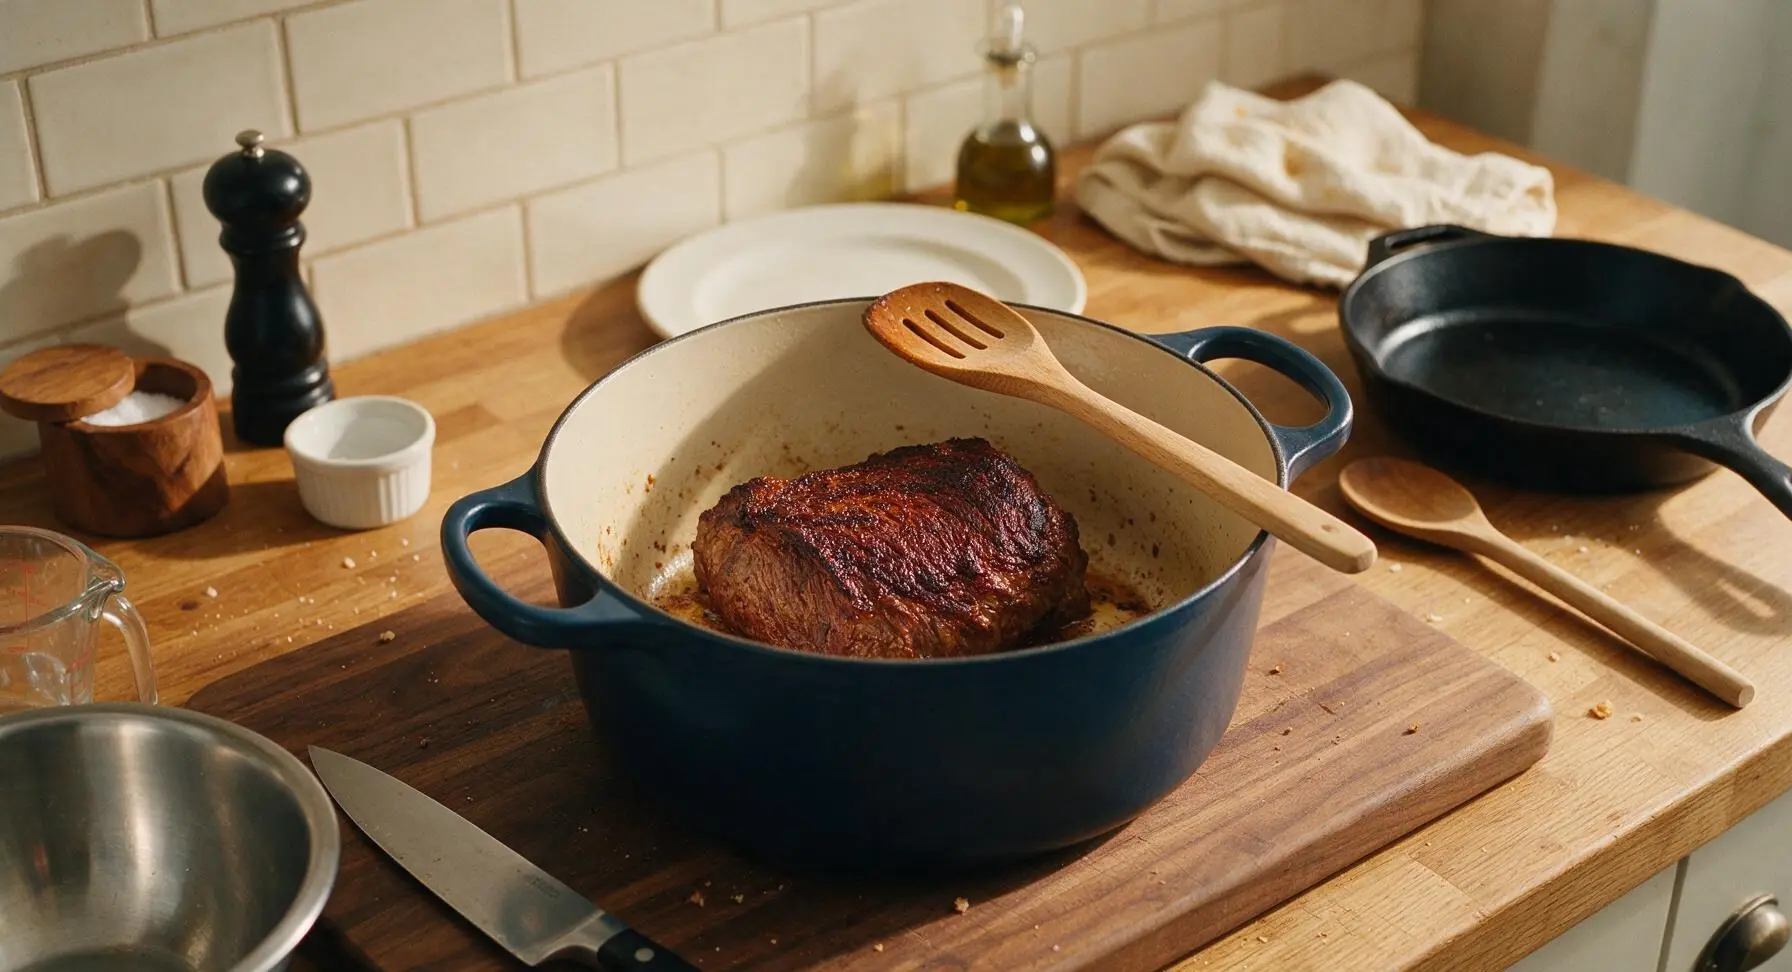
Step 3
step3:Sear Until Deeply Browned
Step 3
step3:Sear Until Deeply Browned
4

Sauté Aromatic Vegetables

Use the tongs to transfer the seared brisket to a clean plate temporarily. Add the thinly sliced yellow onions, chopped carrots, and chopped celery to the Dutch oven, stirring with the beech wood slotted spoon to coat in the rendered fat and pan drippings. Sauté for 8-10 minutes over medium heat, until the onions are soft and translucent, just starting to turn golden at the edges. Add the smashed garlic cloves and cook for 1 more minute, until fragrant.
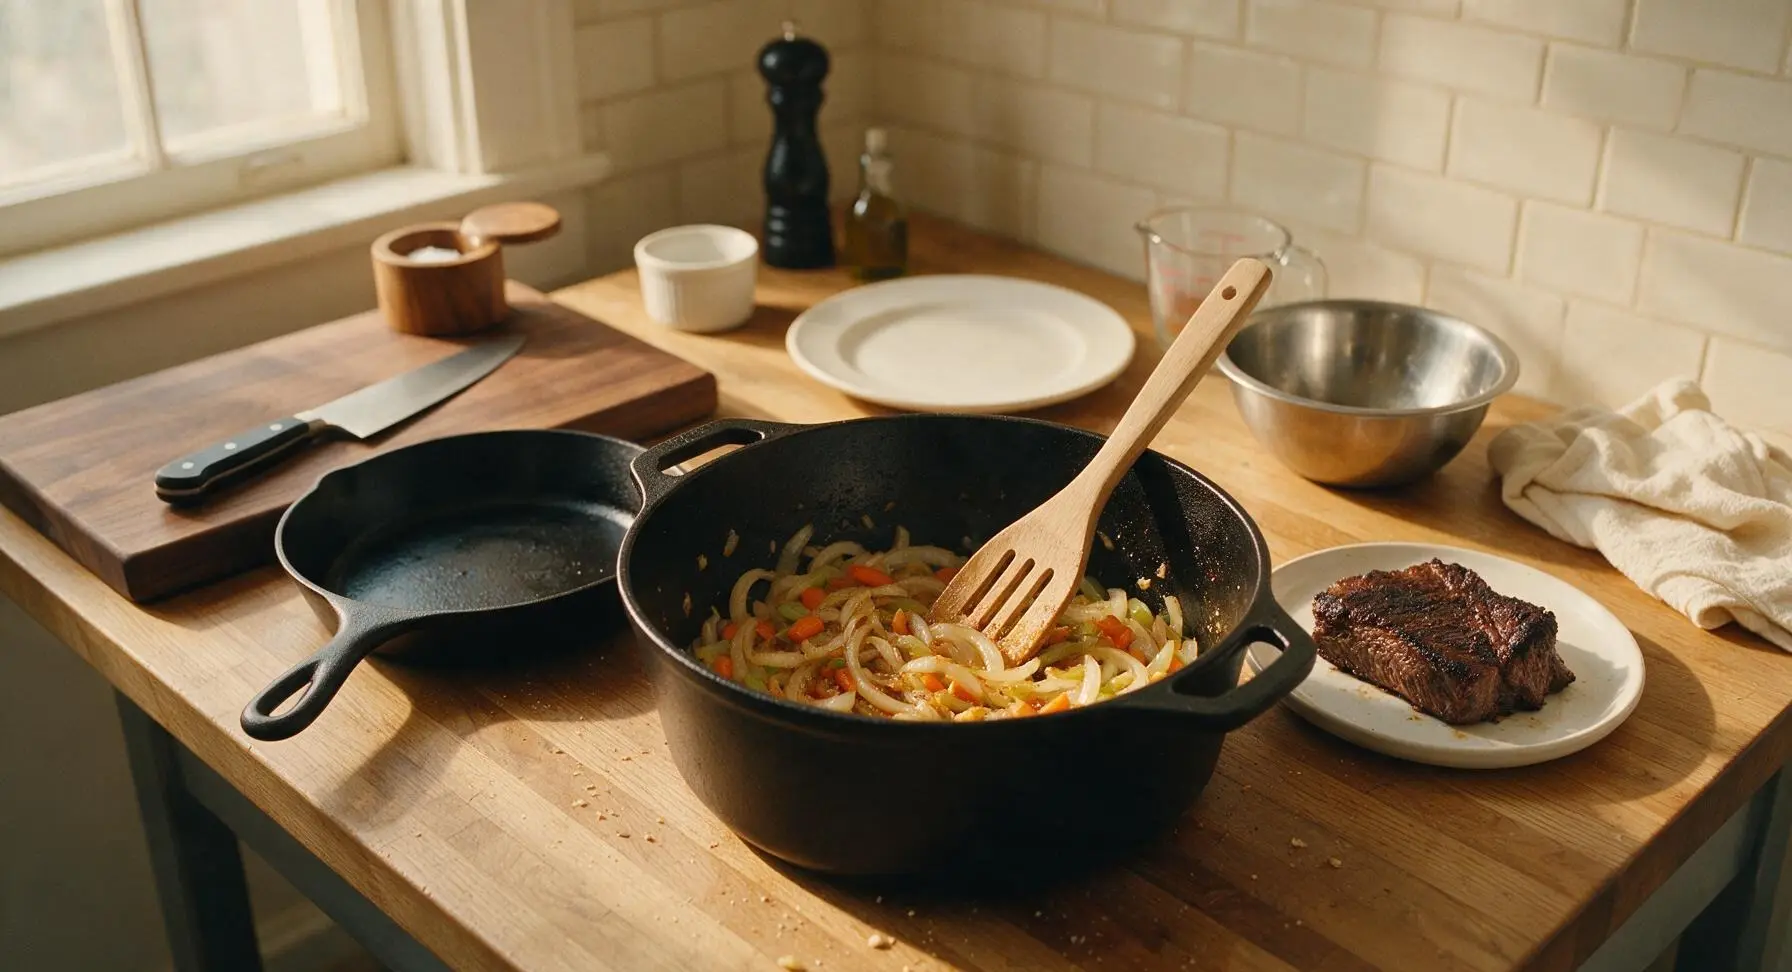
Step 4
step4:Sauté Aromatic Vegetables
5

Braise Low and Slow

Stir the 28oz can of crushed tomatoes, 1/4 cup apple cider vinegar, and 2 tbsp brown sugar into the sautéed vegetables, stirring to combine. Return the seared brisket to the Dutch oven, nestling it into the vegetable and liquid mixture so the liquid comes halfway up the sides of the meat. Bring the liquid to a gentle simmer on the stovetop, then cover the Dutch oven with its matching lid and transfer to the preheated 325°F oven. Braise for 3 hours, until the brisket is fork-tender: a fork inserted into the thickest part should slide in with no resistance, and the meat will pull apart easily when prodded.
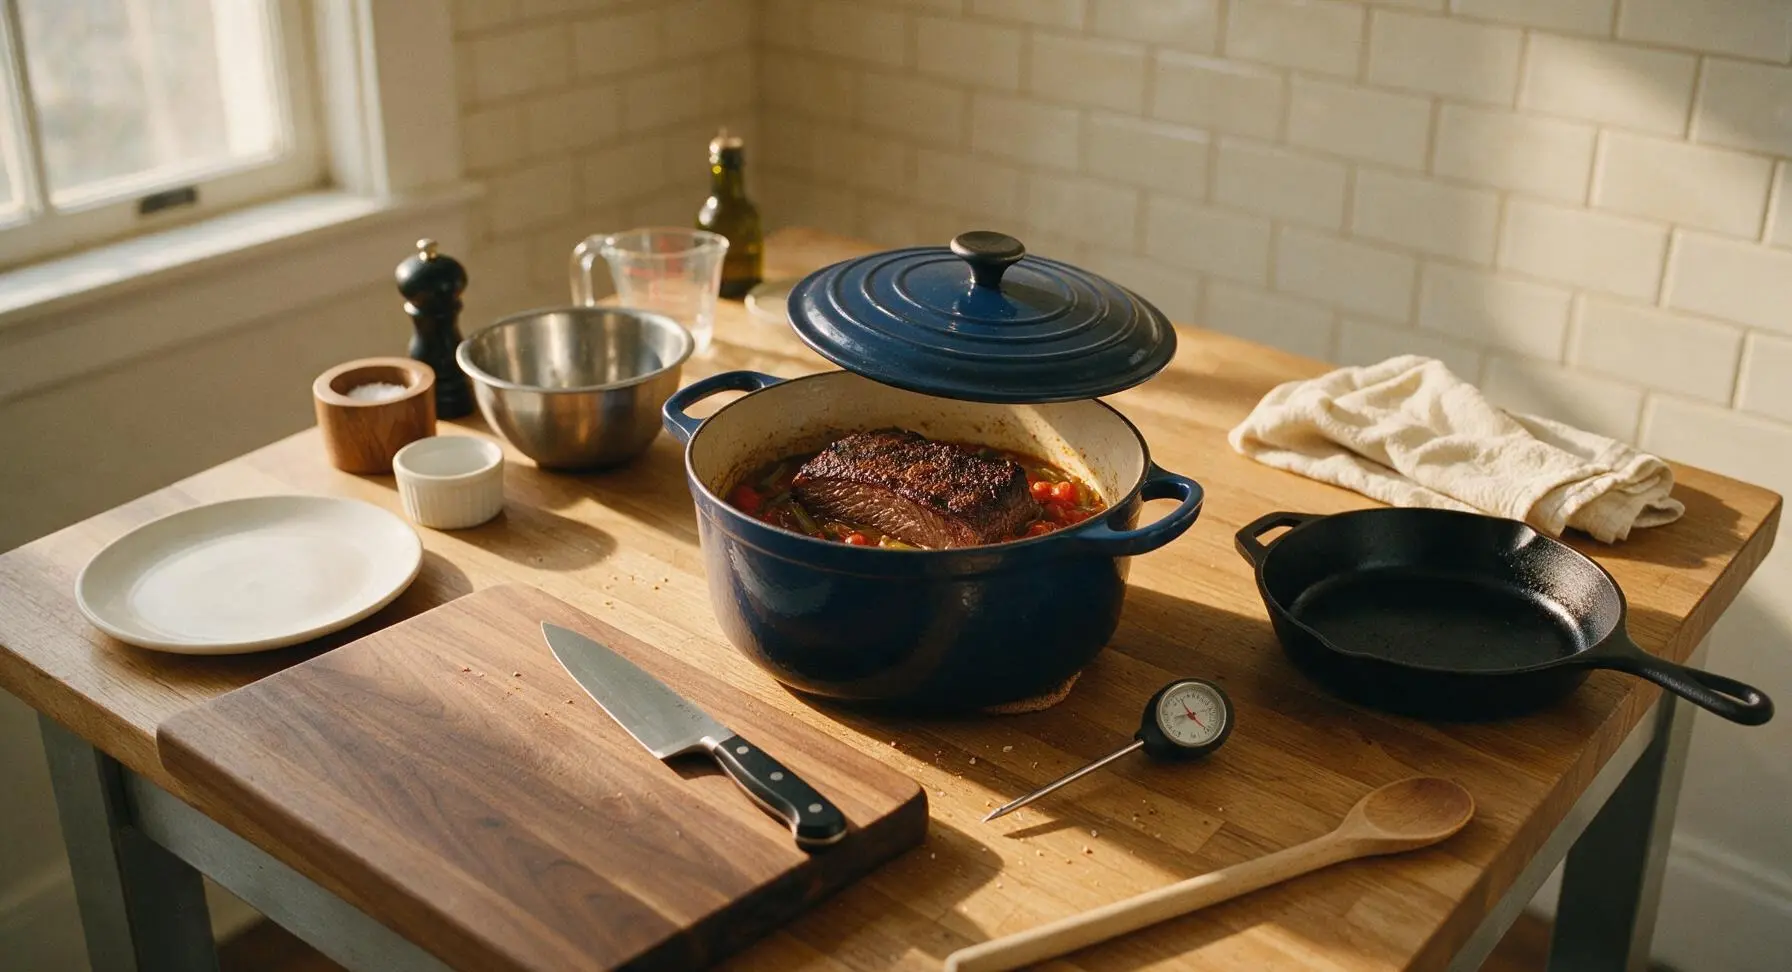
Step 5
step5:Braise Low and Slow
6

Rest Cooked Brisket

Once the brisket is tender, use the tongs to carefully transfer it from the Dutch oven to the large maple cutting board. Tent loosely with a sheet of aluminum foil and let it rest for 30 minutes at room temperature. Resting allows the meat fibers to reabsorb their juices, so every slice stays moist instead of leaking juice onto the platter. While the brisket rests, use the slotted spoon to skim any excess fat from the surface of the braising sauce in the Dutch oven, then keep the sauce warm over low heat.
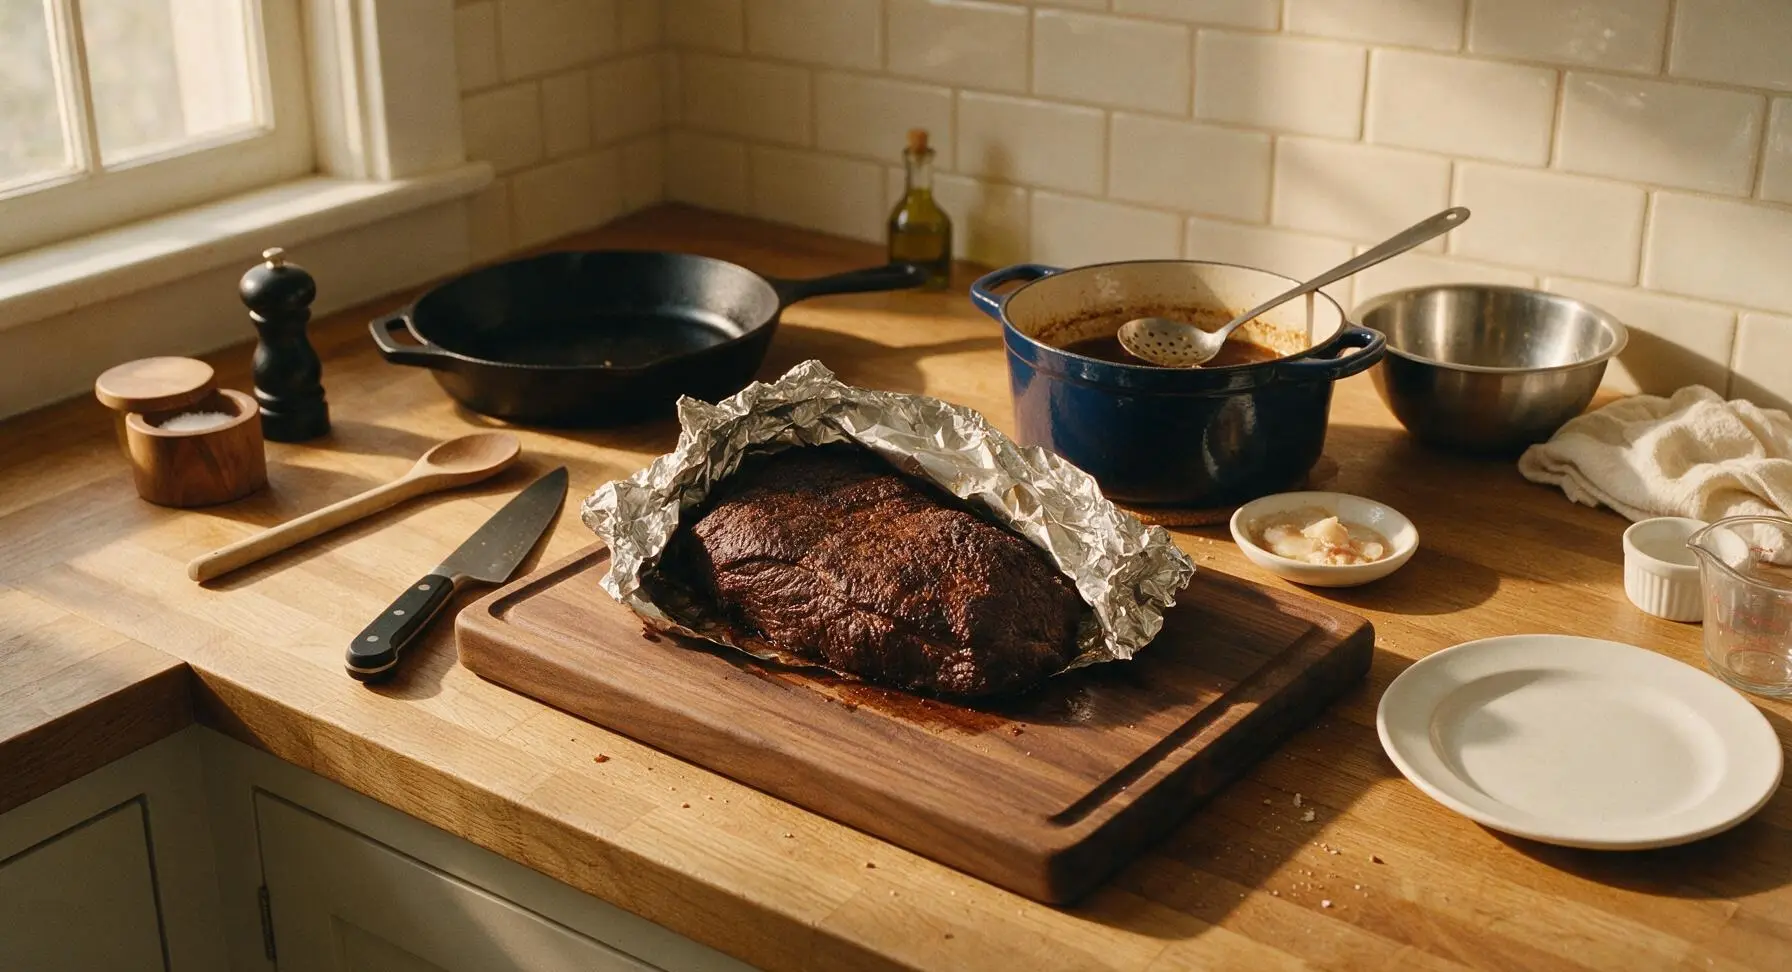
Step 6
step6:Rest Cooked Brisket
7

Slice Against the Grain

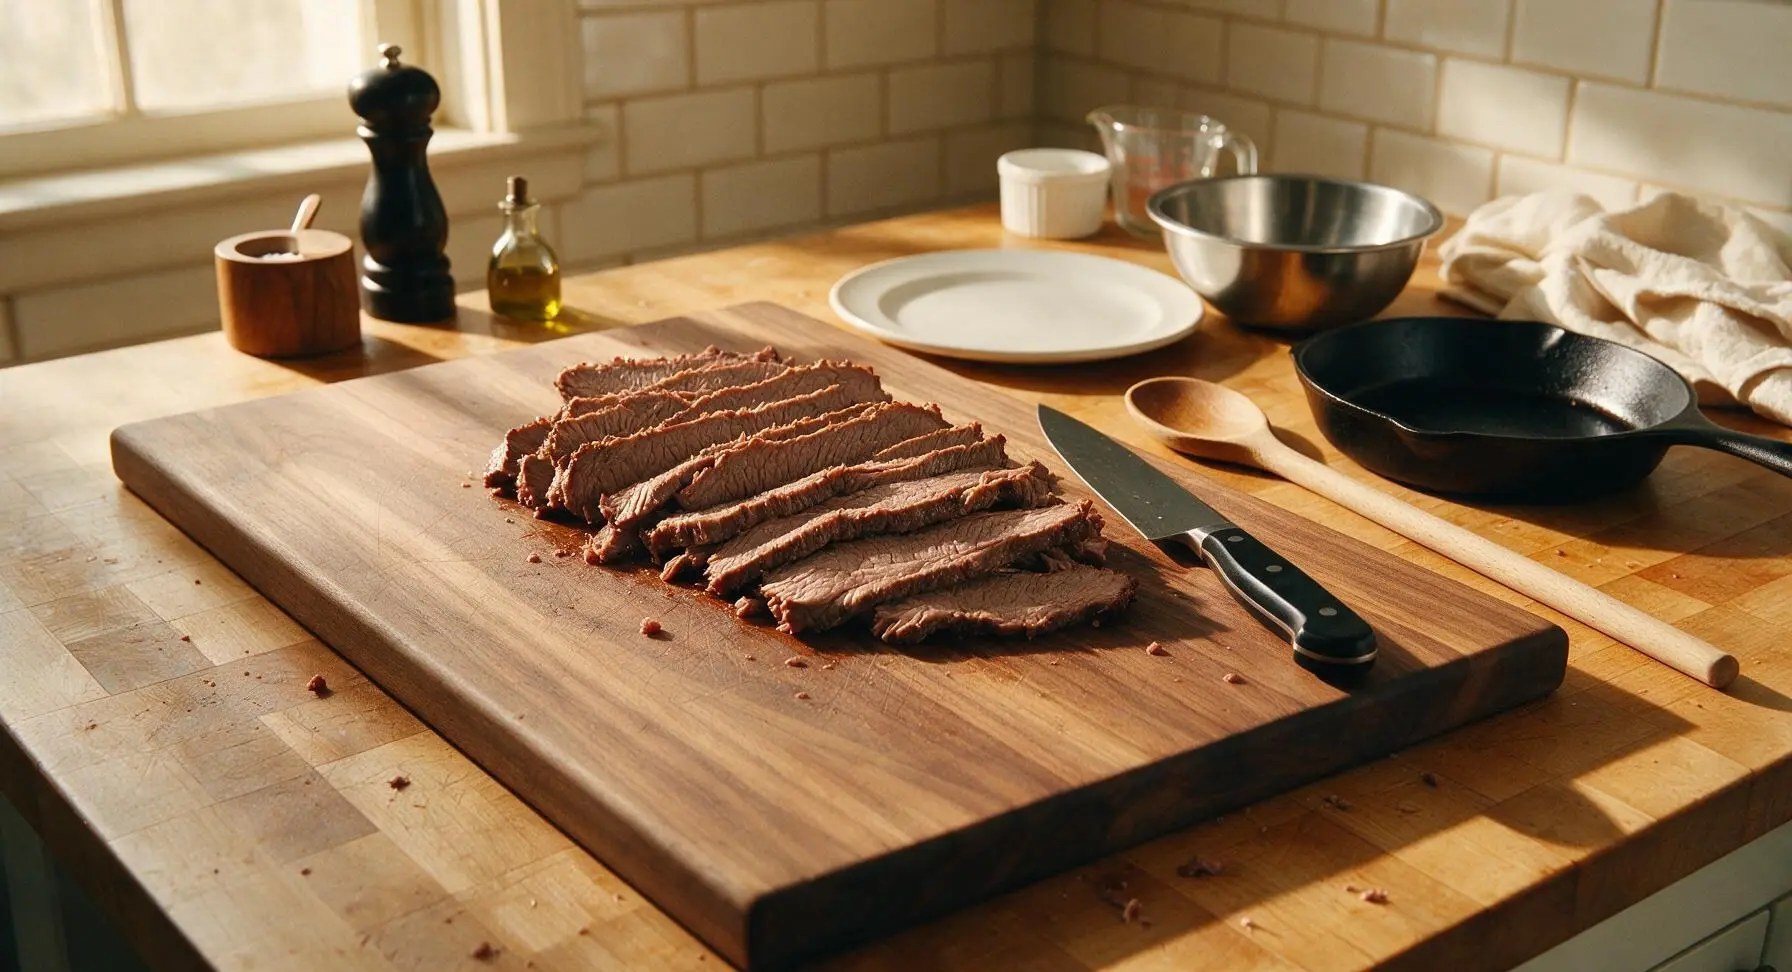
After resting, use the 10-inch stainless steel carving knife to slice the brisket against the grain into 1/4-inch thick, even slices. Slicing against the grain shortens the long meat fibers, ensuring each bite is tender rather than chewy. Take care to keep slices uniform so they hold their shape when plated.
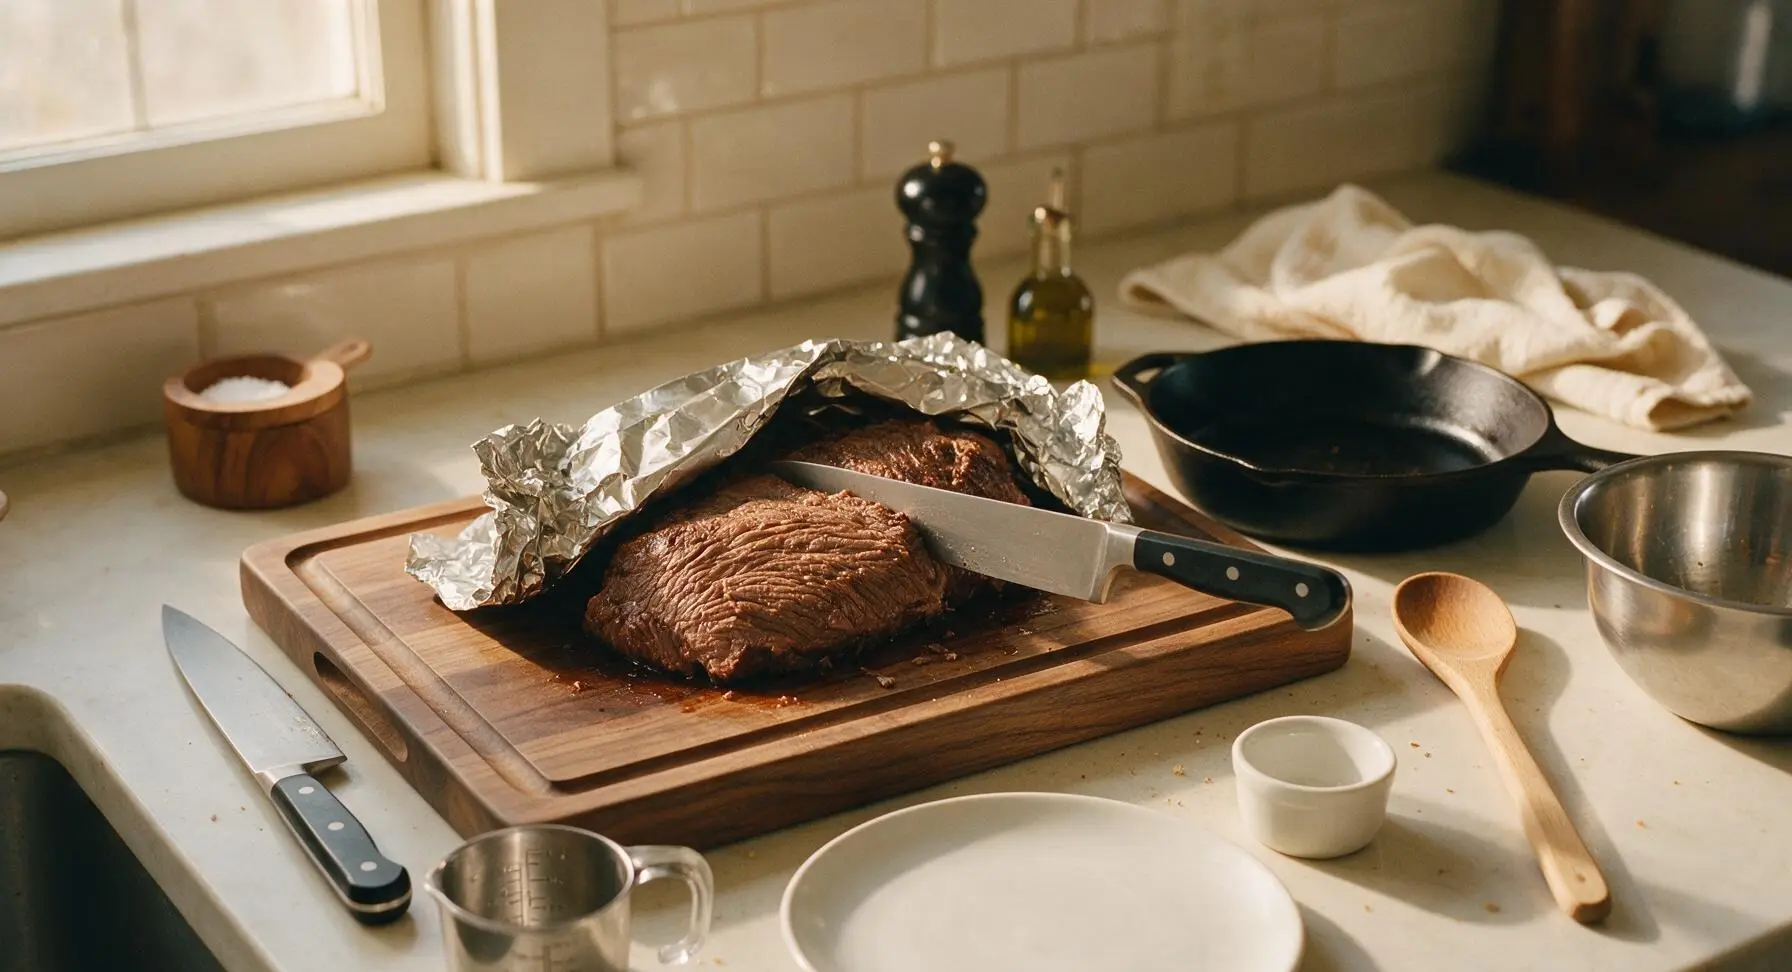
Step 7
step7:Slice Against the Grain
Step 7
step7:Slice Against the Grain
8

Plate and Sauce

Arrange the sliced brisket in a slightly overlapping fan pattern on the large oval off-white ceramic serving platter. Spoon the warm braising sauce and caramelized vegetables over the top of the slices, letting the sauce pool slightly at the base of the platter. Garnish with chopped fresh flat-leaf parsley, then serve immediately.
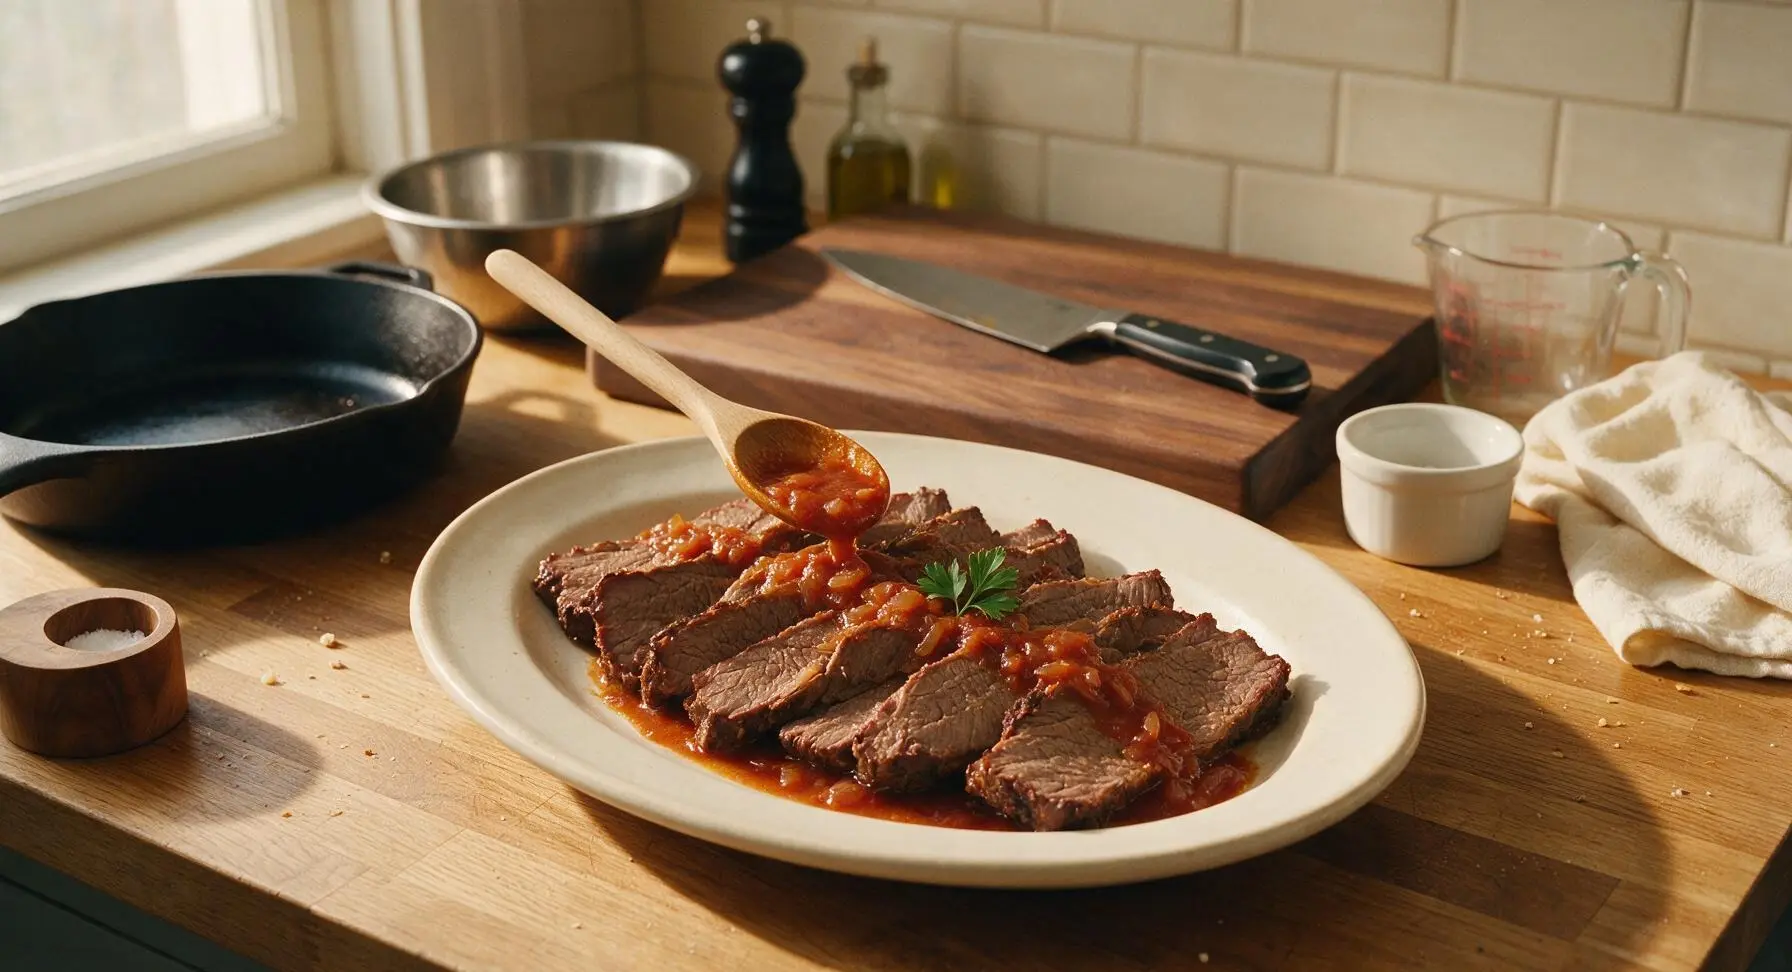
Step 8
step8:Plate and Sauce

Tips

1.Choose a flat-cut (first-cut) brisket for this recipe: it has a uniform thickness, leaner texture, and cleaner slice than the fattier point cut, resulting in neater servings and less greasy sauce without sacrificing tenderness.
2.Never skip the 30-minute rest after cooking: slicing brisket straight from the oven causes hot, flavorful juices to bleed out onto the cutting board, leaving meat dry even after three hours of slow braising.
3.Cook this brisket 1–2 days before serving for the deepest flavor: as it chills in the braising sauce, the meat absorbs the sweet, tangy notes of the tomato and onion, and solidified surface fat is easy to skim off before gentle reheating. This also cuts down on busy holiday day-of cooking work.


✨ You May Also Like

Main Course
🍜 United Kingdom

A showstopping classic of tender seared beef, savory mushroom duxelles, and crisp prosciutto wrapped in flaky golden puff pastry, baked to juicy perfection.

⏱️ 2 hours 1Main Course ★ 4.7
Main Course
🍜 India

Tender charred marinated chicken simmered in a rich, spiced creamy tomato sauce, this iconic Anglo-Indian curry pairs perfectly with basmati rice or warm naan.

⏱️ 50 minuteMain Course ★ 4.6
Main Course
🍜 Thailand

Classic tangy, sweet, and savory Thai stir-fried rice noodles with shrimp, tofu, and crunchy garnishes, balancing all five core Thai flavor profiles.

⏱️ 30 minuteMain Course ★ 4.5
Main Course
🍜 United Kingdom

Crispy golden beer-battered cod and fluffy double-fried chips, served with tangy tartar sauce and malt vinegar: the timeless, beloved British pub comfort classic.

⏱️ 45 minuteMain Course ★ 4.7
Main Course
🍜 Mexico

Smoky, chile-marinated pork tacos with caramelized pineapple, fresh cilantro, and lime: a beloved classic Mexican street food perfect for casual summer gatherings.

⏱️ 1 hour 45Main Course ★ 4.8
Main Course
🍜 United States

Crunchy Fritos corn chips layered with savory beef chili and melted cheddar, topped with cool, zesty fixings for a beloved, cozy Tex-Mex comfort food.

⏱️ 35 minuteMain Course ★ 4.8

Passover Brisket:Frequently Asked Questions

1.Why is flat-cut brisket the recommended choice for this Passover recipe? ▾
Flat-cut (or first-cut) brisket is ideal here because it has a consistent, even thickness, a thin manageable fat cap, and slices cleanly after braising—perfect for serving a Seder crowd. It stays ultra-tender through long, slow cooking without turning overly greasy or falling apart into ragged shreds when you go to serve it.
2.Is this recipe kosher for Passover if I follow strict kosher dietary rules? ▾
Absolutely, as long as you use kosher for Passover certified ingredients. The base recipe calls for kosher brisket, kosher salt, black pepper, sweet paprika, and olive oil—all easy to source with proper Passover certification if you avoid chametz and kitniyot per your family’s specific customs.
3.Can I make this Passover brisket ahead of time, and does it taste better the next day? ▾
Yes! Brisket is famously a make-ahead star, and I always recommend cooking it 1-2 days before your Seder. As it chills in its braising liquid, the meat absorbs all the sweet-savory sauce flavors, fat solidifies for easy skimming, and the texture gets even more tender when you gently reheat it.
4.How do I keep my brisket from turning out dry and tough? ▾
The two biggest secrets are consistent low, slow cooking temperature and not letting the pan run dry. Cook it covered at 325°F so the liquid simmers, not boils, and make sure at least ½ inch of liquid covers the pan bottom the whole time. High heat will seize meat fibers and leave you with chewy, dry brisket.
5.Do I really need to sear the brisket before braising it? ▾
I highly recommend it! Searing the seasoned brisket in hot olive oil over medium-high heat before braising builds a deep, caramelized crust on the meat that adds huge amounts of rich, savory depth to both the brisket itself and the final pan sauce. It only takes 3-4 minutes per side for a massive flavor payoff.
6.How should I season the brisket before cooking? ▾
Keep the base seasoning simple but generous: pat the brisket completely dry first, then rub it all over (including the sides) with a mix of kosher salt, freshly ground black pepper, and sweet paprika. I use about 1 teaspoon of kosher salt per pound of meat, plus ½ teaspoon each of pepper and paprika per pound for balanced flavor.
7.How do I know when the brisket is fully done cooking? ▾
Don’t rely solely on cook time—test for doneness by inserting a fork into the thickest part of the meat. It should slide in with almost no resistance, and twist easily when you give it a light turn, matching the recipe’s promise of meat soft enough to pull apart at a light touch. This takes 3-4 hours for a 4-5 pound flat cut.
8.Why do I need to let the brisket rest before slicing it? ▾
Resting lets the hot, tense meat fibers relax and reabsorb all their juicy, flavorful moisture, so you don’t lose all those delicious juices onto your cutting board when you slice. If you’re making it ahead, resting is even easier—you’ll chill it whole in the sauce, then slice cold for clean, even cuts before reheating.
9.What’s the right way to slice brisket so it doesn’t get stringy? ▾
Always slice brisket against the grain, meaning you cut perpendicular to the long, visible muscle fibers running across the meat. If you slice with the grain, you’ll end up with long, chewy, stringy bites even if you cooked the brisket perfectly. Slicing cold after chilling overnight makes neat, thin cuts extra easy.
10.How do I make the rich, sweet-savory pan sauce for this brisket? ▾
After you remove the cooked brisket from the braising pan, set the pan over medium heat, skim any excess fat off the top of the cooking liquid, and simmer it for 5-7 minutes until it thickens slightly and concentrates in flavor. You can adjust the seasoning with a pinch more salt or pepper if it needs a quick boost.
11.Can I freeze leftover Passover brisket to enjoy later? ▾
Absolutely! Let the brisket cool completely, then slice it and store it in an airtight container covered completely in its pan sauce. It will keep well in the freezer for up to 3 months. Thaw it in the fridge overnight, then reheat gently, covered, in a 300°F oven until warmed all the way through.
12.How much brisket should I buy per person for my Seder dinner? ▾
Plan for ½ pound of raw flat-cut brisket per guest. Brisket shrinks by about 30-40% as it braises, so that portion size will leave you with enough tender, saucy meat for everyone at the table, plus a small amount of leftovers for guests who want seconds (which they almost always do).
13.Can I use smoked paprika instead of sweet paprika in this recipe? ▾
You can, but it will change the classic, mild sweet-savory flavor profile most people expect from Passover brisket. Smoked paprika adds a bold, campfire-like smokiness that can overpower the delicate pan sauce. If you love smoky flavor, swap no more than ¼ of the sweet paprika for smoked so it doesn’t dominate.
14.My pan sauce came out too greasy—how do I fix that quickly? ▾
The easiest fix is to skim the surface of the sauce with a large spoon to lift off the pooled, clear fat that rises to the top. If you made the brisket ahead, this is even simpler: the fat will solidify into a hard, white layer on top of the chilled sauce, so you can just lift it right off with a spatula before reheating.
15.What oven temperature works best for slow-braising this brisket? ▾
Stick to a steady 325°F (160°C) for the best results. This temperature is hot enough to keep the braising liquid at a gentle, constant simmer, which breaks down the brisket’s tough connective tissue into silky, tender richness, but not so hot that it boils the meat and leaves it dry and stringy.
16.Do I need to leave the fat cap on the brisket while it cooks? ▾
Leave a thin ¼-inch layer of fat cap on the top of the flat-cut brisket while it braises. That thin fat layer bastes the meat as it cooks, keeping it moist and adding rich flavor, without making the final sauce overly greasy. You can trim any excess thick, hard fat off before you start cooking.
17.Can I cook this brisket in a slow cooker instead of the oven? ▾
You absolutely can! Follow all the same searing and seasoning steps, then place the brisket in your slow cooker, add your braising liquid, and cook on LOW for 8 to 10 hours, until it’s fork-tender. The pan sauce may be thinner, so simmer it on the stovetop for a few minutes to thicken before serving.
18.What are the best Passover-friendly sides to serve with this brisket? ▾
Stick to classic Seder sides that pair perfectly with the rich, sweet-savory sauce: matzo ball soup, roasted root vegetables, potato kugel, charoset, and roasted asparagus all work beautifully. The mild, earthy flavors of these sides cut through the brisket’s richness without competing with its signature, comforting flavor.

Comments (3)

2 days ago

OMG I made this for our first family seder last night and it was an absolute hit! I was so nervous about nailing brisket since it’s my first time hosting, but even with the medium difficulty level the steps were super straightforward. My picky 7 year old asked for seconds, my mother-in-law even asked for the recipe! It was SO juicy and the savory-sweet glaze was perfect, not too heavy. Total game changer for our holiday dinners, I’ll be making this every year from now on.

yesterday

Wait did you sear it first like the recipe says? I’m making this for our neighborhood potluck seder this weekend and I don’t want to mess it up! I’ve had dry, tough brisket one too many times at holiday meals lol

2 hours ago

So thrilled your seder was a success, Sarah! To answer Mia’s question too - yes, that high-heat sear at the very start locks in so much moisture, and as long as you keep the oven temp low for the braise and don’t peek too much while it cooks, you’ll get that fall-apart tender result every time. Enjoy your potluck!

1 week ago

Game changer! I usually smoke brisket for Texas-style weekend cookouts but decided to give this Passover version a shot for my wife’s family seder since they keep kosher for Passover. The onion and garlic seasoning blend is chef’s kiss, I served it with a little extra homemade horseradish on the side per my father-in-law’s request and everyone raved. The 3.5 hour cook time was spot on for my 4lb cut, it pulled apart perfectly with a fork right when the timer went off.

5 days ago

Love that you put your own personal spin on the recipe with that homemade horseradish! It’s such a classic, zesty pairing for brisket. So happy it was a hit with your extended family.

3 days ago

Really solid brisket recipe! I made this on Sunday to slice up for easy weeknight lunches since brisket holds up so well in the fridge, and it’s even better the next day once all the flavors have time to meld. My only heads up is that my brisket was a little over 5.5 lbs so I added about 30 extra minutes of cook time to get it perfectly fork tender. I’ll absolutely be making this again even outside of Passover season!



