
Pastie (Michigan)
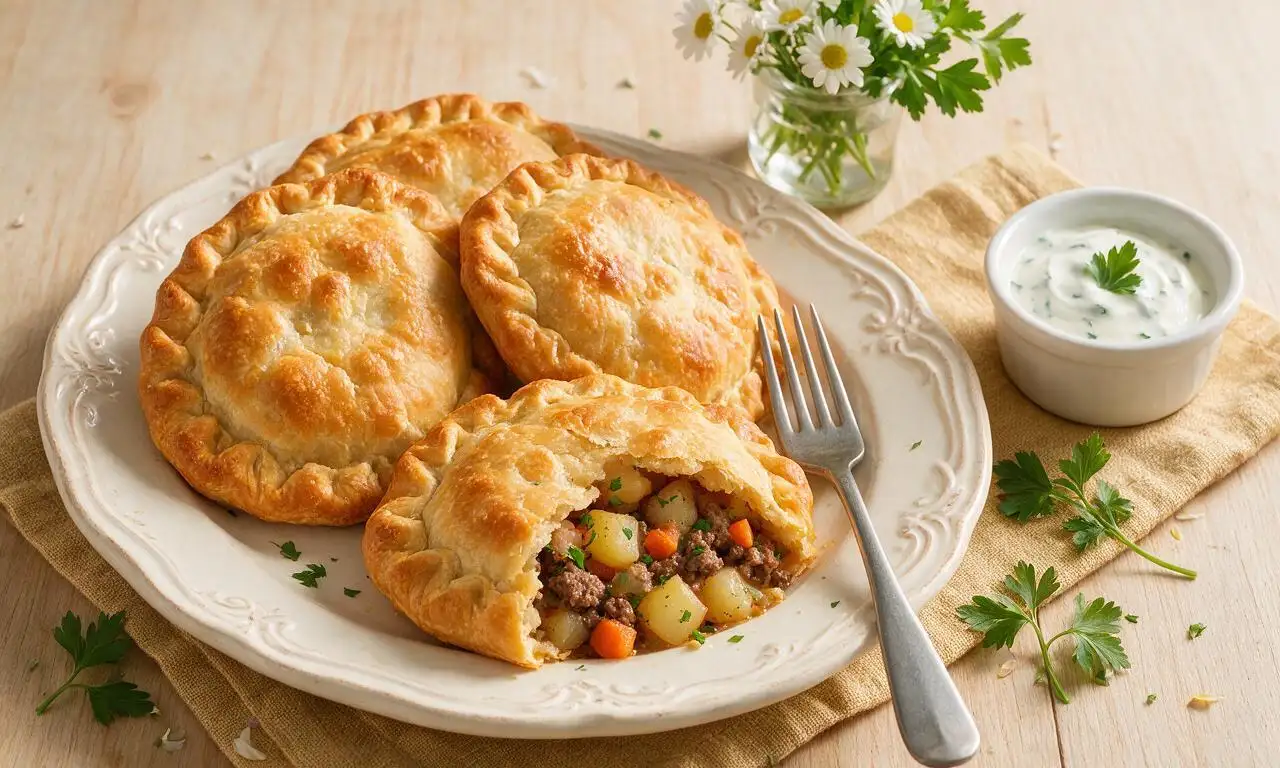
intro
Hearty, portable hand pies brought to Michigan’s Upper Peninsula by Cornish miners, with a flaky sturdy crust packed with savory meat and vegetable filling.
Ingredients
Steps
Make the Pastry Dough
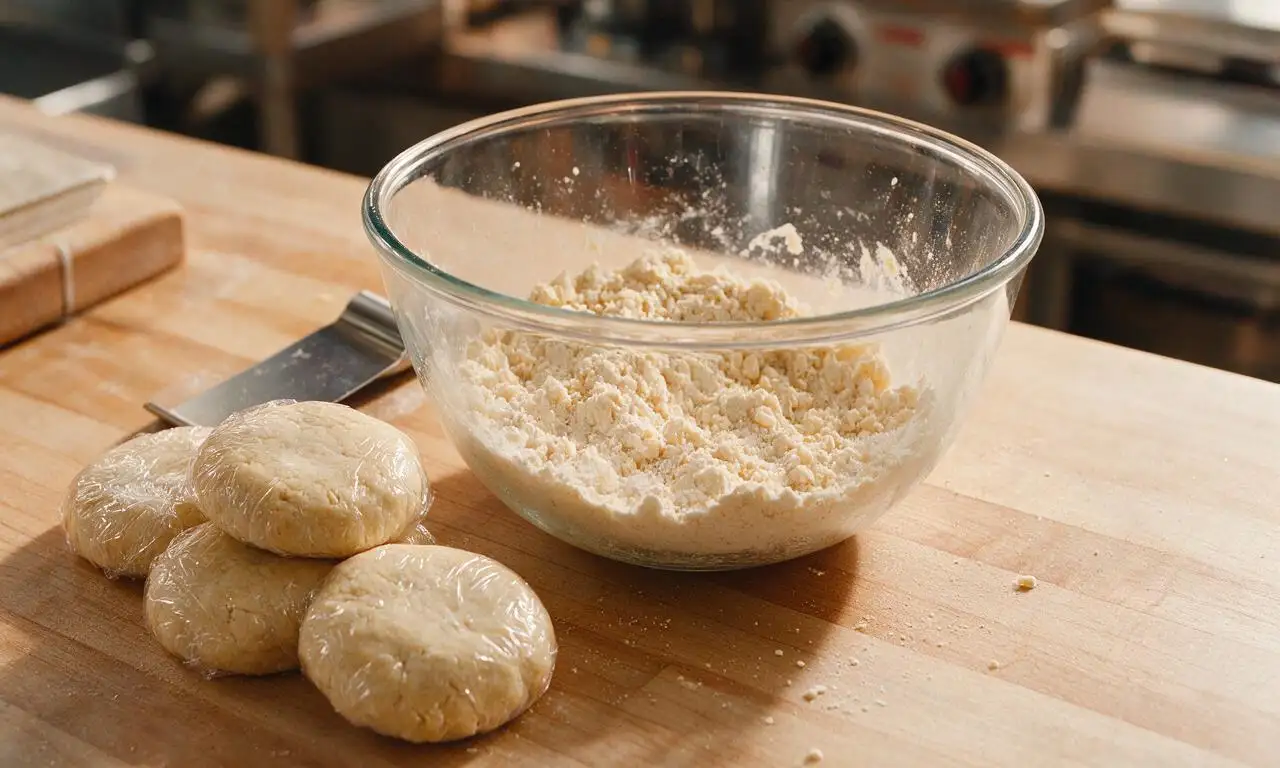
In a large mixing bowl, combine 360g (3 cups) all-purpose flour and 1/2 teaspoon kosher salt. Add 113g (1/2 cup / 1 stick) cold cubed unsalted butter and 57g (1/4 cup) cold cubed lard, then use a pastry cutter or your fingertips to cut the fat into the flour until the mixture forms coarse crumbs with scattered pea-sized fat chunks. Drizzle in 80ml (1/3 cup) ice water 1 tablespoon at a time, mixing gently with a fork until the dough just holds together (do not overmix, as this creates tough crust). Split the dough into 4 equal 170g portions, shape each into a 10cm (4-inch) disc, wrap tightly in plastic wrap, and chill in the refrigerator for 30 minutes.
Prepare the Pastie Filling
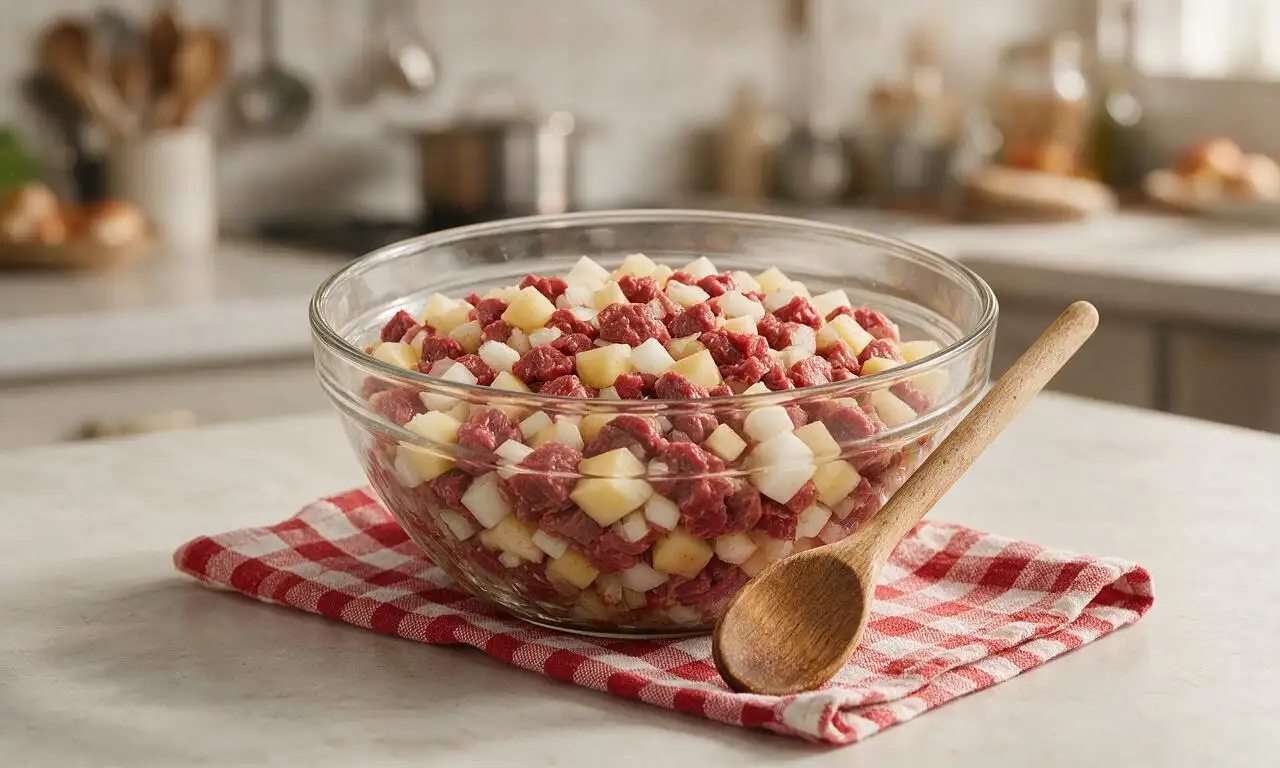
While the dough chills, prepare the filling: in a separate large mixing bowl, combine 340g (12oz / 1.5 cups) 1cm-diced beef chuck, 225g (1.5 cups / 1 medium) 1cm-diced peeled russet potato, 110g (3/4 cup) 1cm-diced peeled rutabaga, 110g (1 cup / 1 medium) finely diced yellow onion, the remaining 1/2 teaspoon kosher salt, and 1/2 teaspoon freshly ground black pepper. Toss thoroughly until all ingredients are evenly coated in seasoning, then return the bowl to the refrigerator until ready to assemble.
Prepare to Bake Pasties
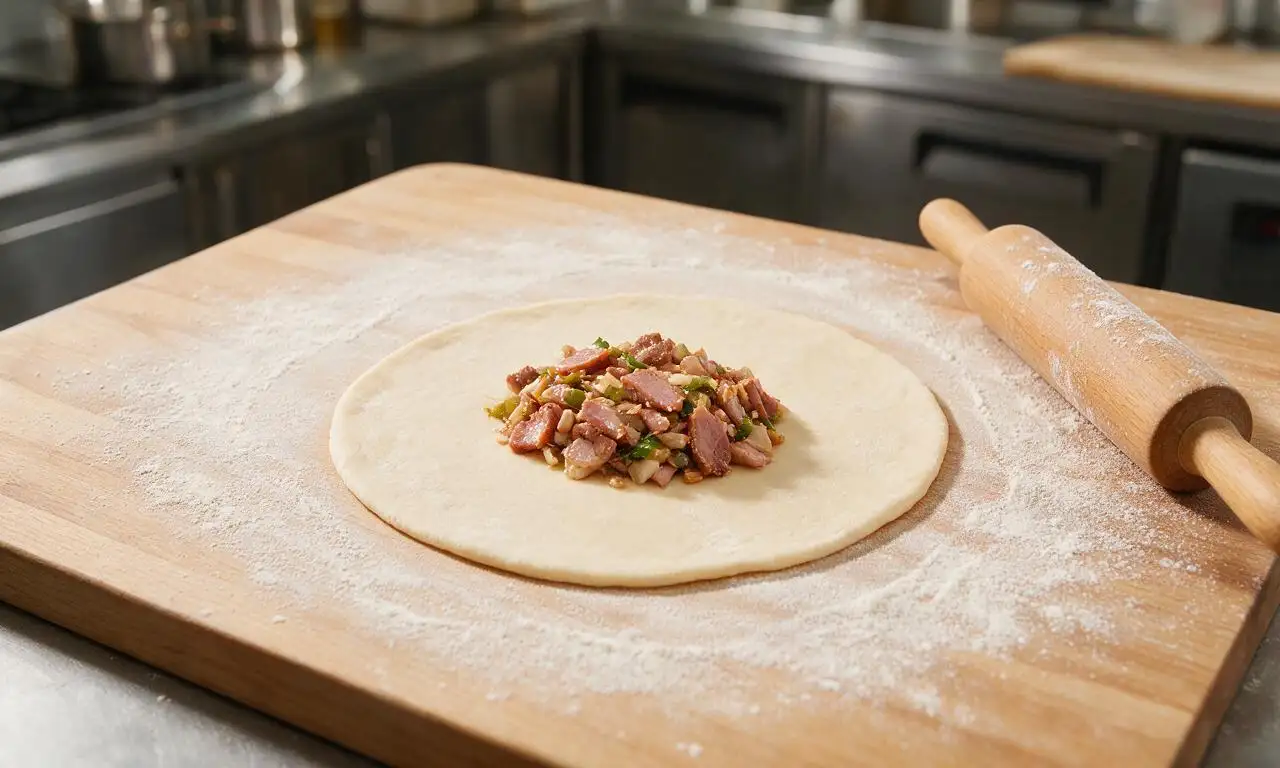
Once the dough has chilled, preheat your oven to 200°C (400°F) and line a large rimmed baking sheet with parchment paper. Working with one dough disc at a time (keep the rest chilled to prevent softening), roll the dough on a lightly floured surface into a 20cm (8-inch) circle that is 3mm (1/8-inch) thick. Mound 200g (1 heaping cup) of the cold filling directly in the center of the dough circle, leaving a 2.5cm (1-inch) clear border around the entire edge.
Brush the exposed 2
Brush the exposed 2.5cm dough border with a thin layer of beaten egg, then fold the dough over the filling to create a tight half-moon shape. Press the edges firmly together with your fingertips to seal, then crimp the edge tightly with a fork or your fingers to create a leak-proof seal. Cut two 1cm (1/2-inch) slits in the top of each pastie to allow steam to escape during baking, then transfer the assembled pastie to the prepared baking sheet. Repeat with the remaining dough and filling.
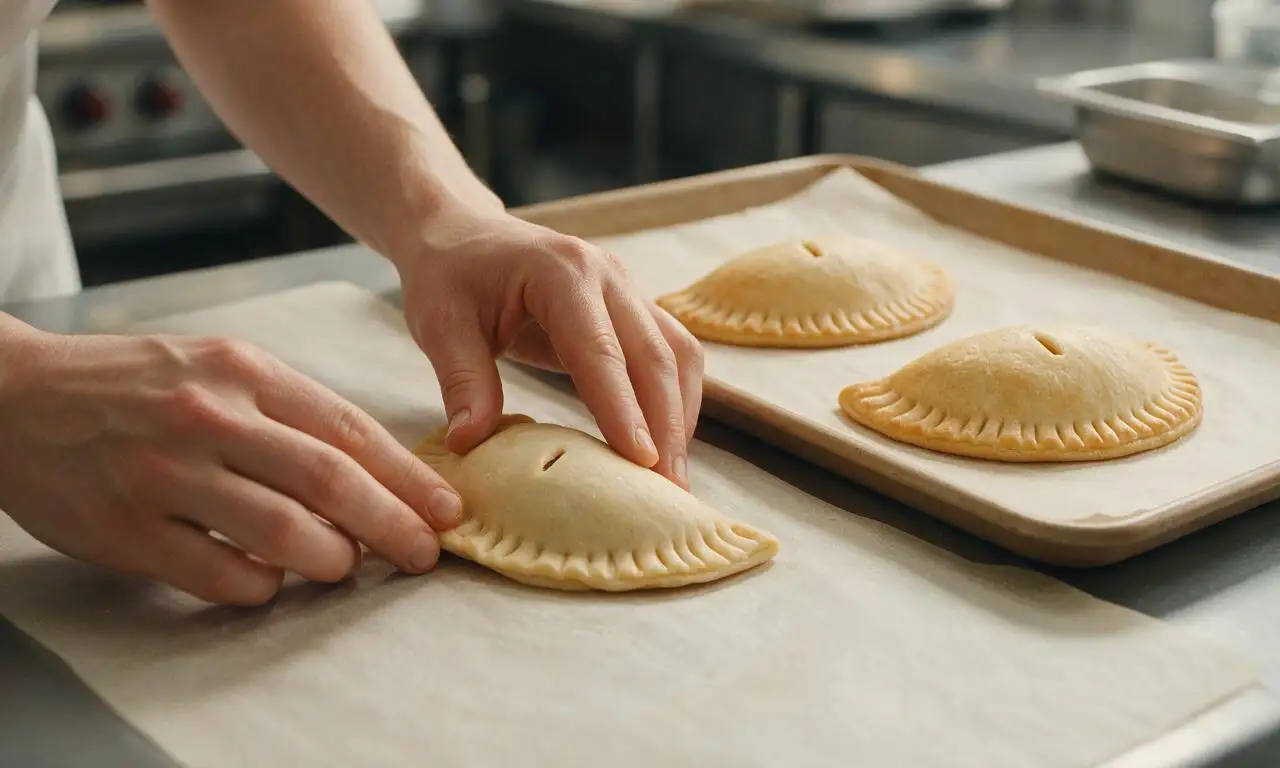
Brush the entire top surface
Brush the entire top surface of each assembled pastie with the remaining beaten egg to create a shiny, golden crisp crust. Place the baking sheet on the middle rack of the preheated oven, bake for 15 minutes at 200°C (400°F), then reduce the oven temperature to 175°C (350°F) and bake for an additional 30 minutes. The pasties are done when the crust is a deep, even golden brown and hot filling bubbles gently through the top steam slits.
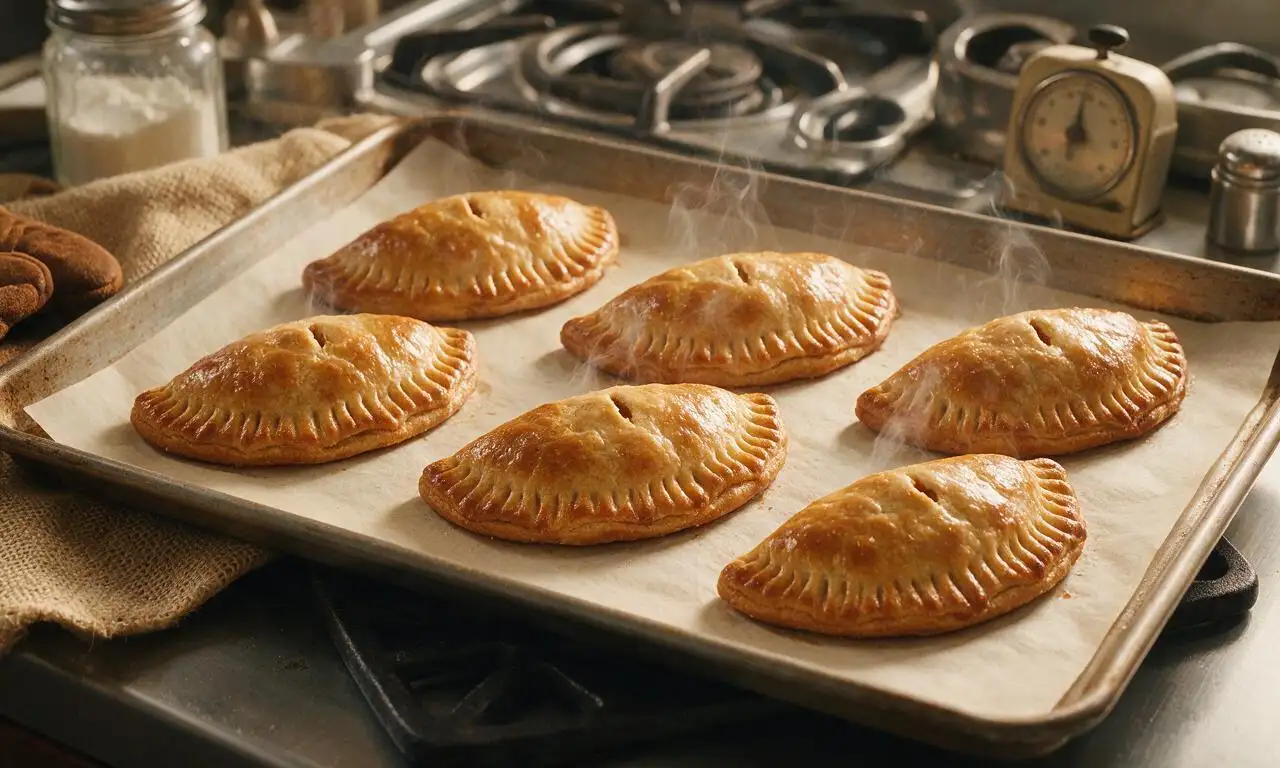
Remove the baked pasties from
Remove the baked pasties from the oven and transfer them to a wire cooling rack to rest for 10 minutes before serving—this allows the molten hot filling to cool slightly and set, preventing burnt mouths. Serve traditionally with sides of ketchup or thick brown gravy for dipping.
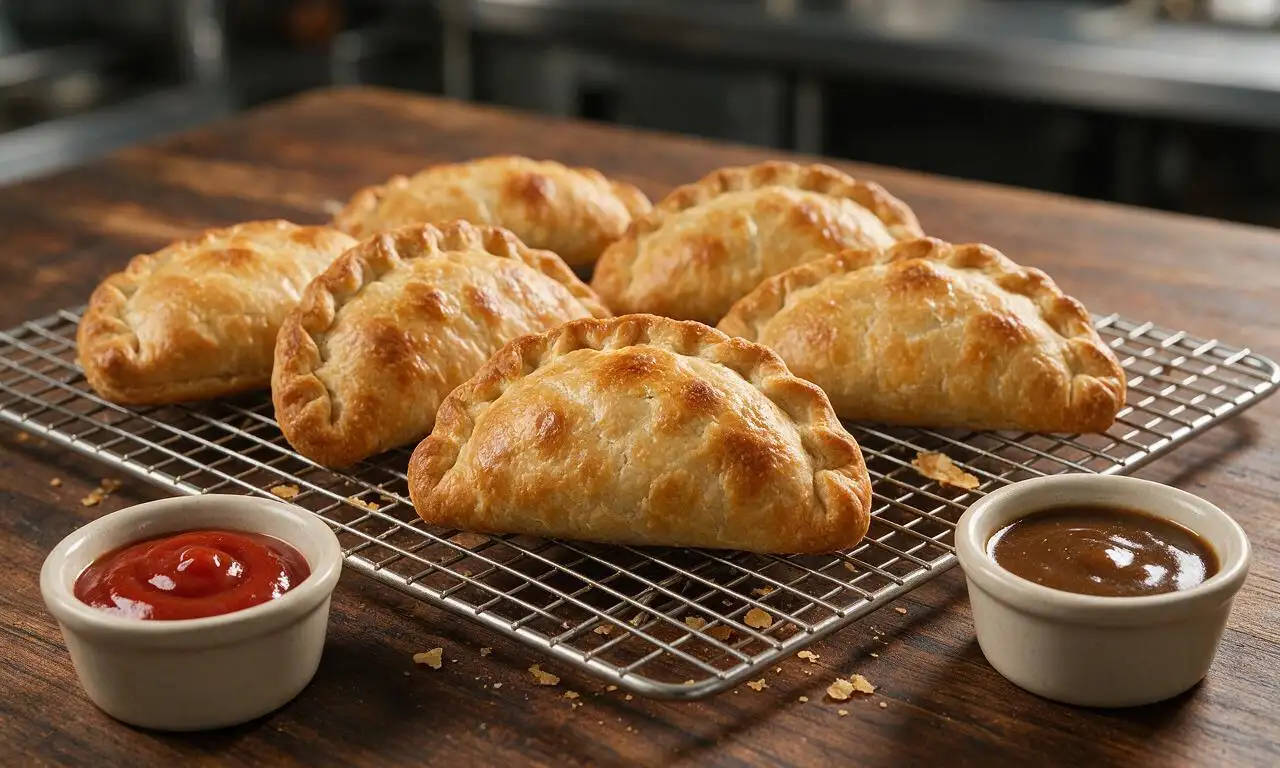
Tips
2.Cut all filling ingredients to a uniform 1cm dice and do not pre-cook them; the small size ensures they cook fully inside the crust during baking without making the pastry soggy.
3.Crimp pastie edges tightly and always cut steam slits in the top to prevent hot, bubbling filling from leaking out onto the baking sheet during the high-heat bake.






OMG I grew up in Marquette and have been searching for a pastie recipe that actually tastes like the ones from the roadside stands on US-41! Made these for my husband’s work potluck last week and every single person asked for the recipe. The crust is perfectly flaky, the rutabaga is non-negotiable don’t skip it y’all. 10/10 no notes.
Game changer for weekly meal prep! I made a double batch on Sunday, wrapped them individually in foil, and they heat up perfectly in the oven for 15 minutes on busy weeknights. My kids loved them even with all the veggies – they said it’s like a savory pop-tart, lmao. Only note is I added a little extra garlic because we’re garlic fiends in this house.
Brought these on our fall backpacking trip in the Rockies and they were PERFECT. No messy packaging, hearty enough to refuel after 6 miles of hiking, tasted amazing even cold when we stopped for a summit lunch. Will be making these for every camping trip from now on.
Made these for our family dinner last Sunday and my dad who is a born and raised Yooper said they were better than the ones his mom used to make? High praise! I served them with a side of ketchup (the correct condiment, don’t @ me) and brown gravy for the people who are wrong about ketchup lmao.
Okay full transparency I’ve never made a hand pie of any kind before, and the medium difficulty rating made me nervous, but the step-by-step crust instructions were so easy to follow! My first batch came out looking a little lumpy but they tasted incredible. 10/10 will be practicing to get the crimping right for next time.
I made these with a 1:1 gluten free flour blend for the crust and they turned out so good! I was worried the crust would be crumbly but if you keep the butter super cold it holds together perfectly. My whole family (even the non-gluten free folks) ate two each. Highly recommend for GF folks who miss a good hearty hand pie.
Made these for our Sunday football watch party and they were gone before halftime! I made a mini version using a 4-inch biscuit cutter so they were perfect bite-sized snacks for the crew. Will absolutely be adding these to our regular game day rotation.
I made a vegetarian version swapping the beef for lentils and extra mushrooms, and it was SO good! I was worried it wouldn’t have that same rich savory flavor but the seasoning blend was spot on even with the swap. My meat-eating roommate didn’t even notice the difference until I told him.
I remember eating pasties at school fundraisers when I was a kid growing up in the UP, and this recipe took me right back. The ratio of meat to potato to rutabaga is exactly right, no skimping on the filling like so many store-bought versions do these days. Worth every minute of prep time.
Full disclosure I usually hate making homemade pie crust because mine always turns out tough, but this crust recipe? Game changer. The vinegar trick is genius, it came out so flaky and tender I could not believe I made it. My only mistake was not making a double batch because we ate all 6 pasties in one sitting.
Took me a little longer than the listed cook time because I was chopping veggies while chasing my toddler around the kitchen, but these were 100% worth the extra time. My 4 year old who refuses to eat any vegetable that isn’t corn ate all the carrots and potatoes out of his pastie and asked for seconds. Absolute win for parent dinner time.
Made these on a cold rainy Saturday when we were stuck inside and it was the coziest cooking project. The whole house smelled amazing for hours, and the pasties were the perfect warm, hearty meal to beat the gloomy weather. Paired them with a side of dill pickles and it was chef’s kiss.
These were SO good, but fair warning if you’re a slow chopper like me, prep time takes way longer than you think! I budgeted 30 minutes for veggie chopping and it took me almost an hour, so dinner was later than planned. Definitely worth the wait though, I’ll just prep the veggies the night before next time.