
paula deen fried chicken

title 1
paula deen fried chicken
⏱️ cook time 25 minutes
🍽️ servings 4
⚡ Difficulty medium

intro

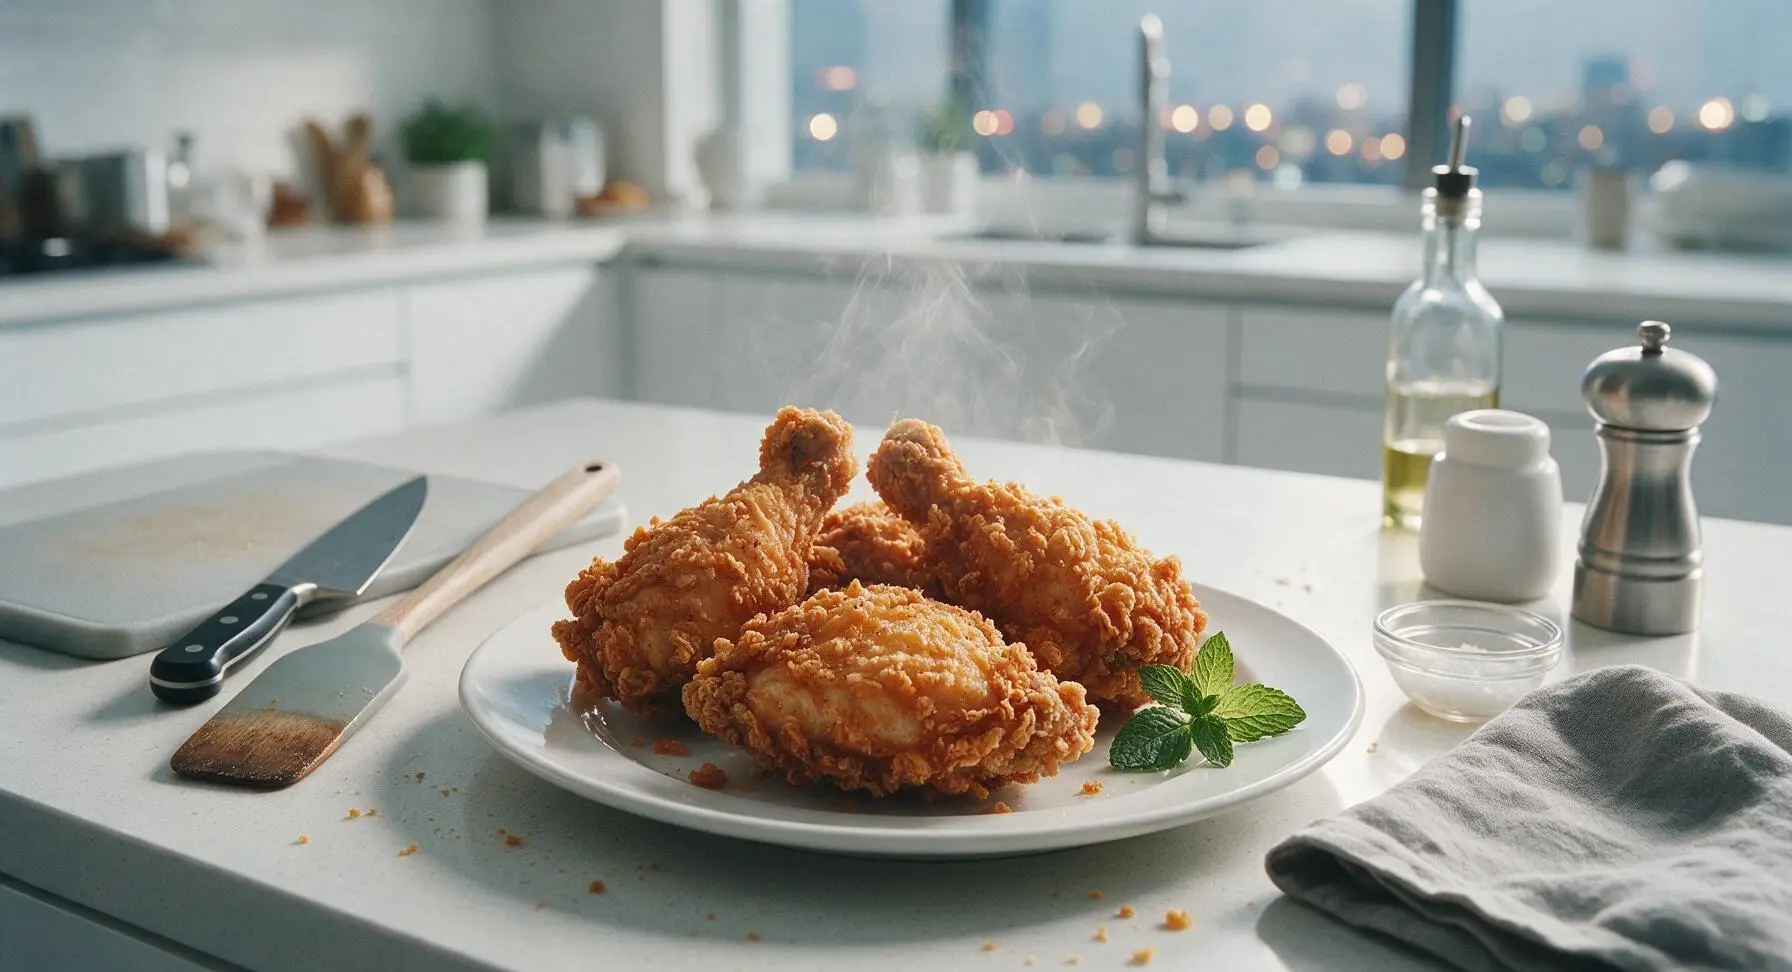
Shatteringly crisp, golden Southern fried chicken made the classic Paula Deen way, with juicy, well-seasoned meat and a crunchy crust perfect for family meals.

Ingredients
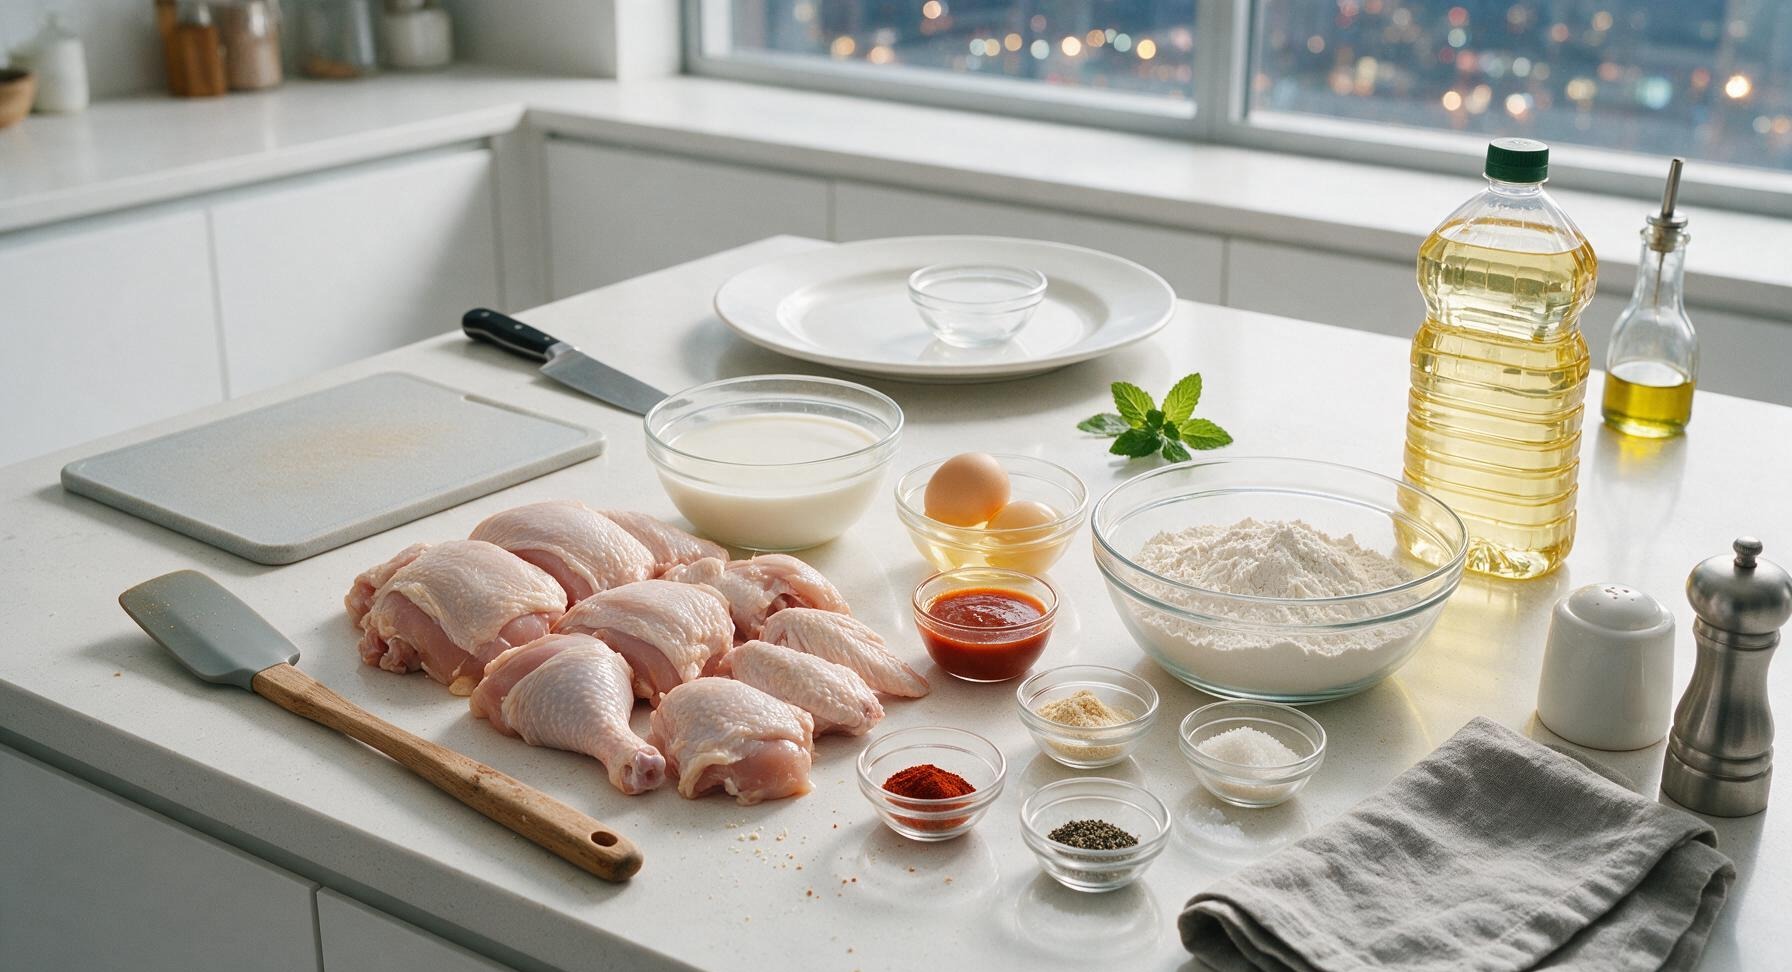
Whole bone-in skin-on chicken, cut into 8 pieces (2 breasts, 2 thighs, 2 drumsticks, 2 wings) 3.5 lbs
Buttermilk 3 cups
Large eggs 2 each
Louisiana-style hot sauce 2 tbsp
All-purpose flour 2 cups
Garlic powder 1 tbsp
Onion powder 1 tbsp
Smoked paprika 1 tsp
Cayenne pepper 1/2 tsp
Kosher salt 2 tsp
Freshly ground black pepper 1 tsp
Peanut oil (for frying) 4 cups

Steps

1

Prep Buttermilk Brine

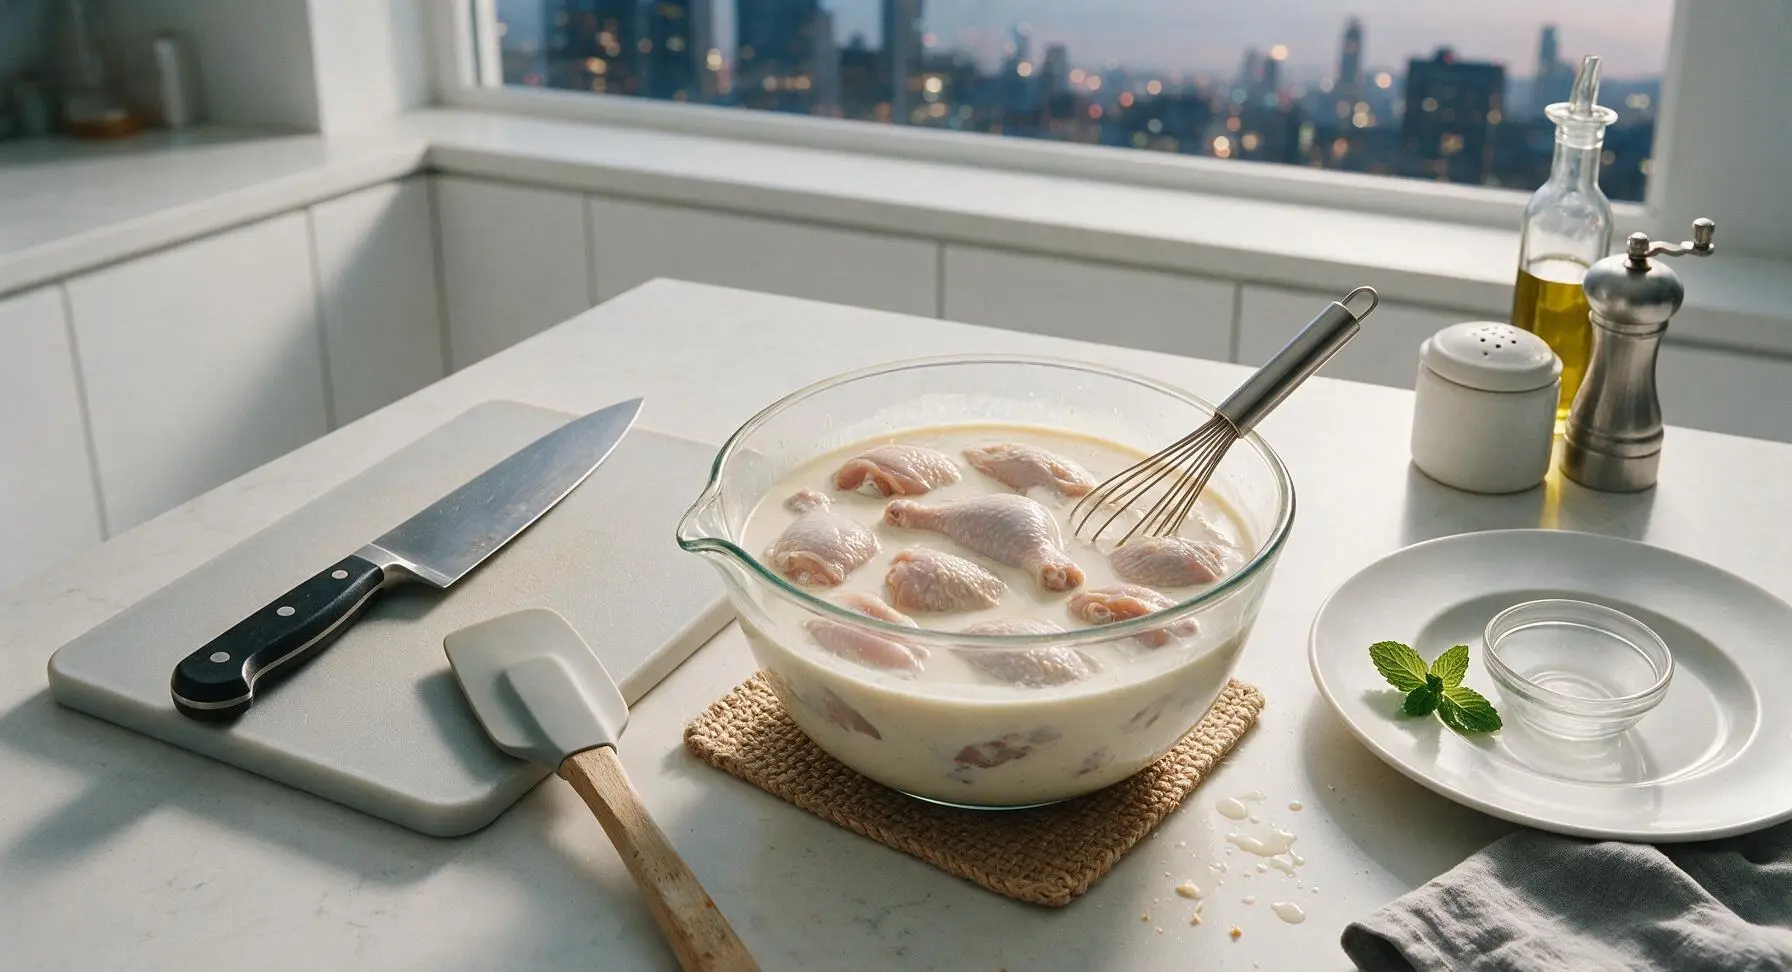
In the 4-quart clear Pyrex glass mixing bowl, whisk together 3 cups buttermilk, 2 large eggs, 2 tablespoons Louisiana-style hot sauce, and 1 teaspoon kosher salt until fully smooth. Add all 8 chicken pieces, turning to coat fully in the brine. For the juiciest results, cover and refrigerate for 2 hours; remove chicken from the refrigerator 20 minutes before frying to bring it to room temperature, which ensures even cooking.
Step 1
step1:Prep Buttermilk Brine
2

Season Flour Coating

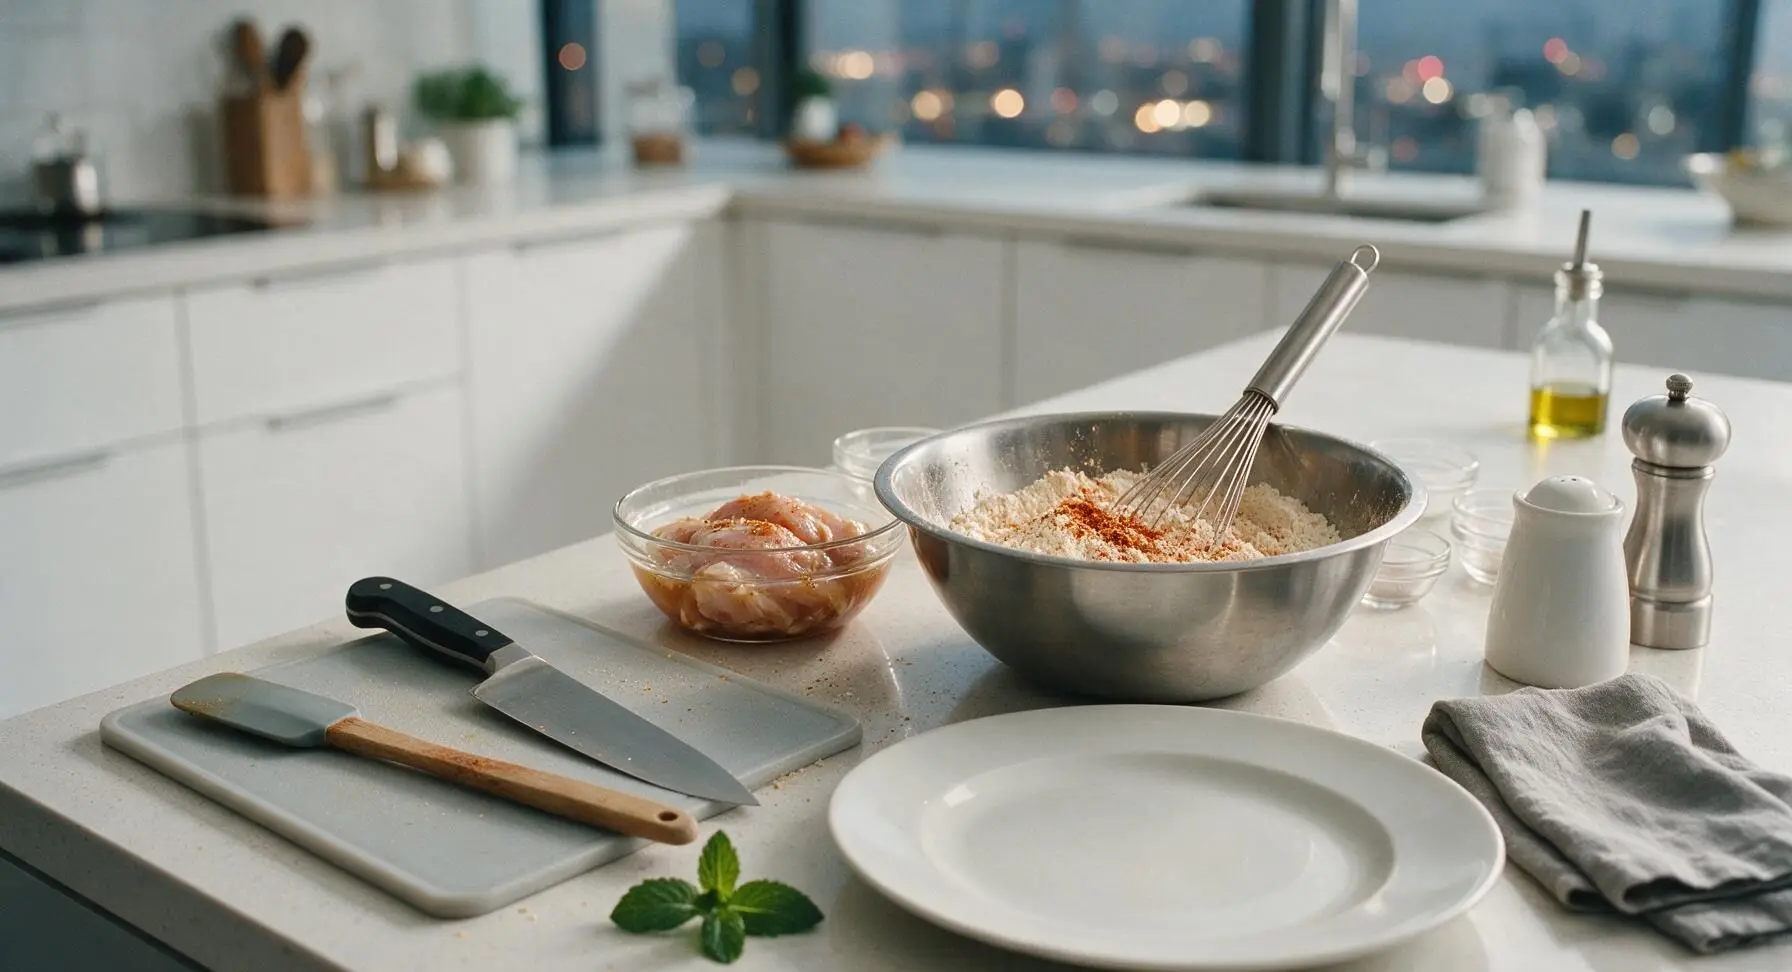
In the 3-quart brushed stainless steel mixing bowl, combine 2 cups all-purpose flour, 1 tablespoon garlic powder, 1 tablespoon onion powder, 1 teaspoon smoked paprika, 1/2 teaspoon cayenne pepper, remaining 1 teaspoon kosher salt, and 1 teaspoon freshly ground black pepper. Whisk thoroughly for 30 seconds to evenly distribute all spices, so no concentrated clumps of seasoning remain in the flour.
Step 2
step2:Season Flour Coating
3

Heat Peanut Oil

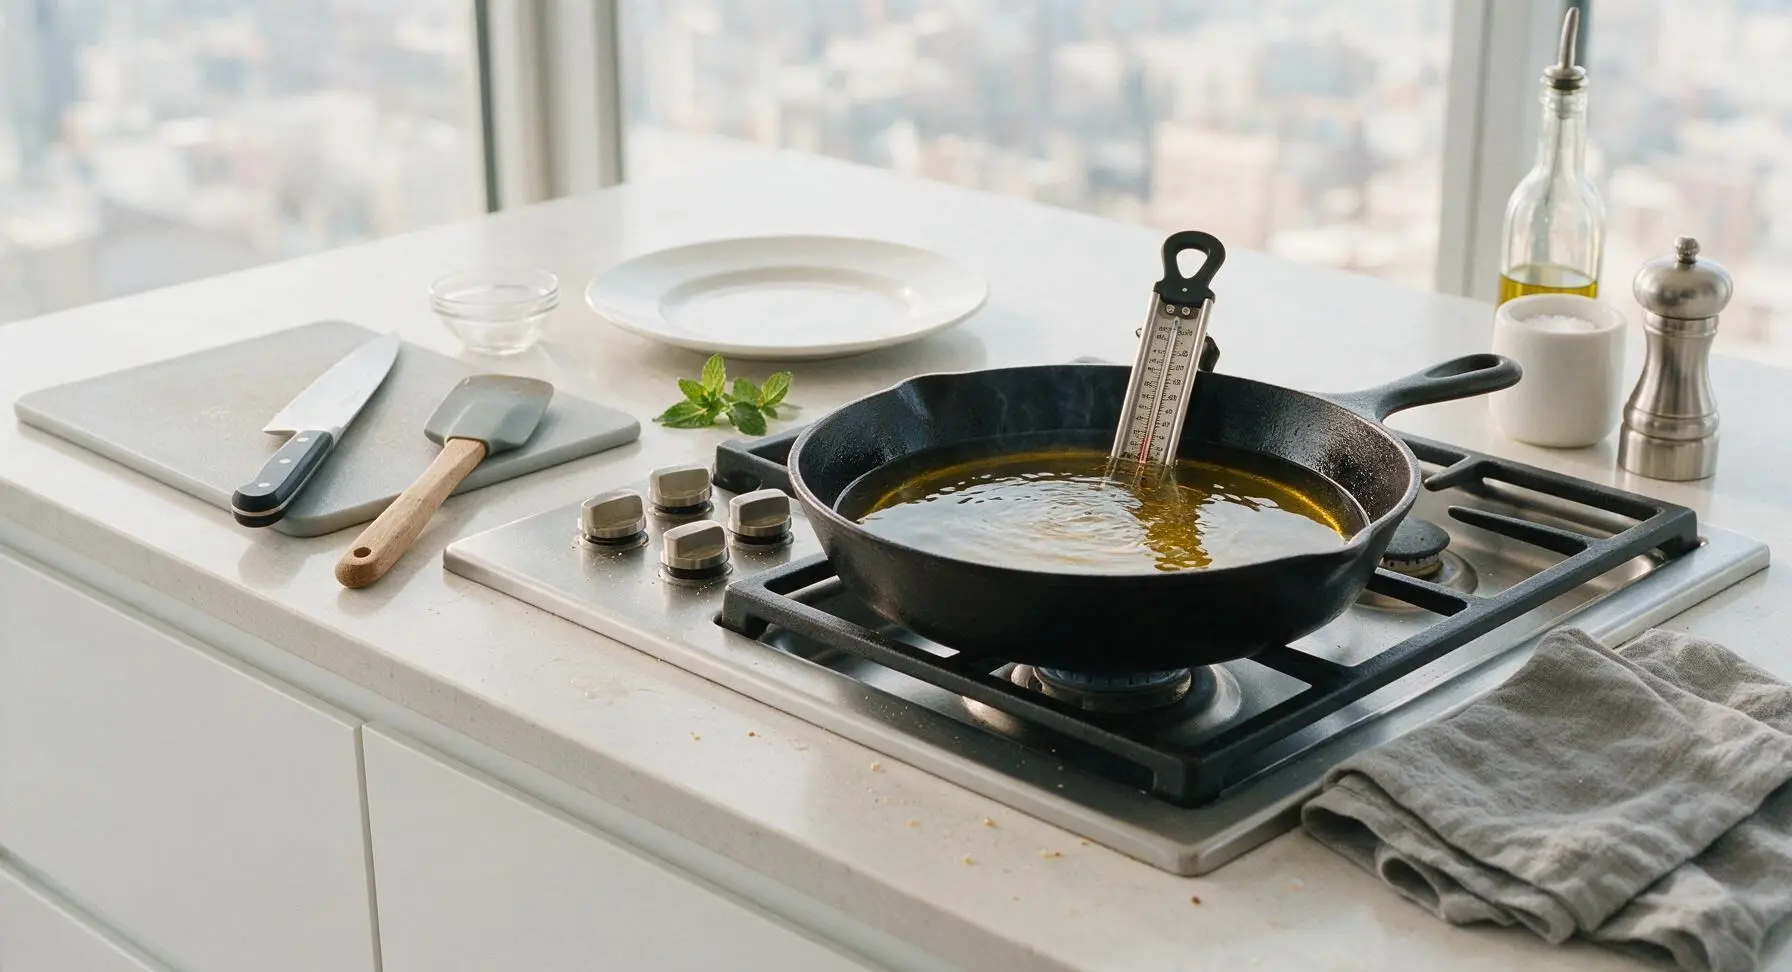
Move the 12-inch seasoned cast iron skillet from the jute trivet to the front right burner of the gas stovetop. Pour in 4 cups peanut oil, until oil reaches exactly 1 inch up the sides of the skillet. Clip the deep fry thermometer to the skillet rim. Heat oil over medium heat until it reaches a steady 350°F, adjusting burner heat as needed to maintain this temperature throughout the frying process.
Step 3
step3:Heat Peanut Oil
4

Coat Chicken Pieces

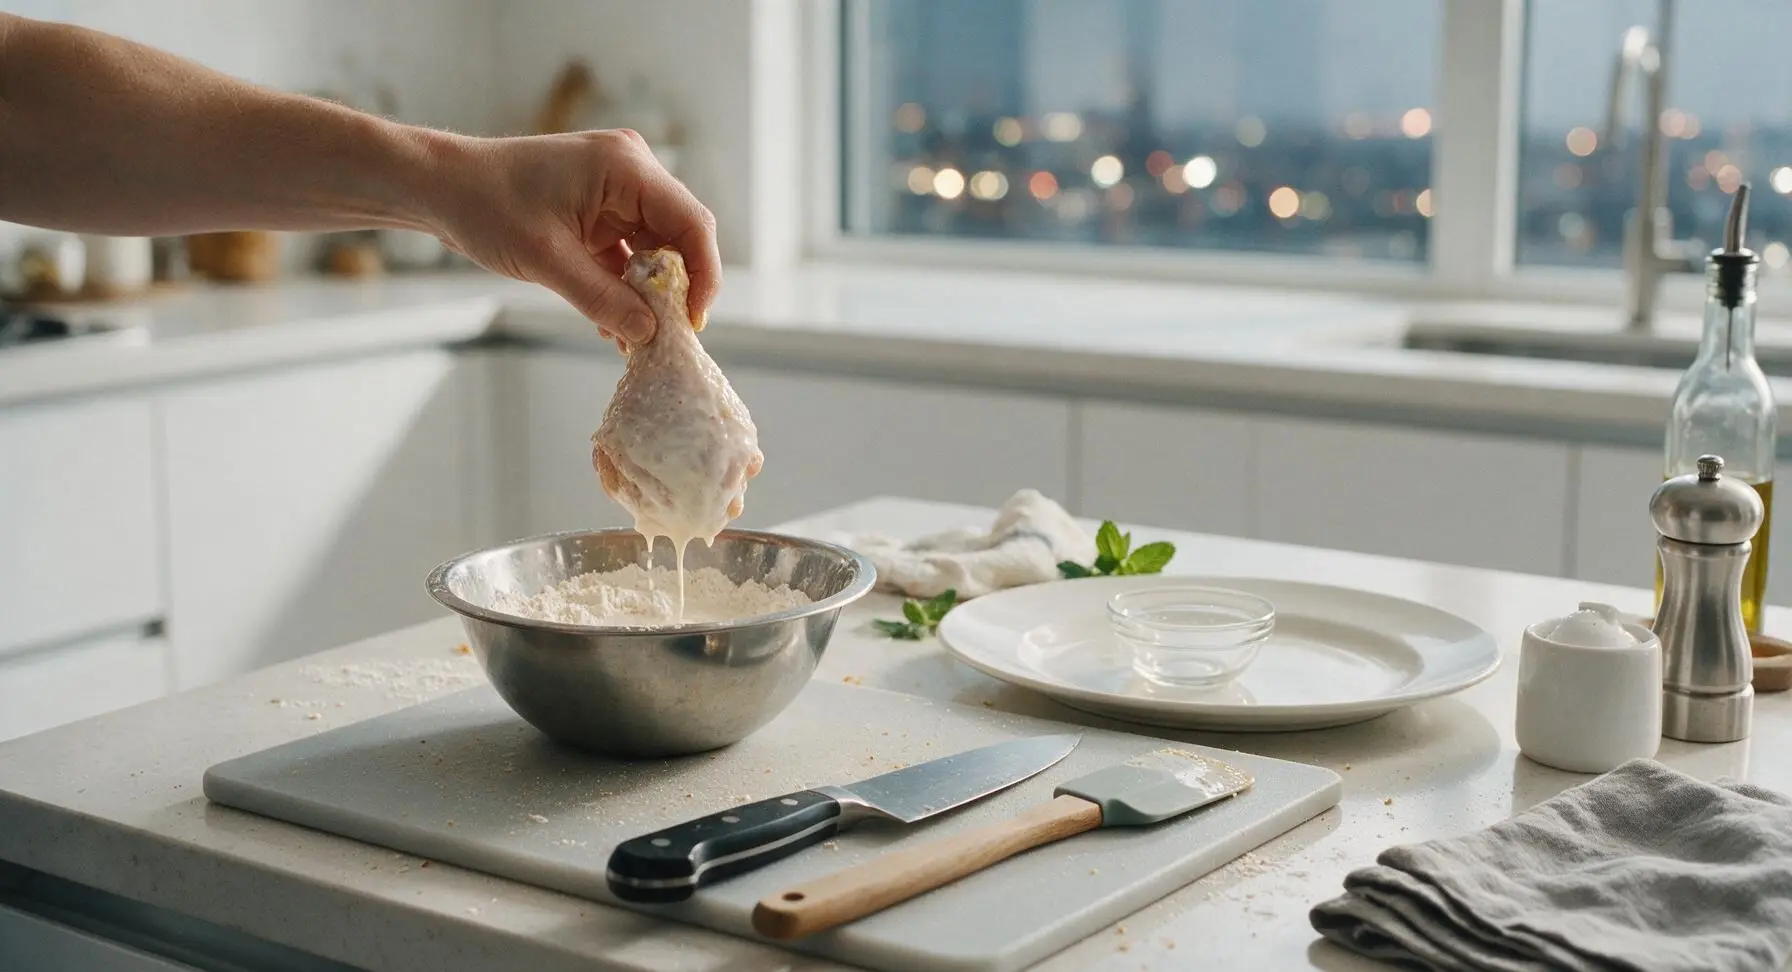
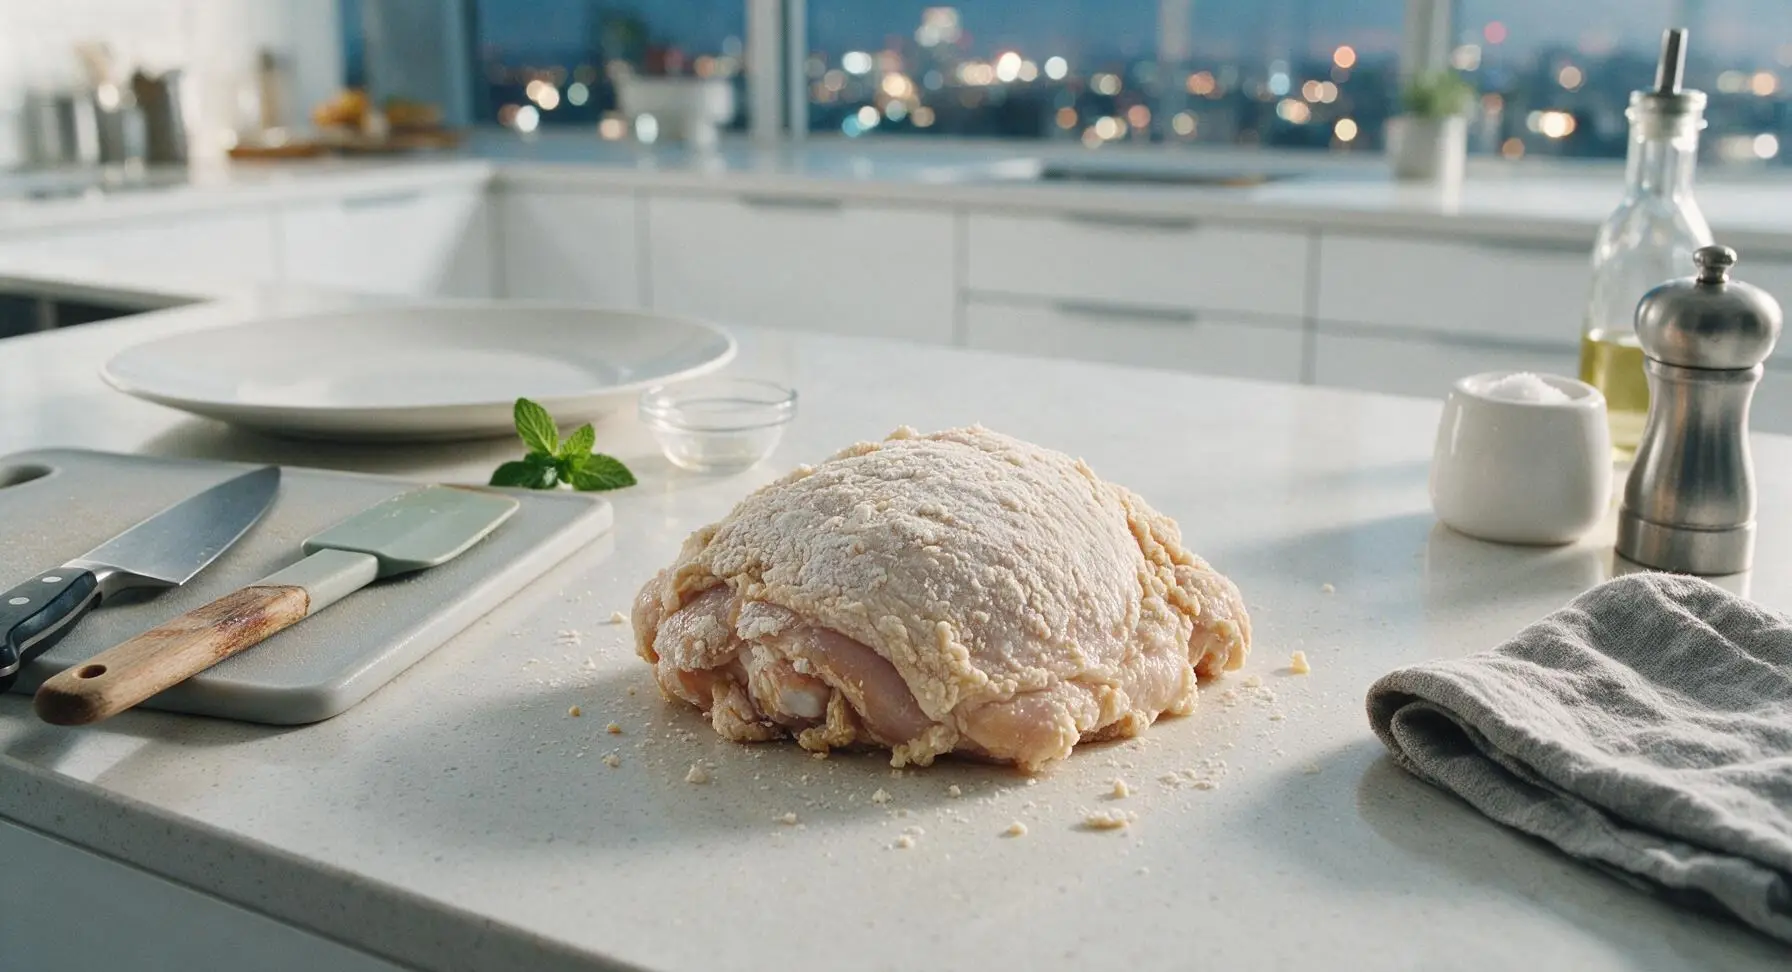
Working one piece at a time, lift chicken from the buttermilk brine, letting excess buttermilk drip off for 2 seconds. Dredge fully in the seasoned flour, pressing firmly with your fingers so the flour adheres to every surface of the chicken, including under loose skin edges. Set coated pieces on a clean section of counter for 5 minutes to let the breading set, which prevents it from sliding off during frying.
Step 4
step4:Coat Chicken Pieces
Step 4
step4:Coat Chicken Pieces
5

Fry First Chicken Batch

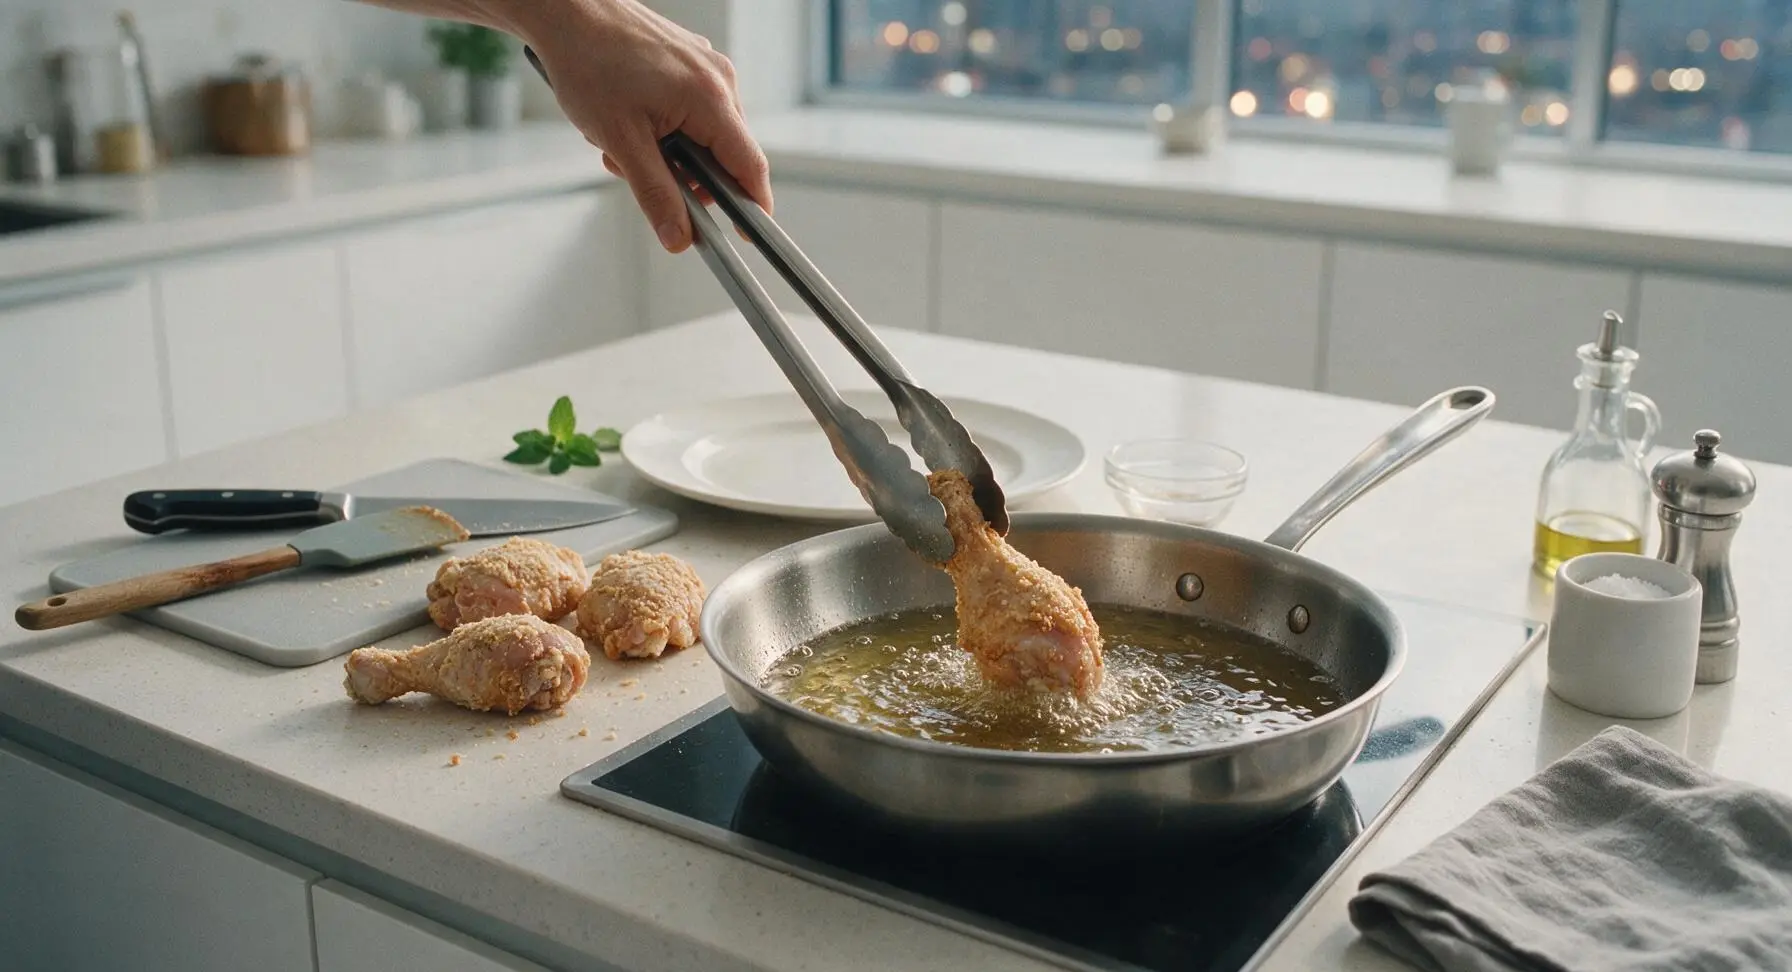
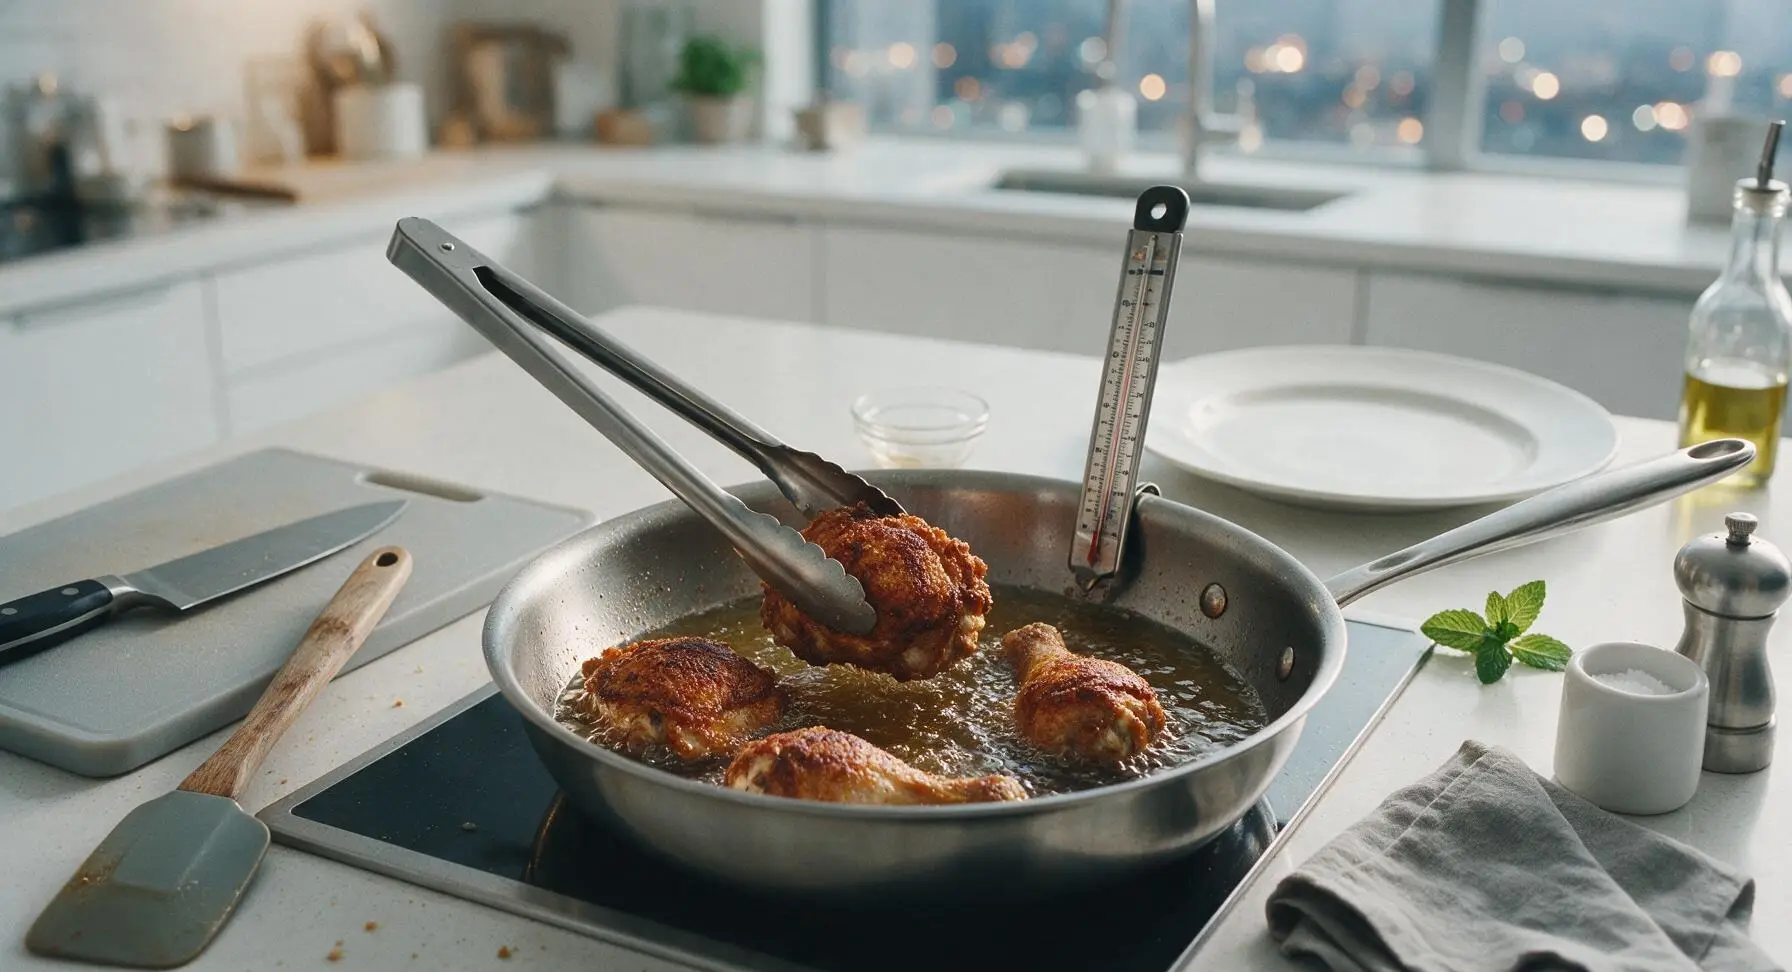
Using the 12-inch stainless steel tongs, carefully lower 4 dark meat pieces (2 thighs, 2 drumsticks) into the hot oil, laying pieces away from your body to avoid hot oil splatters. Fry for 7 minutes undisturbed, then flip each piece with tongs. Fry for an additional 6-7 minutes, until the crust is deep golden brown and the internal temperature reaches 165°F when checked with the instant-read thermometer. Do not overcrowd the pan, as this drops oil temperature and leads to soggy crust.
Step 5
step5:Fry First Chicken Batch
Step 5
step5:Fry First Chicken Batch
6

Drain Cooked Chicken

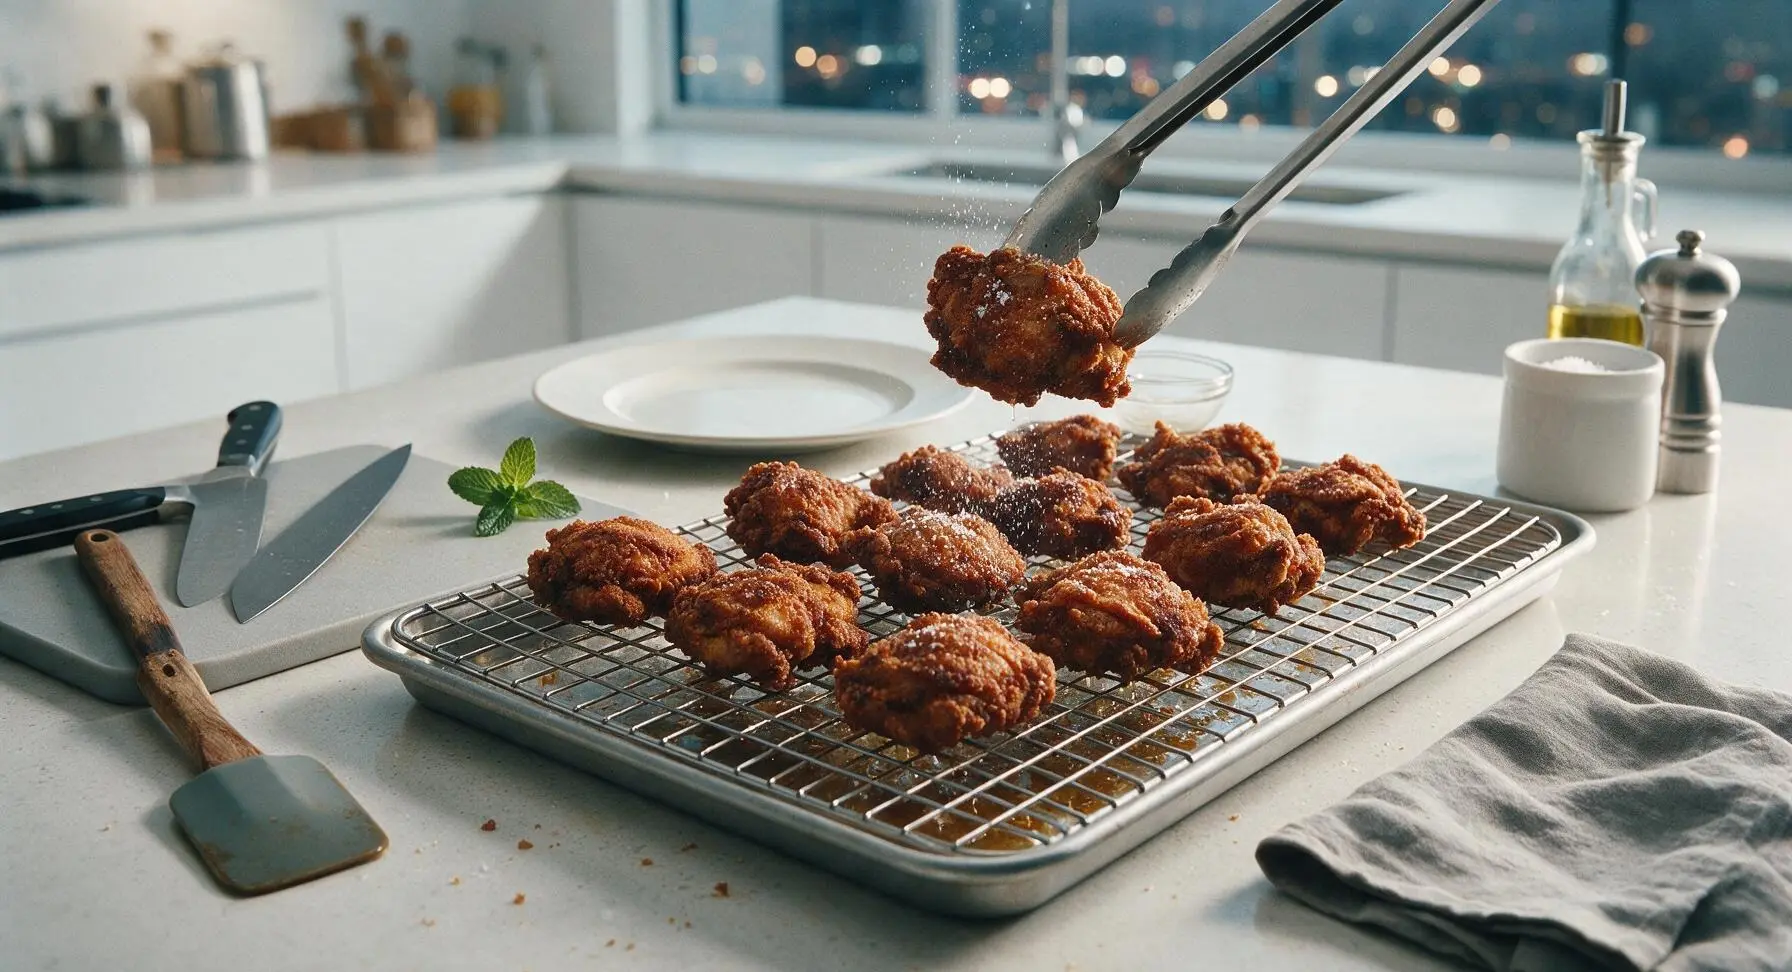
As each dark meat piece finishes cooking, lift it from the oil with tongs, letting excess oil drip back into the skillet for 3 seconds. Transfer pieces to the chrome wire cooling rack set over the aluminum baking sheet, arranged in a single layer so pieces do not touch. Lightly sprinkle each piece with a pinch of extra kosher salt immediately after removing from oil, while the crust is hot and porous to absorb the seasoning.
Step 6
step6:Drain Cooked Chicken
7

Fry Second Chicken Batch

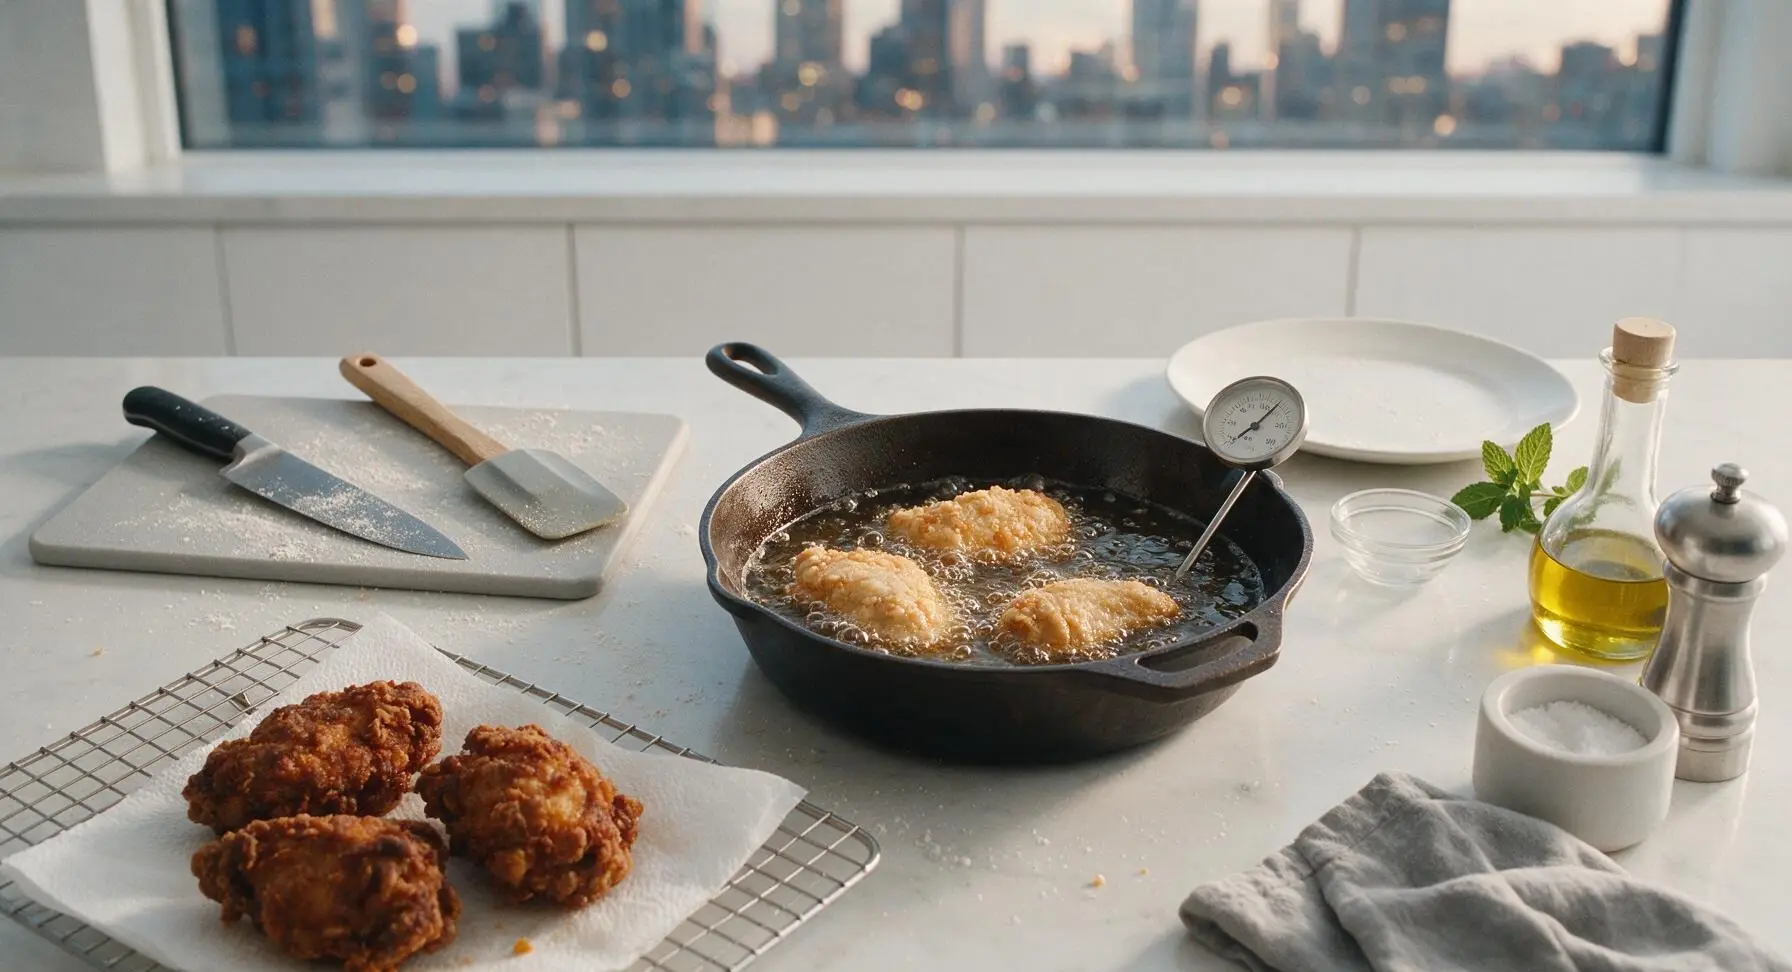
Check oil temperature with the deep fry thermometer, adjusting burner heat to bring it back to a steady 350°F. Add the remaining 4 white meat pieces (2 split breasts, 2 wings) to the skillet, repeating the same frying process: 7 minutes per side, until crust is deep golden and internal temperature hits 165°F. Note that white meat cooks slightly faster than dark meat, so start checking temperature at 12 minutes total cook time to avoid overcooking dry breast meat.
Step 7
step7:Fry Second Chicken Batch
8

Rest and Plate Chicken

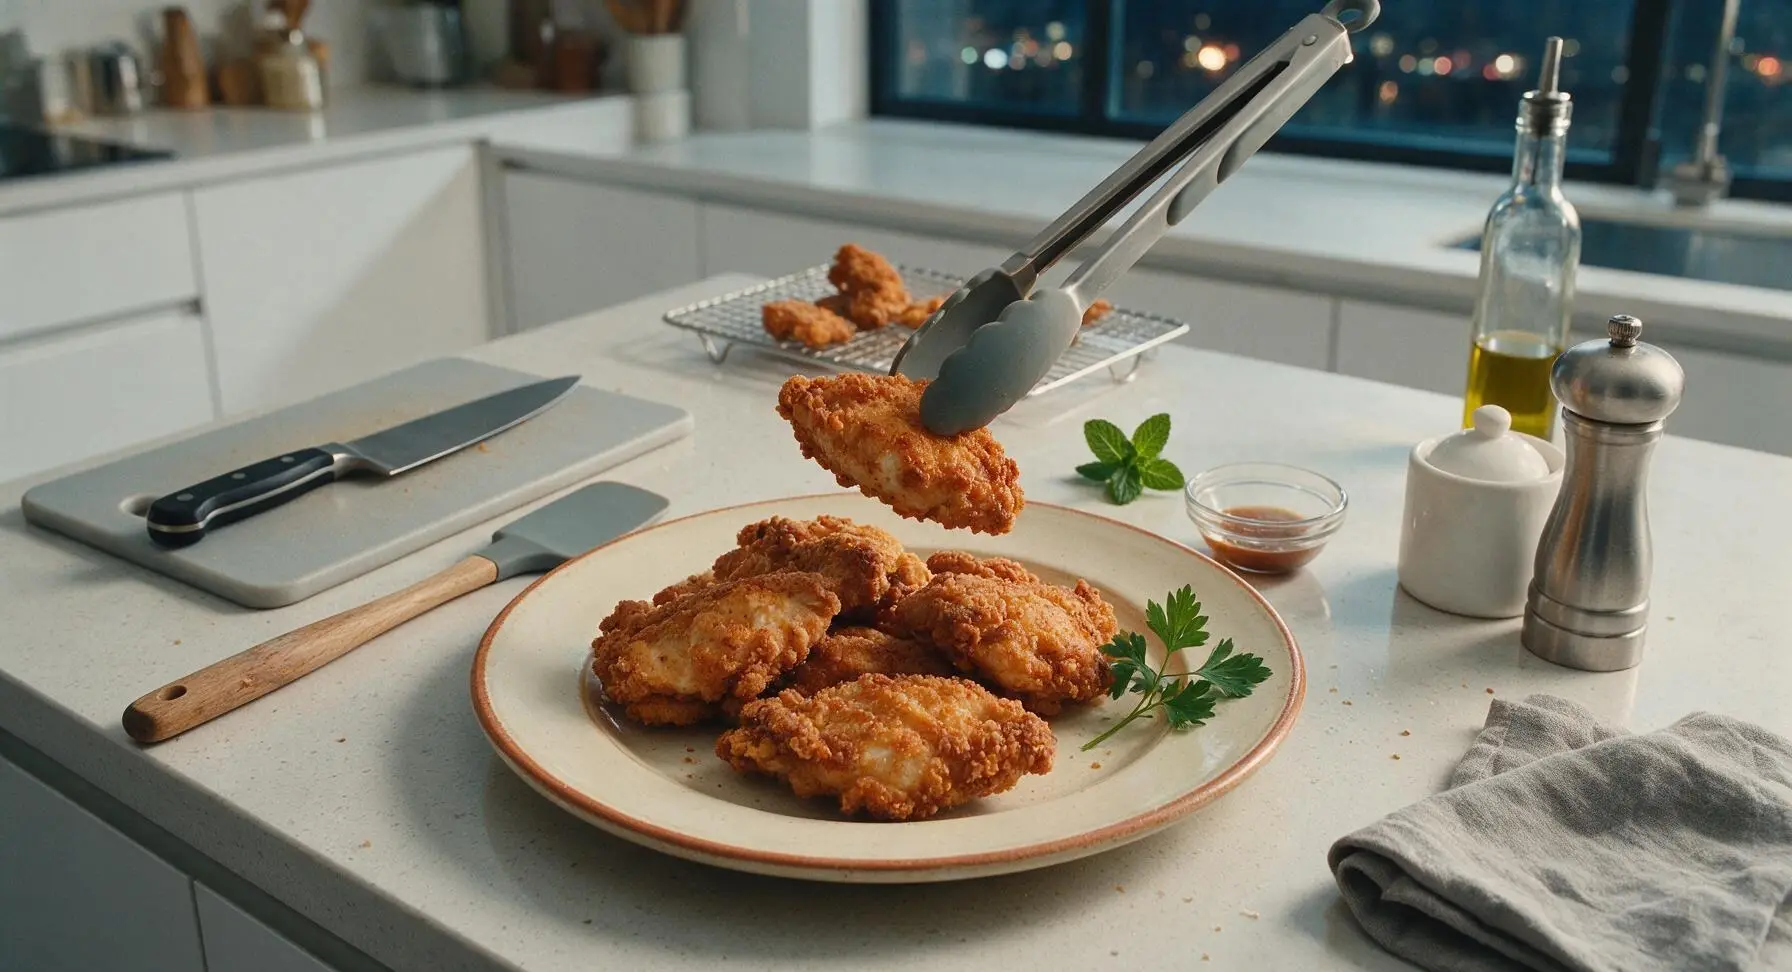
Once all chicken is cooked, let pieces rest on the wire rack for 5 minutes to allow the crust to set and juices to redistribute inside the meat. Transfer pieces to the 10-inch vintage cream ceramic dinner plate with terracotta rim, stacking loosely, and tuck the reserved fresh parsley sprig between pieces for a bright pop of color. Serve warm.
Step 8
step8:Rest and Plate Chicken

Tips

1.Let breaded chicken rest 5 minutes before frying: this resting period lets the flour and buttermilk-egg mixture bind into a sticky, cohesive layer that creates a shatteringly crisp crust that adheres to the chicken, rather than flaking off into the hot oil during frying.
2.Maintain a steady 350°F oil temperature: oil that is too hot will burn the outer crust before the chicken cooks through to the bone, while oil below 340°F will cause the breading to absorb excess oil, resulting in a greasy, soggy crust. Check temperature between every batch with the clipped fry thermometer.
3.Drain chicken on a wire rack, not paper towels: resting fried chicken on an elevated rack allows air to circulate around every side of the pieces, keeping the crust crisp. Draining on paper towels traps steam against the bottom of the chicken, turning that side soft and soggy within minutes.


✨ You May Also Like

Main Course
🍜 United Kingdom

A showstopping classic of tender seared beef, savory mushroom duxelles, and crisp prosciutto wrapped in flaky golden puff pastry, baked to juicy perfection.

⏱️ 2 hours 1Main Course ★ 4.7
Main Course
🍜 India

Tender charred marinated chicken simmered in a rich, spiced creamy tomato sauce, this iconic Anglo-Indian curry pairs perfectly with basmati rice or warm naan.

⏱️ 50 minuteMain Course ★ 4.6
Main Course
🍜 Thailand

Classic tangy, sweet, and savory Thai stir-fried rice noodles with shrimp, tofu, and crunchy garnishes, balancing all five core Thai flavor profiles.

⏱️ 30 minuteMain Course ★ 4.5
Main Course
🍜 United Kingdom

Crispy golden beer-battered cod and fluffy double-fried chips, served with tangy tartar sauce and malt vinegar: the timeless, beloved British pub comfort classic.

⏱️ 45 minuteMain Course ★ 4.7
Main Course
🍜 Mexico

Smoky, chile-marinated pork tacos with caramelized pineapple, fresh cilantro, and lime: a beloved classic Mexican street food perfect for casual summer gatherings.

⏱️ 1 hour 45Main Course ★ 4.8
Main Course
🍜 United States

Crunchy Fritos corn chips layered with savory beef chili and melted cheddar, topped with cool, zesty fixings for a beloved, cozy Tex-Mex comfort food.

⏱️ 35 minuteMain Course ★ 4.8

paula deen fried chicken:Frequently Asked Questions

1.How long should I marinate the chicken in buttermilk for the juiciest, most flavorful results? ▾
For that classic tender, tangy Paula Deen-style bite, marinate for a minimum of 4 hours covered in the fridge, though 12–24 hours is ideal. The buttermilk’s lactic acid gently breaks down tough muscle fibers without making meat mushy, and it helps the flour coating adhere for that perfect shattery crust.
2.Can I use boneless, skinless chicken instead of the called-for bone-in, skin-on cuts? ▾
You absolutely can, though you’ll lose some of the rich, savory depth the skin and bone contribute. If you opt for boneless, skinless cuts, cut marinating time down to 1–2 hours to avoid mushy texture, and watch cook time closely—boneless pieces cook 30–40% faster and dry out quickly if overfried.
3.How much Louisiana-style hot sauce should I add to the buttermilk marinade? ▾
Paula’s classic ratio is 2 tablespoons of hot sauce per 2 cups of buttermilk, mixed with the 2 beaten eggs, for a subtle, zesty kick that doesn’t overpower the chicken. If you love extra heat, bump that up to 3–4 tablespoons—just don’t add so much that it thins the marinade too much to stick to the chicken.
4.What type of oil works best for frying this chicken to get that signature golden crust? ▾
Reach for a neutral, high-smoke-point oil like peanut, canola, or vegetable shortening for the most authentic results. Heat it to a steady 350°F before adding chicken—if the oil is too cool, the crust will soak up excess grease and get soggy; if it’s too hot, the outside will burn before the meat cooks through.
5.Why does my fried chicken crust fall off when I cook it, and how do I fix that? ▾
Crust slippage almost always comes down to two easy fixes: First, pat marinated chicken lightly before dredging so it’s not dripping wet, then let the floured chicken rest on a wire rack for 15–20 minutes before frying. That rest time lets the flour set into a sticky, cohesive coating that won’t slide off in the oil.
6.How do I know when the chicken is fully cooked without cutting into it and losing juice? ▾
The most reliable method is to use an instant-read meat thermometer: stick it into the thickest part of each piece, avoiding bone, and pull it when it hits 165°F. Dark meat (thighs, drumsticks) usually takes 12–14 minutes, while white meat (breasts, wings) takes 10–12 minutes at a steady 350°F oil temp.
7.Can I bake this chicken instead of deep frying it for a lighter version? ▾
You can get a close, crisp result in the oven if you don’t want to deep fry. After dredging, arrange chicken on a wire rack set over a baking sheet, spritz lightly with oil, and bake at 425°F for 40–45 minutes, flipping halfway, until it hits 165°F internal temp. It won’t be identical to deep fried, but it’s still delicious.
8.Do I need to season the flour, or is the buttermilk marinade flavorful enough on its own? ▾
Don’t skip seasoning the flour—that’s a common mistake that leads to bland, boring crust. Add 1 tablespoon of kosher salt, 1 teaspoon of black pepper, 1 teaspoon of garlic powder, and 1 teaspoon of paprika to every 2 cups of all-purpose flour for dredging to match Paula’s classic well-seasoned bite.
9.How do I keep the chicken crisp while I finish frying all of my batches? ▾
Never stack freshly fried chicken on a paper towel-lined plate—that traps steam and turns the crust soggy fast. Instead, set cooked pieces on a wire rack placed over a baking sheet, and hold them in a 200°F oven while you fry remaining batches. This keeps air circulating so the crust stays shatteringly crisp.
10.Can I make this fried chicken ahead of time for a picnic or potluck? ▾
Absolutely! This chicken holds up beautifully for casual gatherings. Let it cool completely after frying, then store it in an airtight container in the fridge for up to 3 days. Skip microwaving to reheat—warm it on a wire rack in a 375°F oven for 10–12 minutes to crisp the crust back up before serving.
11.What’s the easiest way to cut a whole chicken into 8 pieces if I don’t buy pre-cut? ▾
It’s totally doable at home even if you’re a beginner with a sharp chef’s knife! Start by removing both wings at the shoulder joint, then cut off the leg quarters and split each into a drumstick and thigh at the knee joint. Finally, split the whole breast down the center into two equal pieces for evenly sized cuts that cook consistently.

Comments (12)

2 days ago

OMG y’all, this fried chicken tastes exactly like the kind my grandma used to make for Sunday suppers! The crust is perfectly crispy, not too heavy, and the meat is so juicy it runs down your wrist when you take a bite. I made this for my family dinner last night and my kids loved it so much they went back for seconds AND thirds. Total game changer, I’ll never use another fried chicken recipe again!

yesterday

So glad this recipe brought back those sweet family memories for you! Nothing beats crispy juicy fried chicken for a Sunday supper, we’re thrilled your kids loved it too!

yesterday

Agreed! I made this for our church potluck last weekend and people were asking me for the recipe before we even finished the blessing. So good!

3 days ago

Took this to a neighborhood cookout this weekend and it was the first empty plate on the table! Only thing I adjusted was adding a little extra cayenne for a tiny kick, and it was perfect. Cook time was right at 25 minutes just like the recipe said, even with my old cast iron skillet. 10/10 would make again.

2 days ago

Love that cayenne tweak! A little extra heat pairs so well with that classic savory crust, we’re happy it was a hit at your cookout!

2 hours ago

Wait, has anyone tried making a big batch of this for meal prep? I’m wondering if the crust stays crispy if I store it in the fridge and reheat it in the air fryer during the week. I’m always looking for protein options that don’t get sad and soggy!

30 minutes ago

I did this last week! Reheated at 375 in the air fryer for 6 minutes and the crust was almost as crispy as fresh. My husband took leftovers for work lunch and said it was way better than the fast food chicken by his office.

5 minutes ago

Great question! As @BusyMomof3 mentioned, air frying is the best way to reheat this to keep the crust crisp. We don’t recommend microwaving it, as that will make the breading soggy. It keeps great in the fridge for up to 3 days!

1 week ago

I’ve been making fried chicken for over 50 years and I was skeptical a recipe online could measure up, but color me impressed! The seasoning blend is spot on, not too salty, just the right amount of paprika and garlic powder. My only tip is to make sure you let the chicken rest for a few minutes after breading so the coating doesn’t fall off when you fry it.

5 days ago

That rest time tip is gold! Letting the breading set really does make all the difference in keeping that crispy crust intact, thanks for sharing that with the community!

yesterday

Made this for my fantasy football draft party last night and my friends were raving so hard they almost forgot to make their picks. I used boneless thighs instead of a whole cut up chicken because they’re easier to eat while yelling at the TV, and it worked perfectly. Will be making this for every game day from now on!

5 days ago

Okay, I have three super picky kids who turn their nose up at almost everything I cook, and they DEVOURED this. I served it with mac and cheese and collard greens just like the recipe suggested, and my oldest even asked if we could have it for his birthday dinner next month. Worth every minute of prep!

3 days ago

That makes our day! There’s no better compliment than a kid asking for your cooking for their birthday dinner. Hope the birthday celebration is delicious!

2 weeks ago

I fry a lot of chicken, like a lot, and I have to say this recipe is solid. My only complaint is that the cook time listed was a little short for my bigger bone-in breasts — I had to add about 7 extra minutes to make sure they hit 165 degrees internally. Just a heads up for folks using larger cuts! Flavor was unbeatable though.

1 week ago

Thanks for the heads up! I always use big bone-in breasts too, I would’ve been stressing if I pulled them out at 25 minutes and they were still raw. Appreciate the tip!

1 week ago

Great call out! Cook time can vary a bit based on the size of your chicken pieces and how hot your oil stays, so we always recommend using a meat thermometer to check for that 165°F internal temp. So glad you loved the flavor!

30 minutes ago

First time ever making fried chicken and I was so nervous I’d mess it up, but this recipe was so easy to follow! I didn’t have a cast iron skillet so I used my regular deep pot and it still turned out crispy and juicy. My roommates are already begging me to make it again this weekend. SO good.

5 minutes ago

Way to nail your first batch of fried chicken! You don’t need fancy equipment to make great food, we’re stoked your roommates loved it. Enjoy that second batch!

1 week ago

I grew up eating Paula Deen’s cooking at her restaurant in Savannah, so I had high hopes for this recipe. Let me tell you, it did not disappoint! Tastes exactly like what I remember, like pure Southern comfort. I made this for my mom when she came to visit and she said it tasted just like her mom’s recipe too.

2 days ago

Tried this for a quick weeknight dinner last night and it was way easier than I expected! I thought fried chicken would be a whole weekend project, but 25 minutes cook time is totally doable even after a long day at work. Paired it with coleslaw and cornbread and it felt like a special weekend meal on a Tuesday.

yesterday

Right?! I used to save fried chicken for special occasions too, but this is so straightforward I’ve been making it every other week now. Pro tip: throw a little hot honey on top after frying, chef’s kiss.

3 days ago

Added a tablespoon of hot sauce to the buttermilk soak and a teaspoon of smoked paprika to the flour mix, and oh my gosh it was incredible. The flavor had just enough zing without being overpowering, and the crust was shatteringly crisp. My only note is to make sure your oil is at 350 degrees before you drop the chicken in, otherwise the crust gets greasy.

2 days ago

That hot sauce in the buttermilk trick is genius! I’m making this for our church potluck next Sunday and I’m definitely stealing that tip. I bet it adds such a nice depth of flavor.

yesterday

Those sound like delicious tweaks! Keeping your oil temp steady is such an important tip, thanks for sharing that with other cooks. We hope it’s a hit at the potluck!

just now

Just pulled this out of the fryer 10 minutes ago and I had to sneak a piece before I take it to the potluck, and wow. It’s perfectly seasoned, juicy, the crust doesn’t slide off when you pick it up. I already know I’m going to be getting so many compliments on this today. Thanks for the amazing recipe!



