
peanut butter waffle

title 1
peanut butter waffle
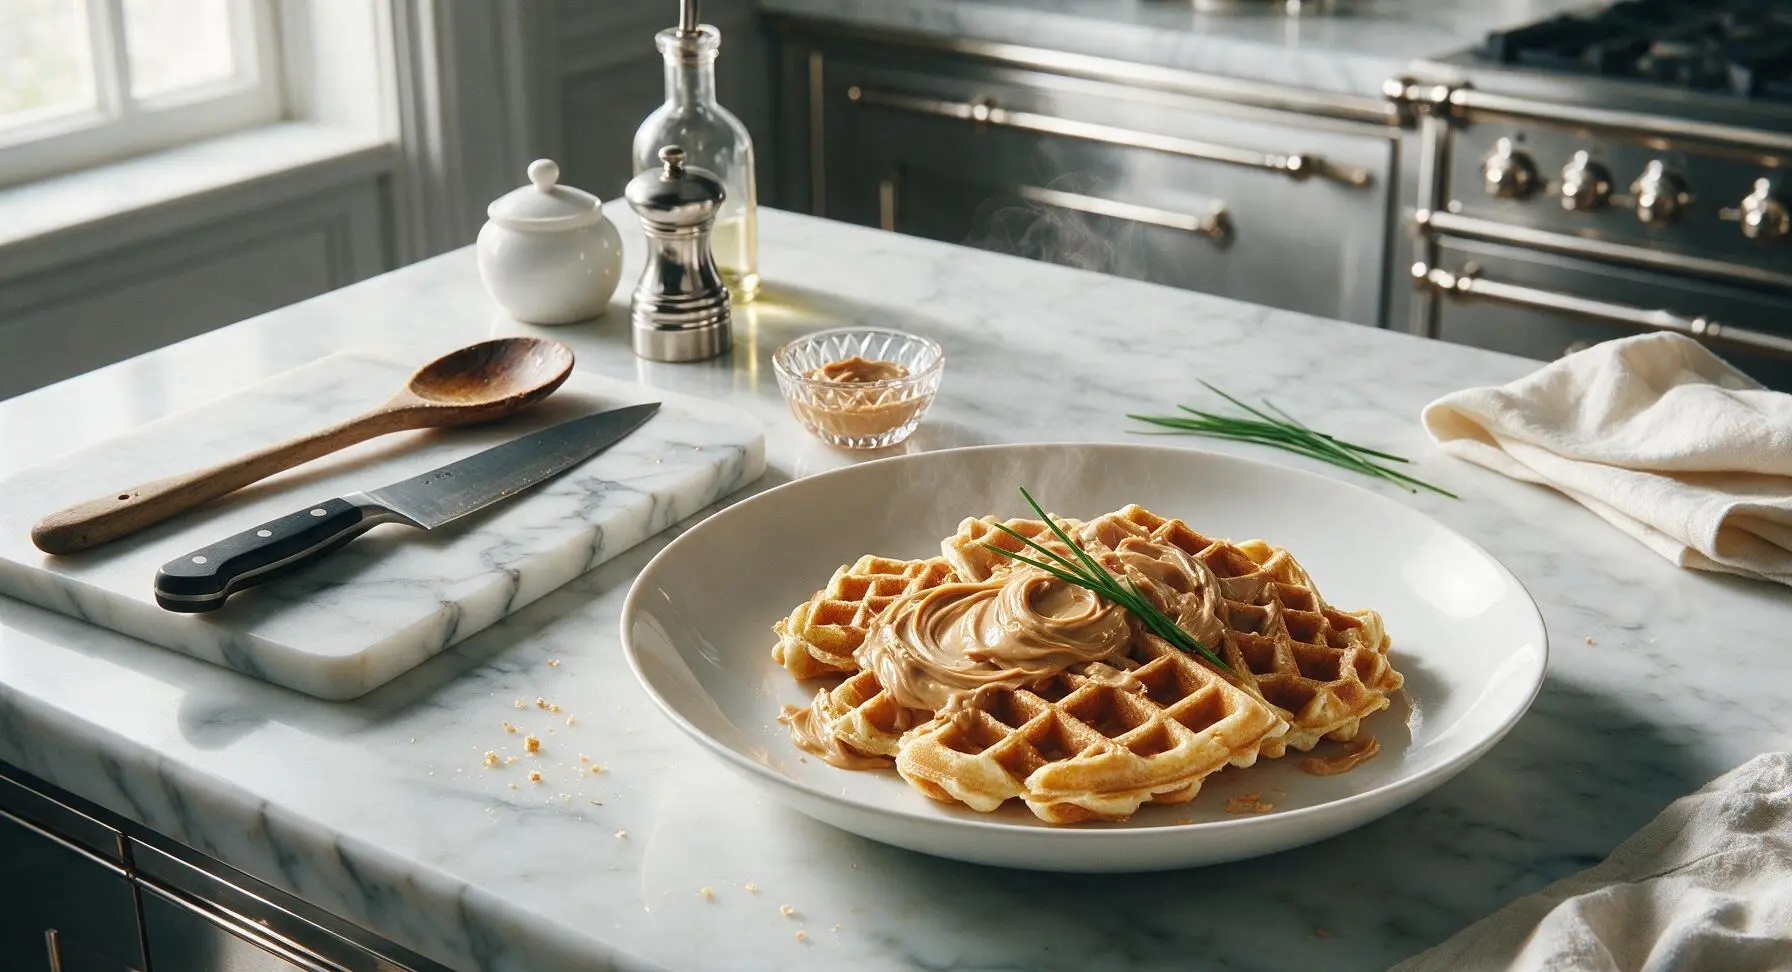
⏱️ cook time 12 minutes
🍽️ servings 4
⚡ Difficulty easy

intro

Fluffy, golden waffles swirled with creamy peanut butter, crisp at the edges and tender inside—this quick, cozy meal comes together in 22 minutes for satisfying comfort any time of day.

Ingredients
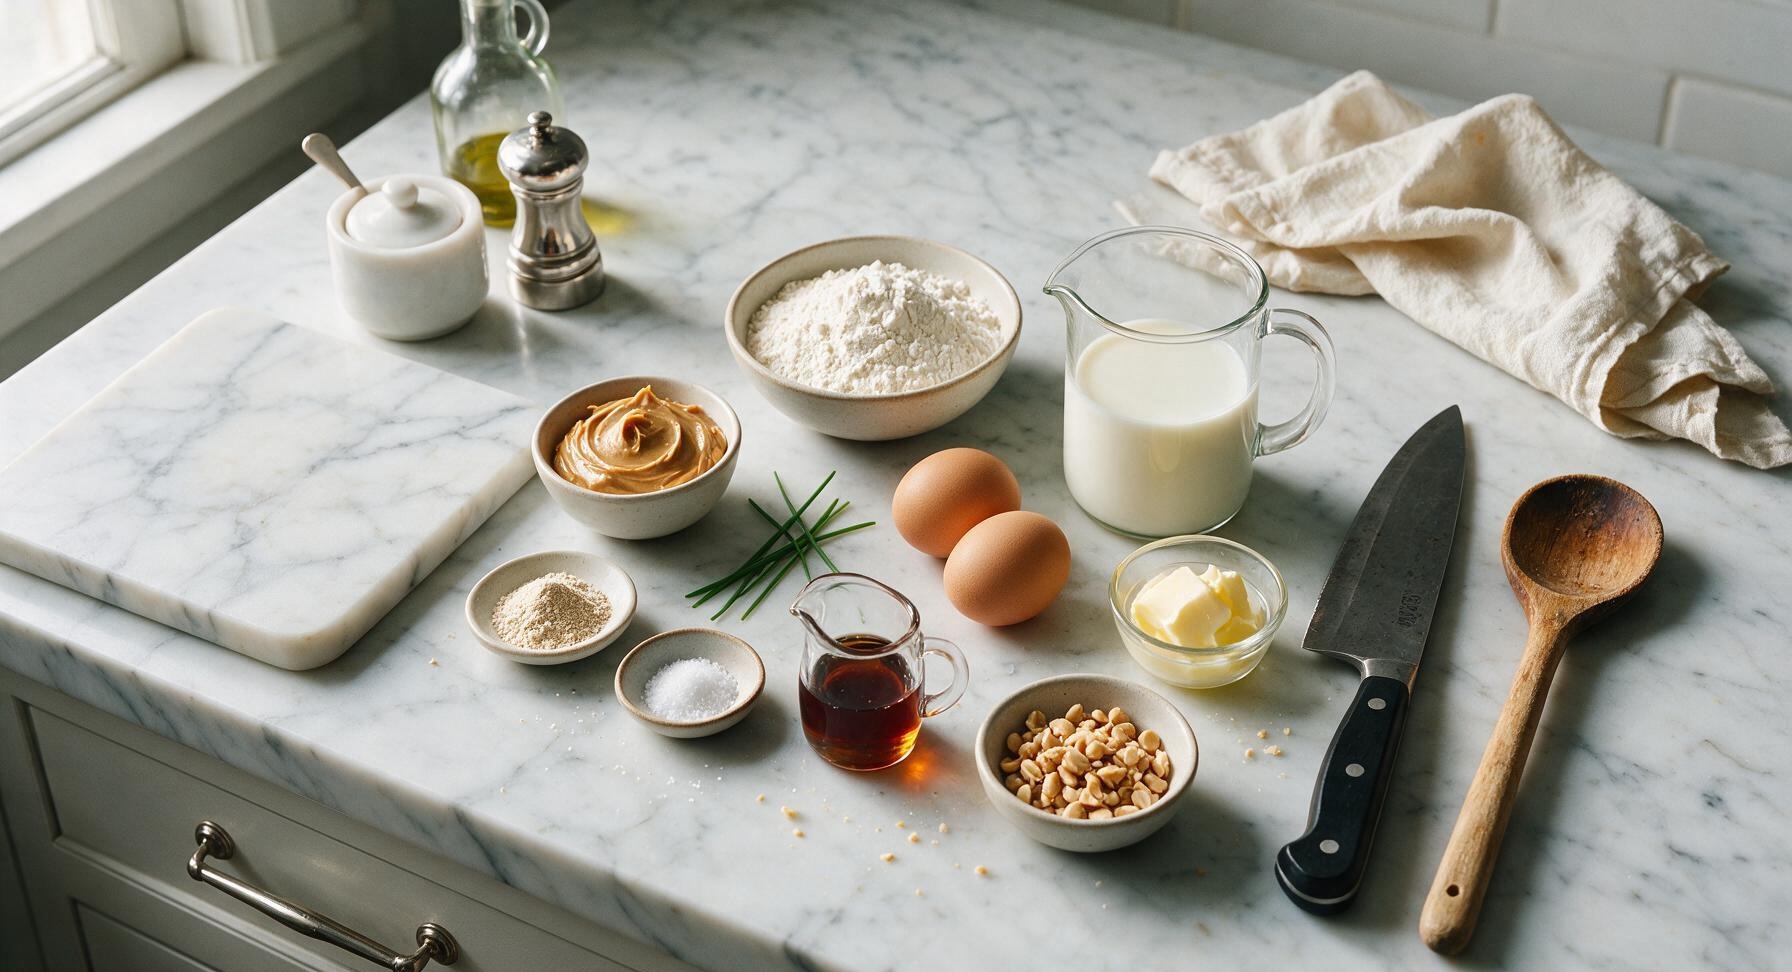
Creamy unsweetened peanut butter 1/3 cup (85g)
All-purpose flour 1.5 cups (180g)
Baking powder 2 tsp
Fine sea salt 1/2 tsp
Large eggs 2
Whole milk 1.25 cups (300ml)
Unsalted butter, melted and cooled 3 tbsp (42g)
Pure vanilla extract 1 tsp
Pure maple syrup (for serving) 1/3 cup (80ml)
Roasted salted peanuts, crushed (for garnish) 2 tbsp (15g)

Steps

1

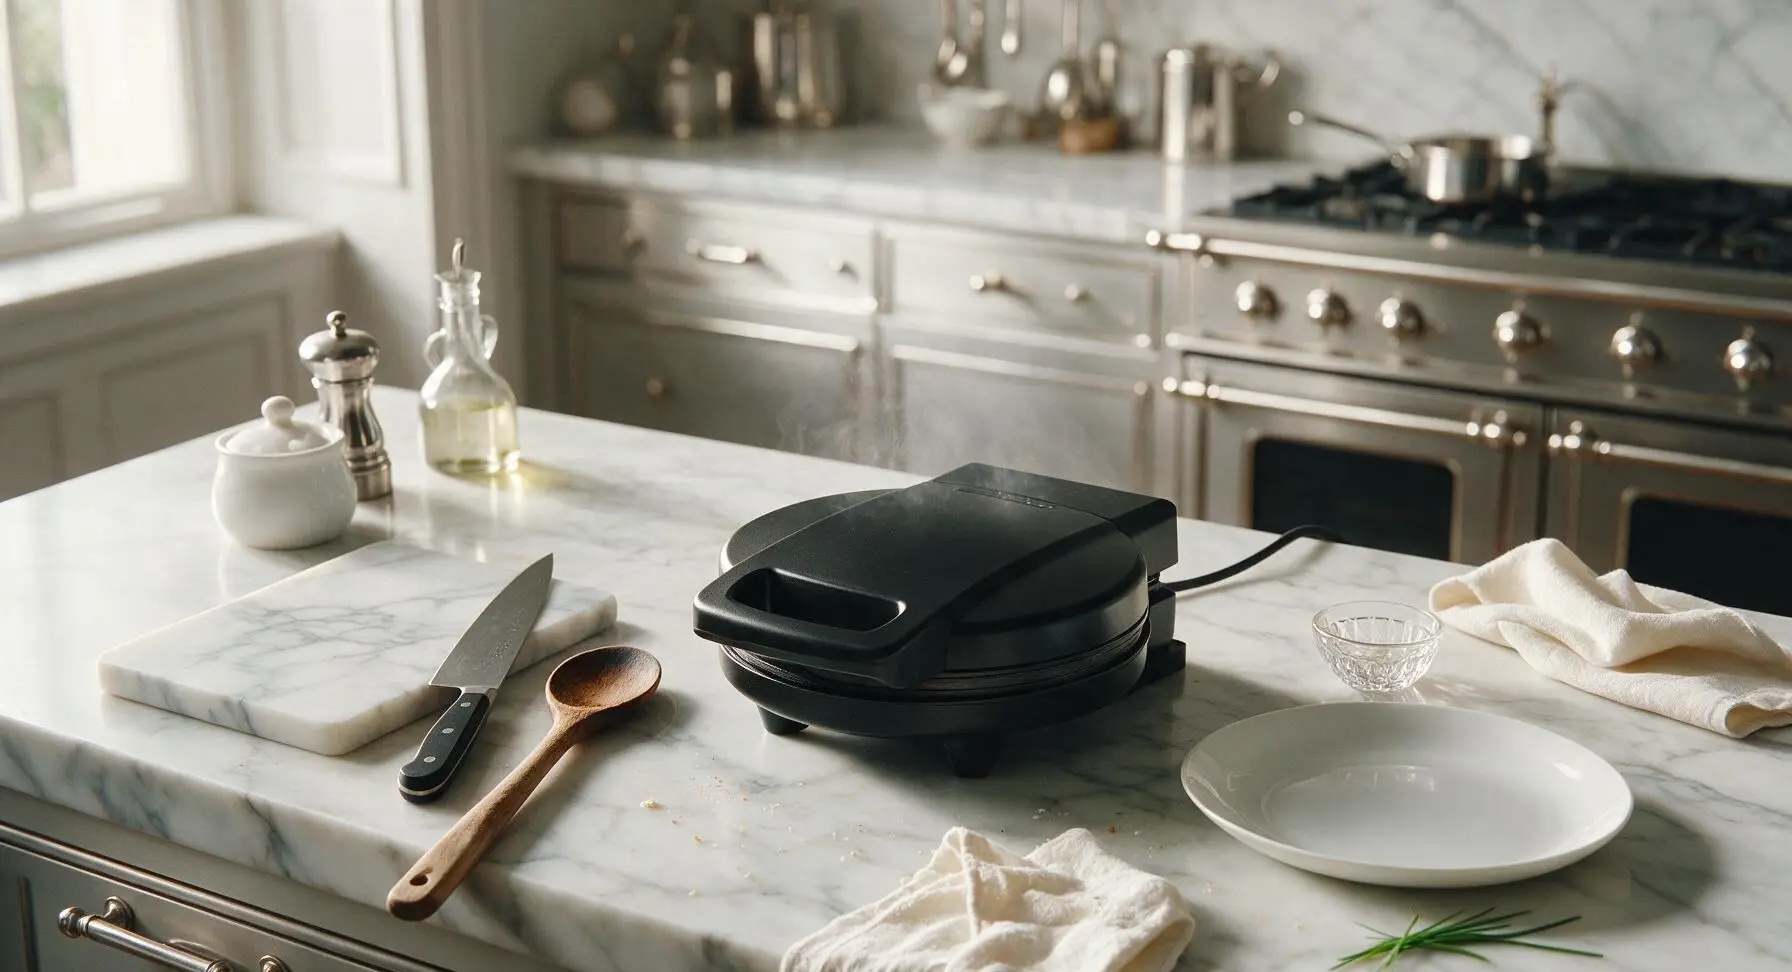
Preheat Waffle Iron

Plug in the 8-inch matte black electric waffle maker, set it to medium-high heat, and close the lid. Allow it to preheat for 4-5 minutes, until it reaches 375°F (190°C); a drop of water flicked onto the grid should sizzle and dance across the surface immediately when it is ready. Do not grease the grids if your waffle maker has a high-quality non-stick coating.
Step 1
step1:Preheat Waffle Iron
2

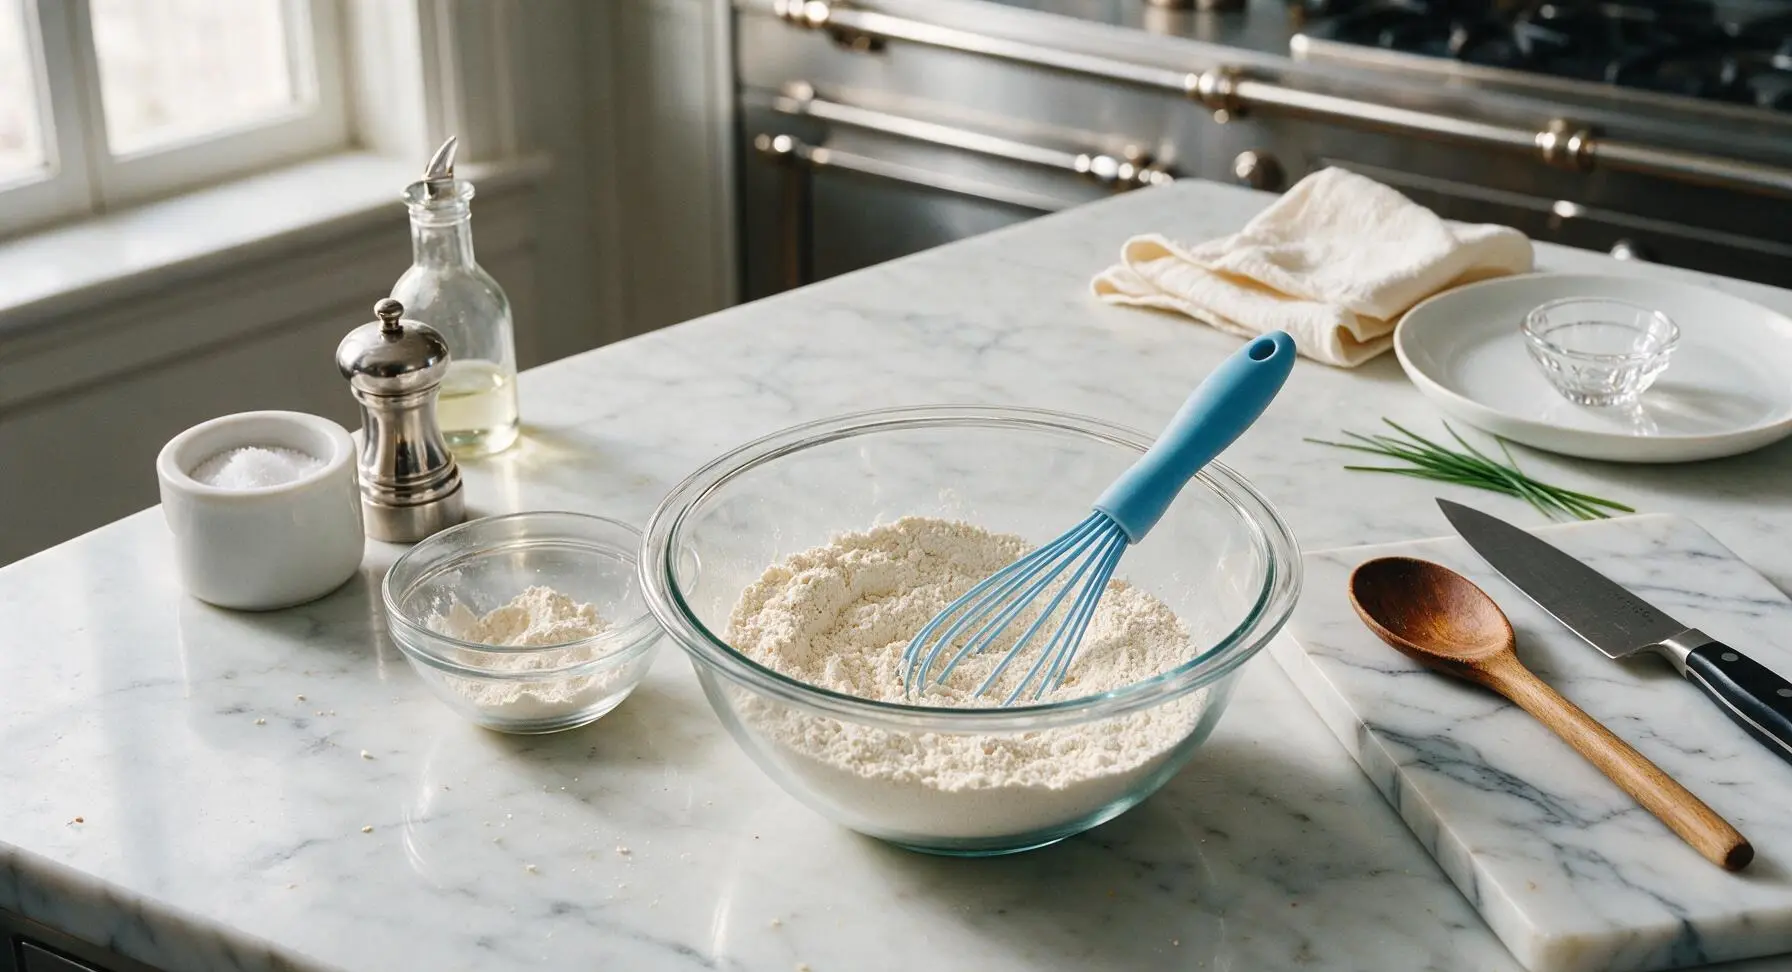
Combine Dry Ingredients

Add 1.5 cups (180g) all-purpose flour, 2 teaspoons baking powder, and 1/2 teaspoon fine sea salt to the medium clear glass mixing bowl. Use the sky blue silicone whisk to stir the ingredients for 30 seconds, until they are fully combined and evenly distributed, with no clumps of baking powder visible at the bottom of the bowl.
Step 2
step2:Combine Dry Ingredients
3

Whisk Wet Base

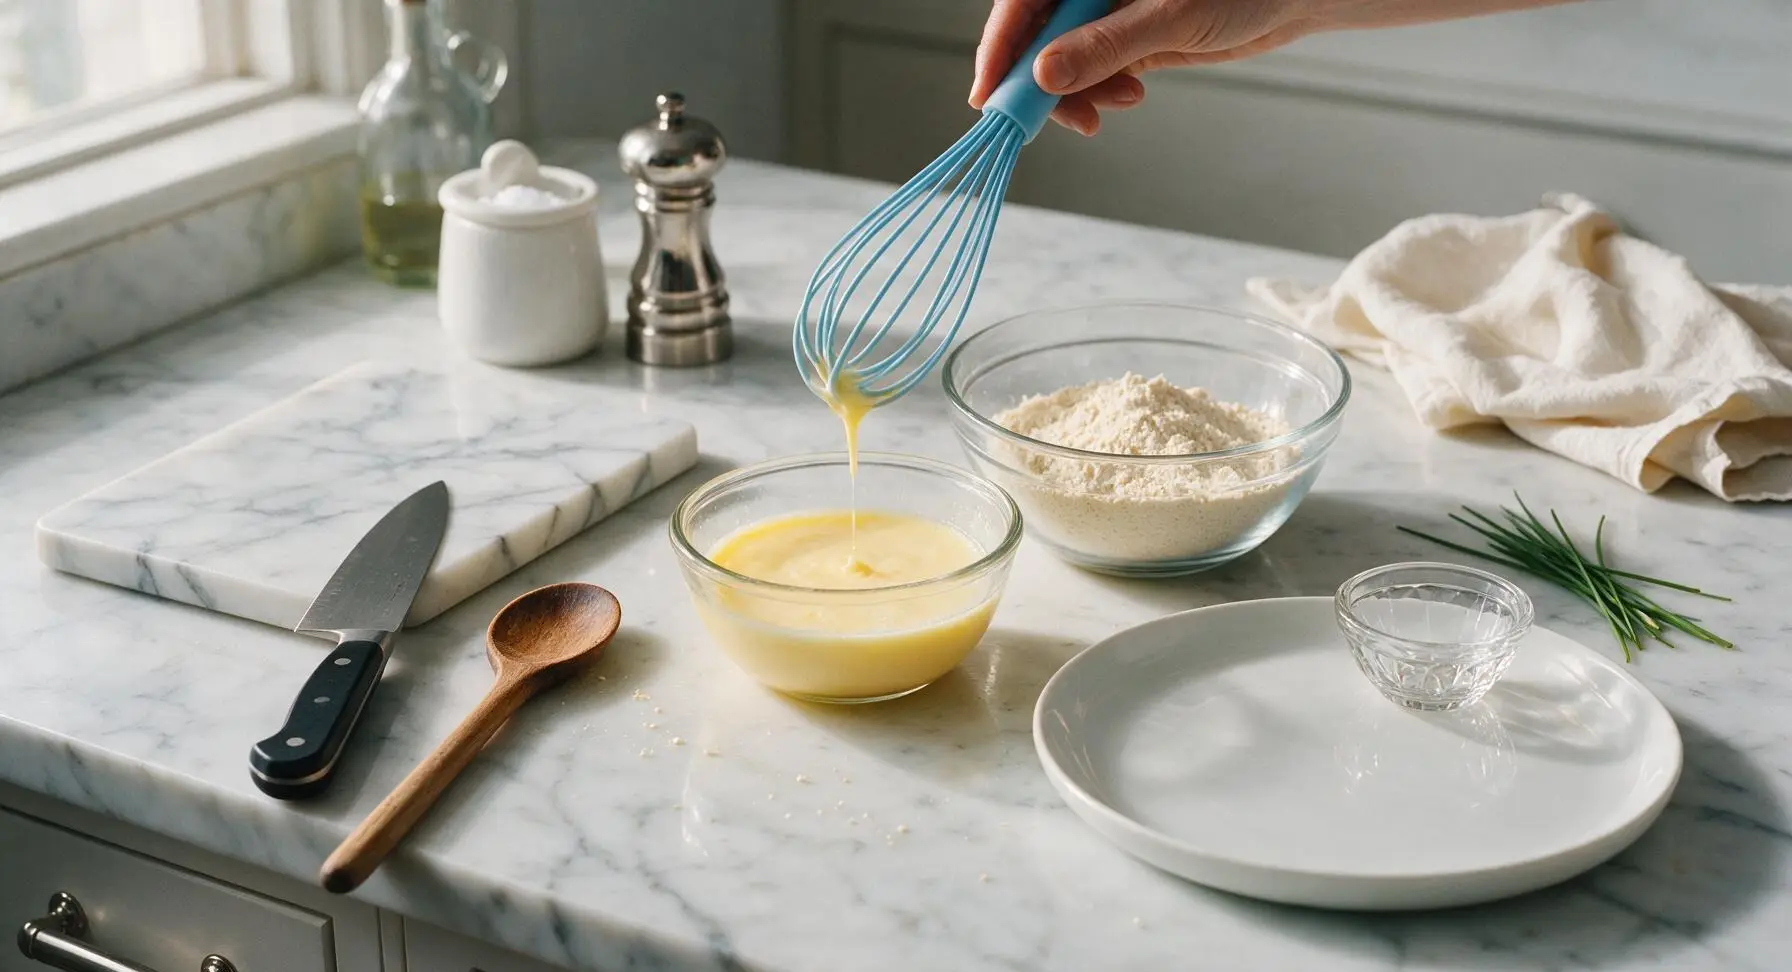
In the small clear glass prep bowl, crack 2 large eggs, then add 1.25 cups (300ml) whole milk, 3 tablespoons (42g) cooled melted unsalted butter, and 1 teaspoon pure vanilla extract. Whisk gently with the same silicone whisk for 20 seconds, until the eggs are fully broken up and the mixture is a uniform pale yellow, with no streaks of separated egg white visible.
Step 3
step3:Whisk Wet Base
4

Fold Batter Gently

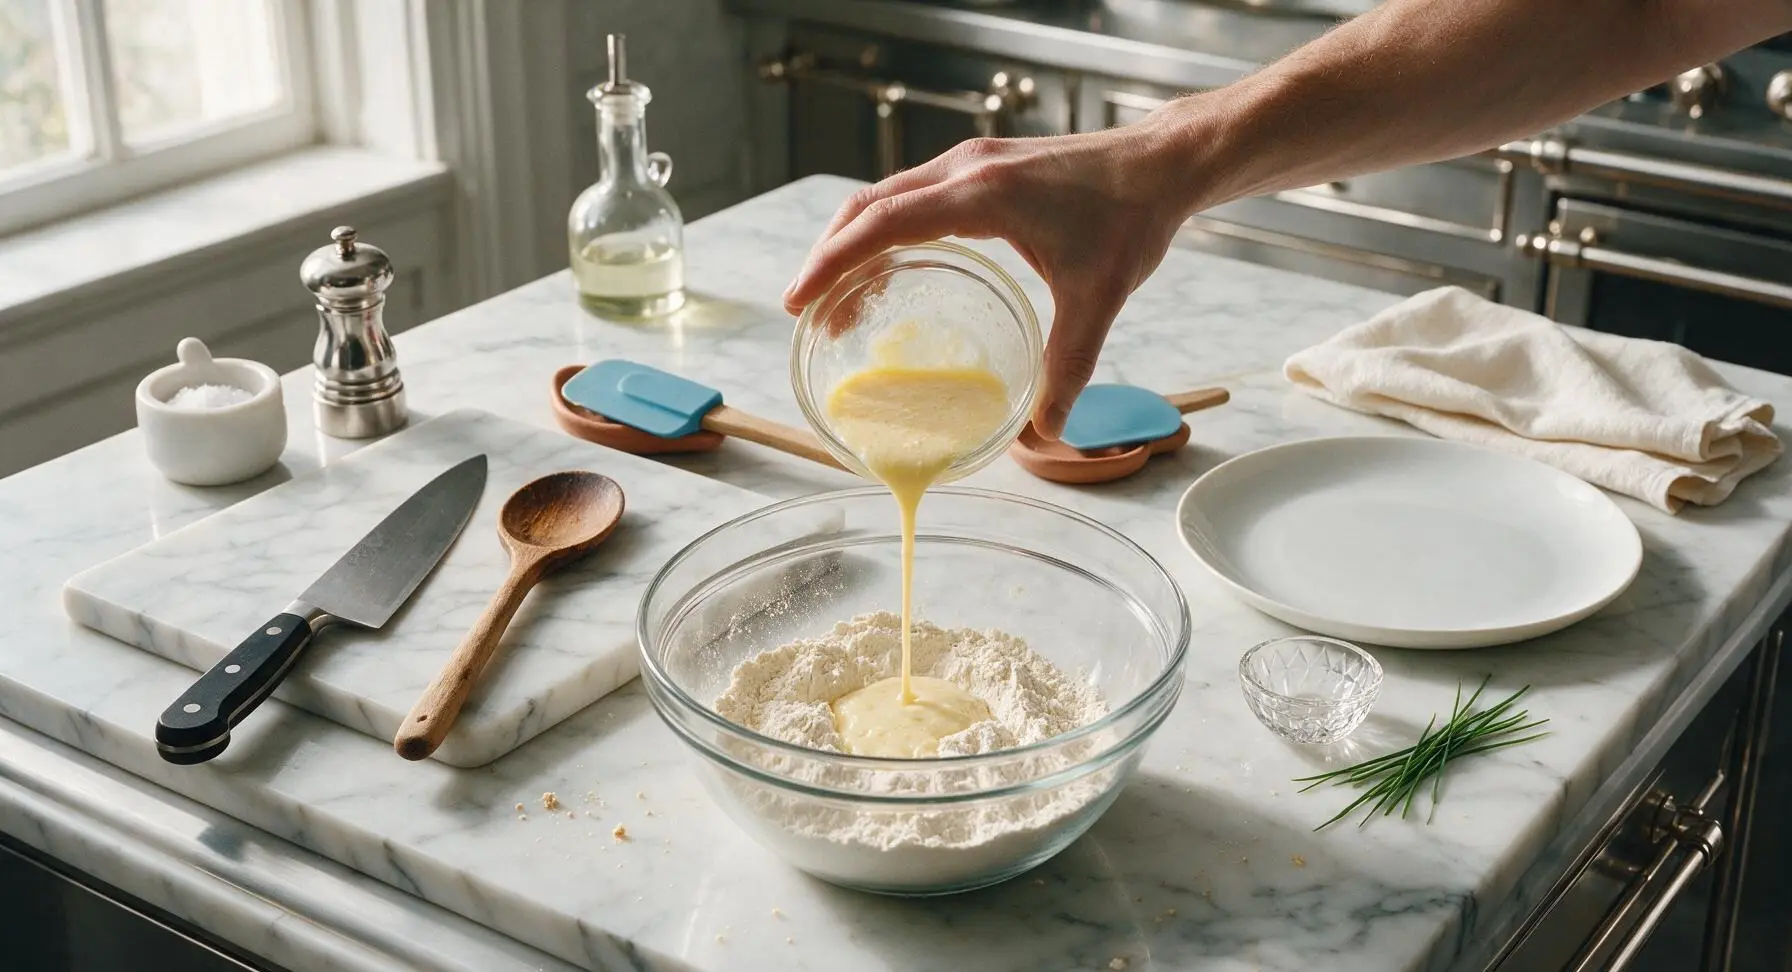
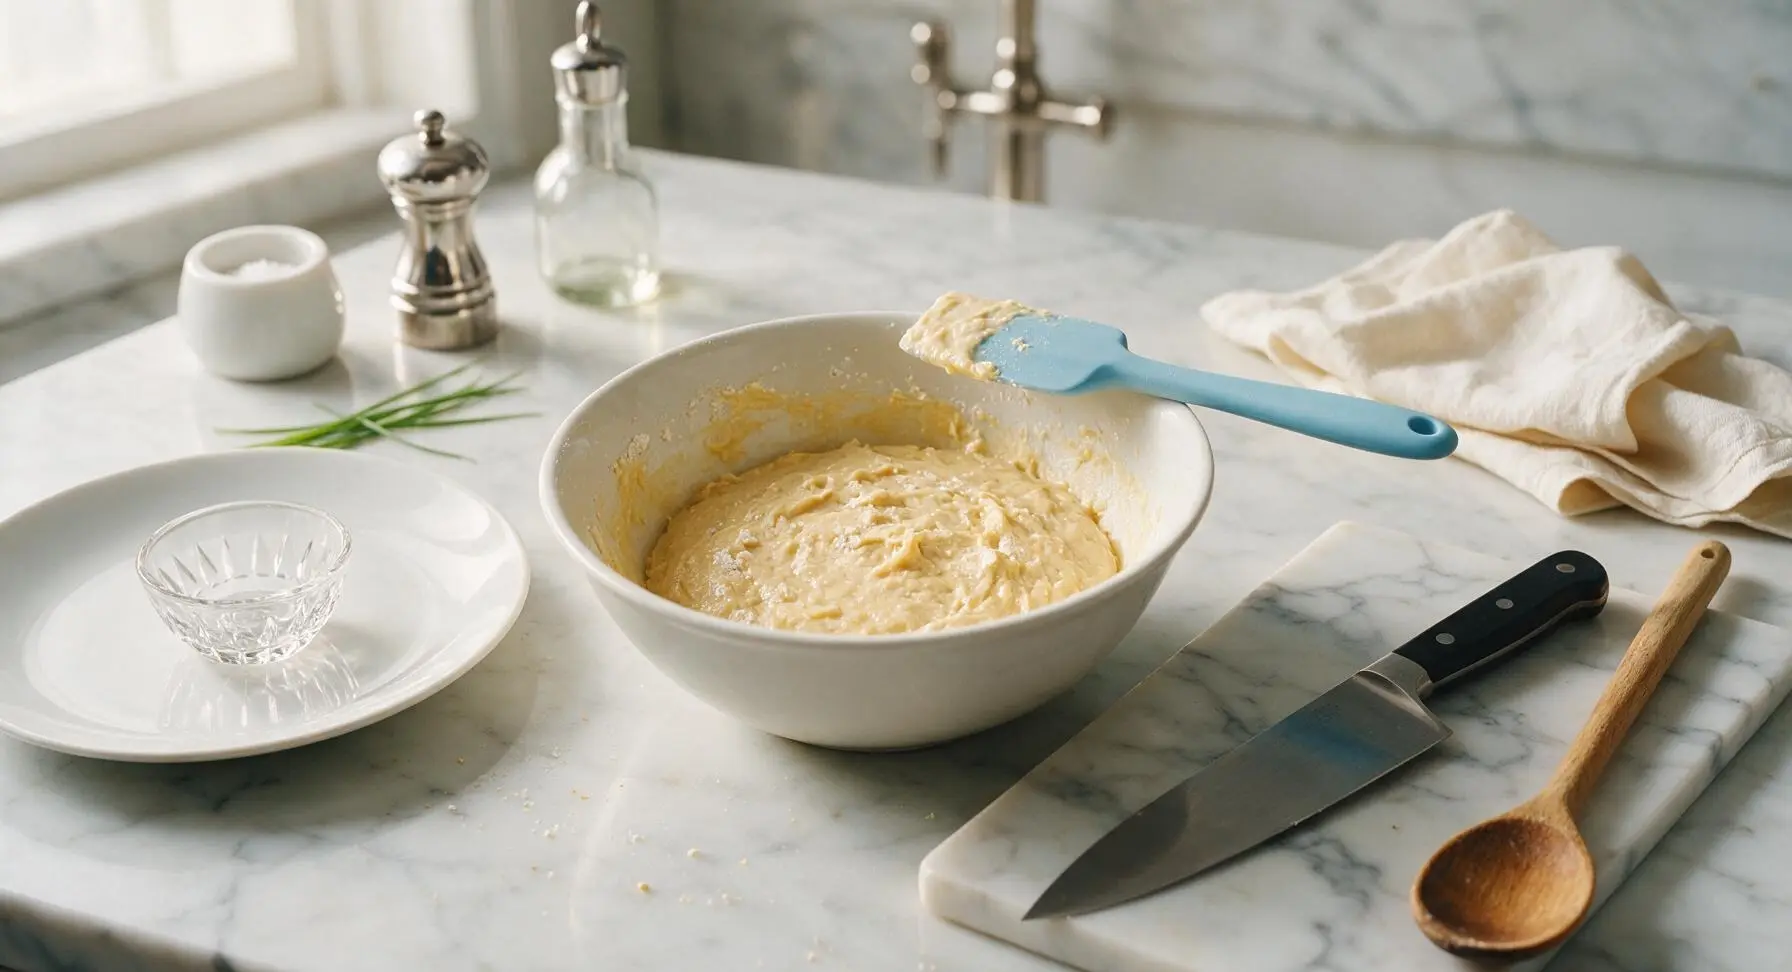
Pour the entire wet ingredient mixture from the small prep bowl into the medium mixing bowl with the dry ingredients. Use the sky blue silicone spatula to fold the ingredients together in slow, broad strokes, stopping as soon as no large pockets of dry flour remain. The batter will be slightly lumpy—do not overmix, as this will make waffles tough.
Step 4
step4:Fold Batter Gently
Step 4
step4:Fold Batter Gently
5

Swirl Peanut Butter In

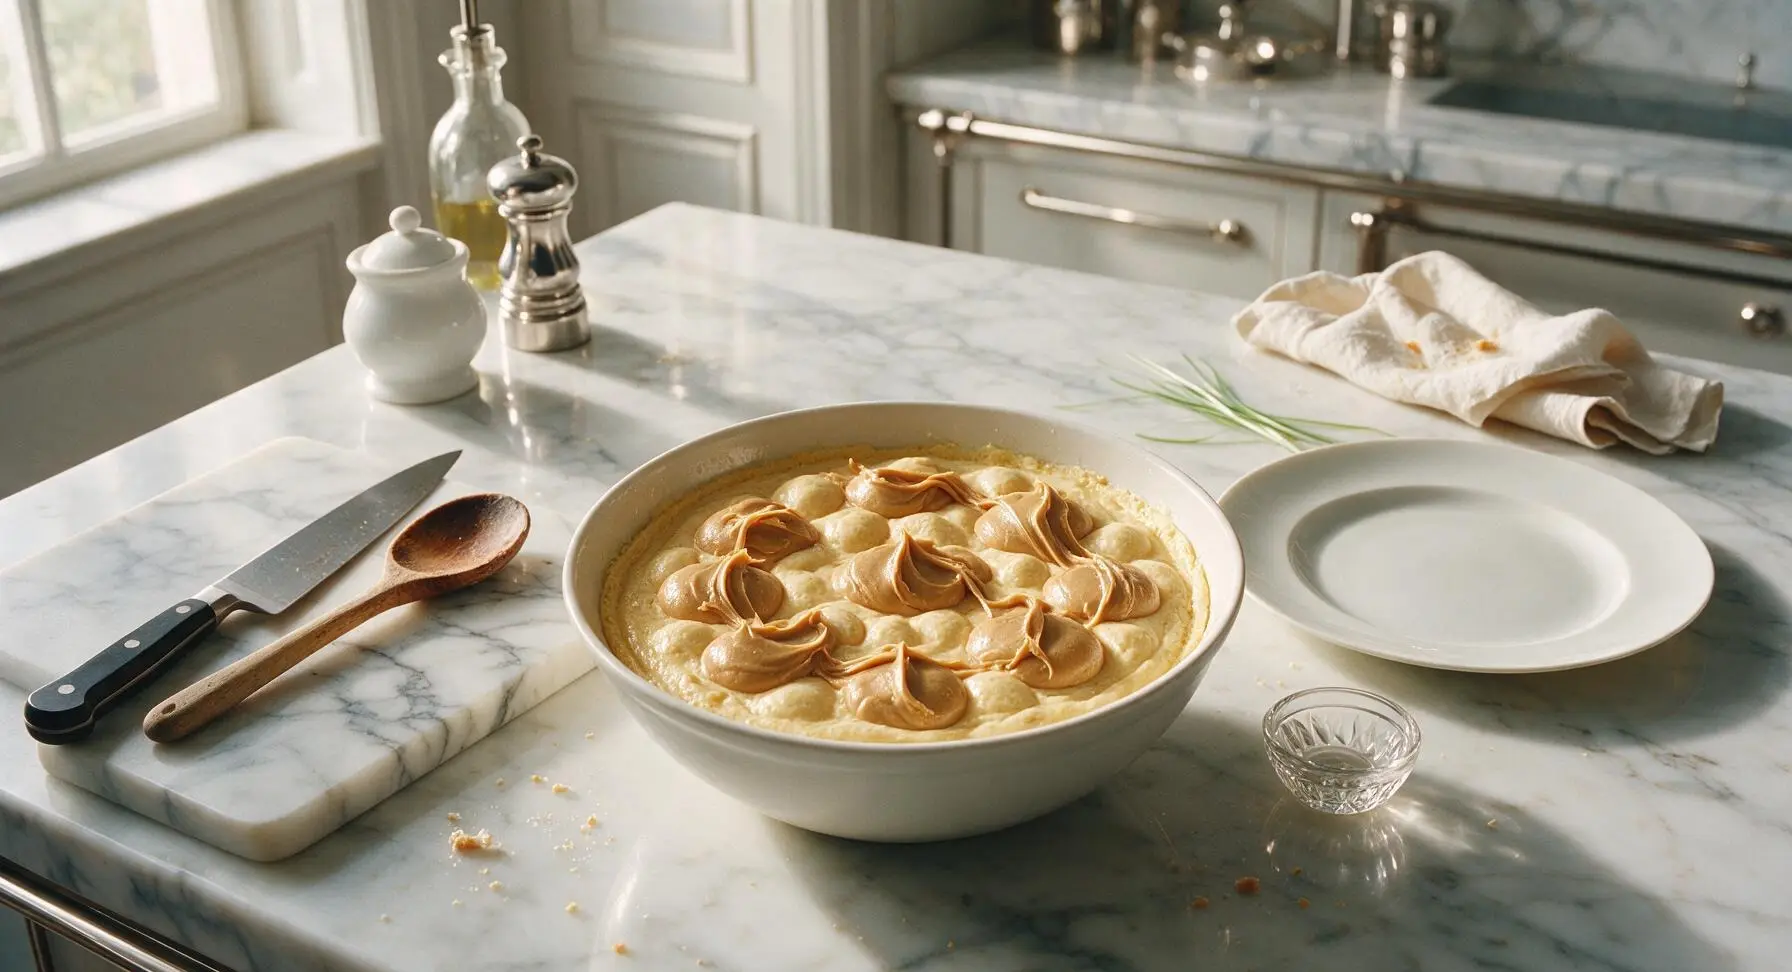
Soften 1/3 cup (85g) creamy unsweetened peanut butter for 10 seconds in the microwave if it is very thick, then dollop spoonfuls across the top of the waffle batter. Use the tip of the spatula to gently swirl the peanut butter through the batter in 2-3 broad strokes—do not fully mix it in, so thick ribbons of peanut butter remain visible throughout the batter for pockets of nutty flavor.
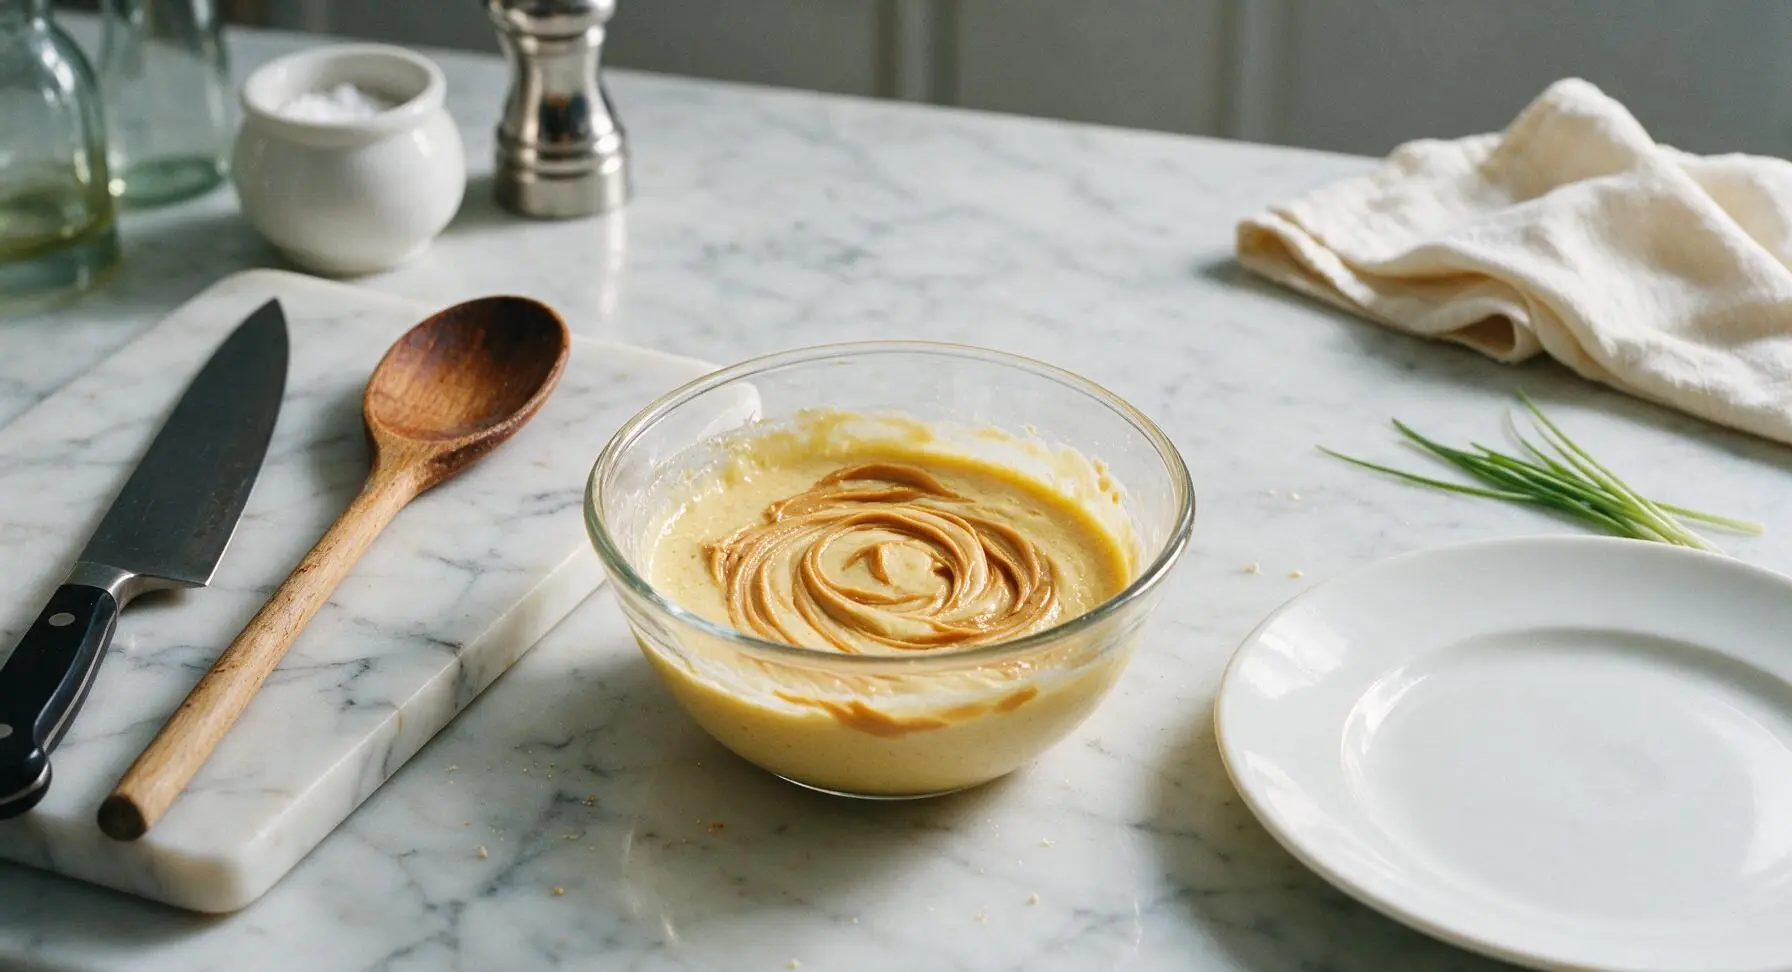
Step 5
step5:Swirl Peanut Butter In
Step 5
step5:Swirl Peanut Butter In
6

Cook Waffles Golden

Open the preheated waffle maker, and pour 3/4 cup of the swirled batter directly into the center of the hot waffle grid. Close the lid, and cook for 3 to 3.5 minutes per waffle, until deep golden brown on both sides, crisp at the edges, and no visible steam escapes from the waffle maker seams. Do not open the lid before the 3 minute mark, as this will cause the waffle to split and stick. Repeat with remaining batter to make 4 total waffles.
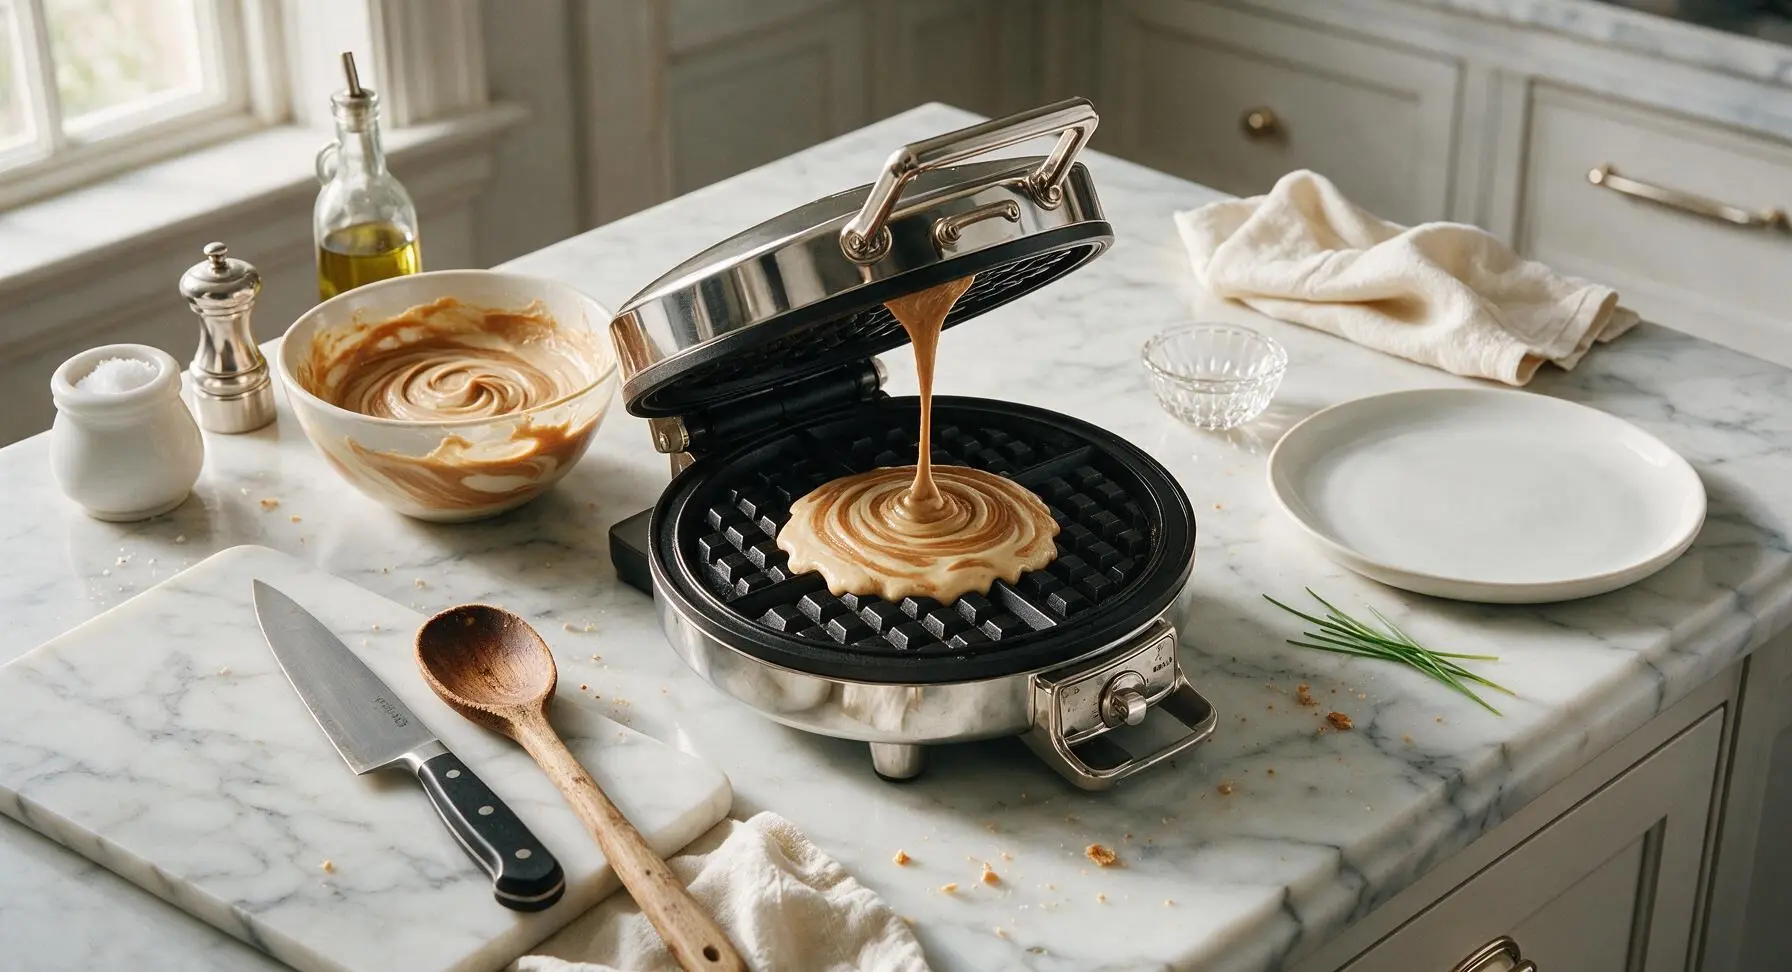
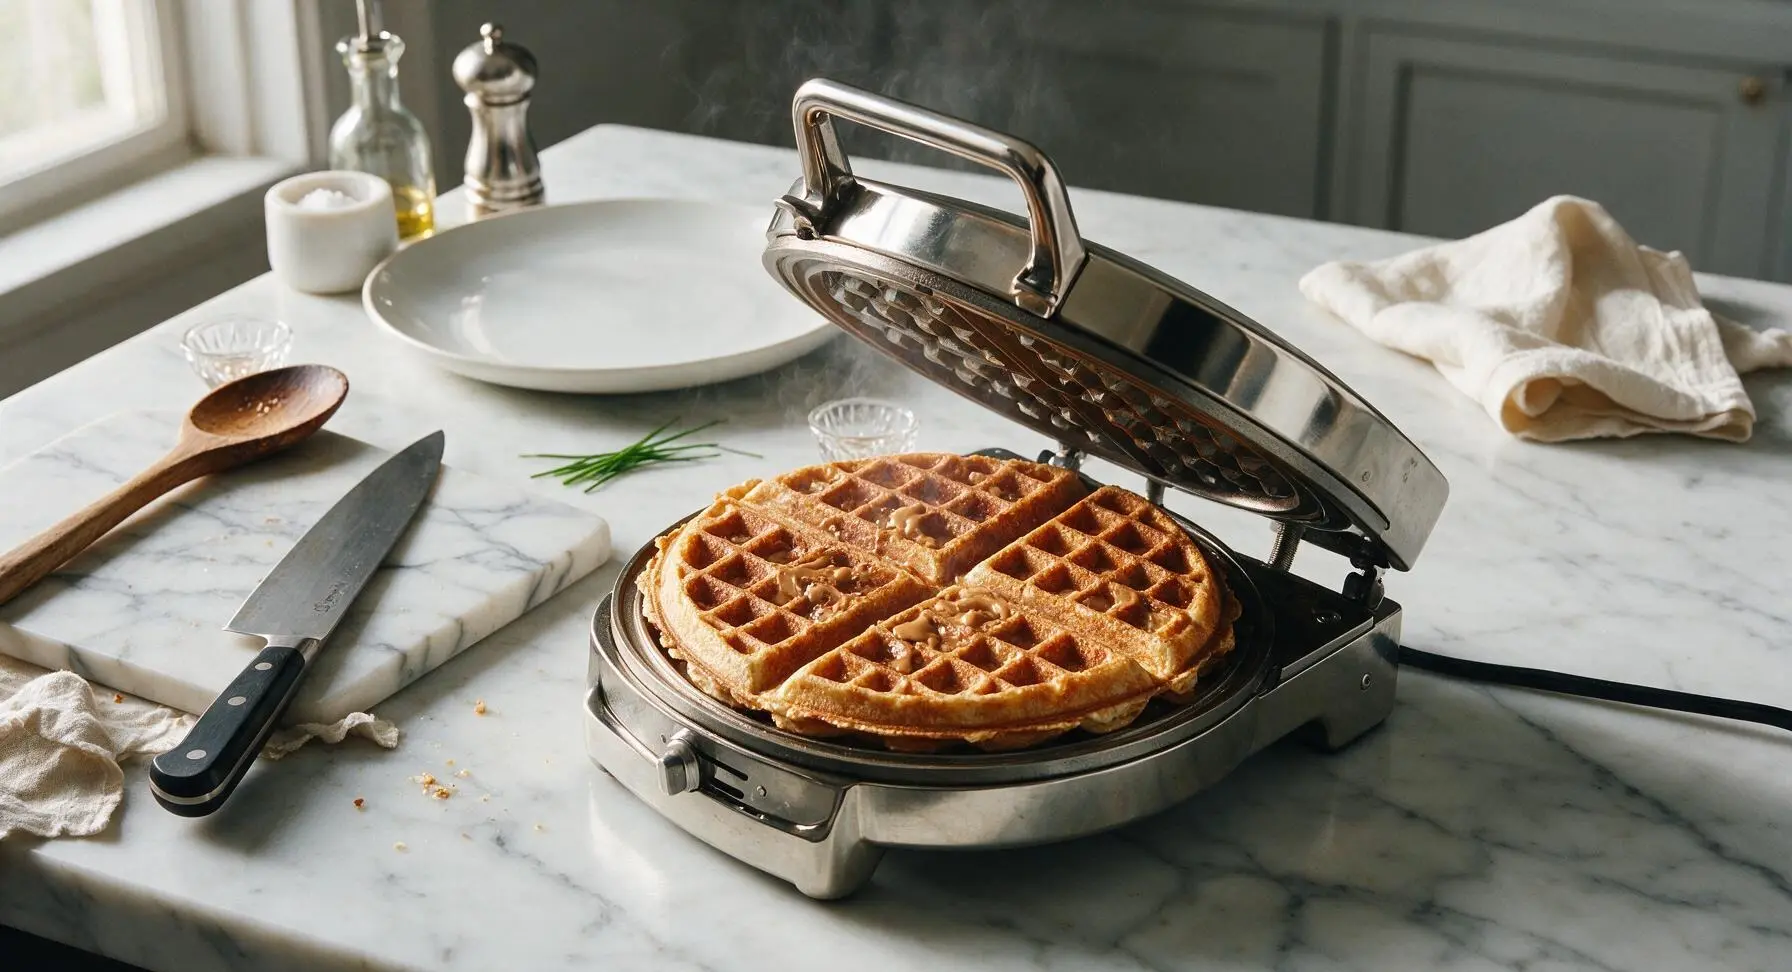
Step 6
step6:Cook Waffles Golden
Step 6
step6:Cook Waffles Golden
7

Plate and Garnish

Use the silicone spatula to lift one cooked waffle from the waffle iron, and transfer it directly to the matte cream ceramic coupe plate. Drizzle 1 tablespoon of dark amber maple syrup across the top of the waffle, allowing it to pool in the grid pockets, then sprinkle 1/2 tablespoon of crushed roasted peanuts over the syrup for crunch. Serve immediately, while the waffle is hot and crisp, repeating plating for remaining servings.
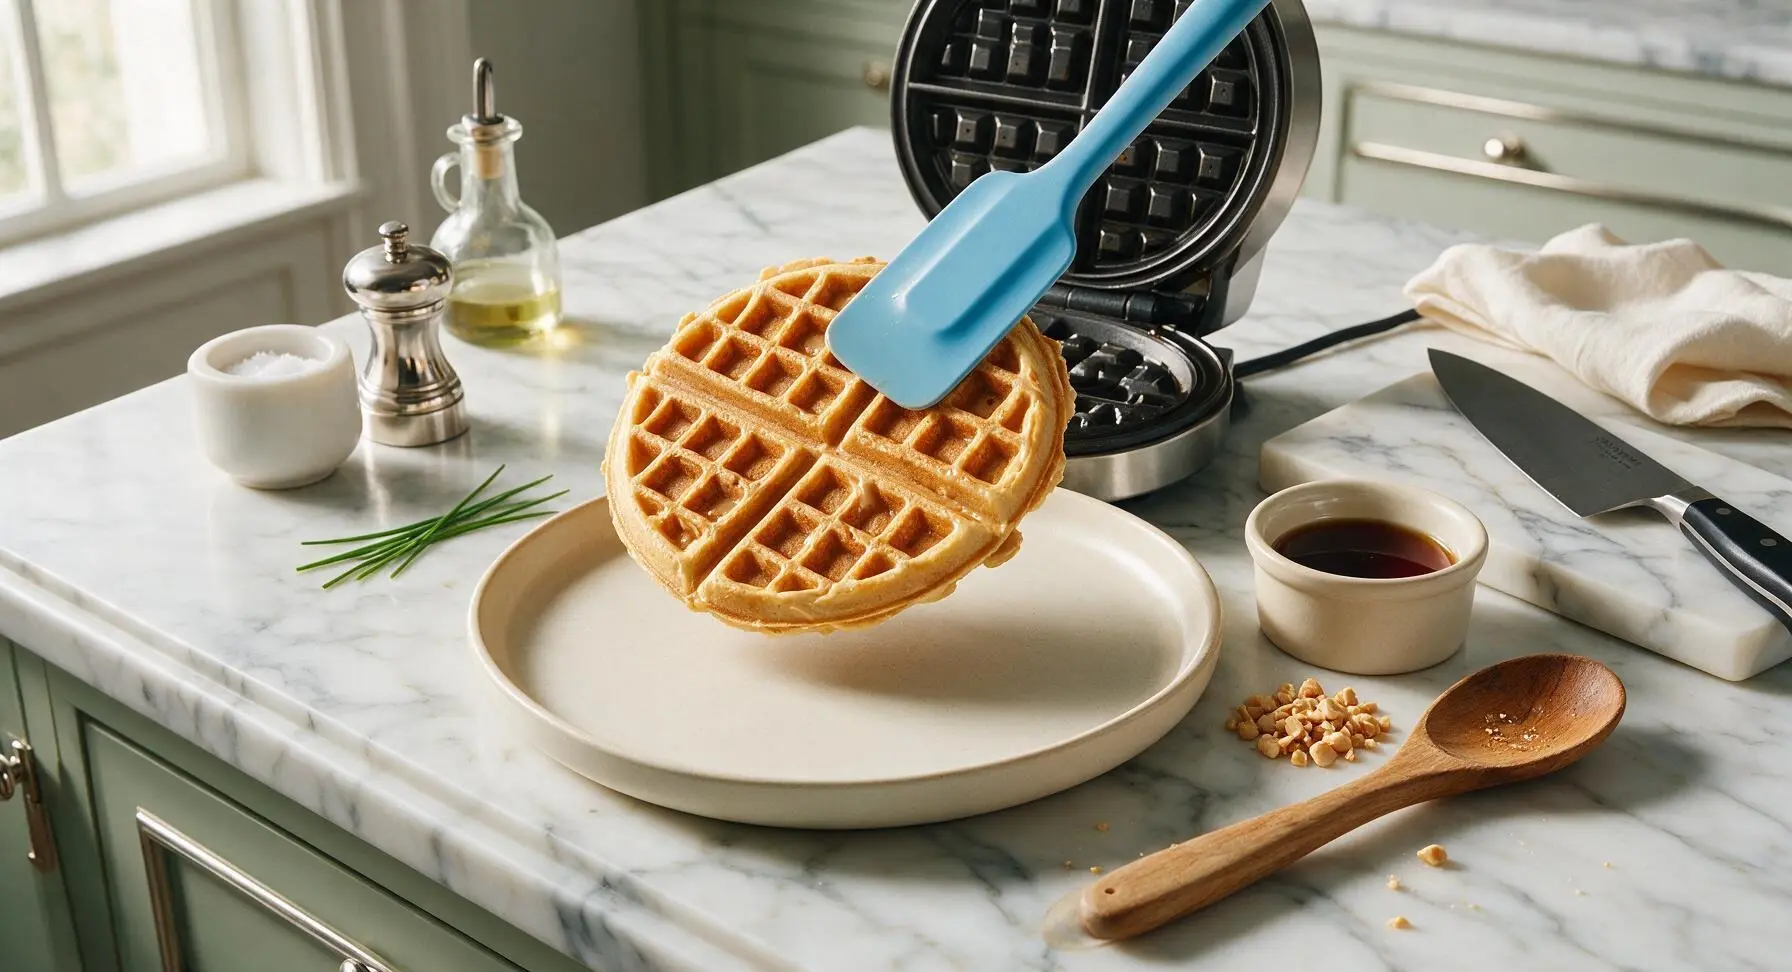
Step 7
step7:Plate and Garnish

Tips

1.Avoid overmixing the batter: a few small lumps are completely normal, as over-stirring develops gluten in the flour that leads to tough, dense waffles instead of light, fluffy ones with crisp edges.
2.Soften cold, firm peanut butter for 10 seconds in the microwave before swirling: this lets you create thick, distinct nutty ribbons without deflating the delicate batter, rather than leaving hard, unspreadable clumps.
3.Resist opening the waffle iron before the 3-minute cook mark: if the waffle is not fully set, it will split and stick to the grid, ruining the crisp grid pattern. Wait until steam stops escaping from the iron seams to check for doneness.


✨ You May Also Like

Breakfast
🍜 United States

Crisp-edged, fluffy lard griddle cakes are a nostalgic homestyle staple, with rich savoriness from rendered lard, perfect topped with maple syrup or savory gravy.

⏱️ 25 minuteBreakfast ★ 4.8
Breakfast
🍜 United States

Flaky, buttery homemade buttermilk biscuits smothered in creamy, peppery pork sausage gravy: a beloved, hearty Southern American comfort food classic.

⏱️ 35 minuteBreakfast ★ 4.8
Breakfast
🍜 United States

Golden, custardy brioche stuffed with sweet cream cheese and fresh berries, pan-fried to crisp perfection. An indulgent, cozy breakfast perfect for slow weekend mornings.

⏱️ 30 minuteBreakfast ★ 4.7
Breakfast
🍜 United States

Flaky, buttery Southern-style biscuits stuffed with savory salty country ham, a portable, satisfying classic perfect for casual on-the-go meals.

⏱️ 25 minuteBreakfast ★ 4.8
Breakfast
🍜 United States

Iconic puffy baked pancake popularized in Seattle, with crisp golden edges and soft custardy center, served warm with classic sweet toppings.

⏱️ 35 minuteBreakfast ★ 4.6
Breakfast
🍜 United States

Fluffy, golden pancakes studded with juicy peak-summer mixed berries, drizzled with maple syrup for a bright, comforting, crowd-pleasing family breakfast.

⏱️ 25 minuteBreakfast ★ 4.7

peanut butter waffle:Frequently Asked Questions

1.How much total time do I need to make these creamy peanut butter waffles? ▾
You’ll only need 22 minutes flat from pulling ingredients out of your pantry to setting a warm waffle on your plate. That breaks down to 5 minutes of quick prep to mix the batter, plus 17 minutes of total cook time across batches in a standard home waffle iron—no long batter rest required.
2.Can I use crunchy peanut butter instead of creamy unsweetened peanut butter for this recipe? ▾
Absolutely! If you love extra nutty texture, swap the creamy unsweetened peanut butter for an equal measure of crunchy unsweetened peanut butter. Just note it will add small, chewy peanut bits throughout the waffles, rather than the smooth, evenly swirled peanut butter flavor the base recipe delivers.
3.Why do my waffles turn out soggy instead of crisp at the edges? ▾
Soggy edges almost always come from two common missteps: not preheating your waffle iron fully before adding batter, or opening the iron too early while the waffle cooks. Wait until the iron’s indicator light shows it’s ready, and don’t lift the lid until steam stops escaping from the sides for crisp, golden edges.
4.Do I need any special flour for this recipe, or will all-purpose flour work? ▾
Standard all-purpose flour is exactly what this recipe calls for, so no special grocery runs are needed. It creates the ideal balance of tender, fluffy interior and light, crisp edge without the heaviness of whole wheat flour, or the overly delicate crumb you get from cake flour.
5.Can I make this batter ahead of time for weekly meal prep? ▾
You can mix the dry ingredients (flour, baking powder, salt) up to 3 days ahead and store them in an airtight container at room temperature, but don’t mix in eggs and peanut butter more than 30 minutes before cooking. Pre-mixed wet batter loses leavening power quickly, leading to dense, flat waffles instead of light, fluffy ones.
6.What role does fine sea salt play in this recipe—can I skip it entirely? ▾
Don’t skip the fine sea salt! It won’t make the waffles taste salty; instead, it cuts through the rich, nutty depth of the peanut butter and balances the batter flavor to keep it from tasting flat. If you only have table salt on hand, use half the measured amount to avoid over-salting.
7.My waffles came out dense instead of light and fluffy—what went wrong? ▾
Dense waffles usually trace back to overmixing the batter, or old baking powder that’s lost its leavening power. Mix the batter just until no dry flour streaks remain (a few small lumps are totally fine!), and check that your baking powder is less than 6 months old for the tallest, fluffiest results.
8.Can I make these waffles without eggs for a vegan version? ▾
You can adapt the recipe for vegan diets by swapping each large egg for a standard flax egg (1 tablespoon ground flax mixed with 3 tablespoons water, left to thicken 5 minutes). Just note the texture will be slightly less tender and fluffy than the original egg-based version, but the rich peanut butter flavor still shines through.
9.How do I get smooth, even peanut butter swirls throughout my waffles? ▾
For even, ribbon-like peanut butter swirls, warm your measured peanut butter for 10-15 seconds in the microwave so it’s pourable but not hot, then drizzle it over batter right after you pour it into the waffle iron. Don’t mix it fully into the batter base, as that causes dense, uneven clumps.
10.What’s the best way to reheat leftover waffles so they stay crisp? ▾
Skip the microwave, which will turn waffles soggy and chewy. Instead, reheat leftovers in a 350°F oven or toaster oven for 3-4 minutes, or pop them straight into a toaster on a medium setting until heated through and crisp at the edges, just like they were fresh cooked.
11.Do I need to add extra sugar to the batter to make these waffles taste good? ▾
No extra sugar is needed, especially since most people top waffles with syrup, fruit, or other sweet add-ons. The unsweetened peanut butter adds a rich, nutty depth that doesn’t need extra sugar to shine, and the lack of added sugar keeps the waffles versatile for sweet or savory toppings.
12.How thick should I pour batter into my waffle iron to avoid messy overflow? ▾
Pour batter slowly to cover about ⅔ of the center of the preheated waffle iron grid, then close the lid. The baking powder in the batter will make it expand as it cooks, so filling it any fuller will cause batter to seep out the sides and create a sticky, burnt mess on your appliance.
13.Are these waffles only meant for breakfast, or can I serve them for other meals? ▾
These cozy, satisfying waffles work for any time of day, not just breakfast! Pair them with fresh fruit for a quick brunch, top them with a drizzle of hot honey for a mid-afternoon snack, or serve them alongside crispy bacon for a fun, low-fuss weeknight dinner when you’re craving comfort food.

Comments (4)

2 days ago

OMG these creamy peanut butter waffles are a total game changer for our Saturday breakfasts! I swapped regular syrup for a little drizzle of wildflower honey and extra banana slices on top, and my kids devoured every single bite. That 12 minute cook time is no joke too — perfect for when we’re rushing to get to soccer practice right after breakfast. SO good, will be making these every weekend from now on!

yesterday

Wait the banana slice addition sounds chef’s kiss! Did you use crunchy or creamy peanut butter for the batter? I’ve got a jar of extra crunchy in the pantry I’ve been dying to use up.

yesterday

Love the honey and banana twist! Crunchy peanut butter works perfectly in this batter too if you love a little extra texture — we’ve tested it both ways and it turns out fantastic every time. Hope your boys have a blast at their soccer games this season!

30 minutes ago

Super easy recipe, turned out way better than the boxed waffle mix I usually buy! Only thing I’ll adjust next time is adding a tiny pinch of flaky sea salt on top to cut the sweetness a little, since the natural peanut butter I used was already pretty sweet. Great base recipe to customize though!

5 minutes ago

Great call on the flaky sea salt! A light sprinkle of it on top is one of our favorite serving tweaks too, it really makes the peanut butter flavor pop. So glad you enjoyed the base recipe, can’t wait to hear what other customizations you try!

1 week ago

Made a double batch of these for my weekly meal prep and they freeze SO well! I pop one in the toaster for 2 minutes on busy weekday mornings and it tastes just as fresh as the day I made them. Perfect high-protein breakfast to keep me full through my back-to-back morning meetings. 10/10!

5 days ago

Oh freezing them is such a smart idea! I’ve been looking for easy make-ahead breakfasts that don’t get soggy after a few days in the freezer, can’t wait to try this. Do you reheat them straight from frozen or thaw them out first?

5 days ago

Made these for our neighborhood potluck brunch last weekend and everyone was hounding me for the recipe! I topped them with a little extra peanut butter drizzle and some chopped roasted peanuts for crunch, and even the people who said they don’t like peanut butter went back for seconds. So easy to throw together last minute too, total crowd pleaser.



