
peanut butter waffles dreamlight valley
intro
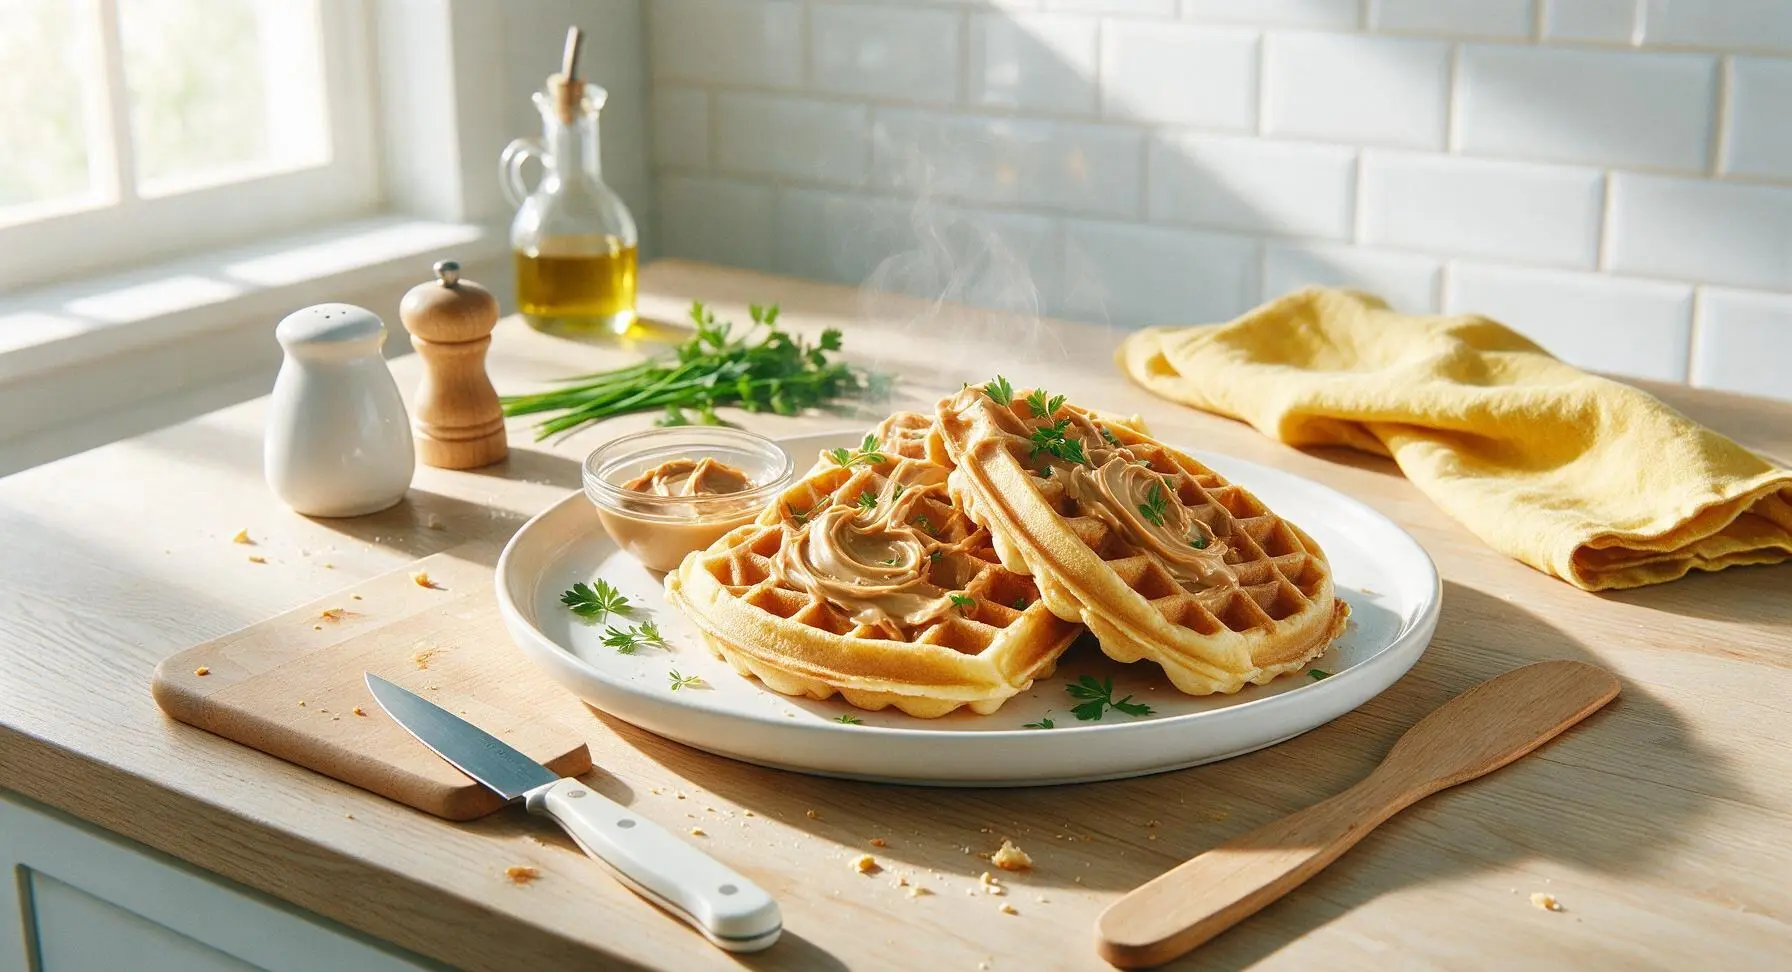
Fluffy, golden waffles swirled with creamy peanut butter, inspired by Disney Dreamlight Valley: crisp edges, soft centers, nostalgic, cozy, and ready in under 30 minutes.
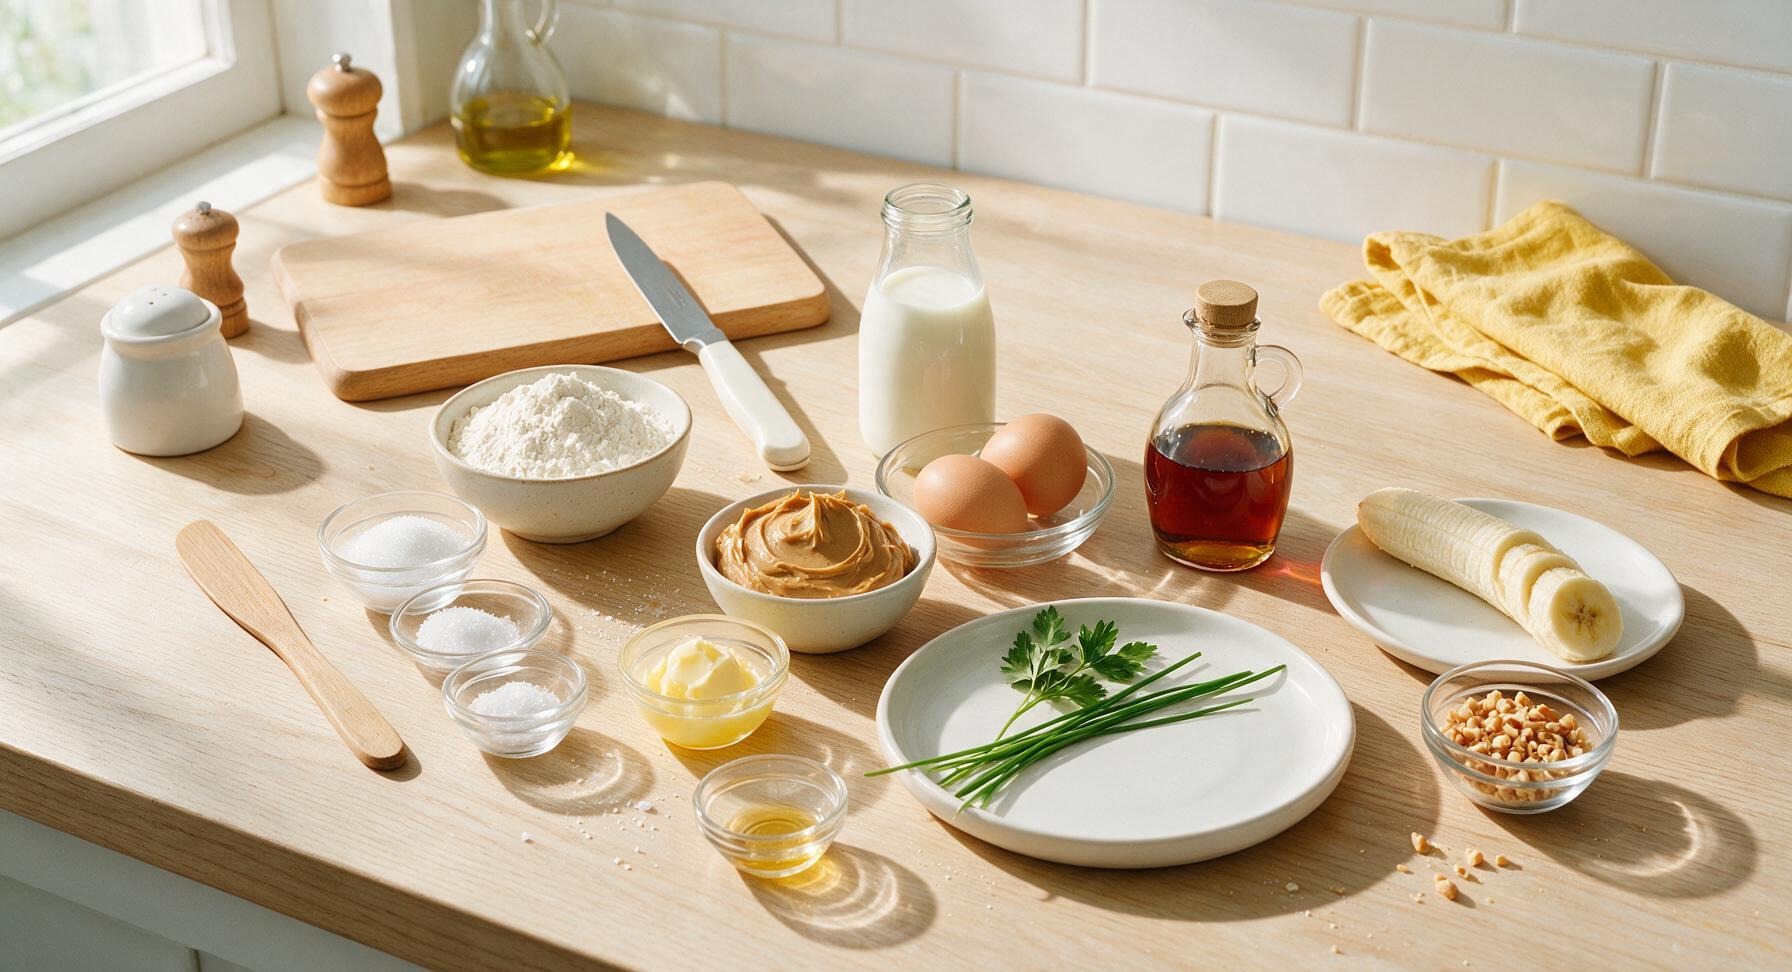
Ingredients
Steps
Preheat Waffle Iron
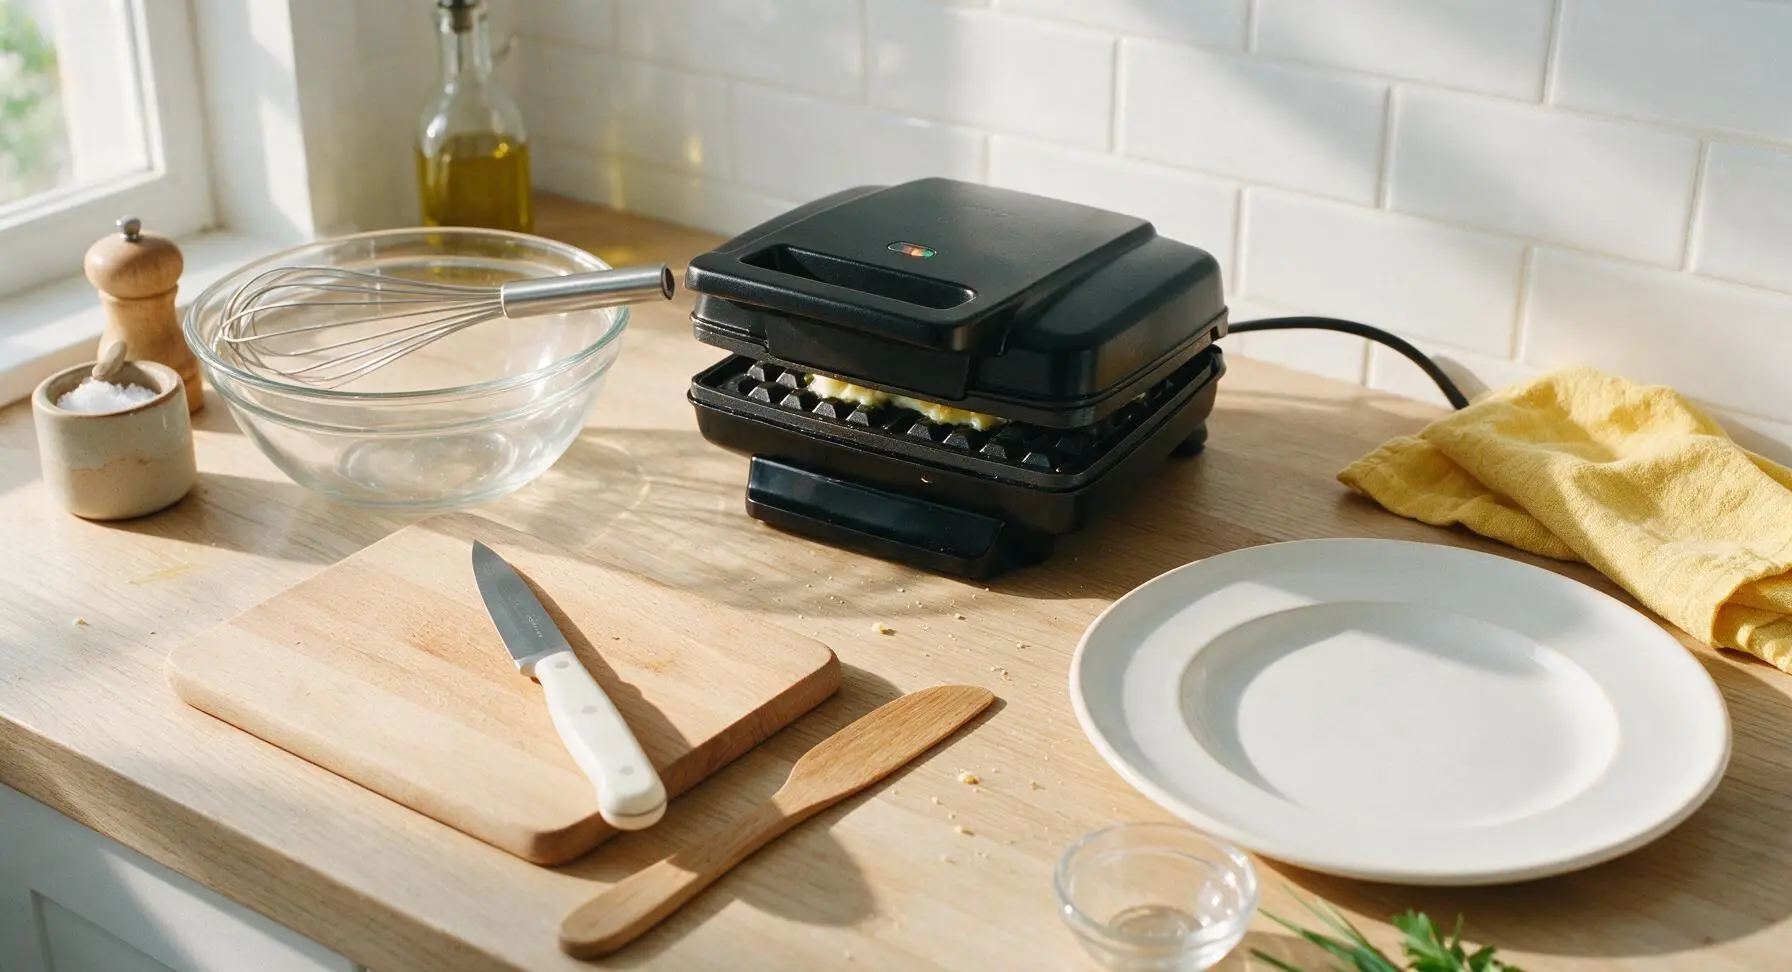
Plug in the matte black electric waffle iron and set it to medium-high heat (375°F/190°C). Use ½ tbsp of the melted unsalted butter to lightly coat the non-stick cooking grids, using a small piece of paper towel to spread it evenly. Close the lid and allow the iron to preheat fully for 3 minutes, until the built-in ready indicator light glows, signaling it is at cooking temperature.
Mix Dry Ingredients
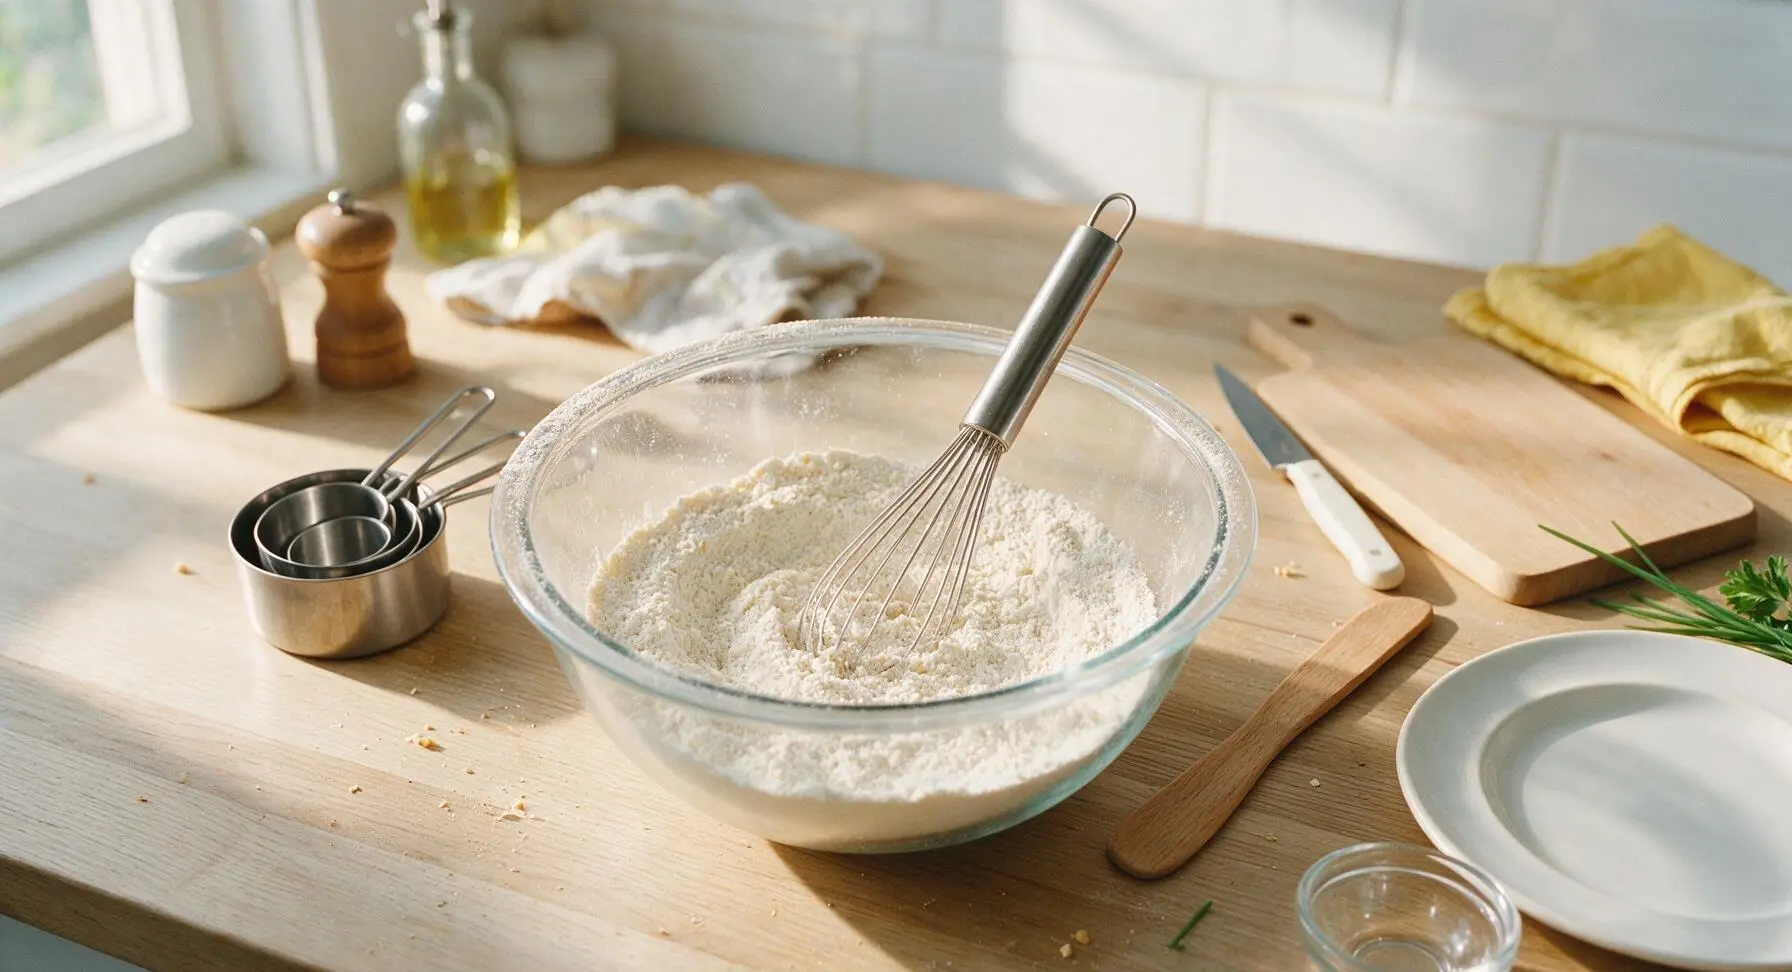
Add the 2 cups all-purpose flour, 2 tsp baking powder, 2 tbsp granulated sugar, and ½ tsp fine sea salt to the clear glass mixing bowl. Use the stainless steel wire whisk to stir the dry ingredients for 30 seconds, until they are fully combined and evenly mixed, with no concentrated clumps of baking powder or salt visible.
Whisk Wet Ingredients
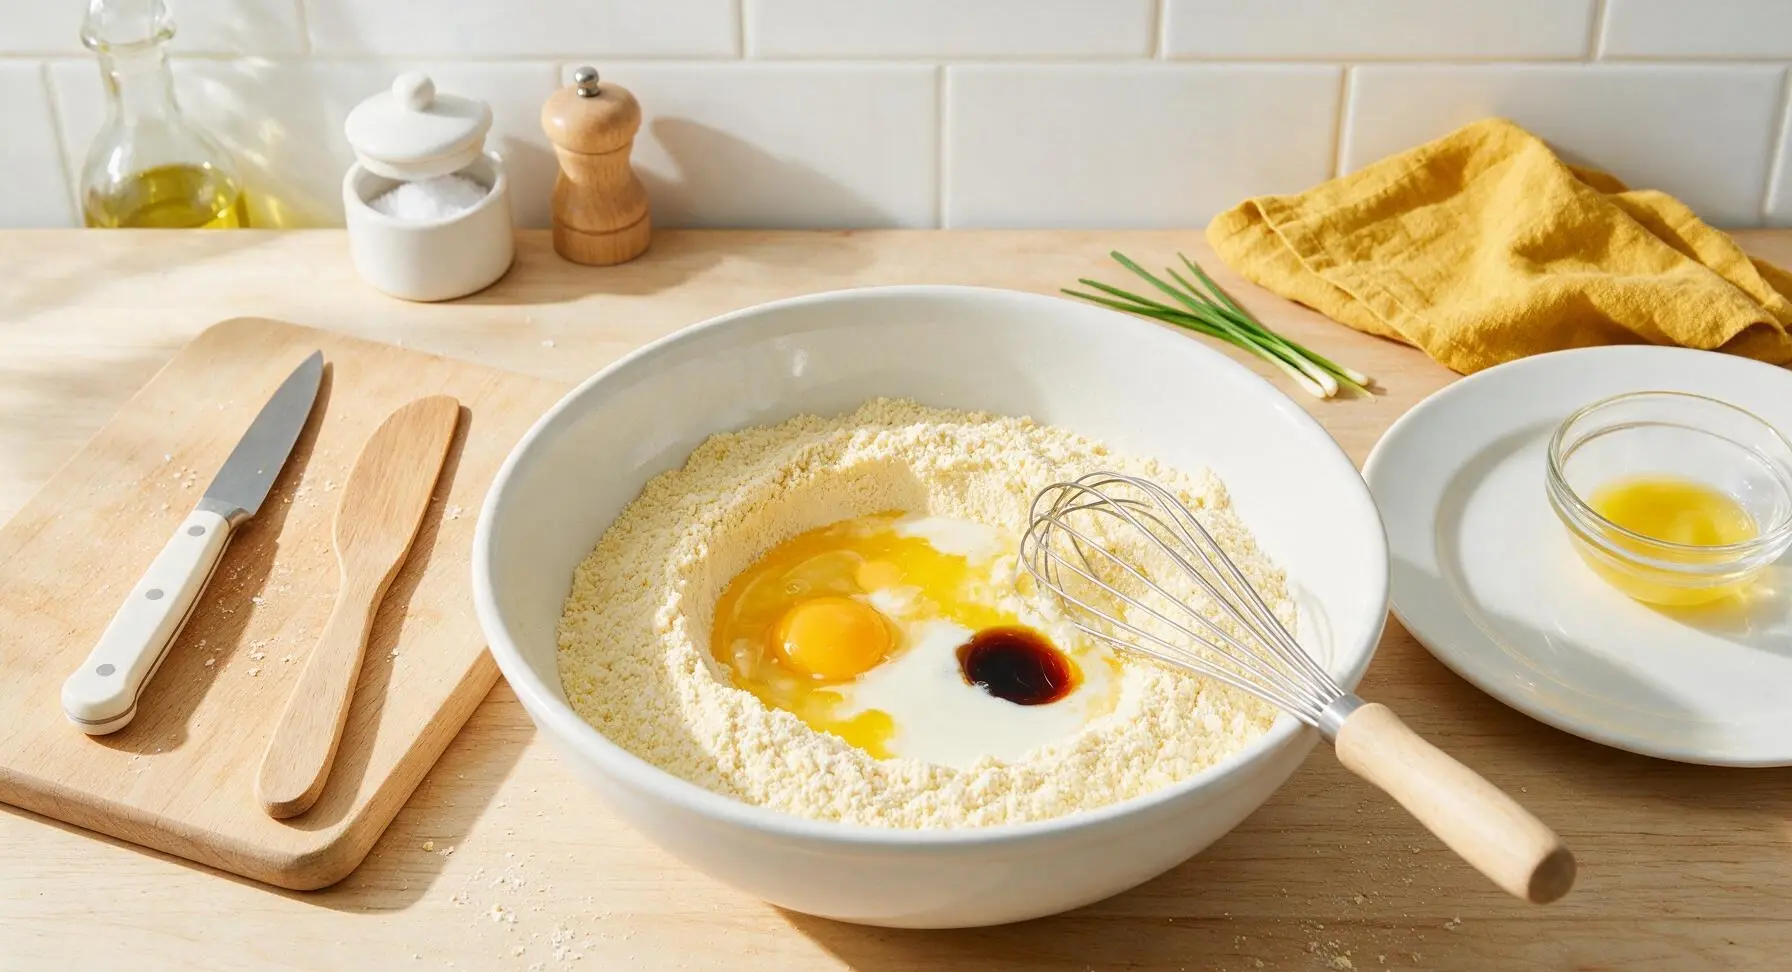
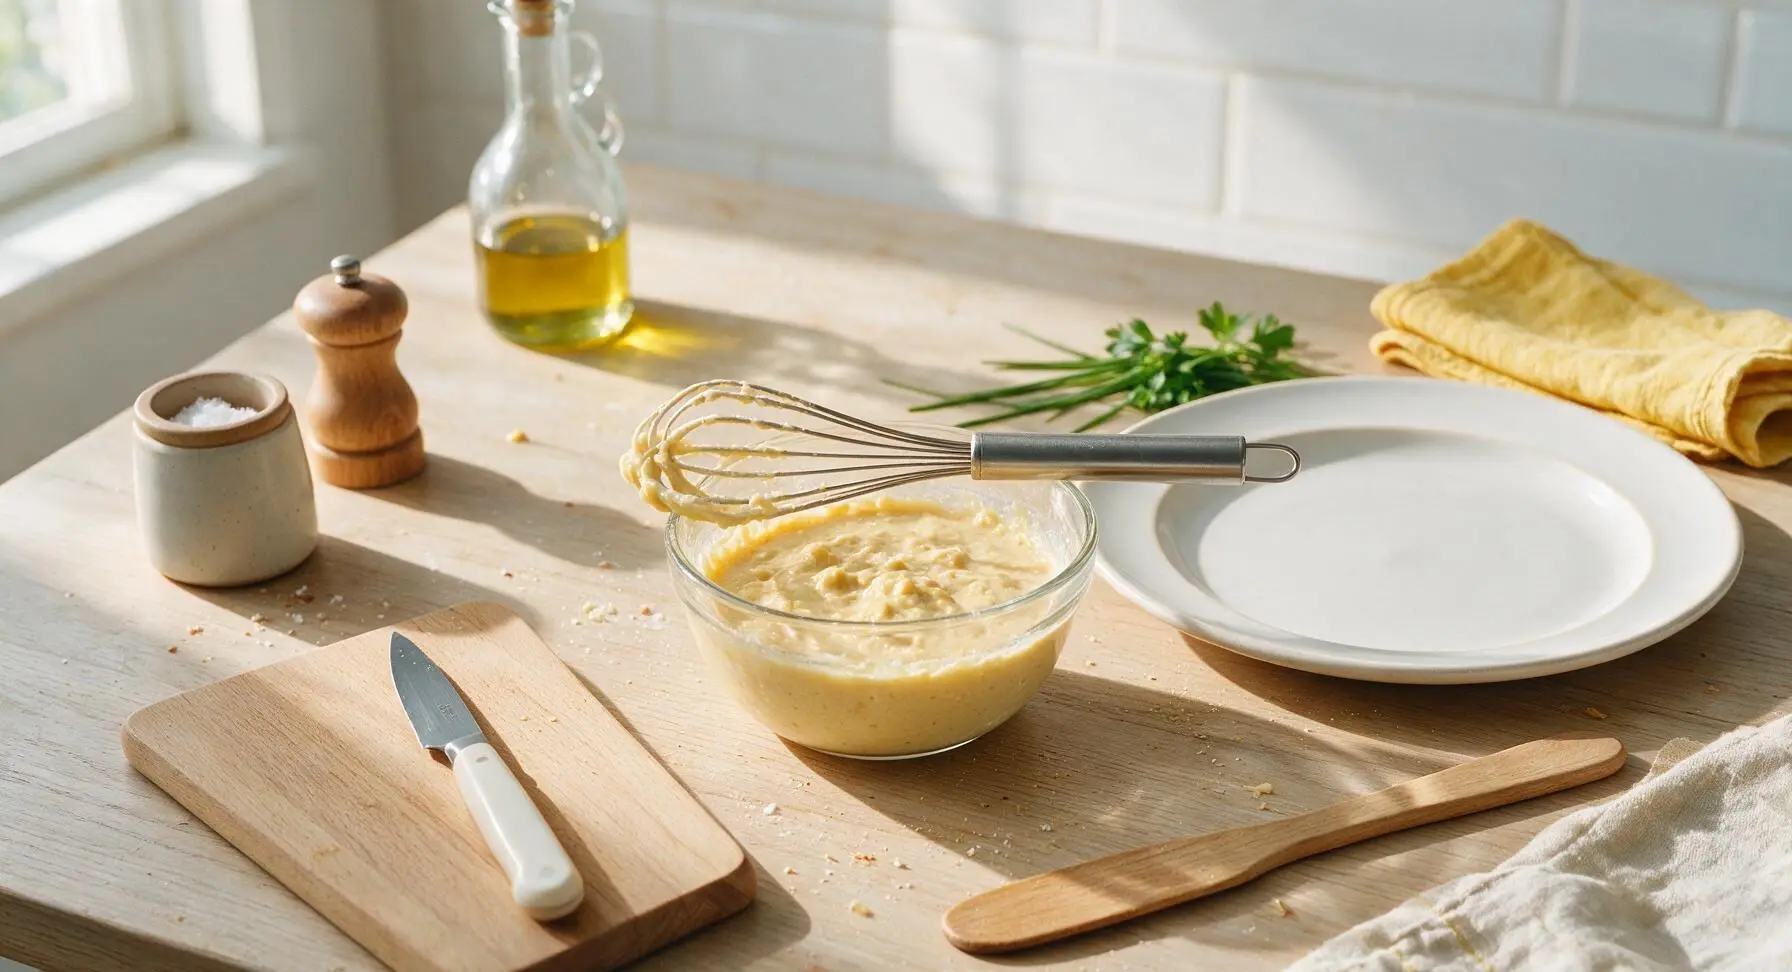
Create a 3-inch wide well in the center of the dry ingredient mixture. Crack the 2 large eggs into the well, then pour in the 1 ½ cups whole milk, remaining 2 ½ tbsp melted unsalted butter, and 1 tsp pure vanilla extract. Whisk slowly at first to incorporate dry ingredients from the edges of the well, then increase speed slightly, mixing just until no large dry flour streaks remain. Stop mixing as soon as the batter comes together—small, pea-sized lumps are normal and will produce tender waffles; overmixing will create tough, dense results.
Swirl Peanut Butter In
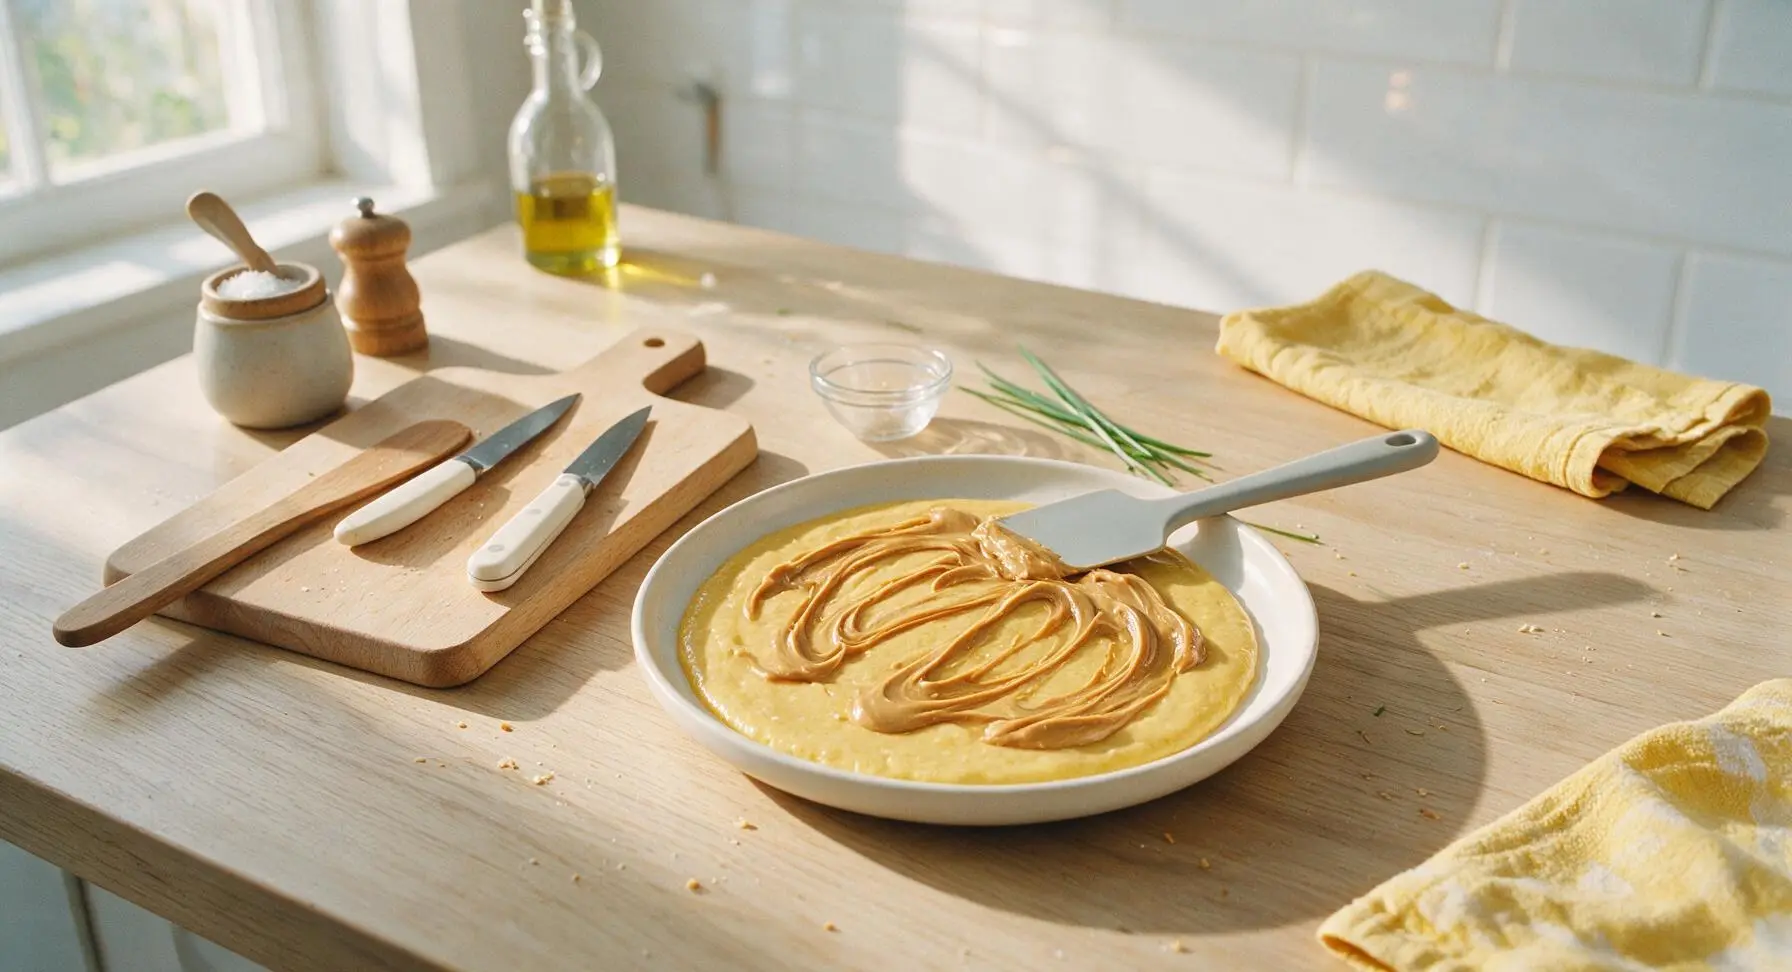
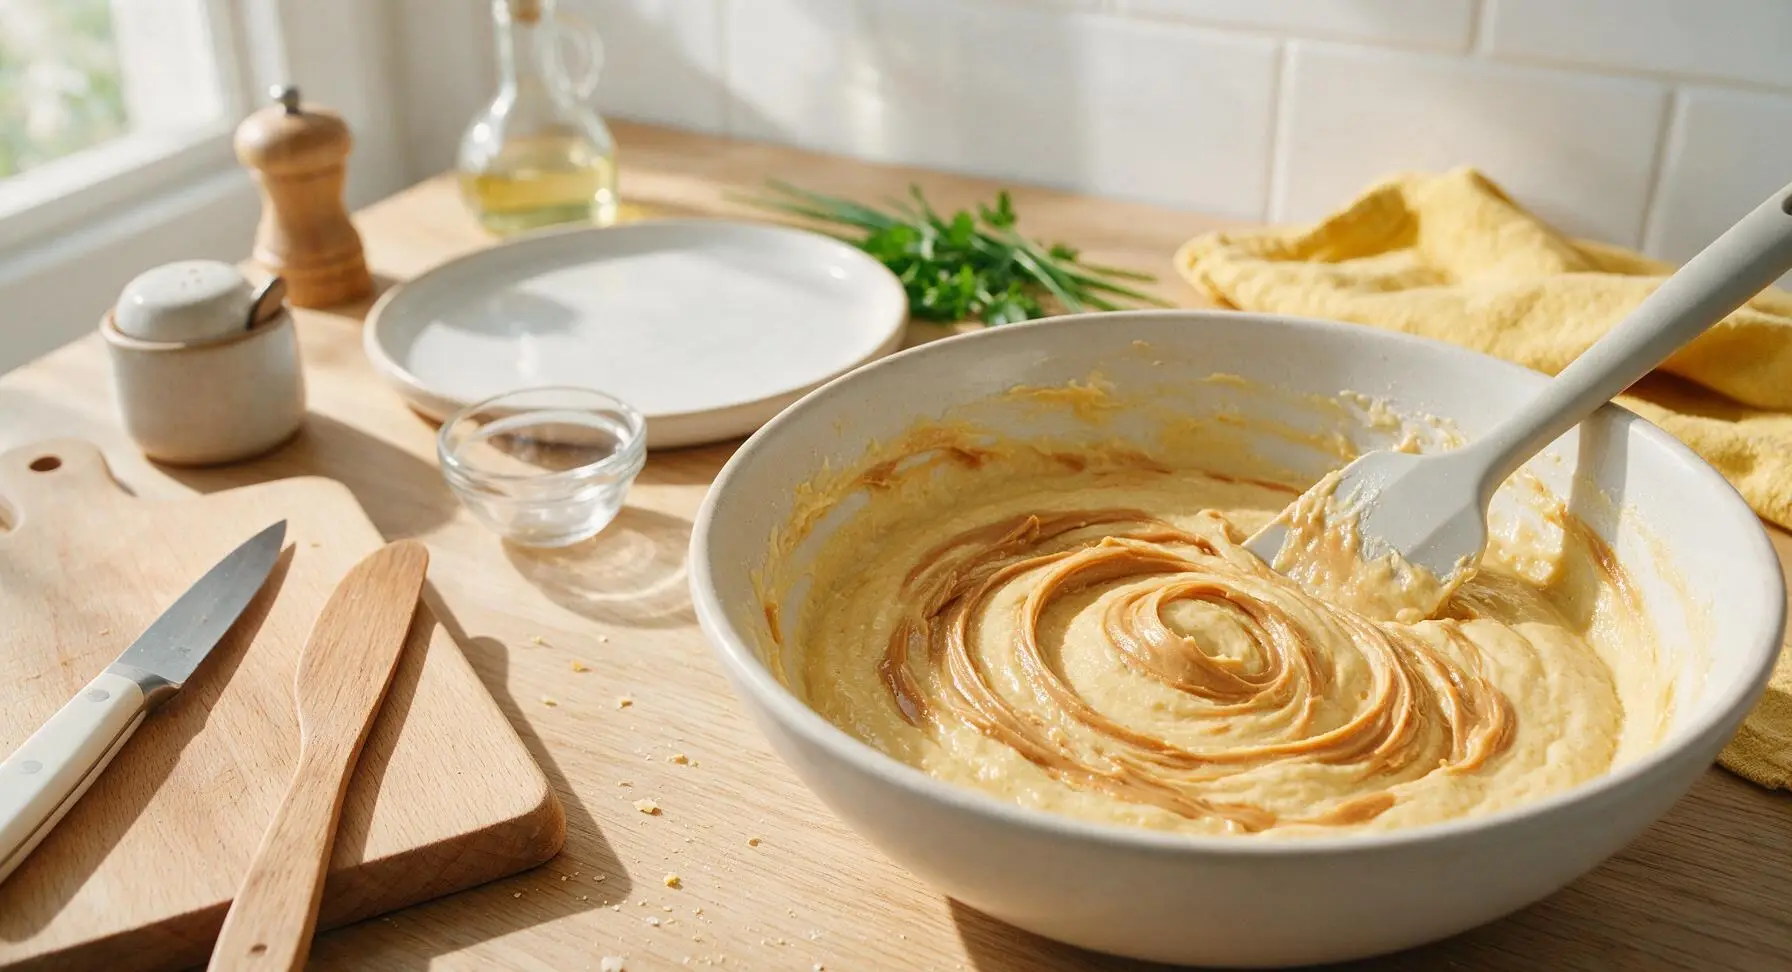
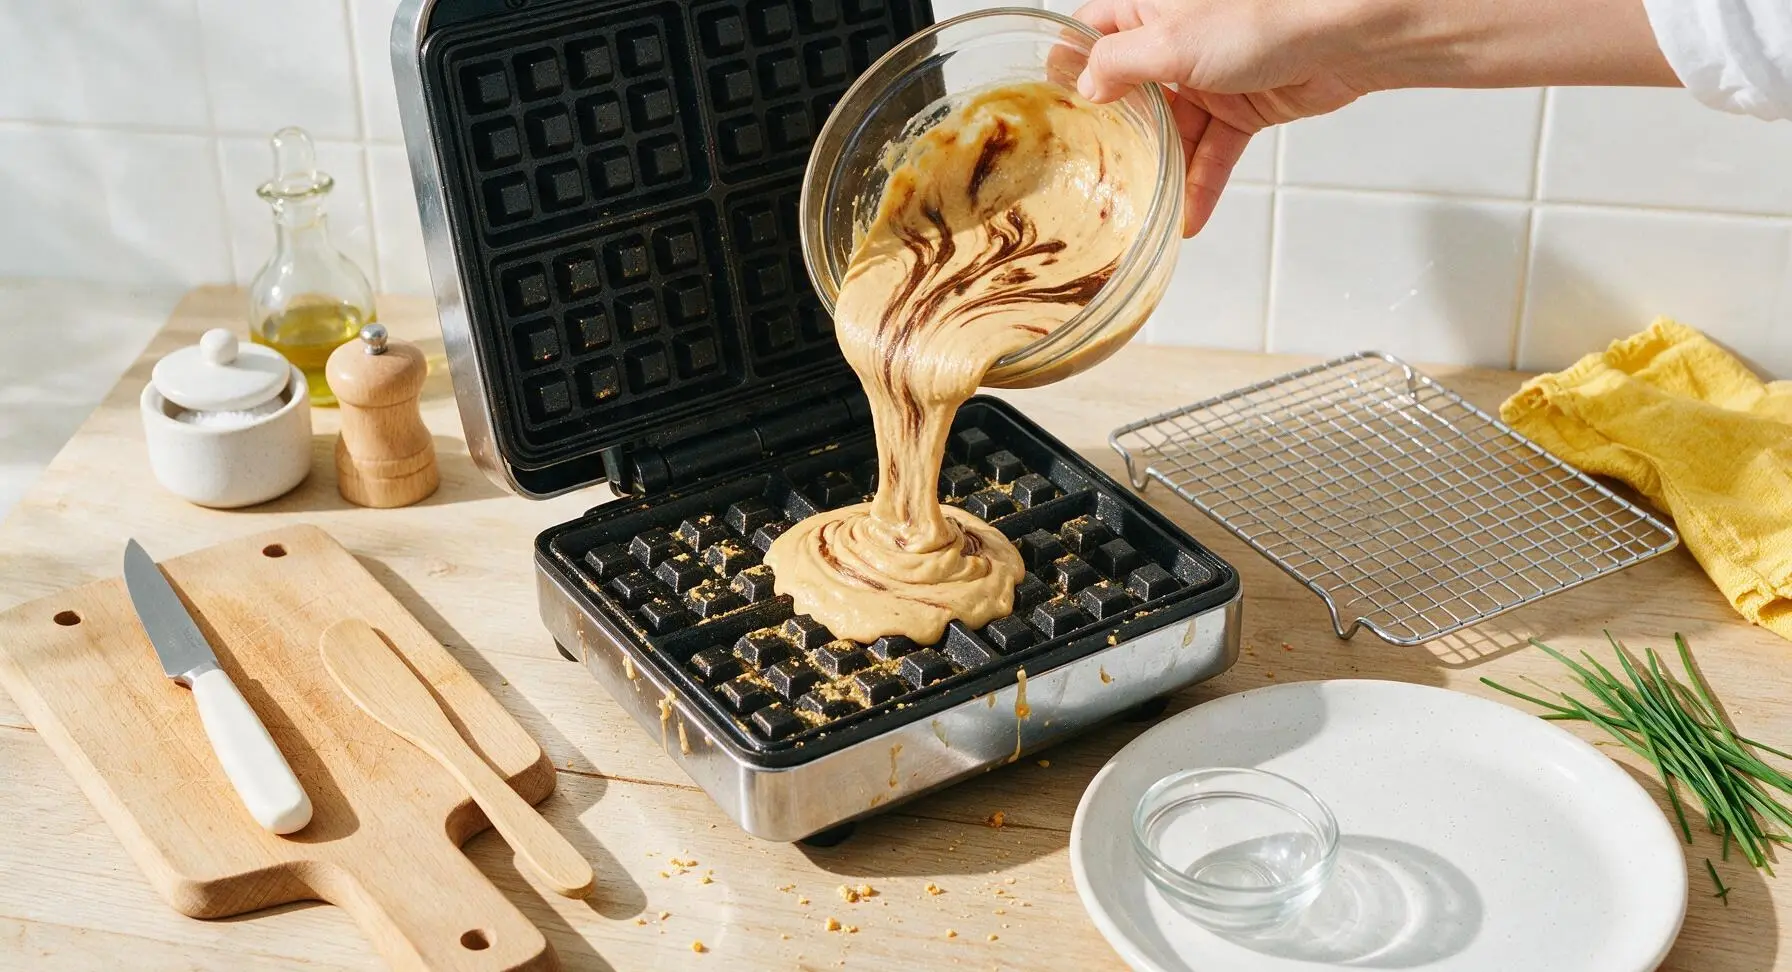
Measure ⅓ cup of the creamy no-stir peanut butter and warm it in the microwave for 10 seconds until it is loose and pourable (do not heat it until hot). Drizzle the warm peanut butter in zigzags across the top of the waffle batter, then use the light grey silicone spatula to fold it through the batter in 2 to 3 slow, broad strokes. Stop folding while thick, distinct streaks of peanut butter are still visible—do not fully incorporate the peanut butter, as these marbled streaks will bake into rich, gooey peanut butter pockets in the finished waffles.
Cook Waffles Evenly
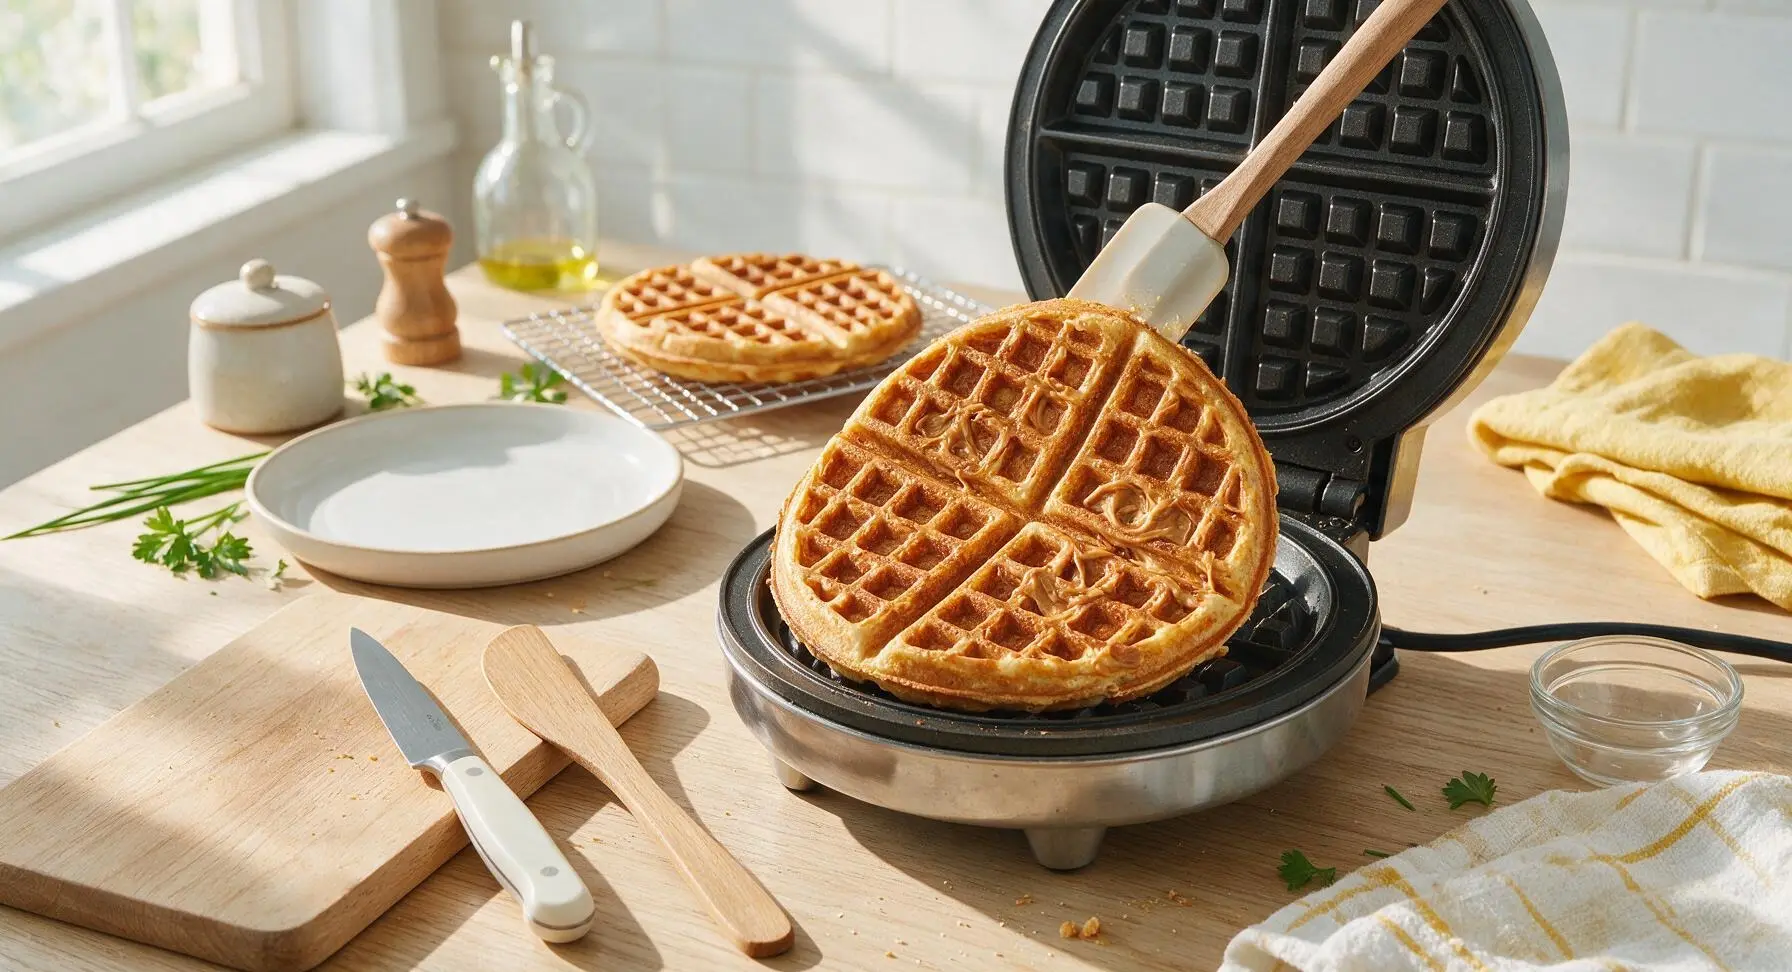
Once the waffle iron is fully preheated, pour ¾ cup of the marbled batter directly into the center of the lower waffle grid. Close the lid gently, do not press down firmly on the lid (this squeezes out air and creates dense waffles). Cook for 3 to 4 minutes, until no more steam escapes from the edges of the waffle iron, and the waffle is deep golden brown with crisp, caramelized edges. Transfer cooked waffles to the chrome wire cooling rack to keep them crisp, and repeat with the remaining batter to make 4 total waffles. Do not stack waffles on the rack, as trapped steam will soften crisp edges.
Prep Serving Toppings
While the final waffle cooks, warm the remaining 2 tbsp of peanut butter in the microwave for 15 seconds until it is thin enough to drizzle smoothly. Slice the ripe banana into ¼-inch thick rounds, and lightly crush the 2 tbsp of salted roasted peanuts into coarse, uneven pieces. Pour the maple syrup into one matte terracotta ramekin, and the melted drizzle peanut butter into the second ramekin for easy serving.
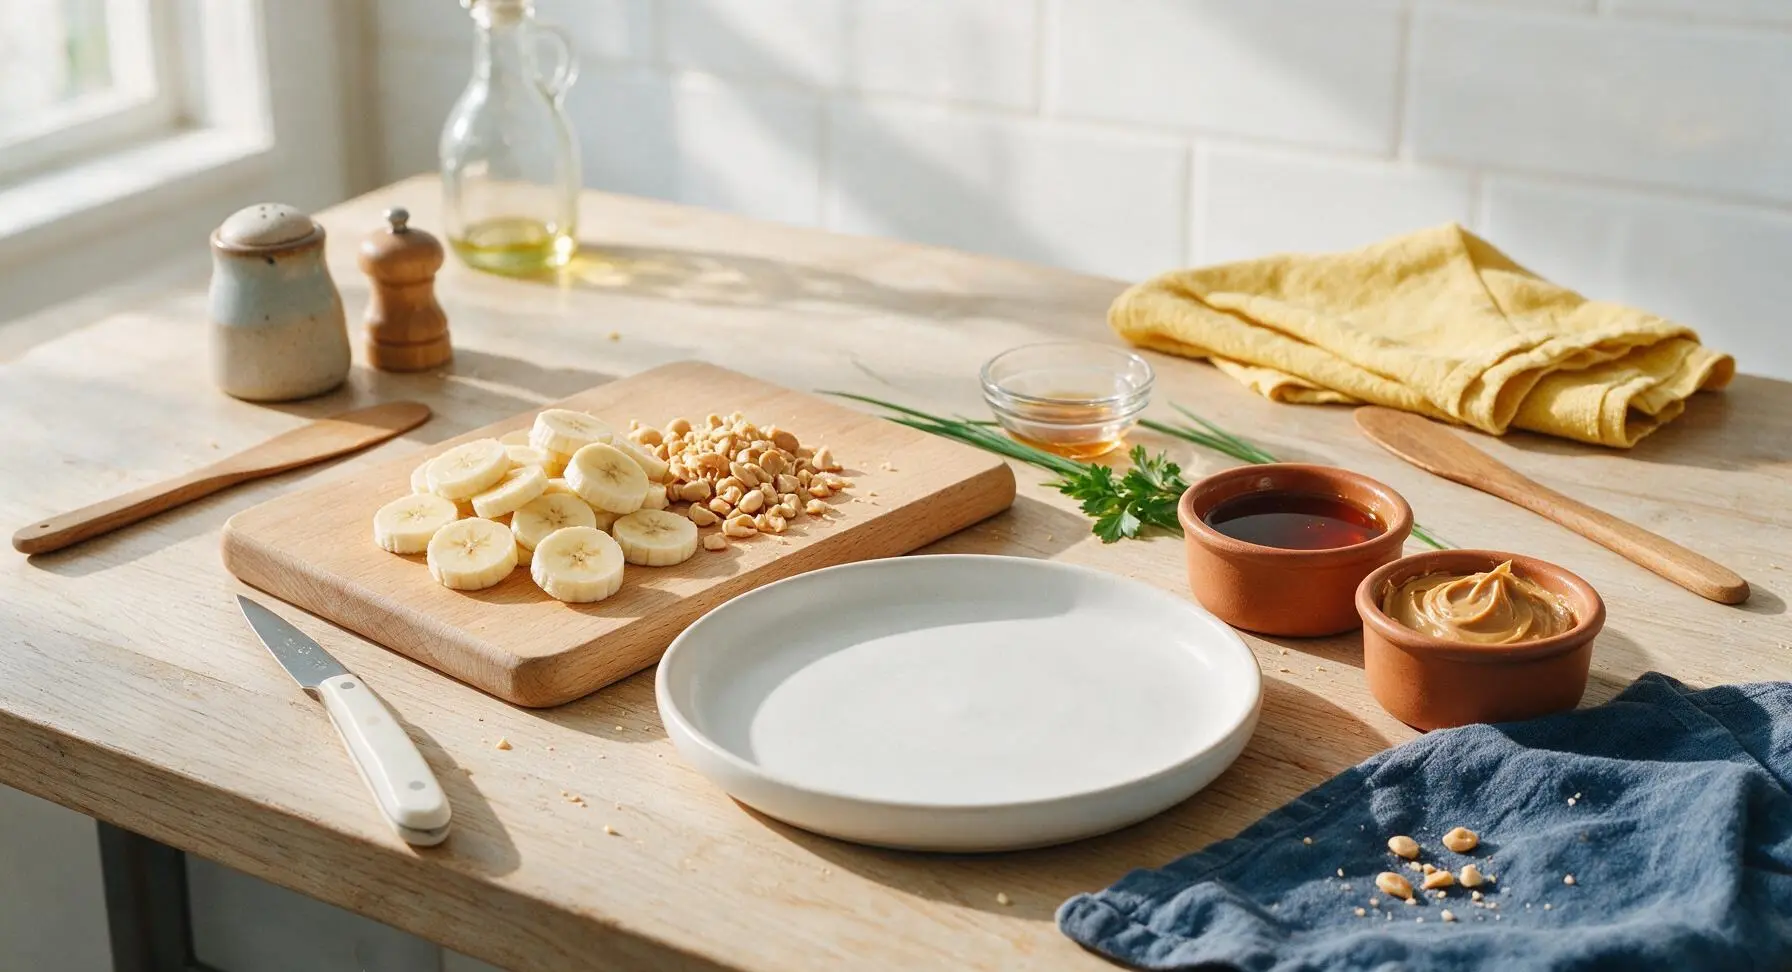
Plate and Garnish
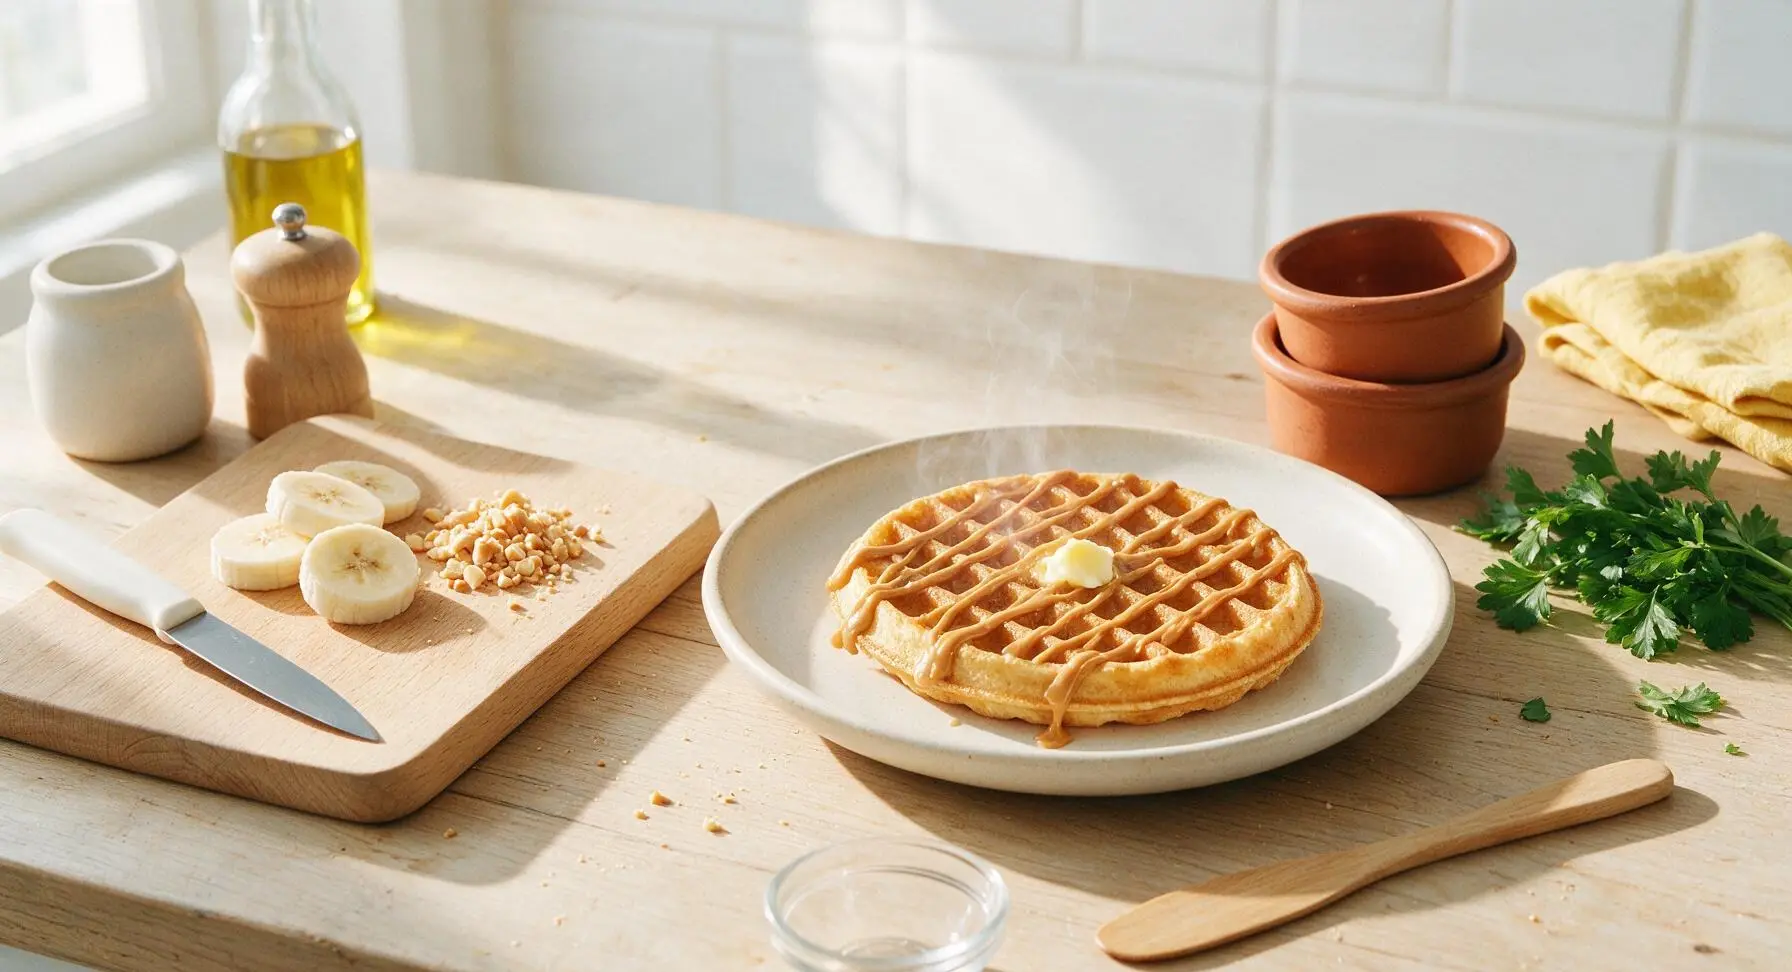
Place one hot, crisp waffle centered on the hand-thrown matte cream ceramic dinner plate. Drizzle thin zigzags of melted peanut butter across the waffle top, followed by a light drizzle of maple syrup, allowing small amounts to pool in the waffle grid pockets. Fan 3 banana slices at the upper left edge of the waffle, then sprinkle crushed roasted peanuts across the center for salty crunch. Add a tiny ¼ tsp pat of butter to the center of the waffle if desired, and serve immediately while the waffle is hot and crisp.
Tips
2.Avoid pressing down on the waffle iron lid while cooking: this squeezes out the trapped steam that gives waffles their rise and shatteringly crisp edges, leading to flat, chewy waffles. Close the lid gently and let the iron cook without applying extra pressure.
3.Use no-stir creamy peanut butter for the signature marbled swirl: natural, oil-separated peanut butter is too thin and will run to the bottom of the waffle iron, causing burnt spots, while no-stir peanut butter holds its shape to create rich, gooey peanut butter pockets in every bite.






OMG these peanut butter waffles are a game changer!! My 7 year old is obsessed with Dreamlight Valley and screamed when I told her we were making Remy’s recipe IRL. 15 minutes total cook time? Perfect for busy school mornings, they came out fluffy and the peanut butter flavor is so rich without being heavy. 10/10, will be adding these to our weekly meal prep rotation!
Super easy recipe, even for someone who burns toast half the time lmao. I used crunchy peanut butter instead of creamy for a little extra texture and it worked perfectly. My teen son ate three waffles in one sitting before his football practice, said they’re better than the diner ones we get on Saturdays. SO good.
Brought these to our neighborhood block party potluck last week and they were gone in 10 minutes flat! I set out a little topping station with whipped cream, jelly, banana slices, and extra peanut butter so people could customize their own. Everyone kept asking where I found the recipe, definitely a new crowd favorite.
Has anyone tried making these with a gluten-free all purpose flour blend? My daughter has celiac and I’m dying to make these for her Dreamlight Valley themed birthday party next weekend! The recipe looks so easy otherwise, I just don’t want to mess up the texture for the party.
These are my new go-to Sunday meal prep breakfast! I make a big batch, cut them into sticks, and freeze them so my kids can pop them in the toaster on busy school mornings. They go crazy for the peanut butter flavor, and I love that they’re not loaded with extra sugar like the frozen waffles from the grocery store. Total game changer.