
Peanut Glazed Turkey
intro
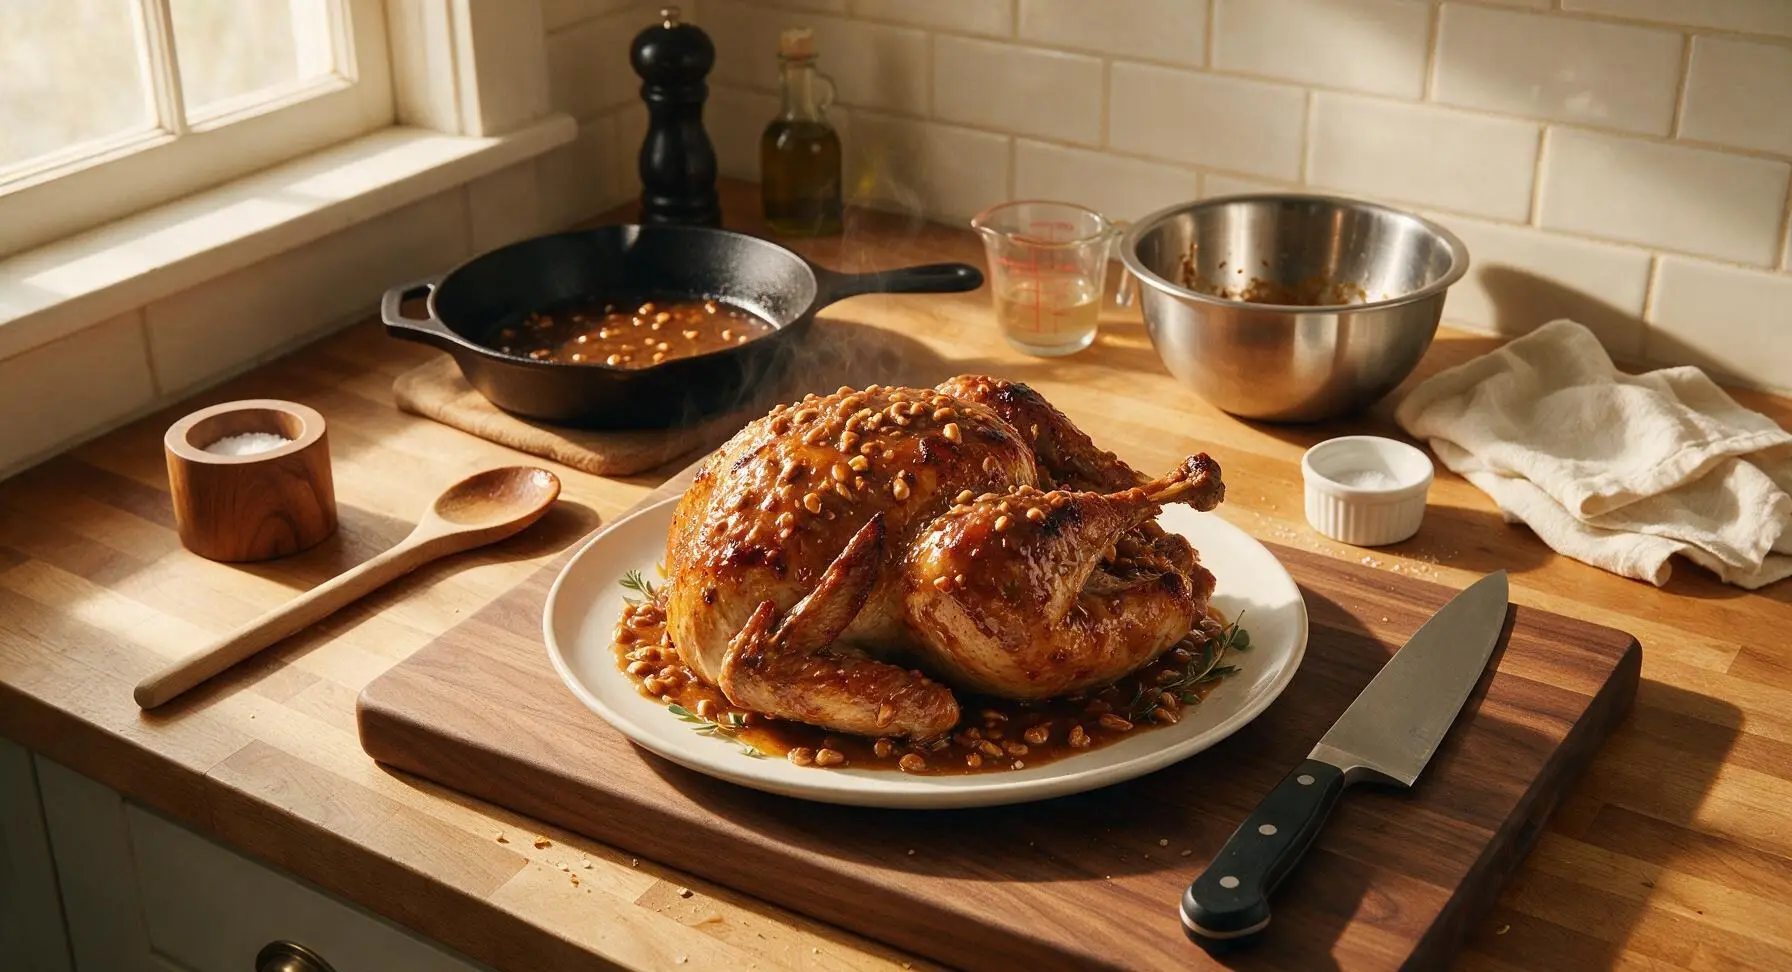
Juicy, tender roast turkey coated in a rich, nutty sweet-savory peanut glaze, with crisp caramelized skin, perfect for a cozy Thanksgiving holiday table.
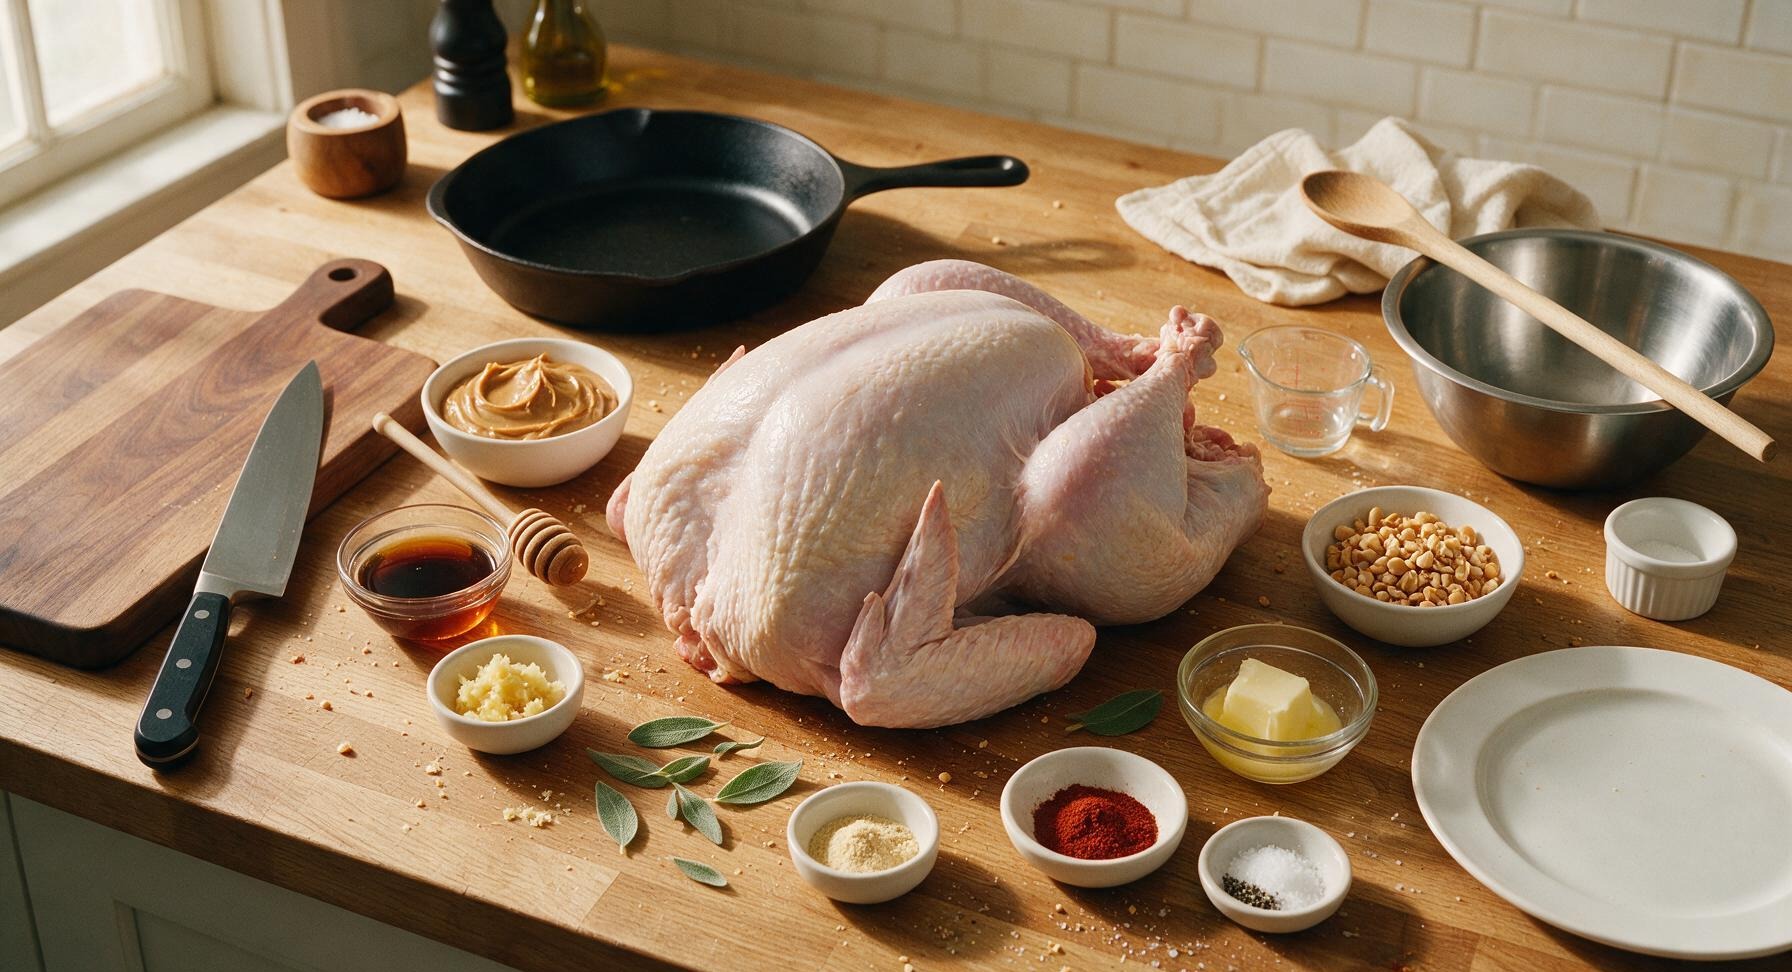
Ingredients
Steps
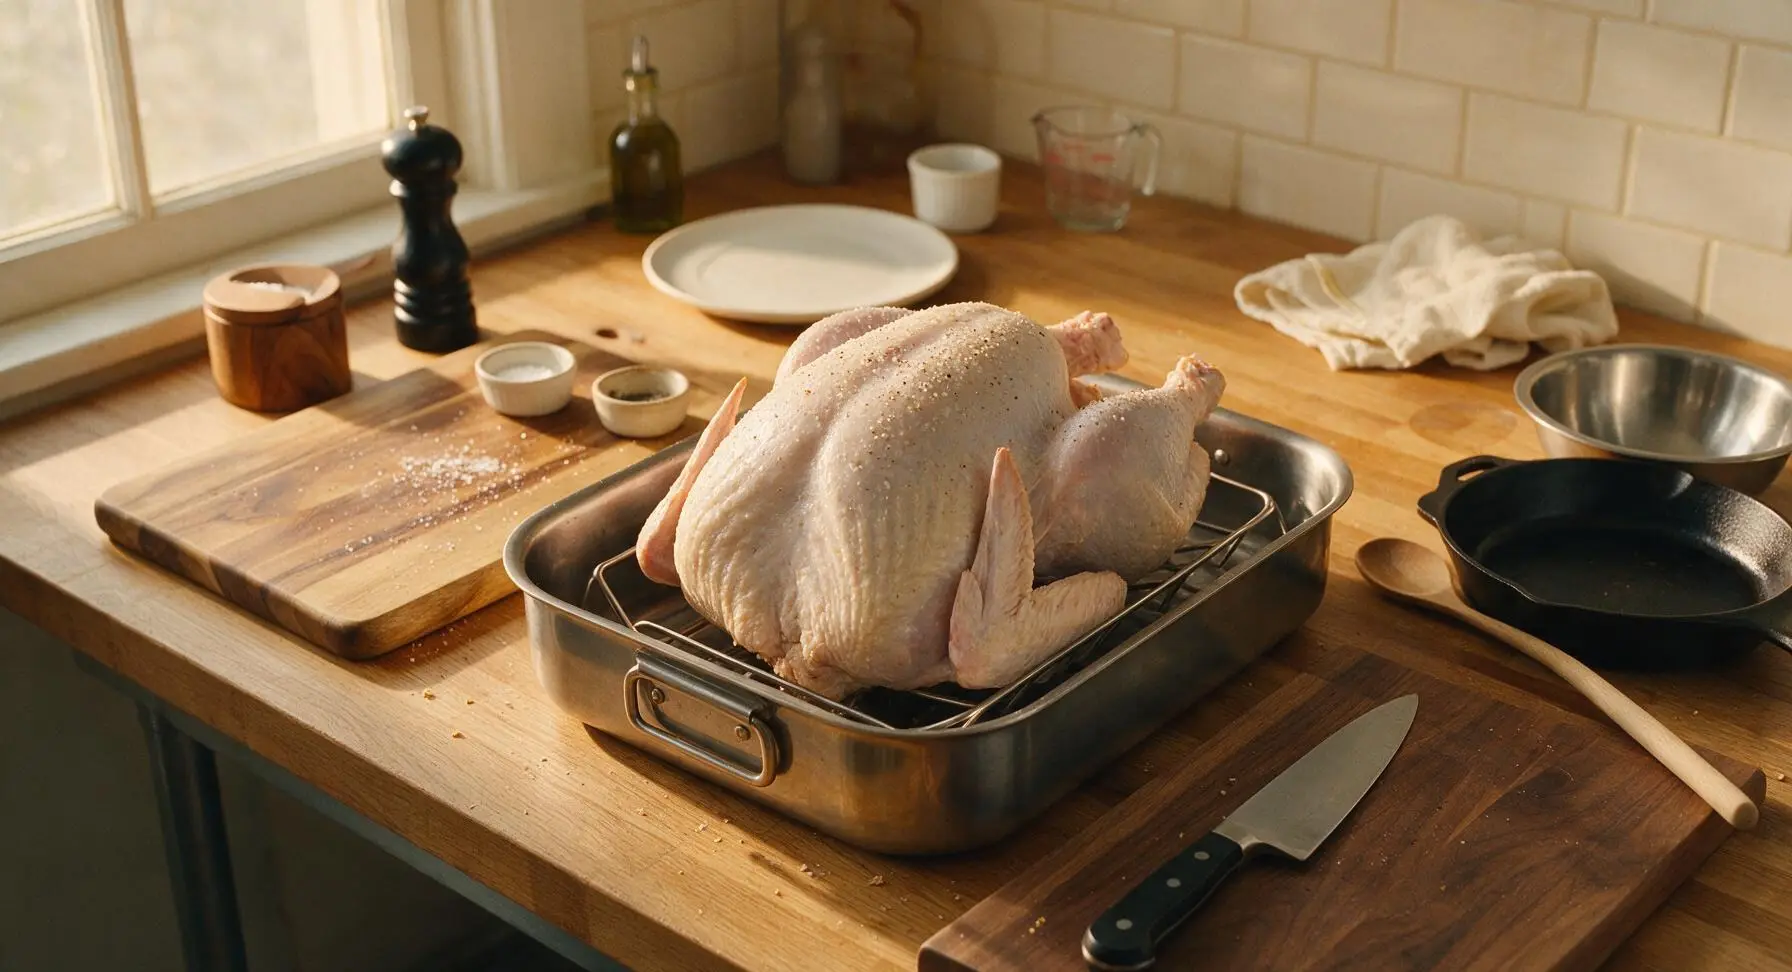
Prep and Season Turkey
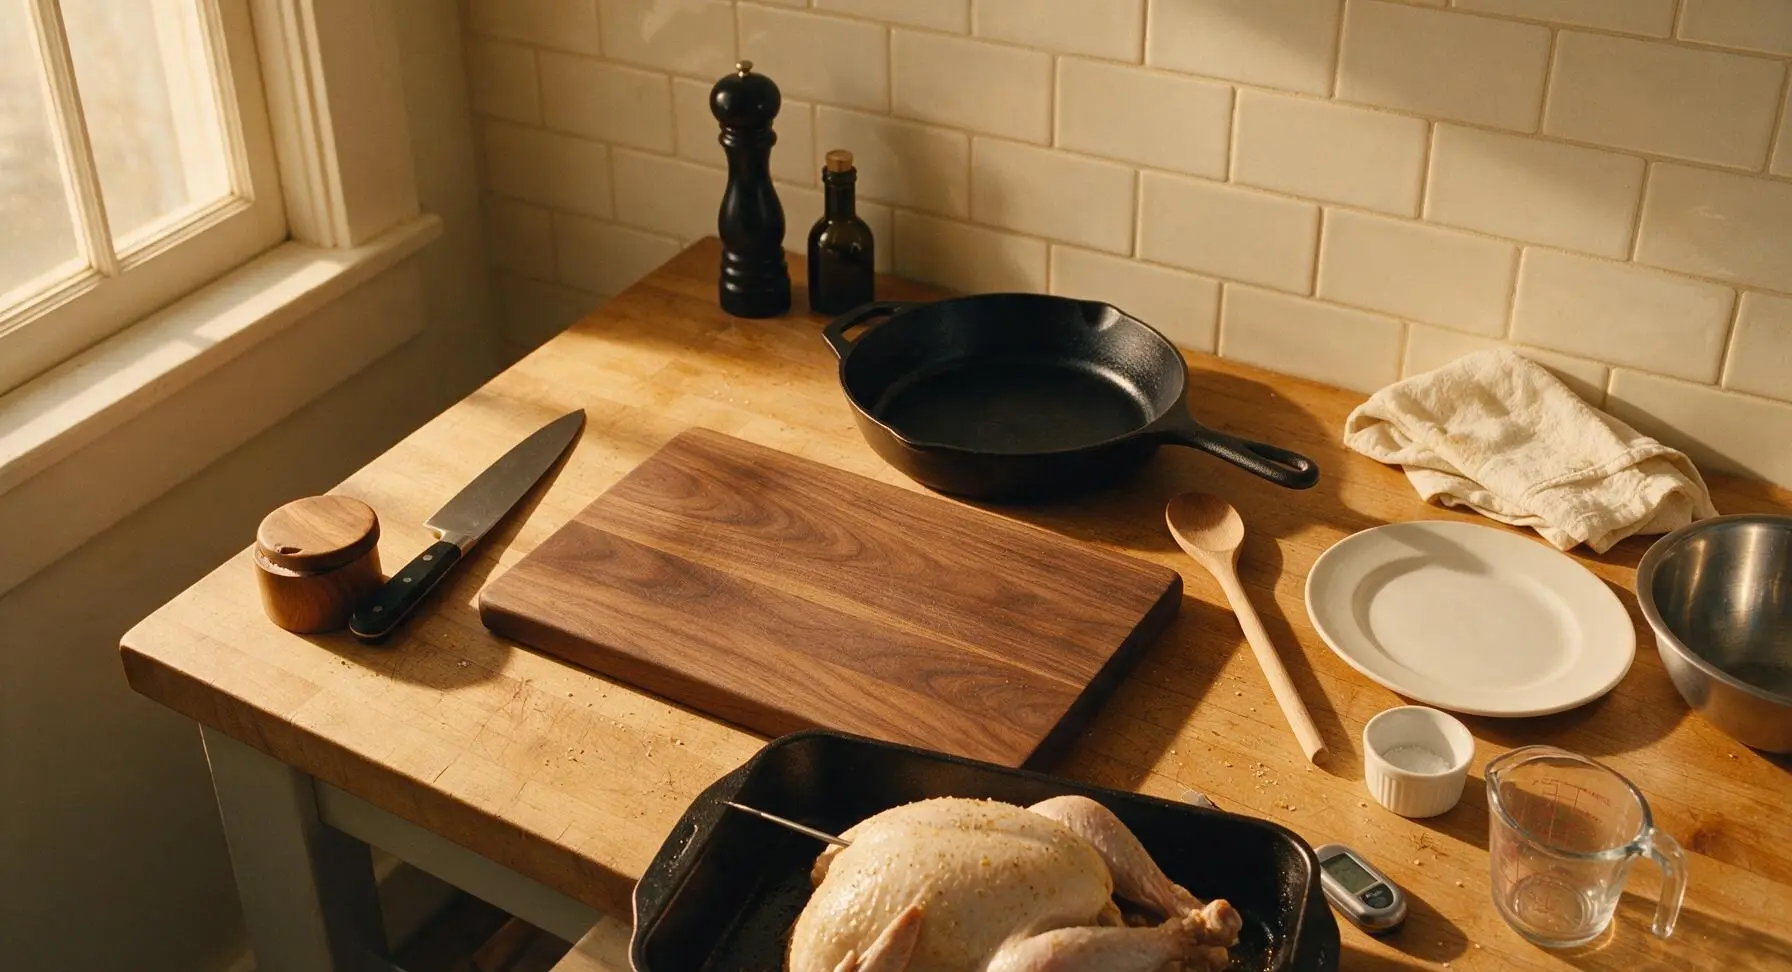
Adjust oven rack to the lower third position, preheat oven to 350°F (175°C). Pat the whole turkey completely dry inside and out with paper towels, then rub the entire skin and cavity with 1 tablespoon kosher salt and 1 teaspoon black pepper. Tuck 4 sage leaves into the turkey cavity, then place the turkey breast-side up on the V-rack inside the stainless steel roasting pan. Tuck the wing tips under the turkey to prevent burning during roasting.
Whisk Peanut Glaze
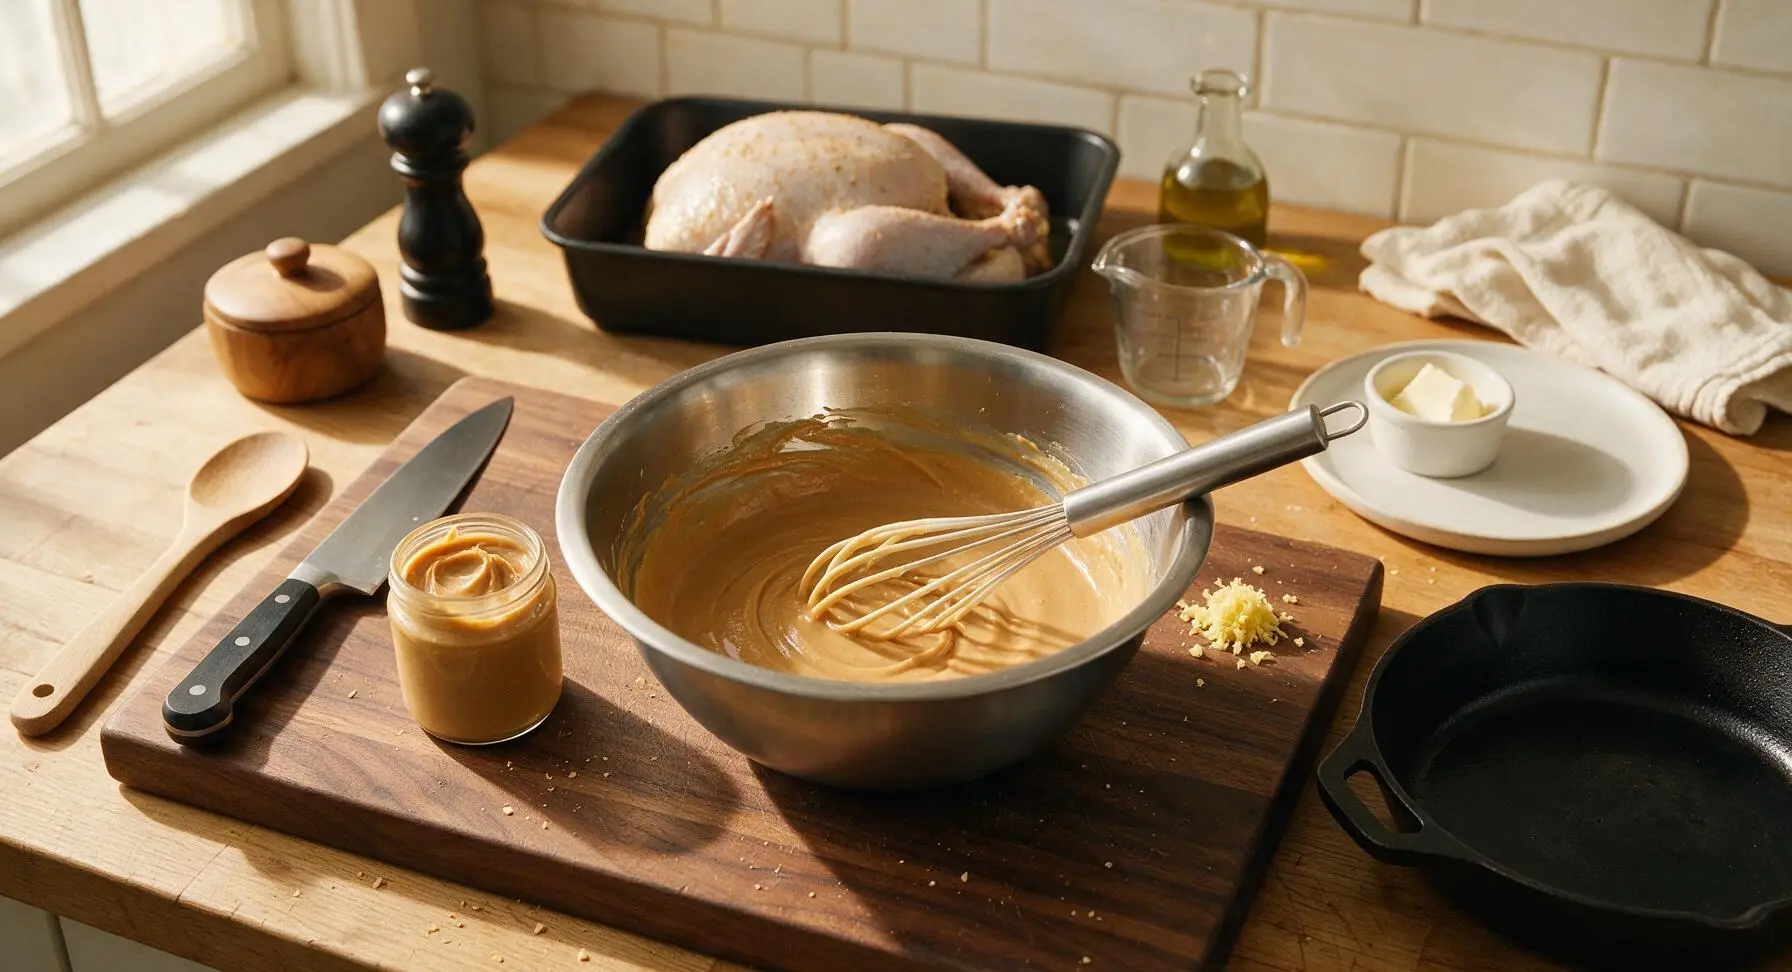
In the medium stainless steel mixing bowl, combine ¾ cup creamy peanut butter, ¼ cup honey, 3 tablespoons low-sodium soy sauce, 2 tablespoons melted unsalted butter, 1 tablespoon grated fresh ginger, 1 teaspoon garlic powder, and ½ teaspoon smoked paprika. Use the silicone whisk to stir until completely smooth, with no lumps of peanut butter remaining; the glaze should be thick but pourable, with a consistent light peanut brown color.
Roast Turkey Uncovered
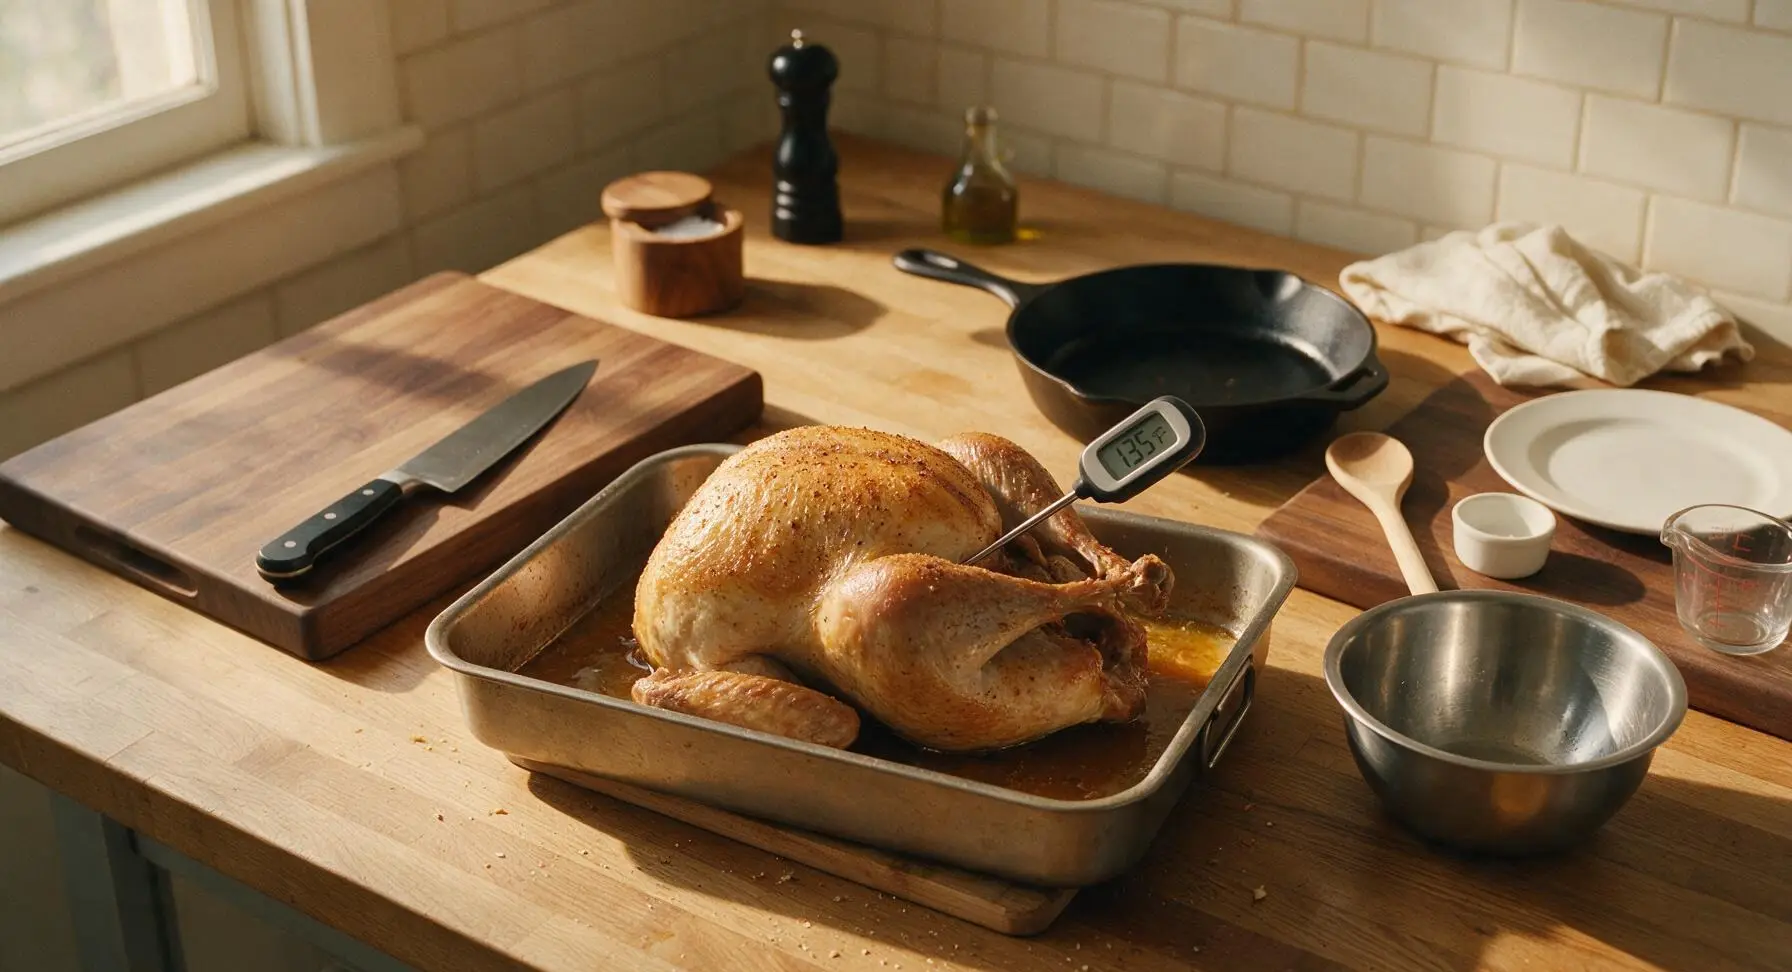
Place the roasting pan with the seasoned turkey in the preheated 350°F (175°C) oven. Roast uncovered for 2 hours, until the skin is a light golden brown and the internal temperature at the thickest part of the thigh reads 135°F (57°C) on the digital meat thermometer. Baste the turkey with accumulated pan juices once after the first hour of cooking.
Baste with Peanut Glaze
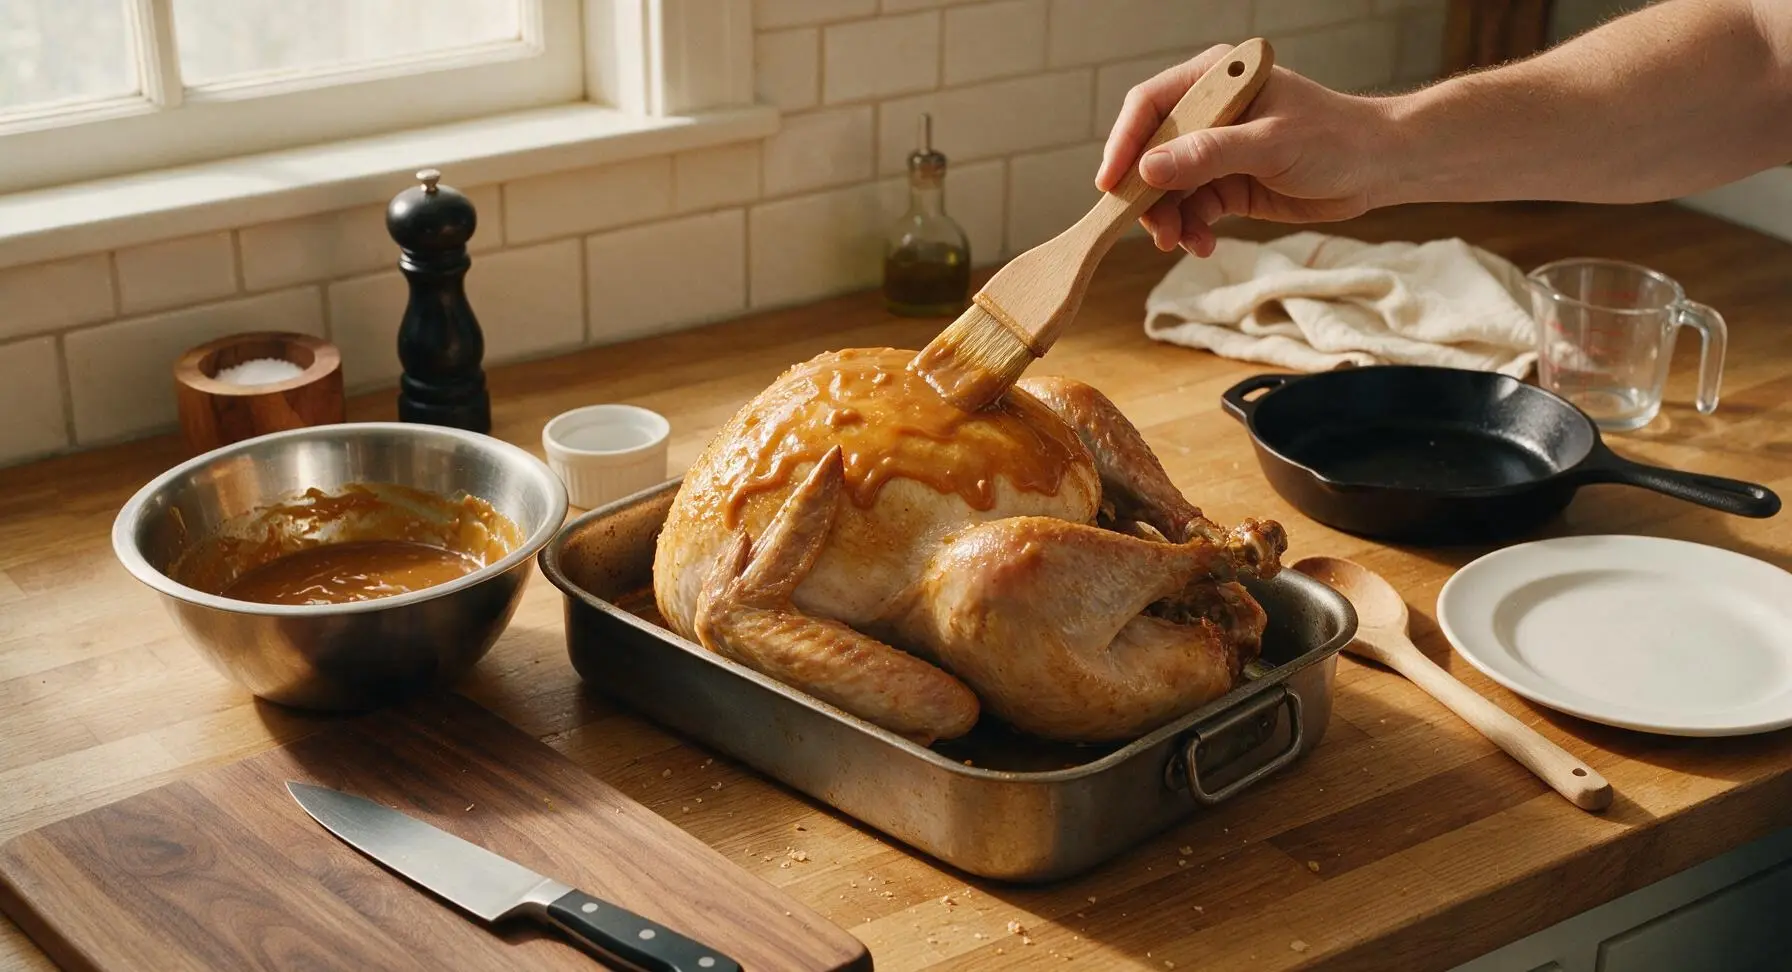
Use the natural boar bristle basting brush to generously brush half of the smooth peanut glaze over the entire exposed surface of the turkey, making sure to coat the breast, legs, and wings evenly. Return the turkey to the oven and roast for 45 minutes, basting with remaining pan juices every 15 minutes to keep the meat moist.
Apply Final Glaze Coat
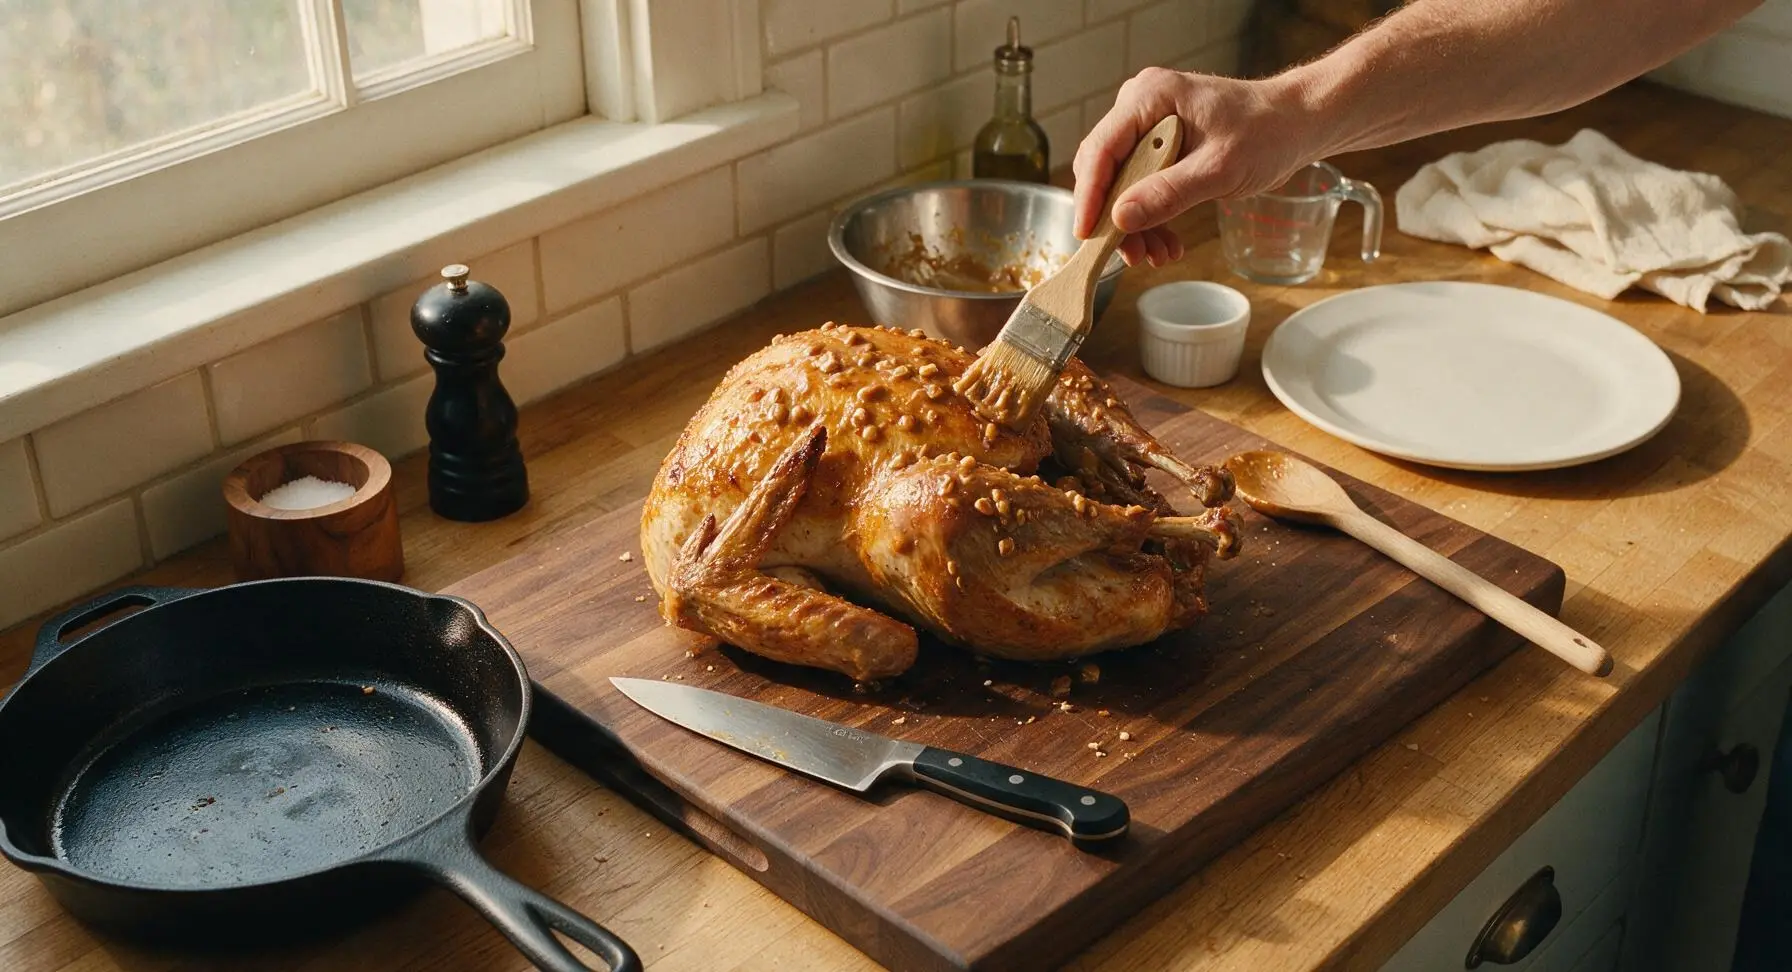
After 45 minutes of glazed roasting, remove the turkey from the oven, brush the remaining half of the peanut glaze over the entire surface, turning the pan slightly to ensure even coverage. Return to the oven and roast for a final 30 minutes, until the glaze is deep glossy amber, the skin is crisp, and the internal temperature reaches 160°F (71°C) at the thickest part of the breast and 165°F (74°C) at the thickest part of the thigh as measured by the digital meat thermometer.
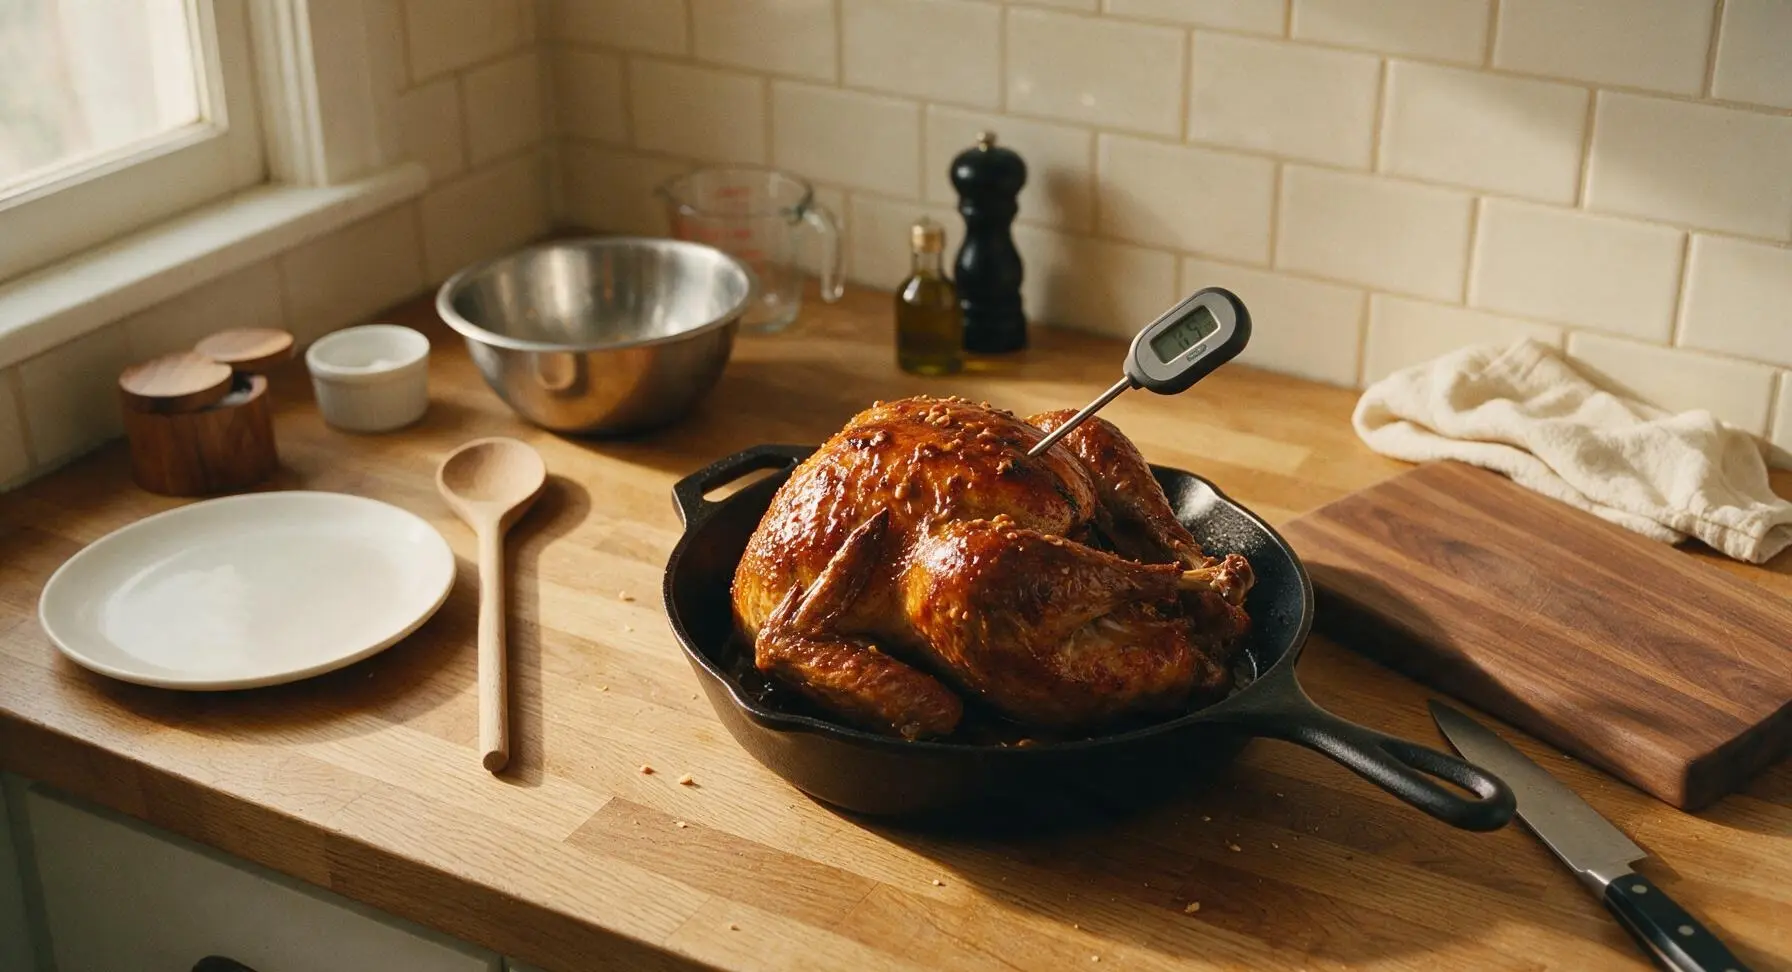
Rest Turkey Before Carving
Carefully lift the turkey from the roasting rack using the long stainless steel tongs, transfer it to the acacia wood cutting board, and tent loosely with a sheet of aluminum foil. Let rest for 25 minutes to allow juices to redistribute through the meat; the internal temperature will rise 5-10°F during resting (carryover cooking). Do not cut into the turkey during this time, as this will cause flavorful juices to run out.
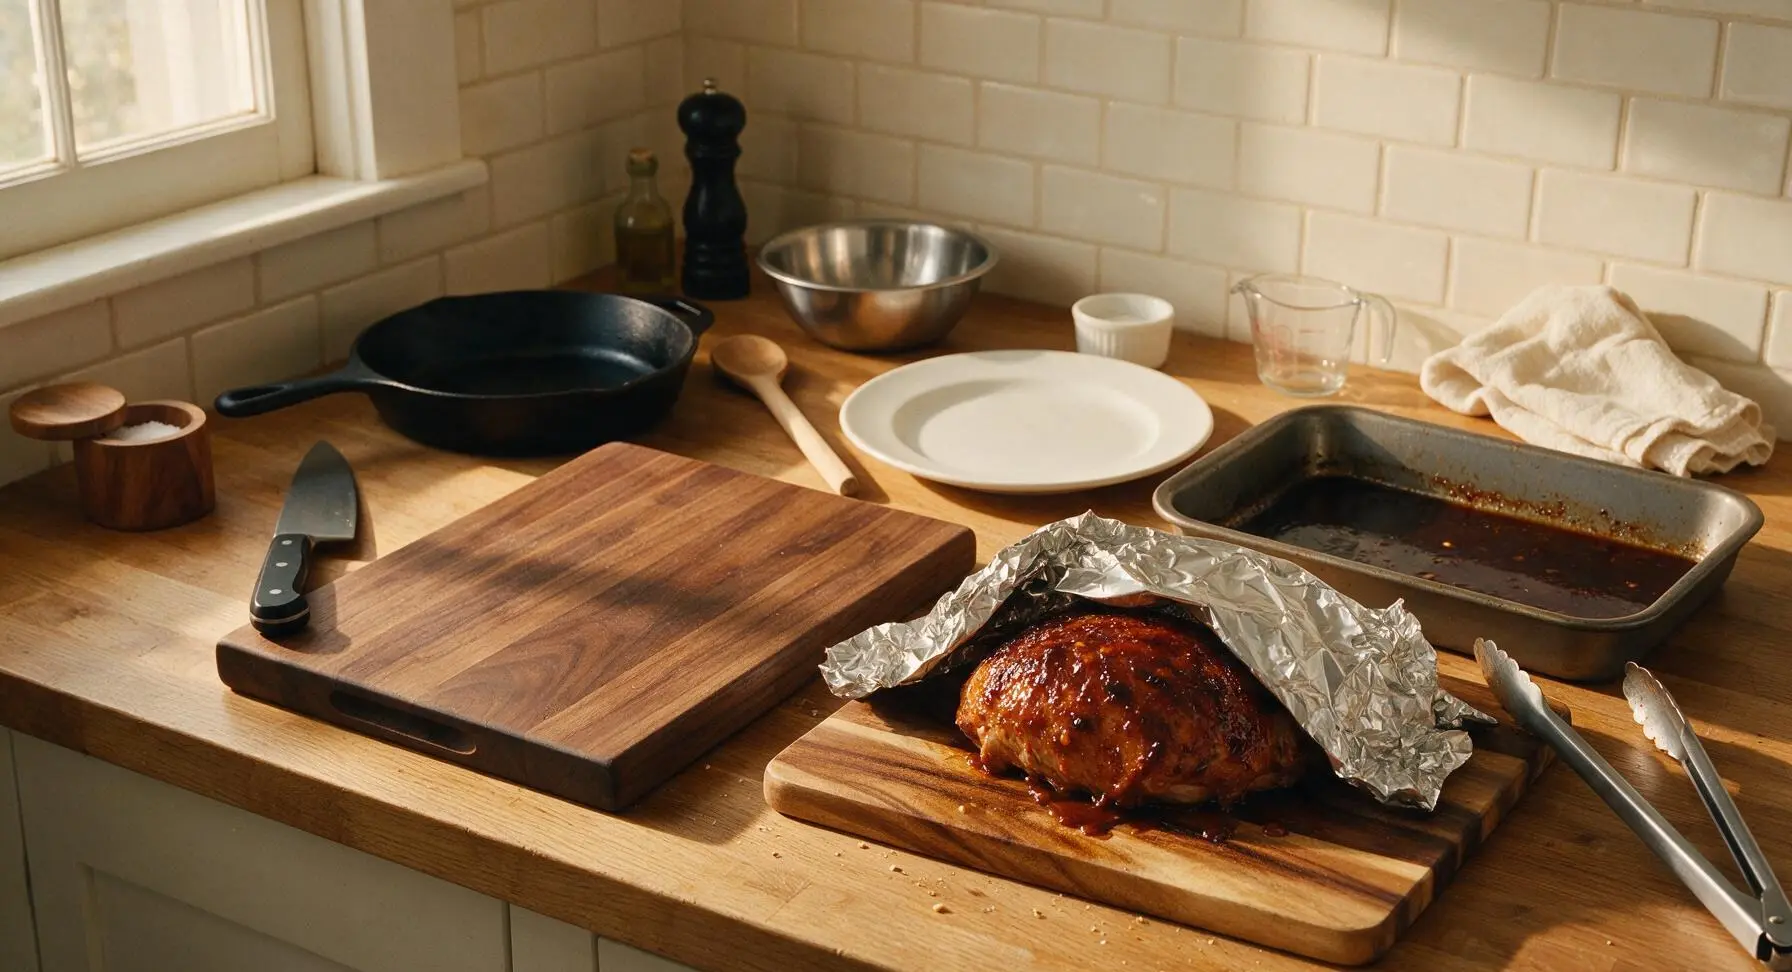
Carve and Garnish Turkey
After resting, use the 8-inch chef knife to carve the turkey into ½-inch thick breast slices, separating the drumsticks and thighs as desired. Arrange the carved pieces on the large oval creamy white ceramic serving platter, fanning the breast slices slightly. Drizzle any remaining warmed glaze from the roasting pan over the top of the carved turkey, then sprinkle with ¼ cup chopped roasted peanuts and tuck the remaining 4 fresh sage leaves around the platter as garnish.
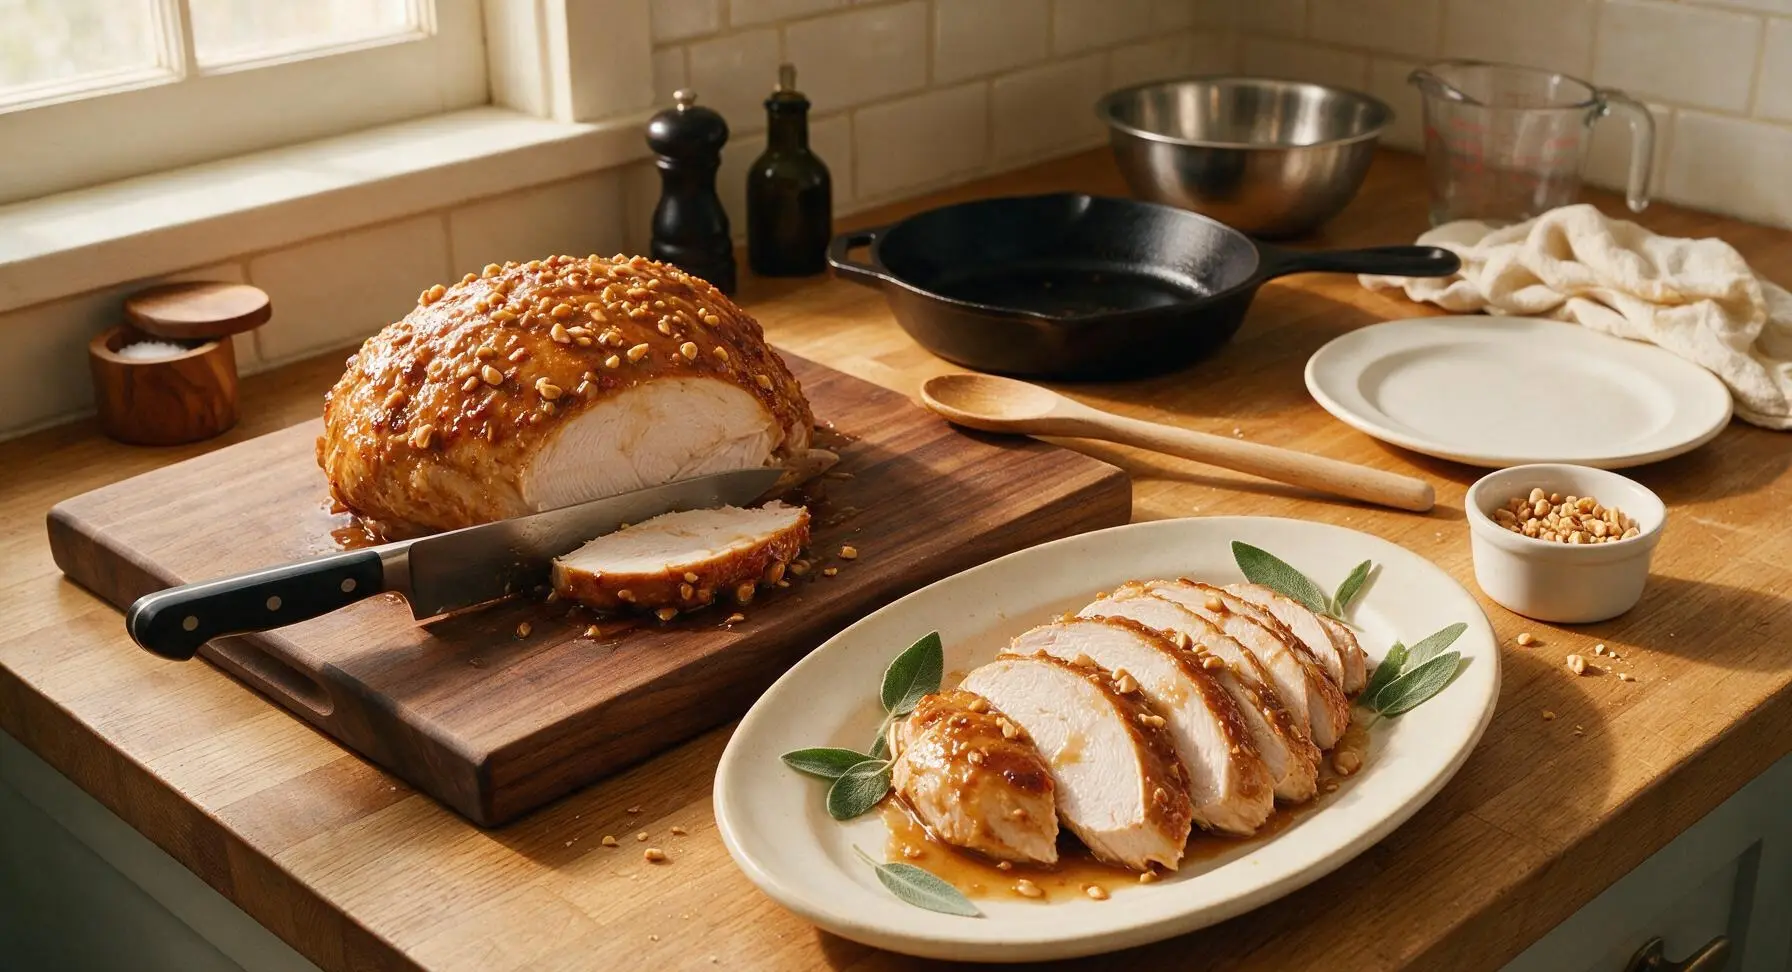
Tips
2.Use smooth, unsweetened creamy peanut butter for the glaze: chunky peanut butter contains nut pieces that will burn quickly at roasting temperatures, creating a bitter charred flavor; reserve chopped peanuts for a post-roast garnish for crunch without burning.
3.Let the turkey rest a full 25 minutes before carving: cutting into hot turkey straight from the oven will cause flavorful juices to leak out onto the platter, leaving the breast meat dry and less flavorful, even if cooked to the correct temperature.






OMG this peanut glazed turkey was an absolute hit at our family Sunday dinner! I was worried the peanut flavor would be too overpowering but it’s the perfect balance of sweet, salty, and nutty. My picky 7 year old asked for thirds, which never happens! Cook time was exactly as advertised, just make sure you temp the bird so it doesn’t dry out. 10/10 will be making this for Thanksgiving this year too!
Solid recipe, though I’d rate the difficulty a little higher than medium if you’re a total beginner. The peanut glaze caramelizes so nicely on the skin, I prepped a big batch of this for my weekly lunches and it held up great all week. Only note is I added a pinch of cayenne for a little kick, which paired so well with the nuttiness. Will definitely repeat.
This recipe is SO good! I did a test run of it this week because I’m supposed to bring a main dish to my neighborhood potluck next weekend, and it’s such a total showstopper. Quick question — can I make the peanut glaze a day ahead and store it in the fridge, or does it have to be made fresh day of? Don’t want to be rushed the morning of!
Game changer!!! I was so tired of the same old boring roasted turkey for holidays, and this peanut glaze is next level. I added a little extra sriracha to the glaze like someone else mentioned, and wow — the sweet, nutty, spicy combo is unreal. My whole family was raving, even my brother who hates “fancy” turkey recipes. Only reason I’m not giving 5 stars is the cook time ran about 20 minutes longer for me than the recipe stated, probably because my bird was a little bigger.
SO good! I made this for our Friendsgiving gathering last week and everyone was asking for the recipe before they even left. I used coconut aminos instead of soy sauce to make it gluten free, and it worked perfectly with the peanut glaze. The turkey stayed so juicy, and the crispy skin with that sticky glaze? *Chef’s kiss* Only heads up is if you have a peanut allergy in the group, obviously skip this one, but otherwise it’s a crowd pleaser!
Okay, full transparency: I’m a total newbie in the kitchen and I almost burned the glaze because I had my oven temp too high at first 😅 But once I turned it down and followed the basting instructions, it turned out amazing! I was so proud to serve this to my roommates, and they couldn’t believe I made something that tasted this good. The medium difficulty rating is no joke, but it’s so worth the effort and the 3+ hour cook time. Don’t skip the basting steps, y’all!