
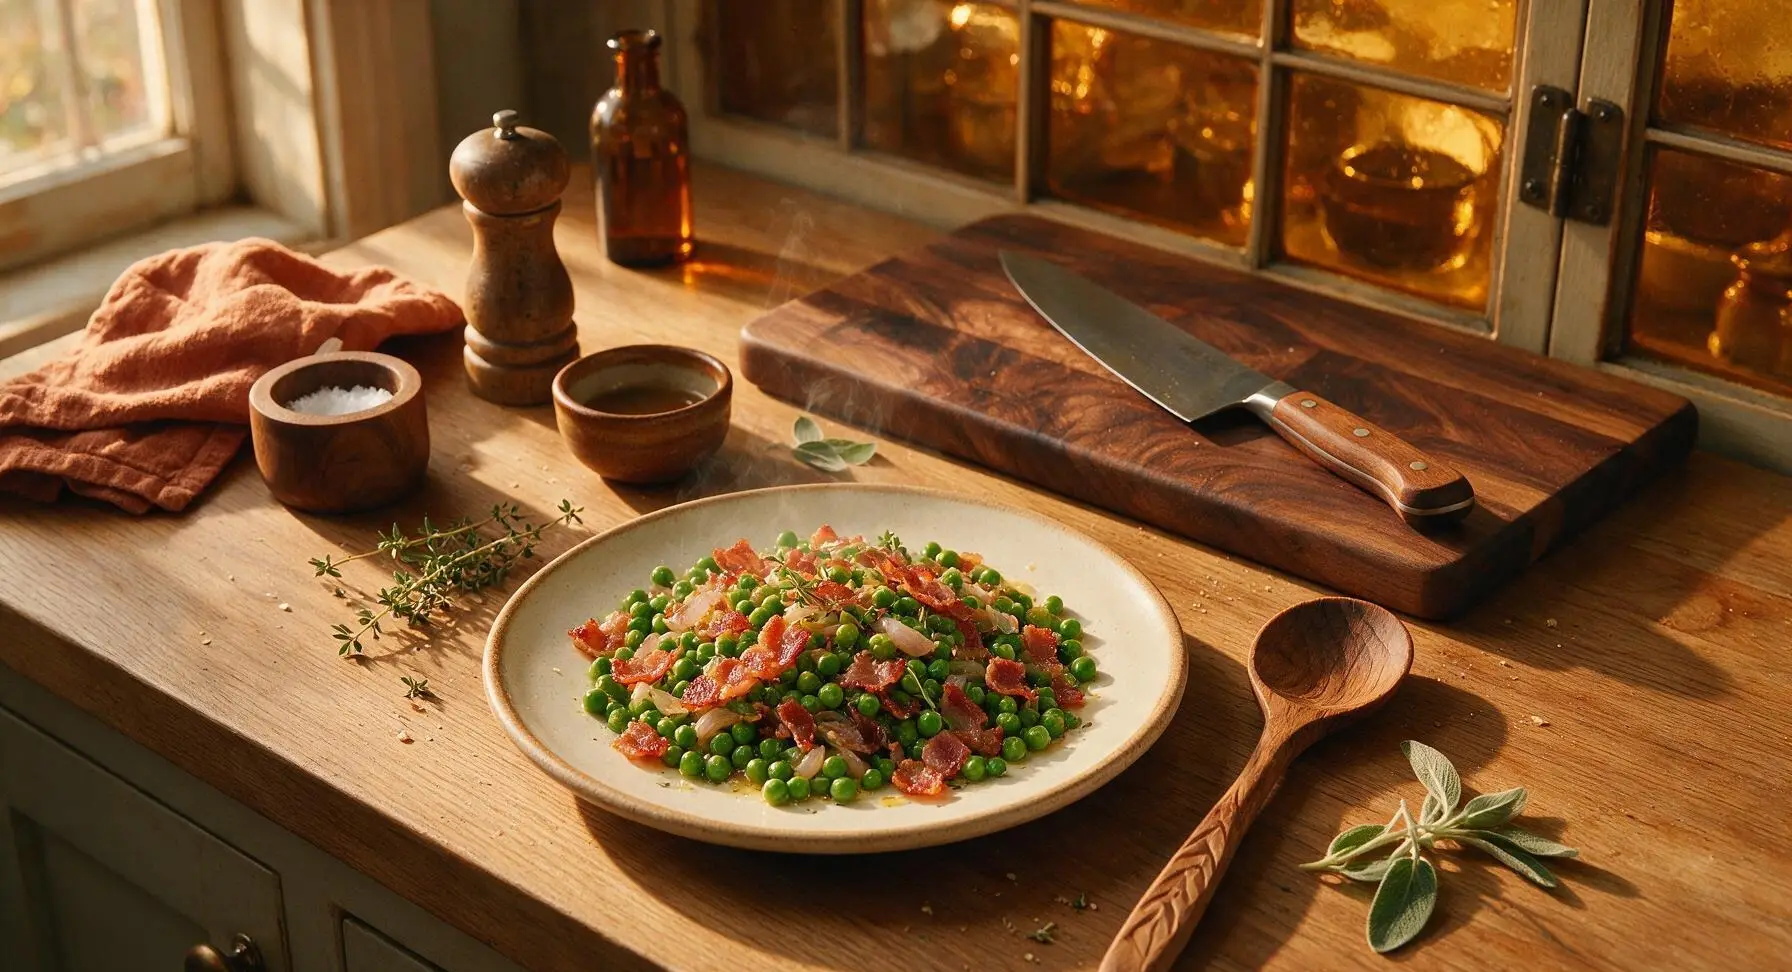
peas and bacon

title 1
peas and bacon
⏱️ cook time 10 minutes
🍽️ servings 4
⚡ Difficulty easy

intro

Sweet, tender spring peas tossed with salty crispy bacon, soft shallot, and a hint of butter is a quick, comforting side that pairs with roasted chicken, pork chops, or fish.

Ingredients
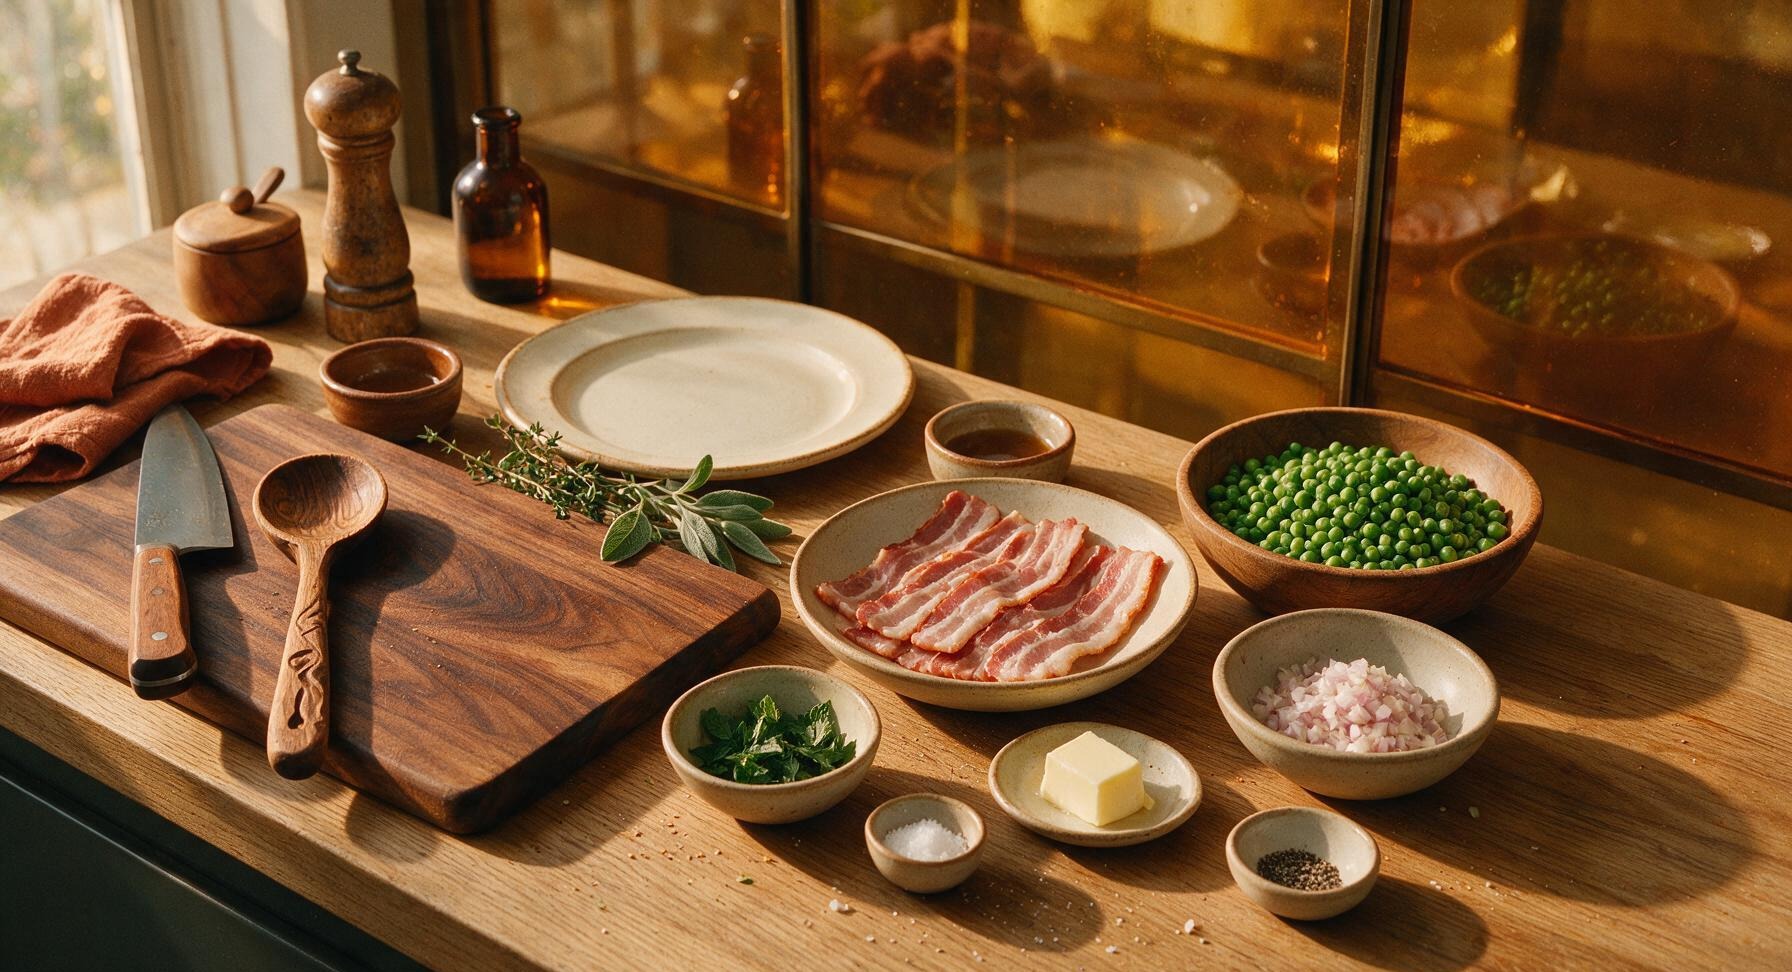
Thick-cut bacon 8 slices (225g)
Fresh shelled spring peas 3 cups (450g)
Small shallot 1 (50g, finely diced)
Unsalted butter 1 tablespoon (14g)
Fresh mint 2 tablespoons (chopped)
Kosher salt 1/2 teaspoon
Freshly ground black pepper 1/4 teaspoon

Steps

1

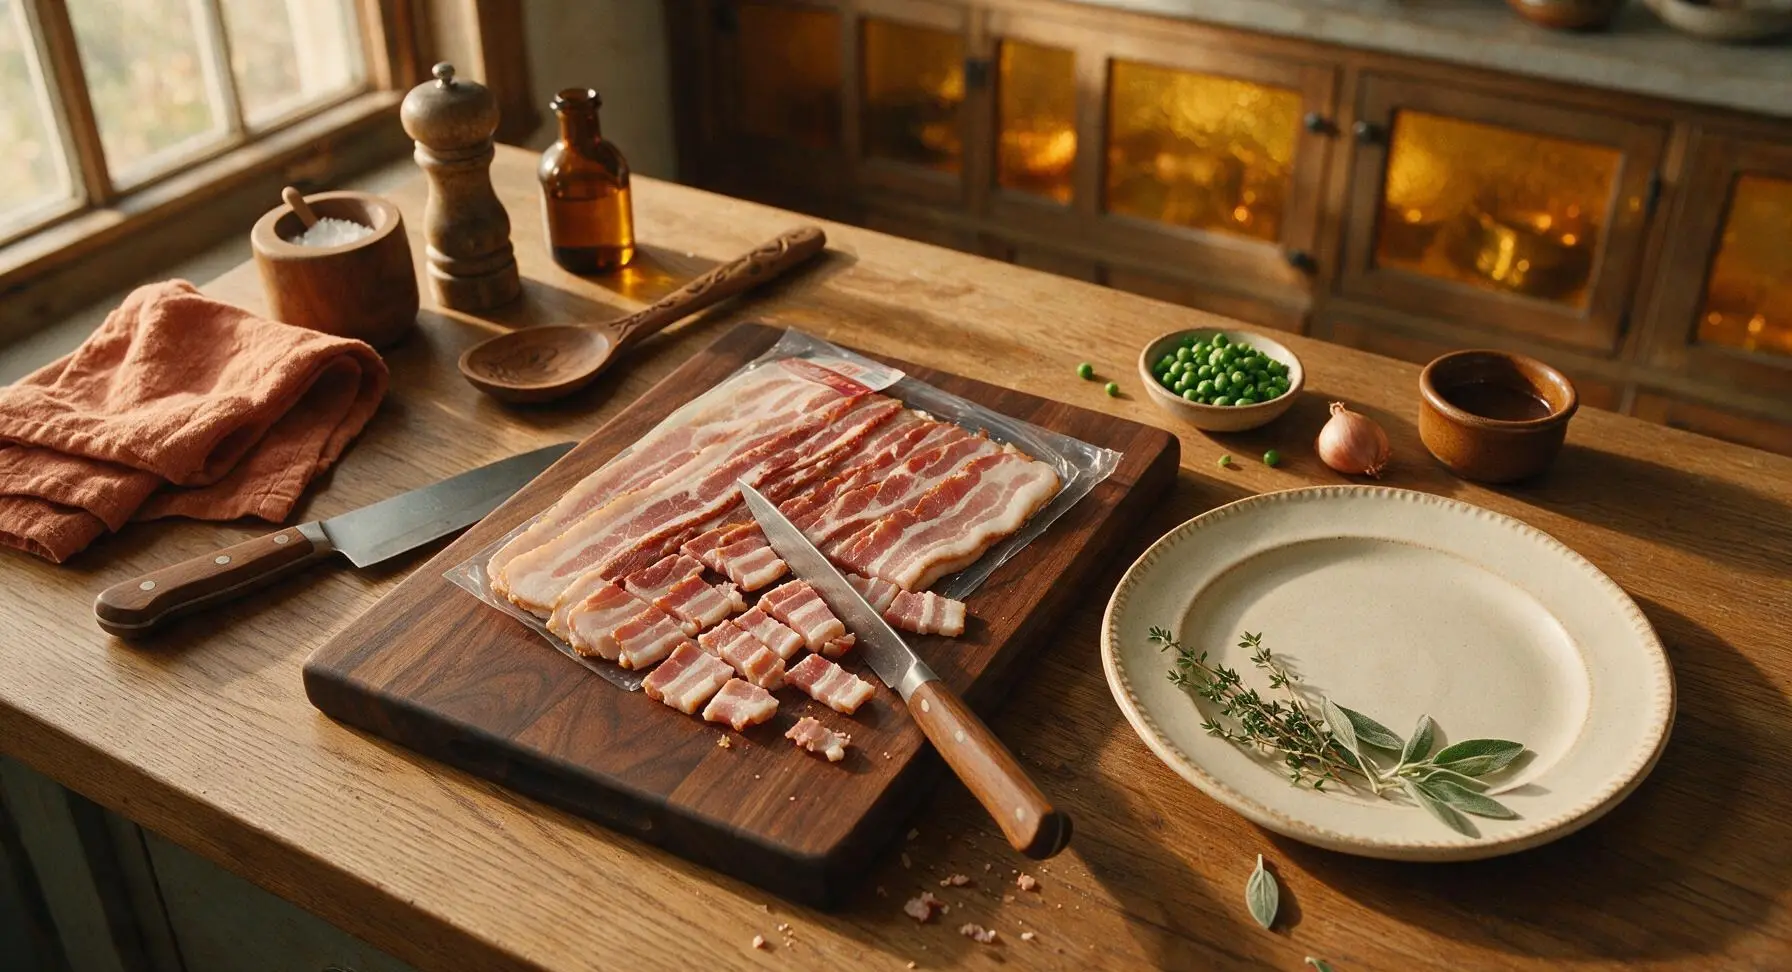
Dice the raw bacon

Lay the 8 slices of thick-cut bacon on the acacia wood cutting board. Using the walnut-handled paring knife, cut the bacon slices into uniform 1/2-inch lardons, discarding any tough, chewy rind edges. Evenly sized pieces will cook at the same rate, preventing some bits from burning while others stay undercooked.
Step 1
step1:Dice the raw bacon
2

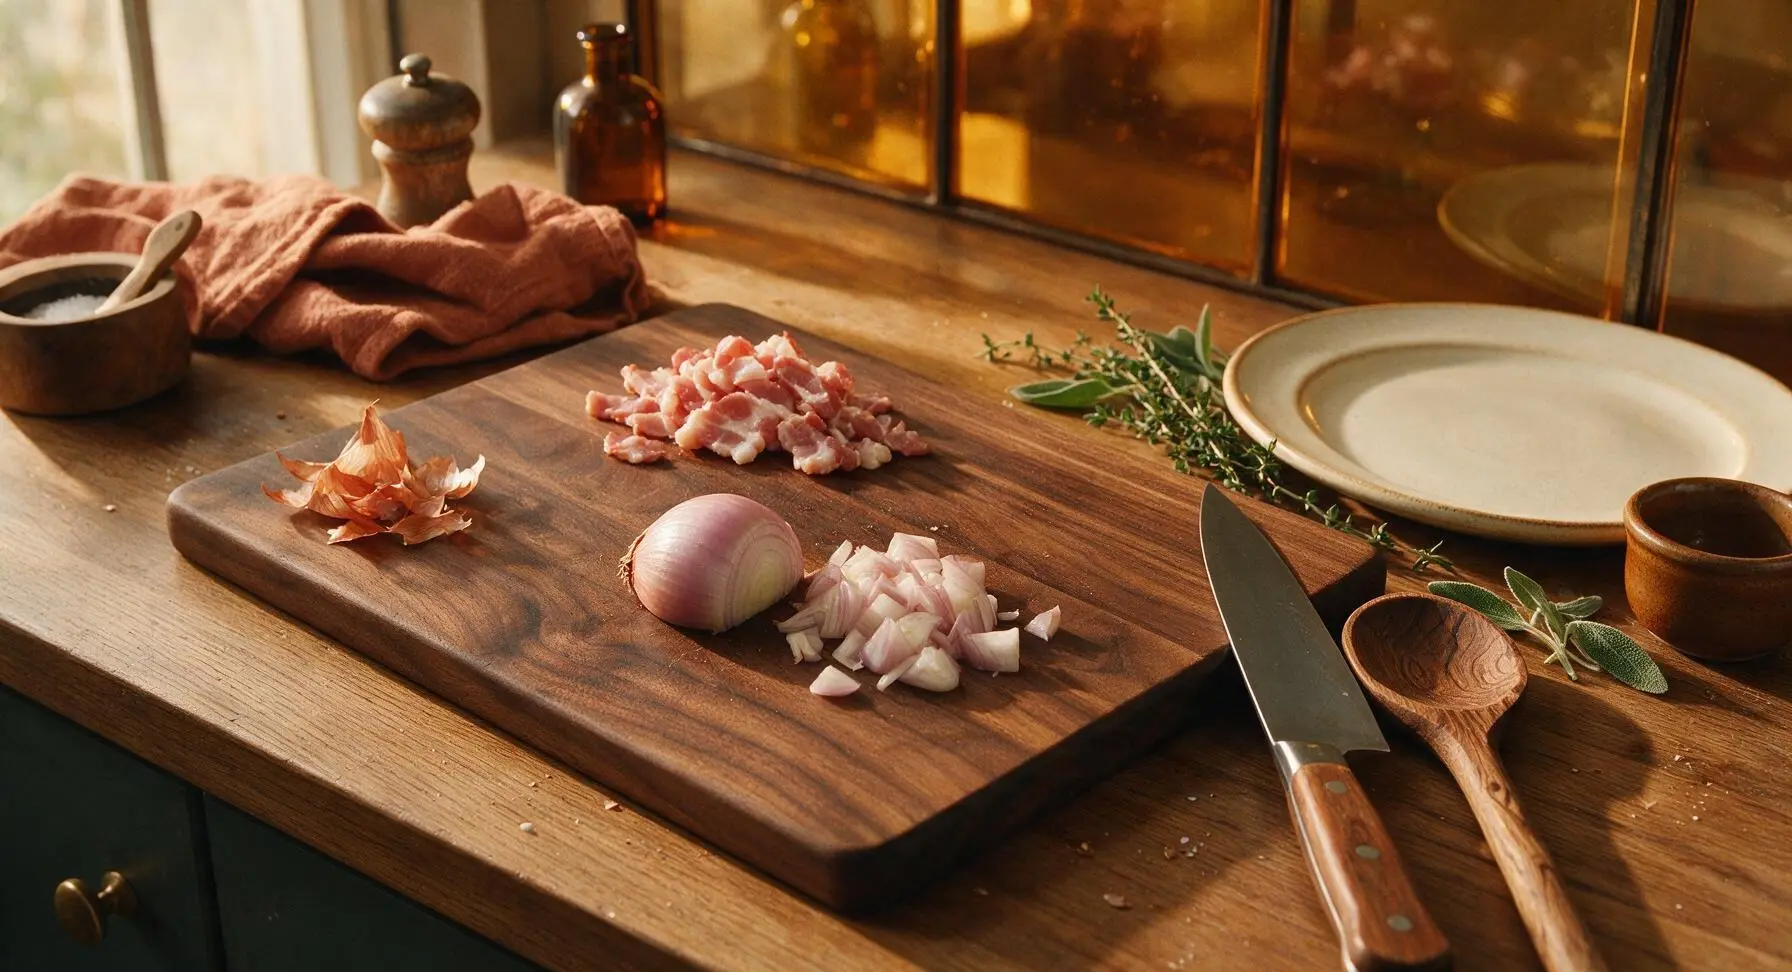
Dice the fresh shallot

Push the cut bacon lardons into a small pile on the top edge of the cutting board to make space. Peel the papery outer skin from the small shallot, then use the paring knife to dice it into fine 1/8-inch pieces, taking care not to crush the shallot flesh (crushed shallot will burn easily when sautéed). Set the diced shallot in a small pile next to the bacon.
Step 2
step2:Dice the fresh shallot
3

Crisp the bacon lardons

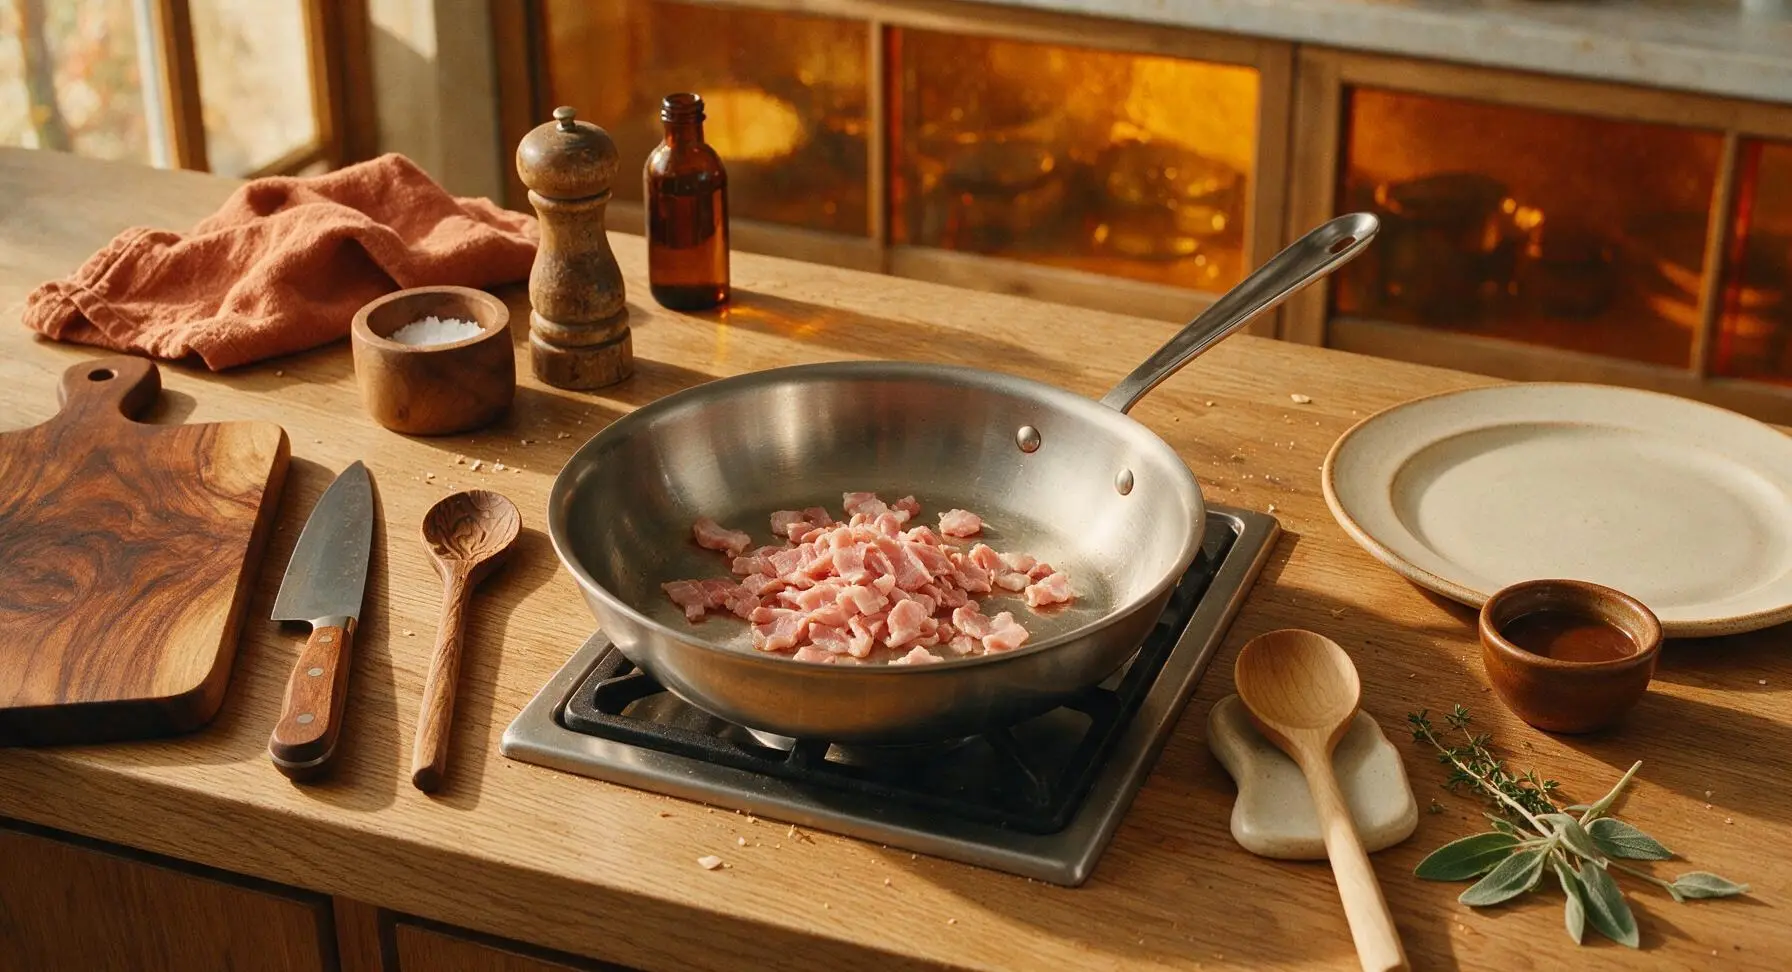
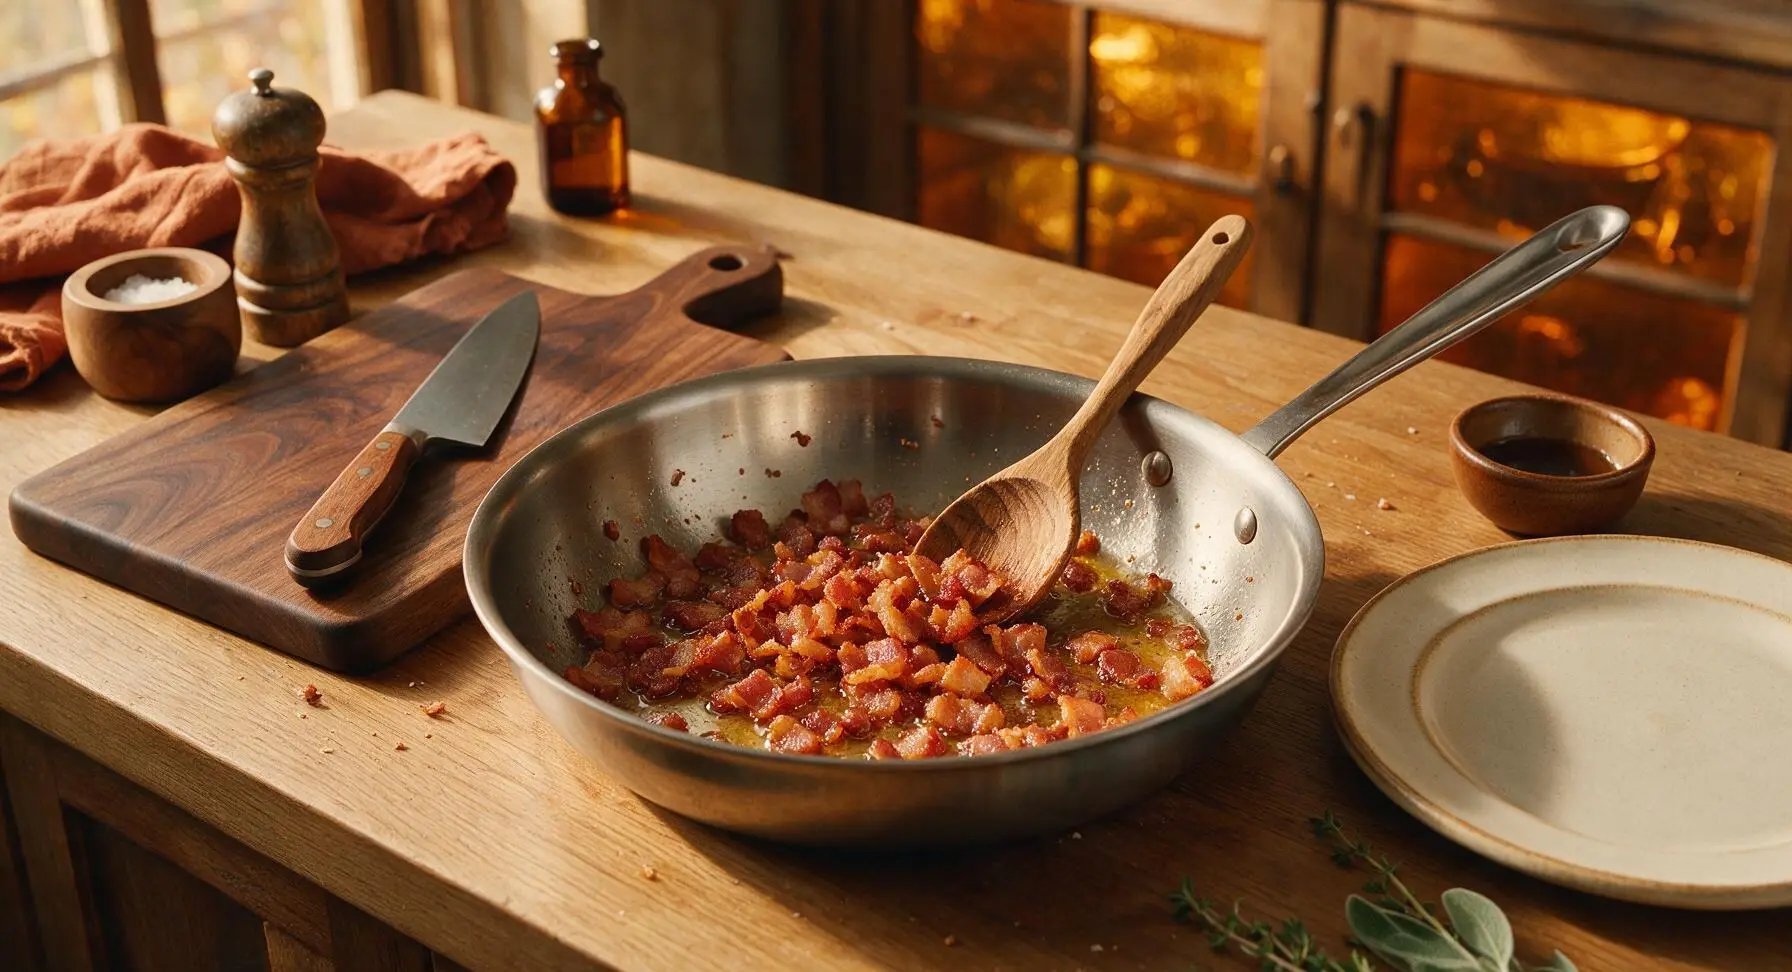
Bring the 24cm stainless steel skillet to the stovetop, positioned center-counter, over medium heat (350°F/175°C). Add the diced bacon lardons to the cold skillet (starting bacon in a cold pan reduces splatter and helps fat render evenly), then cook for 6-7 minutes, stirring occasionally with the light maple wooden spoon, until the bacon is deep golden brown and crispy at the edges, with clear rendered fat coating the pan bottom. Do not cook bacon to dark black, as it will taste bitter.
Step 3
step3:Crisp the bacon lardons
Step 3
step3:Crisp the bacon lardons
4

Sauté the diced shallot

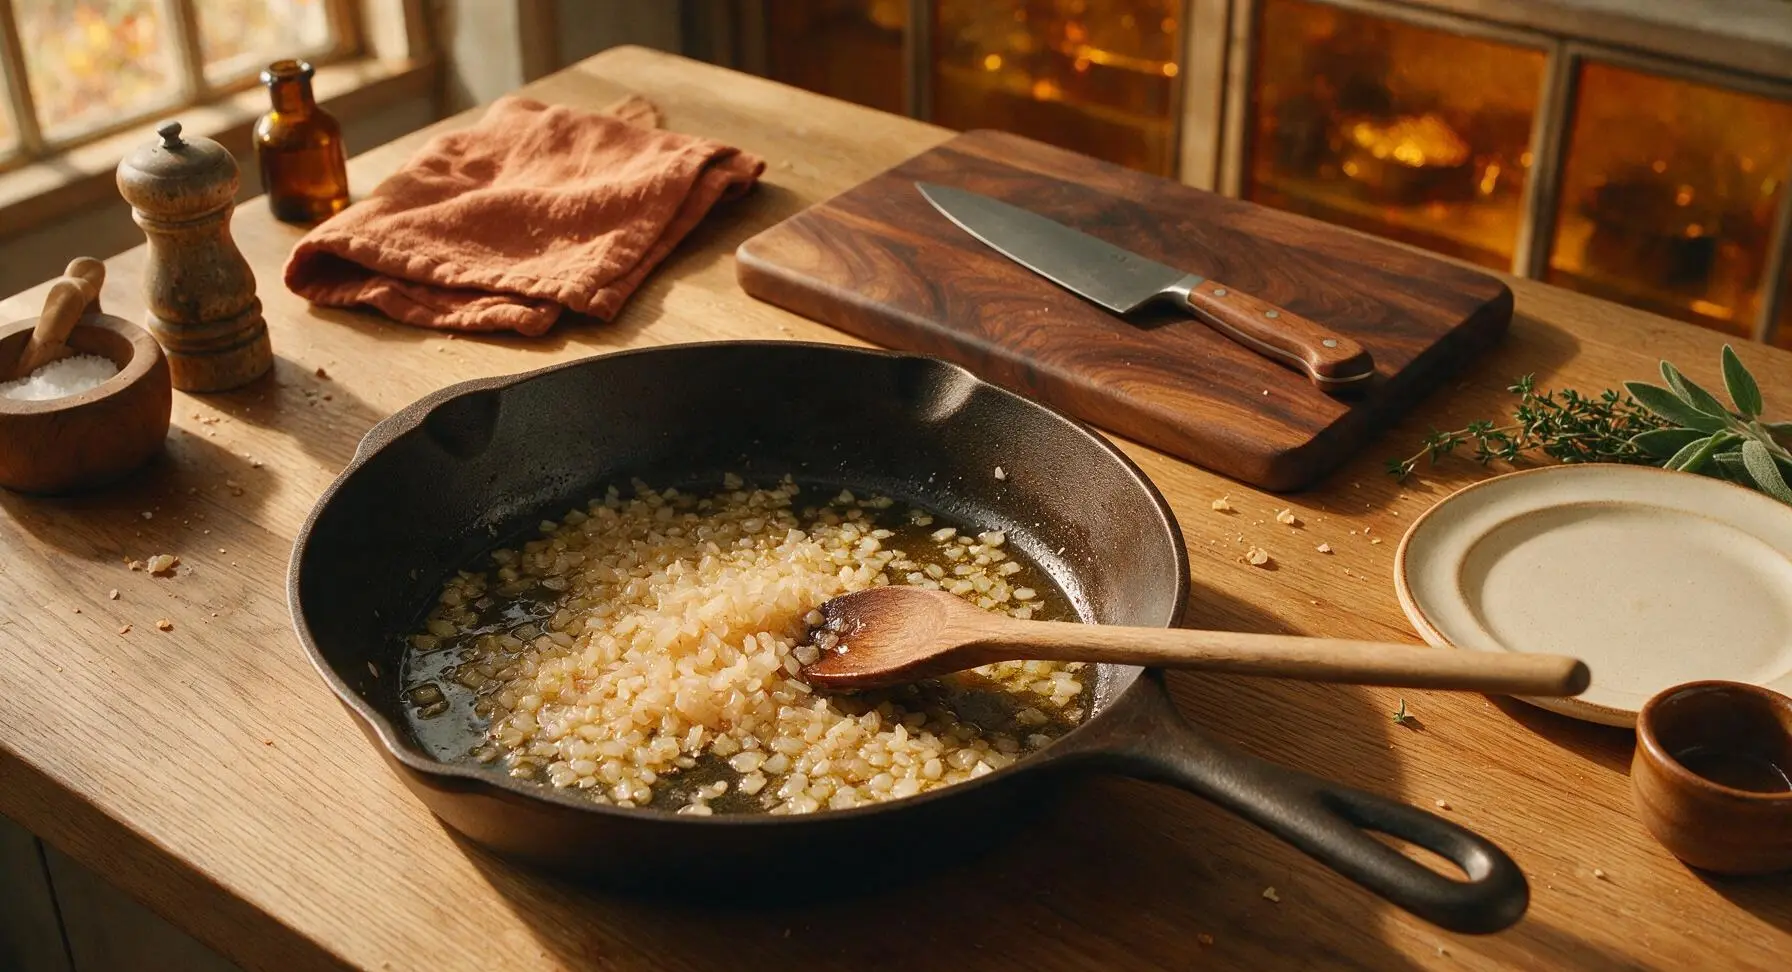
Use the slotted stainless steel turner to transfer the crispy bacon lardons to a small paper-towel lined plate (set just off-frame to the right) to drain excess fat, leaving exactly 1 tablespoon of rendered bacon fat in the skillet. Lower heat to medium-low (325°F/160°C), add the finely diced shallot to the pan, and sauté for 2 minutes, stirring constantly with the wooden spoon, until the shallot is soft, translucent, and sweetly fragrant, with no crisp browned edges.
Step 4
step4:Sauté the diced shallot
5

Cook the spring peas

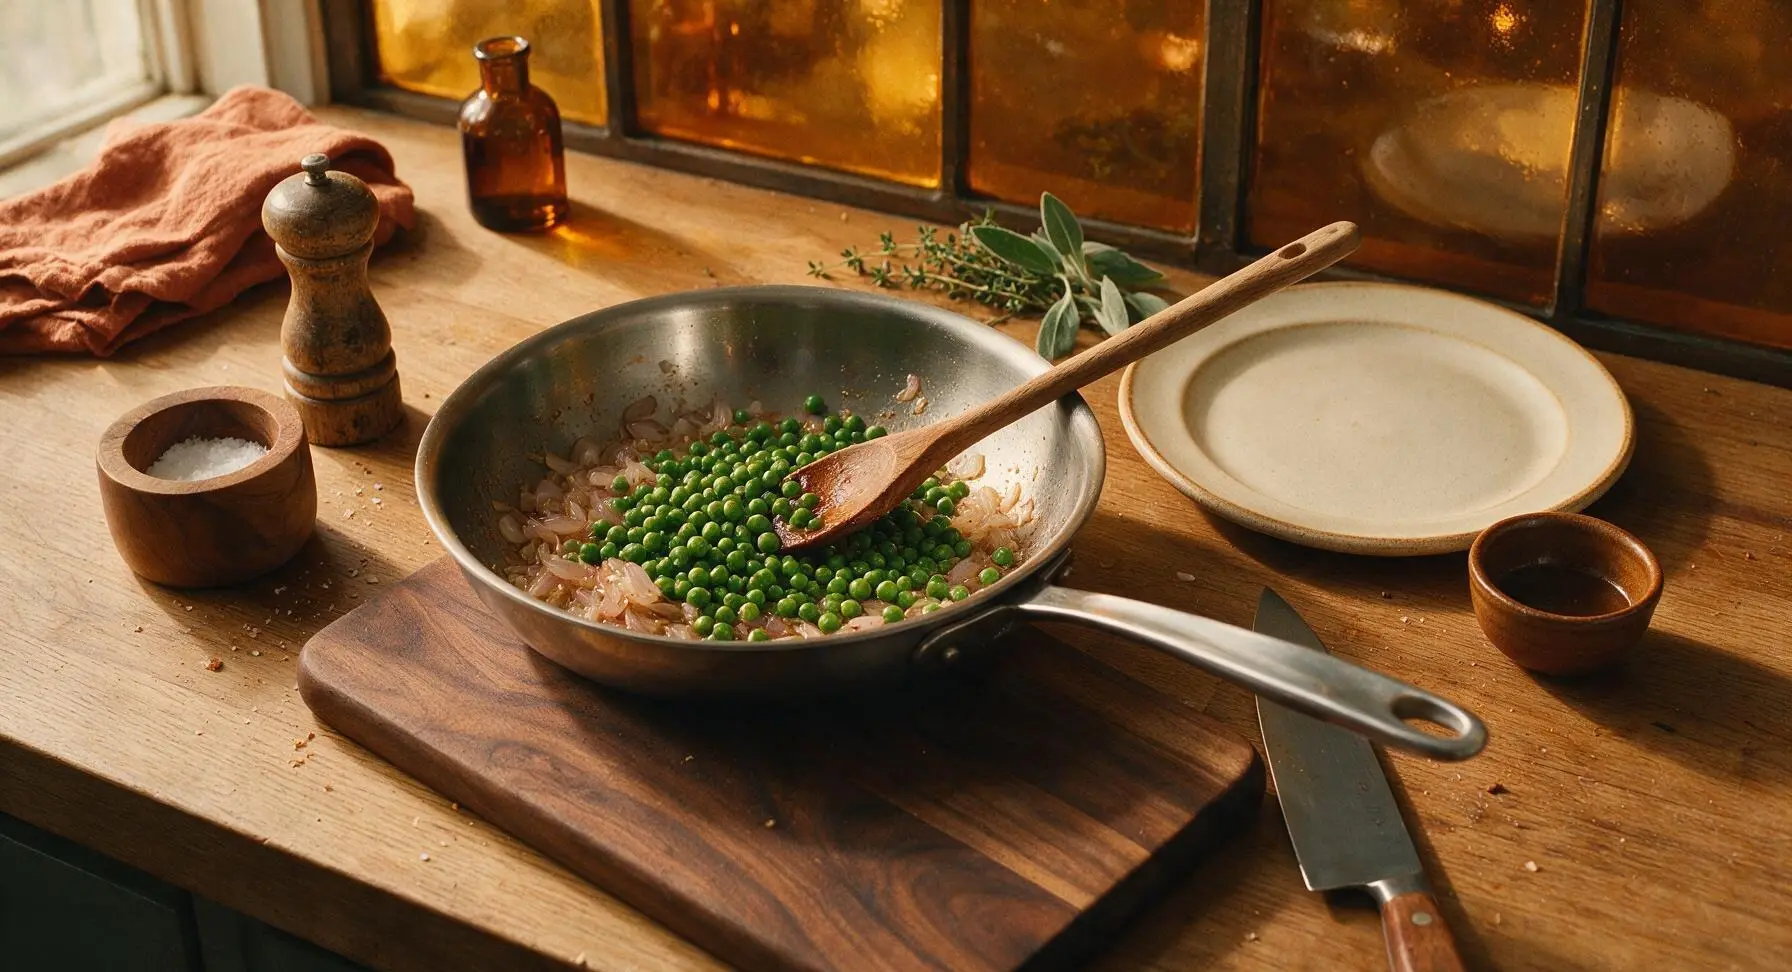
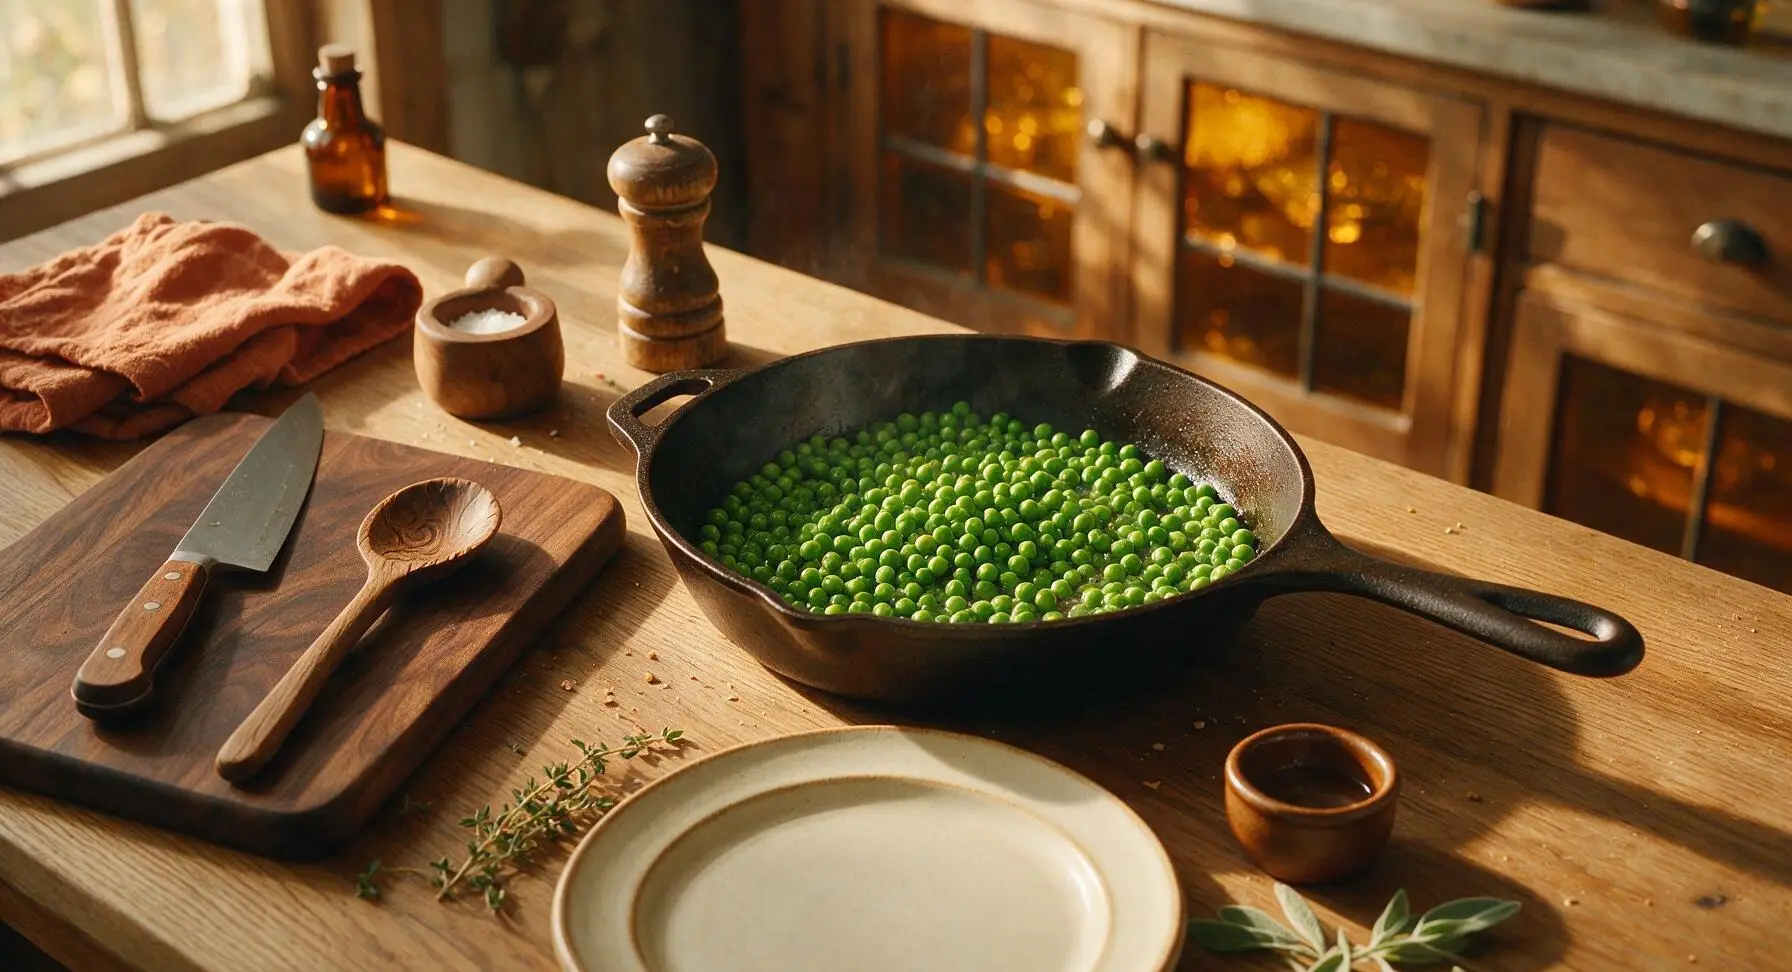
Add the 3 cups of shelled fresh spring peas to the skillet with the sautéed shallot, stirring to coat every pea in the bacon fat. Add 2 tablespoons of tap water to the pan, cover with a tight-fitting lid, and cook for 3 minutes exactly. Done correctly, the peas will be vivid bright green and tender-crisp, popping gently when bitten into, rather than mushy or dull olive-green.
Step 5
step5:Cook the spring peas
Step 5
step5:Cook the spring peas
6

Toss in bacon and butter

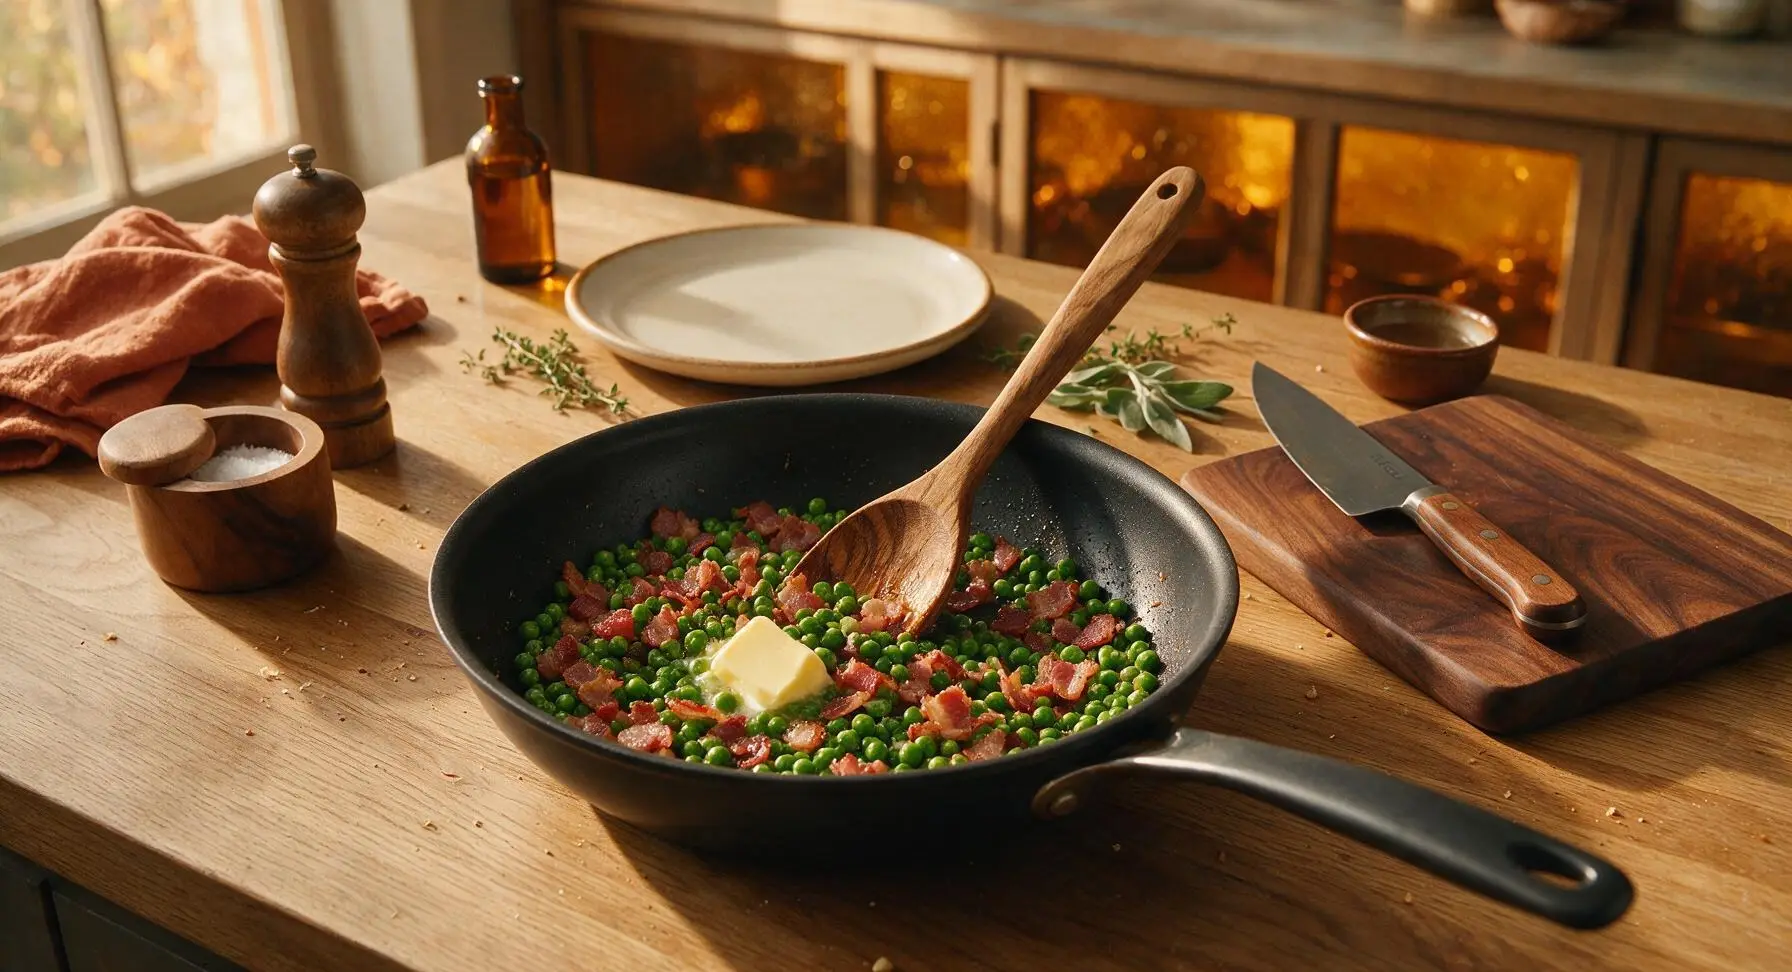
Remove the skillet from heat immediately to stop the peas from cooking further. Add the drained crispy bacon lardons back to the pan with the peas, followed by the 1 tablespoon of unsalted butter, 1/2 teaspoon kosher salt, and 1/4 teaspoon freshly ground black pepper. Stir gently with the wooden spoon for 30 seconds, until the butter melts completely and forms a light, glossy coating over every pea and bacon piece.
Step 6
step6:Toss in bacon and butter
7

Garnish and plate

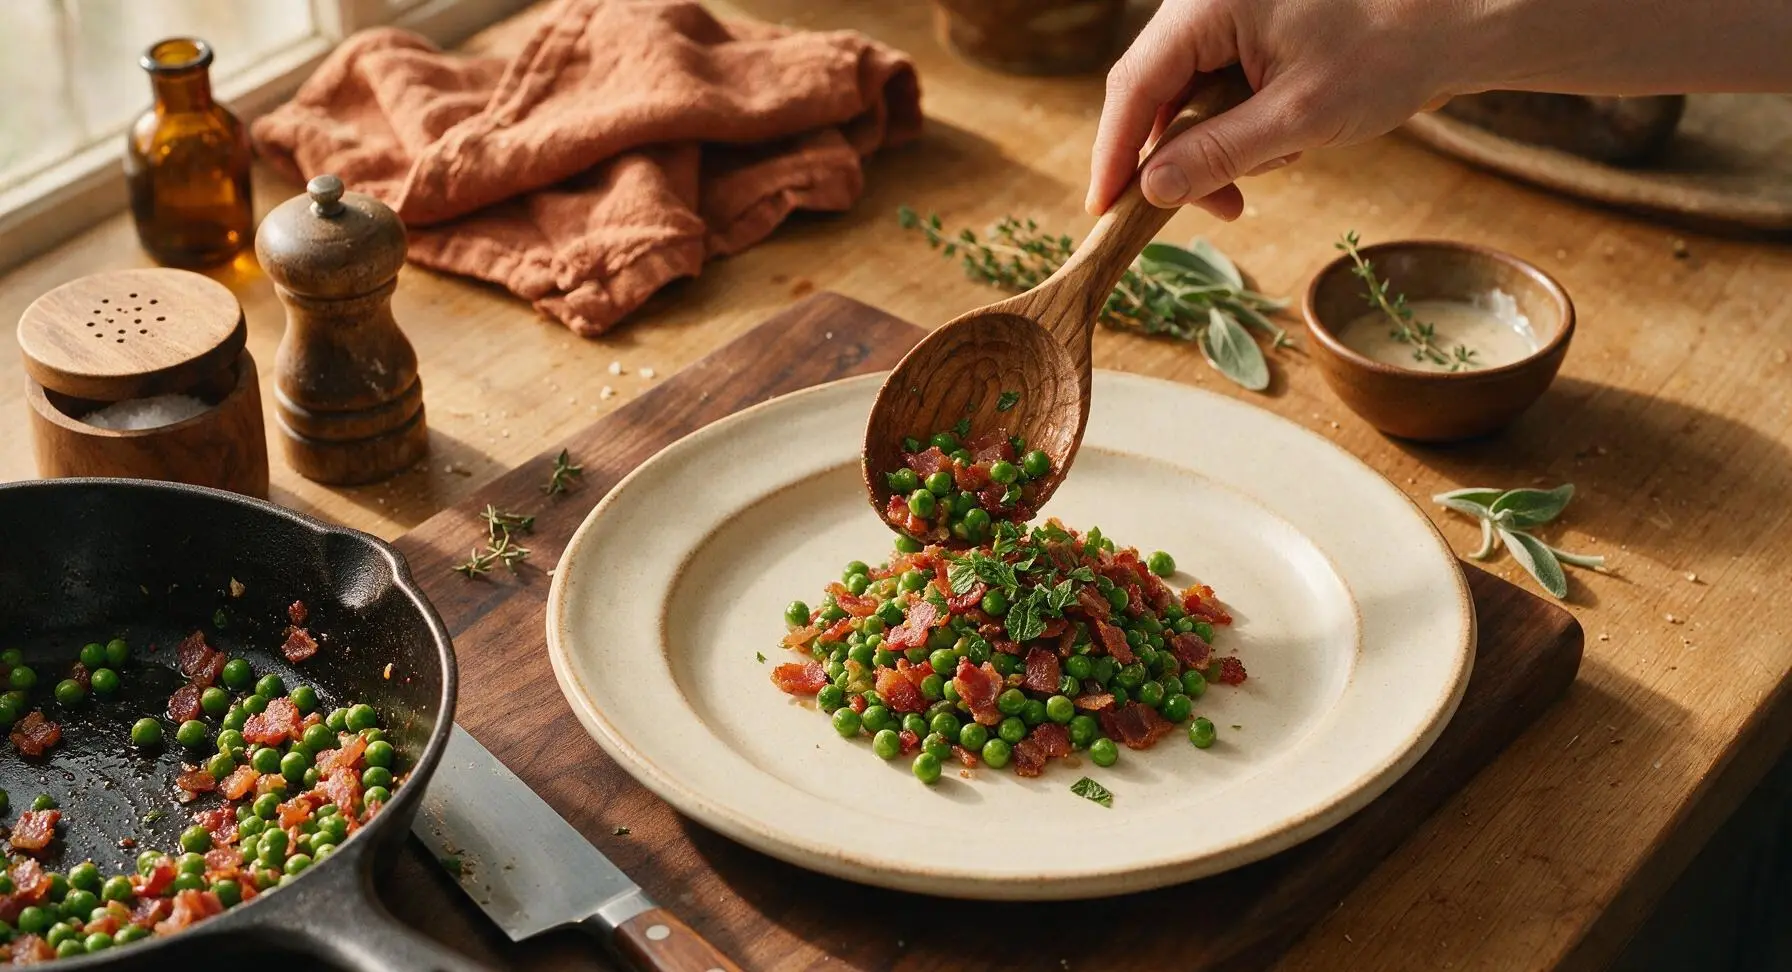
Stir 1.5 tablespoons of the chopped fresh mint into the warm pea and bacon mixture, then spoon the full batch onto the matte cream stoneware dinner plate, mounding it gently in the plate's center. Top with the remaining 1/2 tablespoon of chopped mint as a bright, fresh garnish, and serve immediately while the dish is warm.
Step 7
step7:Garnish and plate

Tips

1.If fresh spring peas are out of season, use high-quality frozen petite peas added straight from the bag—do not thaw them first, as they will cook in the same 3 minutes and retain their bright color and sweet flavor better than thawed, mushy peas.
2.Always start bacon in a cold pan when making this dish: this reduces hot oil splatter, helps the fat render slowly for extra-crispy lardons, and prevents the outer edges of the bacon from burning before the center cooks through.
3.Avoid overcooking the peas: tender-crisp, bright green peas have a bright, sweet, grassy flavor, while mushy, dull olive-green overcooked peas taste starchy and flat. Test a pea at the 2-minute mark to catch the perfect doneness.


✨ You May Also Like

Side Dishes
🍜 India

Velvety, aromatic all-purpose curry sauce perfect for tossing with roasted veggies, grilled protein, or rice for fast, cozy, flavorful meals.

⏱️ 25 minuteSide Dishes ★ 4.8
Side Dishes
🍜 Spain

Tender, starchy boiled yuca tossed in bright, garlicky citrus mojo sauce—an iconic, zesty side that pairs beautifully with roasted pork, grilled meats, and rice and beans.

⏱️ 40 minuteSide Dishes ★ 5
Side Dishes
🍜 United States

Tender, paper-thin potato flatbread, a beloved Norwegian-American Minnesota Christmas staple, griddled until softly spotted and served warm with butter.

⏱️ 1 hour 30Side Dishes ★ 4.6
Side Dishes
🍜 United States

Rich, deeply savory cured salt pork, a long-lasting kitchen staple perfect for frying crispy as a side or adding umami to stews, beans, and chowders.

⏱️ 7 days (2Side Dishes ★ 4.9
Side Dishes
🍜 United States

Crispy, tangy classic Southern fried green tomatoes with a crunchy cornmeal crust, served hot for a nostalgic, comforting summery bite.

⏱️ 25 minuteSide Dishes ★ 4.9
Side Dishes
🍜 United States

Moist, golden-crusted savory muffins with sweet corn, zesty jalapeño, and melted cheddar, perfect for pairing with smoky summer grilled fare.

⏱️ 30 minuteSide Dishes ★ 4.9

peas and bacon:Frequently Asked Questions

1.Can I use frozen peas instead of fresh shelled spring peas for this recipe? ▾
You absolutely can, if fresh spring peas aren’t in season. Grab high-quality frozen sweet peas, no need to thaw first—toss them straight into the pan, and cook 1 to 2 minutes less than you would fresh to keep them bright, tender, and not mushy. Skip canned peas entirely, as they turn overly soft and carry a distinct tinny off-flavor.
2.Why does this recipe call for thick-cut bacon instead of regular thin-sliced bacon? ▾
Thick-cut bacon renders fat more slowly, giving you shatteringly crisp, meaty bits without burning too fast, which is ideal for this dish. The extra rendered fat also coats the peas and shallot beautifully, so you don’t need heavy extra seasonings. Thin bacon crisps too quickly, turns brittle, and delivers far less rich, savory bacon flavor.
3.How do I keep the bacon from getting soggy when I toss it with the peas? ▾
The key trick is to remove cooked bacon from the pan first, and drain it on a paper-towel lined plate while you cook the shallot and peas in the leftover bacon fat. Wait to toss the crumbled bacon back in right before serving, so it stays crisp instead of absorbing moisture from the warm peas and turning unpleasantly soft.
4.What main dishes pair best with Crispy Bacon & Spring Peas? ▾
This bright, salty-sweet side is incredibly versatile! It pairs perfectly with simple roasted chicken, pan-seared pork chops, or flaky baked white fish like cod or halibut. It also works great as a light topping for creamy pasta, or served next to fluffy scrambled eggs for an elevated weekend brunch spread.
5.Can I make this dish ahead of time for a weeknight meal or potluck? ▾
This dish tastes best fresh off the stove, since bacon loses crispness and peas can turn mushy as it sits. If you need to prep ahead, you can cook and crumble the bacon, dice the shallot, and shell fresh peas up to 2 days in advance, storing all components separately in airtight containers in the fridge until you’re ready to cook.
6.I don’t have fresh mint—what’s a good substitute? ▾
If you don’t have fresh mint on hand, the closest swap is a small handful of chopped fresh flat-leaf parsley, plus a tiny pinch of lemon zest to brighten the dish. Skip dried mint entirely—it has a concentrated, earthy flavor that will overpower the delicate sweetness of the spring peas and salty, rich bacon.
7.How do I prevent my shallots from burning while cooking? ▾
Cook your diced shallot over medium-low heat in the rendered bacon fat, stirring constantly for 1 to 2 minutes until it’s soft and fragrant, not deeply browned. If your pan is still very hot after cooking the bacon, turn the heat down a touch before adding the shallots—burnt shallots add a bitter, unpleasant flavor to the whole dish.
8.Do I need to blanch fresh peas before cooking them in the pan? ▾
You don’t need to blanch fresh shelled spring peas for this recipe! They’re tender enough to cook directly in the pan with the shallot, butter, and a tiny splash of water if needed, in just 3 to 4 minutes. Blanching them first adds an unnecessary extra step and washes away some of their bright, sweet, fresh spring flavor.
9.Can I make this recipe dairy-free? ▾
You can easily make this dairy-free by swapping the unsalted butter for an equal amount of extra-virgin olive oil or your favorite plant-based butter substitute. The dish will still have tons of rich flavor from the rendered bacon fat, so you won’t miss the dairy at all—just taste and add a pinch of extra salt if needed before serving.
10.How much extra salt should I add to this dish? ▾
Hold off on adding extra salt until the very end of cooking! Thick-cut bacon is quite salty, and its rendered fat seasons the shallots and peas as they cook. Once you toss in the butter and mint, give the dish a taste, and only add a tiny pinch of flaky sea salt if it feels like it needs a little extra savoriness.
11.What’s the best way to get perfectly crispy bacon without overcooking it? ▾
Cook your thick-cut bacon strips in a cold skillet over medium heat, flipping every 2 to 3 minutes, for 8 to 10 minutes total. Starting in a cold pan helps fat render slowly, so the bacon gets evenly crisp all over instead of charring on the outside before the fat cooks out. Transfer strips to paper towels to drain once golden and crisp.
12.Can I add other vegetables to this recipe to bulk it up? ▾
Absolutely! This recipe is a fantastic base for extra spring produce. Try tossing in a handful of blanched asparagus tips, thinly sliced sugar snap peas, or tender baby spinach right at the end of cooking. Just keep additions light so you don’t overpower the classic combo of crispy bacon, sweet peas, and bright fresh mint.

Comments (4)

2 days ago

OMG this is such a game changer! I threw this together last night for a quick weeknight side with our grilled chicken and the whole family went crazy for it. The bacon gets perfectly crispy without being greasy, and the fresh spring peas pop with so much sweetness. 10 minute cook time is no joke, I had it on the table before my kids even finished setting the plates! My kids loved it so much they asked for seconds before they even finished their chicken. Will absolutely be making this for our next potluck too.

yesterday

Wait do you use frozen peas or fresh? I have a ton of fresh peas from my garden right now and I’m wondering if they work as well as the store bought ones!

yesterday

Great question! Fresh spring peas work beautifully here — just blanch them for 1 minute before tossing with the bacon to keep that bright, snappy texture. Frozen peas work great too if that’s what you have on hand, no thawing needed!

3 days ago

SO good! I made a big batch of this on Sunday for my weekly meal prep and it held up perfectly all week for lunch sides. I added a tiny squeeze of lemon juice at the end like I do with most veggie sides and it cut the richness of the bacon so nicely. Super easy, zero fancy ingredients, exactly what I look for in a weeknight recipe. Even my picky roommate snuck a few servings, so that’s a win in my book!

2 hours ago

Tasty, but my bacon came out a little chewy instead of crispy the first time I made it. Any tips? I cooked it on medium heat like I usually do for breakfast bacon, but maybe I need to turn the heat up a touch? Flavor was great though, even with chewy bacon the peas were perfectly bright and not mushy at all!

30 minutes ago

So glad you enjoyed the flavor! For extra crispy bacon, try dicing it first before cooking, and lay the pieces in a cold pan before turning the heat to medium — this lets the fat render slowly so every piece gets crisp without burning. No need to crank the heat, just give it a couple extra minutes if your bacon is extra thick cut!

1 week ago

Made this for our neighborhood block party last weekend and people were begging me for the recipe! I was worried the peas would get mushy sitting out for a couple hours, but they stayed bright and perfectly crisp-tender. I topped it with a little sprinkle of parmesan right before serving and *chef’s kiss*. 10/10, will be a regular side from now on for Sunday dinners and cookouts.

5 days ago

Wait the parmesan sprinkle sounds insane! I never would have thought to add that, I’m definitely trying that trick when I make this tomorrow night for our family dinner. Thanks for the tip!



