
perfectly cooked bacon
intro
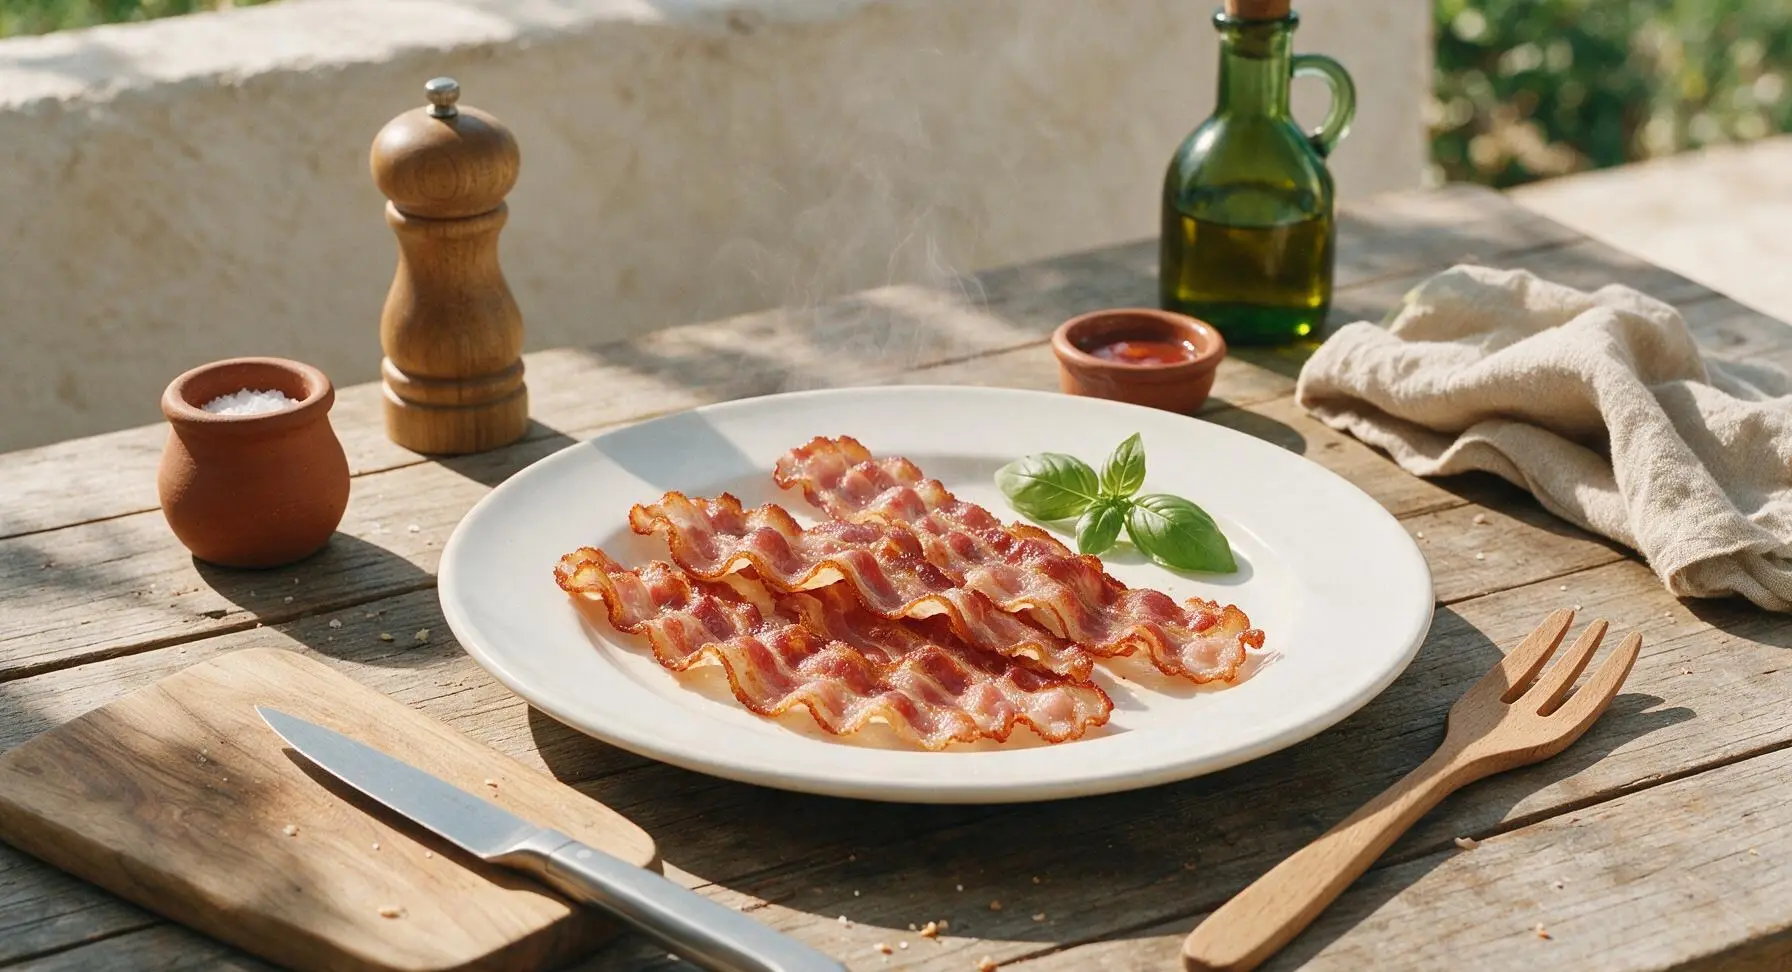
Crisp ruffled edges, tender chewy centers, no burnt spots or greasy sogginess—this stovetop method turns out perfect bacon every time, no fancy equipment required.
Ingredients
Steps
Arrange bacon in cold pan
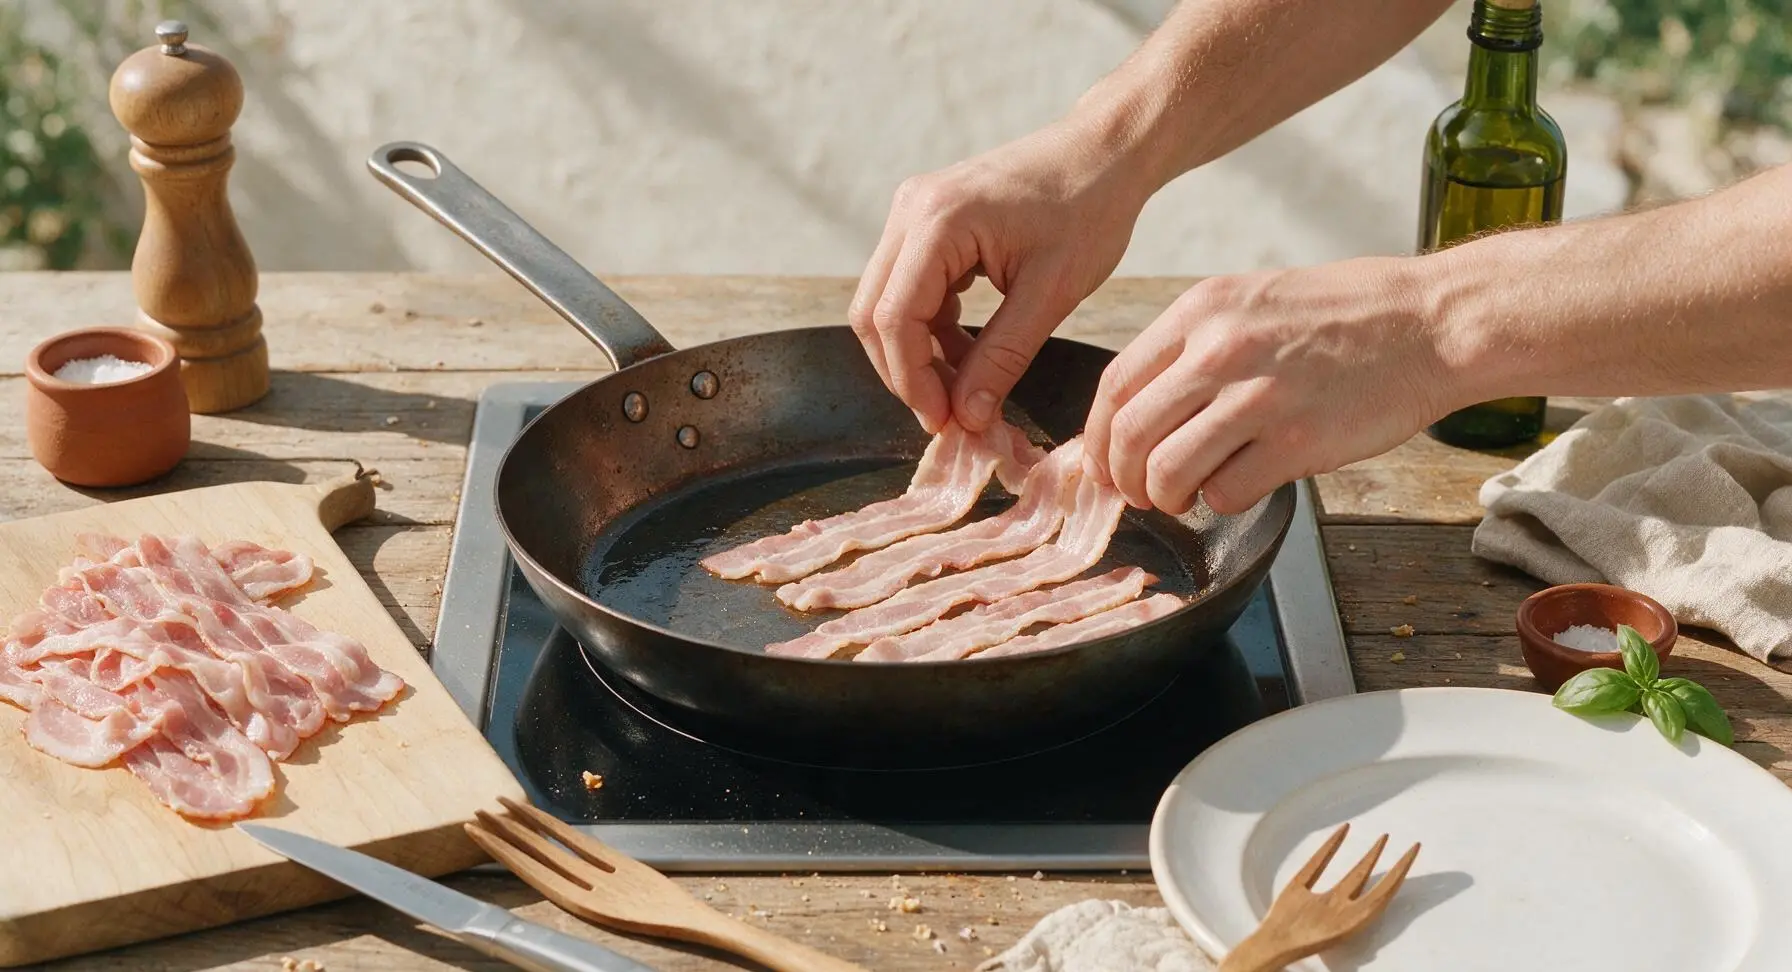
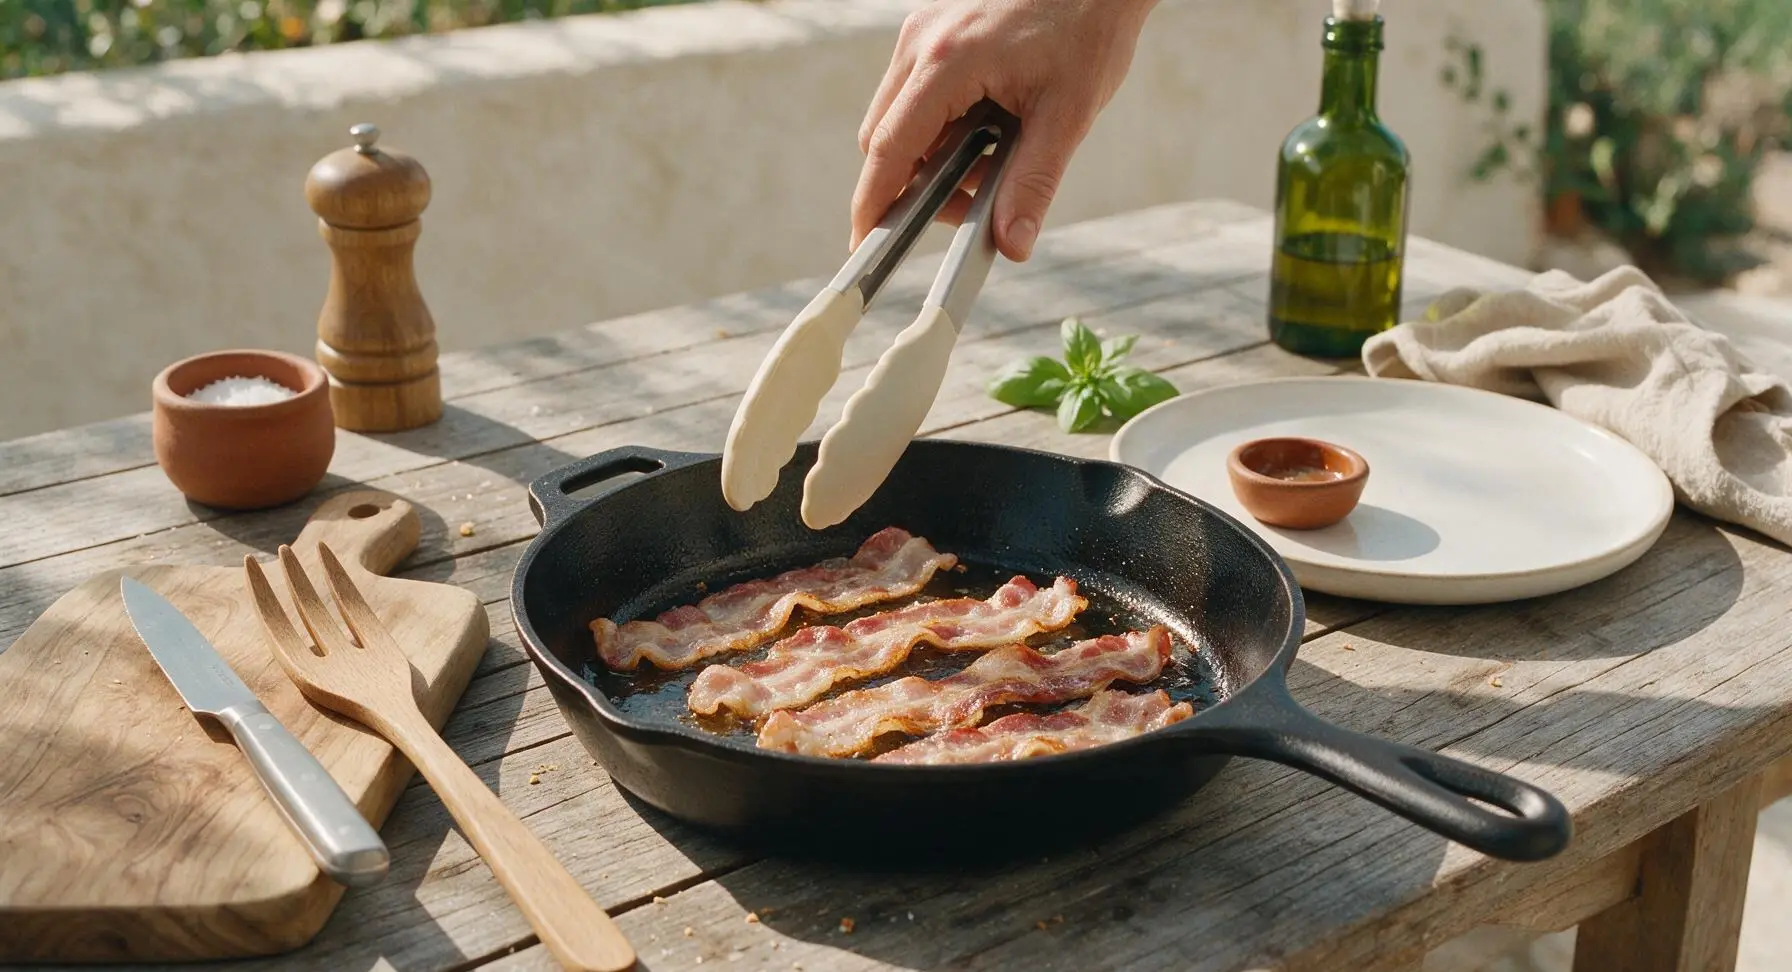
Pull the 12-inch seasoned carbon steel skillet from its stored position on the back left stovetop burner to the center burner; do not preheat the pan. Remove bacon strips from any packaging, and arrange them in a single even layer in the cold skillet, ensuring strips do not fully overlap (minor edge touching is fine, as bacon will shrink significantly as it cooks). Do not add oil, butter, or cooking spray—bacon will release its own fat as it heats.
Heat pan to medium-low
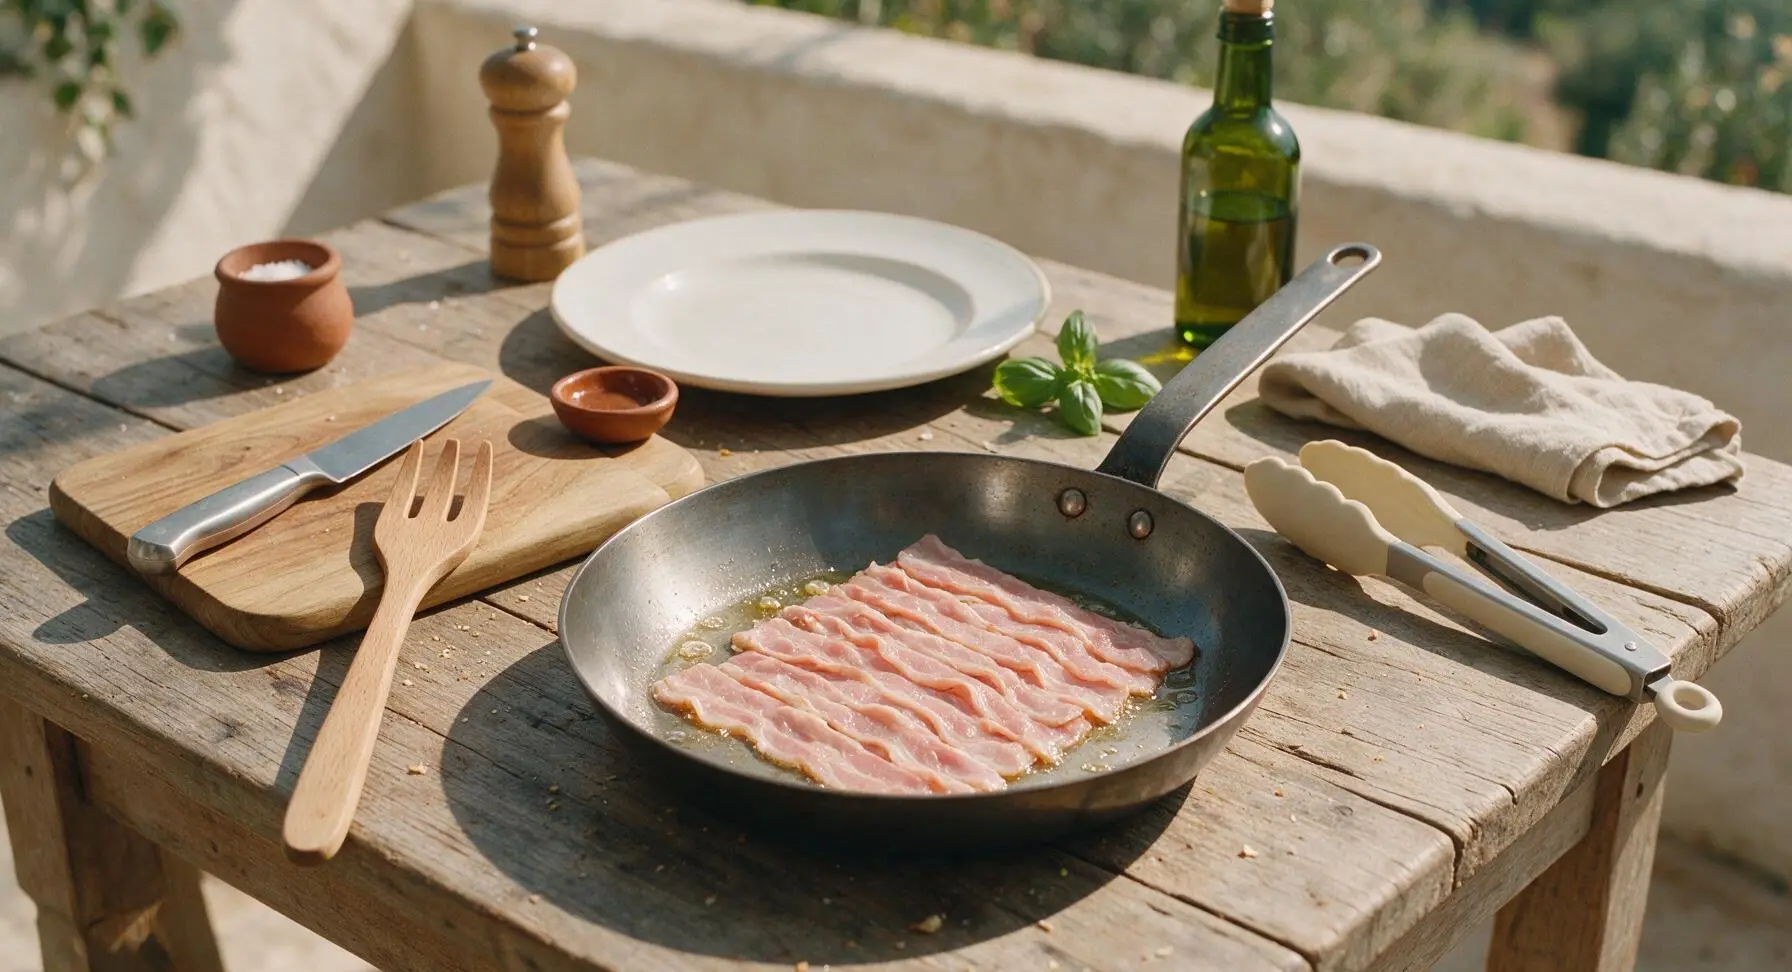
Turn the induction burner to medium-low heat (setting 4 out of 10, reaching a steady pan temperature of 325°F / 160°C). Do not use higher heat, as slow fat rendering is the key to evenly cooked bacon without burnt edges. Let the pan warm gradually; you will see the first small, clear pools of golden rendered fat form around the bacon strips after 2-3 minutes, with no immediate browning.
Flip bacon at first curl
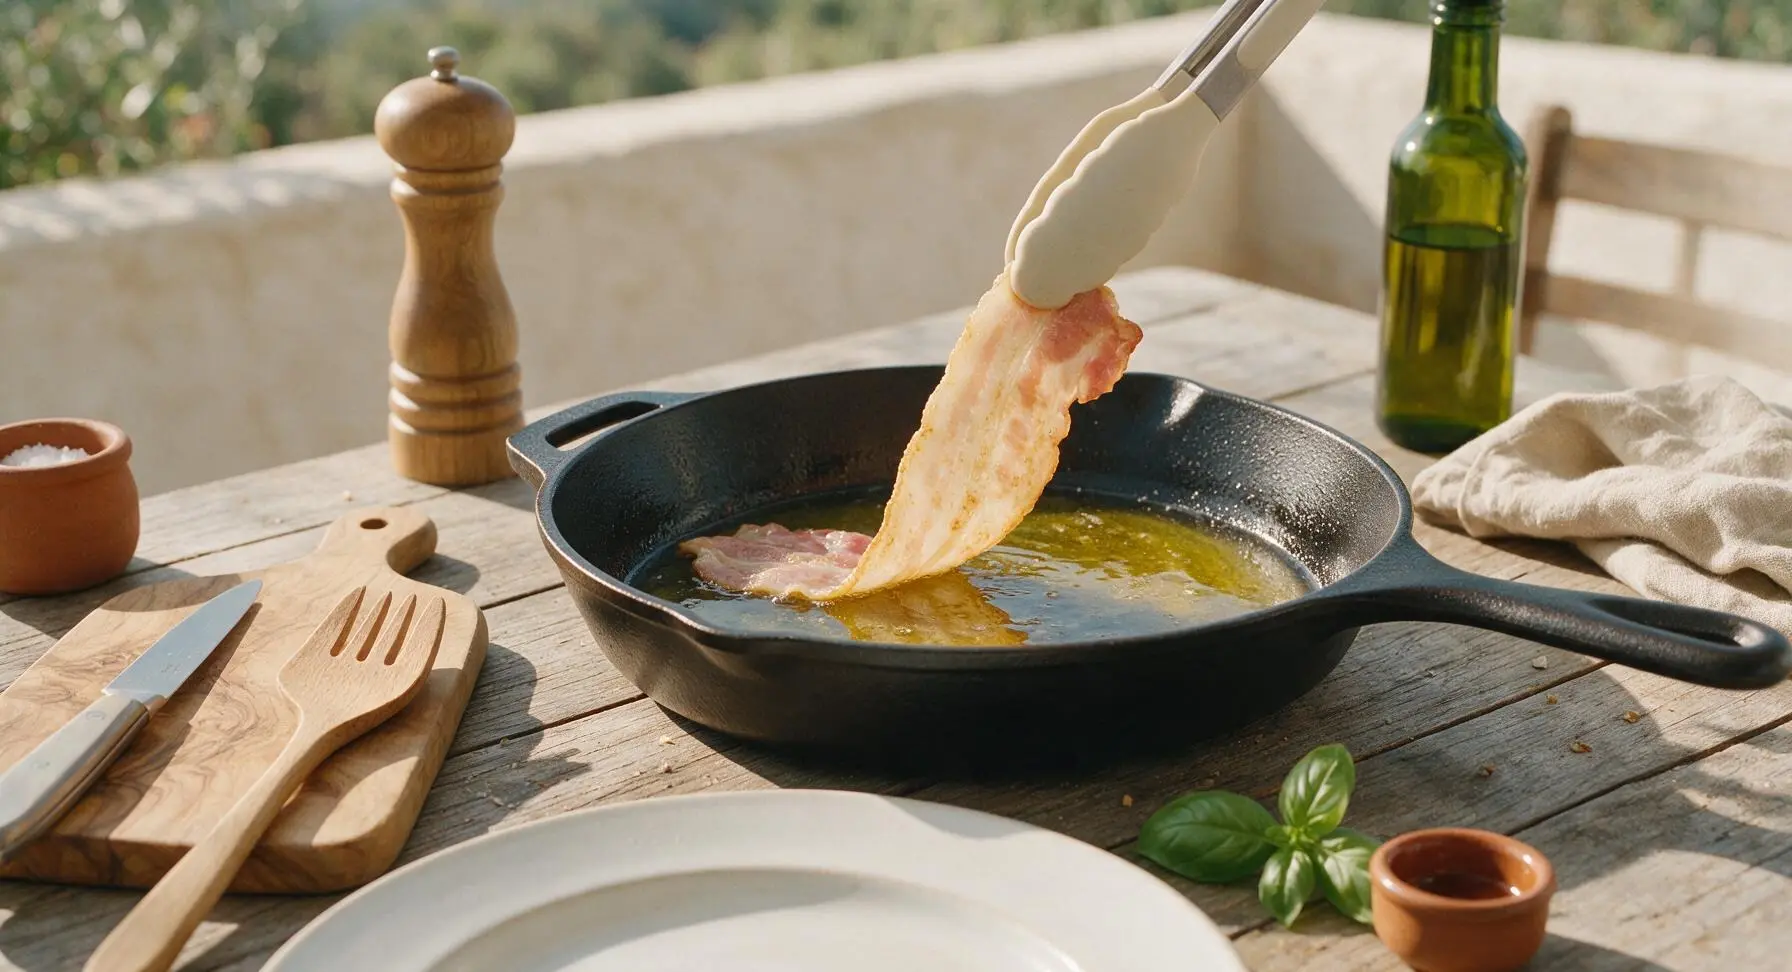
After 4-5 minutes of cooking, when the edges of the bacon start to curl slightly upward and the bottom-facing side turns a pale, even golden brown, use the off-white silicone tongs to flip each strip individually. Do not press down on the bacon with the tongs while flipping, as this squeezes out flavorful fat and leads to dry, tough finished bacon.
Cook to even golden brown
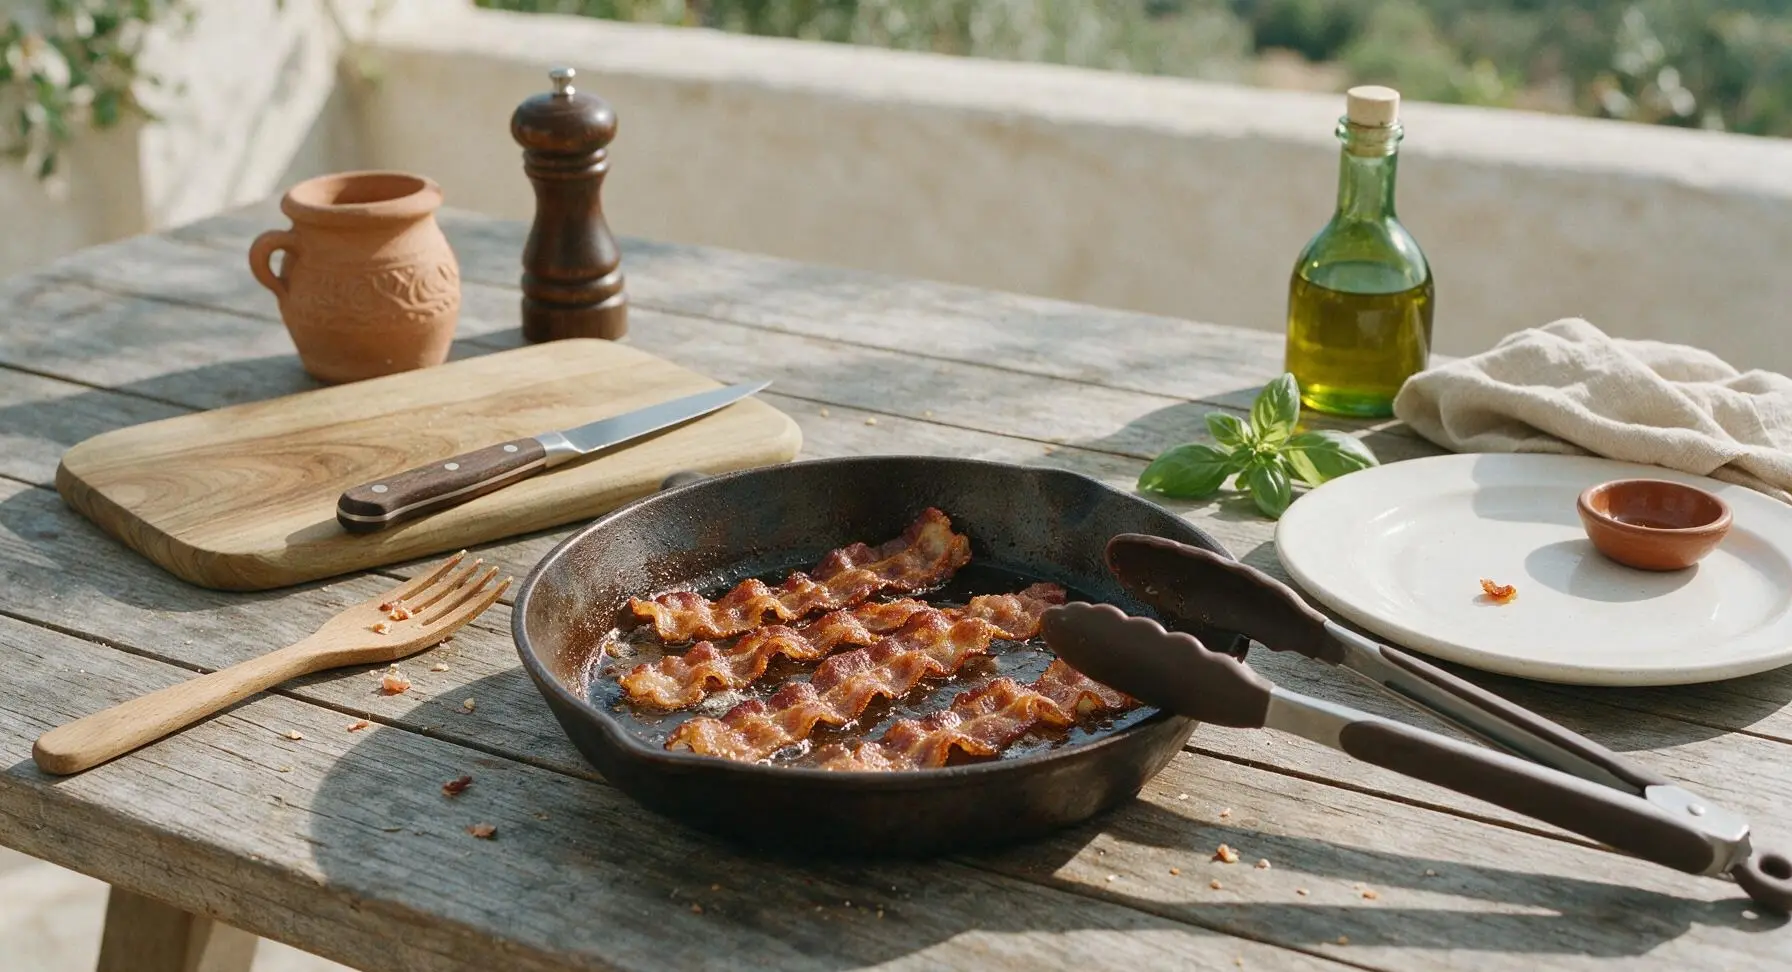
Continue cooking the bacon on the second side for another 3-5 minutes, turning the heat down slightly if the rendered fat starts to splatter vigorously or send up thin wispy smoke. For perfectly balanced bacon (crisp ruffled edges, tender chewy center), remove strips when they reach a deep, uniform golden brown, with no opaque raw white fat remaining. For extra-crispy bacon, cook 1-2 minutes longer, watching closely to avoid burning—dark brown or black spots indicate bitter, overcooked bacon.
Drain excess grease
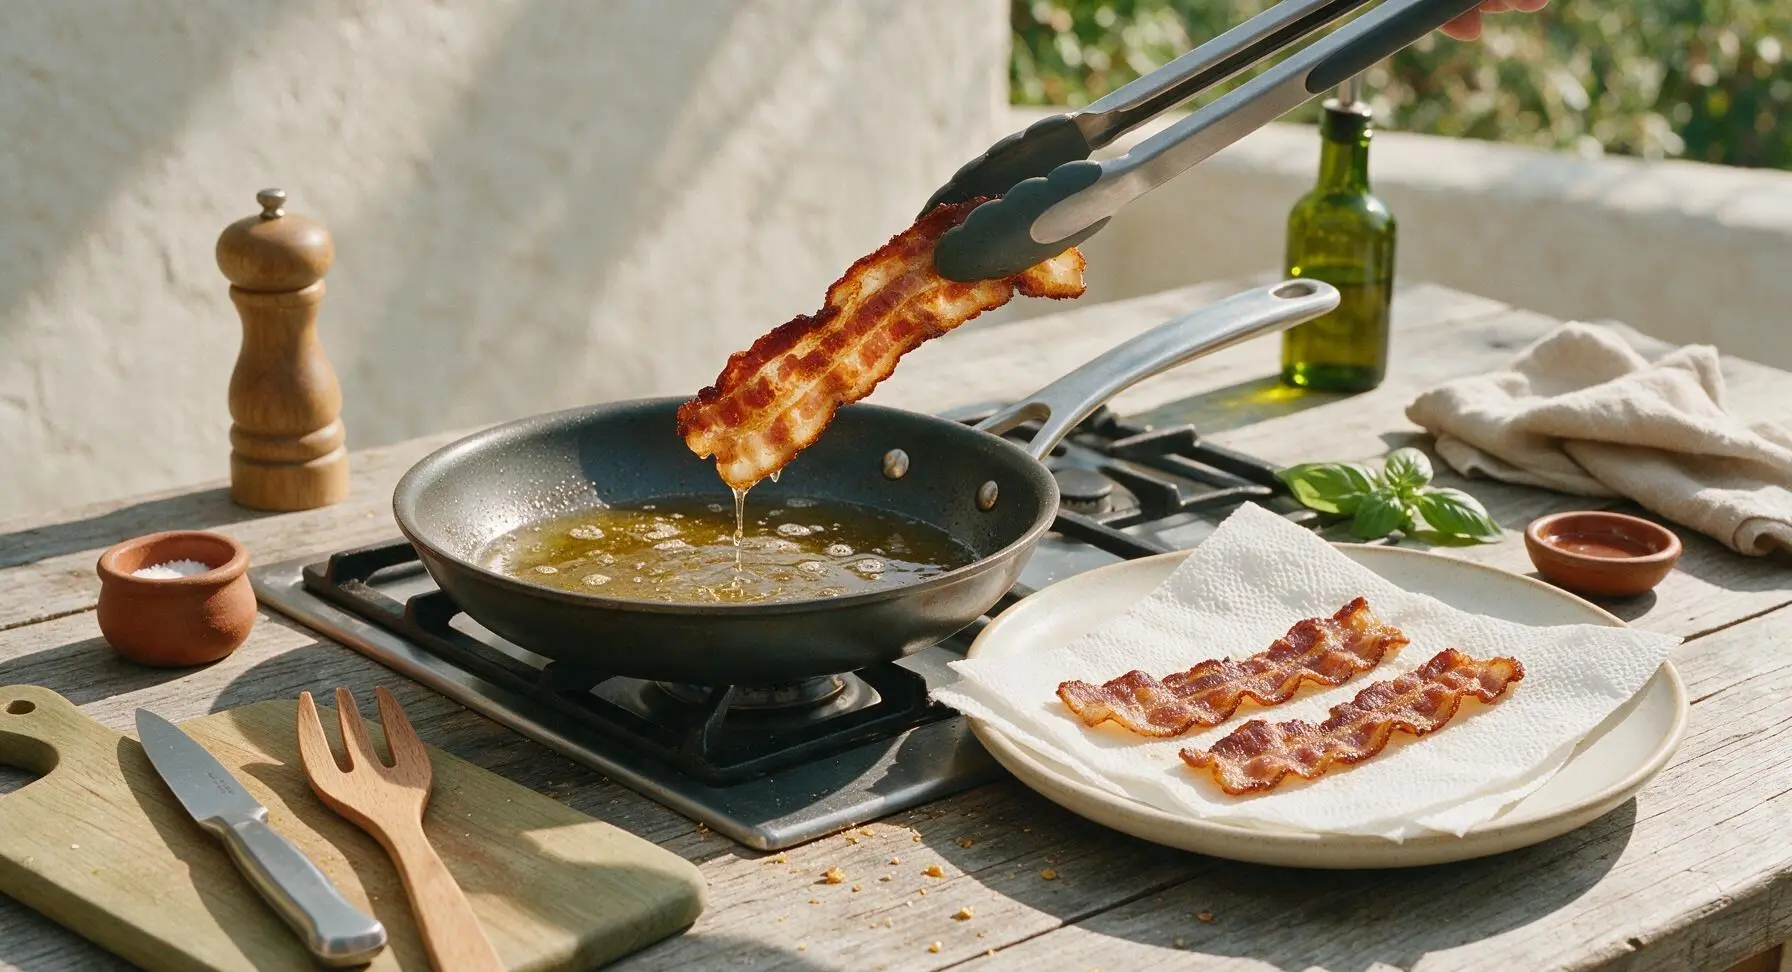
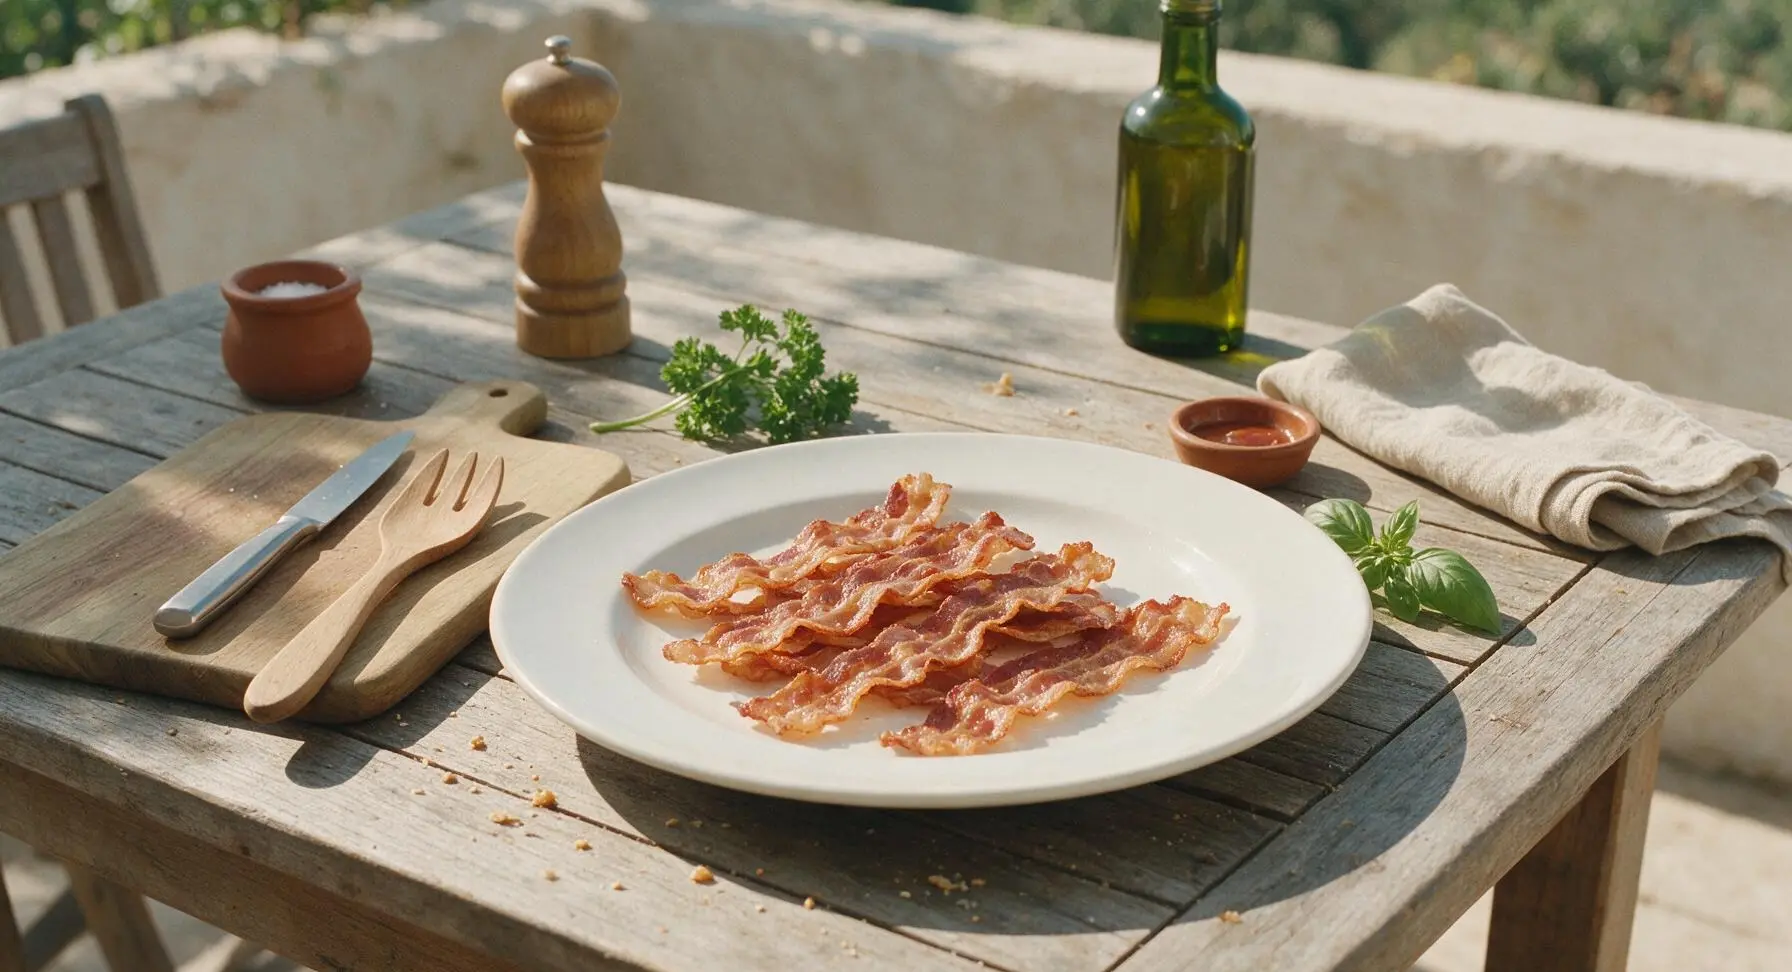
Line the off-white matte ceramic dinner plate with two layers of unbleached paper towel from the roll at the back counter. Use the silicone tongs to lift each cooked bacon strip from the skillet, holding it above the pan for 2-3 seconds to let excess rendered fat drip back into the pan, then arrange strips in a single layer on the paper towel lining. Let bacon drain for 1 full minute to remove surface grease, which prevents soggy, greasy bacon when served.
Save rendered fat (optional)
Once the skillet has cooled for 10-15 minutes (the handle will be warm but not too hot to touch safely), carefully pour the clear golden rendered bacon fat from the skillet into the small light grey ceramic ramekin. Let any tiny dark brown bacon crackling bits settle to the bottom of the ramekin, then cover and refrigerate for up to 3 months to use for frying eggs, roasting potatoes, or sautéing vegetables. Never pour bacon fat down household drains, as it solidifies when cool and causes costly pipe clogs.

Plate and serve warm
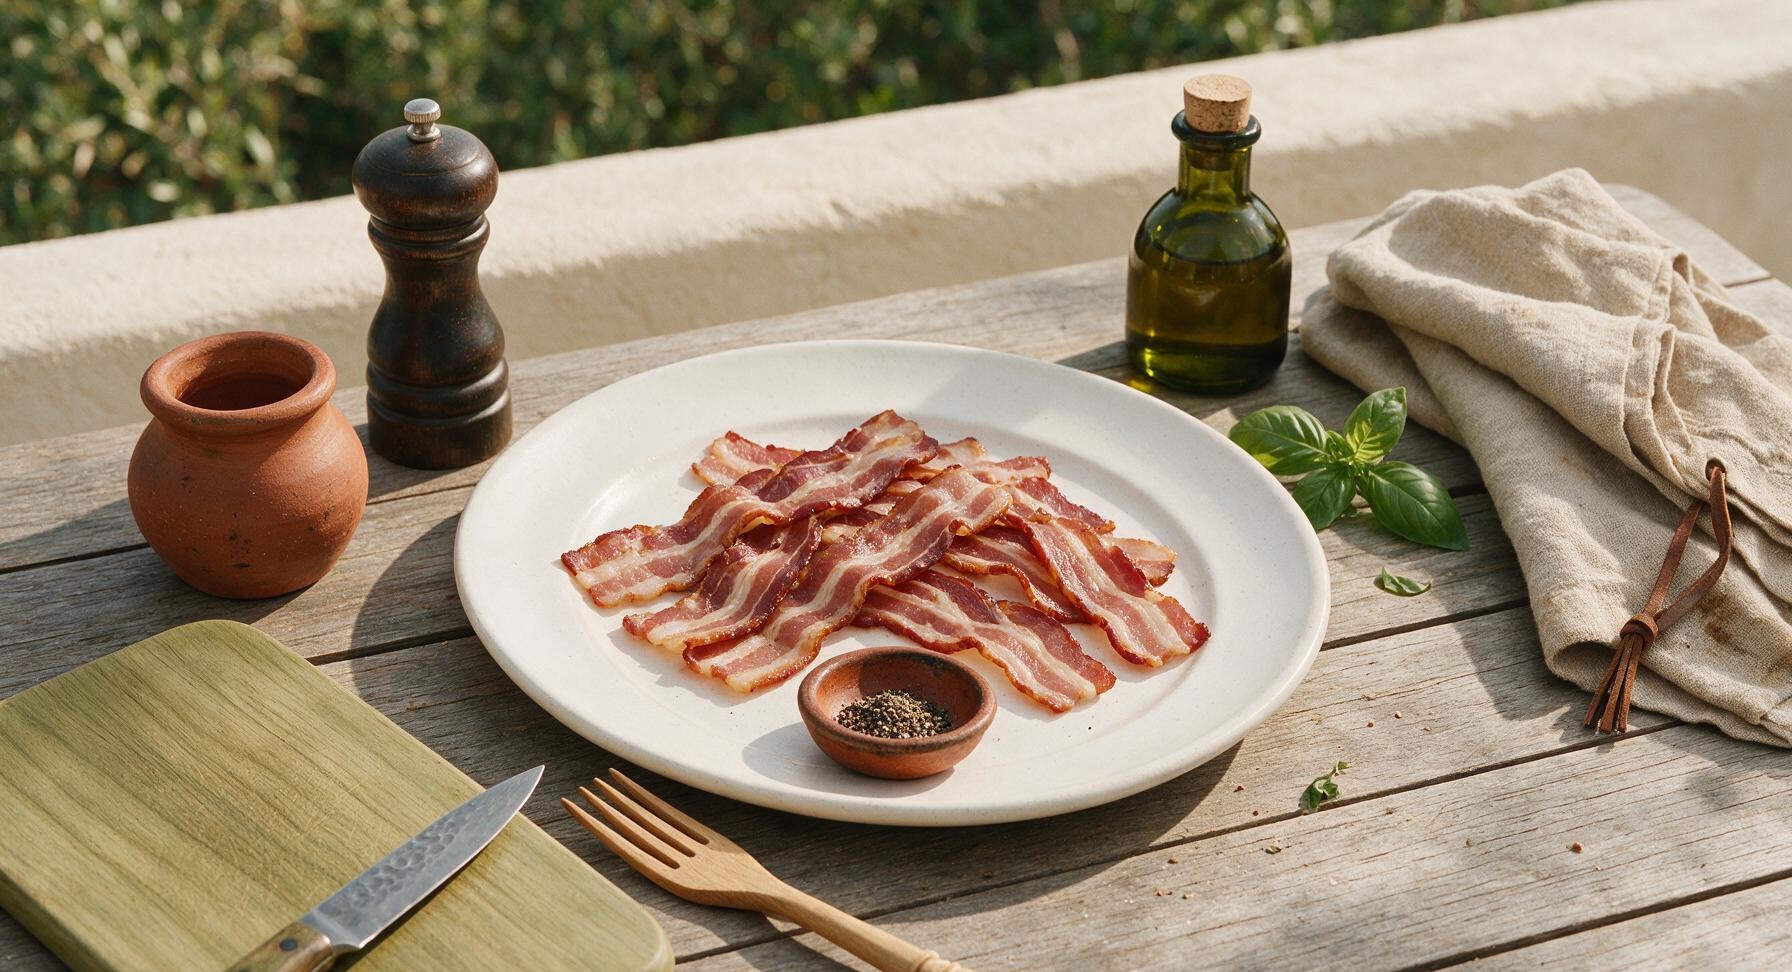
Remove and discard the grease-soaked paper towels from the dinner plate. Arrange the drained bacon strips in a loose, slightly overlapping stack across the center of the clean plate. If desired, add a light sprinkle of freshly ground black pepper from the walnut pepper mill. Tuck the fresh curly parsley sprig at the 2 o'clock position on the plate rim for a bright garnish. Serve immediately while warm, before bacon loses its crisp-tender texture as it cools.
Tips
2.Skip the high-heat shortcut: Cooking bacon on high heat causes fat to splatter violently, burn quickly, and produce unevenly cooked strips that are charred on the outside and raw in the middle. Medium-low heat gives you full control over doneness with minimal mess.
3.Never press bacon while it cooks: Squeezing strips with tongs or a spatula presses out the flavorful rendered fat that keeps bacon moist and tender, resulting in dry, brittle, overly crisp bacon that lacks the signature perfect chewy center.






Wait, I’ve been cooking bacon on high heat my whole life?? No wonder I get grease splatters all over my stovetop and half the strips are charred before the fat renders. Tried this medium-low method this morning for my roommate brunch potluck and everyone was asking for my secret! 10 minutes exactly, no splatters, perfect crisp. 10/10
This is now my go-to for weekly meal prep! I cook a whole pack on Sunday, store the strips in the fridge, and toss them in breakfast sandwiches, salads, and even wrap them around chicken for weeknight dinners. So much easier than baking bacon in the oven for me, less cleanup too!
As a college student with a tiny dorm stovetop and basically zero cooking skills, this was so easy to follow! I didn’t burn anything, I didn’t set off the smoke alarm (win!), and the bacon came out way better than the sad microwave stuff I’ve been eating for a year. Will be making this every weekend now.
Quick question: do you guys pat the bacon dry with paper towels after cooking? I usually do to cut some of the grease, but I wasn’t sure if that messes with the texture here. Made it last night for burger night and it was perfect, just curious!
Made this before a day hike up in the Rockies yesterday, tossed the bacon in breakfast burritos to take with us, and it held up so well! Even chewy, no weird rubbery bits like I get when I overcook bacon for packing. Game changer for trail meals!
Brought a platter of this bacon to our neighborhood potluck last weekend and people were literally standing by the platter eating it straight before the rest of the food was even set out. Had three people text me the next day asking how I got it so evenly cooked. Told ‘em to look up this recipe! SO good.
Okay, I’ll admit I was skeptical that stovetop bacon could be better than oven bacon, but I tried this last night because I didn’t want to wait for my oven to preheat. 10 minutes later I had perfect bacon, no preheating, way less energy used. I’m a convert! Only tiny complaint is I wish I’d made twice as much because my roommate ate half of it before I could even put it on a plate.
Wait, do you need a cast iron skillet for this? I only have a regular non-stick pan at my apartment, I don’t want to mess it up! Haven’t tried the recipe yet but it looks so good.
Tried this yesterday and tossed the bacon in a little brown sugar and cayenne halfway through cooking for a sweet spicy twist, and it was INSANE. Perfect base recipe that’s so easy to customize for different flavors!
I’ve been cooking bacon on the stovetop for 60 years and thought I had it down pat, but I tried this method on a whim when my granddaughter sent me the link. Turns out I was cooking it too hot this whole time! Came out better than any bacon I’ve made in decades. My wife even said it was the best I’ve ever made. Great recipe.
How does this compare nutrition-wise to baked bacon? I know a lot of people say baked bacon has less grease because it drips off on a rack, but I hate cleaning my baking rack every time.
My three sons are bacon fanatics, and I can never make enough when they’re home from school for summer break. This method is so fast, I can crank out two packs in 20 minutes without standing over the pan stressing about burning it. My kids loved it, said it tastes just like the bacon we get at our favorite diner downtown!
Full transparency: I have burned every single batch of bacon I’ve ever attempted to make. Like, set off smoke alarms, charred to a crisp, had to throw the whole pan out level bad. Followed this recipe step by step last night and I ACTUALLY MADE EDIBLE BACON. It was perfect. I cried a little. 10/10 no notes.
Has anyone tried drizzling a little maple syrup on this while it cooks? I usually do that with my oven bacon, wondering if it works with this stovetop method without burning.
Made this for our weekly Sunday family dinner last night to go with pancakes and scrambled eggs, and even my super picky father-in-law said it was the best bacon he’s ever had. He usually complains that everything is too burnt or too chewy, so that’s a massive win in my book!
Wait, how bad is the grease splatter with this method? I just deep cleaned my stovetop yesterday and I’m terrified of getting grease all over the place again. I usually cook bacon in the oven just to avoid splatters, but this looks faster.
This is so perfect for quick weekday breakfasts! I made a batch on Sunday, and I’ve been reheating the strips for 10 seconds in the microwave each morning to go with my egg and cheese bagel. It stays crisp even after reheating, no weird soggy rubbery texture like I get with microwave bacon.
Used this bacon on my smash burgers last night and it was absolute perfection. Crisp enough to hold up to the juicy patty and all the toppings, not so brittle that it crumbled when I took a bite. Paired with some caramelized onions and special sauce, it was the best homemade burger I’ve ever made. Will be making this every burger night from now on!