
pickle fried chicken

title 1
pickle fried chicken
⏱️ cook time 25 minutes
🍽️ servings 4
⚡ Difficulty medium

intro

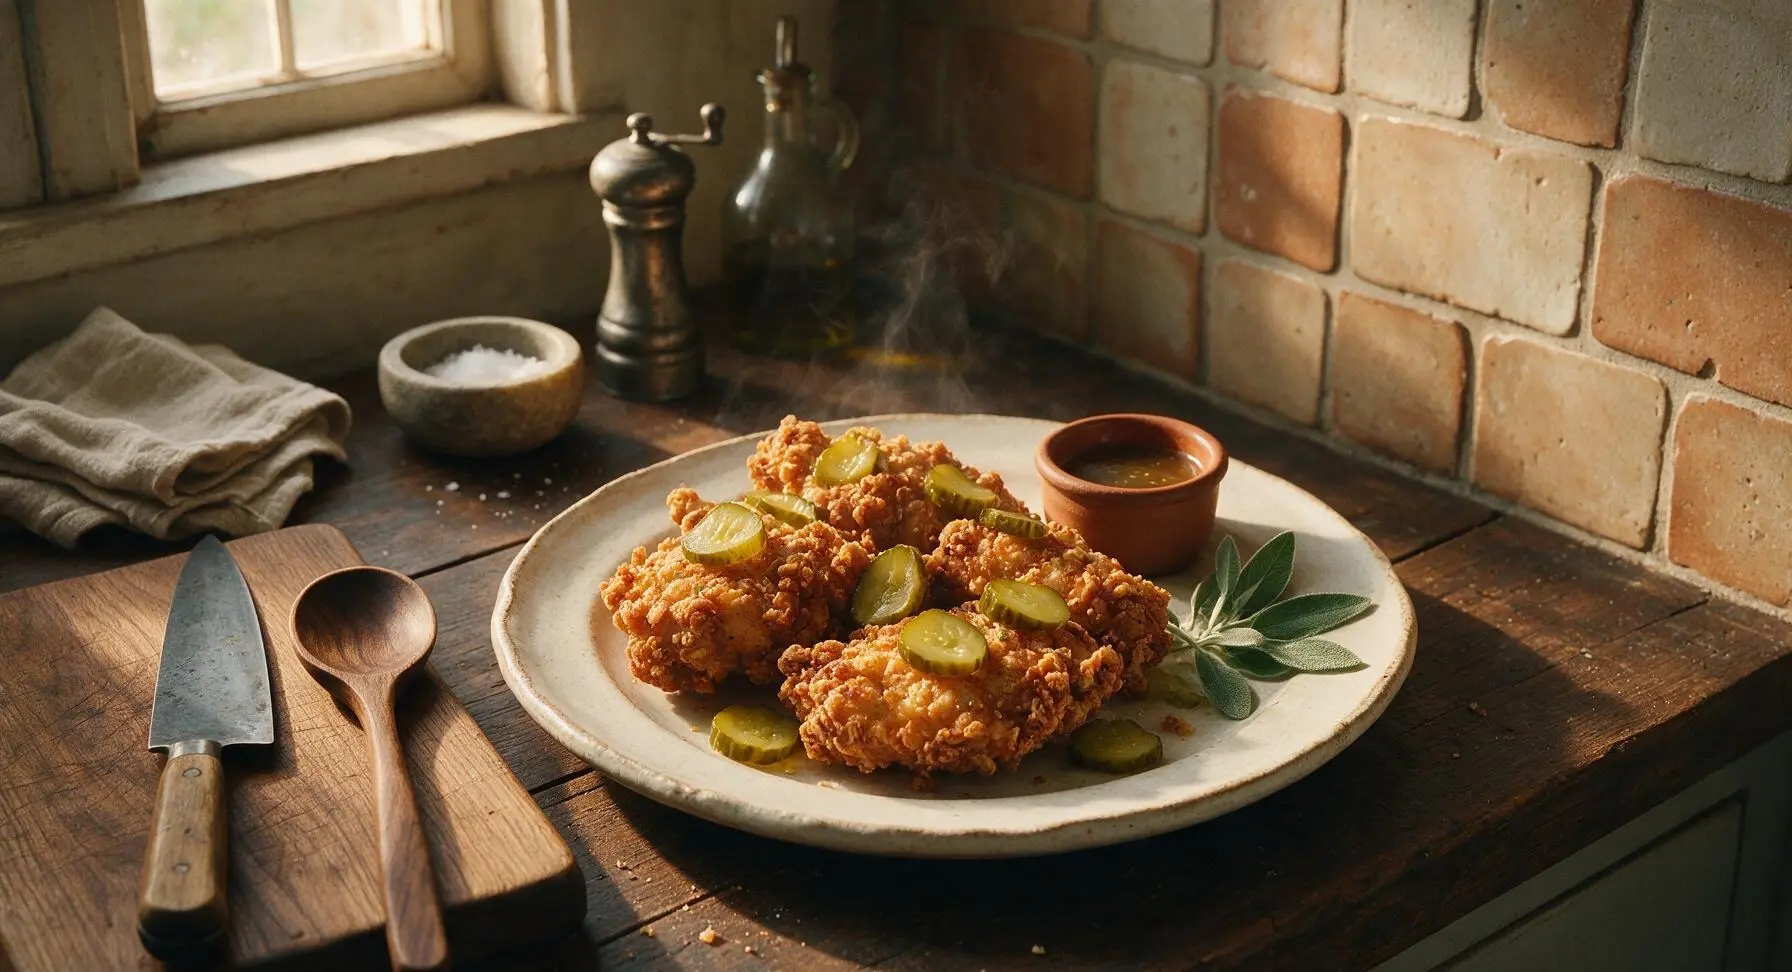
Juicy, tangy chicken brined in dill pickle juice, coated in craggy crispy batter and fried to golden perfection—bright, briny, and impossibly crunchy, a beloved Southern comfort classic.

Ingredients
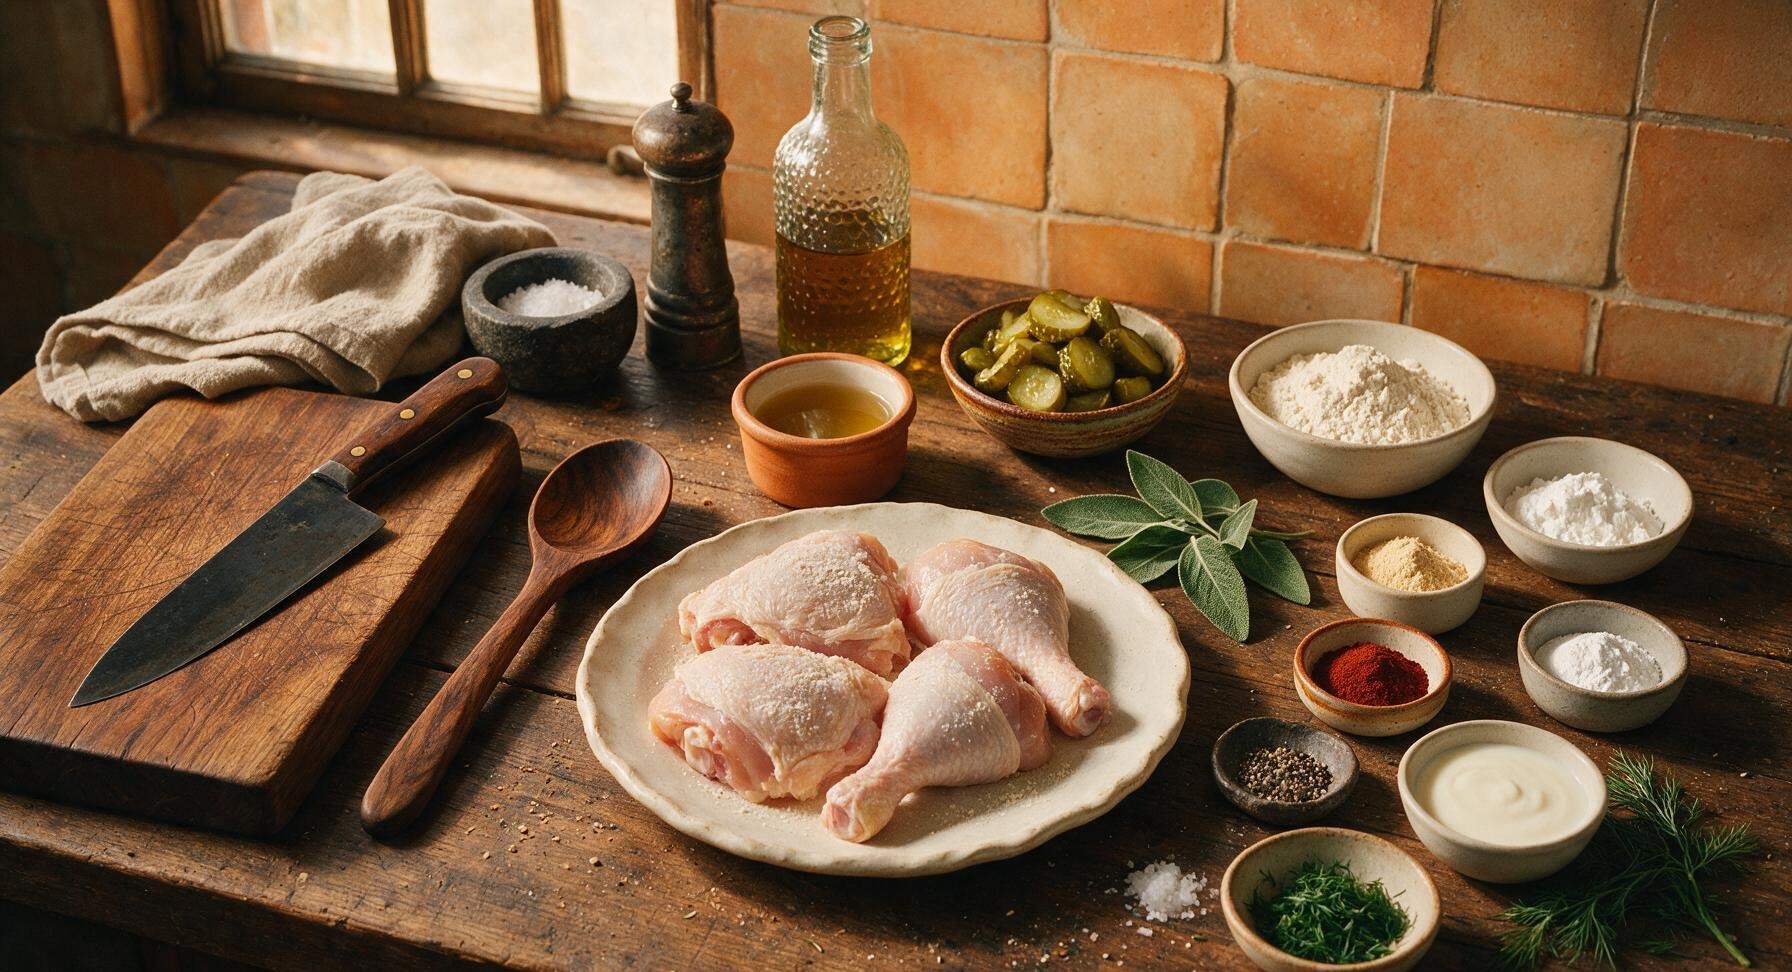
Bone-in skin-on chicken pieces (2 thighs, 2 drumsticks) 900g (2 lbs)
Kosher dill pickle brine 1 cup
Kosher dill pickle slices 1.5 cups (divided)
Buttermilk 1/2 cup
All-purpose flour 1.5 cups
Cornstarch 1/4 cup
Garlic powder 1 tbsp
Smoked paprika 1 tsp
Baking powder 1 tsp
Freshly ground black pepper 1 tsp
Flaky sea salt 1 tsp
Neutral frying oil (peanut or canola) 1.5 quarts
Fresh dill 2 tbsp chopped (plus fronds for garnish)

Steps

1

Brine Chicken in Pickle Juice

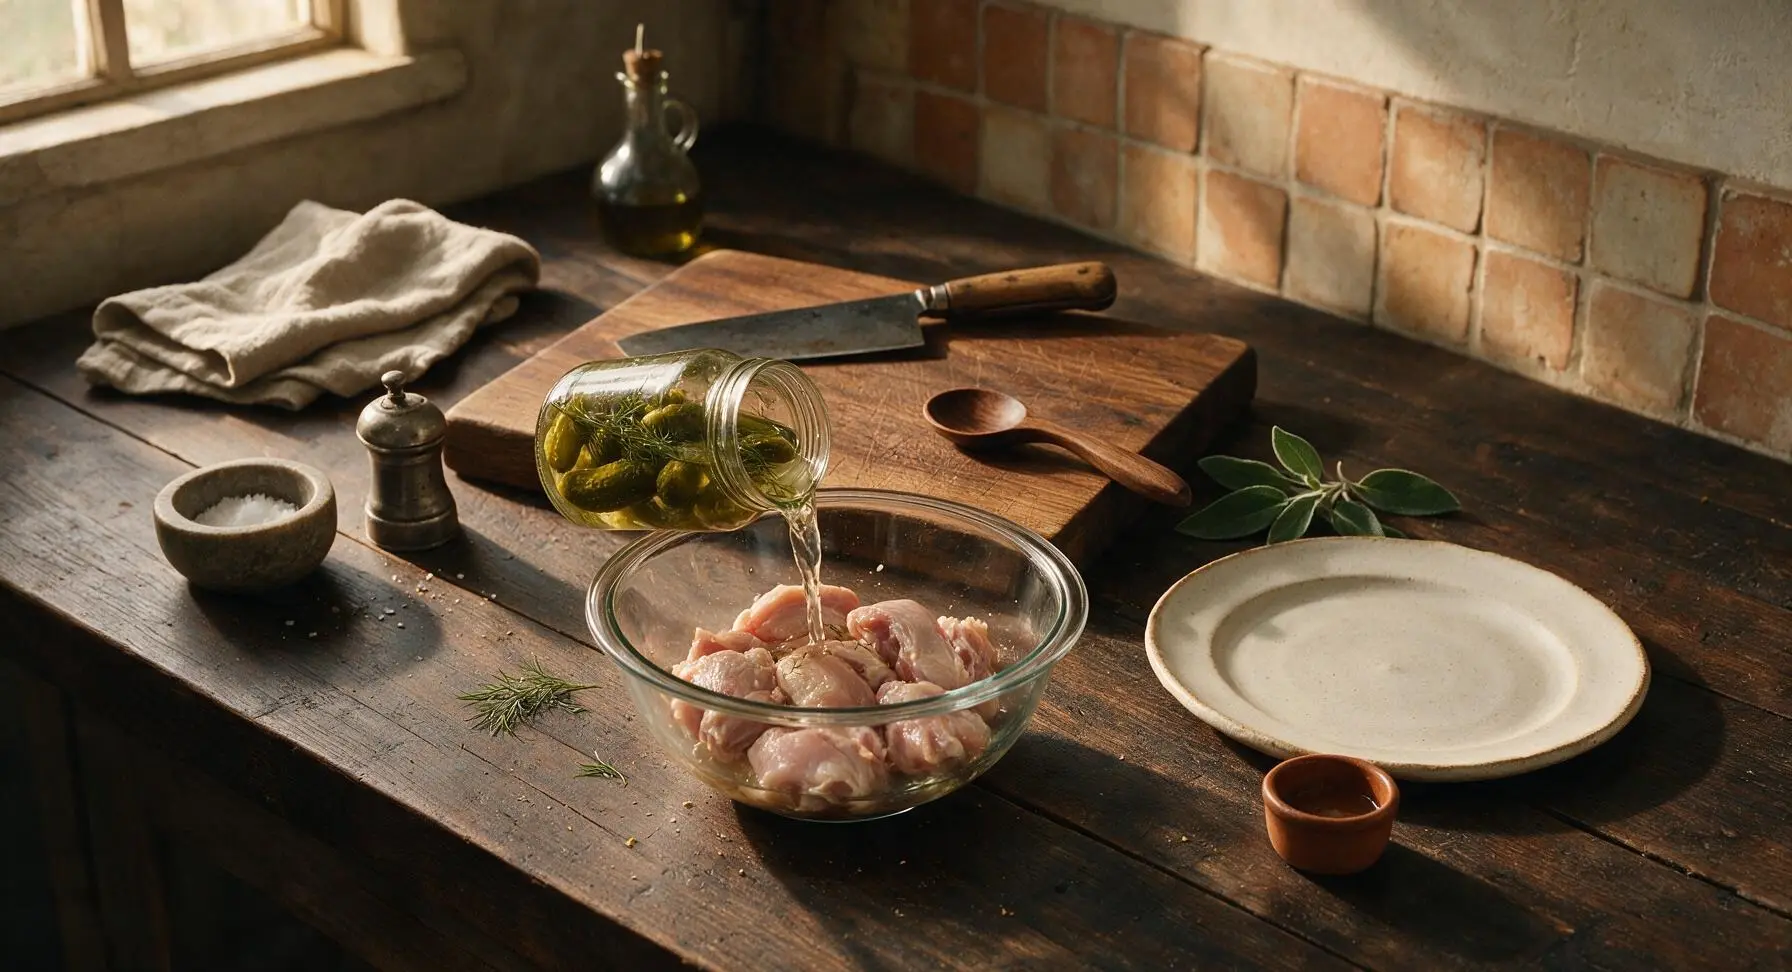
Pat chicken pieces dry with paper towel, then place them in the clear glass mixing bowl. Pour 1 cup dill pickle brine over the chicken, ensuring all pieces are fully submerged. Cover and refrigerate for a minimum of 4 hours, or up to 8 hours for maximum tangy flavor. Remove from brine 20 minutes before cooking to bring to room temperature, patting excess brine off lightly.
Step 1
step1:Brine Chicken in Pickle Juice
2

Mix Crispy Dredge

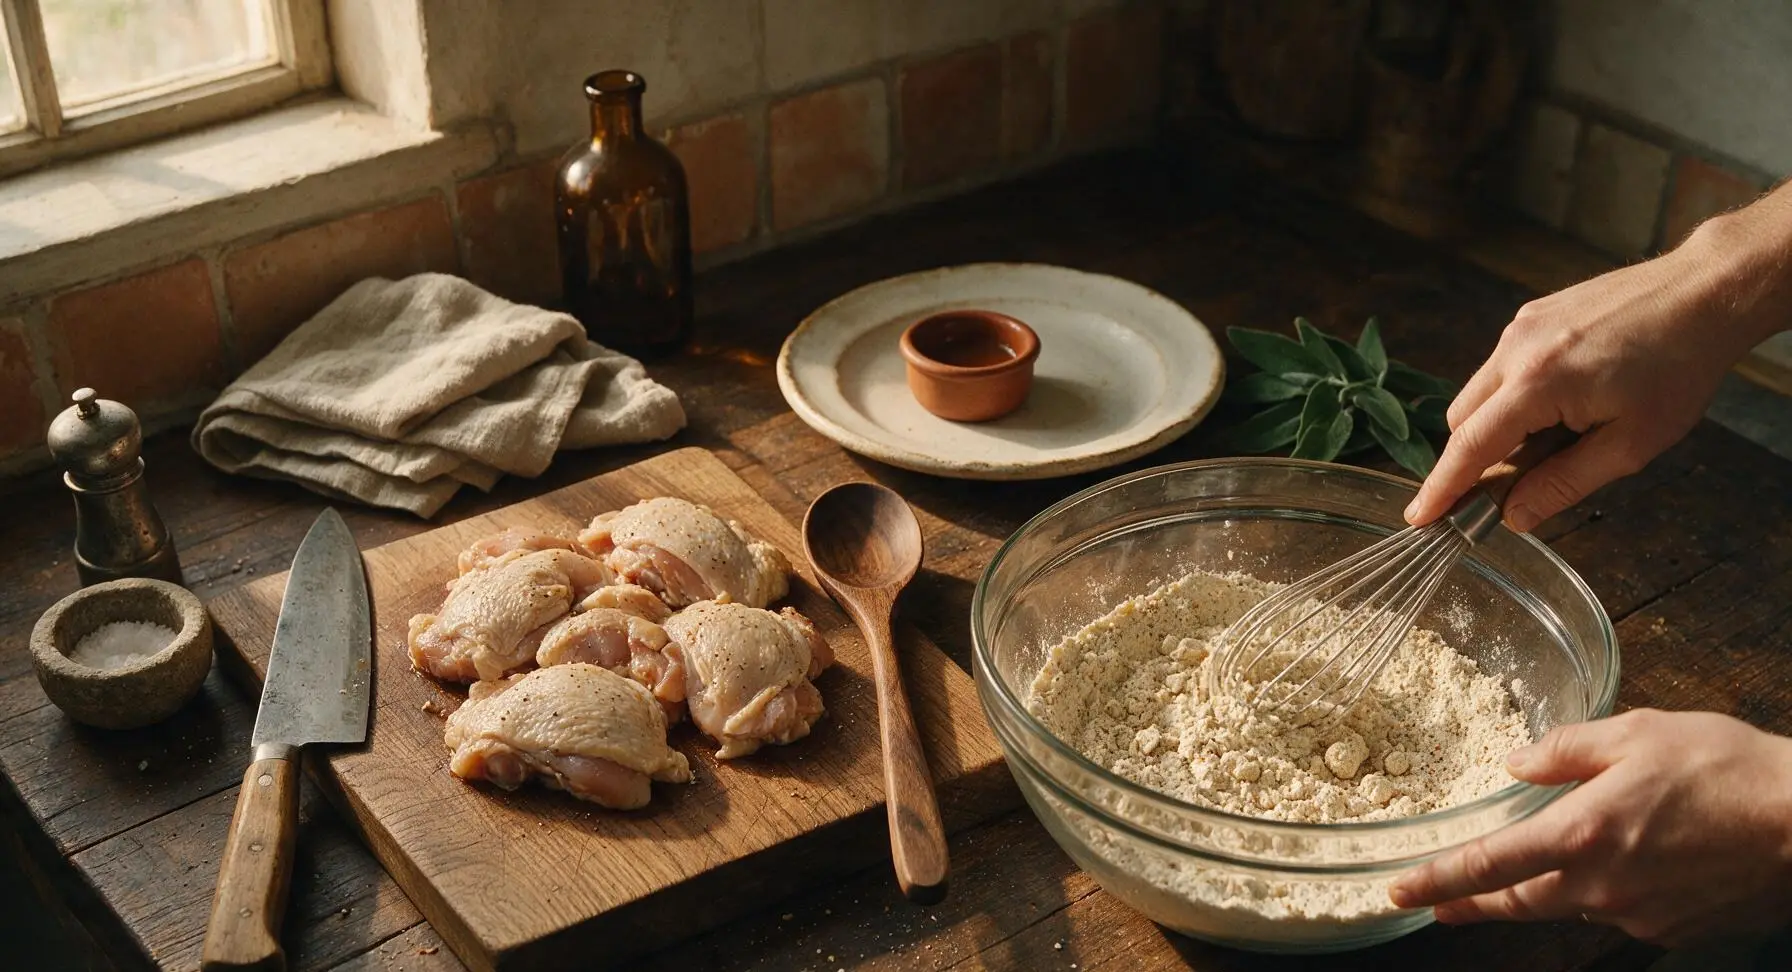
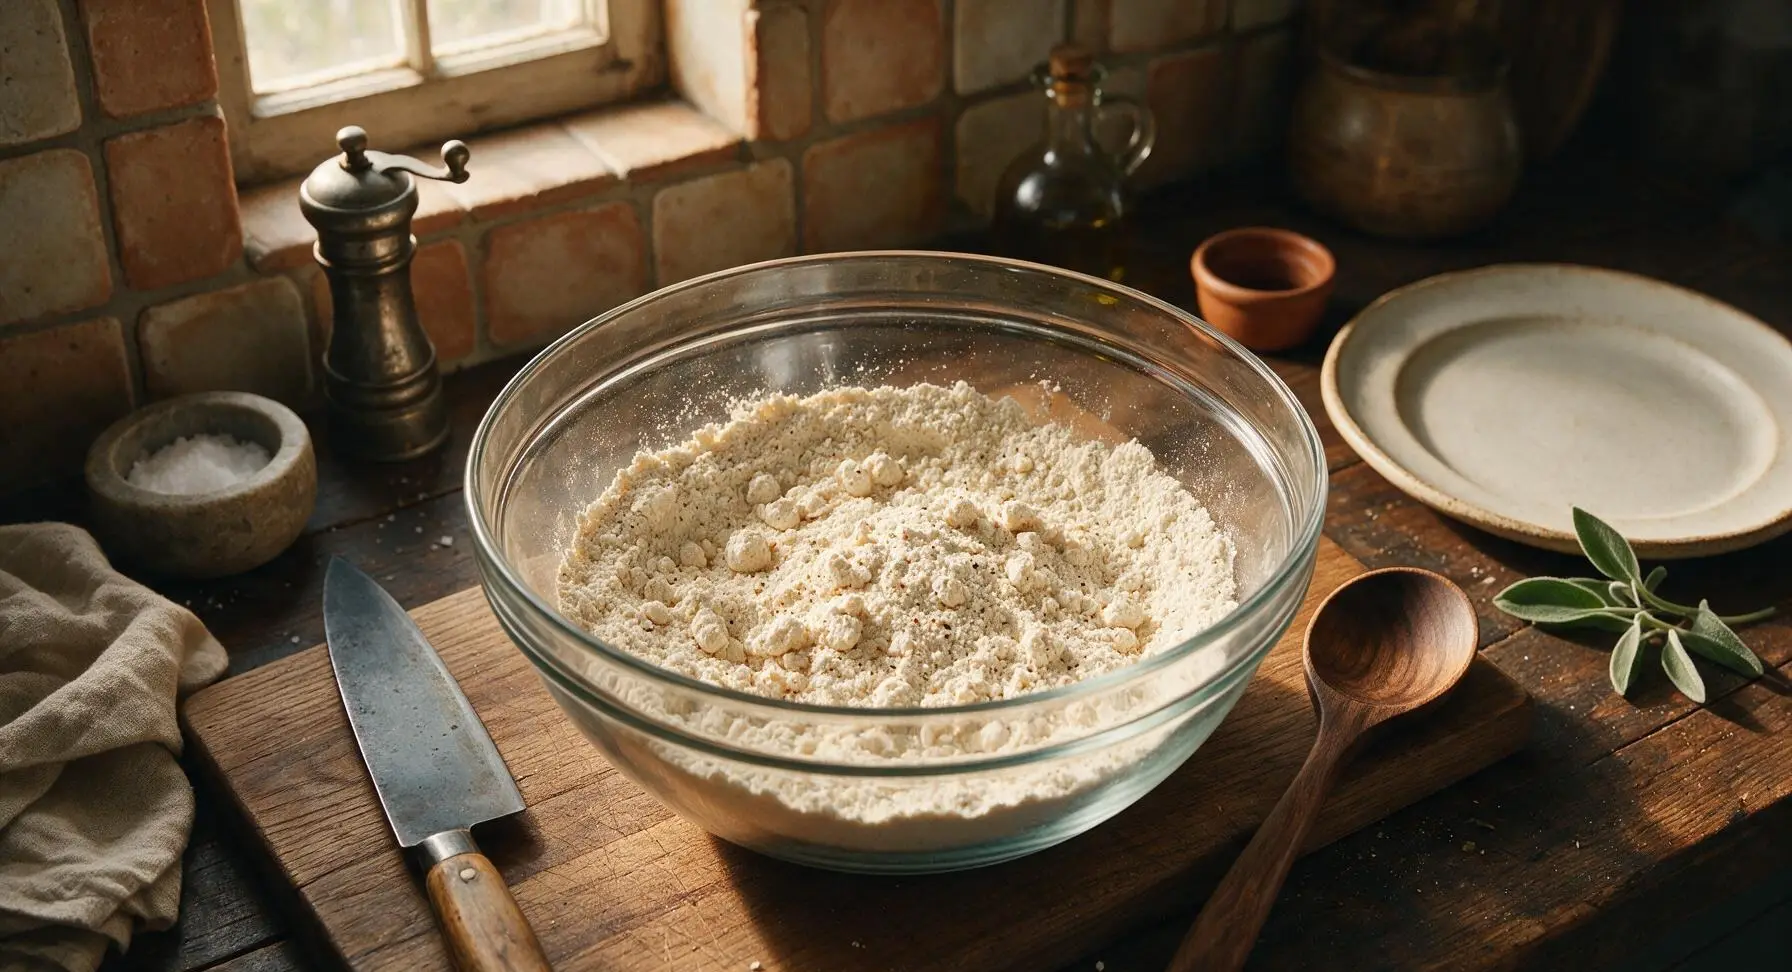
In the clear glass 2-quart mixing bowl, combine 1.5 cups all-purpose flour, 1/4 cup cornstarch, 1 tbsp garlic powder, 1 tsp smoked paprika, 1 tsp baking powder, 1 tsp black pepper, and 1/2 tsp flaky sea salt. Whisk thoroughly to evenly distribute all ingredients, breaking up any clumps of flour or spice. Stir in 2 tbsp of reserved pickle brine to create small, craggy clumps in the dredge—these will create extra crispy bits on the finished chicken.
Step 2
step2:Mix Crispy Dredge
Step 2
step2:Mix Crispy Dredge
3

Coat Chicken Evenly

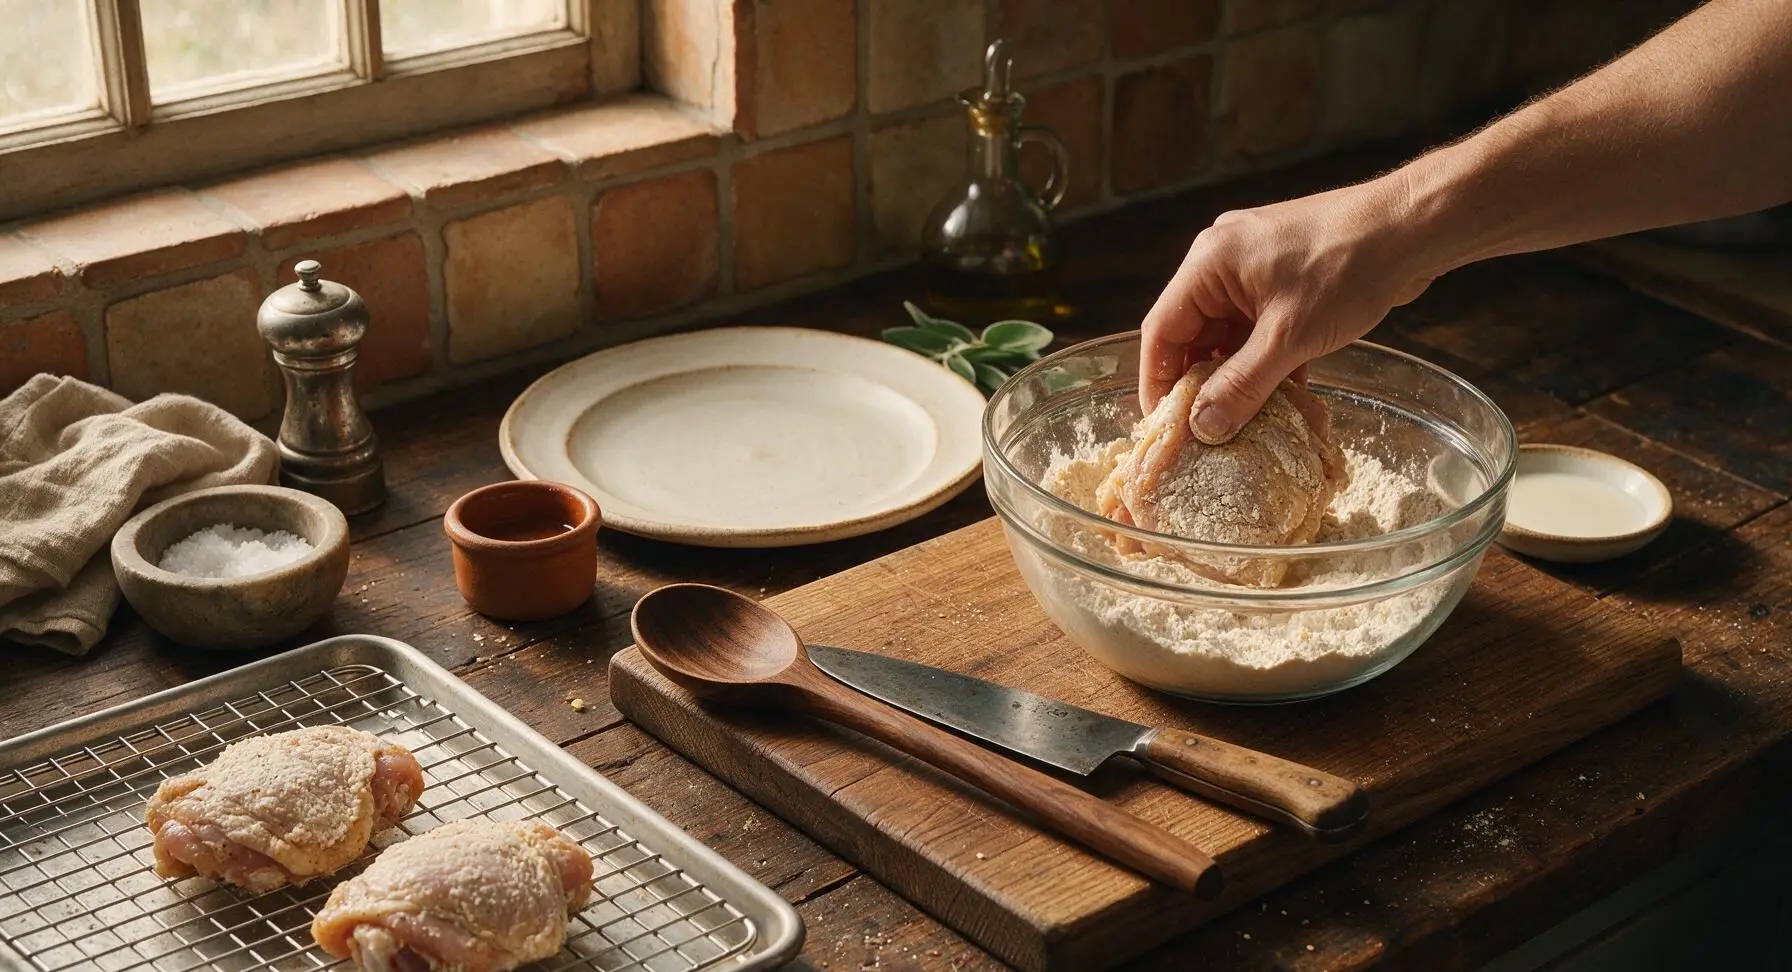
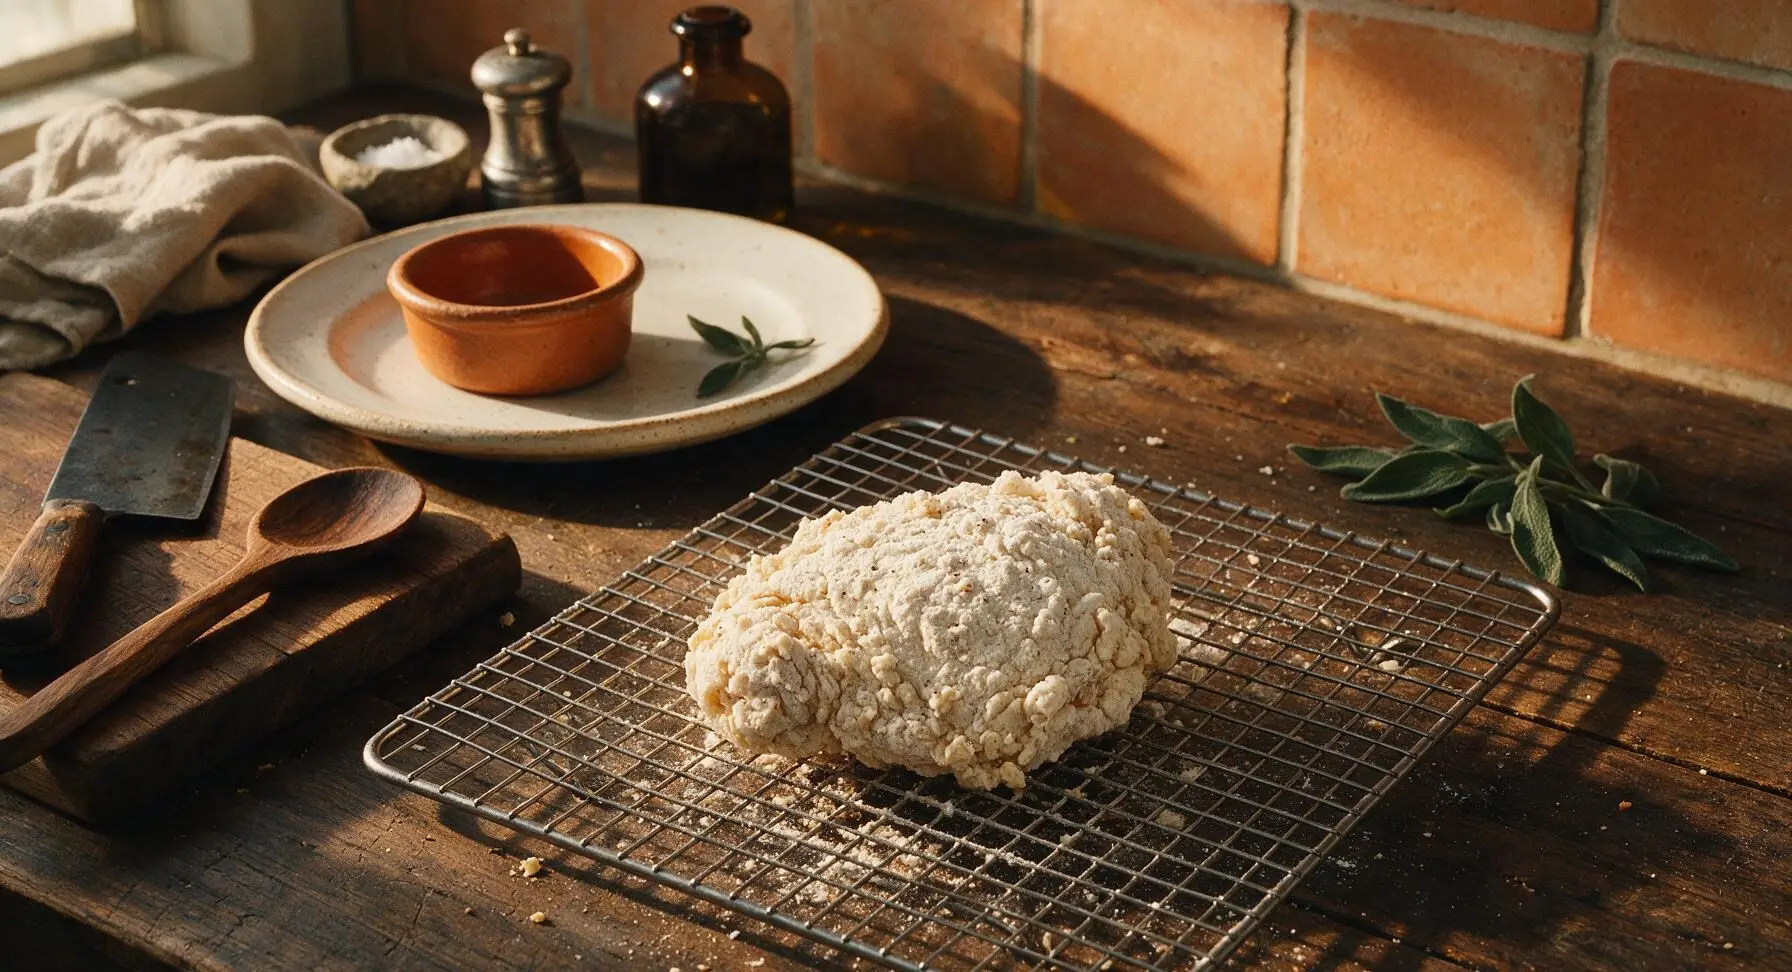
Pour 1/2 cup buttermilk into a small shallow dish. Working one piece at a time, dip a brined chicken piece into the buttermilk, letting excess drip off, then press firmly into the seasoned flour dredge, turning to coat every surface. Press the dredge into the chicken skin to create a thick, even coating, then set coated pieces on the unlined chrome wire cooling rack to rest for 10 minutes—this allows the coating to adhere and prevents it from falling off during frying.
Step 3
step3:Coat Chicken Evenly
Step 3
step3:Coat Chicken Evenly
4

Heat Frying Oil

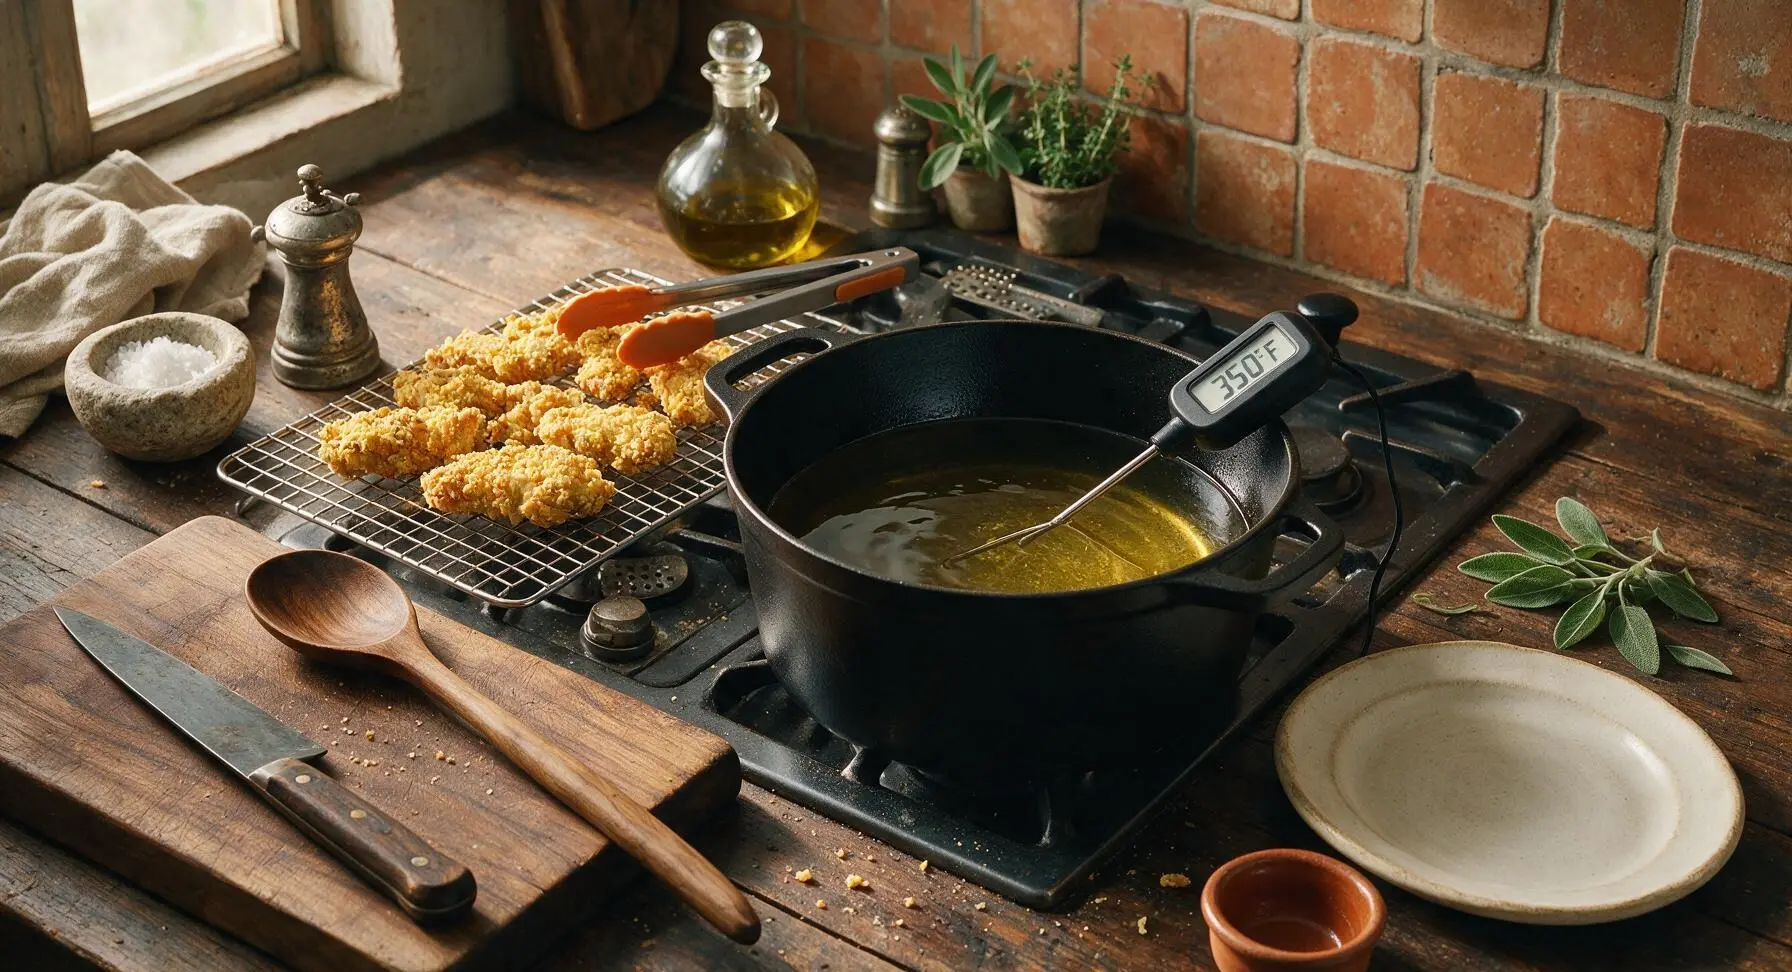
Set the 12-inch matte black enameled cast iron Dutch oven on the stovetop zone, pour in 1.5 quarts of neutral frying oil, and heat over medium heat until the oil reaches a steady 350°F (175°C), measured with the digital instant-read thermometer. Adjust heat as needed to maintain this temperature throughout cooking—oil that is too hot will burn the coating before the chicken cooks through, while oil that is too cool will result in greasy, soggy chicken.
Step 4
step4:Heat Frying Oil
5

Fry Chicken Until Crisp

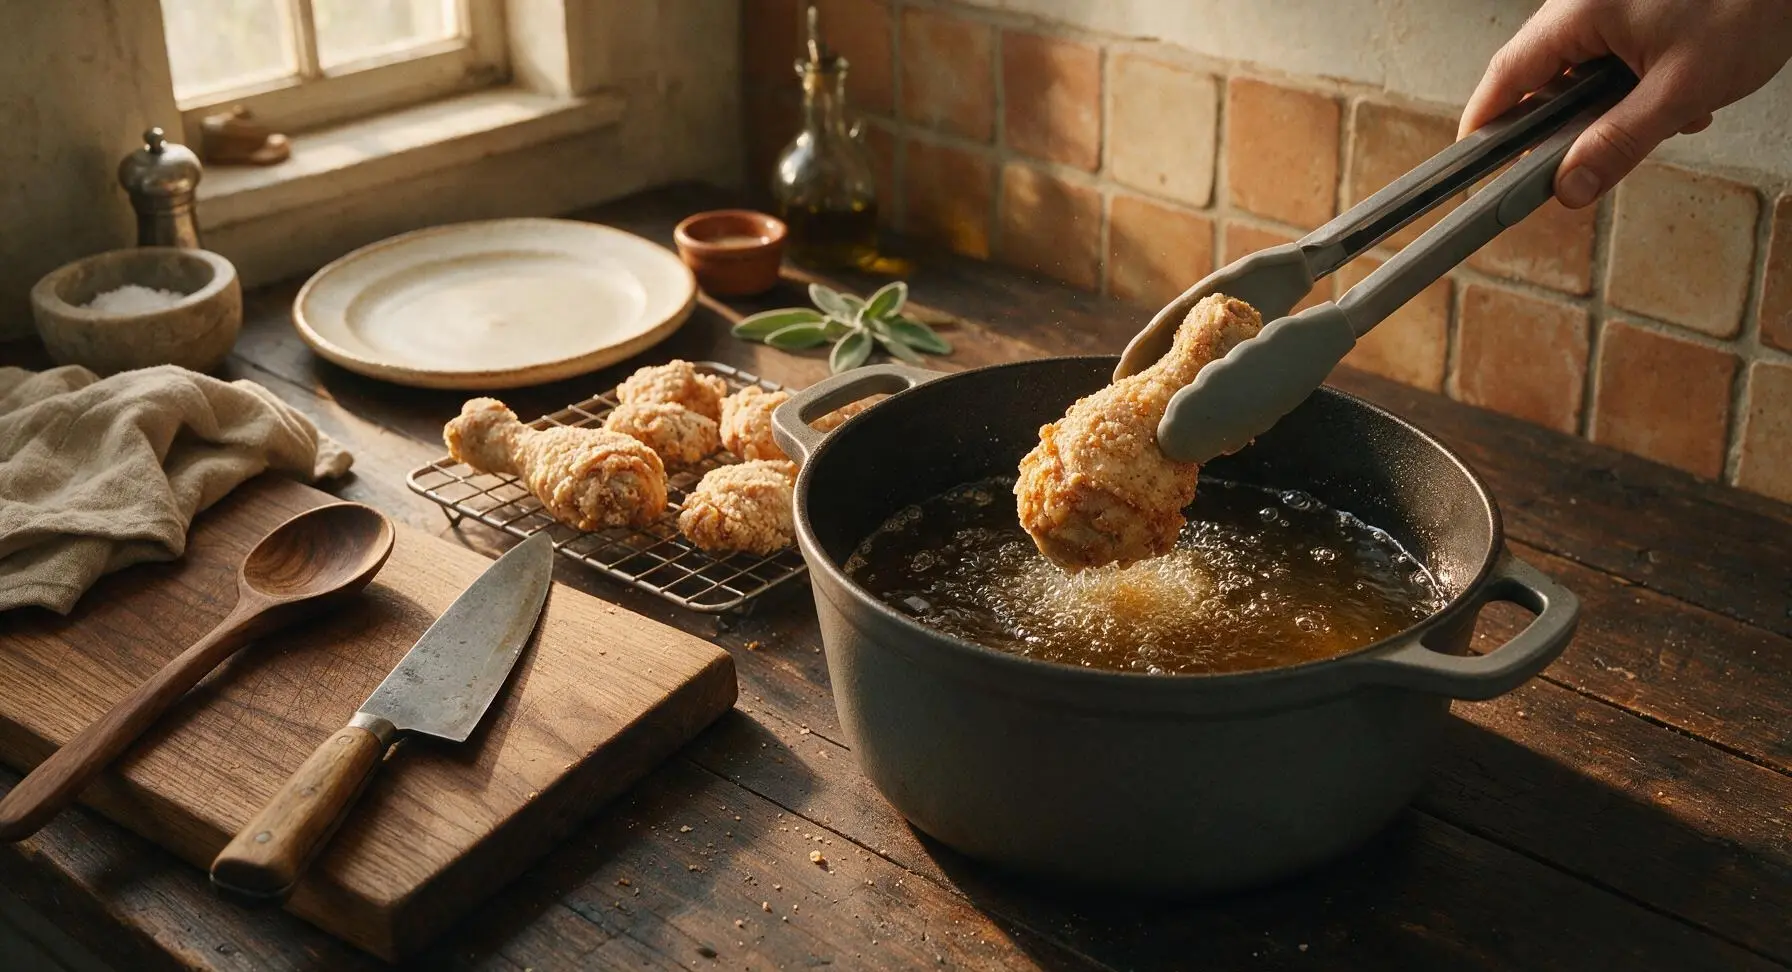
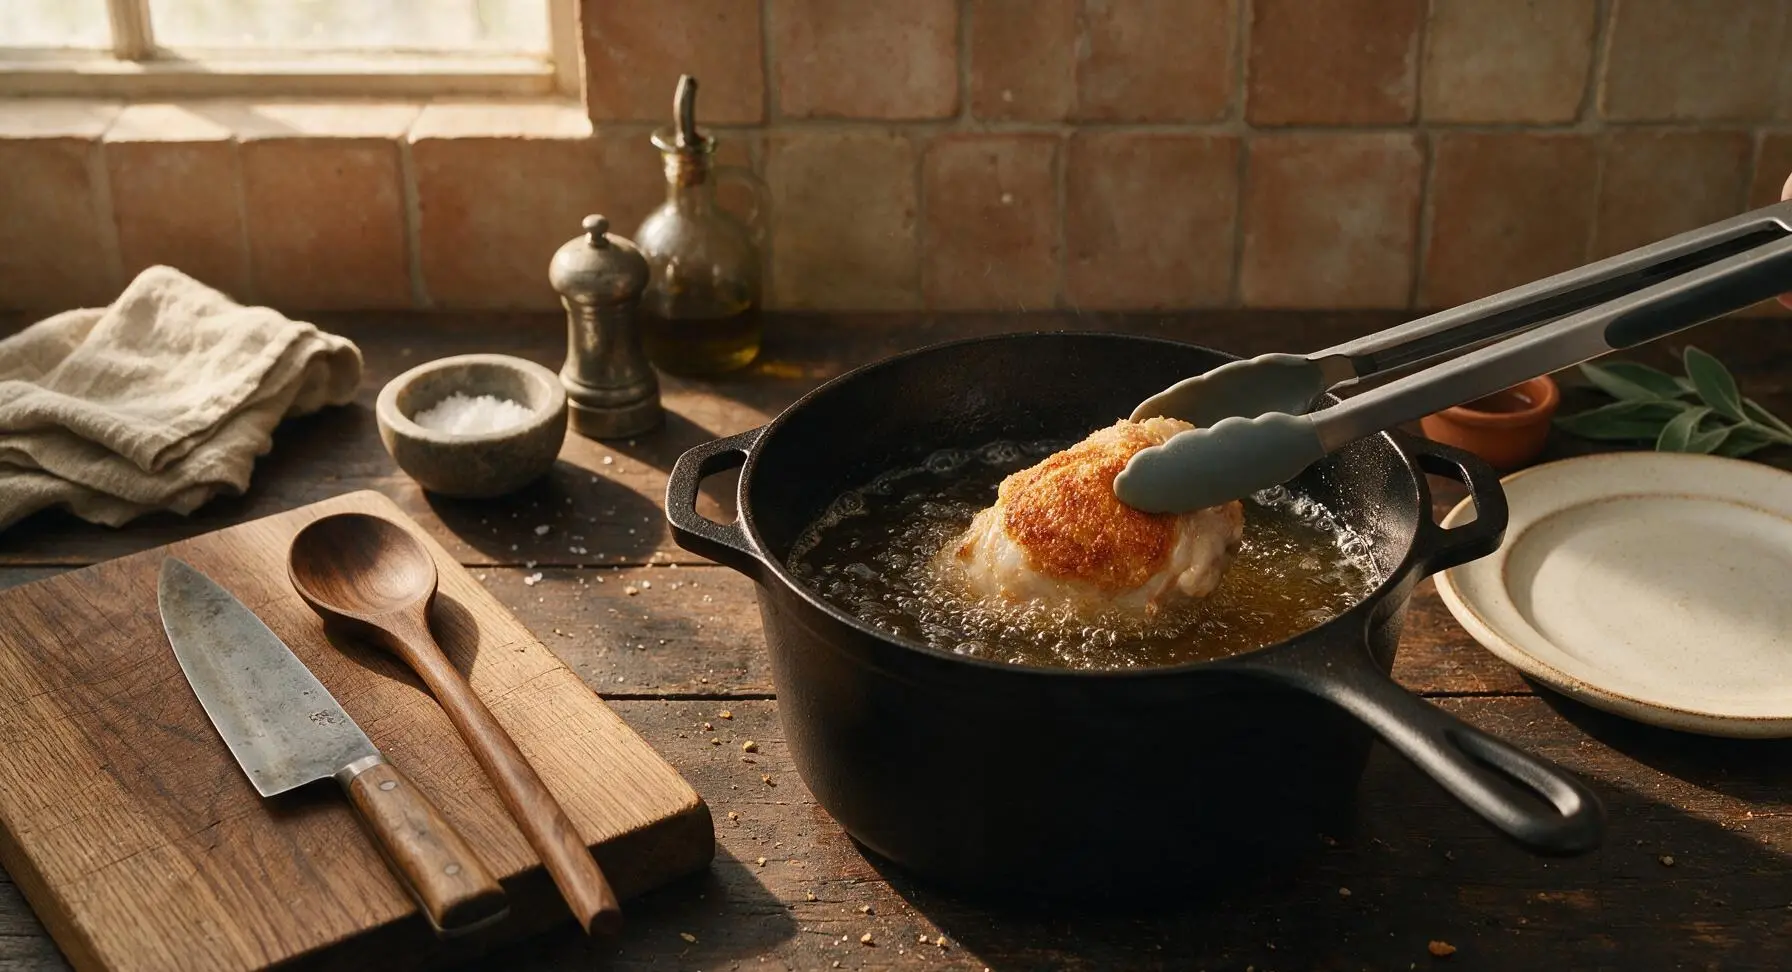
Using the silicone-tipped tongs, carefully lower 2 chicken pieces into the hot oil, being careful not to splash. Fry for 12-14 minutes total, turning once halfway through, until the coating is deep golden brown and crispy, and the internal temperature of the chicken reaches 165°F (74°C) at the thickest part, not touching the bone. Fry in batches to avoid overcrowding the pot, which drops oil temperature and causes soggy crust.
Step 5
step5:Fry Chicken Until Crisp
Step 5
step5:Fry Chicken Until Crisp
6

Drain and Season Chicken

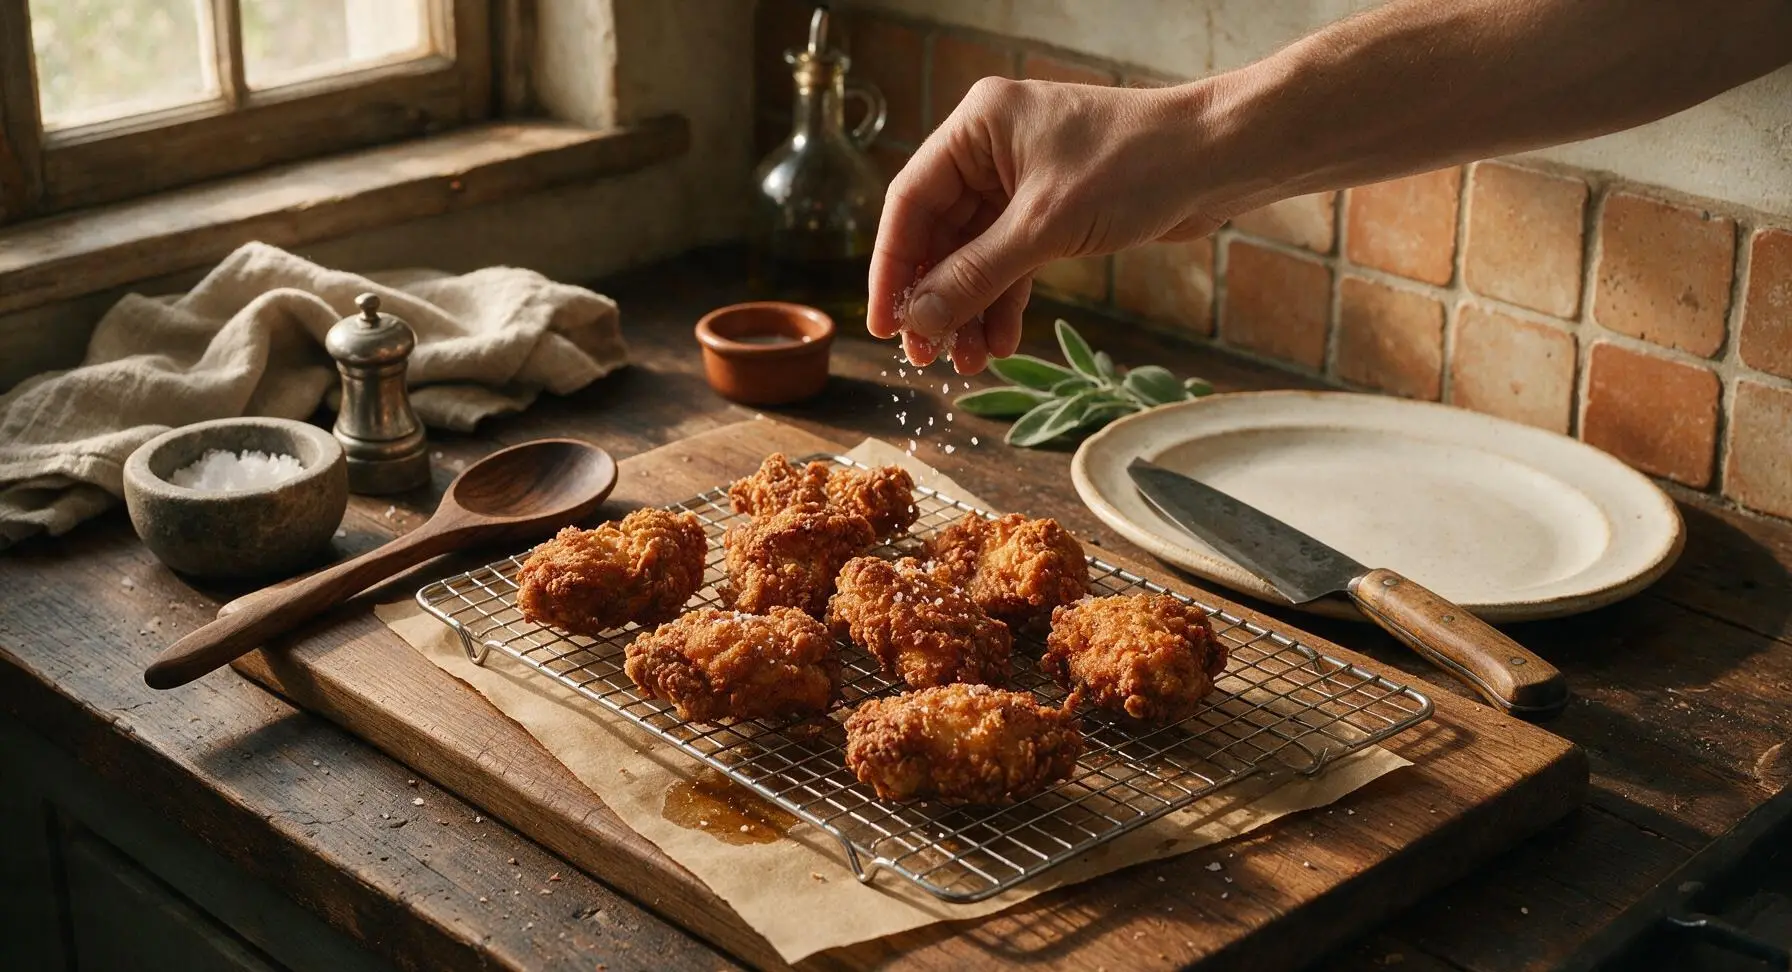
Once cooked, use tongs to lift each chicken piece from the oil, letting excess oil drip back into the pot, then transfer to the brown paper-towel-lined chrome wire cooling rack. Immediately sprinkle the hot crispy coating with a pinch of flaky sea salt while the surface is still oily, so the salt adheres. Let rest for 5 minutes before serving—this allows excess oil to drain and the coating to set.
Step 6
step6:Drain and Season Chicken
7

Plate and Garnish

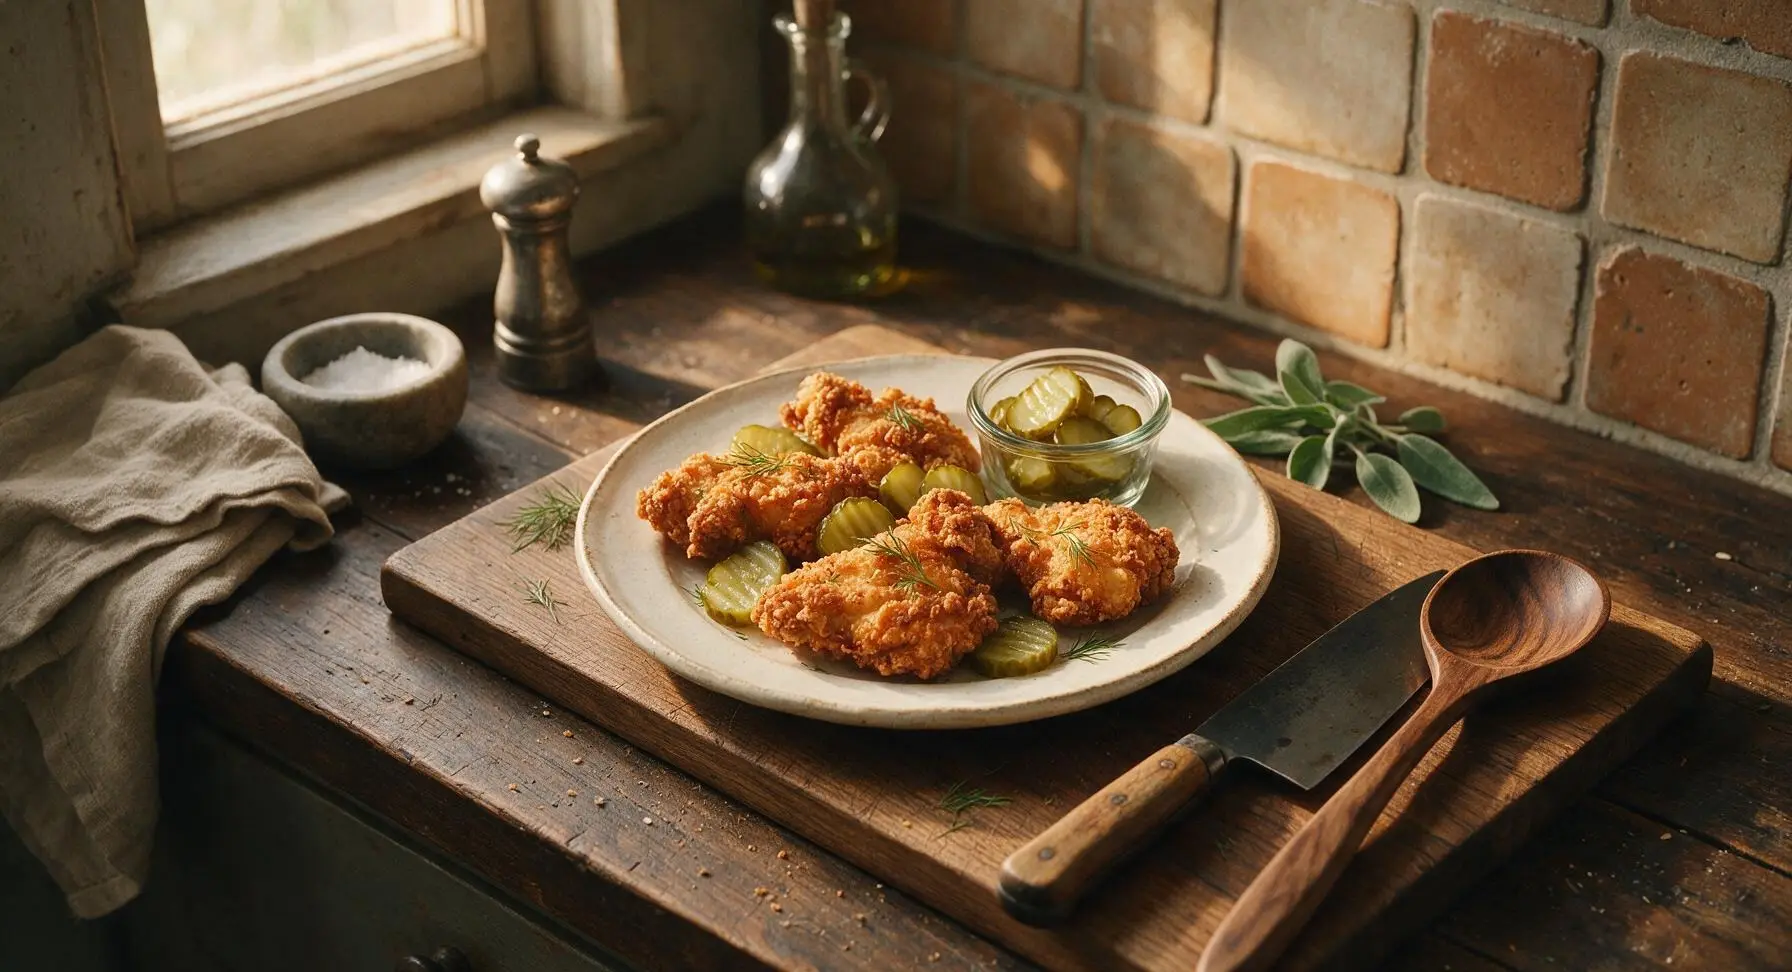
Arrange the crispy fried chicken pieces on the matte cream stoneware dinner plate. Tuck 1/2 cup of reserved dill pickle slices between the chicken pieces, scatter fresh dill fronds over the top, and serve with extra pickles and optional tangy pickle mayo in the 8cm clear glass ramekin.
Step 7
step7:Plate and Garnish

Tips

1.Don’t skip the 10-minute rest after coating the chicken: this allows the flour and buttermilk to hydrate and form a sticky, adhesive layer that won’t slide off when the chicken hits hot oil, preventing bare spots and creating an evenly craggy, intact crust.
2.Stir 2 tablespoons of pickle brine into the dry flour dredge instead of leaving it completely smooth: the small wet clumps fry up into extra crunchy, flavor-packed bits on the chicken surface, amplifying the tangy pickle taste and adding welcome textural contrast.
3.Drain fried chicken on the elevated wire rack (with paper towel under the rack to catch drips) instead of placing chicken directly on a paper-towel-lined plate: direct contact with paper towels traps steam against the crust, making it soggy within minutes, while elevated air circulation keeps the crust crisp from first bite to last.


✨ You May Also Like

Main Course
🍜 United Kingdom

A showstopping classic of tender seared beef, savory mushroom duxelles, and crisp prosciutto wrapped in flaky golden puff pastry, baked to juicy perfection.

⏱️ 2 hours 1Main Course ★ 4.7
Main Course
🍜 India

Tender charred marinated chicken simmered in a rich, spiced creamy tomato sauce, this iconic Anglo-Indian curry pairs perfectly with basmati rice or warm naan.

⏱️ 50 minuteMain Course ★ 4.6
Main Course
🍜 Thailand

Classic tangy, sweet, and savory Thai stir-fried rice noodles with shrimp, tofu, and crunchy garnishes, balancing all five core Thai flavor profiles.

⏱️ 30 minuteMain Course ★ 4.5
Main Course
🍜 United Kingdom

Crispy golden beer-battered cod and fluffy double-fried chips, served with tangy tartar sauce and malt vinegar: the timeless, beloved British pub comfort classic.

⏱️ 45 minuteMain Course ★ 4.7
Main Course
🍜 Mexico

Smoky, chile-marinated pork tacos with caramelized pineapple, fresh cilantro, and lime: a beloved classic Mexican street food perfect for casual summer gatherings.

⏱️ 1 hour 45Main Course ★ 4.8
Main Course
🍜 United States

Crunchy Fritos corn chips layered with savory beef chili and melted cheddar, topped with cool, zesty fixings for a beloved, cozy Tex-Mex comfort food.

⏱️ 35 minuteMain Course ★ 4.8

pickle fried chicken:Frequently Asked Questions

1.How long should I brine the chicken in pickle juice to get that perfect tang? ▾
Aim for a 4 to 8 hour brine in the fridge for bone-in, skin-on chicken pieces. Skip brining longer than 12 hours—pickle brine is high in salt, so over-brining will make chicken overly salty and break down muscle fibers too much, leading to mushy, unpleasantly textured meat instead of juicy, tender bites.
2.Can I use sweet pickle brine instead of kosher dill brine for this recipe? ▾
You can, but it will change the classic bright, savory tang the recipe is known for. If you prefer a sweeter profile, use half sweet brine and half dill brine to keep that briny kick without making the chicken taste cloyingly sweet, and skip adding extra sugar to your flour seasoning if you make that swap.
3.Why does the recipe call for buttermilk in the coating? ▾
Buttermilk serves two key jobs here: its mild tang complements the pickle brine flavor, and its lactic acid tenderizes the outer layer of the chicken for extra juiciness. It also helps the flour coating stick tight to the chicken, creating those signature craggy, crispy crunch bits when fried instead of a smooth, slippery crust.
4.What oil is best for frying this pickle fried chicken? ▾
Reach for a neutral, high-smoke-point oil like canola, peanut, or vegetable shortening for the best results. These oils won’t add off-flavors to the chicken when heated to frying temperature (350°F), and they create a light, shatteringly crisp crust instead of the heavy, greasy coating you get from lower-smoke-point oils like olive oil.
5.How do I get that super craggy, crispy crust instead of a smooth, hard batter? ▾
After dredging chicken in flour, dip it back in the buttermilk mixture, then toss it in flour a second time, pressing the flour firmly onto the surface to create little clumps. Let the coated chicken rest on a wire rack for 10 to 15 minutes before frying—this lets the coating set so it doesn’t slide off or turn smooth in the oil.
6.Can I use boneless, skinless chicken instead of bone-in, skin-on pieces? ▾
You absolutely can, just adjust your brine and cook time. Boneless cuts only need 1.5 to 2 hours of pickle brine, since they’re thinner and absorb salt faster. Fry boneless thighs or tenders for 8 to 10 minutes total, until they hit 165°F internally, to avoid drying out the meat before the crust gets golden.
7.Do I add the dill pickle slices as a topping, or do they go in the coating? ▾
Both options work! For a classic preparation, serve crisp, drained dill pickle slices on top of the finished chicken or on the side for an extra briny pop. If you want extra pickle flavor in every bite, finely chop a few pickles and mix them into your buttermilk dip, patting them dry first so they don’t make the coating soggy.
8.What oil temperature should I maintain to get perfectly cooked, non-greasy chicken? ▾
Hold your oil steady at 350°F for the entire fry time, using a clip-on candy thermometer to monitor it. If the oil is too cold, the coating will soak up excess oil and turn soggy and greasy; if it’s too hot, the crust will burn before the chicken cooks through to the safe 165°F internal temp at the bone.
9.Can I make this chicken in an air fryer instead of deep frying? ▾
Yes, for a lighter version! Spray the coated chicken generously with oil, then air fry at 375°F for 22 to 28 minutes, flipping halfway through, until the internal temp hits 165°F and the crust is golden crisp. The crust won’t be quite as shatteringly crunchy as deep-fried, but you’ll still get that great tangy pickle flavor with less oil.
10.Why is my fried chicken crust sliding off the meat when I fry it? ▾
That almost always happens if you skip letting the coated chicken rest before frying, or if your oil is too cold when you add the chicken. Always let dredged chicken rest 10 to 15 minutes on a rack so the flour and buttermilk bind into a sturdy coating, and don’t overcrowd the fry pot, which drops oil temp fast and makes crusts slip.
11.Do I need to season the flour coating, or is the pickle brine salty enough? ▾
You’ll still want to add light seasoning to your all-purpose flour! The pickle brine seasons the meat itself, but the flour coating will taste bland without a pinch of black pepper, garlic powder, paprika, and a small amount of kosher salt. Go easy on the salt, though, since the brine is already salty enough to over-season the crust if you’re heavy-handed.
12.How long does leftover tangy pickle fried chicken stay good? ▾
Store leftover cooled chicken in an airtight container in the fridge for up to 3 days. For the best texture when reheating, skip the microwave (it makes the crust soggy) and reheat pieces on a wire rack set over a baking sheet in a 375°F oven for 10 to 12 minutes, until the crust is crisp again and the chicken is heated through.
13.Can I use gluten-free flour instead of all-purpose flour for this recipe? ▾
Absolutely! Swap the all-purpose flour for a 1:1 gluten-free all-purpose flour blend that contains xanthan gum for the best crust texture. You’ll get the same craggy, crunchy coating and tangy pickle flavor, just make sure to follow the same double-dredge and rest steps so the coating sticks properly during frying.
14.What should I serve with tangy pickle fried chicken? ▾
Stick to classic Southern sides that complement the bright, briny flavor! Coleslaw, creamy mac and cheese, buttery cornbread, potato salad, or collard greens all pair beautifully. You can also serve it on a soft bun with extra pickles and mayo for a killer fried chicken sandwich, if you don’t want a full plate of sides.
15.Can I brine the chicken in pickle juice overnight if I’m short on prep time the next day? ▾
Overnight brining can work, but only if you dilute the pickle brine with ¼ cup cold water per cup of brine to cut the salt content. Undiluted brine left on chicken for 12+ hours will make the meat too salty, even if it’s convenient. If you do a diluted overnight brine, pull chicken straight from brine to the buttermilk dip the next day.
16.How do I make sure the chicken cooks all the way through without burning the crust? ▾
Use an instant-read meat thermometer to check the internal temp at the thickest part of the piece, away from the bone—you’re looking for 165°F. If your crust is getting too dark before the chicken hits temp, turn the oil down 25°F and finish pieces on a wire rack in a 375°F oven for 5 to 7 minutes to cook through without burning.
17.Can I use leftover pickle brine from an almost-empty store-bought jar for this recipe? ▾
That’s actually the perfect use for leftover pickle brine! Just make sure the brine is from a jar of kosher dills with no added sweeteners (unless you want that sweet tang, of course) and that it hasn’t gone cloudy or off. You don’t need fancy specialty brine—regular grocery store dill pickle brine works perfectly for that classic tang.
18.Why do you recommend using a wire rack instead of paper towels to drain fried chicken? ▾
Paper towels trap steam against the crispy crust, which makes it turn soggy within minutes of coming out of the oil. Setting fried chicken on a wire rack set over a baking sheet lets excess oil drip off while letting air circulate around every piece, keeping that craggy crust shatteringly crisp for 15 to 20 minutes while you finish frying batches.

Comments (12)

2 days ago

OMG this tangy pickle fried chicken is a GAME CHANGER. I made this for our Sunday family dinner last night and even my super picky 7 year old asked for seconds! The pickle brine keeps the chicken so juicy, and that tangy crunch is unreal. 10/10 will be making this every other week for meal prep too.

1 day ago

Wait did you use dill pickle brine or the sweet kind? I’m planning to make this for our neighborhood potluck this weekend and don’t want to mess it up!

1 day ago

So glad your family loved it! We recommend regular dill pickle brine for that classic tang, but if you like a little sweet-savory kick, a half dill half sweet bread and butter brine works great too. Hope the potluck is a hit!

1 week ago

Made this for my watch party for the football game last weekend and it was gone in 10 minutes flat. Everyone was asking for the recipe! The only tweak I made was adding a little extra cayenne to the breading for some heat, and it paired perfectly with the tang from the pickle. SO good.

5 days ago

How much cayenne did you add? I love extra heat but don’t want to overpower the pickle flavor

4 days ago

Great question! If you’re adding extra heat, 1/4 tsp of cayenne per cup of breading is perfect for a gentle kick that doesn’t cover up the pickle tang. For extra spicy, you can go up to 1/2 tsp, but we recommend starting small!

3 days ago

Okay I’m a total newbie when it comes to frying chicken, I’ve always been scared of undercooking it or the breading falling off. This recipe was so easy to follow! I did have the heat a little too high at first so a couple pieces got a touch dark, but even those were delicious. The tang is unreal, I never thought pickle brine would work this well.

2 days ago

Pro tip for new fryers: use a candy thermometer to keep the oil at 350F! It takes all the guesswork out, I used to burn my fried chicken all the time before I started doing that

2 days ago

So proud of you for giving it a go! That heat tip is spot on – consistent oil temp is the secret to even, crispy breading and perfectly cooked chicken. If you want extra insurance, you can always finish the chicken in a 375F oven for 5 minutes after frying to make sure it’s cooked through without burning the outside!

2 weeks ago

This is my new go-to meal prep protein! I make a batch on Sunday, and it stays juicy in the fridge for 4 days no problem. I love that the tang doesn’t get dull even when reheated in the air fryer. Way better than the boring plain fried chicken I used to make.

2 weeks ago

Love that this is part of your meal prep rotation! The air fryer reheat trick is chef’s kiss – it keeps the breading crispy instead of getting soggy like it does in the microwave. Thanks for sharing!

5 days ago

Y’all, I grew up on my grandma’s fried chicken and I was skeptical that a pickle brine version could measure up. Color me wrong! That tang adds such a fun depth of flavor, my husband said it might even be better than grandma’s (don’t tell her I said that). I served it with coleslaw and potato salad for our family cookout and it was a hit.

3 days ago

Wait what kind of coleslaw did you serve with it? I feel like a creamy slaw would cut the tang so good, but I’m debating making a vinegar-based one instead

yesterday

Brought this to our office potluck yesterday and I had three people chase me down to the parking lot to ask for the recipe! The breading is so crispy, and the pickle flavor is present but not overpowering. I did boneless thighs instead of bone-in because that’s what I had in the fridge, and it worked perfectly.

2 hours ago

Boneless thighs are such a great swap! They stay extra juicy and cook a little faster than bone-in cuts, perfect for when you’re short on prep time for a potluck. So glad it was a hit with your coworkers!

2 hours ago

Made this in my tiny apartment kitchen with just a cheap dutch oven, no fancy equipment! It turned out way better than the fast food fried chicken I usually order when I’m craving something crispy. Saved me so much money too, I ate leftovers for 3 days straight.

5 minutes ago

Same! I’m a broke college student too and this recipe uses mostly pantry staples plus cheap chicken thighs, I’m adding it to my weekly rotation for sure

30 minutes ago

Curious if anyone has tested this with gluten free flour? I have celiac and have been on the hunt for a good GF fried chicken recipe, this looks too good to pass up!

5 minutes ago

Great question! We’ve tested this with a 1:1 gluten free all-purpose flour blend (we used Bob’s Red Mill for testing) and it crisps up beautifully! Just make sure your blend has xanthan gum in it to help the breading stick, and you’ll be good to go.

1 week ago

Just when I thought fried chicken couldn’t get any better, pickle brine had to come along and prove me wrong. The crust is shatteringly crisp, the meat is juicy, and that tang hits different. Made this on my charcoal grill side burner last night and my teens went crazy for it. Definitely adding this to the regular summer cookout rotation.

5 days ago

Did you brine it for the full 2 hours like the recipe says? I always worry about over-brining with pickle juice making it too salty

4 days ago

The 2 hour brine is perfect for that tang without making the chicken too salty! If you’re extra sensitive to salt, you can cut the pickle brine with 1/4 cup water and brine for the same amount of time, and it’ll still have that great pickle flavor

2 days ago

Wow, this was so much easier than I thought it would be for a medium difficulty recipe! I was intimidated at first, but the steps were super clear. I served it with pickled red onions and ranch for dipping, and it was chef’s kiss. My roommate already asked when I’m making it again.

just now

Wait, has anyone tried making this in the air fryer instead of deep frying? I’m trying to cut back on oil but still want that crispy tangy chicken. I might test it this weekend with a spray of avocado oil and see how it turns out!

3 days ago

I’ve been making fried chicken for over 50 years, and I have to say this pickle brine trick is genius. I added a little paprika and garlic powder to my breading like I always do, and the pickle tang paired with those classic seasonings was out of this world. My grandkids ate 3 pieces each!



