
pillsbury chicken pot pie
intro
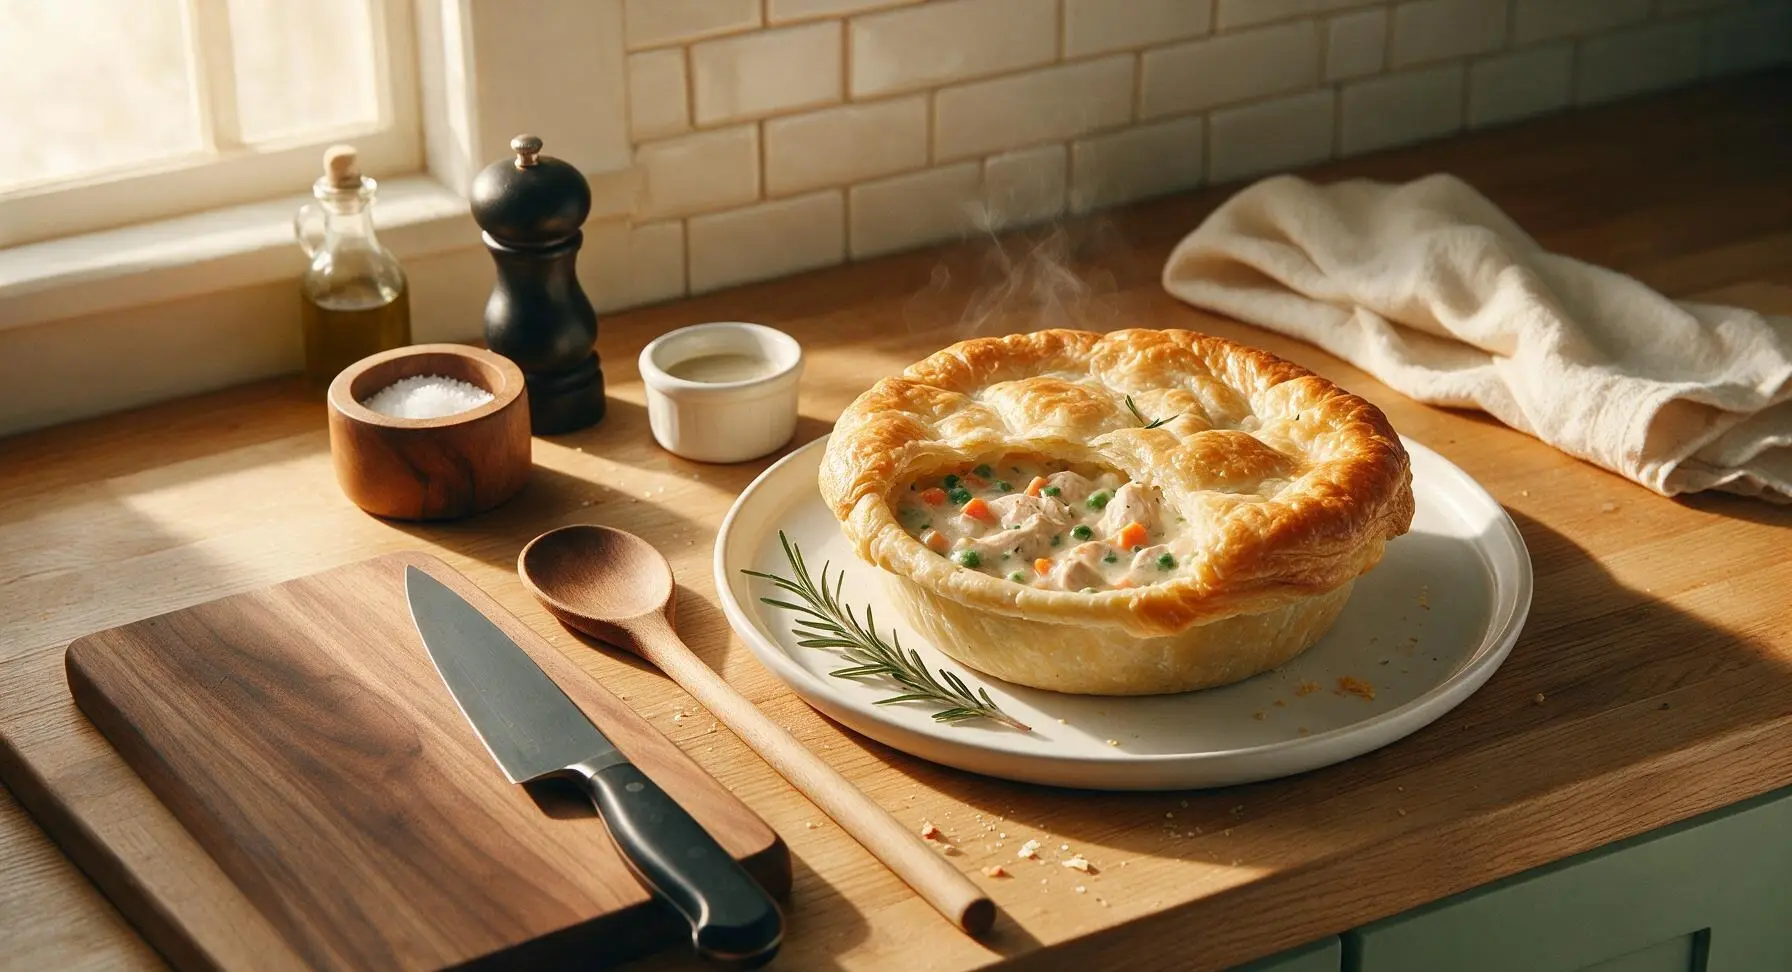
Flaky golden Pillsbury crust wraps rich creamy chicken and vegetable filling for a cozy, nostalgic one-dish meal that tastes like home with minimal prep.
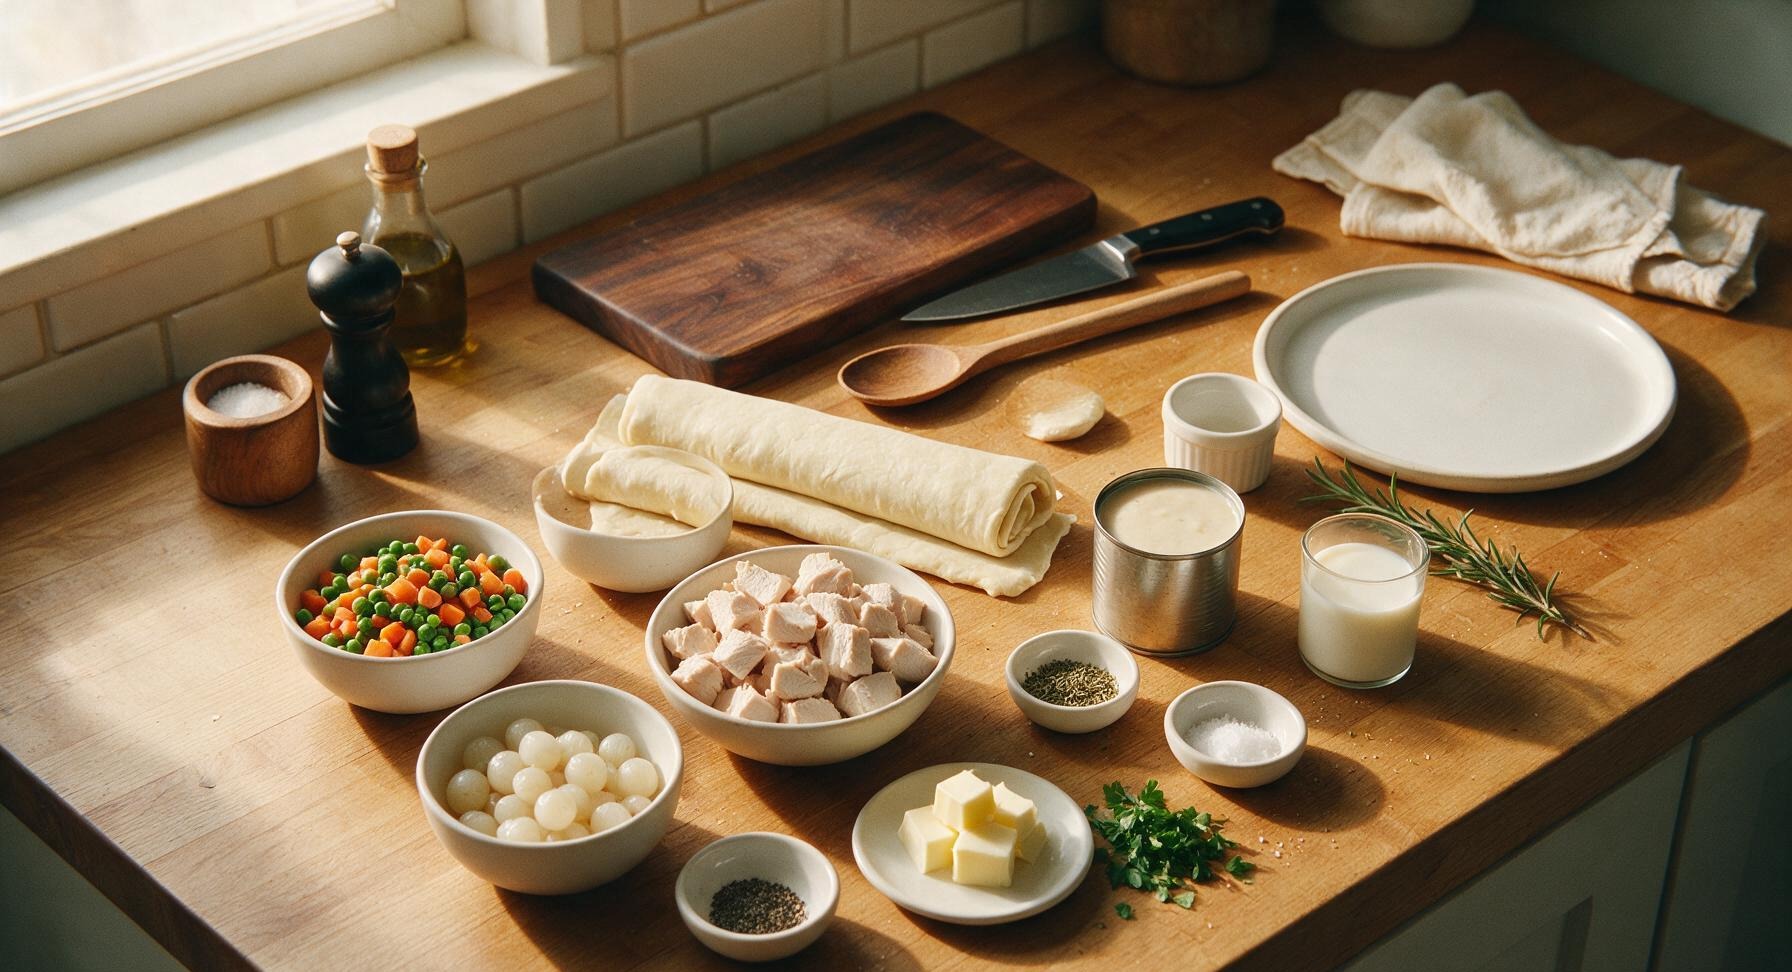
Ingredients
Steps
Preheat and Prep Pie Plate
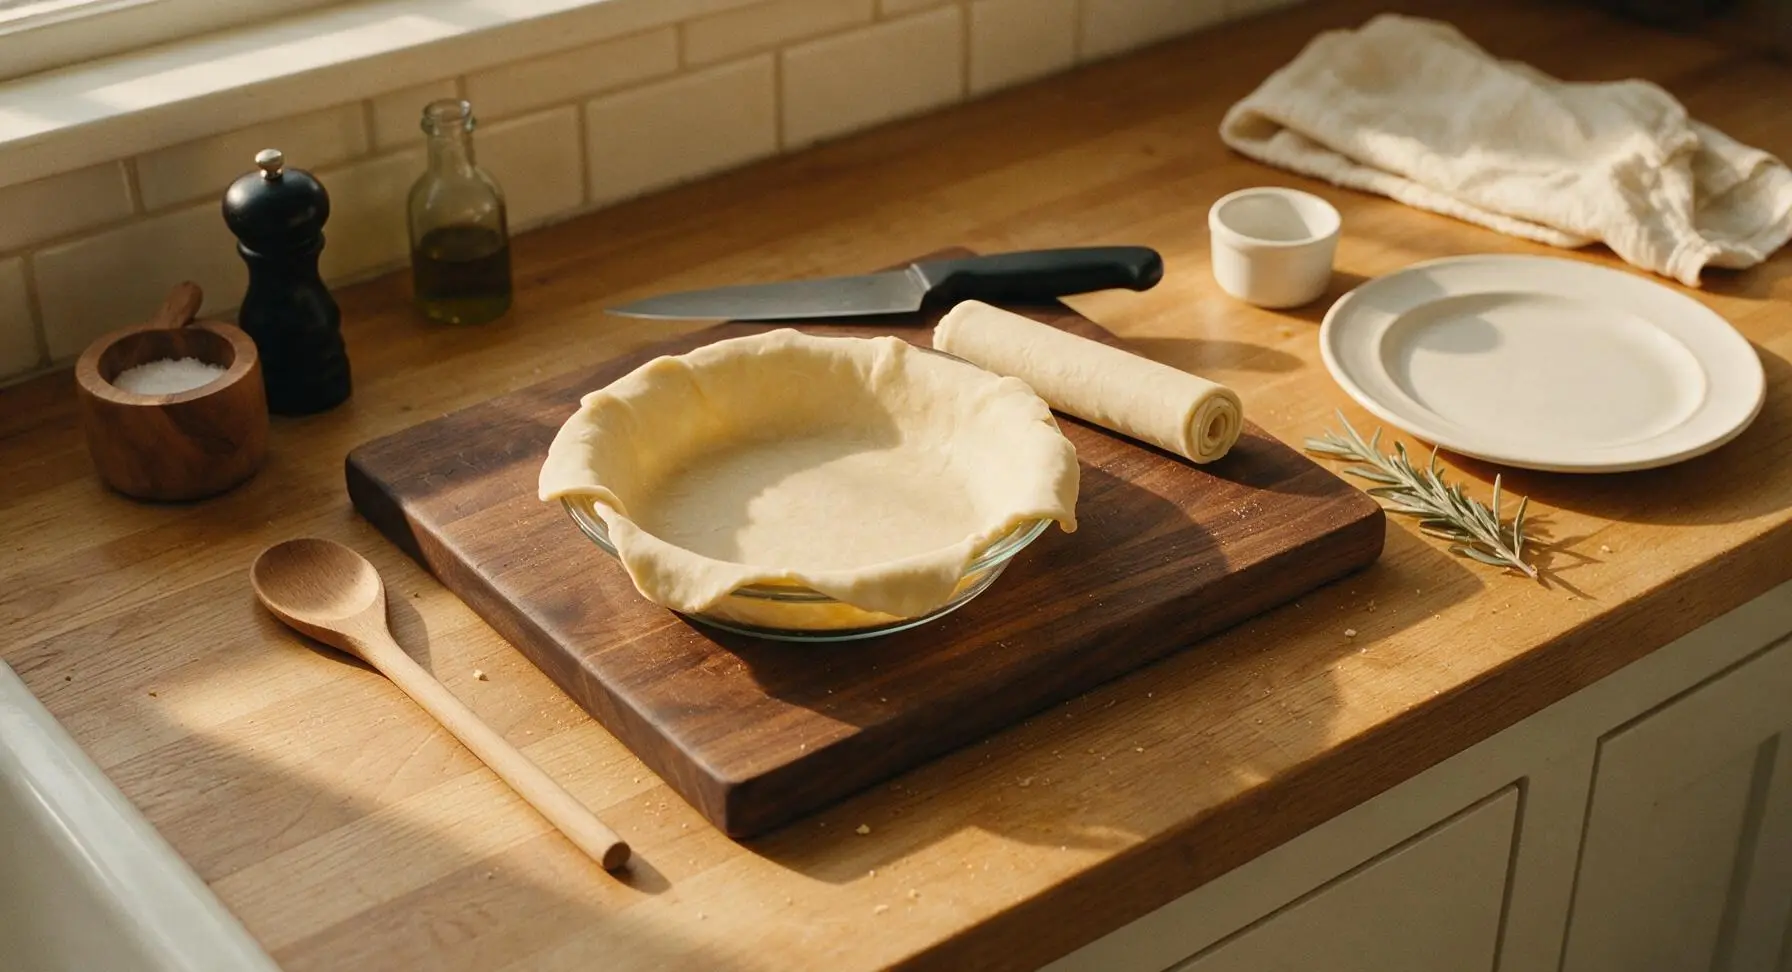
Preheat your oven to 425°F (220°C). Retrieve the 9-inch clear glass pie plate from the back right counter. Unroll one of the refrigerated Pillsbury pie crusts, gently pressing it into the bottom and up the sides of the pie plate, leaving a 1-inch overhang around the rim. Do not stretch the dough, as this will cause it to shrink during baking. Patch any small tears with extra dough from the overhang.
Combine Pot Pie Filling
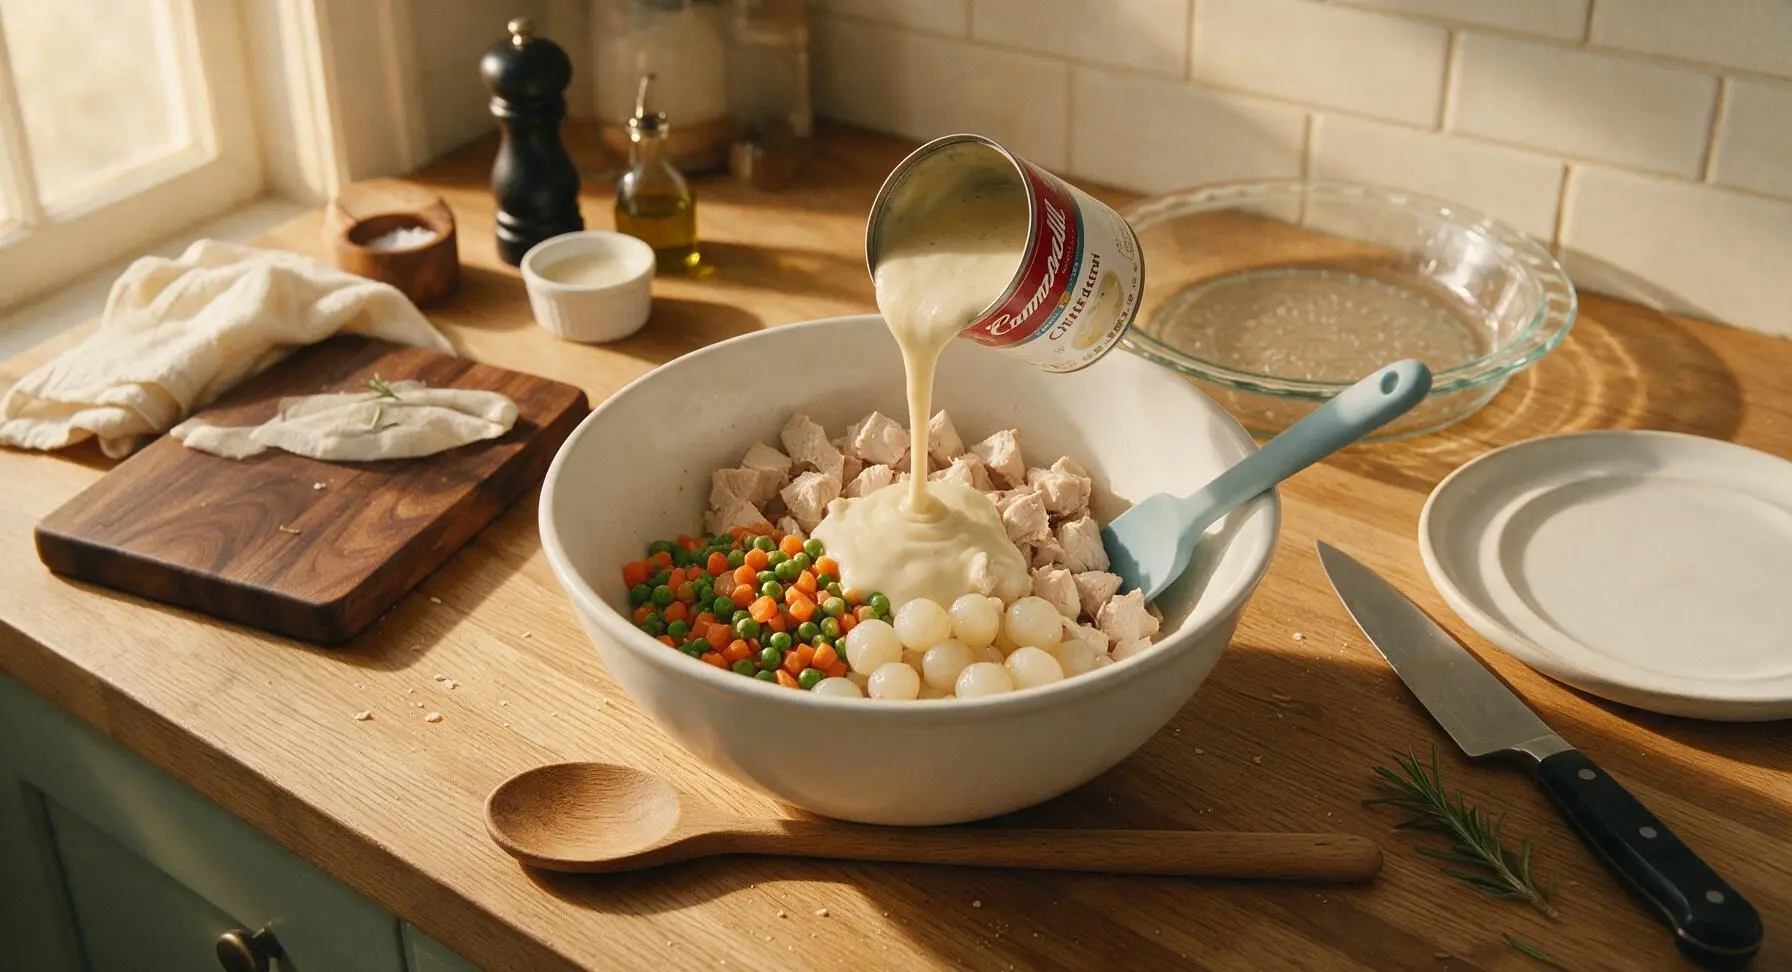
Retrieve the 24cm matte white ceramic mixing bowl from back center and place it on the beech wood cutting board. Use the stainless steel measuring cups to portion 2 cups cubed cooked chicken, 1.5 cups thawed mixed peas and carrots, and 1/2 cup thawed pearl onions into the bowl. Use the matte silver can opener to open the 10.5oz can of condensed cream of chicken soup, then add the full can to the bowl along with 1/2 cup whole milk, 1/2 teaspoon dried thyme, 1/4 teaspoon kosher salt, and 1/4 teaspoon black pepper. Use the light blue silicone spatula to stir gently until all ingredients are evenly coated in the creamy soup base, taking care not to mash the tender vegetables. The finished filling will be thick, with no dry pockets of undiluted soup remaining.
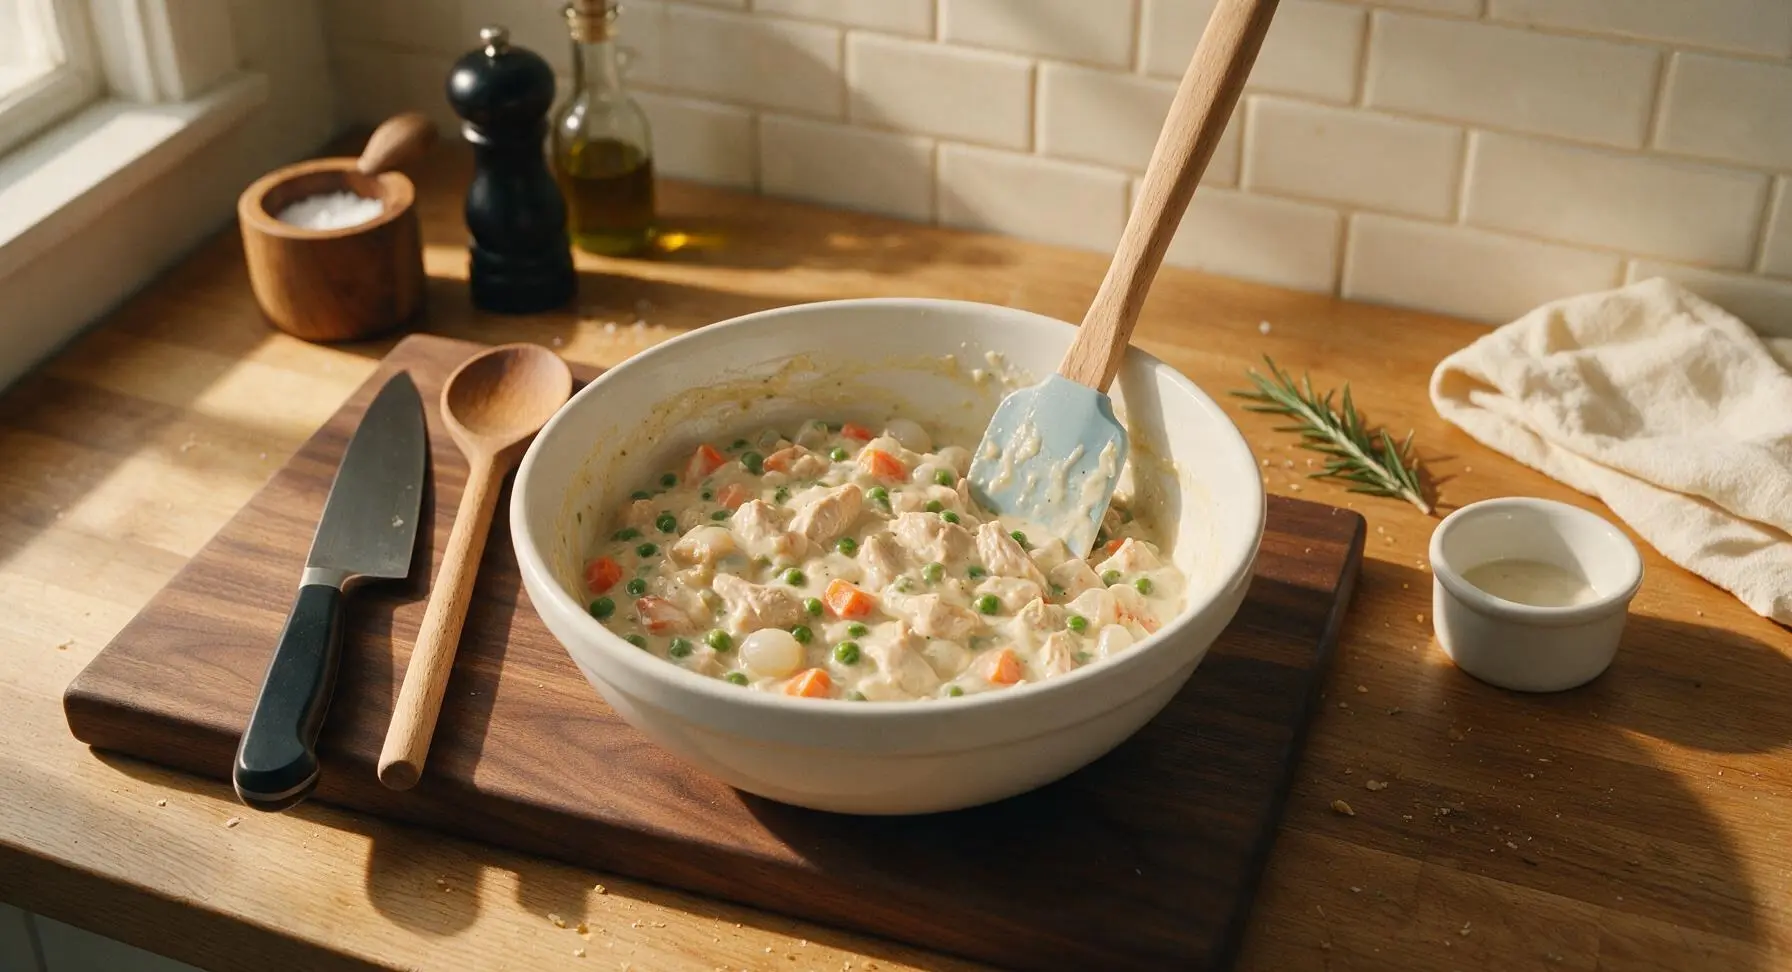
Fill Bottom Pie Crust
Retrieve the crust-lined glass pie plate from the back right work zone and place it next to the mixing bowl. Use the stainless steel chef's knife to cut the 2 tablespoons of unsalted butter into 1/4-inch small pieces on the corner of the cutting board. Pour the entire mixed filling from the mixing bowl into the crust-lined pie plate, spreading it into a smooth, even layer with the silicone spatula. Dot the top of the filling evenly with the cut butter pieces, which will melt during baking to create extra richness and create a moisture barrier that prevents the bottom crust from getting soggy.
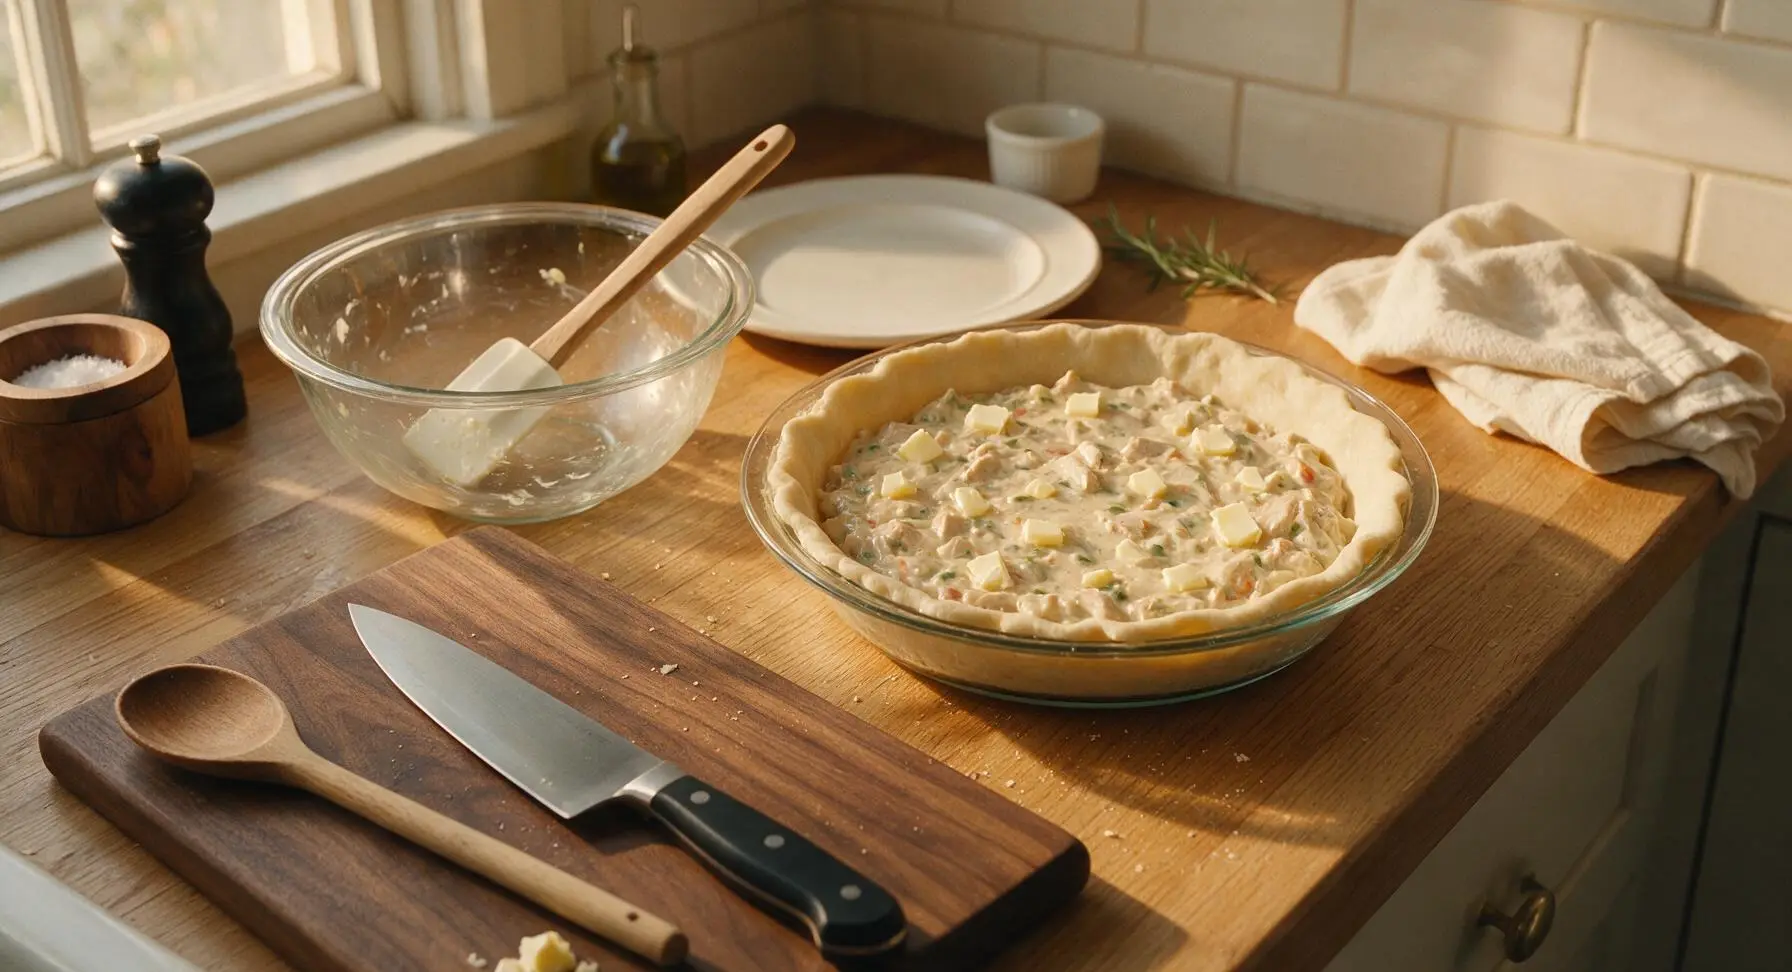
Seal Top Crust Edges
Unroll the second refrigerated Pillsbury pie crust and drape it evenly over the top of the filling, smoothing it gently from the center outward to eliminate air pockets without stretching the dough. Press the edges of the top and bottom crusts together firmly to create a tight seal, then fold the excess 1-inch dough overhang under itself to form a thick, neat rim around the pie plate edge. Crimp the sealed edge with the tines of a fork for a classic, decorative finish. Use the tip of the chef's knife to cut four 1-inch slits in the center of the top crust to allow steam to vent during baking, which prevents pressure buildup that can split the crust or cause filling to bubble over.
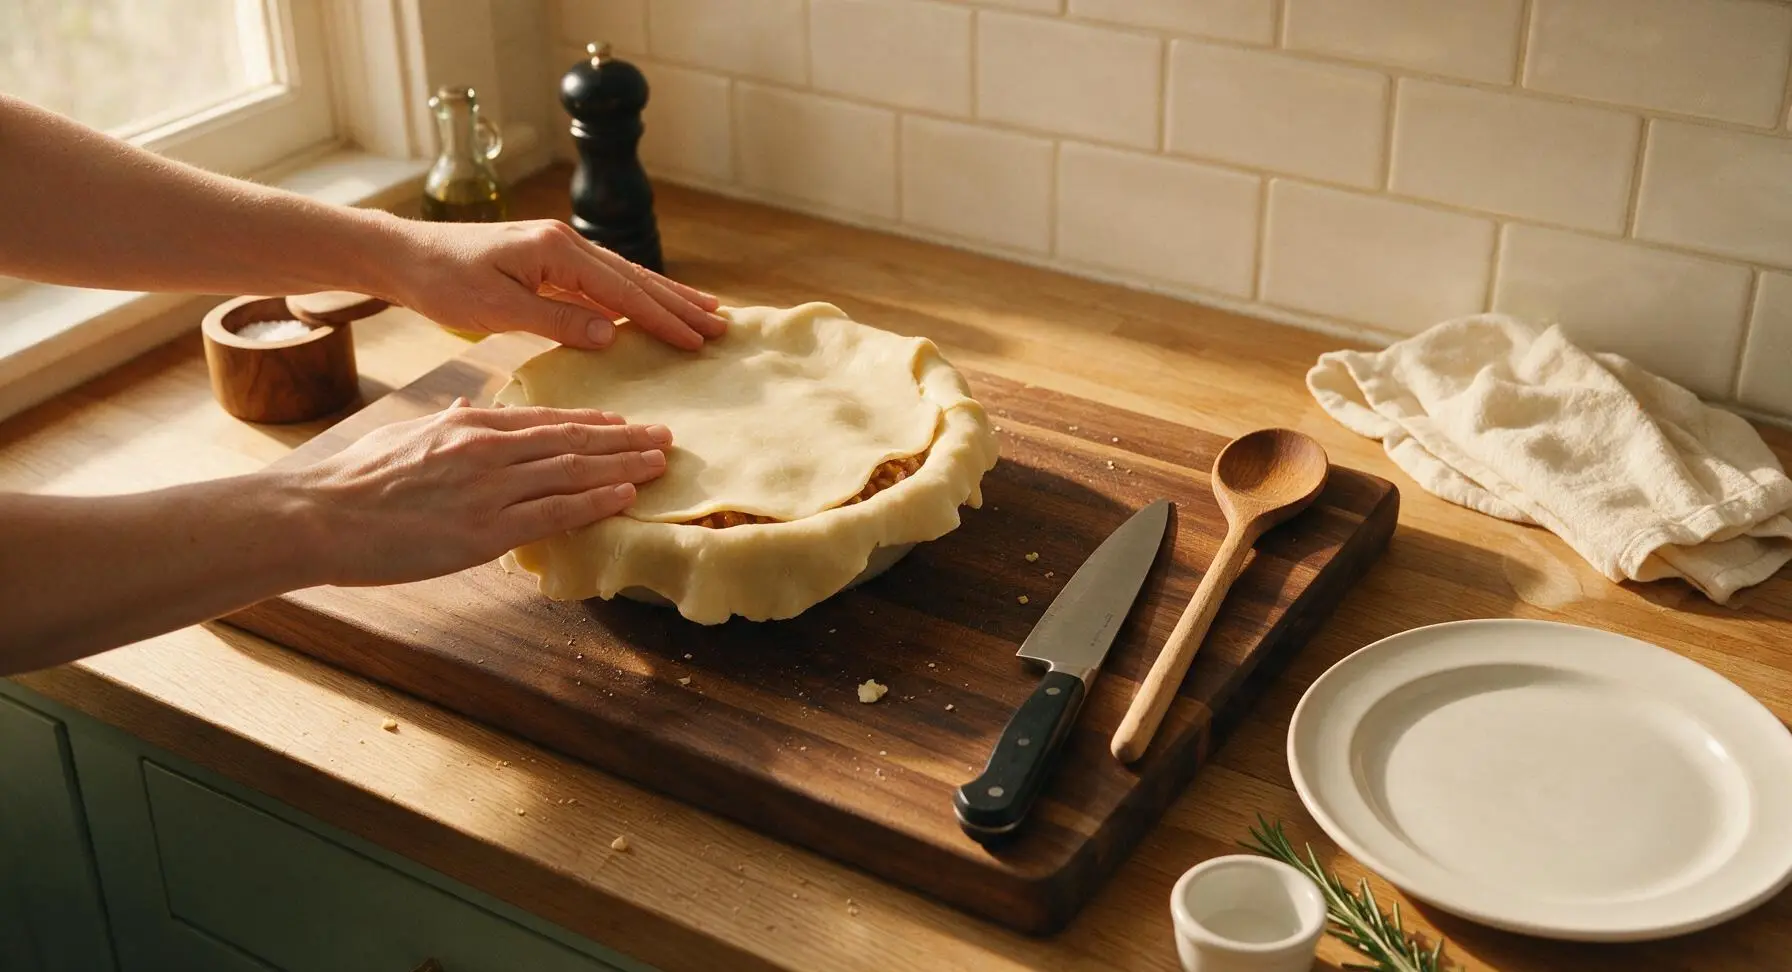
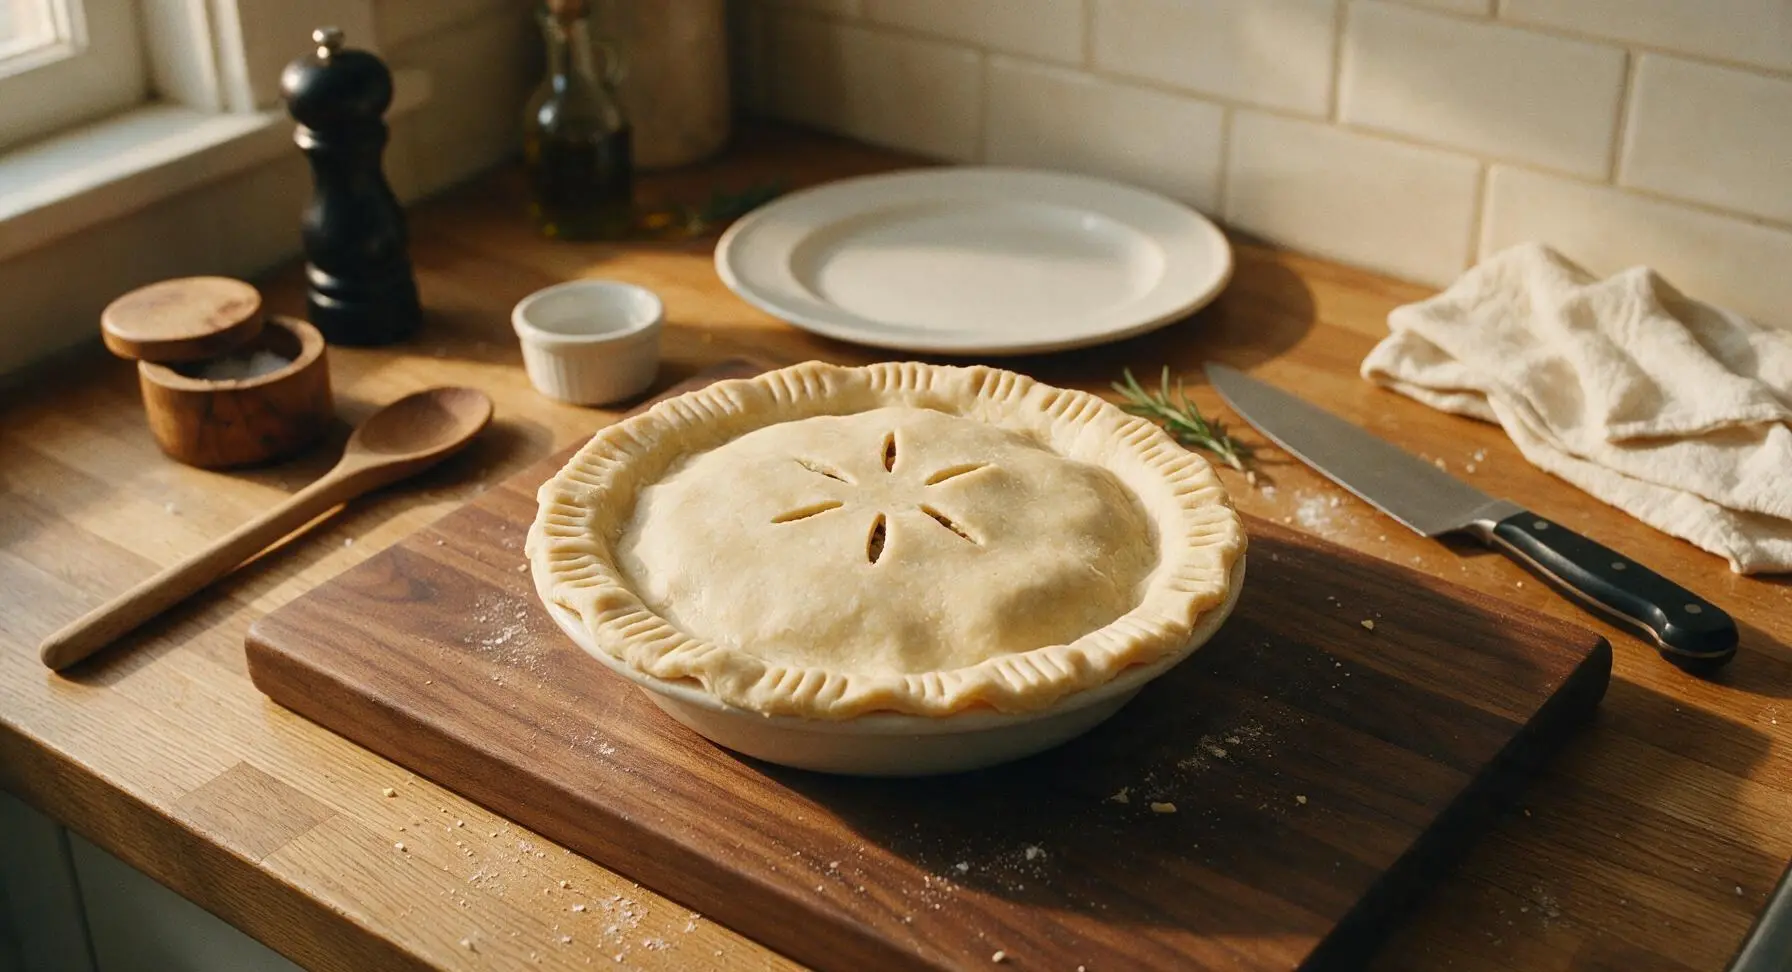
Bake to Golden Perfection
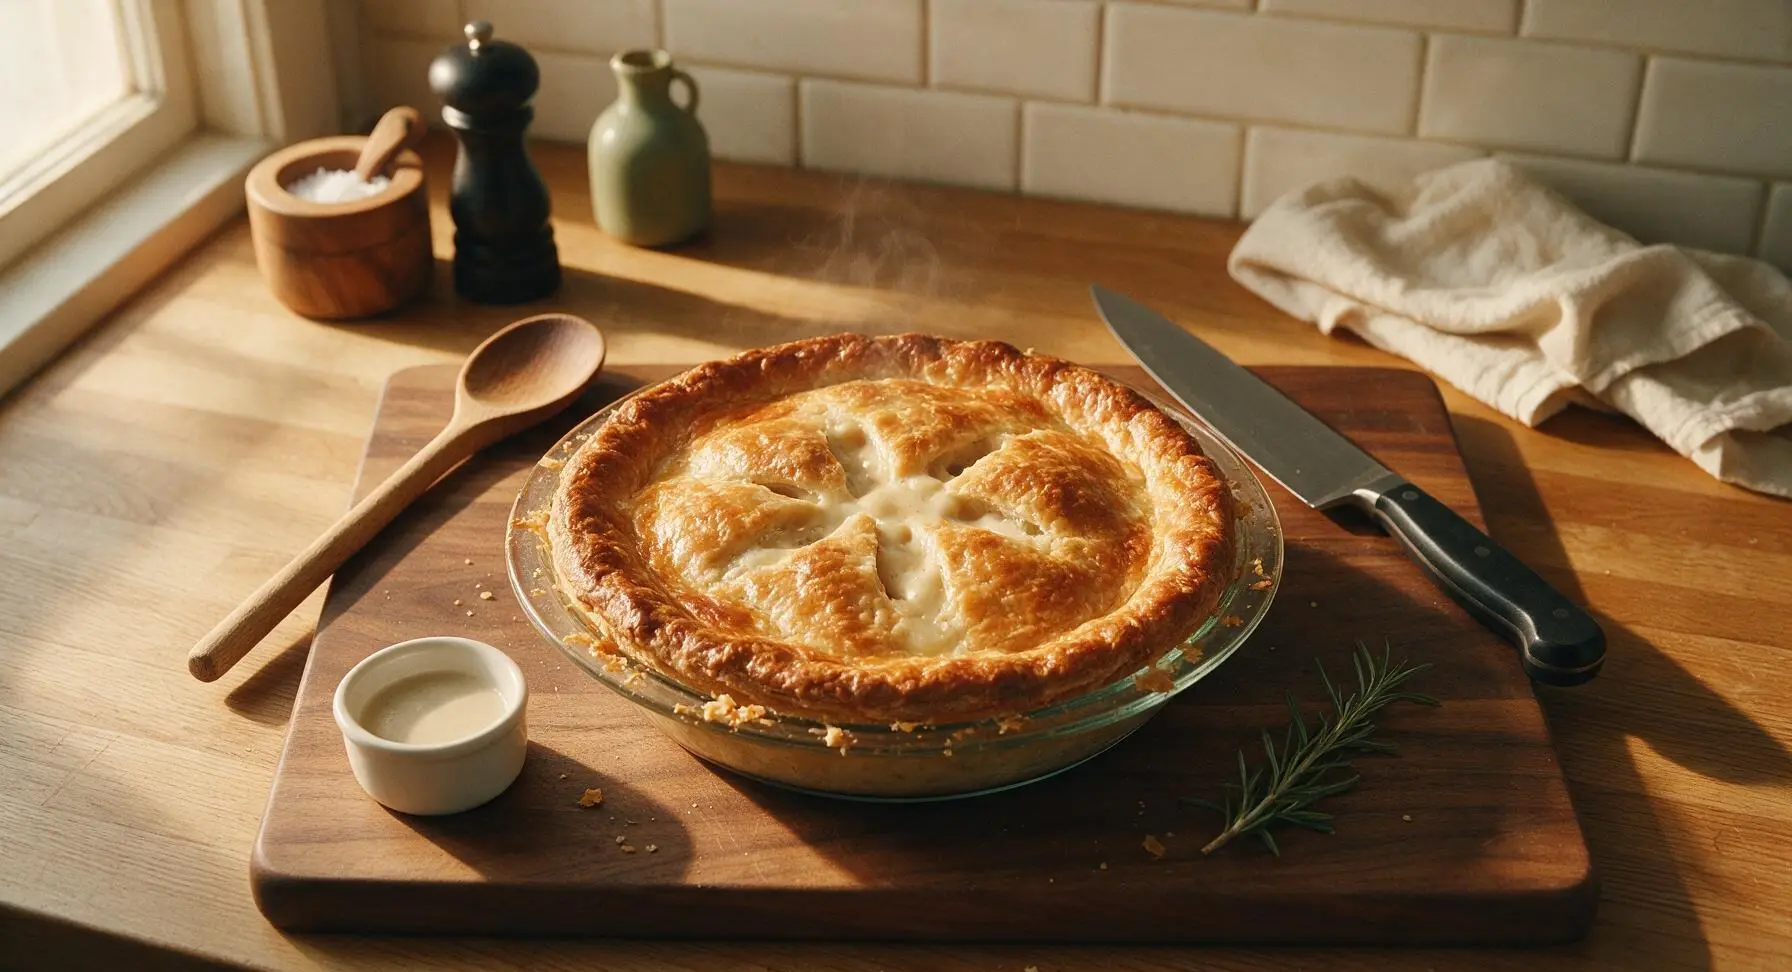
Carefully transfer the assembled pie to the middle rack of the preheated 425°F (220°C) oven. Bake for 30 to 35 minutes, rotating the pie 180 degrees halfway through baking for even browning. The pie is done when the crust is a deep, even golden brown across the entire top surface, and thick, bubbly filling is visible seeping slowly up through the center vent slits. If the crust edges darken faster than the center after 20 minutes of baking, cover them loosely with a 2-inch wide strip of aluminum foil to prevent burning.
Rest and Garnish Pie
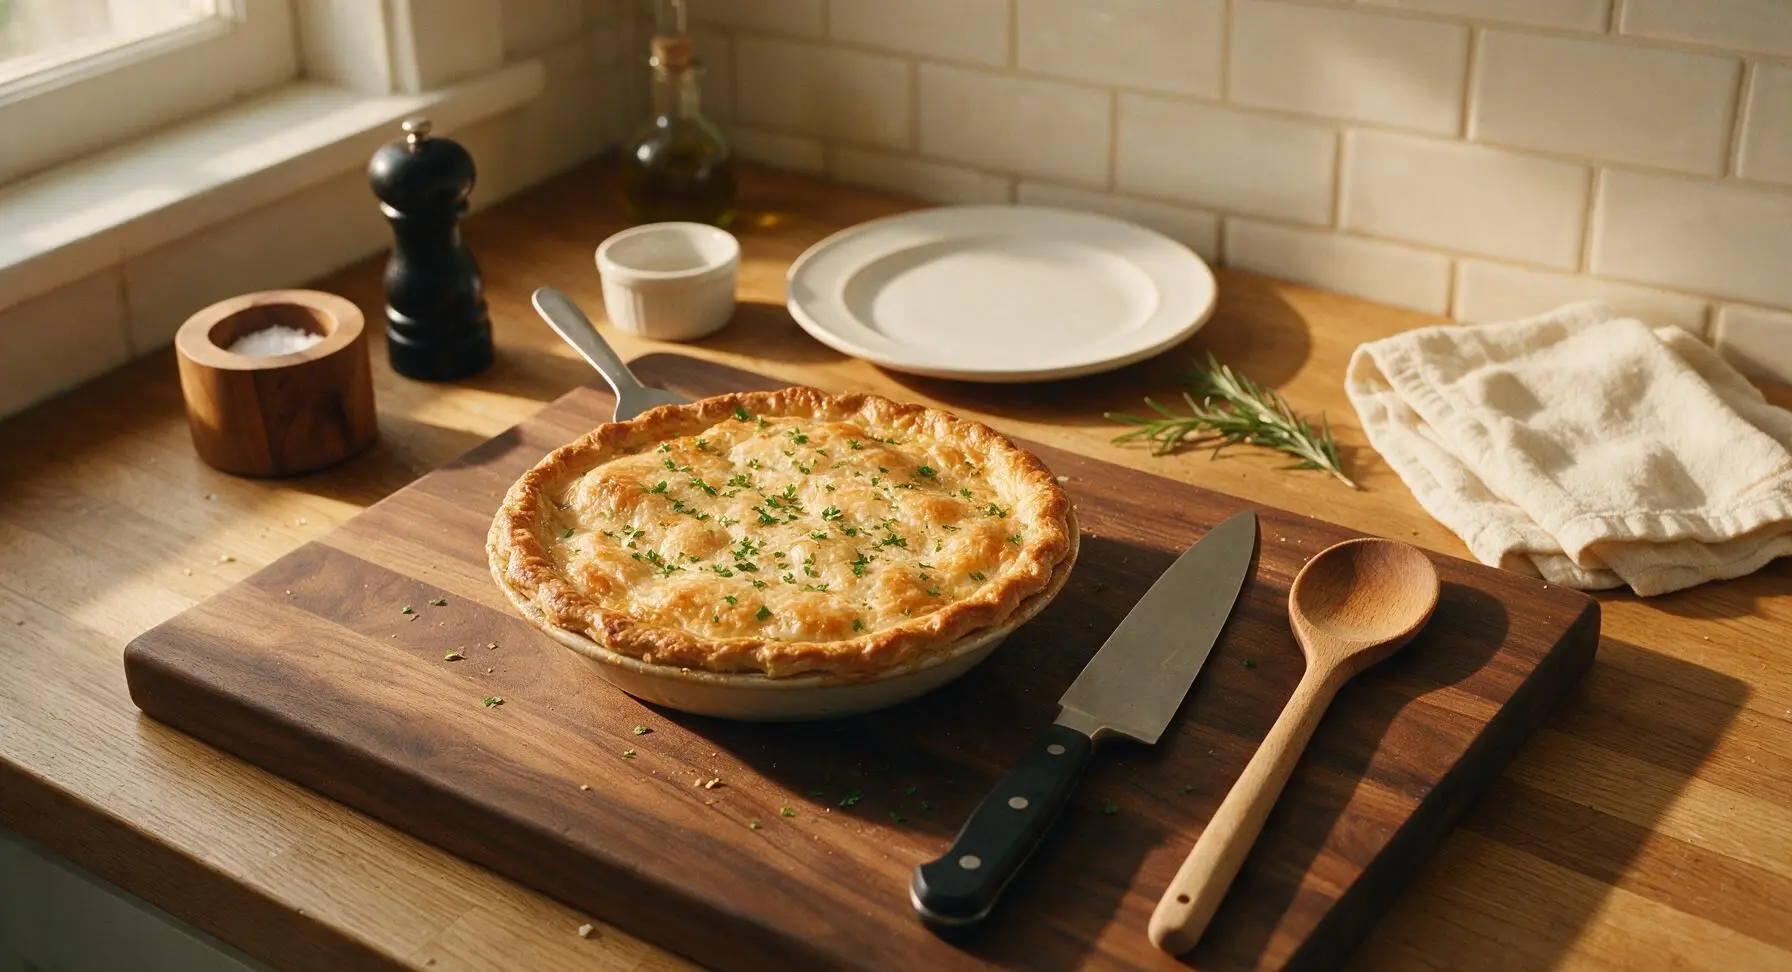
Let the baked pot pie rest for 10 full minutes at room temperature before slicing; this resting period allows the hot, loose filling to set, so clean slices hold their shape instead of running across the plate. While the pie rests, use the chef's knife to finely chop the fresh flat-leaf parsley on a clean corner of the cutting board. Sprinkle the chopped parsley evenly across the warm top crust for a bright pop of color and fresh, herby contrast to the rich filling.
Slice and Serve Warm
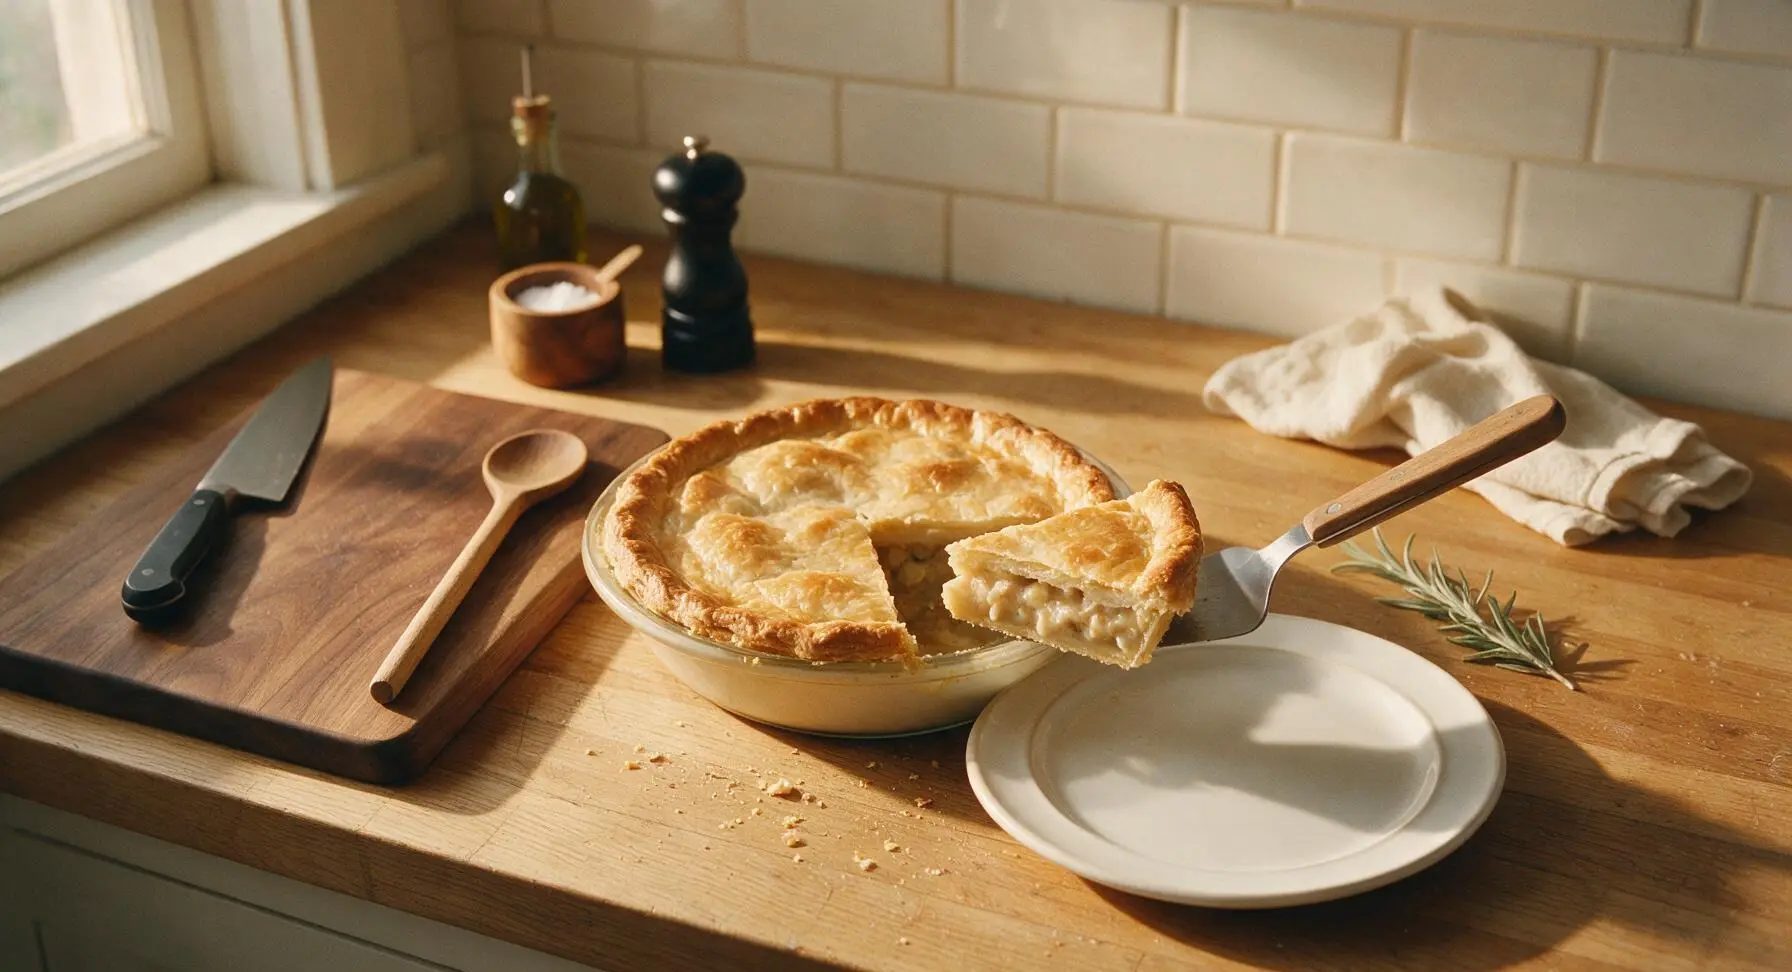
Hold the pie plate steady with one hand, then use the silver pie server to cut a clean, generous wedge through the crust and filling, sliding the server fully under the wedge to support both the top and bottom crust as you lift. Transfer the wedge carefully to the waiting matte cream ceramic dinner plate, and serve immediately while warm.
Tips
2.Avoid stretching the pie crust when pressing it into the plate or draping the top layer; stretched dough will shrink back as it bakes, leaving gaps for filling to leak out and causing uneven, misshapen edges.
3.Use cubed or shredded rotisserie chicken instead of cooking chicken from scratch to cut prep time by 5 minutes, as the pre-seasoned rotisserie meat adds extra savoriness that elevates the simple creamy filling.





OMG this was such a game changer for our weeknight dinner rush! I had a rotisserie chicken in the fridge I needed to use up, grabbed the Pillsbury crusts on my way home from school dropoff, and this was on the table in 35 minutes flat. My kids devoured it—even my picky middle one who says he ‘hates all veggies’ ate every last bite of the carrots and peas in it. 10/10 will be making this on repeat for busy nights!
Made this for our neighborhood potluck last weekend and people were asking me for the recipe before I even finished my first serving! I swapped in a little extra corn and some diced potato to bulk it up a bit, and the flaky Pillsbury crust was chef’s kiss. Only thing I’ll note is I baked mine an extra 3 minutes to get the top extra golden, because my oven runs a little cool. SO good.
As someone who can barely boil water without burning it, this recipe was perfect for my level! I pre-portioned slices into meal prep containers for my lunches this week, and it reheats so well in the microwave. No fancy ingredients, no complicated steps, just actual good comfort food. Saved so much money instead of getting takeout every day this week!
I’ve tried so many homemade chicken pot pie recipes that take forever and require a million dishes, and this one blows all of them out of the water. 35 minutes cook time? No making crust from scratch? Sign me up. I made this last night after grading papers until 6, and my husband said it’s better than the pot pie his grandma used to make. Yikes, don’t tell her!
Eh, this was pretty solid but I ran into a little issue. The bottom crust got a little soggy on my first try. Any tips for that? Flavor was great, crust on top was perfect, just the bottom was a little mushy for my taste. Still gave it 4 stars because it was super easy and tasted great once I picked around the soggy part.
I was skeptical that a semi-homemade pot pie could taste this good, but wow. I added a little sprinkle of thyme and a dash of garlic powder to the filling to amp up the savoriness, and it tasted like it came from a fancy diner. My roommate already asked me to make it again next week. Win!
I keep all the ingredients for this in my freezer and pantry now for days when the grandkids drop by unannounced. It’s quick enough to throw together while they’re setting up their board games, and they always leave with full bellies and a request to make it again on their next visit. Comfort food doesn’t have to be complicated to be wonderful.
Wait a second, why didn’t I think of using Pillsbury crust for pot pie sooner? I’ve been making my own crust for years and wasting so much time on weeknights. This recipe cut my total prep AND cook time almost in half. I made it last night with leftover Thanksgiving turkey (yes, I still have a little frozen, don’t judge) and it worked perfectly. Absolute game changer.
Made this last night for my partner who’s been under the weather, and he said it’s the best sick day food he’s ever had. The creamy filling, the buttery crust, it’s like a warm hug in a pie dish. I did add a little extra black pepper because we love spice, but otherwise followed the recipe exactly. Will definitely be keeping this in our regular rotation.
As a single dad working 9-5 and shuffling my kid to soccer practice every weeknight, easy recipes like this are a lifesaver. No weird ingredients I have to hunt down at a specialty grocery store, no steps my 10 year old can’t help with (she loved pressing the crust into the pie dish!) and cleanup is a breeze. We paired it with a side salad and called it a perfect Tuesday dinner.
I’m still learning my way around the kitchen as a newlywed, and this was the first recipe I made that my husband said ‘wow, you could make this for my boss when they come over for dinner.’ High praise! I was worried I’d mess up the crust or the filling would be lumpy, but it came together so easily. Only question—can I freeze this after baking for later?
I’ve made this for three different potlucks in the last two months and I’m now known as the ‘pot pie lady’ at my office. Worth it. This recipe is foolproof, feeds a crowd, and everyone always asks for seconds. I love that I can throw it together in 10 minutes before work if I’m bringing it for an office lunch, it doesn’t require any fancy skills. 10/10, no notes.
This was really good, but I wish it had a little more kick! Next time I’m adding a can of diced green chiles and a pinch of cayenne to the filling to give it a little heat. Don’t get me wrong, the base recipe is perfect for people who love classic comfort food, but if you’re a spice fiend like me, a couple extra add-ins take it to the next level. Still 5 stars because it’s so easy to customize!