
pioneer woman cheeseburger pie

title 1
pioneer woman cheeseburger pie
⏱️ cook time 30 minutes
🍽️ servings 6
⚡ Difficulty easy

intro

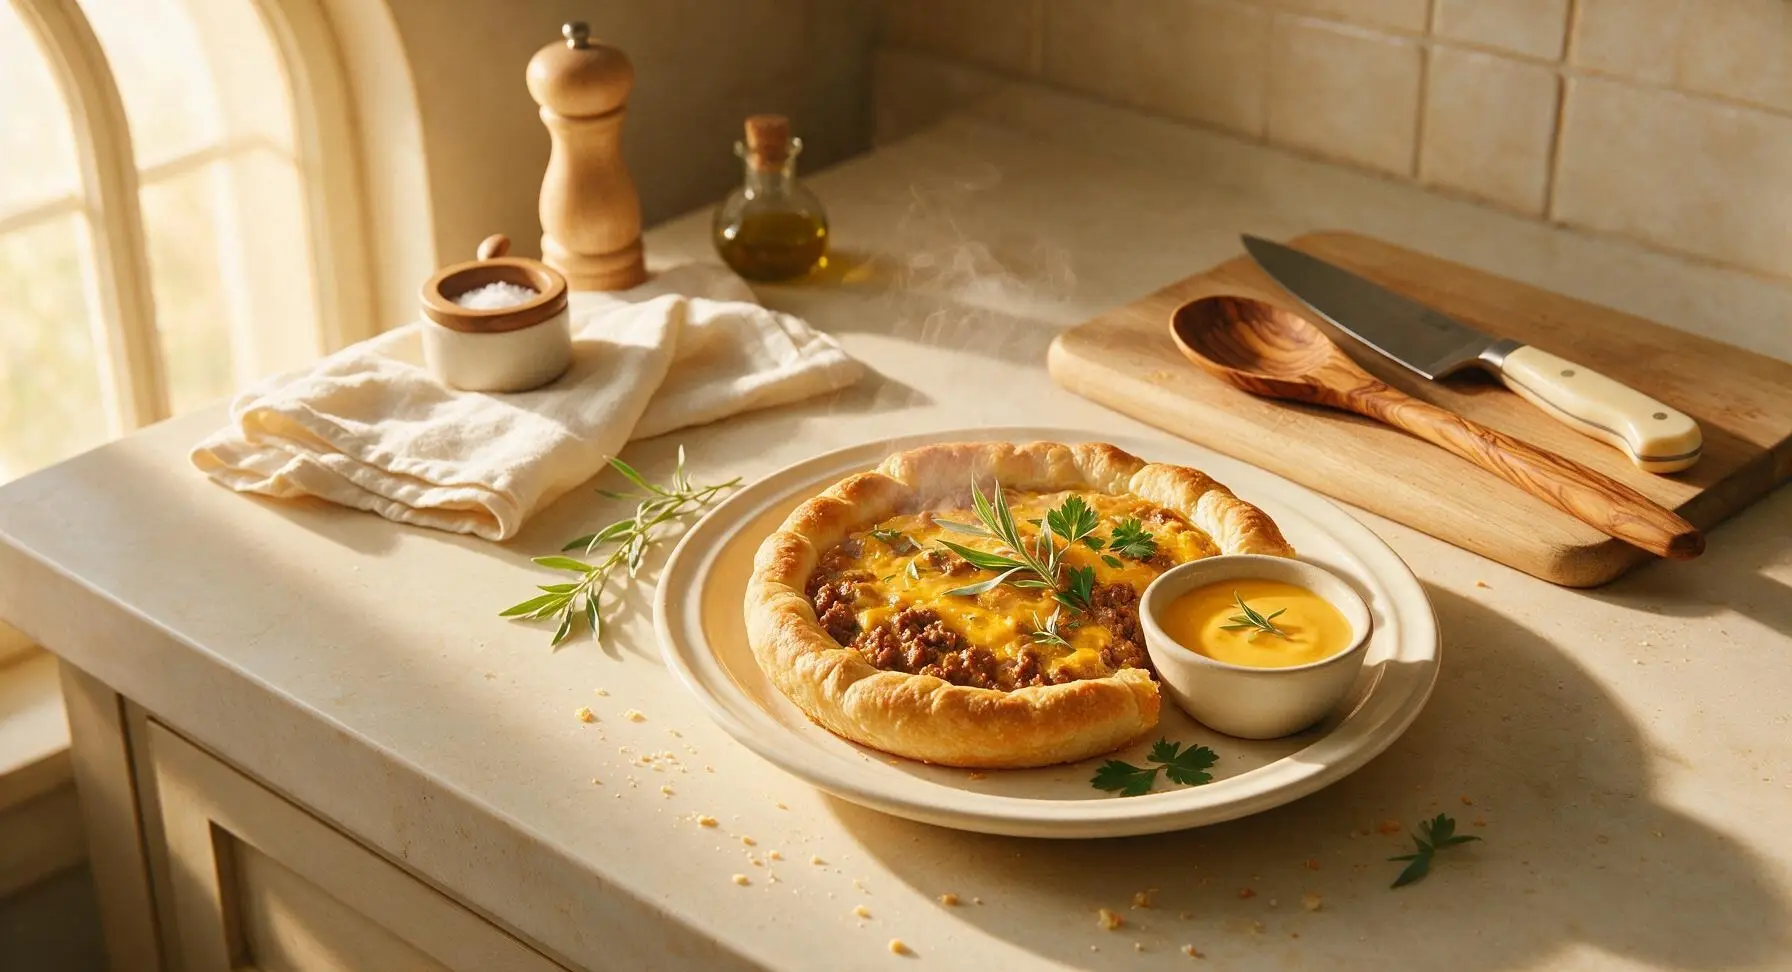
A cozy, nostalgic baked savory pie loaded with seasoned ground beef, melted cheddar, and flaky crescent crust, capturing all the flavor of a classic cheeseburger in sliceable, family-friendly form.

Ingredients
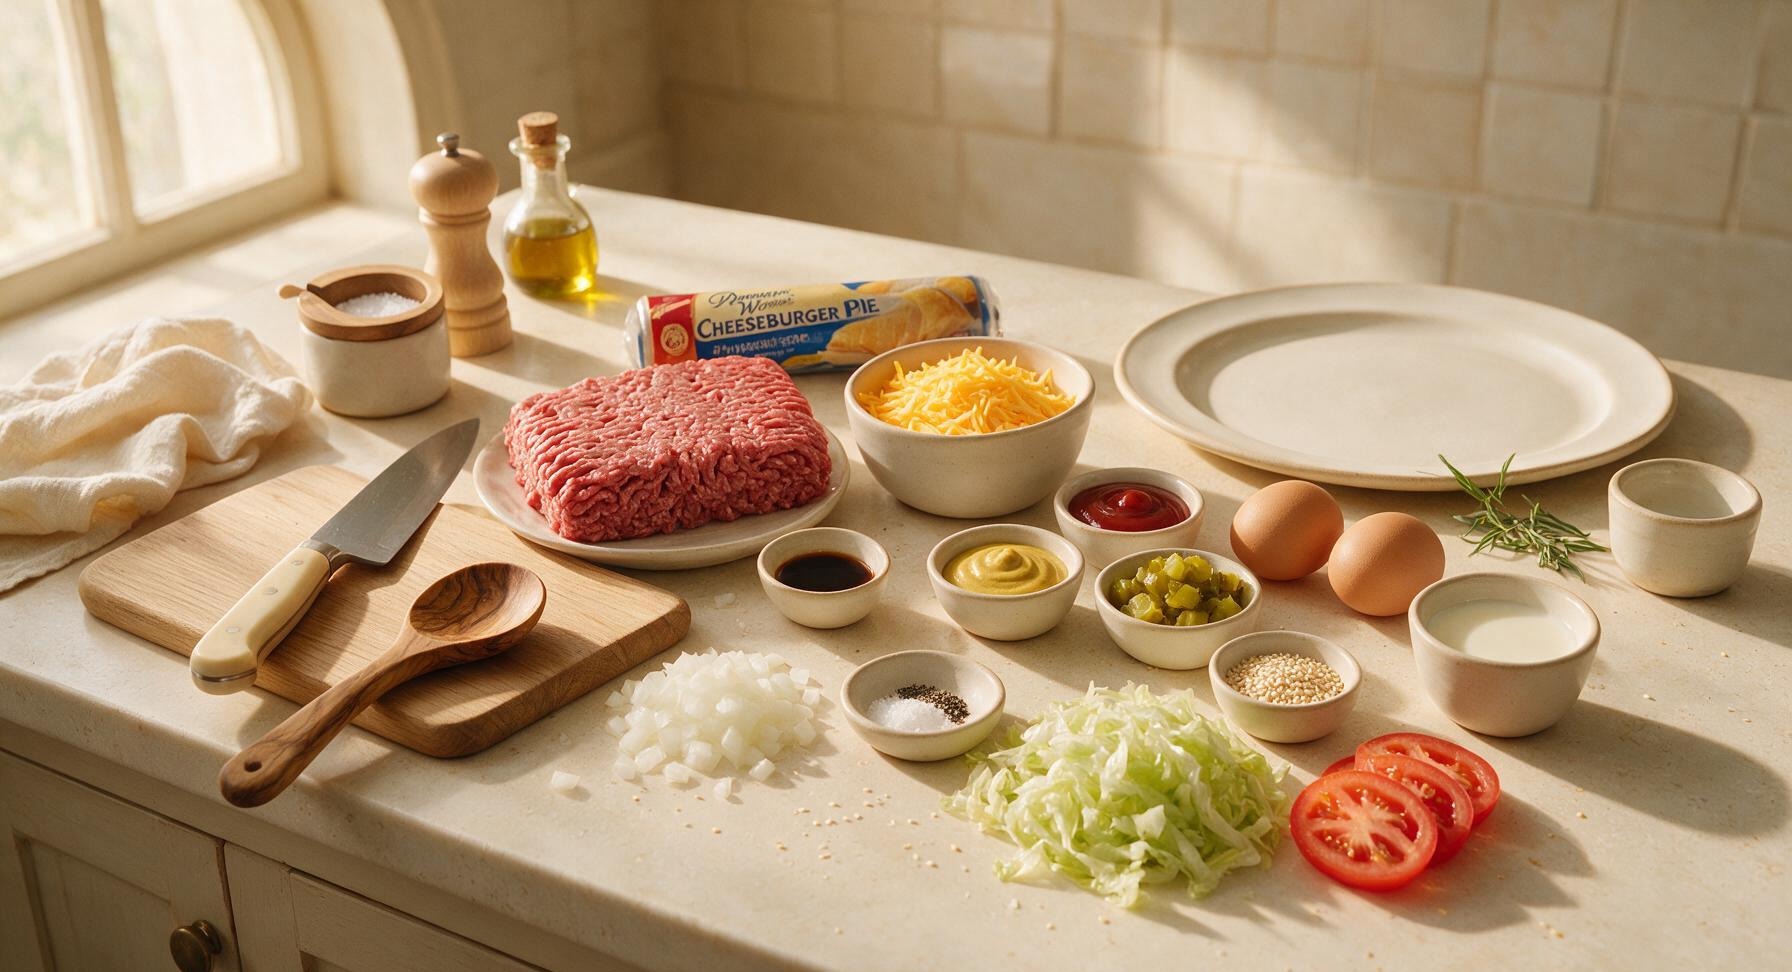
85/15 lean ground beef 1 lb (450g)
Refrigerated crescent roll dough 8 oz (225g) can
Sharp cheddar cheese, shredded 1.5 cups (170g)
Yellow onion, diced 1/2 cup (75g)
Kosher salt 1/2 tsp
Ground black pepper 1/4 tsp
Ketchup 2 tbsp
Yellow mustard 1 tbsp
Worcestershire sauce 1 tsp
Dill pickles, diced 1/2 cup (70g)
Large eggs 2
Whole milk 1/4 cup (60ml)
Sesame seeds 1 tbsp
Iceberg lettuce, shredded 1 cup (70g)
Roma tomato, thinly sliced 1 small

Steps

1

Prep Pie Crust Layer

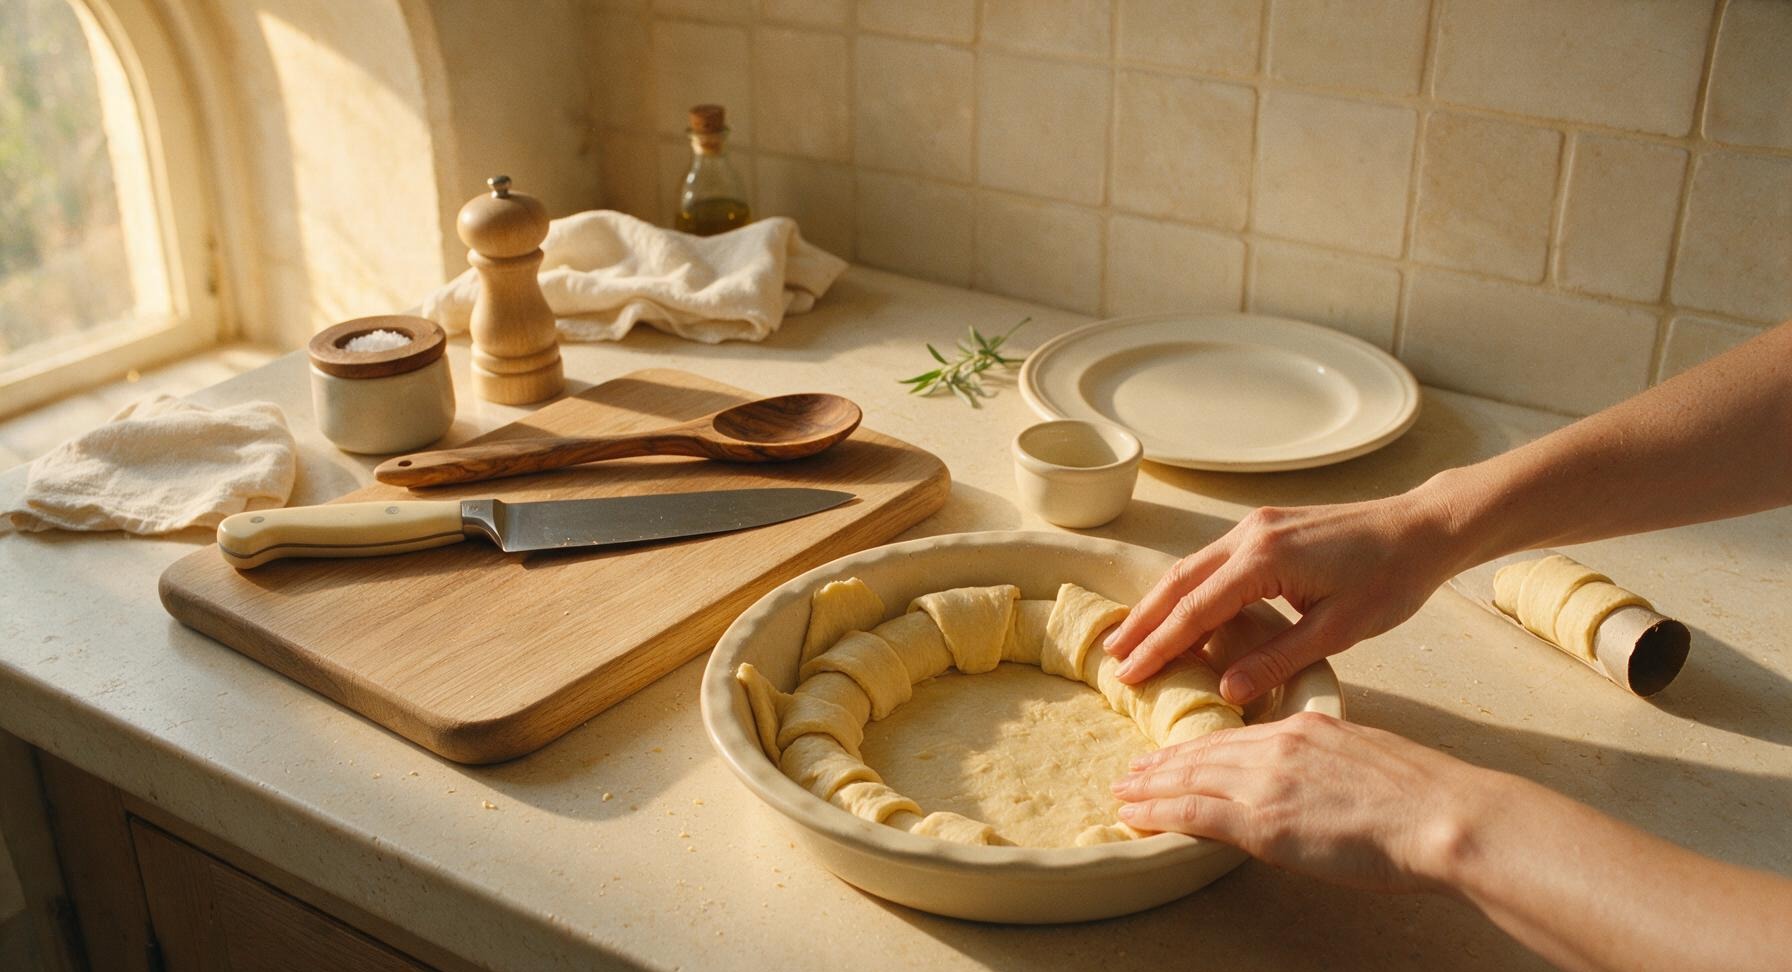
Preheat oven to 375°F (190°C). Unroll the 8 oz can of refrigerated crescent roll dough, pinching the perforated seams together to form one single solid sheet. Line the bottom and 1 inch up the sides of the 9-inch matte cream ceramic pie plate with the dough, pressing gently to adhere and patching any small tears with excess dough. Ensure there are no gaps in the dough to prevent filling from leaking during baking.
Step 1
step1:Prep Pie Crust Layer
2

Brown Ground Beef

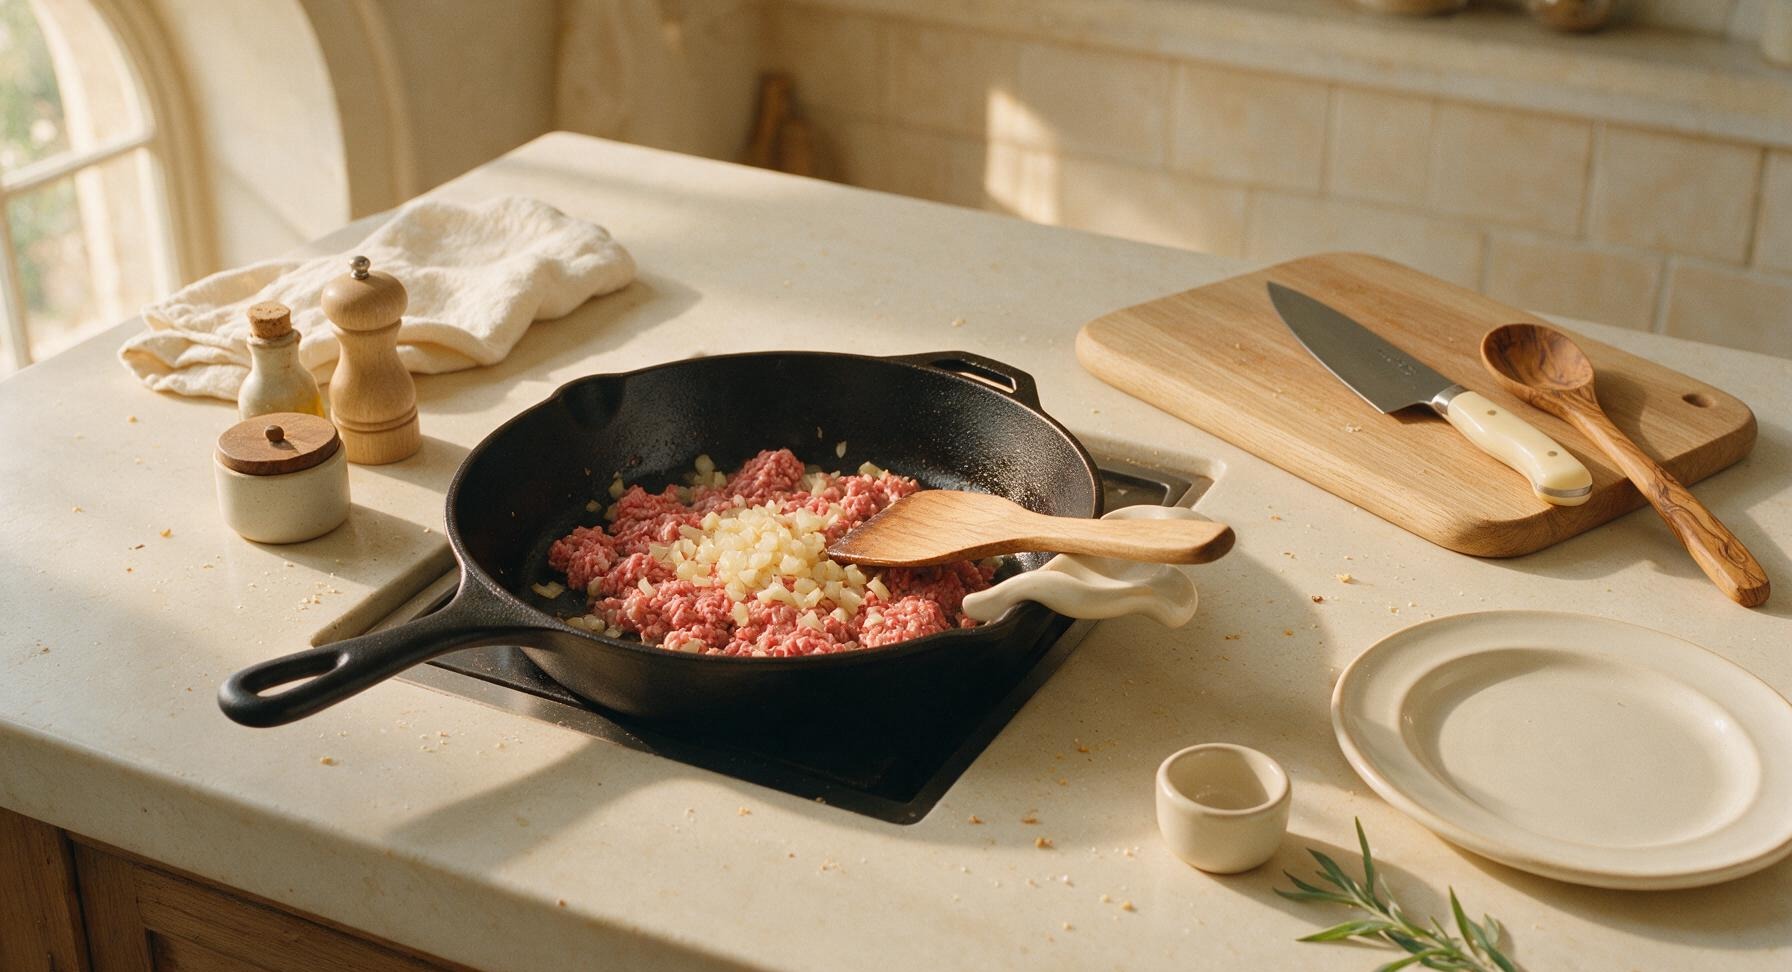
Place the 10-inch matte black cast iron skillet over medium heat. Add 1 lb 85/15 ground beef and 1/2 cup diced yellow onion to the pan, breaking the beef apart into small crumbles with the solid maple turner spatula as it cooks. Cook for 5-7 minutes, until the beef is fully browned with no remaining pink, and the onion is soft and translucent. Carefully drain all excess rendered grease from the skillet into a heatproof dish to avoid sogginess.
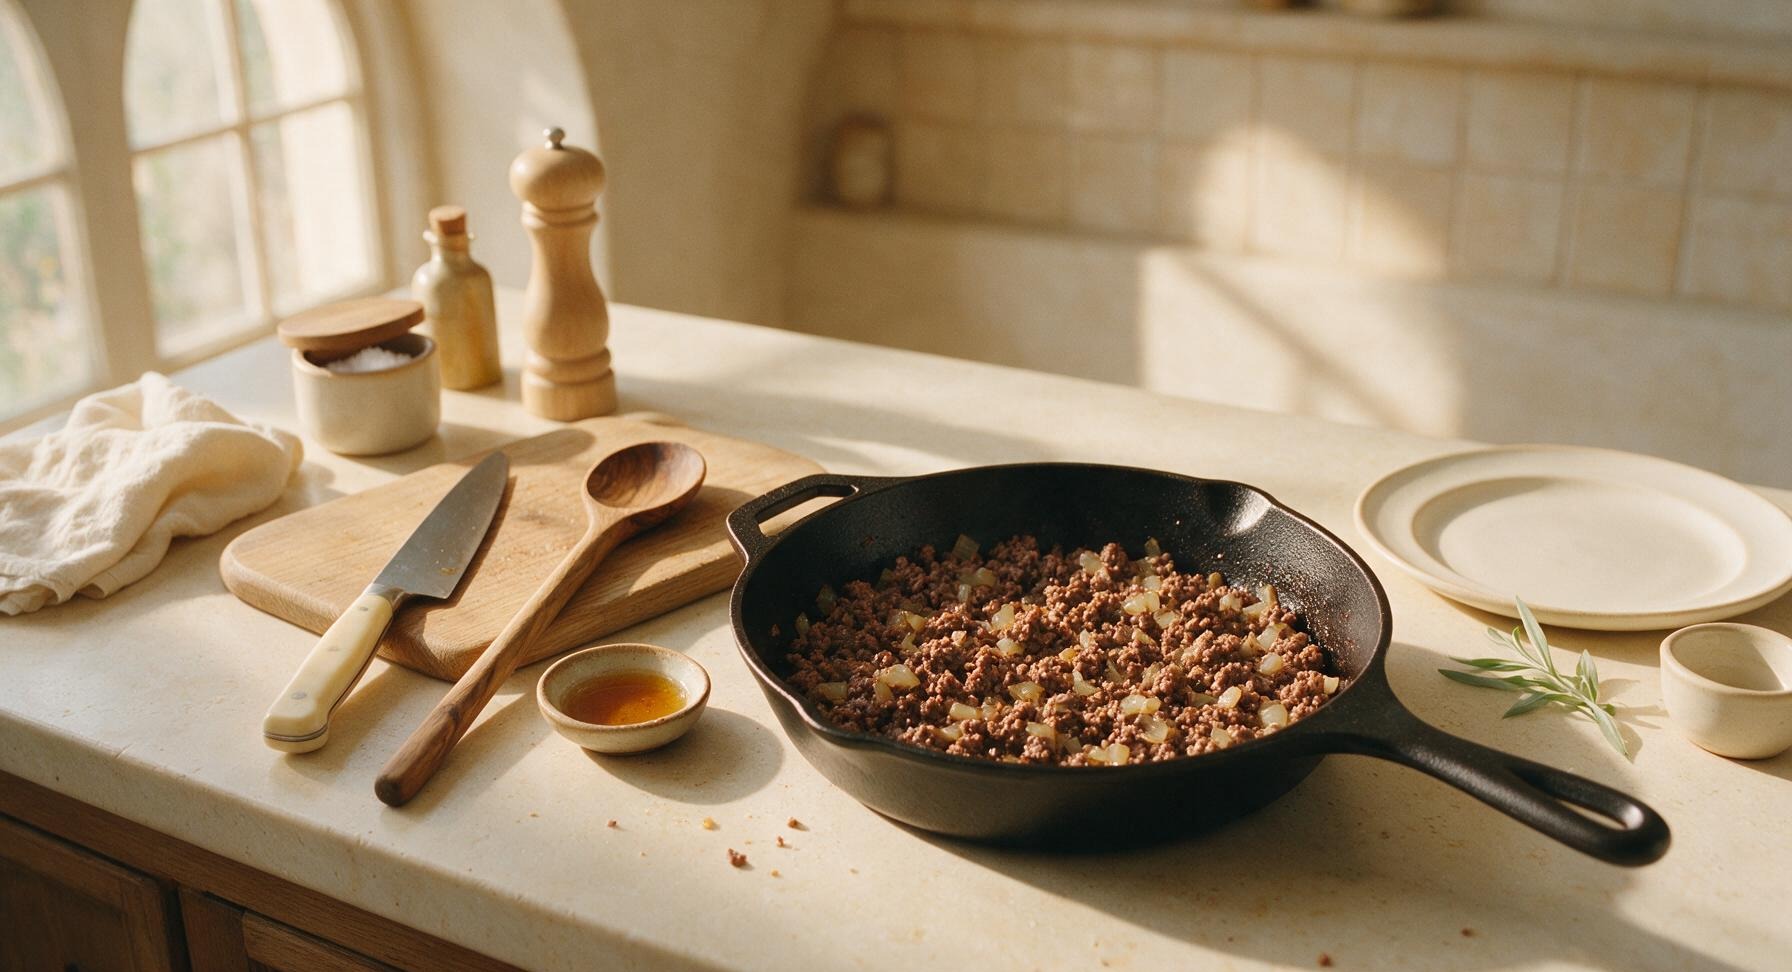
Step 2
step2:Brown Ground Beef
Step 2
step2:Brown Ground Beef
3

Season Cheeseburger Filling

Reduce stovetop heat to low. Add 1/2 tsp kosher salt, 1/4 tsp black pepper, 2 tbsp ketchup, 1 tbsp yellow mustard, 1 tsp Worcestershire sauce, and 1/2 cup diced dill pickles to the browned beef in the skillet. Stir thoroughly with the maple turner to evenly distribute all seasonings, cooking for 1 additional minute until the mixture is fragrant and evenly coated in a thin, glossy sauce. The filling should be moist but not soupy.
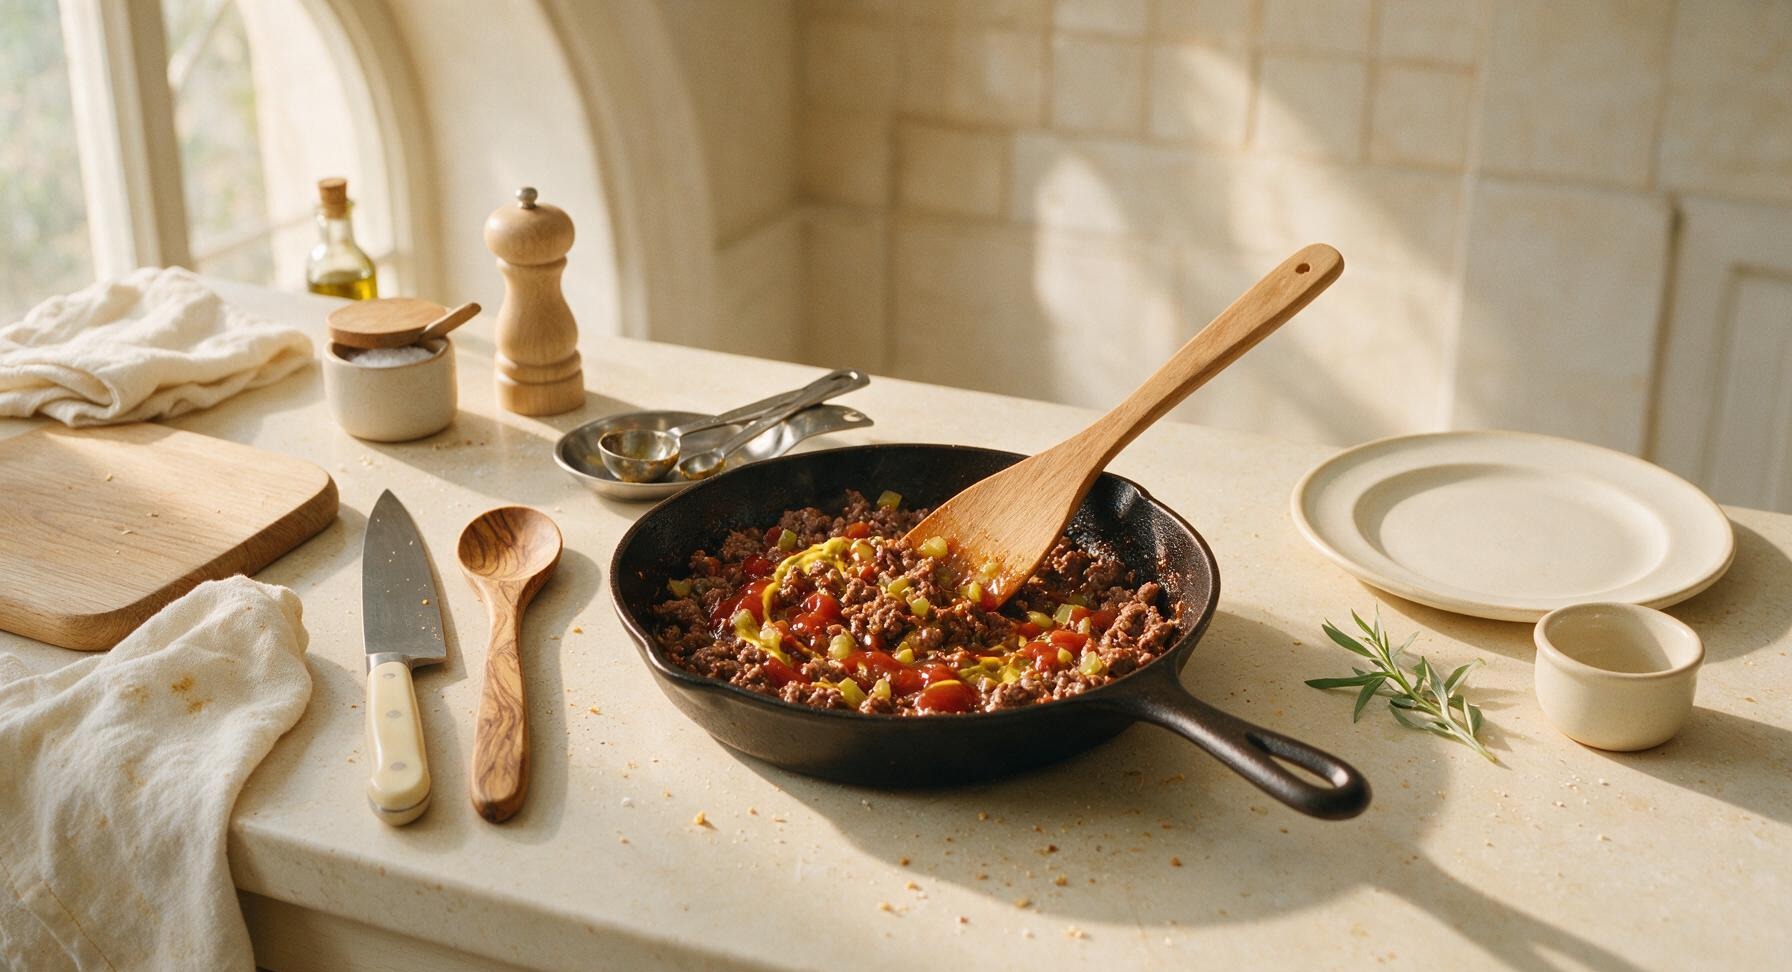
Step 3
step3:Season Cheeseburger Filling
4

Layer Pie Components

Sprinkle 1/2 cup of shredded sharp cheddar cheese evenly over the bottom of the prepared crescent dough crust in the pie plate. Spoon all of the seasoned beef filling over the cheese layer, spreading it into a flat, even layer with the turner. Top the beef with the remaining 1 cup of shredded cheddar, spreading it to cover the entire surface of the filling. Do not press down firmly on the layers, to keep the crust light and flaky.
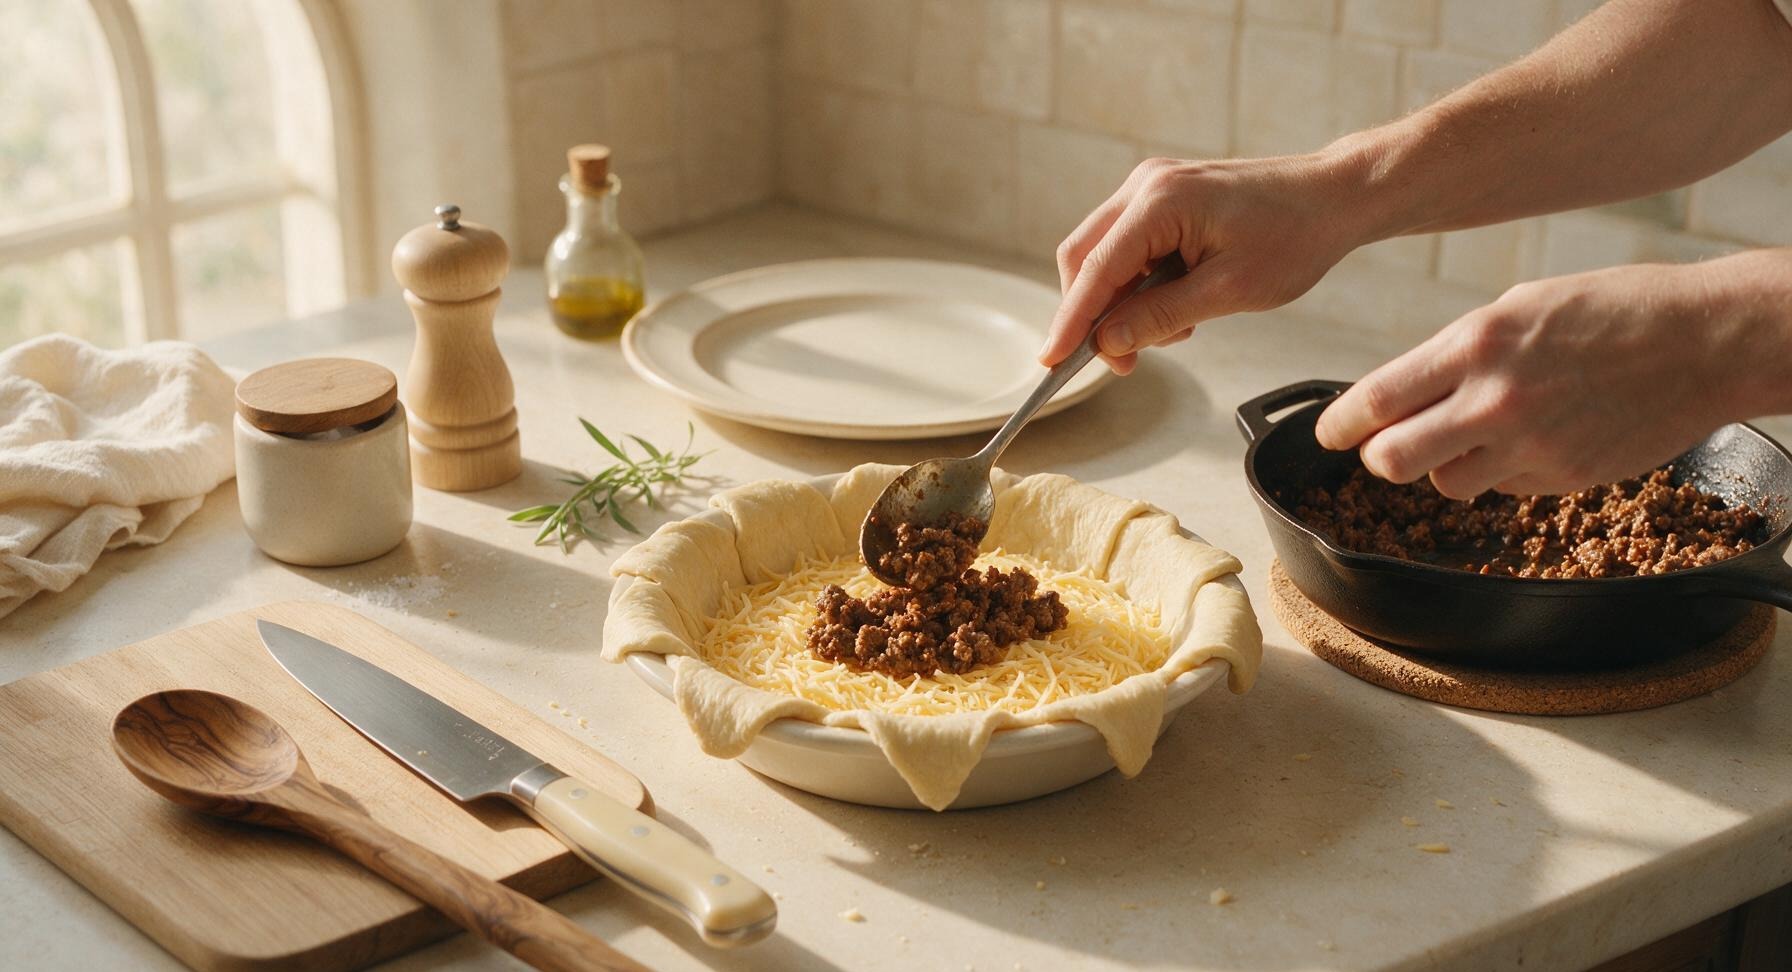
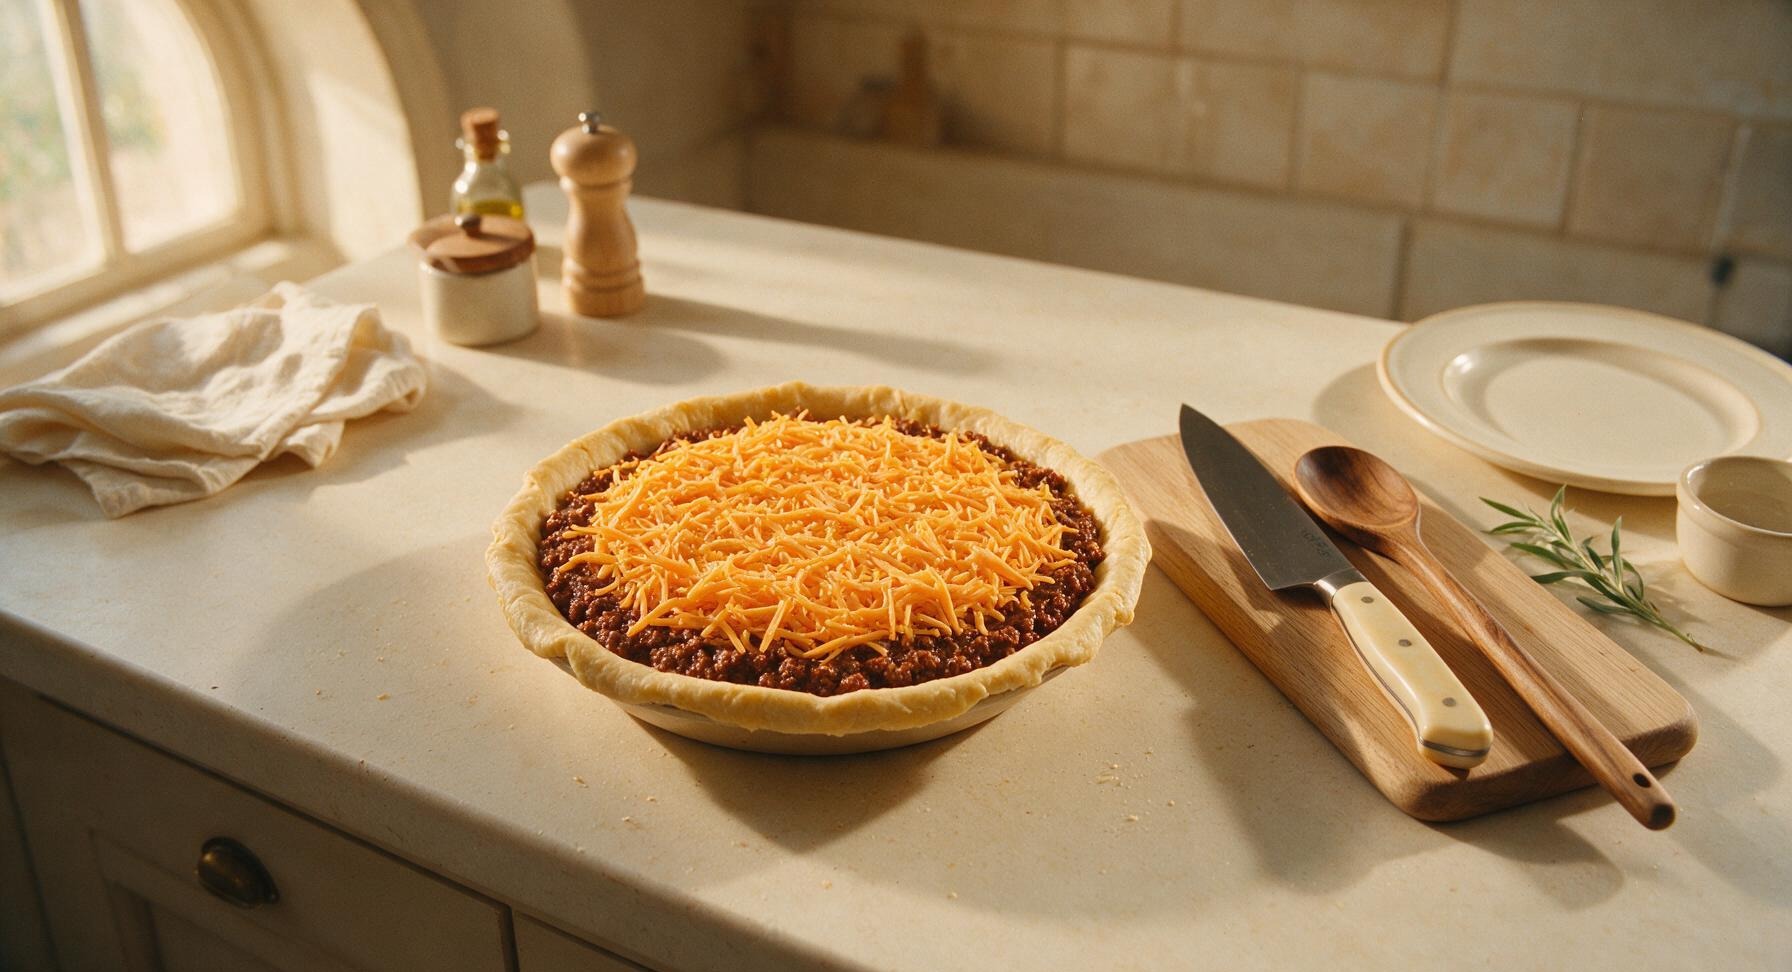
Step 4
step4:Layer Pie Components
Step 4
step4:Layer Pie Components
5

Pour Egg Custard Layer

Crack 2 large eggs into the 3-quart brushed stainless steel mixing bowl, add 1/4 cup whole milk, and whisk vigorously with the stainless steel wire whisk until fully combined and pale yellow, with no streaks of unincorporated egg white. Pour the egg and milk mixture slowly and evenly over the top of the cheese layer in the pie plate, allowing it to seep down into the beef layers. Sprinkle 1 tbsp of sesame seeds evenly across the top for a classic cheeseburger bun finish.
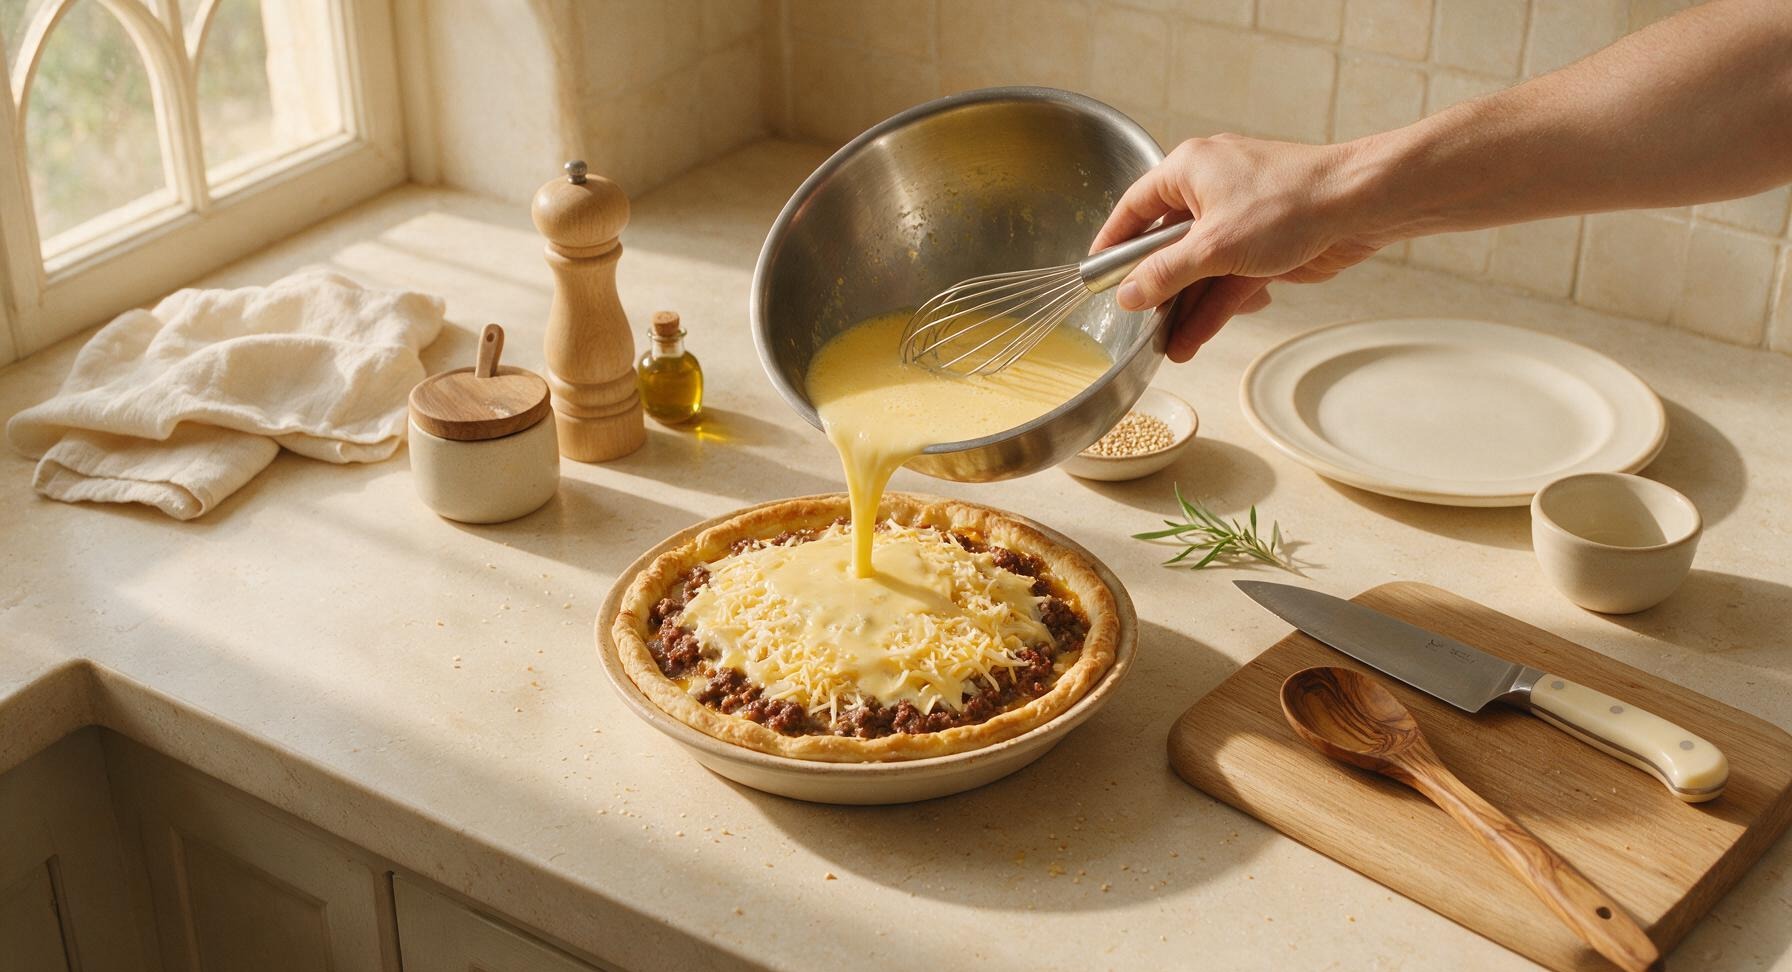
Step 5
step5:Pour Egg Custard Layer
6

Bake Pie Until Set

Carefully place the assembled pie on the middle rack of the preheated 375°F oven. Bake for 25 minutes, until the crust is deep golden brown around the edges, the cheese is fully melted and bubbly across the top, and the egg custard is completely set (no liquid jiggling when you gently nudge the pie plate). If the crust edges brown too quickly, cover them with a thin strip of aluminum foil halfway through baking to prevent burning.
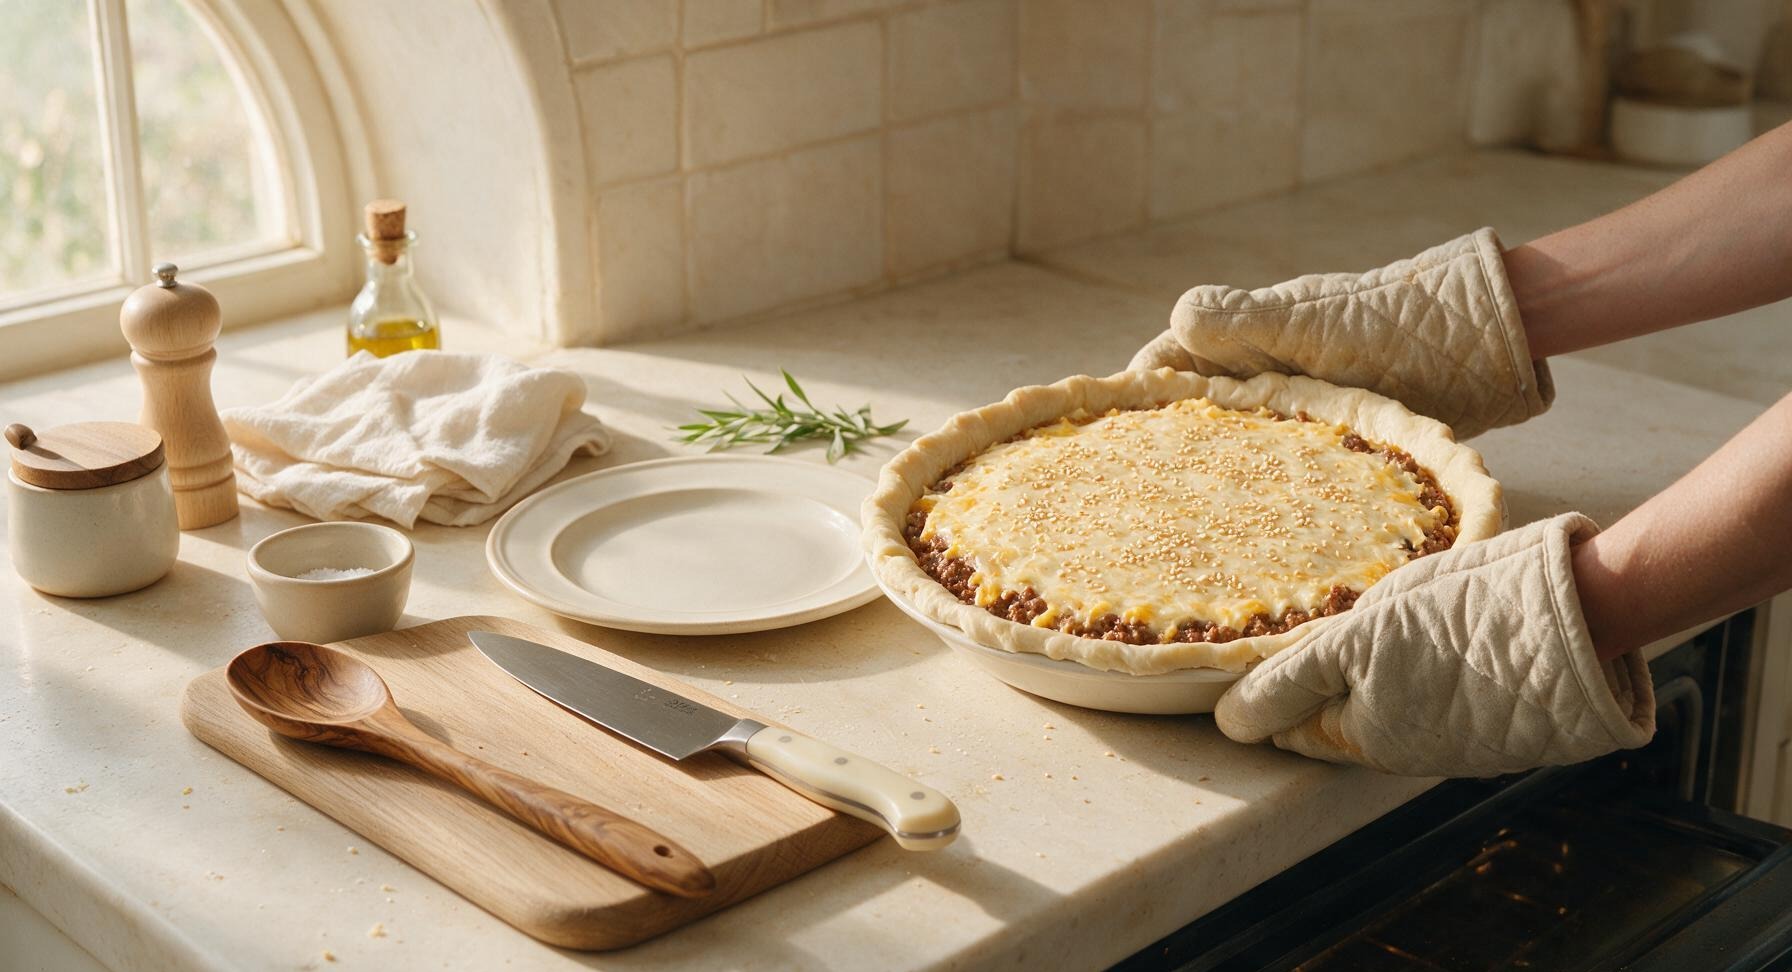
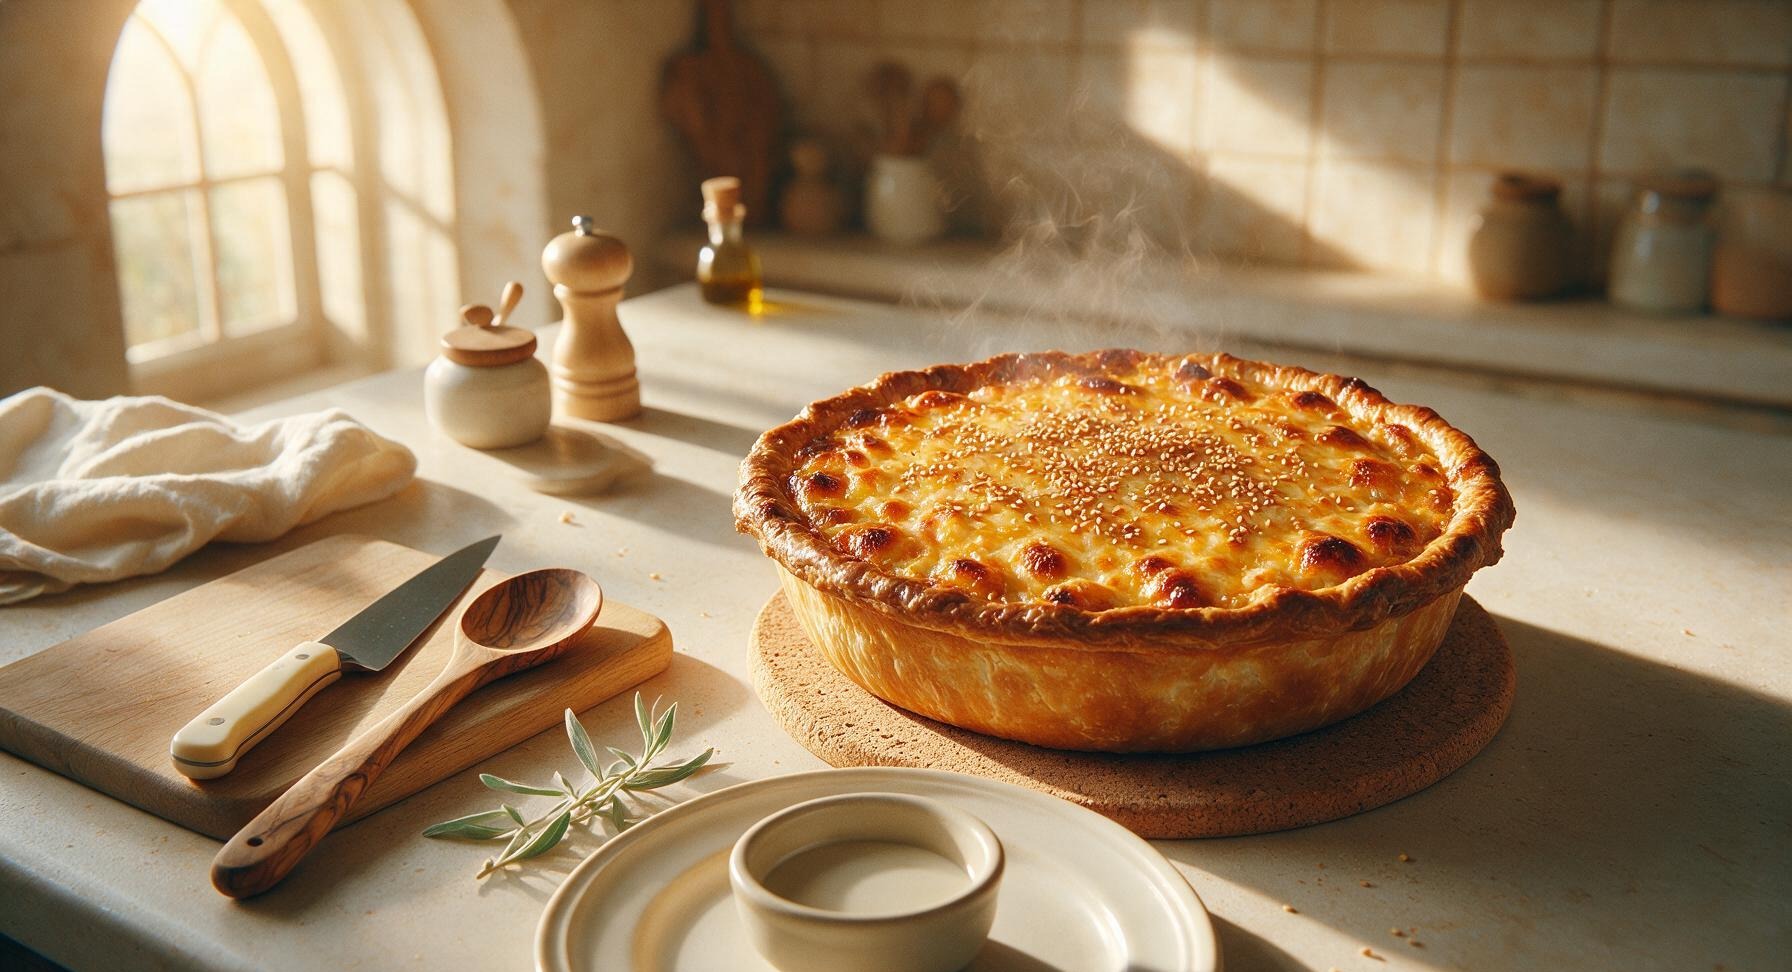
Step 6
step6:Bake Pie Until Set
Step 6
step6:Bake Pie Until Set
7

Rest, Plate, and Garnish

Allow the baked pie to rest for 10 minutes at room temperature before slicing, to let the cheese and egg layers set so slices hold their shape. Cut into 6 even triangular slices, serve each slice on a matte white ceramic dinner plate, garnished with shredded iceberg lettuce, thin sliced Roma tomato, and extra ketchup and mustard in small ramekins as desired.
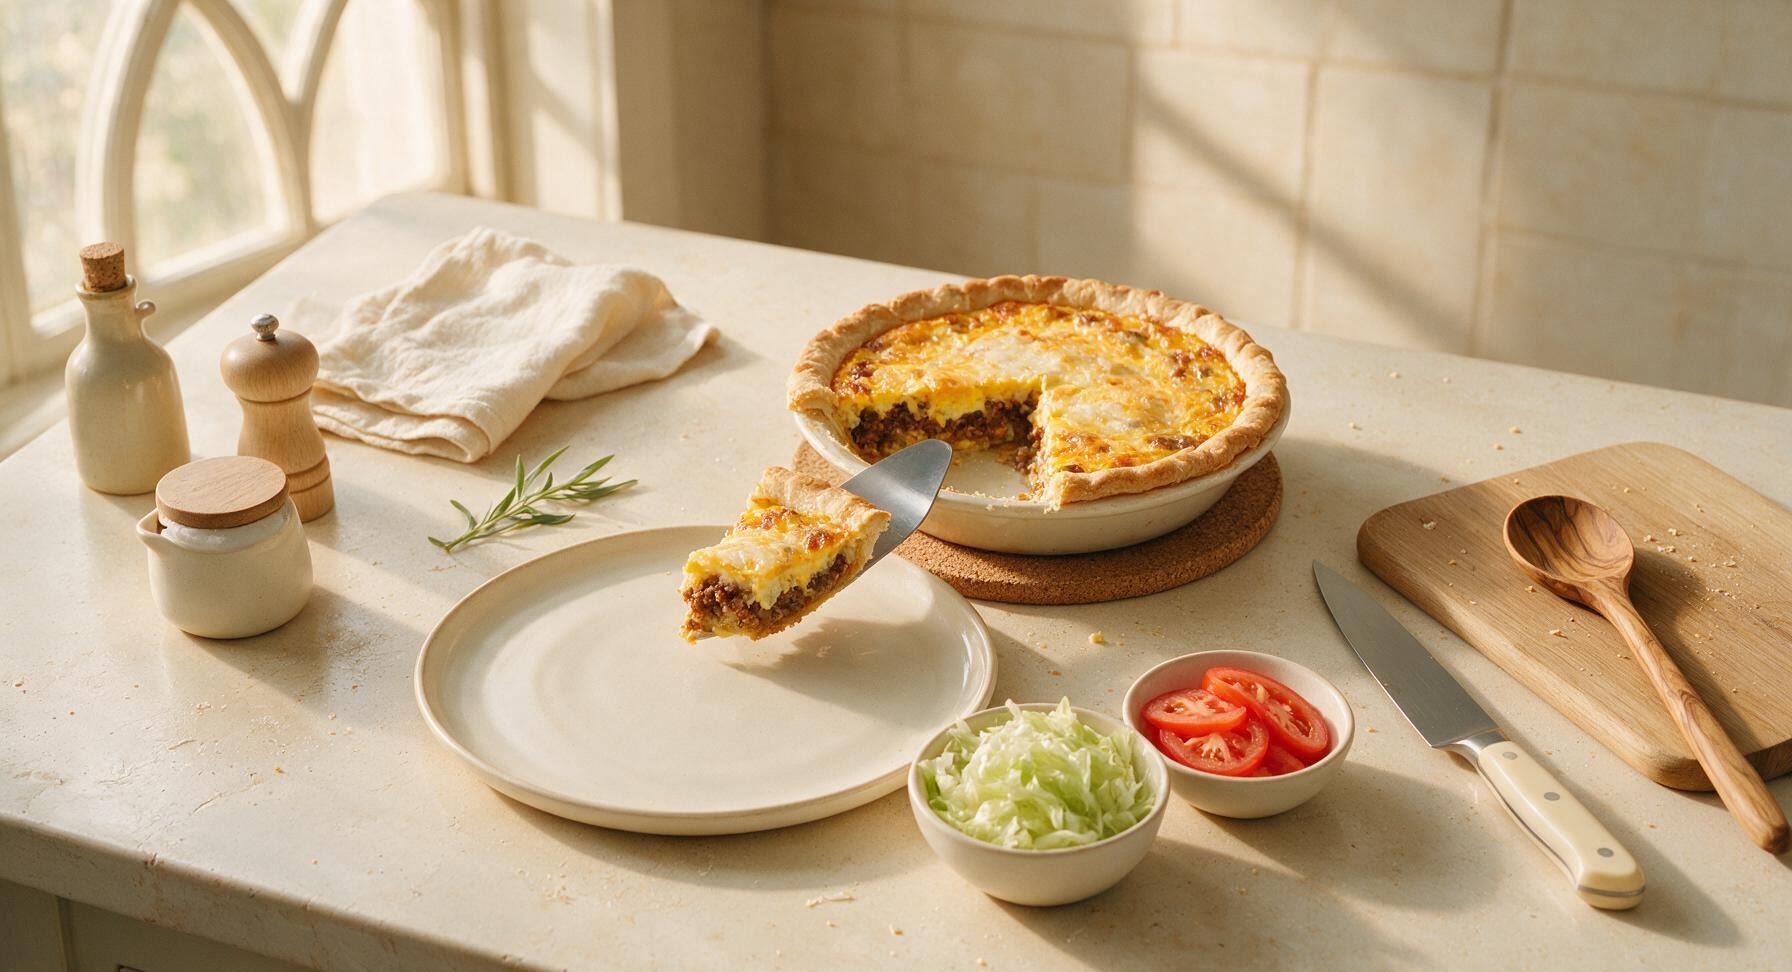
Step 7
step7:Rest, Plate, and Garnish

Tips

1.Drain all excess rendered grease from the browned ground beef before adding seasonings: leftover fat will soak into the crescent roll crust, making it soggy instead of light and flaky, and leave the pie with an unpleasantly greasy mouthfeel.
2.Let the baked pie rest for a full 10 minutes before slicing: the hot melted cheese and egg custard are very loose right out of the oven, and the resting time lets layers set so slices hold their clean, neat shape instead of falling apart when served.
3.Press crescent roll dough gently when lining the pie plate: overworking or pressing the dough too firmly will develop gluten in the dough, resulting in a tough, dense crust instead of the tender, flaky texture that makes this pie feel indulgent.


✨ You May Also Like

Main Course
🍜 United Kingdom

A showstopping classic of tender seared beef, savory mushroom duxelles, and crisp prosciutto wrapped in flaky golden puff pastry, baked to juicy perfection.

⏱️ 2 hours 1Main Course ★ 4.7
Main Course
🍜 India

Tender charred marinated chicken simmered in a rich, spiced creamy tomato sauce, this iconic Anglo-Indian curry pairs perfectly with basmati rice or warm naan.

⏱️ 50 minuteMain Course ★ 4.6
Main Course
🍜 Thailand

Classic tangy, sweet, and savory Thai stir-fried rice noodles with shrimp, tofu, and crunchy garnishes, balancing all five core Thai flavor profiles.

⏱️ 30 minuteMain Course ★ 4.5
Main Course
🍜 United Kingdom

Crispy golden beer-battered cod and fluffy double-fried chips, served with tangy tartar sauce and malt vinegar: the timeless, beloved British pub comfort classic.

⏱️ 45 minuteMain Course ★ 4.7
Main Course
🍜 Mexico

Smoky, chile-marinated pork tacos with caramelized pineapple, fresh cilantro, and lime: a beloved classic Mexican street food perfect for casual summer gatherings.

⏱️ 1 hour 45Main Course ★ 4.8
Main Course
🍜 United States

Crunchy Fritos corn chips layered with savory beef chili and melted cheddar, topped with cool, zesty fixings for a beloved, cozy Tex-Mex comfort food.

⏱️ 35 minuteMain Course ★ 4.8

pioneer woman cheeseburger pie:Frequently Asked Questions

1.Can I use a leaner ground beef than the recommended 85/15 blend for this pie? ▾
You absolutely can, but 85/15 is ideal for that juicy, classic cheeseburger flavor without excess grease. If you opt for 90/10 or leaner, stir in 1 tablespoon of olive oil while browning to keep the filling from drying out, and always drain rendered fat fully no matter what blend you use to avoid a soggy crust.
2.Do I have to use refrigerated crescent roll dough, or can I swap in a homemade crust? ▾
Refrigerated crescent dough is the nostalgic, classic pick for this recipe, but homemade crust works beautifully too. Use a buttery, flaky all-butter pie crust or homemade crescent dough rolled ¼-inch thick, and press it firmly up the sides of your pie plate to contain filling and prevent messy leaks as it bakes.
3.How do I prevent a soggy bottom crust when making this cheeseburger pie? ▾
Soggy bottom crust is a super common issue with savory pies! First, par-bake your crescent crust for 5 minutes at 375°F before adding any filling, and make sure you fully drain all rendered grease from your cooked ground beef. You can also sprinkle a thin layer of cheddar on the par-baked crust to create a moisture barrier.
4.Can I mix classic cheeseburger toppings like pickles or ketchup into the filling? ▾
Absolutely—this recipe is built to mimic your favorite cheeseburger, so mix-ins are highly encouraged! Stir in diced dill pickles, a squirt of ketchup and yellow mustard, cooked diced bacon, or sautéed mushrooms right into the beef filling, just skip adding too many wet ingredients to keep slices firm and easy to serve.
5.What size pie plate works best for this cheeseburger pie recipe? ▾
A standard 9-inch deep-dish pie plate is the perfect fit for this recipe. If you only have a shallow 9-inch pie plate, you may end up with a small amount of leftover beef filling—don’t overstuff the plate, or filling will bubble over the crust edges and leave a burnt, sticky mess on the floor of your oven.
6.Can I prep this cheeseburger pie ahead of time to bake later? ▾
You can fully assemble the pie up to 24 hours ahead of baking! Layer the crust, cooled cooked beef filling, and cheese in your pie plate, cover tightly with plastic wrap, and store it in the refrigerator. When you’re ready to bake, remove the plastic and add 5 to 7 minutes to the total bake time to account for the cold filling.
7.How should I store leftover cheeseburger pie, and how long will it stay fresh? ▾
Let leftover pie cool completely to room temperature first, then wrap it tightly in plastic wrap or aluminum foil, or transfer sliced pieces to an airtight container. It will stay fresh in the refrigerator for 3 to 4 days, and you can reheat slices in a 350°F oven for 10 minutes or the microwave for 45 seconds for a quick, easy meal.
8.Can I freeze this cheeseburger pie to enjoy later? ▾
Yes, this pie freezes exceptionally well! Freeze a fully baked, completely cooled pie wrapped tightly in two layers of plastic and one layer of foil for up to 3 months. Thaw it overnight in the fridge, then reheat covered in foil at 350°F for 20 to 25 minutes until heated all the way through before serving.
9.I don’t have sharp cheddar on hand—can I use a different type of cheese? ▾
Sharp cheddar delivers that classic tangy cheeseburger flavor, but you can absolutely swap it for other melty cheeses. Try mild cheddar, American cheese, pepper jack for a subtle kick, Colby Jack, or a custom cheese blend—just shred cheese fresh off the block for the best melt, since pre-shredded cheese has anti-caking agents that hurt texture.
10.Do I need to cook the diced yellow onion before adding it to the filling? ▾
Yes, you should sauté the diced onion right in the same pan as your browning ground beef for 3 to 4 minutes until it’s soft and translucent. Adding raw onion directly to the filling will leave it crunchy and sharp-tasting, instead of the sweet, mellow onion flavor you expect from a classic grilled cheeseburger.
11.Why does my crescent crust shrink so much while the pie bakes? ▾
Crust shrinkage usually happens when crescent dough is stretched too tight when pressed into the pie plate. Let the refrigerated dough sit at room temperature for 5 minutes before unrolling, press it gently into the plate without pulling it taut, and leave a ¼-inch overhang over the plate edge to account for minor shrinkage as it cooks.
12.Can I adapt this recipe to be dairy-free for a lactose-intolerant household? ▾
You can easily tweak this recipe to be dairy-free! Swap the refrigerated crescent dough for a dairy-free flaky pie crust, use your favorite well-melting lactose-free or plant-based sharp cheddar-style shreds, and double check that your ground beef has no added dairy fillers. You’ll still get that cozy, classic cheeseburger flavor and texture.
13.What temperature do I bake this pie at, and how do I know when it’s fully done? ▾
Bake the pie at 375°F for 25 to 30 minutes total. You’ll know it’s fully done when the crescent crust is deep golden brown across the edges and top, the cheese is fully melted and bubbly around the sides, and the filling hits 165°F on an instant-read thermometer to confirm the beef is safely cooked.
14.Can I add a top crust to make this a fully enclosed pie instead of leaving it open-faced? ▾
Definitely! If you want a more traditional enclosed pie feel, lay a second sheet of crescent roll dough over the top of the filling, crimp the edges tightly to seal with the bottom crust, and cut 3 small slits in the top to let steam escape. Add 5 to 7 minutes of bake time to ensure the top crust cooks fully through.
15.Is there an easy way to make this recipe lower in carbs? ▾
For a lower-carb version, skip the crescent roll crust entirely and press a mixture of 2 cups almond flour, 4 tablespoons melted butter, and ½ teaspoon kosher salt into the pie plate as your base. Par-bake that crust for 10 minutes before adding filling, and you’ll cut total carbs per slice by roughly 60% while keeping that great savory cheeseburger flavor.
16.How do I keep the top layer of cheese from getting tough or rubbery? ▾
Rubberized cheese happens when it’s exposed to high heat for too long. Add your top layer of shredded cheddar during the last 10 minutes of baking instead of mixing all of it into the filling or adding it at the start. This lets it melt into that perfect gooey, stretchy layer without getting tough, grainy, or rubbery as the pie cooks.
17.Can I substitute ground turkey for the ground beef in this recipe? ▾
You can swap the 85/15 ground beef for 93/7 ground turkey if you prefer, but you’ll want to amp up the seasoning to match that rich beef flavor. Add 1 teaspoon of smoked paprika, ½ teaspoon of garlic powder, and a pinch of black pepper to the turkey as it browns, and add a splash of beef broth if the filling feels too dry.
18.What side dishes pair best with this cheeseburger pie? ▾
This rich, savory pie pairs perfectly with all your go-to classic burger sides! Serve it with a crisp green salad tossed in tangy vinaigrette, crispy oven-baked French fries, dill pickle spears, creamy coleslaw, or roasted broccoli. A small dish of ketchup and mustard for dipping slices makes the meal feel even more like a classic cookout.
19.My last cheeseburger pie had really runny filling—what went wrong, and how do I fix it next time? ▾
Runny filling almost always comes from not draining ground beef fully after browning, or adding too many wet mix-ins like excess ketchup or undrained canned add-ins. Next time, drain all rendered grease completely, pat cooked beef with a paper towel if it’s extra greasy, and limit wet add-ins to 2 tablespoons total to keep slices firm and clean-cut.

Comments (14)

2 days ago

OMG y’all, this cheeseburger pie was an absolute game changer for our weeknight family dinner! I threw it together in 10 minutes, baked for 30, and my two picky toddlers ate two servings each no complaints. Even my husband who swears he ‘hates casserole style food’ went back for thirds. SO good, will be making this on repeat for meal prep too!

yesterday

That makes us so happy to hear! So glad it worked for your picky eaters—pro tip, you can toss in some diced pickles on top before baking for extra classic cheeseburger flavor if you want to mix it up next time!

2 hours ago

Seconding the pickle tip! I did that last week and my whole family thought it tasted exactly like our favorite fast food burger, 10/10.

3 days ago

Super easy to make in my tiny dorm oven! Only thing was I didn’t have shredded cheddar so I used a Mexican cheese blend, still turned out great. Perfect for when I’m sick of dining hall food and don’t want to spend an hour cooking.

2 days ago

Love the swap! Mexican cheese blend melts so beautifully in this, that’s a great hack for when you don’t have the exact cheese on hand. So glad it worked in your dorm oven!

1 week ago

Brought this to my neighborhood block party potluck last weekend and people were asking me for the recipe before I even set the dish down! I topped it with a little shredded lettuce and diced tomato after it came out of the oven so it looked extra fancy, zero leftovers to bring home. Absolute win.

5 days ago

Taste was great, but I think I messed up the crust layer? Mine came out a little soggier than I expected, even after baking the full 30 minutes. Did anyone else run into that?

3 days ago

I had that issue the first time too! Try blind baking the crescent roll crust for 5 minutes before you add the filling, game changer, no more soggy bottom.

2 days ago

Great tip from BakeDad123! You can also make sure you’re draining your ground beef really well after browning it—excess grease from the meat is usually the culprit for soggy crust here. Hope that helps for next time!

yesterday

Made 4 of these on Sunday for my weekly meal prep and they reheated perfectly in the microwave for lunch all week! Portioned them out with a side of roasted broccoli and it kept me full all afternoon at work, way better than spending $15 on takeout burgers every day.

2 hours ago

Wait how long do these keep in the fridge? I’ve been looking for new meal prep recipes that last the whole week and this looks perfect!

just now

First recipe I’ve ever made completely by myself as a 20 year old guy who can barely boil water, and it turned out perfect?? I was so nervous I’d mess it up but the steps are so straightforward, it tasted like the cheeseburgers my mom makes when I go home for holidays. Obsessed.

2 weeks ago

Swapped the regular crescent rolls for gluten free crescent dough so my celiac daughter could eat it, and it worked like a charm! Only reason it’s not 5 stars is the gluten free dough took an extra 7 minutes to bake all the way through, but otherwise the flavor was spot on.

2 weeks ago

That’s such a helpful swap for other gluten free readers, thank you for sharing! We’re so glad you were able to adjust it to work for your family, and great note about the extra bake time for GF dough.

1 week ago

We’ve started making this every other Sunday for our family game night, it’s become our new tradition! Last night we added crumbled bacon on top of the cheese layer and it was next level, my 10 year old said it’s better than the burger place down the street.

5 days ago

A family game night tradition? That’s the best compliment we could ask for! The bacon addition sounds absolutely incredible, we’re going to have to try that ourselves this weekend.

3 days ago

Just saw this and ran to the store to get bacon to make this tonight, y’all are geniuses! Can’t wait to try it.

3 days ago

I’ve been making cheeseburger pie for 40 years and let me tell you, this Pioneer Woman version is the best one I’ve ever tried! The seasoning in the beef is perfect, no need to add a bunch of extra stuff like my old recipe called for. Made it for my grandkids when they visited last weekend and they cleaned their plates.

2 days ago

Ethel, that’s such a high compliment! If a 40-year cheeseburger pie vet says this is the best, I’m definitely making it for my grandkids’ visit next month, can’t wait.

30 minutes ago

Loaded this up with extra veggies—diced bell peppers, onions, mushrooms mixed into the ground beef—and it still tasted just like a juicy cheeseburger without the guilt! High protein, quick to throw together, fits perfectly into my fitness meal plan. 10/10.

5 days ago

Made this for our casual Fourth of July get together and it was the perfect easy main dish! I cut it into little squares so people could grab it as an appetizer too, paired great with potato salad and coleslaw. No fancy ingredients, no stress, exactly what I needed for a big group.

3 days ago

Cutting it into little squares for appetizer portions is such a smart idea! Love that it worked for your Fourth of July gathering, that sounds like the perfect summer spread.

2 hours ago

This was so good! I doubled the cheese because, well, cheese, and it was perfectly gooey just how I like it. Only tiny complaint is I wish it had a little more tang, maybe I’ll add a squirt of mustard to the beef next time? Anyone tried that?

30 minutes ago

I added a tablespoon of yellow mustard and a tablespoon of ketchup to the beef when I made it last week, it tasted exactly like a classic drive-in burger! Highly recommend.

5 minutes ago

Love that customization! Adding a little mustard and ketchup to the beef is such a fun way to amp up that classic cheeseburger flavor, we’re big fans of that trick too. Enjoy your next batch!

5 minutes ago

Just got home from a 12 hour night shift and needed something fast and filling to make, this came together in no time and hit every single craving. I didn’t even have to run to the store, I had all the ingredients already in my fridge and pantry. Thank you for making easy, no-fuss recipes for people who don’t have time to cook for hours after work!

just now

Thank YOU for all your hard work! We’re so glad this recipe was exactly what you needed after a long shift—easy, accessible meals for busy folks are exactly what we love to share.

yesterday

Made this for my mom for Mother’s Day (yeah I know I’m a little late but she wanted comfort food!) and she cried a little? She said it was better than the cheeseburger pie she made growing up. Super easy to follow even for someone who only knows how to make mac and cheese from a box, will absolutely make again.



