
Plain Bagel
intro
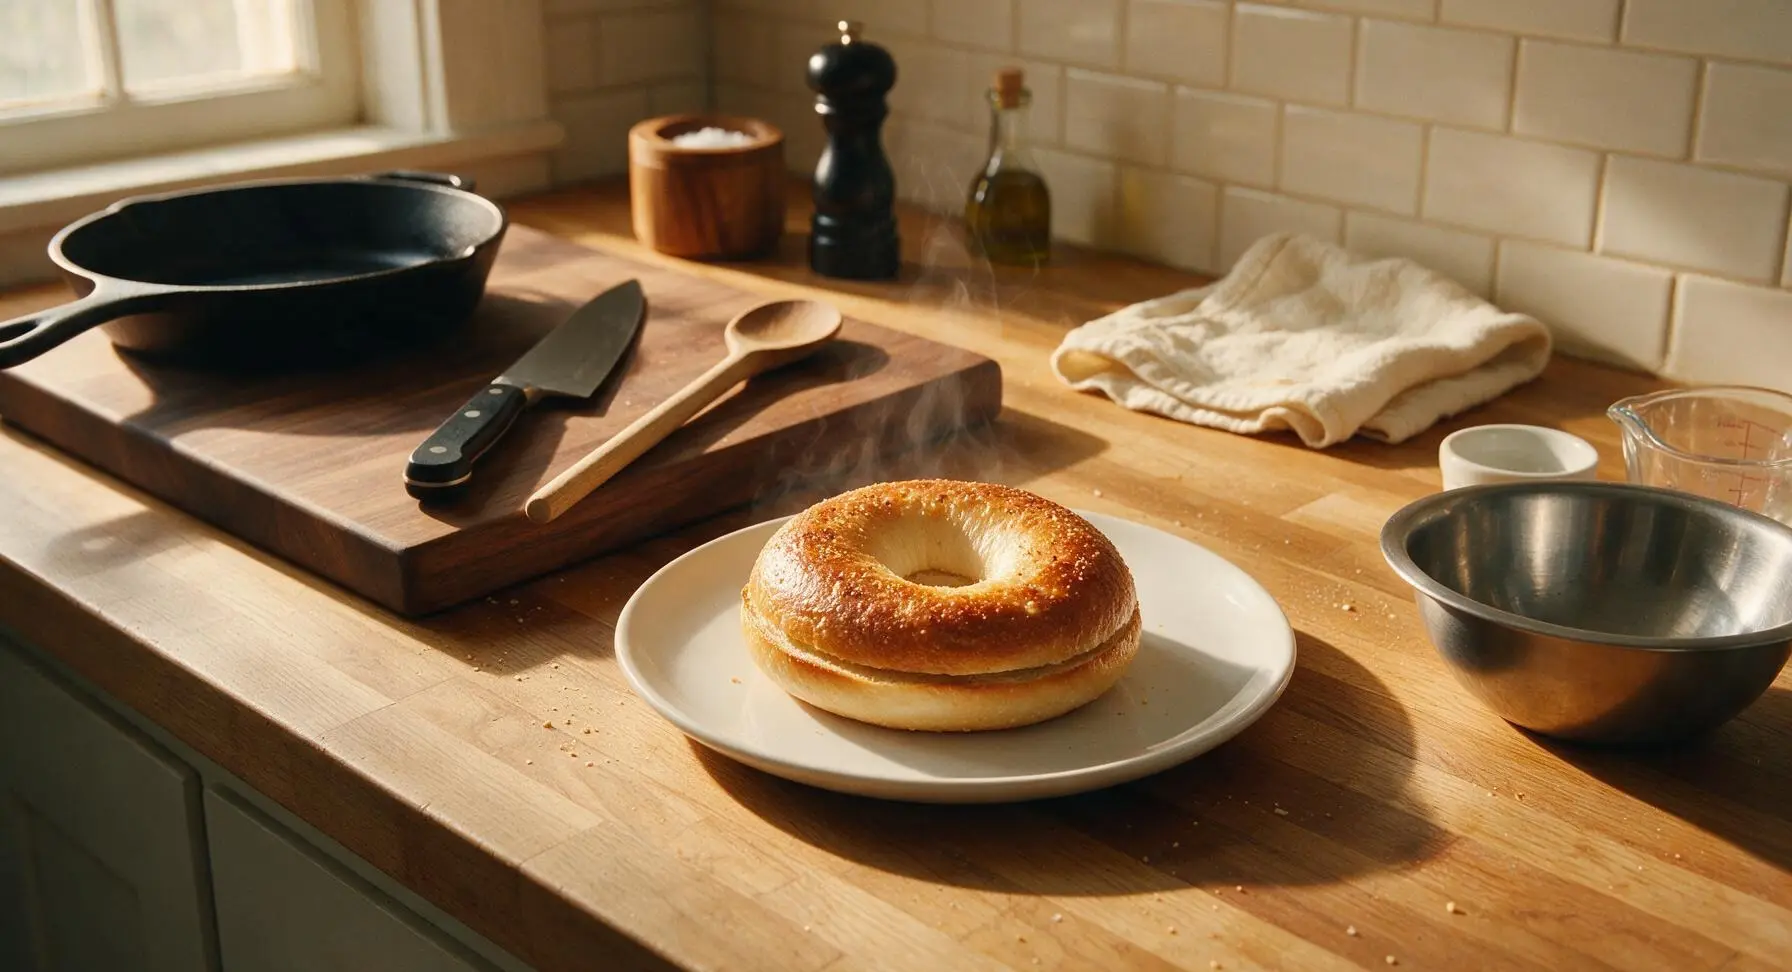
Chewy, golden-crusted plain bagels with a soft, dense crumb—perfect toasted with cream cheese, endlessly customizable for quick breakfasts or on-the-go meals.
Ingredients
Steps
Mix Bagel Dough
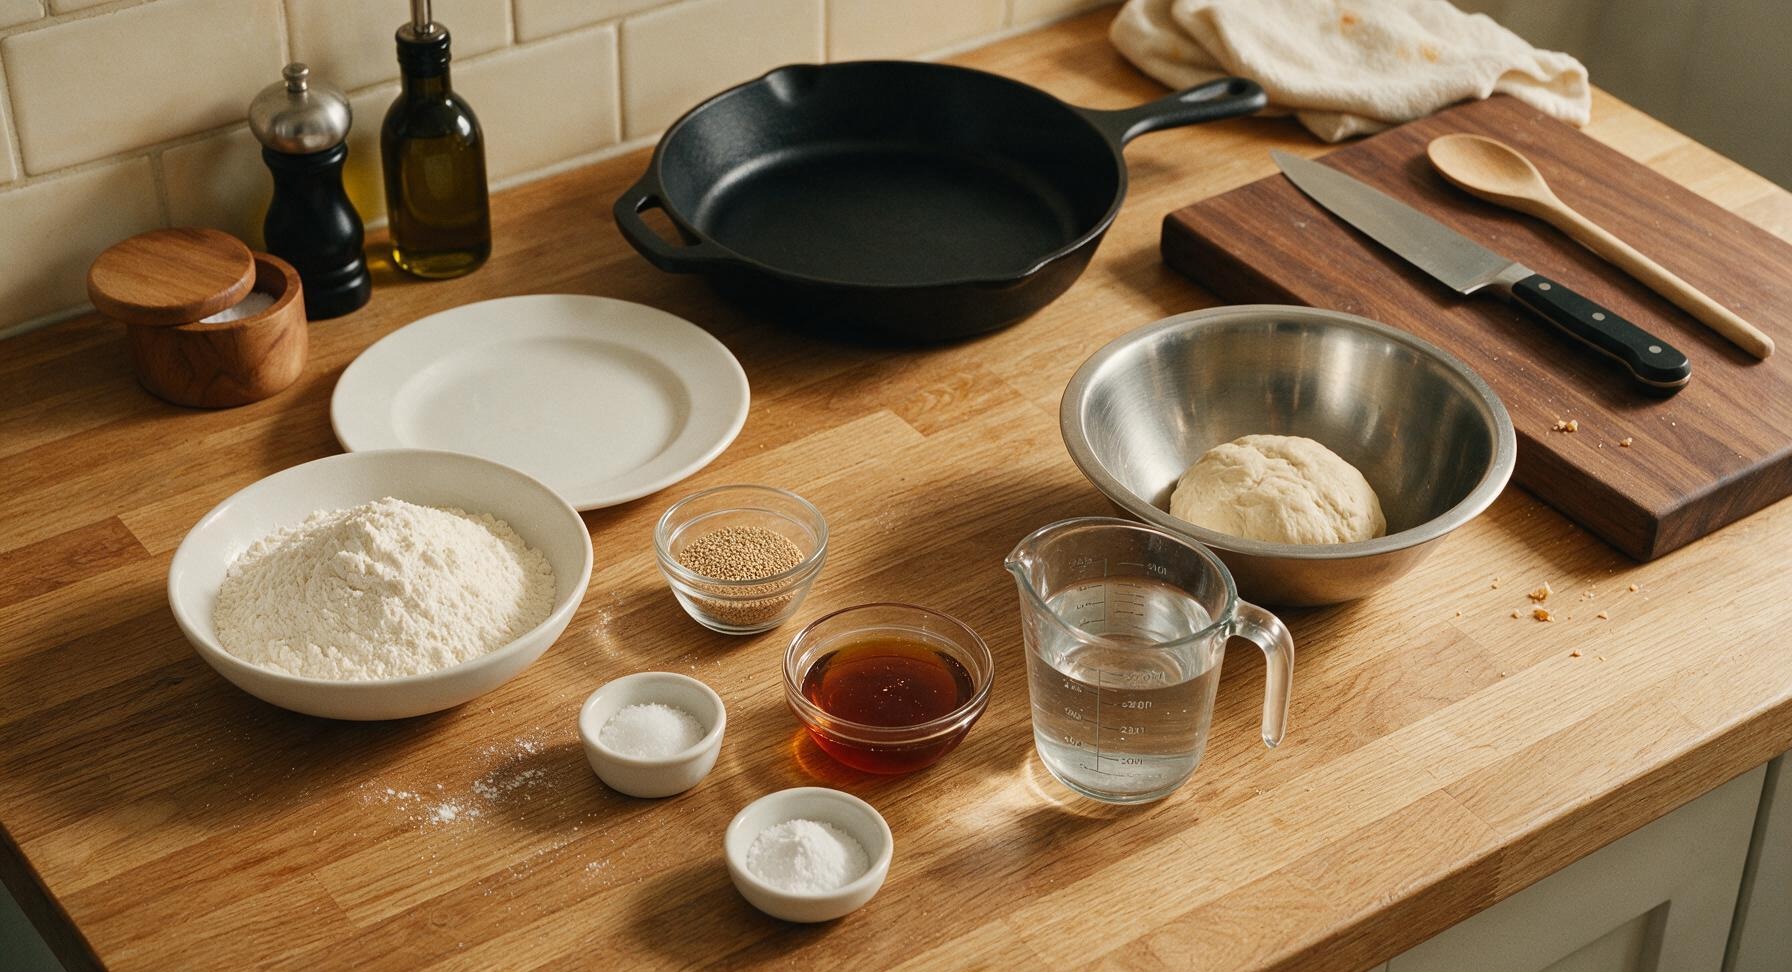
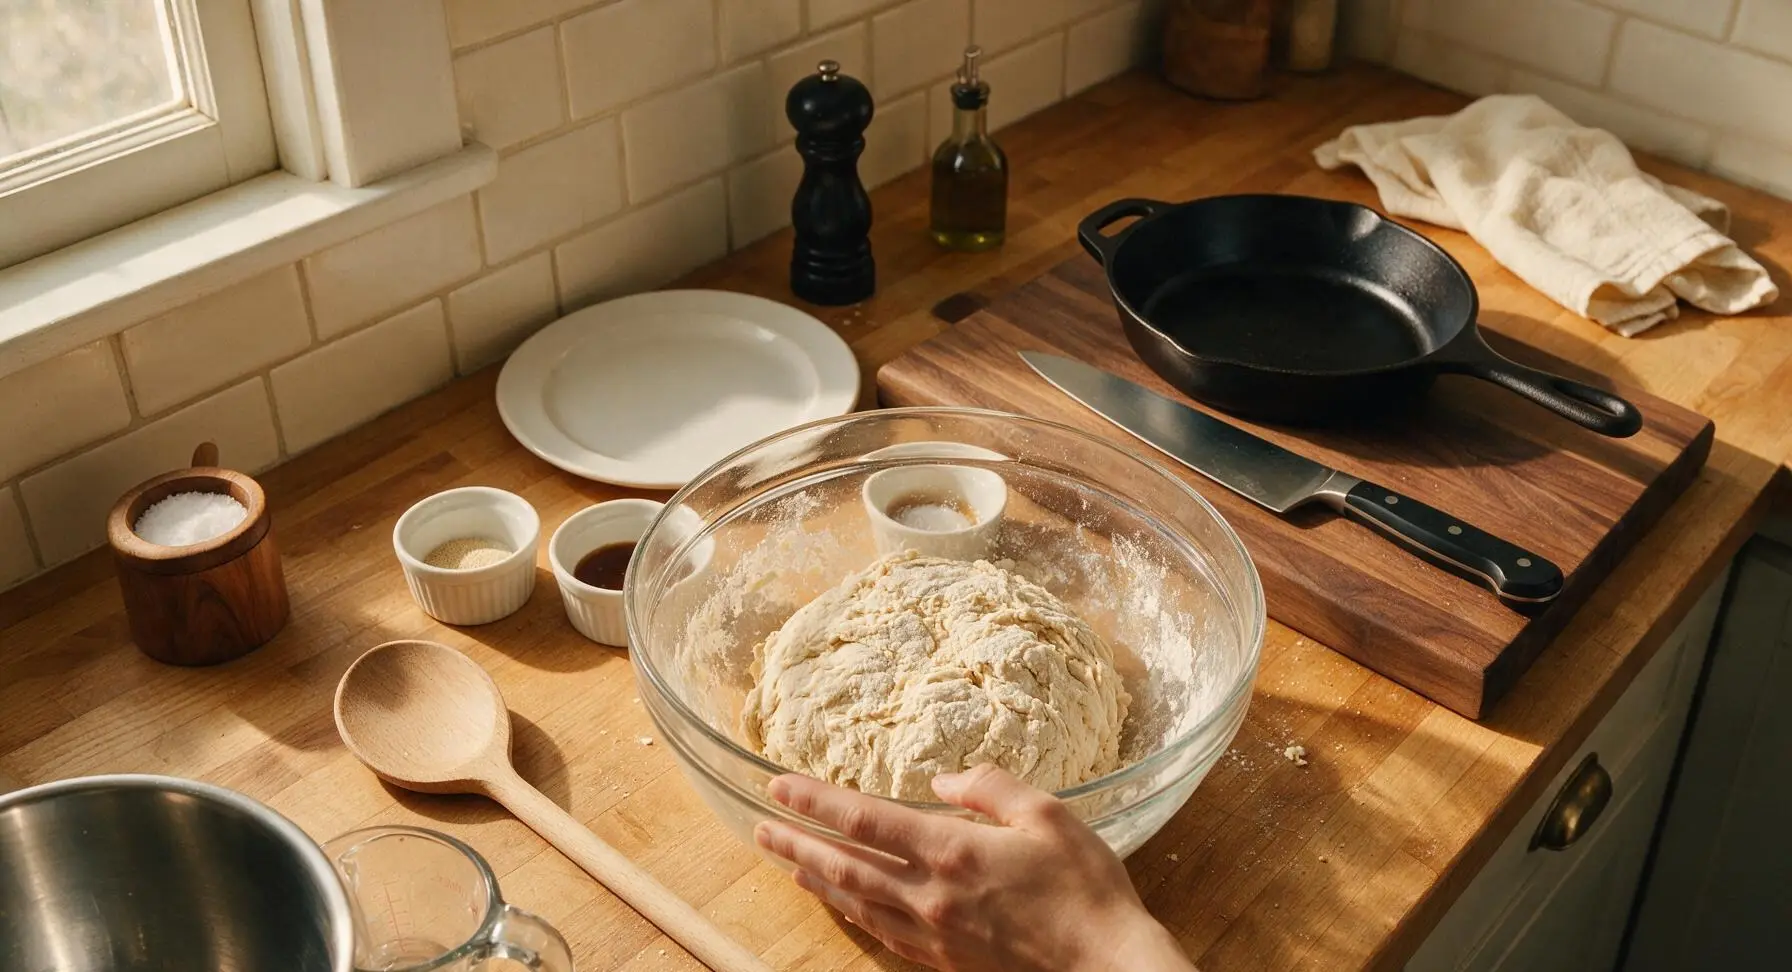
Combine 500g bread flour, 7g active dry yeast, 10g fine sea salt, 1 tbsp (15ml) barley malt syrup, and 320ml warm (40C/105F) water in the large clear glass mixing bowl. Stir by hand until a shaggy, stiff dough forms, then turn out onto the clean maple countertop (do not add extra flour at this stage). Knead steadily for 8-10 minutes until the dough is smooth, tight, and elastic; it should spring back halfway when poked gently with a floured finger, with no visible lumps.
Let Dough Rise
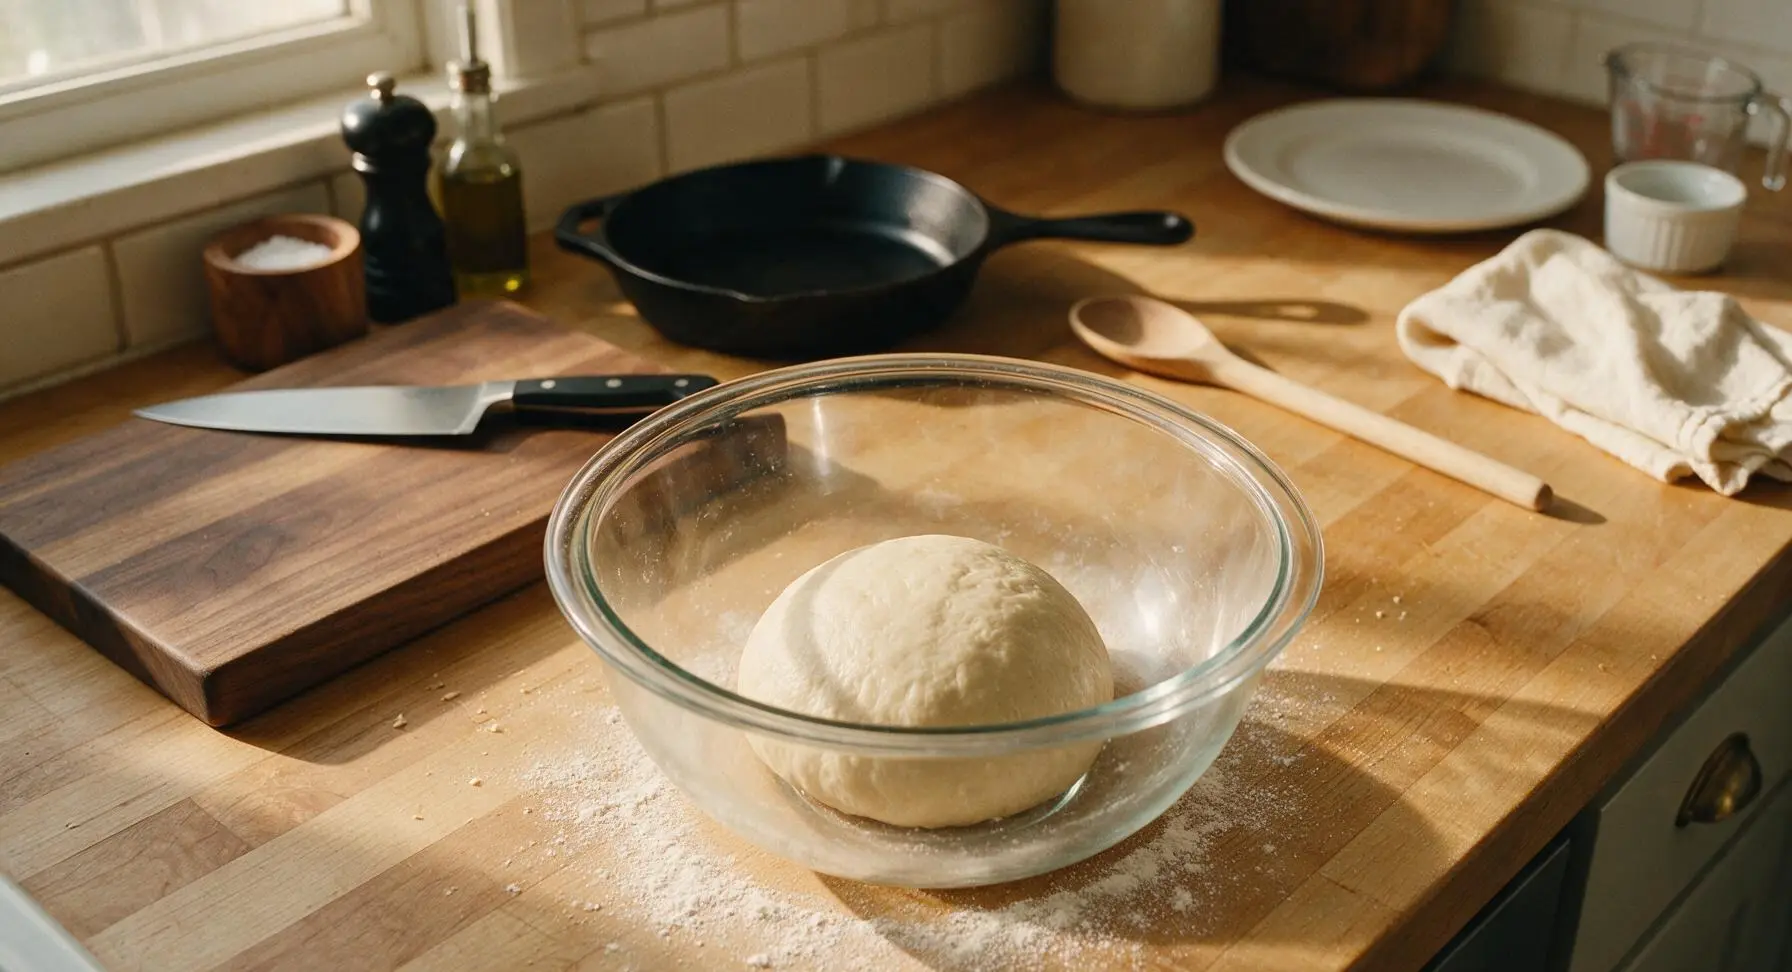
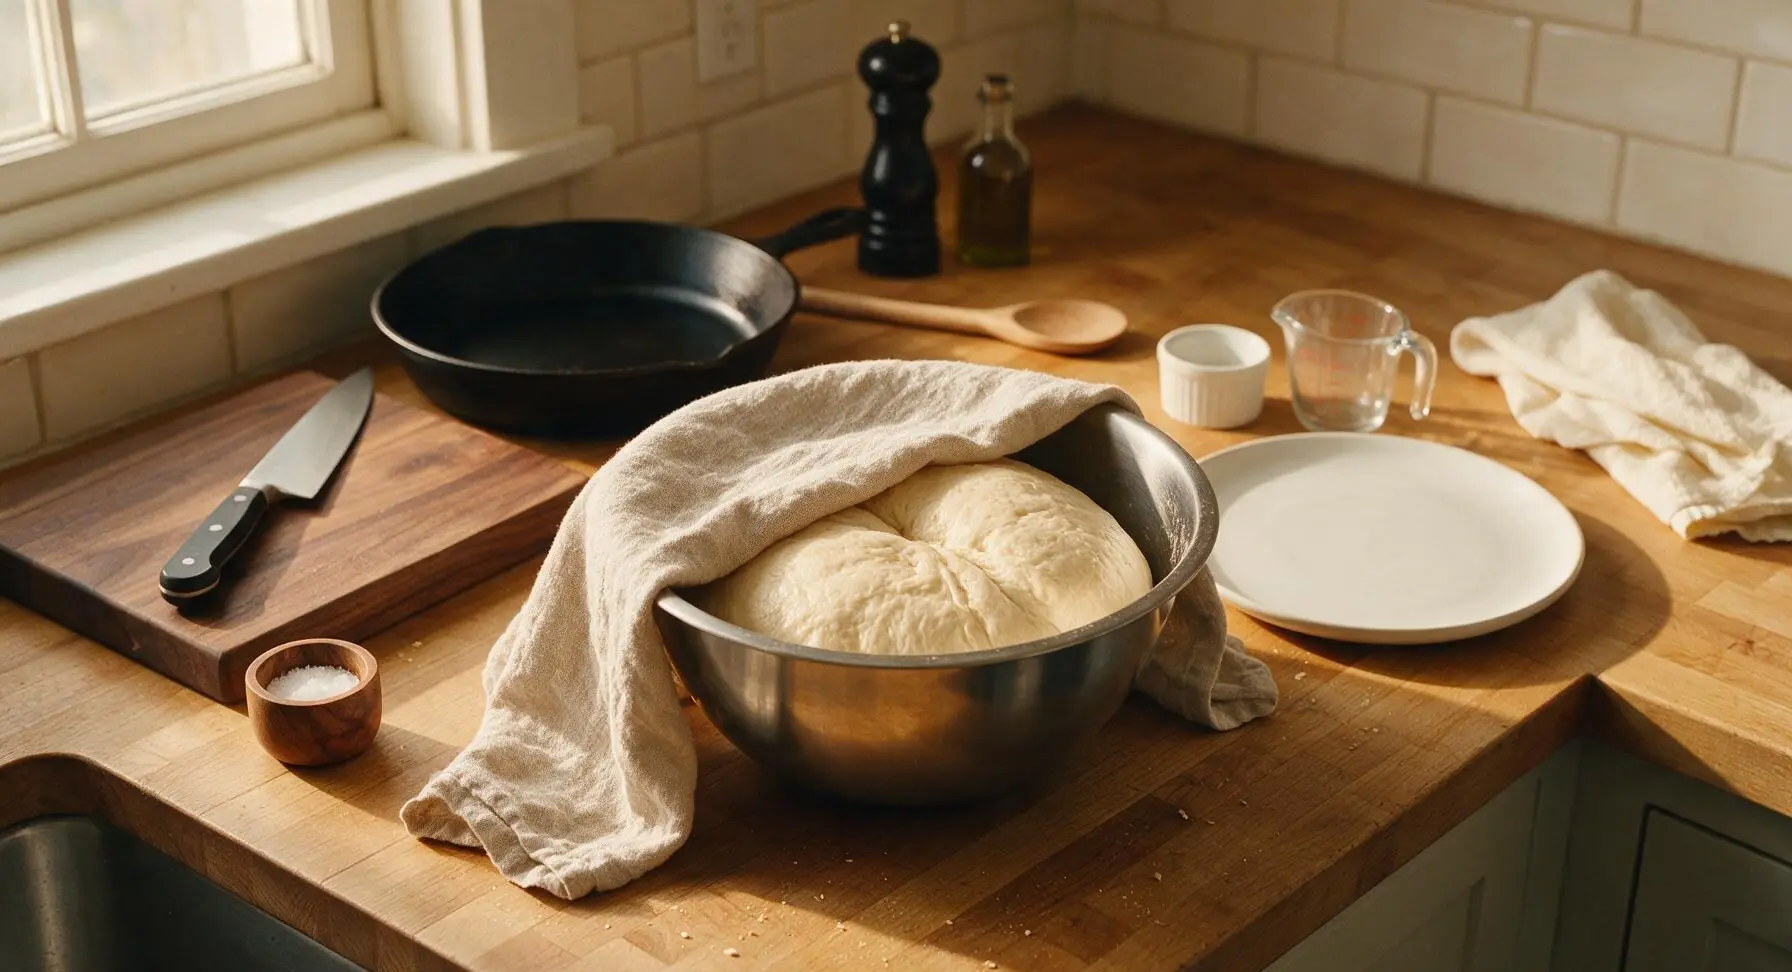
Cover the glass mixing bowl loosely with the oatmeal linen tea towel from the far right counter corner. Let the dough rest in a warm, draft-free spot on the counter for 1 hour, until it has doubled in size. The dough is fully risen when a floured finger poked 1cm into the surface leaves an indent that slowly rebounds halfway, rather than springing back immediately or collapsing entirely.
Shape Bagel Rounds
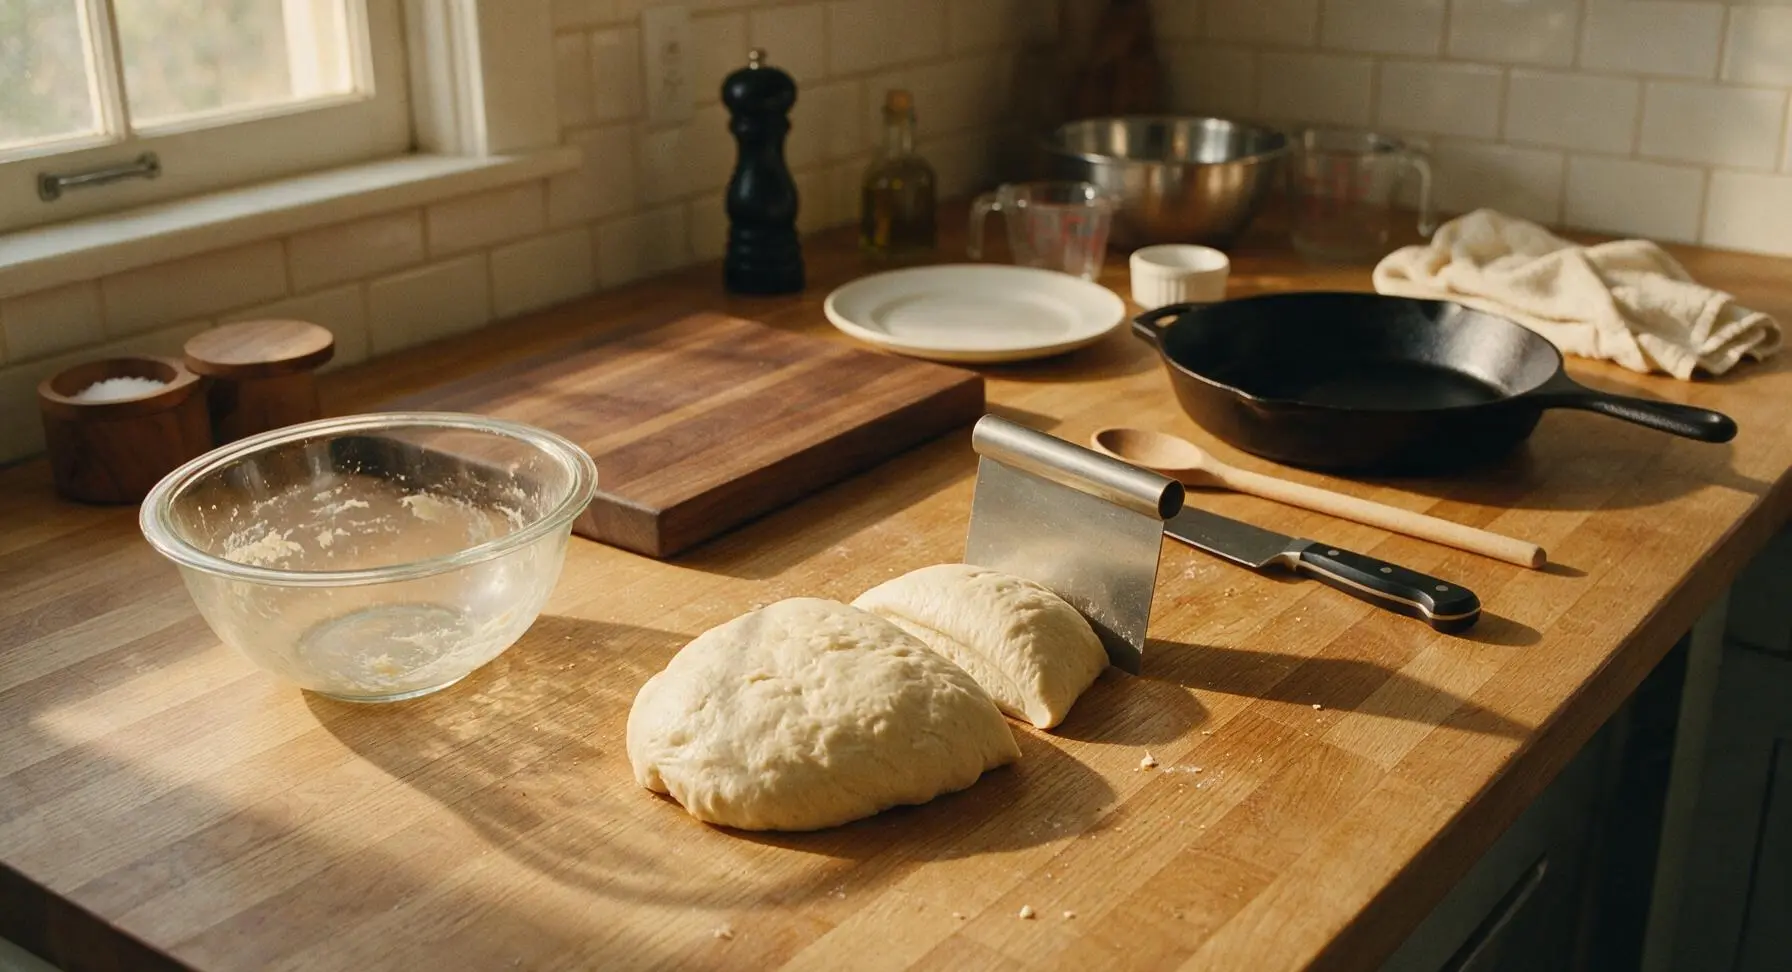
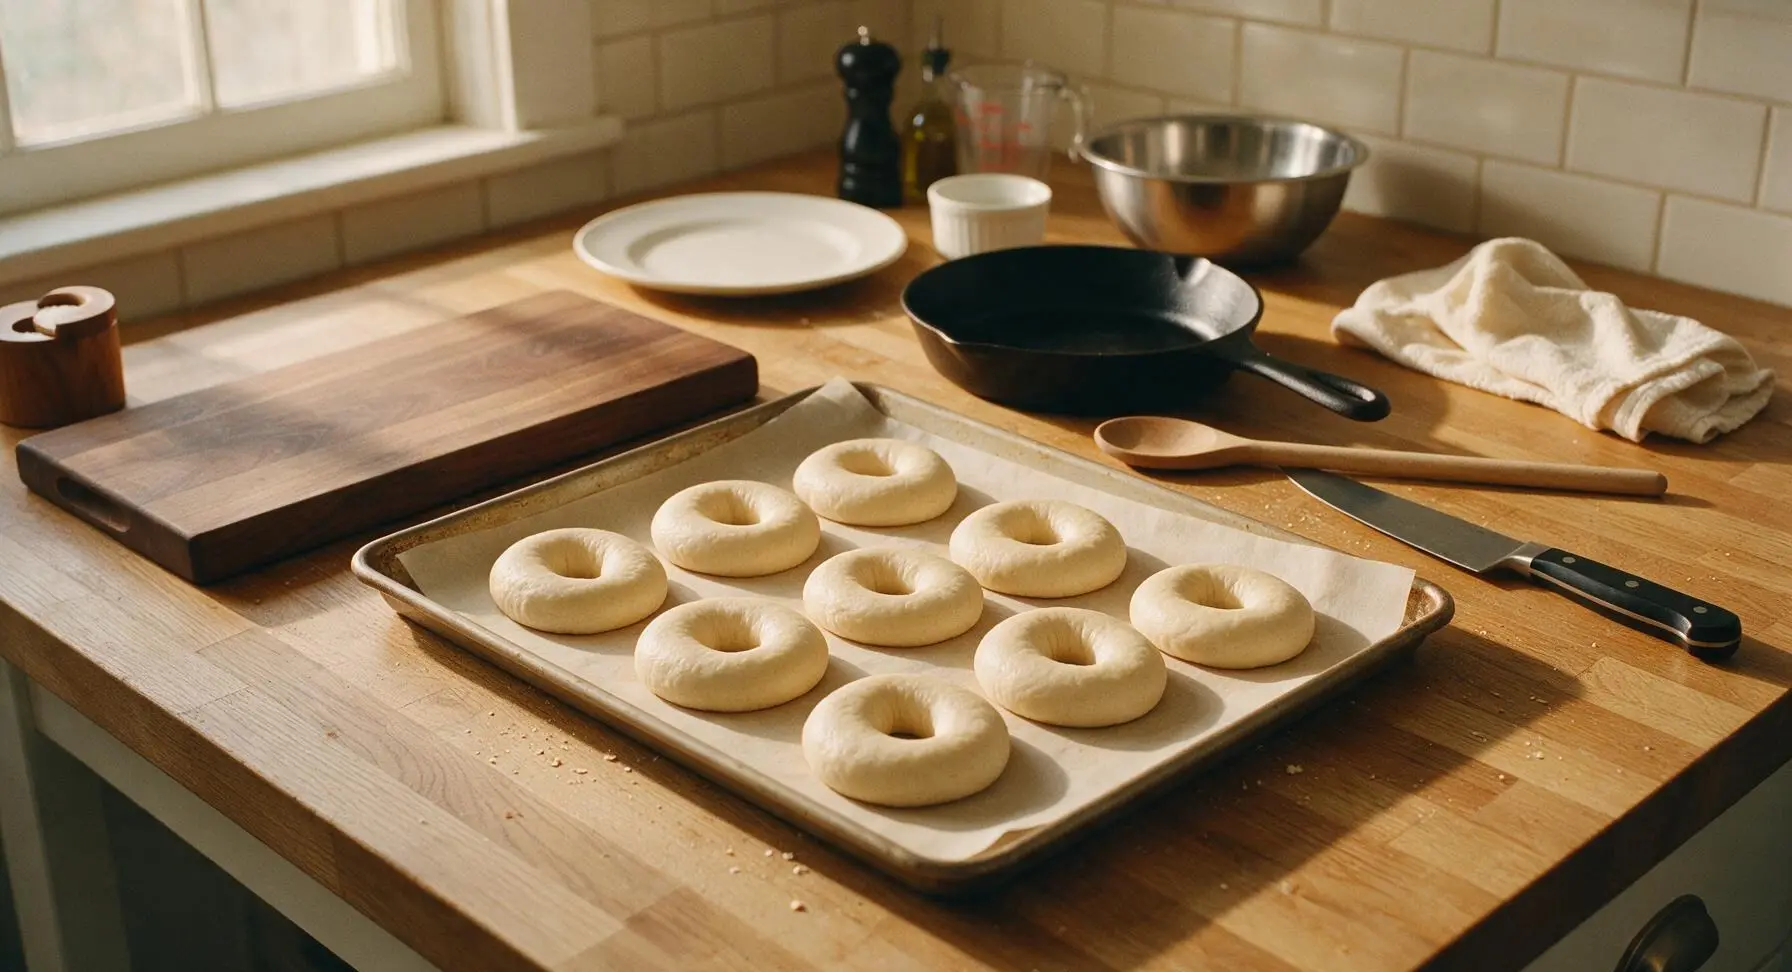
Turn the risen dough out onto the clean maple counter, using the stainless steel dough scraper to divide it into 8 equal 105g pieces. Roll each piece into a tight, smooth ball by cupping your hand over the dough and rolling it in small circles on the counter. Poke a floured finger through the center of each ball to create a hole, then stretch the ring gently until the hole is 5cm wide, with a uniform 2cm thick edge all around. Arrange shaped bagels 2cm apart on the parchment-lined baking sheet.
Proof Shaped Bagels
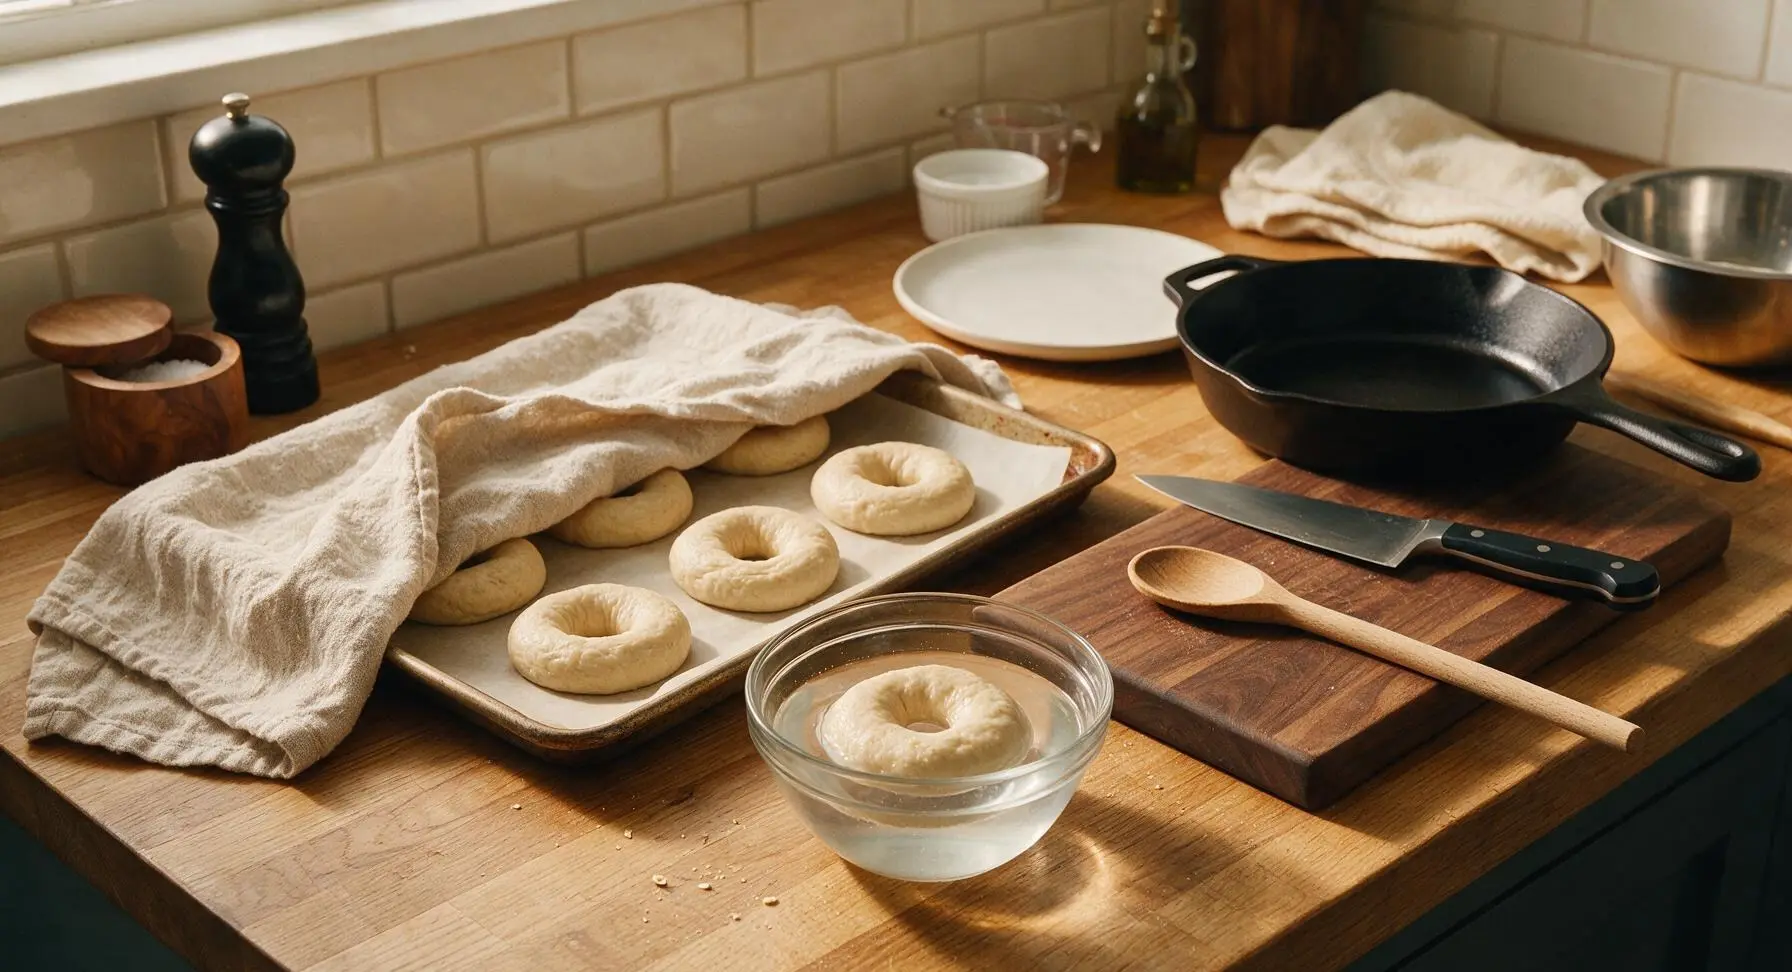
Cover the shaped bagels on the baking sheet loosely with the linen tea towel, and let them rest at room temperature for 20 minutes. Test for readiness by dropping one bagel into a small bowl of cool water: if it floats to the surface within 10 seconds, it is ready to boil. If it sinks, pat it dry, return it to the sheet, and let all bagels rest 5 more minutes before testing again.
Boil Bagel Rings
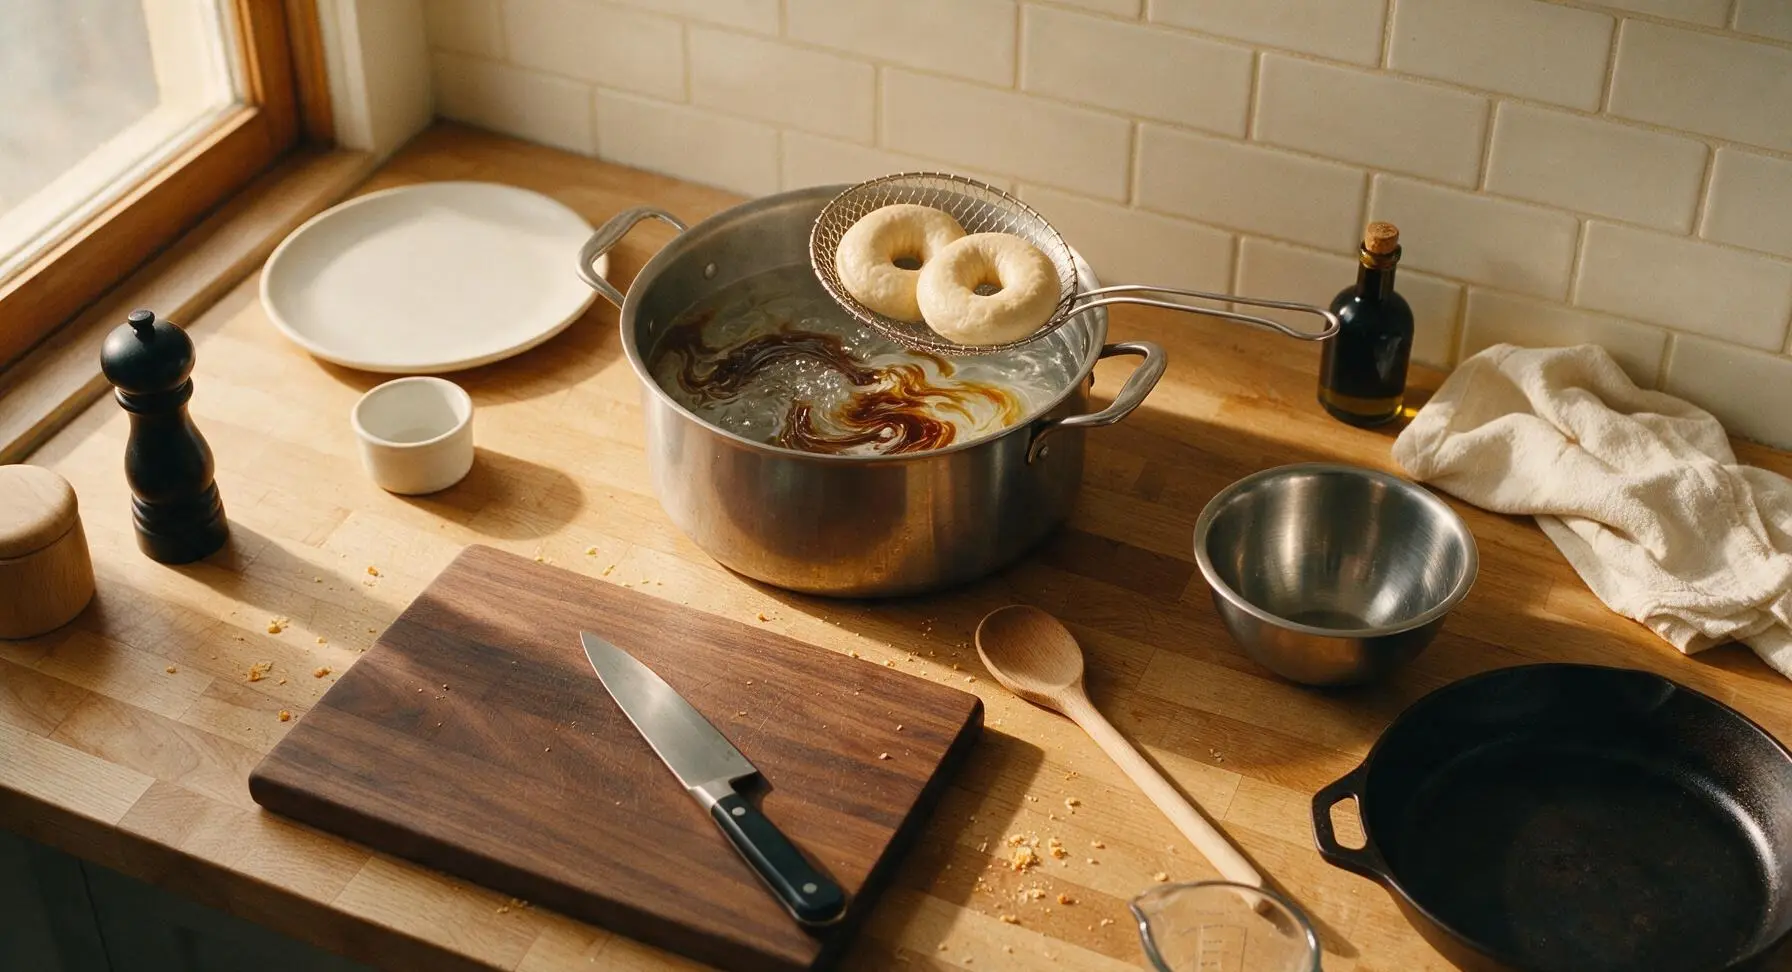
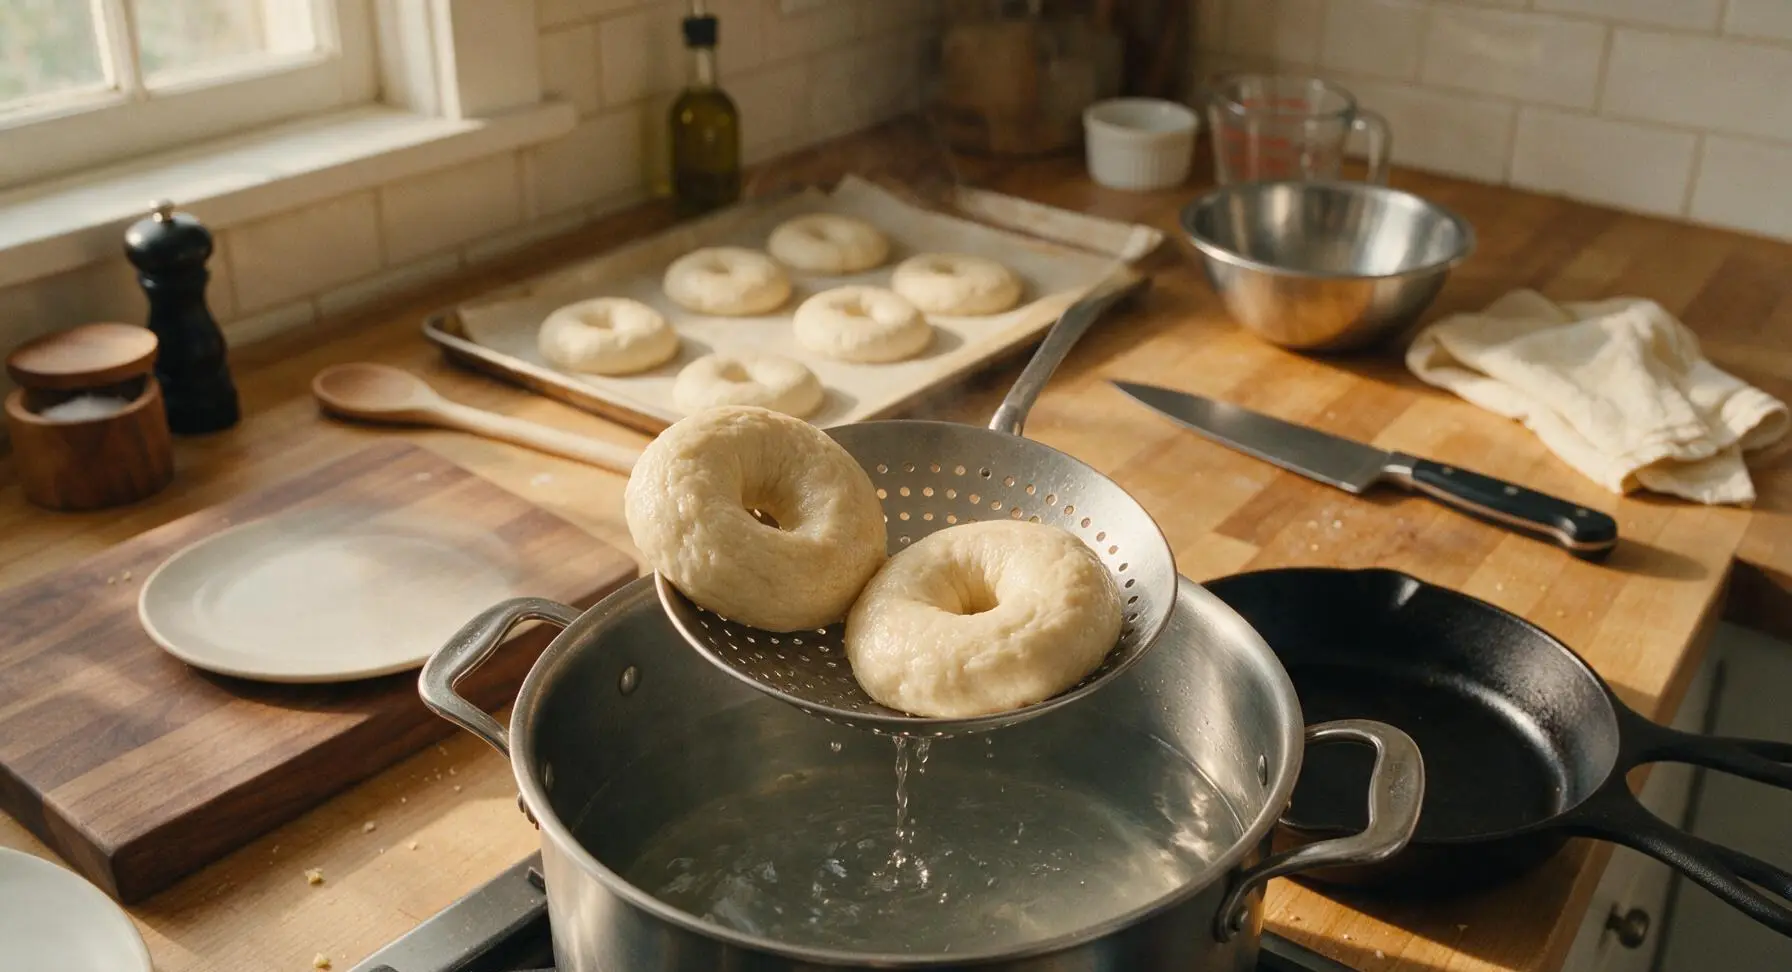
Fill the 8L stainless steel stock pot with 4L of water, bring to a gentle rolling boil, then add the remaining 1 tbsp (15ml) barley malt syrup and 1 tsp baking soda, stirring to dissolve. Working in batches of 2-3 bagels at a time (do not crowd the pot, as this will lower the water temperature too much), gently drop bagels into the boiling water. Boil for 1 minute per side, using the slotted spider strainer to flip each bagel halfway through. Remove boiled bagels from the water, hold the strainer above the pot for 10 seconds to let excess water drain off, then return bagels to the parchment-lined baking sheet.
Bake to Golden Crust
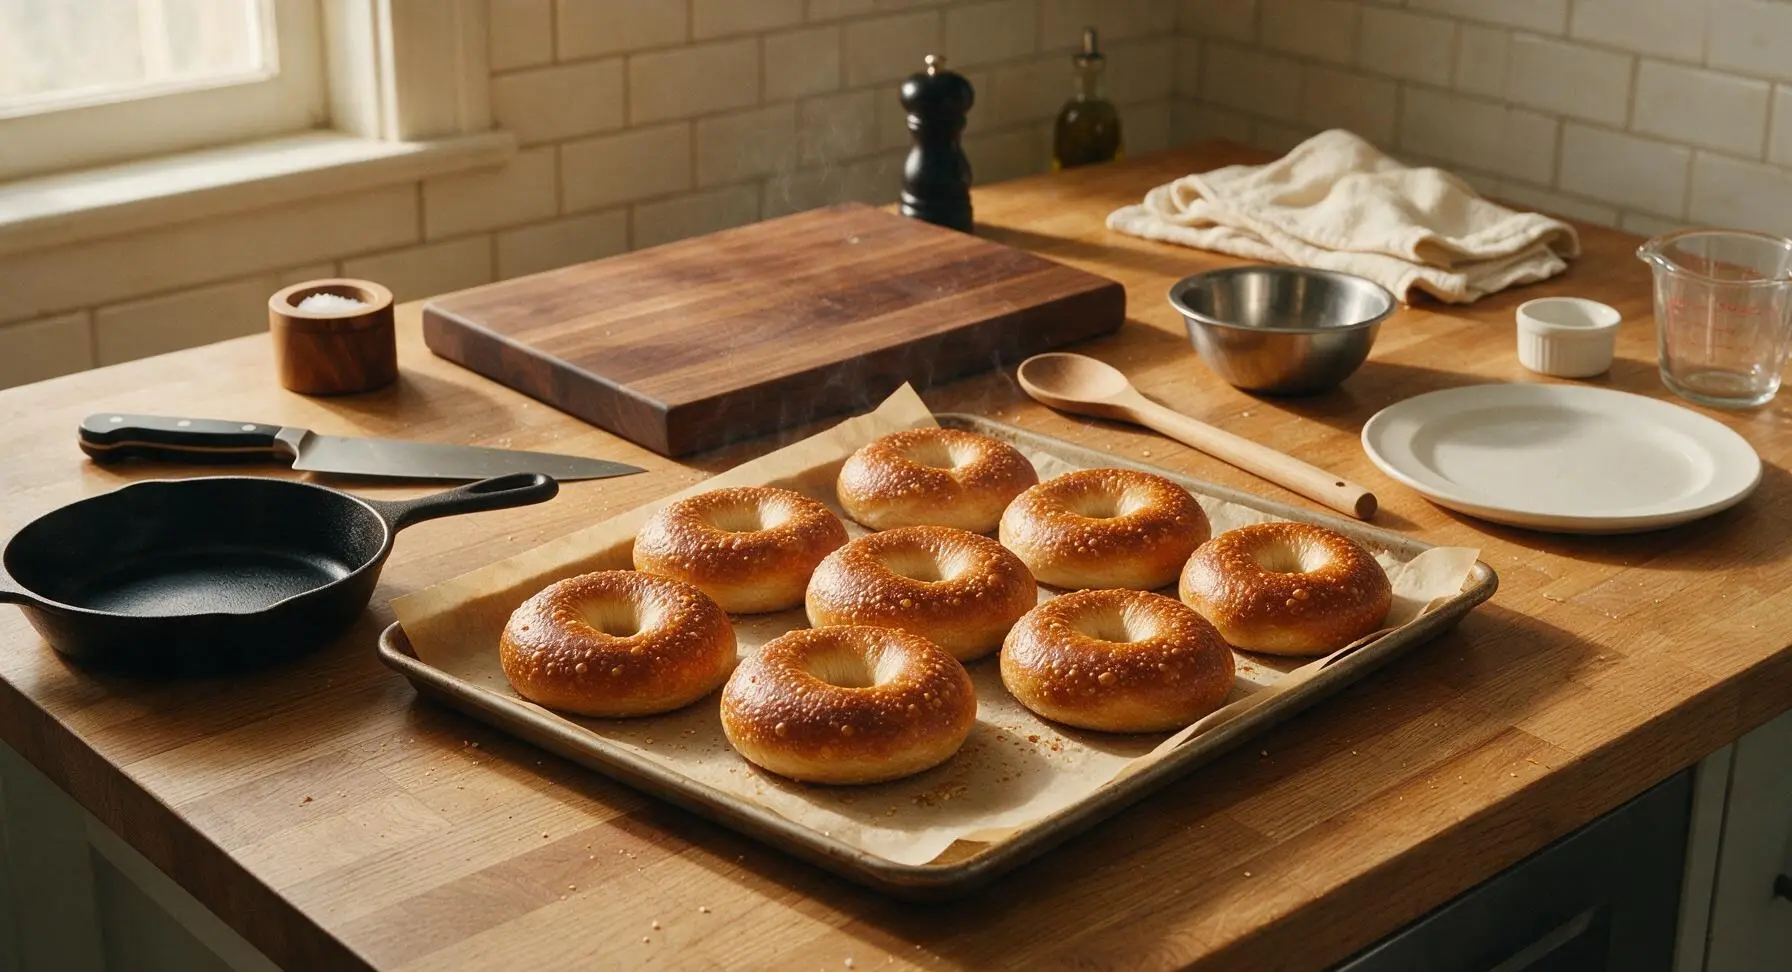
Preheat oven to 220C/425F while bagels boil. Once all bagels are boiled and arranged back on the parchment-lined baking sheet, bake for 20-25 minutes, rotating the sheet 180 degrees halfway through baking to ensure even browning. Bagels are done when they are a deep, even golden brown with small crisp blisters across the surface, and an instant-read thermometer inserted into the thickest part reads 93C/200F.
Cool Bagels Slightly
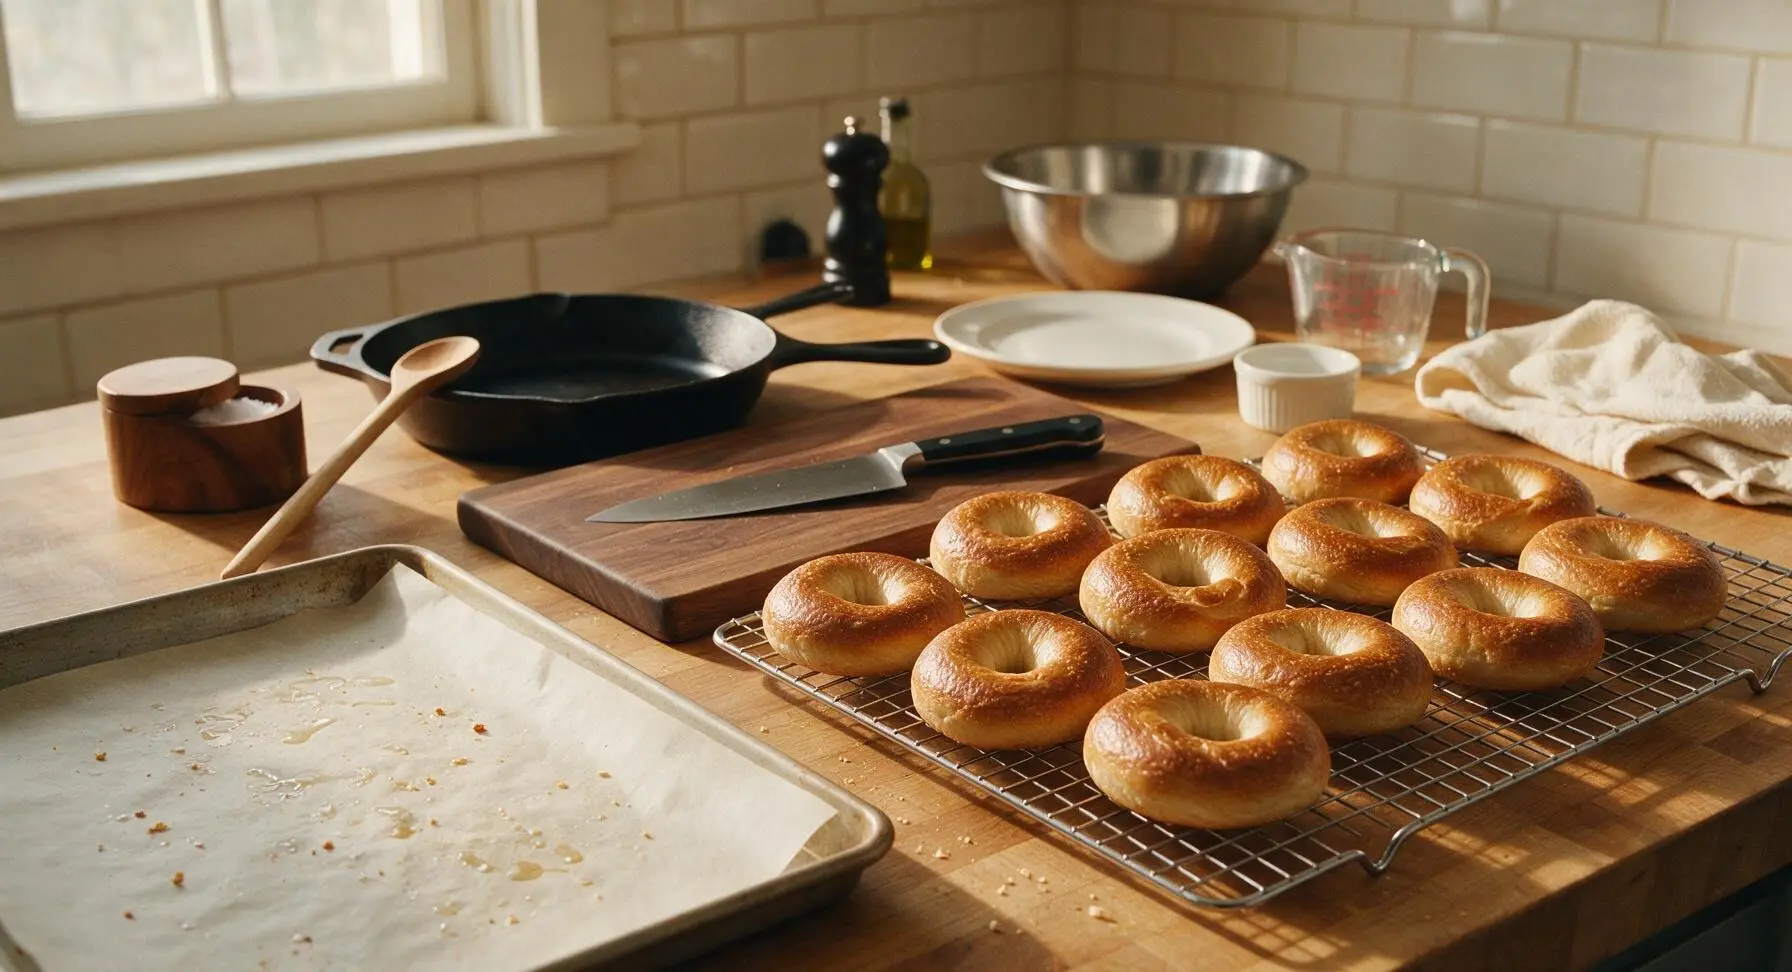
Use the slotted spider strainer or a thin spatula to transfer hot baked bagels from the baking sheet to the chrome wire cooling rack. Let them cool for at least 15 minutes before slicing or serving; cutting into bagels too early will cause the soft crumb to turn gummy as steam escapes too quickly.
Tips
2.Do not skip or shorten the boiling step: the brief hot water bath gelatinizes starch on the bagel surface, creating the shiny, crisp crust and preventing the dough from over-rising in the oven, which keeps the crumb tight and chewy instead of bready.
3.Resist the urge to dust the counter with extra flour while kneading: bagel dough is intentionally stiff and slightly tacky. Adding too much extra flour will dry out the dough, resulting in dense, tough bagels instead of the soft, chewy texture you want.






Tried these for my kid’s soccer team potluck last weekend and they were a total hit! I was worried the medium difficulty meant I’d mess them up, but the 35 minute cook time was totally doable even with my chaotic Saturday morning schedule. Chewy, perfectly plain so people could add their own cream cheese or lox toppings. Will be making these on repeat for meal prep!
Wait, do I *have* to boil them first? I skipped that step once with a different bagel recipe and they turned out like regular round bread, not bagels. Just wanna confirm before I waste a whole batch of flour!
These were pretty good, but mine came out a little denser than I expected. I think I overworked the dough when I was kneading it? Flavor was spot on though, I’ll definitely give it another shot when I have more time to take it slow on the kneading step.
As someone who grew up eating real NYC bagels every Sunday, I was super skeptical of a homemade recipe claiming to be the classic plain version. Let me tell you — these DELIVER. The crust has that perfect crunch, the inside is chewy not bready, I didn’t even have to drive 45 minutes to a good bagel shop this weekend. 10/10.
Quick question — I only have all-purpose flour in my pantry right now, no bread flour. Will that work for this recipe or do I need to run to the store? I’ve been craving bagels all week and don’t wanna make a trip if I don’t have to!
My kids loved it! I’ve been buying frozen bagels for years because I thought making them from scratch would be too much work, but these were so straightforward. My boys ate two each fresh out of the oven with strawberry cream cheese, and asked if we can make them every Sunday from now on. Win for mom!
I added a little everything bagel seasoning to half the batch for my husband, and kept half plain per the recipe, and both were incredible! The plain ones were perfect for making breakfast sandwiches with egg and cheese this morning for my commute. This recipe is going into my permanent weekly rotation.
Full transparency, I’m a total beginner baker and I was intimidated by the medium difficulty rating, but I followed the steps exactly and my bagels turned out perfect! I was shocked. They looked and tasted like they came from a fancy bakery, not my tiny apartment oven.
Wait the cook time says 35 minutes — does that include the time for the dough to rise? I’m trying to plan my morning tomorrow so I don’t end up eating bagels at 2pm lol.
Taste was great, but mine stuck really bad to the baking sheet even though I sprayed it with nonstick spray. Next time I’ll use parchment paper for sure, lost half the crust on the first two I pulled off. Still tasted amazing though, just a messy mishap on my end.
Game changer alert! I used to spend $15 a week on bagels from the local shop, and now I can make a whole batch for like $2 worth of ingredients. The texture is spot on, I even made a double batch yesterday and froze half for quick breakfasts this month. So worth the effort.
I struggled a little getting the bagel shape right — my first few looked like lumpy donuts with weird holes, but by the end of the batch I got the hang of it. They all tasted the same even the ugly ones, so no complaints here! Just don’t get discouraged if your first ones don’t look perfect.
Made these for our family dinner last night as a side to go with creamy tomato soup, and everyone raved about them. I served them with salted butter and honey on the side for dipping, and it was the perfect cozy weeknight meal. Will definitely be making these all fall and winter.
Tried these for the first time this morning and added a little cinnamon sugar to a couple for my daughter, and kept the rest plain per the recipe. The plain ones had that perfect slightly malty flavor I remember from bagel shops when I was a kid. So much better than the grocery store bagels that taste like sweet bread.
These were good, but I had to bake mine almost 10 minutes longer than the recipe said to get them golden brown on the outside. My oven runs a little cool though, so that’s probably on me. Flavor and texture were great once they cooked all the way through, just a heads up for anyone else with a finicky oven.
OMG I can’t believe I made actual bagels at home! I’ve been putting this off for months because I thought bagel making was only for professional bakers, but these were so approachable. I topped mine with chive cream cheese and smoked salmon and felt like I was at a fancy brunch spot without paying $20 for a bagel and coffee.