
Plain Toast
intro
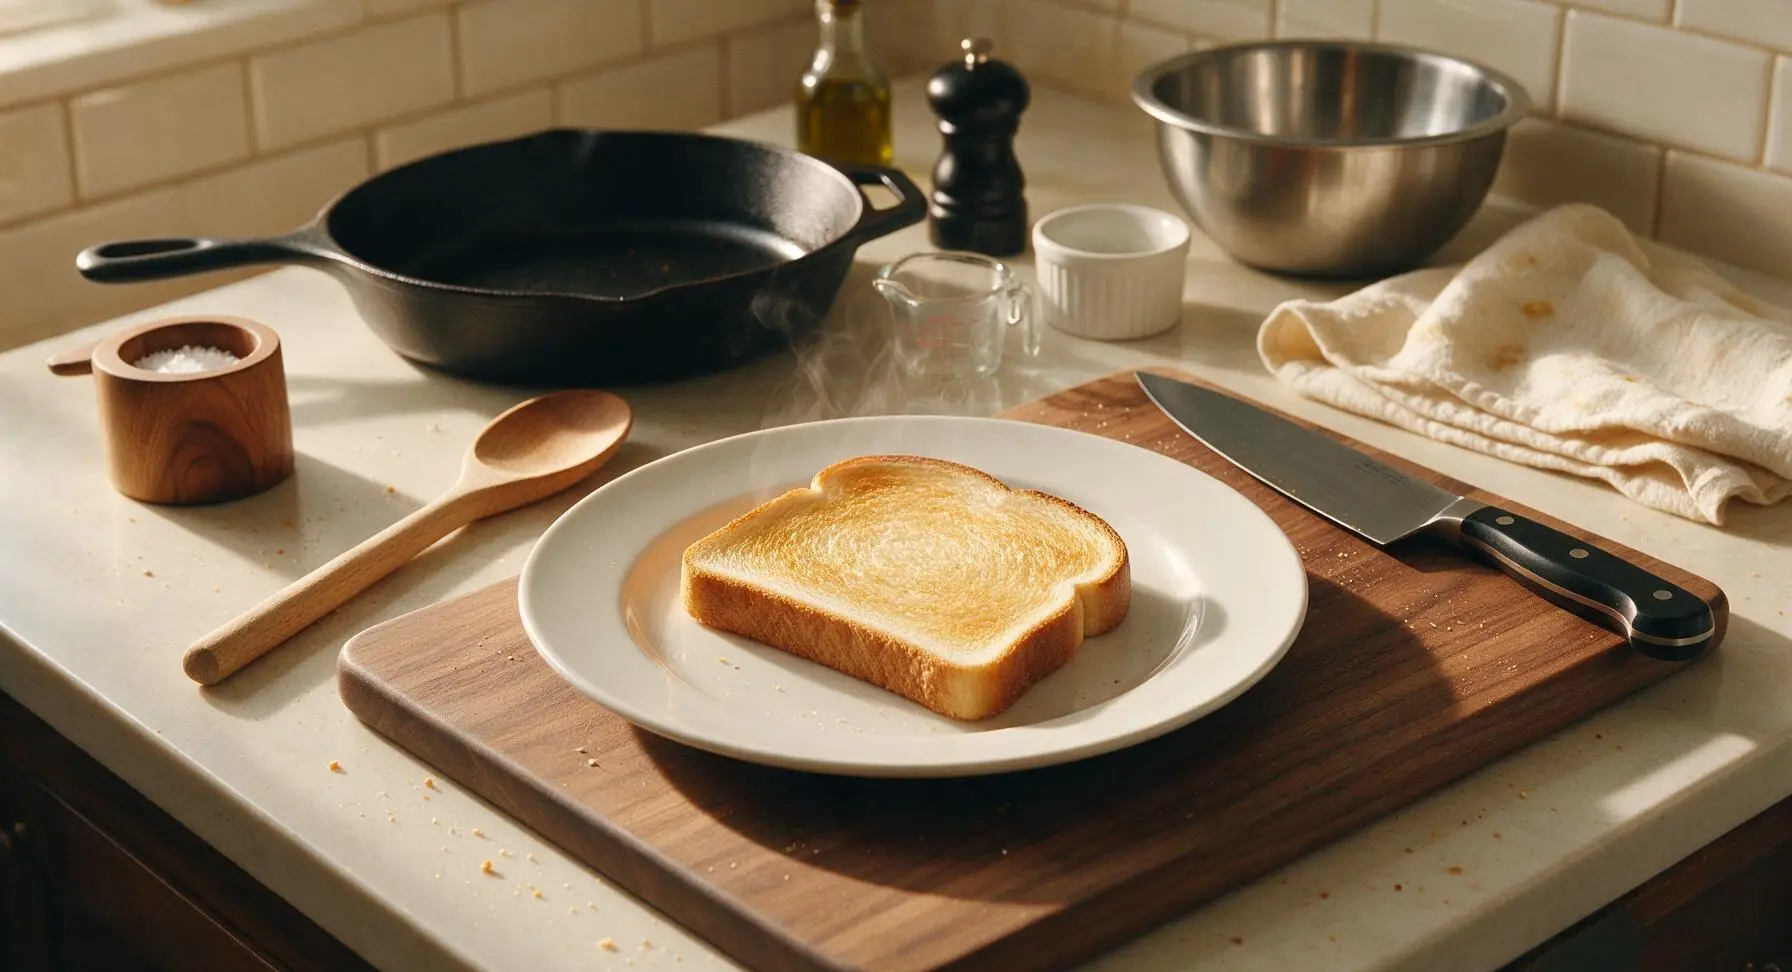
Crisp, golden-edged plain toast with a soft, warm center—the ultimate zero-fuss pantry staple, ready in minutes to enjoy on its own or pair with any sweet or savory topping.
Ingredients
Steps
Prep Toaster and Bread
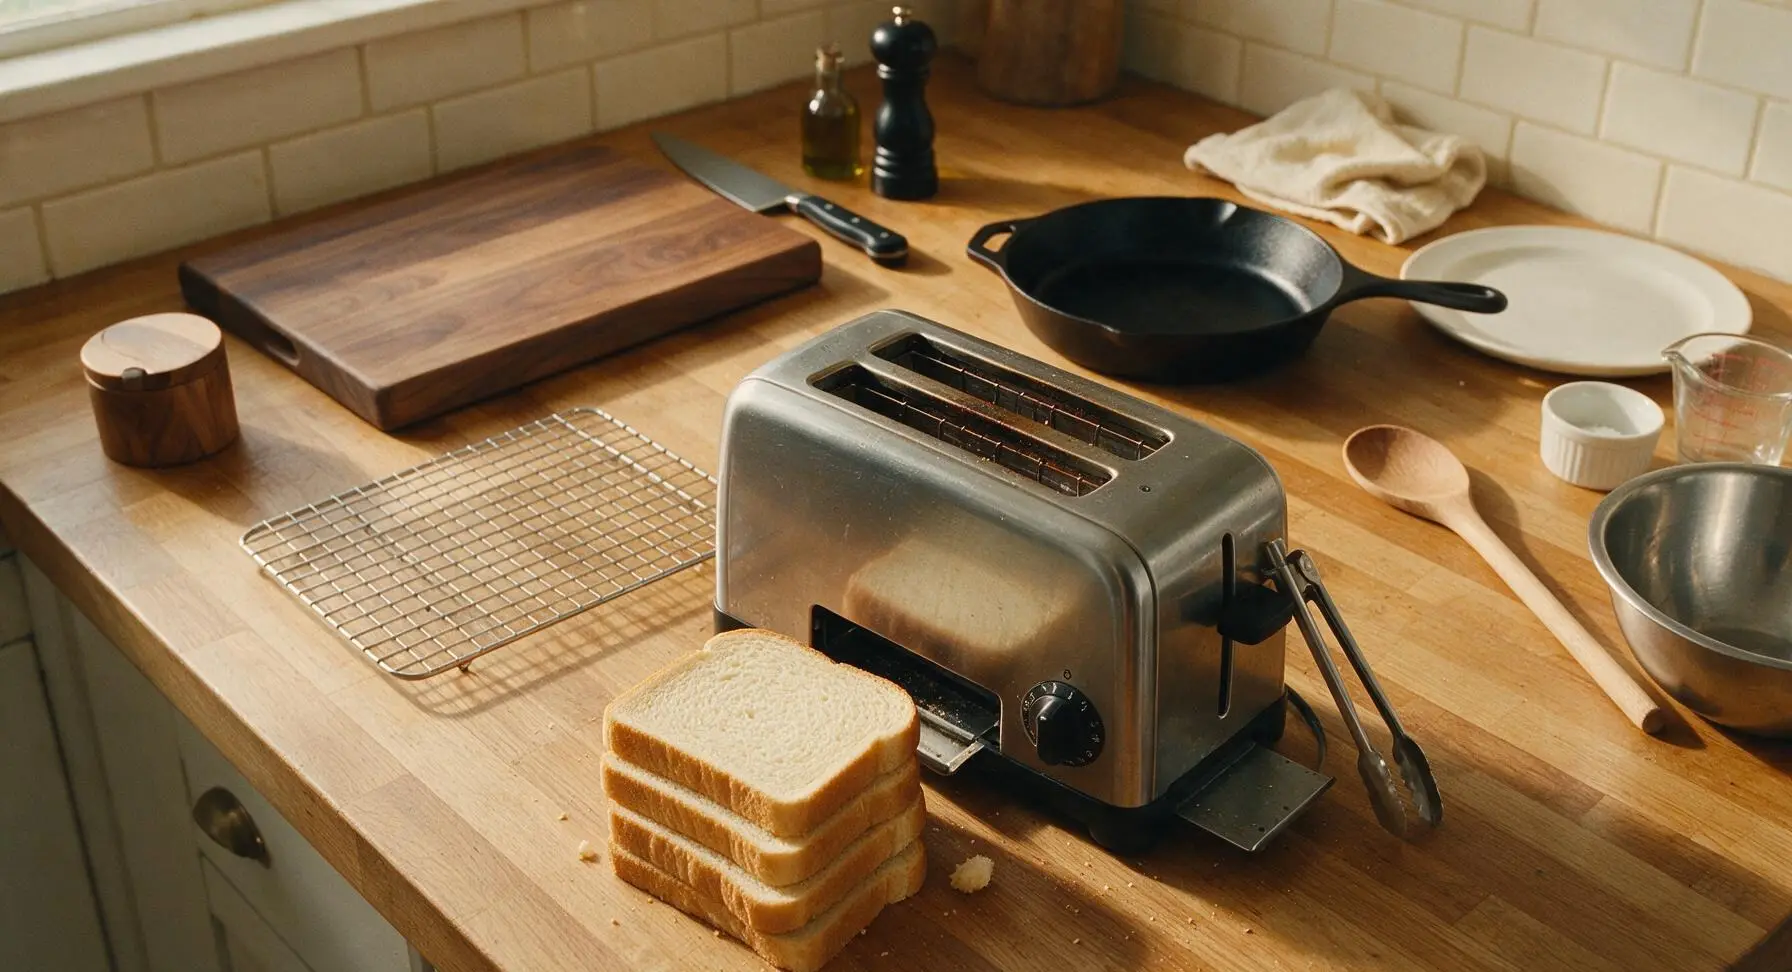
Remove the 4 slices of sandwich bread from their packaging, ensuring slices are fully separated with no ragged torn edges. Plug in the toaster, set the browning dial to medium setting (level 3 out of 6, approximately 175C/350F) for balanced golden color without burning. Slide out the toaster’s removable crumb tray to discard any old burnt crumbs, then replace it for even air flow during toasting.
Load Bread Into Toaster
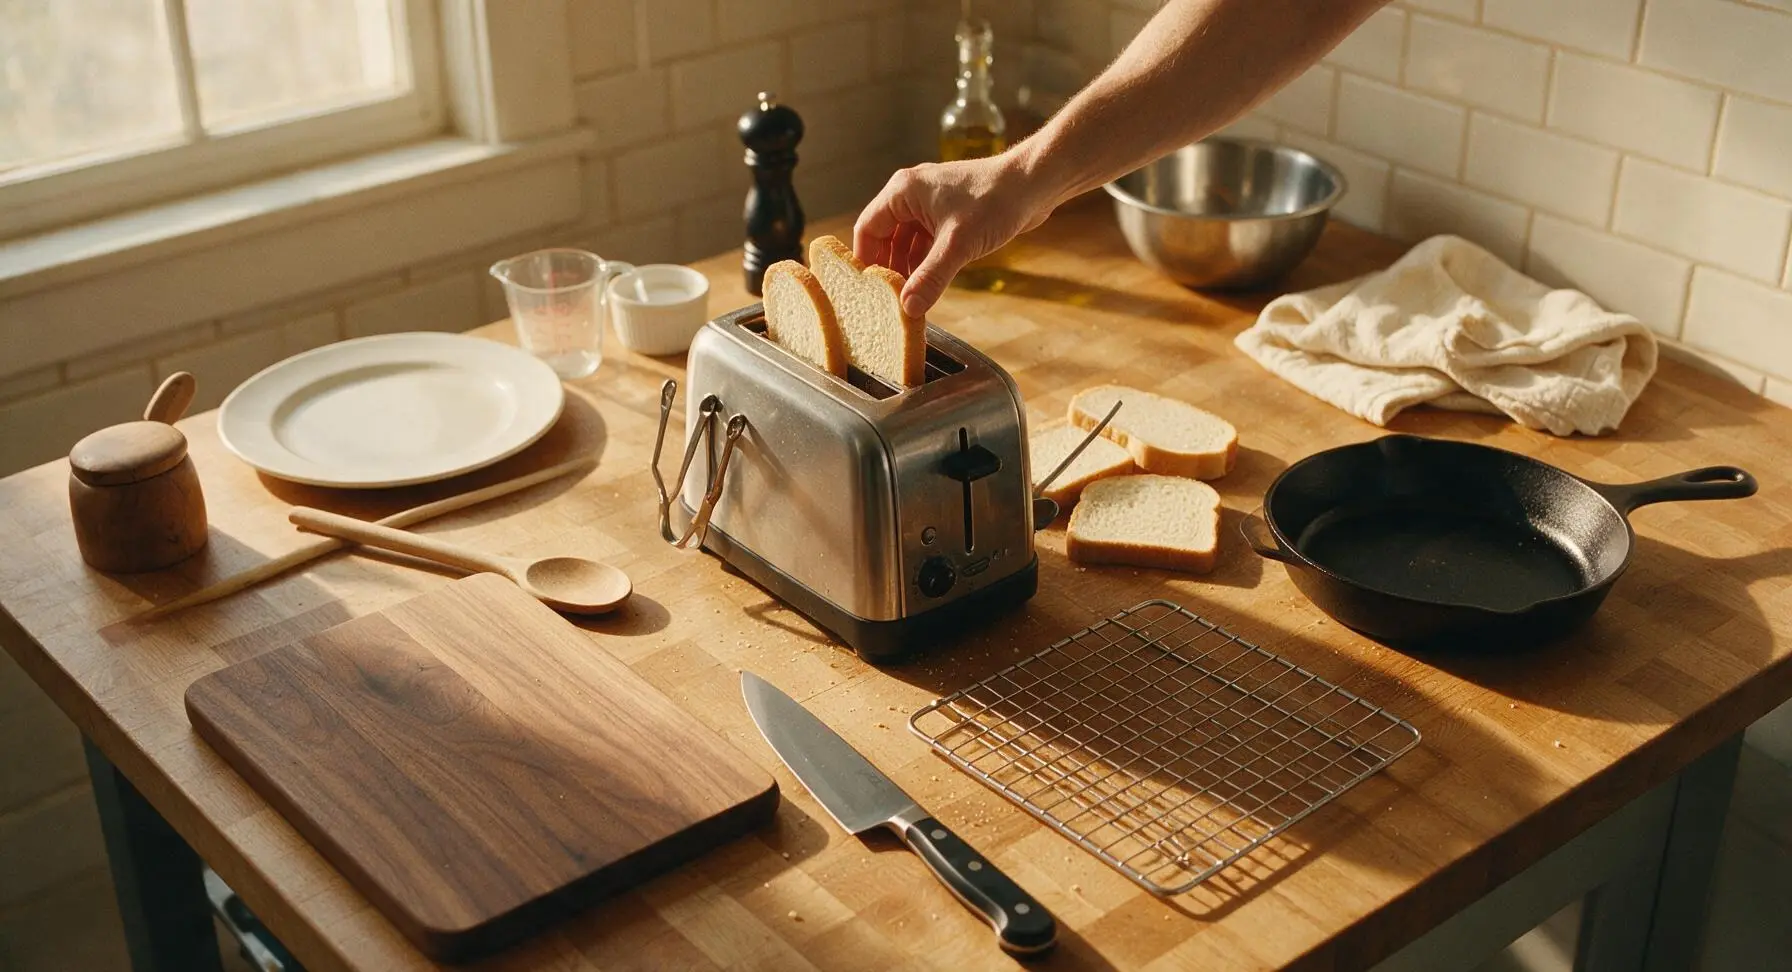
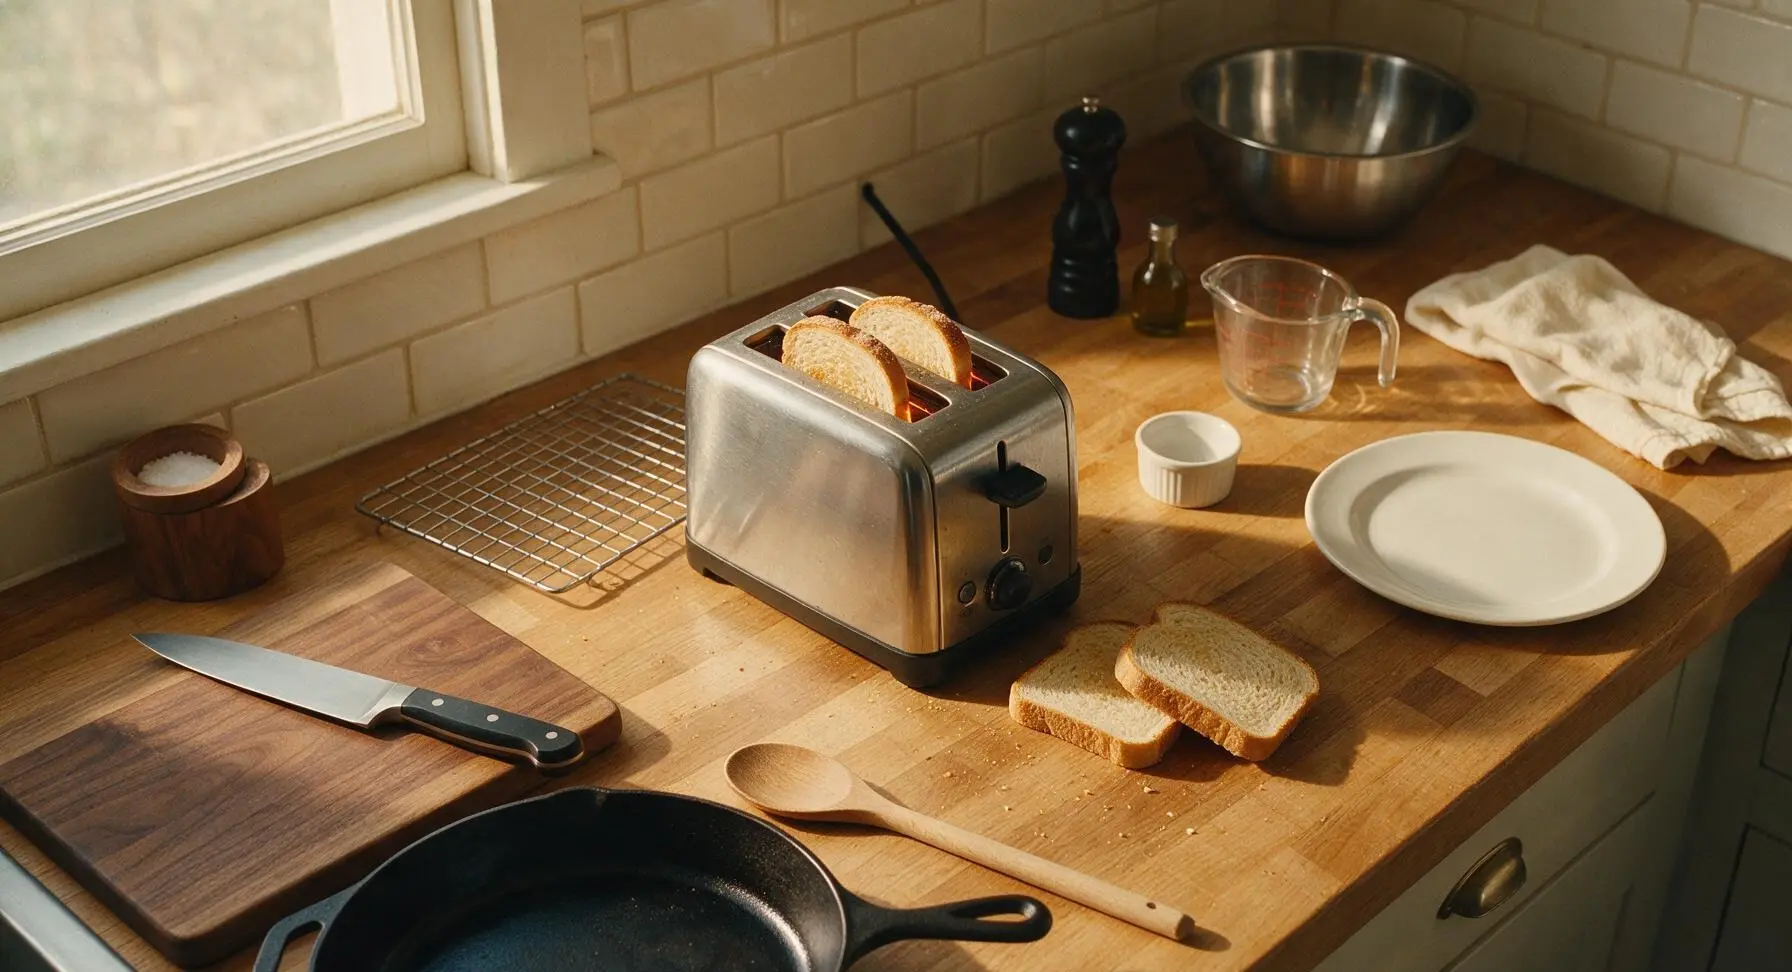
Slide the crumb tray fully back into place. Place two slices of bread into the toaster slots, ensuring each slice sits evenly upright, not folded or wedged against the metal heating elements. Do not overcrowd slots—cook in two batches of two slices each for consistent air flow and even browning across every slice.
Toast First Bread Batch
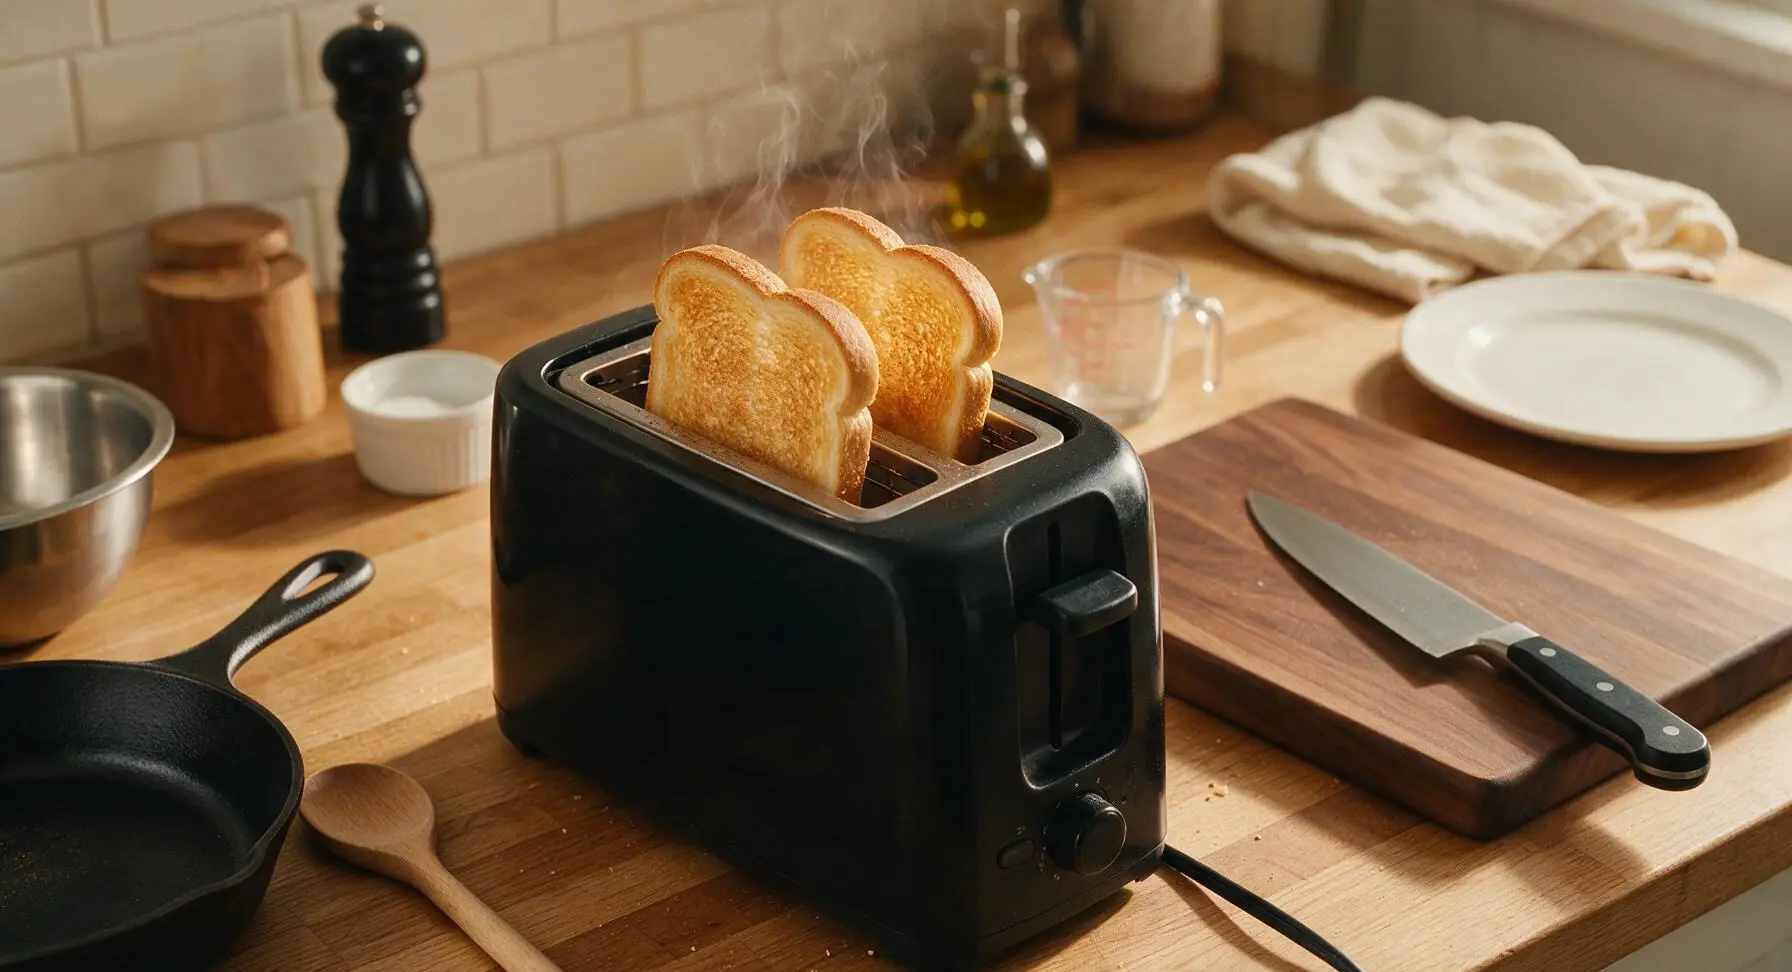
Press the toaster lever down fully to lower the bread into the heating chamber. Cook for 2 to 2.5 minutes, until the lever automatically pops up to signal the cycle is complete. Do not press the lever down repeatedly or lift it early to peek, as this releases built-up heat and causes uneven browning or soggy toast.
Transfer Toast to Rack
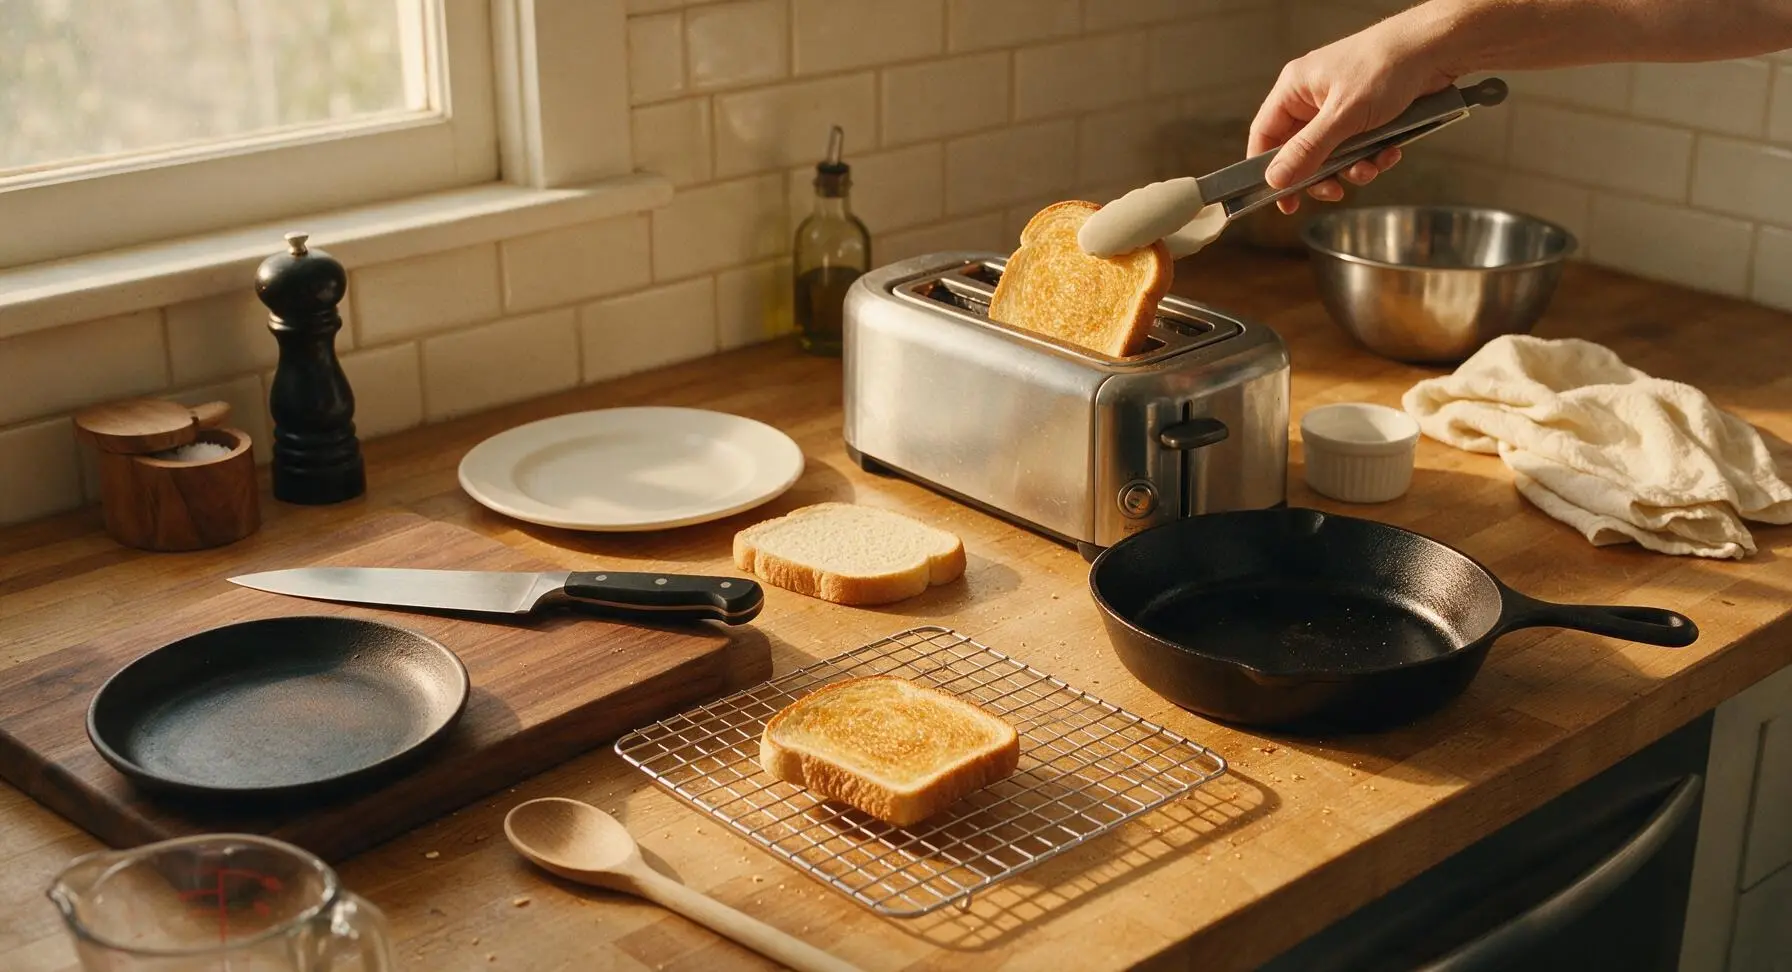
Unhook the silicone-tipped tongs from the side of the toaster, and use them to gently lift the hot toasted slices from the toaster, taking care not to squeeze the bread too hard (which compresses the soft, airy center). Place the slices in a single, unstacked layer on the chrome wire cooling rack to rest for 30 seconds—this prevents the bottom surface from trapping steam and turning soggy against a solid plate.
Toast Second Batch
Place the remaining two slices of bread into the empty toaster slots, confirm the browning dial is still set to medium level 3, and press the lever down to start the second 2 to 2.5 minute toasting cycle. Wait for the automatic pop-up before removing, checking that the second batch matches the deep golden edge color of the first batch for consistent results.
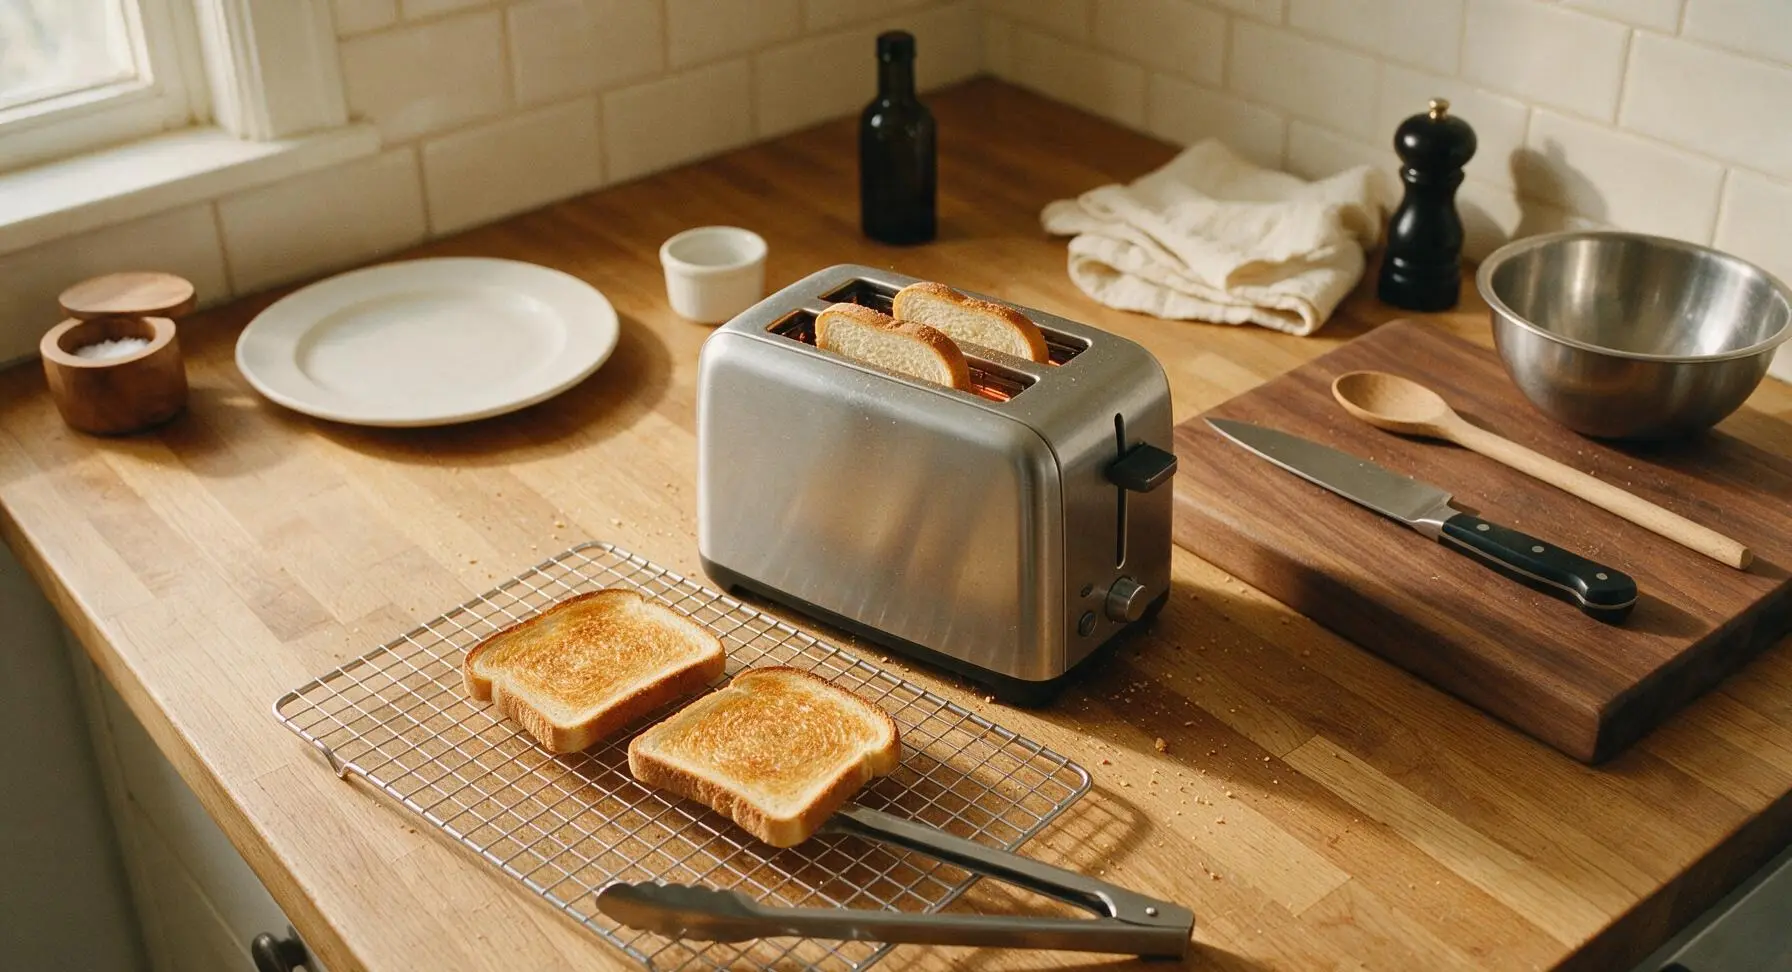
Plate and Serve Toast
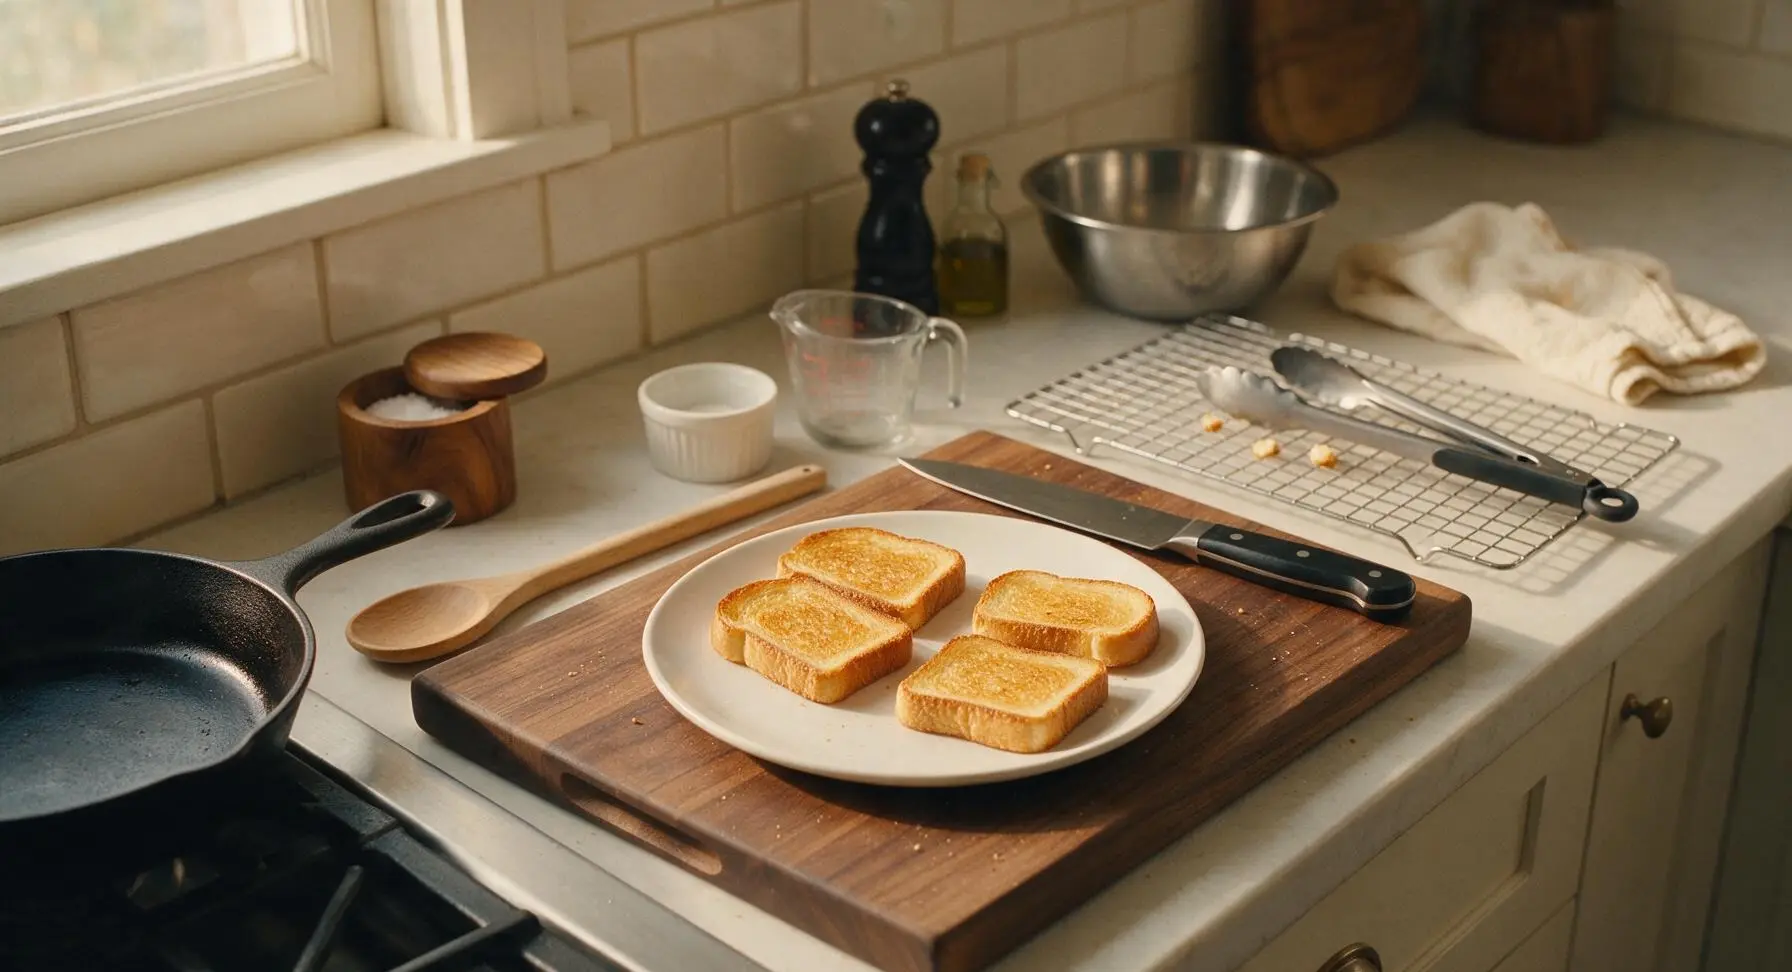
Once the second batch of toast finishes toasting, use the tongs to transfer slices to the empty space on the wire cooling rack to rest for 30 seconds. Arrange all four slices on the cream white ceramic breakfast plate in two slightly offset pairs, and serve immediately. Avoid stacking hot toast tightly for long periods, as trapped steam will soften the crisp, golden crust.
Tips
2.Use 1.5cm thick sliced bread for the best texture: thinner slices (under 1cm) will burn easily and turn brittle, while extra-thick slices (over 2cm) will develop a dark, dry outer layer but remain cold and un-toasted in the center.
3.Avoid lifting the toaster lever mid-cycle to check on browning: this releases trapped heat from the toaster chamber, leading to uneven pale spots and longer total cook time. If toast is browning too quickly, turn the browning dial to a lower setting for the next batch instead of interrupting the active cycle.






OMG this is exactly what I needed for chaotic school mornings! I’ve been burning my toast for weeks somehow, and this 5 minute method turns out perfectly golden every single time. My kids loved it — they even asked for seconds before running out to the bus! SO good.
Super easy, no fancy ingredients needed which is perfect for my dorm kitchen. I only had cheap white sandwich bread on hand and it still came out crispy on the outside, soft in the middle. Only knock is I wish it mentioned how to adjust for super thick sourdough slices?
Absolute classic. I made this for our weekend potluck brunch spread and people were raving about how perfectly crispy the toast was to go with the jam and butter platter. Who knew simple could taste so good?
Game changer for my weekly meal prep! I make a big batch of this plain toast on Sundays, store it in an airtight container, and it holds up great for quick avocado toast, egg toasts, or even PB&J for lunch all week. Saves me so much time on rushed work mornings.
I’ve been making toast for 60 years and I still picked up a little tip from this recipe! I never thought to pull it out just as the edges turn pale gold instead of waiting for deep brown, and it’s so much softer and less crumbly this way. My grandbabies gobbled it up with cinnamon sugar last weekend.
Just made this for a 2am snack after my shift at the hospital and it hit SO hard. Buttered up perfectly, no burnt spots, exactly the comfort food I needed after a 12 hour shift. 10/10 no notes.
It’s fine? It’s plain toast, like, exactly what it says on the tin. Cooked evenly for me but there’s not much to rave about here. Works if you need a basic toast recipe I guess.
Hosted a little girls’ brunch yesterday and used this recipe for all the toast points for our charcuterie and mimosa spread. Not a single slice left! Everyone kept asking how I got the toast so evenly crisp without any burnt edges. Total win.
First time ever making toast without setting off the smoke alarm, y’all. I’m 22 and just moved into my first apartment, so this idiot-proof 5 minute recipe was exactly what I needed. No more frozen waffles for me!
Works perfectly with my gluten-free multigrain bread! I usually have to toast gluten free bread twice to get it crispy, but following the timing here got it right on the first go. Only reason it’s not 5 stars is I wish it had a note about gluten free bread adjustments for folks who need it.
Used this method over my camp stove last weekend on a cast iron skillet and it turned out perfect! No fancy toaster needed, just a little butter in the pan and 5 minutes, and we had warm toast to go with our camp coffee and eggs. Will definitely be making this on every trip now.
My super picky toddler who refuses 90% of the food I make ate two whole slices of this toast cut into little sticks with a side of jam for breakfast today. I could cry. This is going into our permanent weekly breakfast rotation, no questions asked.
There is nothing better than a perfectly crisp slice of plain toast with a pat of salted butter to go with my morning pour over coffee. People overcomplicate breakfast so much these days — this is all I need, honestly. Tastes like childhood.
Quick, easy carb source right after my morning runs. I top it with a little peanut butter and banana and it’s the perfect light post-workout meal that doesn’t weigh me down before I start my work day. 5 minutes flat is exactly the cook time I need when I’m rushing to shower and log on.
I run a little corner cafe in my small town and I’ve been using the timing trick from this recipe for our breakfast toast orders for the last two weeks. We’ve gotten so many compliments on how consistent the toast is now! No more random burnt slices going out to customers, total game changer for our little morning rush.
Made this when we were snowed in last week when we had basically no food left in the fridge except a loaf of bread and some butter. It was warm, cozy, and hit the spot while we watched the snow pile up outside. Simple food really is the best sometimes.
Tried making this in my air fryer instead of a toaster since my toaster broke last month, and it worked great! 400 degrees for 3 minutes, flip once, perfect toast. Would love if the recipe added air fryer instructions for folks without a toaster.