
Polish Pierogi with Sour Cream

title 1
Polish Pierogi with Sour Cream
⏱️ cook time 1 hour 15 minutes
🍽️ servings 4
⚡ Difficulty medium

intro

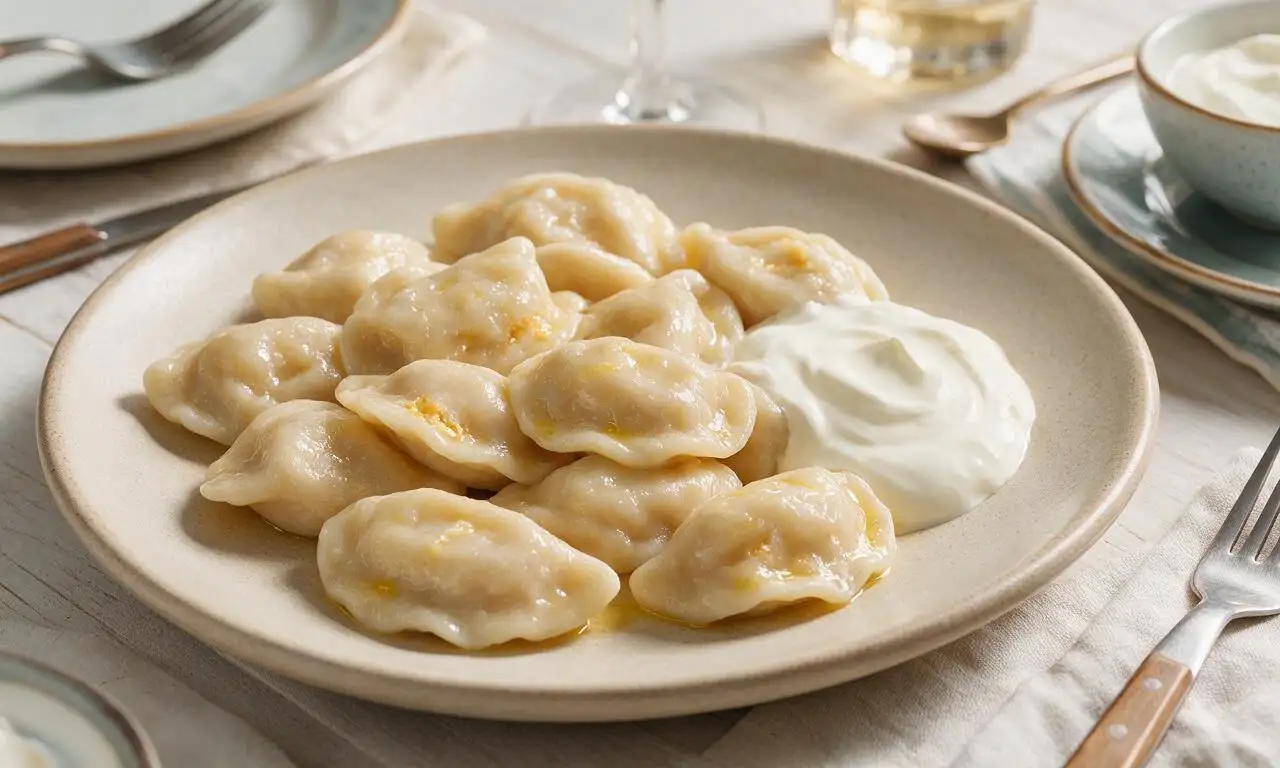
Tender, pillowy potato-cheese dumplings, boiled and lightly buttered, served with tangy cool sour cream: a cozy, beloved Eastern European comfort food classic.

Ingredients

All-purpose flour 480g (4 cups)
Large egg 1 unit (50g)
Warm water 180ml (3/4 cup)
Fine sea salt 5g (1 tsp)
Russet potatoes 680g (3 medium, peeled and cubed)
Farmer's cheese (twarog) 225g (1 cup, crumbled)
Yellow onion 150g (1 medium, diced)
Unsalted butter 56g (4 tbsp)
Full-fat sour cream 240ml (1 cup)

Steps

1

Mix the pierogi dough

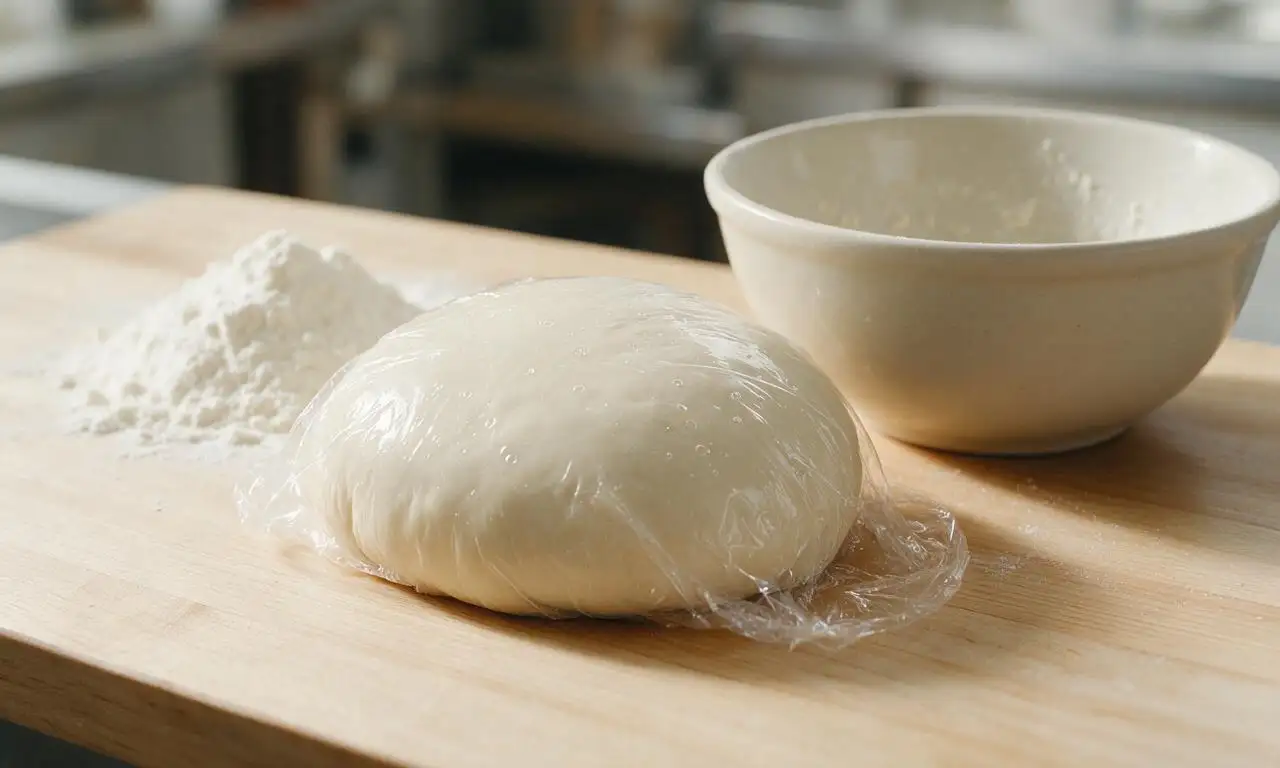
Mound 480g (4 cups) all-purpose flour on a clean work surface, make a well in the center, add 1 large beaten egg, 180ml (3/4 cup) warm (43C/110F) water, and 1/2 tsp (2.5g) fine sea salt. Gradually incorporate flour into the wet ingredients, then knead for 8-10 minutes until smooth, elastic, and no longer sticky. Wrap tightly in plastic wrap and let rest at room temperature for 30 minutes to prevent shrinkage when rolling.
Step 1
step1:Mix the pierogi dough
2

Make the potato filling

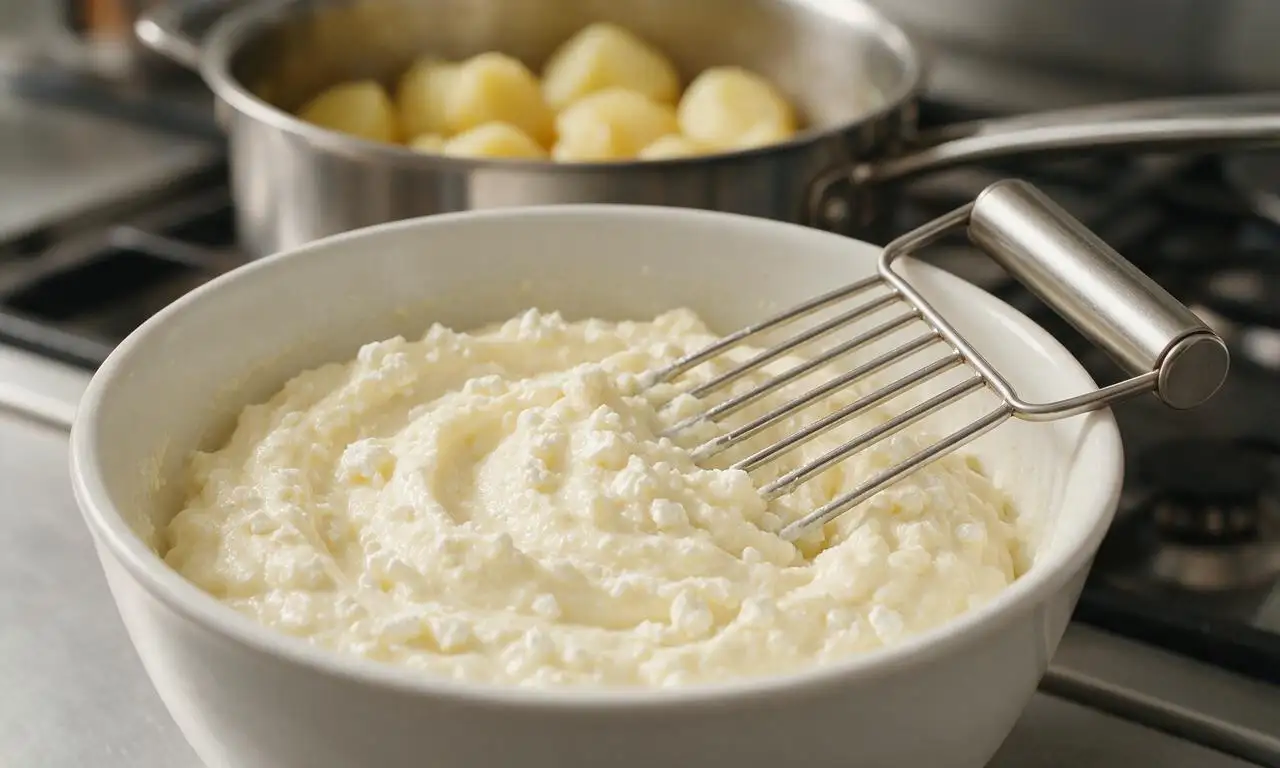
Place 680g (3 medium) peeled, 2cm-cubed russet potatoes in a large pot, cover with 2 liters of cold salted water, bring to a rolling boil over medium-high heat, then simmer for 12-15 minutes until fork-tender. Drain fully, then mash with 225g (1 cup) crumbled farmer's cheese, 1 tbsp (14g) melted unsalted butter, and remaining 1/2 tsp (2.5g) salt until completely smooth with no lumps. Let cool to room temperature for 20 minutes before assembling to avoid melting the dough.
Step 2
step2:Make the potato filling
3

Roll and cut dough rounds

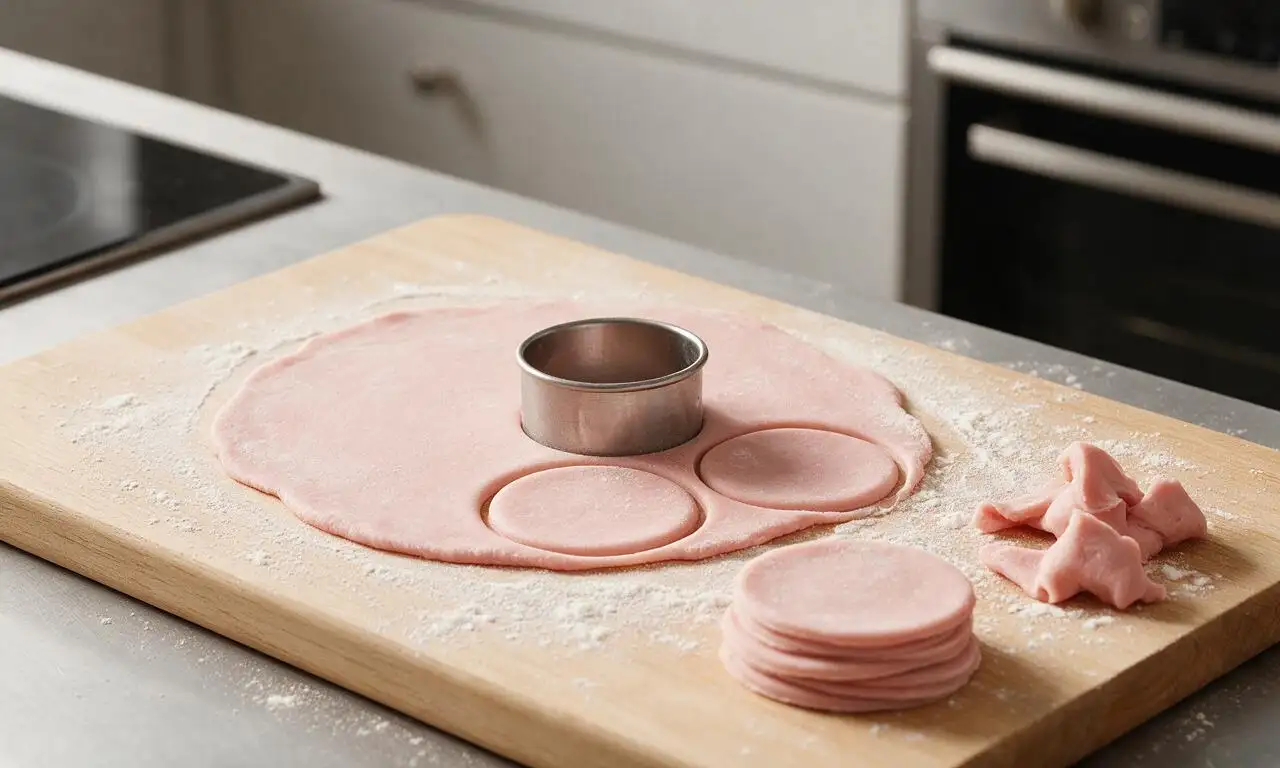
Unwrap the rested dough, cut into 4 equal portions, and roll one portion out on a lightly floured surface to 2mm (1/16 inch) thickness, keeping remaining dough covered with a damp kitchen towel to prevent drying. Use a 7.5cm (3 inch) round cookie cutter to cut clean circles from the rolled dough, gathering scraps to re-roll only once (overworking scraps will make tough dough). You will yield approximately 32 dough rounds total, 8 per serving.
Step 3
step3:Roll and cut dough rounds
4

Fill and seal pierogi

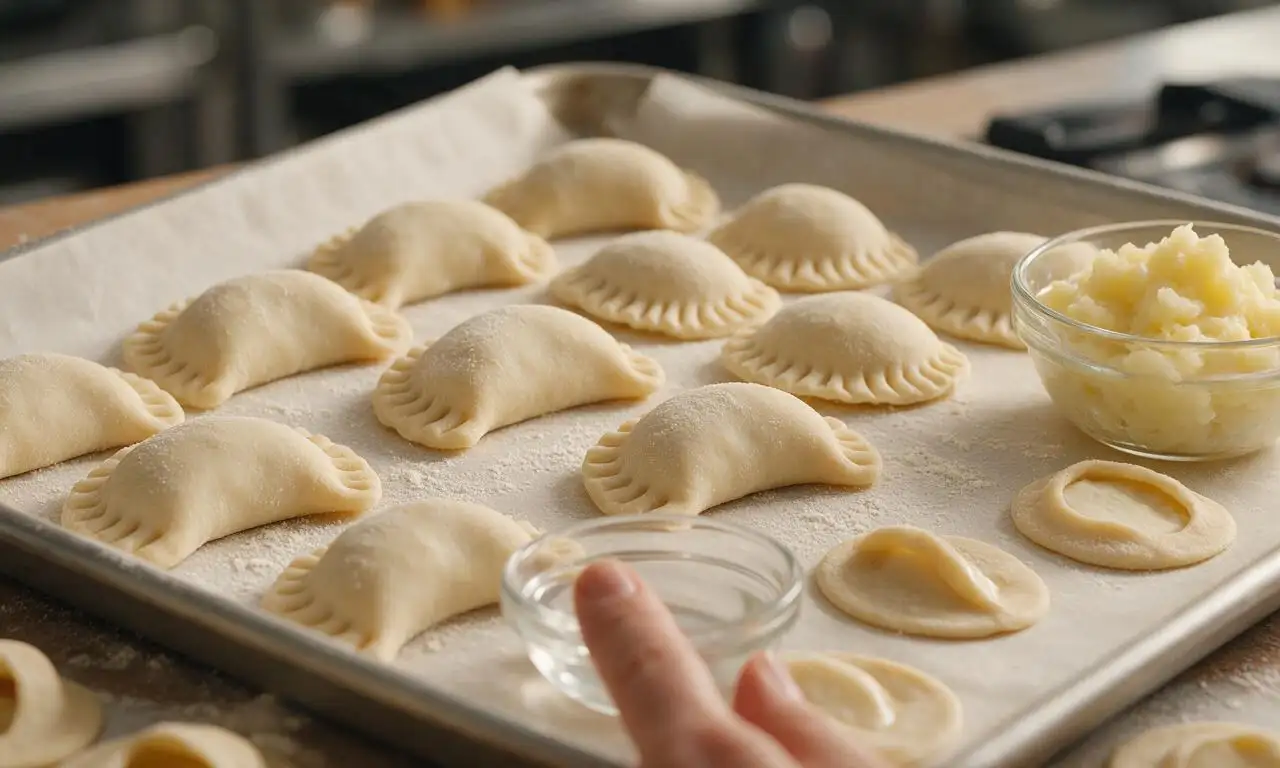
Scoop 1 tsp (5g) of cooled potato filling into the exact center of each dough round. Moisten the half-edge of the circle with a tiny amount of cool water using your fingertip, then fold the dry half over the filling to meet the moistened edge, forming a half-moon shape. Press edges firmly together to squeeze out any trapped air, then crimp with the tines of a fork to create a tight, decorative edge, ensuring no filling is trapped in the seal. Set assembled pierogi on a lightly floured baking sheet, spaced so they do not touch, to avoid sticking.
Step 4
step4:Fill and seal pierogi
5

Boil the pierogi

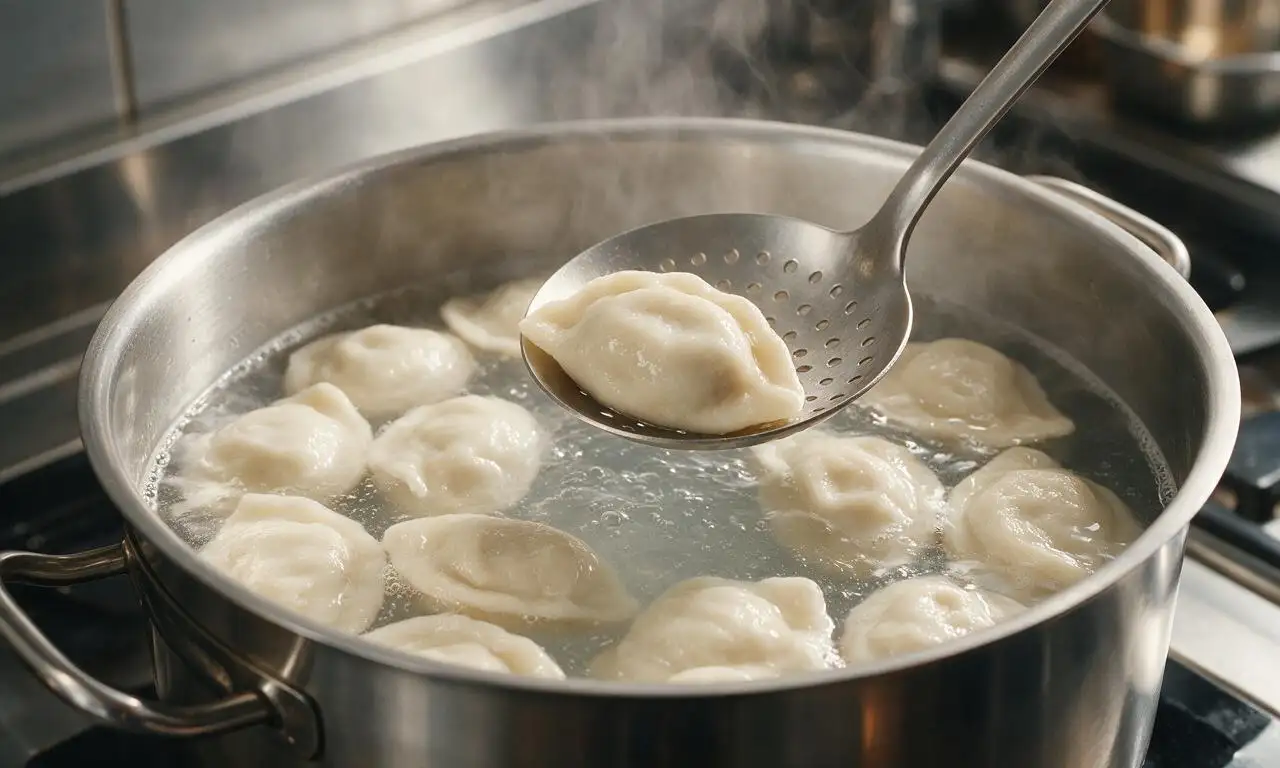
Bring 4 liters of heavily salted water to a rolling boil over high heat. Add 8-10 pierogi at a time (do not overcrowd the pot), stirring gently immediately after adding to prevent sticking to the pot bottom. Cook for 3-4 minutes, until pierogi float to the water surface, then continue cooking for 1 additional minute to ensure the dough is fully cooked. Remove with a slotted spoon, drain excess water, and transfer to a plate brushed with 1 tbsp (14g) melted butter, turning once to coat lightly and prevent sticking.
Step 5
step5:Boil the pierogi
6

Sauté onion and serve

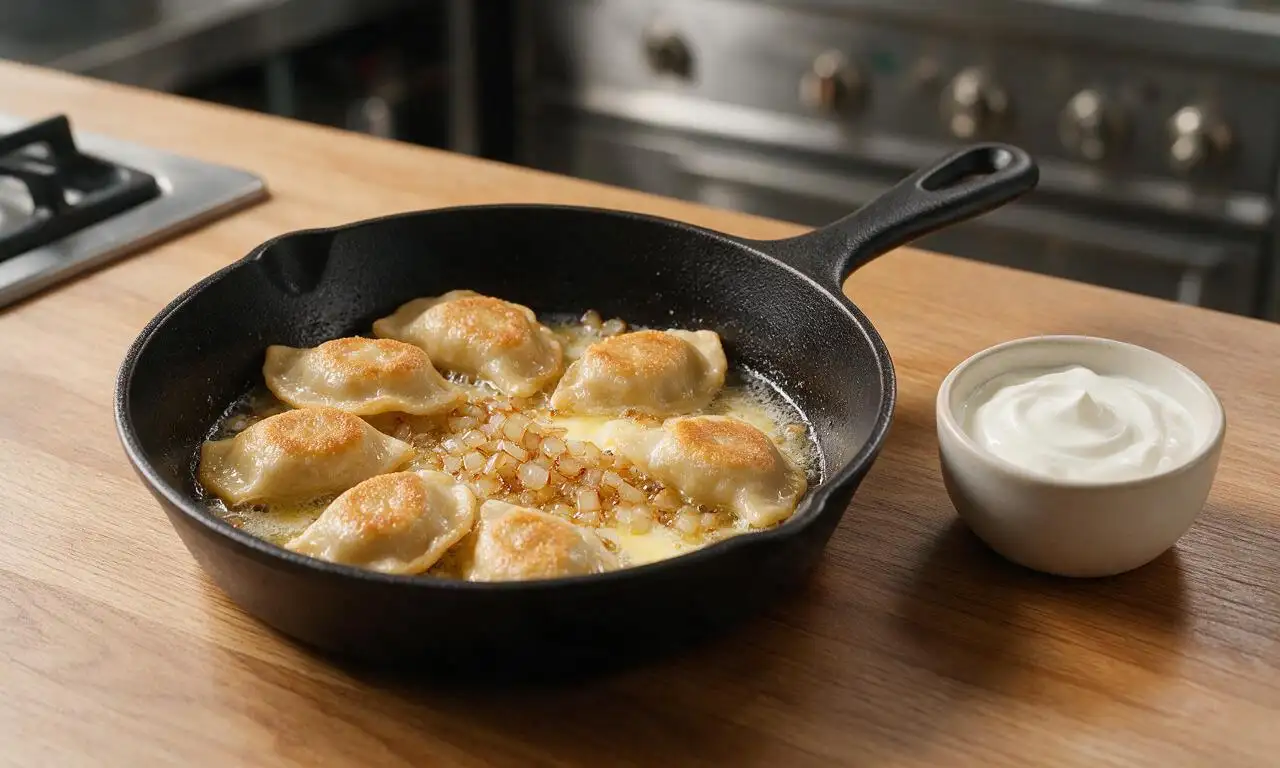
Heat remaining 2 tbsp (28g) unsalted butter in a large skillet over medium heat. Add 150g (1 medium) finely diced yellow onion, sauté for 6-7 minutes, stirring occasionally, until soft and pale golden brown. Add boiled pierogi to the skillet in batches, pan-fry for 1 minute per side until lightly golden (this step is optional for a crisp exterior). Serve hot, topped with caramelized onion and a generous 60ml (1/4 cup) dollop of full-fat sour cream per serving.
Step 6
step6:Sauté onion and serve

Tips

1.Avoid overfilling pierogi: even a small amount of filling caught in the sealed edge will cause dumplings to burst during boiling, leading to broken, waterlogged pierogi.
2.Do not skip the 30-minute dough rest: this relaxes gluten strands, making the dough easy to roll without shrinking, and produces a tender rather than tough final texture.
3.Use full-fat sour cream for serving: low-fat or non-fat sour cream has a watery, thin consistency and lacks the rich, tangy flavor that pairs perfectly with warm pierogi.


✨ You May Also Like

Main Course
🍜 United Kingdom

A showstopping classic of tender seared beef, savory mushroom duxelles, and crisp prosciutto wrapped in flaky golden puff pastry, baked to juicy perfection.

⏱️ 2 hours 1Main Course ★ 4.7
Main Course
🍜 India

Tender charred marinated chicken simmered in a rich, spiced creamy tomato sauce, this iconic Anglo-Indian curry pairs perfectly with basmati rice or warm naan.

⏱️ 50 minuteMain Course ★ 4.6
Main Course
🍜 Thailand

Classic tangy, sweet, and savory Thai stir-fried rice noodles with shrimp, tofu, and crunchy garnishes, balancing all five core Thai flavor profiles.

⏱️ 30 minuteMain Course ★ 4.5
Main Course
🍜 United Kingdom

Crispy golden beer-battered cod and fluffy double-fried chips, served with tangy tartar sauce and malt vinegar: the timeless, beloved British pub comfort classic.

⏱️ 45 minuteMain Course ★ 4.7
Main Course
🍜 Mexico

Smoky, chile-marinated pork tacos with caramelized pineapple, fresh cilantro, and lime: a beloved classic Mexican street food perfect for casual summer gatherings.

⏱️ 1 hour 45Main Course ★ 4.8
Main Course
🍜 United States

Crunchy Fritos corn chips layered with savory beef chili and melted cheddar, topped with cool, zesty fixings for a beloved, cozy Tex-Mex comfort food.

⏱️ 35 minuteMain Course ★ 4.8

Polish Pierogi with Sour Cream:Frequently Asked Questions

1.Why did my pierogi dough turn out tough instead of soft and pillowy? ▾
Tough pierogi dough almost always comes from over-kneading (which overdevelops gluten in the all-purpose flour), adding too much extra flour when rolling, or skipping the 20–30 minute rest period after mixing. Knead just until the dough forms a smooth, soft ball, flour your surface lightly, and let it rest covered so gluten relaxes before rolling.
2.Why does this recipe specify russet potatoes for the filling instead of other potato varieties? ▾
Russet potatoes are high in starch and low in moisture, which creates the light, fluffy, smooth mash that is ideal for classic pierogi filling. Waxy varieties like red potatoes or Yukon Golds have a denser, firmer texture and higher moisture content that can make filling heavy, turn dough soggy, and cause seals to break during boiling.
3.What does the egg do in pierogi dough, and can I leave it out for an egg-free version? ▾
The large egg in this dough adds subtle richness, strengthens structure, and helps the dough hold together better during rolling and boiling so it is less likely to tear. For an egg-free swap, replace the egg with ¼ cup extra warm water mixed with 1 teaspoon neutral oil; just note the dough will be softer and require gentler handling.
4.How do I crimp pierogi properly so they don’t burst open while boiling? ▾
After placing a scoop of filling in the center of each rolled dough circle, fold the dough over to make a half-moon shape. Pinch the top edge firmly to seal first, then work your way down both sides, pressing out any trapped air as you go. You can use a fork to crimp edges for a tight, easy seal if you’re new to shaping, just check for thin gaps filling could leak through.
5.How do I stop cooked pierogi from sticking together after I boil them? ▾
First, don’t overcrowd your boiling pot—cook 6 to 8 pierogi at a time so they have room to move without clumping. Once they float to the surface (the clear sign they’re fully cooked), scoop them out with a slotted spoon instead of dumping them into a colander, and toss them gently with a small pat of melted butter right away to coat their surfaces.
6.Can I freeze assembled, uncooked pierogi for quick future meals? ▾
You sure can—pierogi freeze beautifully with almost no loss of texture! Arrange assembled, uncooked pierogi in a single layer on a parchment-lined baking sheet, freeze until solid (about 2 hours), then transfer to a labeled freezer bag for up to 3 months. Boil them straight from frozen, no thawing needed, just add 1 to 2 minutes to cook time until they float.
7.My pierogi always taste bland—what’s the best way to season them properly? ▾
Start by adding the measured fine sea salt to the dough itself, and heavily salt your boiling water (it should taste as salty as seawater) so the dough absorbs seasoning as it cooks. Taste and adjust salt in the potato filling before assembling, and don’t skip the tangy sour cream topping—it cuts through richness and brightens every bite.
8.Is boiling the only way to cook these pierogi, or can I pan-fry them too? ▾
This classic recipe calls for boiling pierogi then tossing them with light butter to keep that signature soft, pillowy texture, but pan-frying boiled pierogi in a little extra butter until golden and crisp on both sides is a wildly popular, delicious variation. Just never fry raw pierogi directly—this leaves the dough undercooked and tough in the center.
9.Can I make the potato filling ahead of time to cut down on assembly day work? ▾
Absolutely! In fact, making the potato and cheese filling 1 to 2 days ahead and storing it tightly covered in the fridge actually makes assembly easier. Chilled filling is firmer and less likely to seep out of dough seals when you crimp edges. Just let it sit at room temperature for 10 minutes before scooping so it’s not rock hard to portion.

Comments (16)

2 days ago

OMG these turned out SO good for our family Sunday dinner! I was nervous the dough would be tricky since medium difficulty had me sweating, but the instructions were super clear. My kids begged for seconds and asked if we can make these every weekend. Sour cream on top is non-negotiable, don’t skip it!

yesterday

So glad the whole family loved them, Liz! If you want to mix it up next time, try adding a little sautéed onion to the sour cream for an extra flavor pop.

1 week ago

Took these to my office potluck last week and people were hounding me for the recipe all day! I did half potato and cheese filling, half sauerkraut because my partner loves the tangy ones. Only note: make sure you seal the edges really well or they burst open while boiling, learned that the hard way on my first batch 😂

5 days ago

Ugh I had the same bursting issue my first try! I started crimping the edges with a fork after pinching and haven’t had a problem since, total game changer.

3 days ago

Great tip from CheeseLover92! The fork crimp method is our go-to for a tight seal, and it makes the edges look extra nice too, perfect for potlucks.

3 days ago

Meal prepped a double batch of these on Sunday and they reheated perfectly all week for lunches! I froze half the uncooked ones too so I can just boil them straight from the freezer on busy nights. Way better than the frozen pierogi I used to buy from the grocery store, worth the 1+ hour cook time for sure.

2 weeks ago

I’ve been making pierogi for 60 years and I was skeptical of an online recipe, but this one is almost as good as my mom’s! The dough ratio is spot on, not too sticky, not too tough. I served them with a little melted butter and dill alongside the sour cream, just like we did back in Pittsburgh.

1 week ago

The dill addition sounds incredible! I’m making these for my Polish grandma’s birthday next weekend and I’m definitely stealing that idea, thanks for sharing!

30 minutes ago

Wait, has anyone tried making this with a gluten free flour blend? I have celiac and have been craving pierogi so bad but haven’t found a good GF version that doesn’t fall apart when you boil it. Would love any tips!

5 minutes ago

I used a 1:1 GF baking flour blend last month and added an extra egg yolk to help bind the dough! It worked pretty well, just don’t roll it too thin or it will tear.

just now

Thanks for the great tip, MileHighMama! We’ve tested this with GF 1:1 flour as well, and resting the dough for an extra 10 minutes after mixing also helps it hold together better during boiling.

yesterday

Made these for a date night in with my partner who’s Polish, and I was so nervous I’d mess them up! Turns out they came out amazing, they said it tasted just like the ones their babcia makes. We ate the whole batch in one sitting oops. 10/10 will make again.

yesterday

That’s such a sweet date night win, Danny! Babcia approval is the highest possible rating you can get for pierogi, great job.

5 days ago

Made these for my neighborhood block party over the weekend and they were gone in 15 minutes flat! I topped them with caramelized onions and a dollop of sour cream, and so many neighbors came back for seconds. Only thing I’d change next time is making a triple batch because people were asking for more before I even got to try one myself!

2 hours ago

Wait the cook time says 1 hour 15 minutes, is that accurate? I only have about an hour and a half after work before the kids’ bedtime routine starts, so I don’t want to start these and not finish in time for dinner. Also can I make the dough the night before?

30 minutes ago

I made the dough the night before last and stored it wrapped in plastic in the fridge! Cut my actual cook time down to 45 minutes the next day, super doable for a weeknight.

5 minutes ago

Great question, Rob! The 1 hour 15 minute cook time is pretty accurate if you’re making everything from start to finish, but as Amy mentioned, prepping the dough ahead of time is a huge time saver. You can also pre-make the filling a day in advance too!

3 days ago

I know the recipe says sour cream, but has anyone tried these with a dairy free sour cream alternative? I’m lactose intolerant but miss eating pierogi so bad, I don’t want the topping to ruin it.

2 days ago

I used the oat milk based sour cream from the grocery store last time I made these and it tasted identical to regular! No weird aftertaste at all, you couldn’t tell the difference.

1 week ago

These are SO good, but I messed up the first batch of dough because I added too much flour. Don’t do what I did! Add the flour a little at a time until it’s just not sticky anymore, otherwise the dough gets tough and chewy when you boil it. The second batch turned out perfect though, I could eat these every day.

5 days ago

Oh thank you for saying this! I almost dumped all the flour in at once when I make these this weekend, that would have been a disaster. Saved me!

3 days ago

Great catch on the flour! We always recommend adding it gradually because different brands of flour absorb moisture differently, so that’s such an important tip for new makers. So glad your second batch turned out perfectly!

2 weeks ago

Solid pierogi recipe. I’ve tried a dozen different online versions and this one is top tier. The potato and cheese filling is perfectly seasoned, I added a little extra black pepper and a pinch of garlic powder like I usually do and it was chef’s kiss. Served with kielbasa and sauerkraut for a full Polish spread, my whole family loved it.

just now

I’m a total beginner in the kitchen and I was worried medium difficulty would be too hard for me, but I did it! My pierogi were a little lumpy looking but they tasted amazing, I was so proud of myself. Thank you for the step by step photos, they helped so much when I was crimping the edges.

just now

Way to go, Luna! Lumpy pierogi taste just as good as perfectly shaped ones, we promise. So proud of you for giving it a shot, that’s what cooking is all about!

2 weeks ago

I run a small Polish food truck in Phoenix and I tested this recipe out last weekend to add to our menu, and our regulars went crazy for it! The dough holds up really well even when we make big batches ahead of time, and it pairs perfectly with our house smoked kielbasa. Will definitely be keeping this on the permanent menu.

yesterday

How long do these last in the freezer? I want to stock my deep freeze with easy meals for after the baby comes next month, and these sound perfect for quick lunches and dinners when I don’t have time to cook.

2 hours ago

I freeze mine all the time! Lay them in a single layer on a baking sheet to freeze first then transfer to a freezer bag, they last up to 3 months no problem. Just boil them straight from frozen, don’t thaw them first or they get mushy.

5 days ago

Game changer! I added a little sourdough discard to the dough because I hate wasting it, and it gave the pierogi the best subtle tang that paired so well with the potato filling and sour cream topping. 10/10, will be doing that every time I make these from now on.

3 days ago

Oh that’s such a smart idea! I have a jar of discard in my fridge I’ve been trying to use up, I’m absolutely trying this when I make these this weekend. How much discard did you add?

2 days ago

I added about 1/4 cup discard and cut back a tiny bit on the water in the dough to keep the consistency right! It’s super forgiving, you can’t really mess it up.

1 week ago

Made these for my college football tailgate last weekend and they were a hit even with all the guys who only eat burgers and wings! I served them with a side of spicy sour cream (mixed in a little hot sauce) for dipping and people were going back for thirds. Who knew pierogi would be the MVP of the tailgate? Already planning to make two batches for the next game.



