
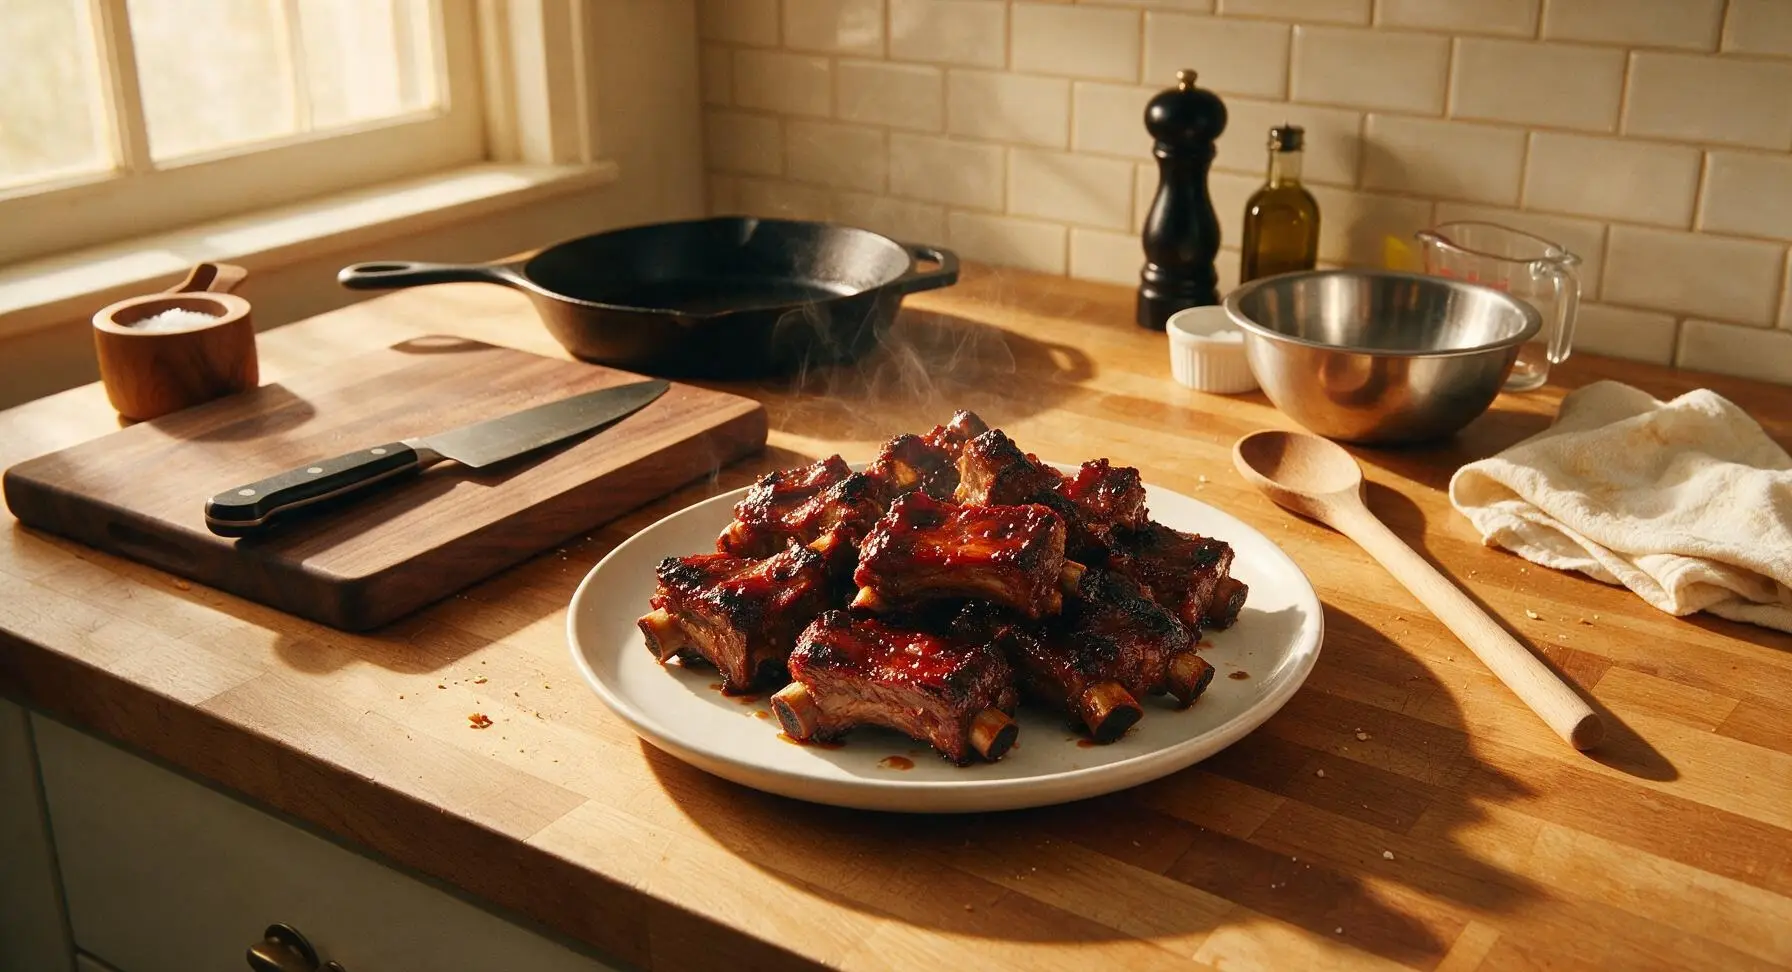
Pork Short Ribs

title 1
Pork Short Ribs
⏱️ cook time 2 hours 15 minutes
🍽️ servings 4
⚡ Difficulty medium

intro

Tender, fall-off-the-bone pork short ribs coated in a sticky, smoky-sweet BBQ glaze, with caramelized charred edges, made for warm summer backyard gatherings.

Ingredients
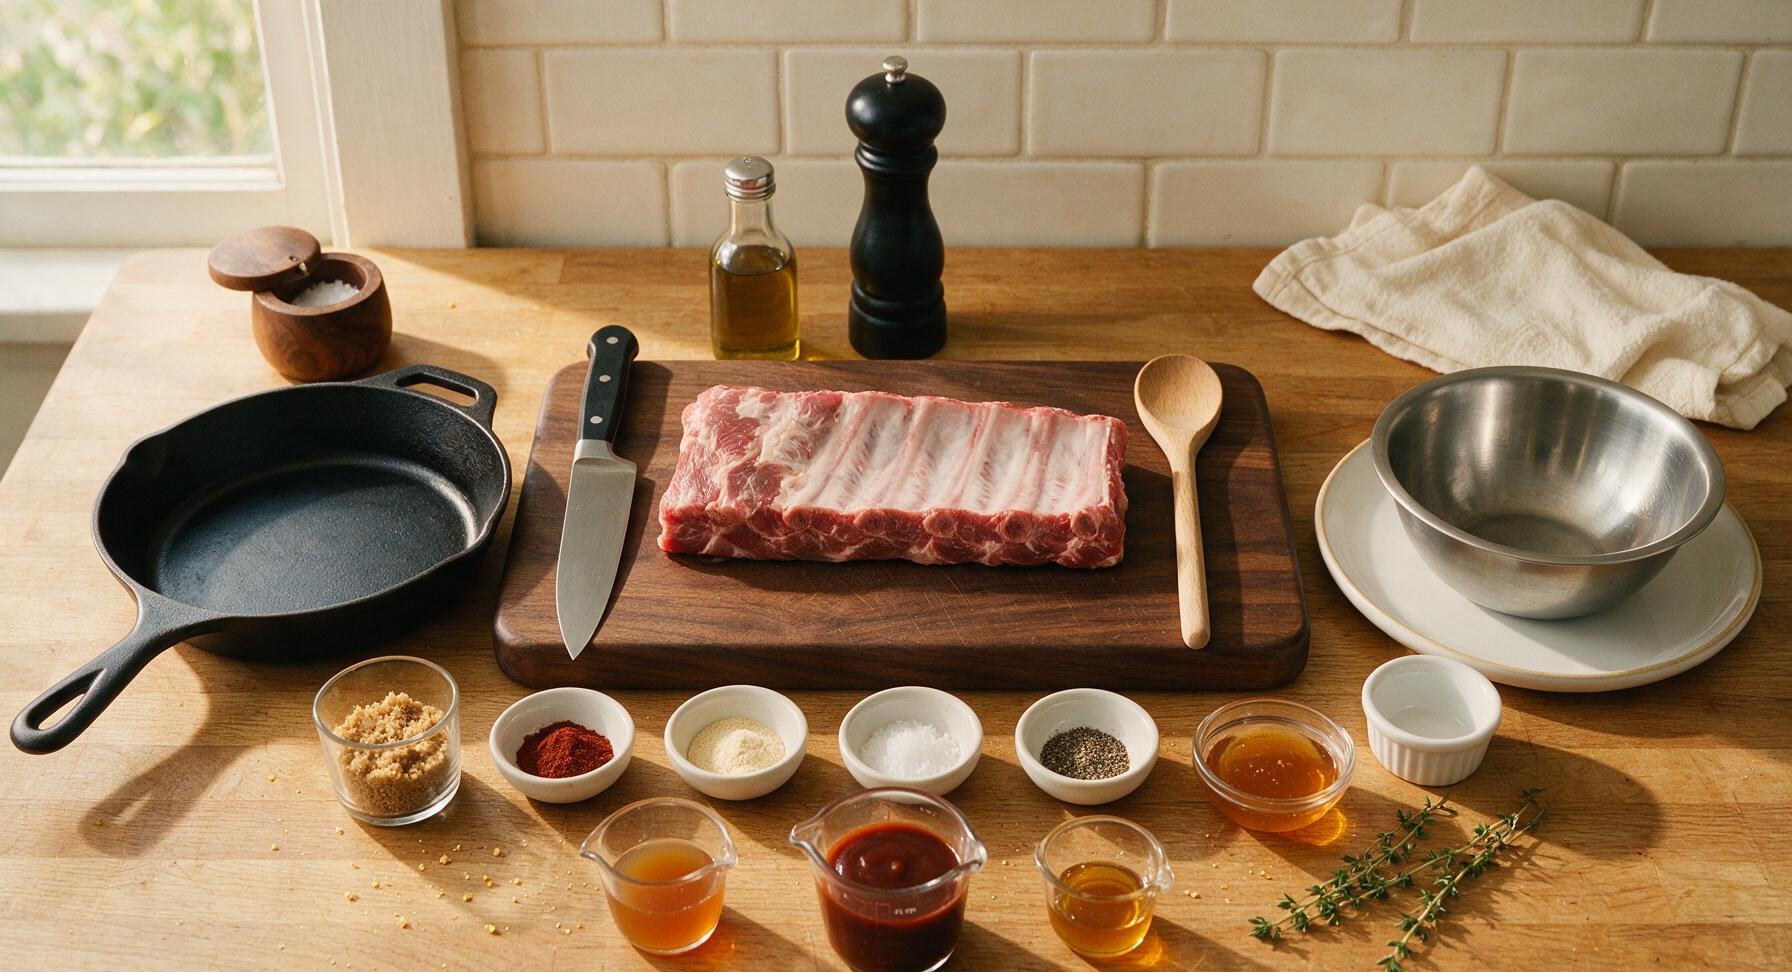
Bone-in pork short ribs (St. Louis cut, full rack) 1.5kg
Kosher salt 1 tbsp
Freshly ground black pepper 1 tsp
Smoked paprika 2 tsp
Garlic powder 1 tsp
Light brown sugar 2 tbsp
Apple cider vinegar 2 tbsp
Honey 1 tbsp
Tomato-based BBQ sauce 180ml
Fresh thyme sprigs 3 pieces

Steps

1

Trim Excess Rib Fat

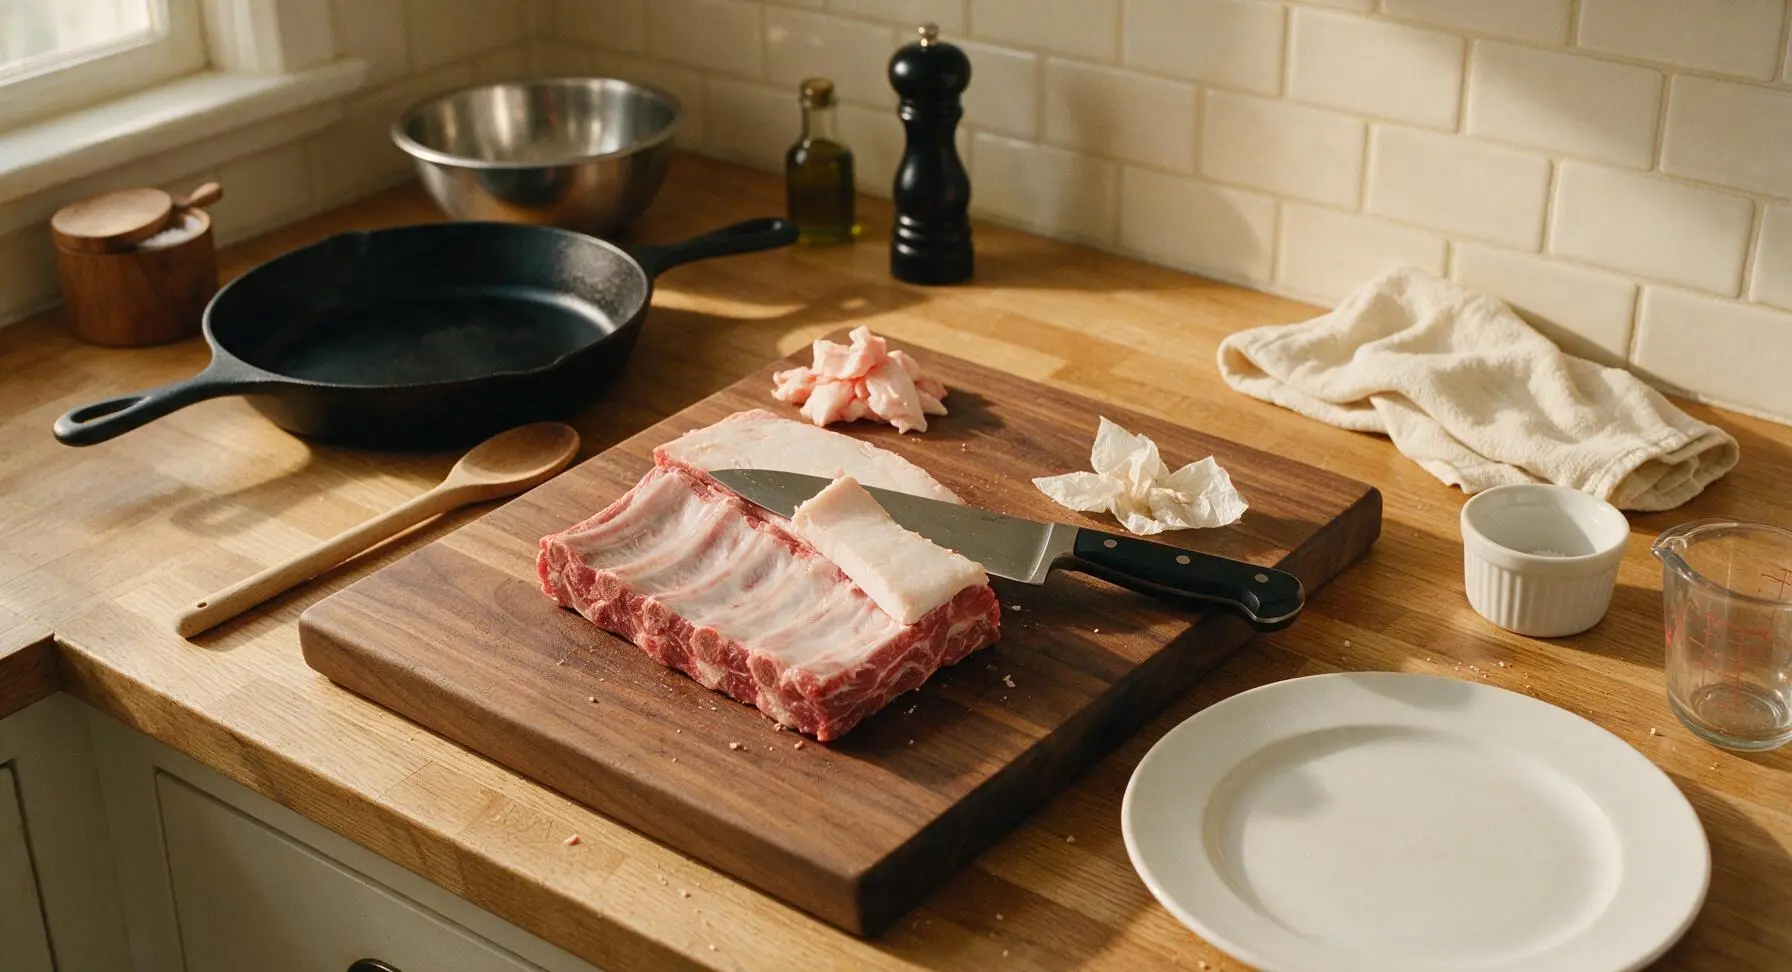
Place the full rack of pork short ribs bone-side down on the acacia wood cutting board. Use the 8-inch chef knife to trim away any thick, hard fat caps thicker than 1/4 inch, as well as any loose silver skin or ragged hanging meat fragments from the rack. Tear sheets from the wall-mounted paper towel roll to pat all surfaces of the ribs completely dry, which helps dry rub adhere evenly. Discard trimmed fat scraps in an out-of-frame waste bowl.
Step 1
step1:Trim Excess Rib Fat
2

Mix Dry Rub Seasoning

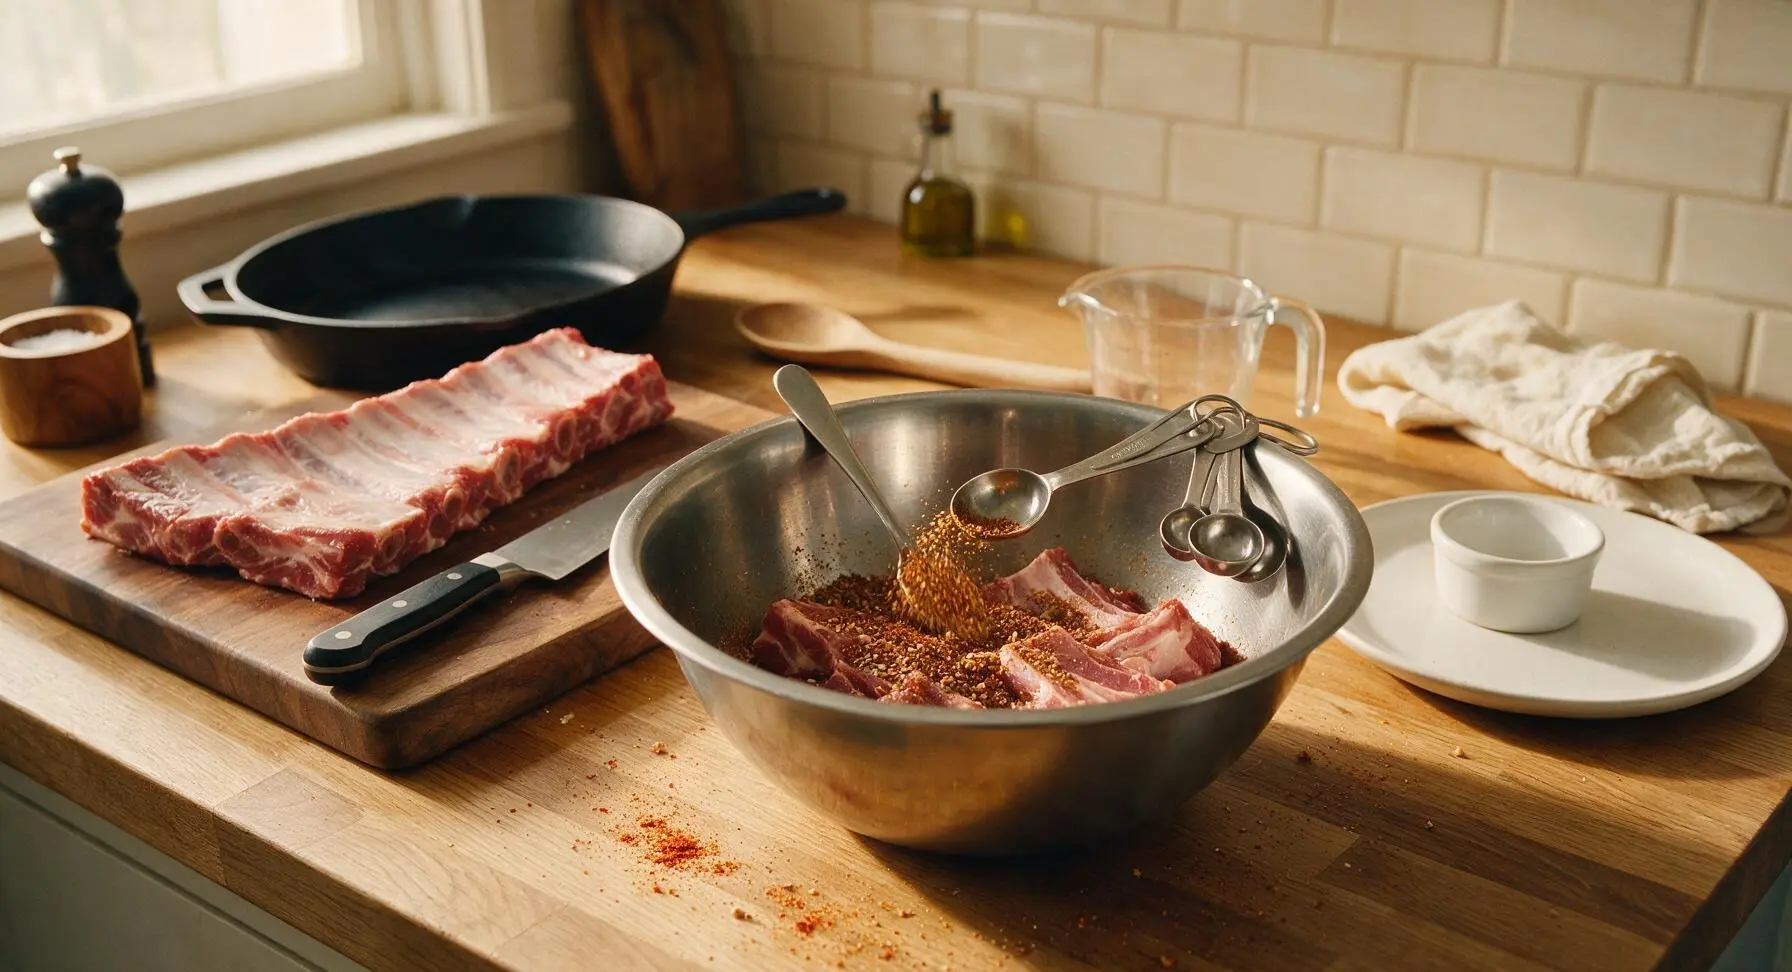
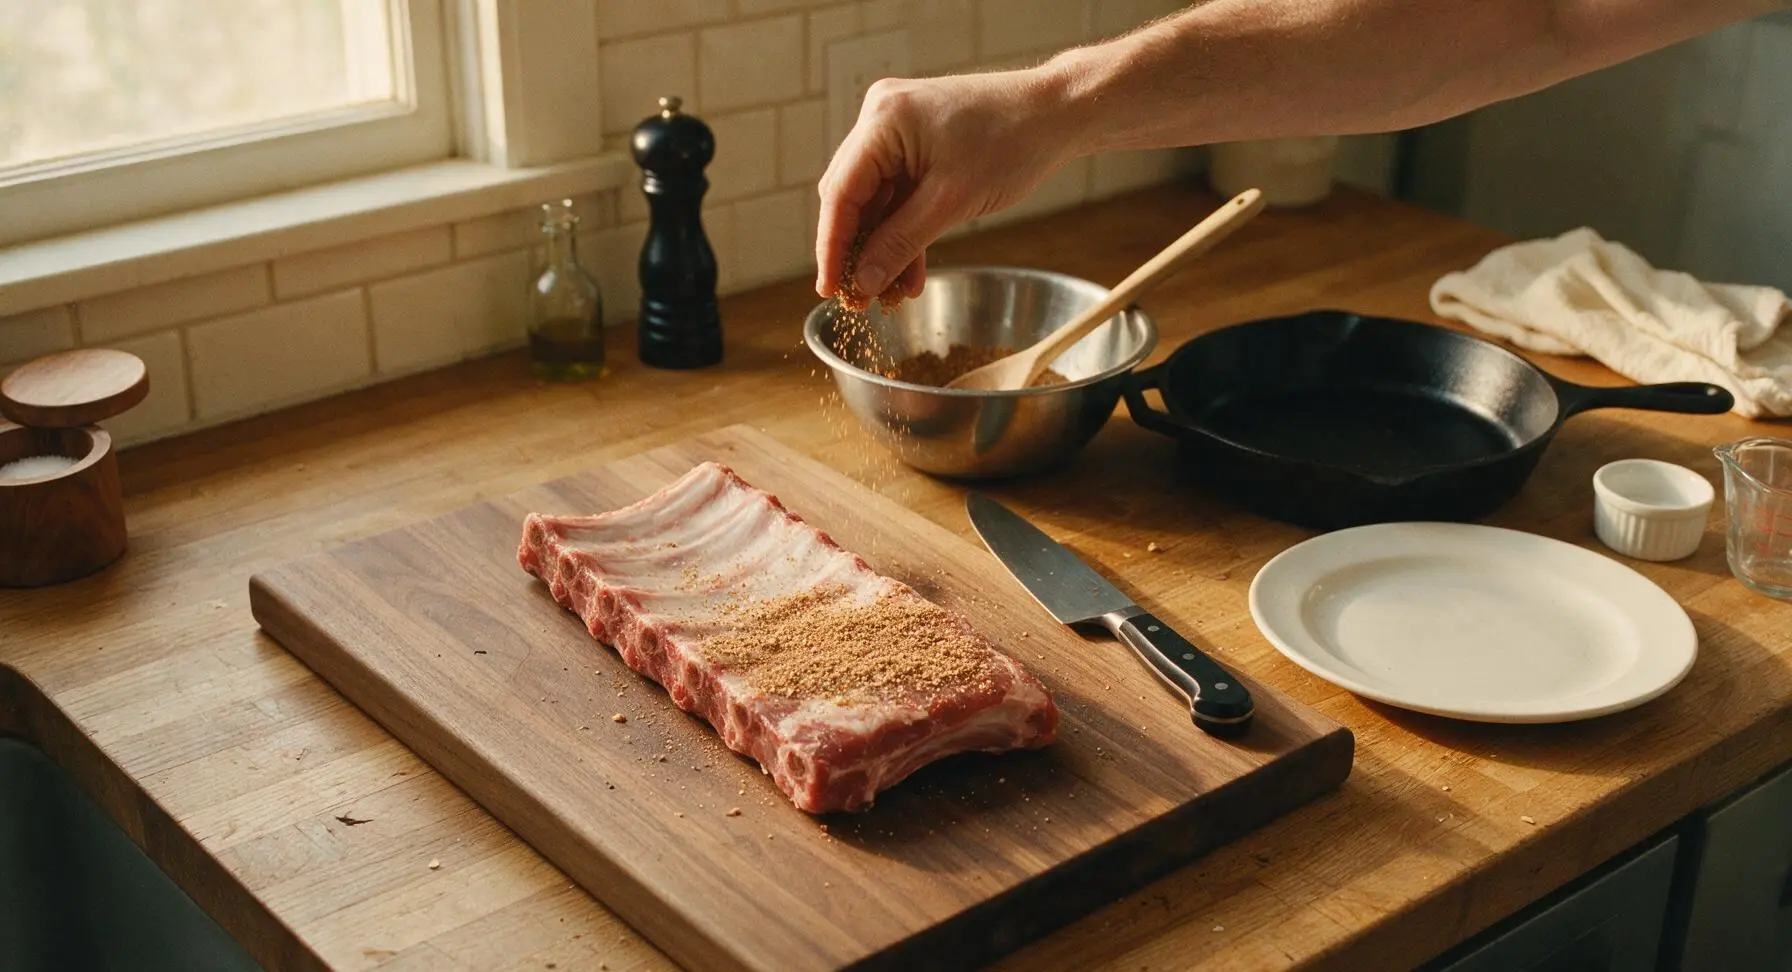
In the medium stainless steel mixing bowl, combine 1 tbsp kosher salt, 1 tsp black pepper, 2 tsp smoked paprika, 1 tsp garlic powder, and 1 tbsp light brown sugar, measured with the stainless steel measuring spoons. Stir thoroughly with the small stainless steel stirring spoon until all spices are evenly combined, pressing the back of the spoon against the bowl to break up any clumps of brown sugar.
Step 2
step2:Mix Dry Rub Seasoning
3

Coat Ribs With Rub

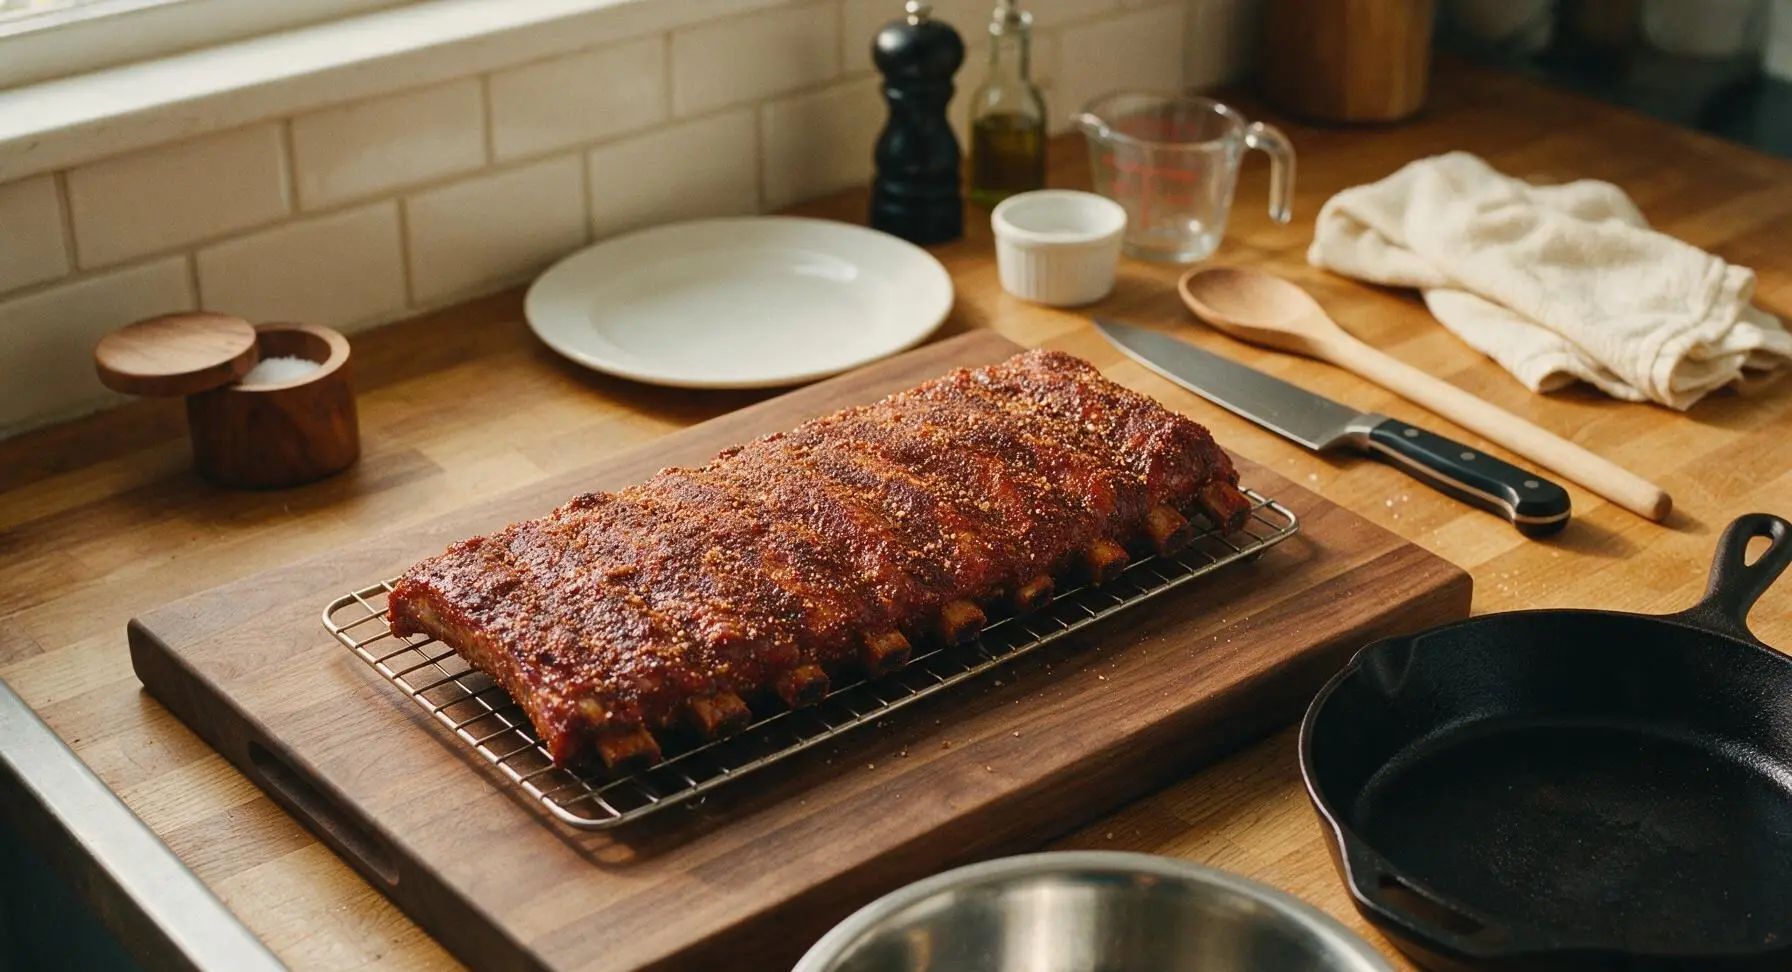
Sprinkle the dry rub evenly over every surface of the trimmed, dried ribs – top, bottom, and sides. Use clean hands to press the rub firmly into the meat so it forms a tight, even coating across the entire rack. Let the rubbed ribs rest at room temperature for 15 minutes to allow the salt to penetrate the meat and the rub to form a slightly tacky surface that will develop into a flavorful bark during cooking.
Step 3
step3:Coat Ribs With Rub
Step 3
step3:Coat Ribs With Rub
4

Prep Ribs for Slow Cook

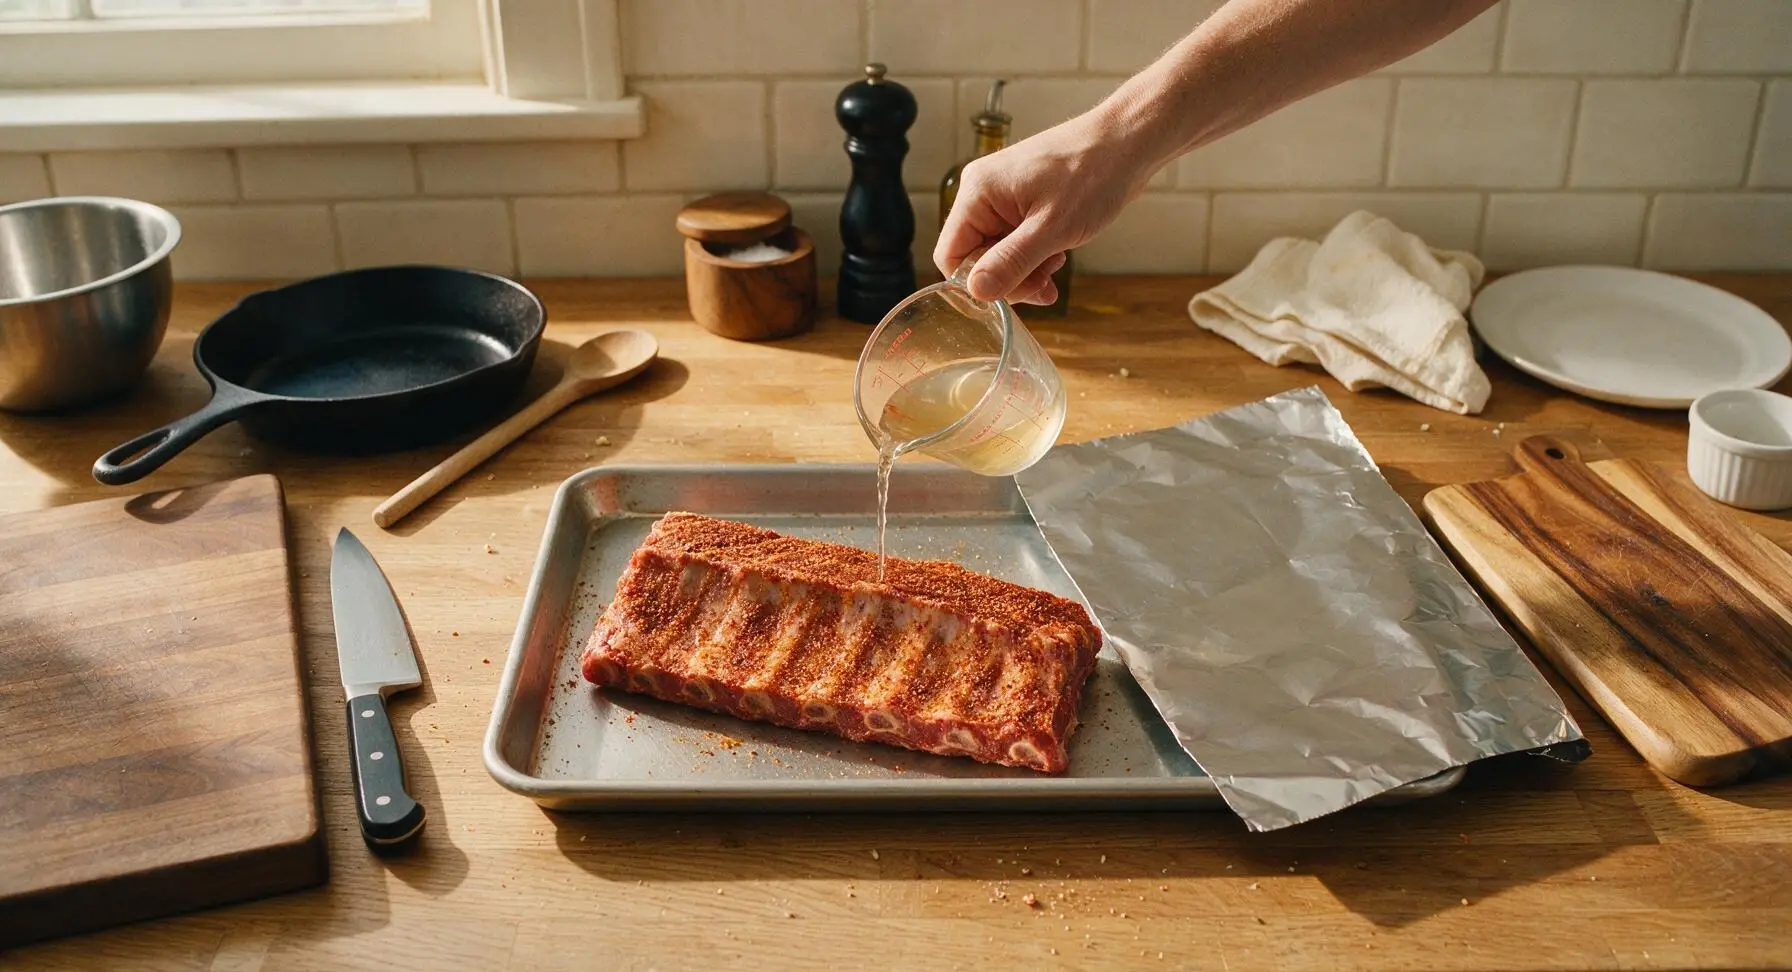
Preheat your grill (or home oven) to 275°F (135°C) set up for indirect heat. Transfer the rubbed rib rack to the rimmed aluminum baking sheet, positioned bone-side down. Drizzle 1 tbsp of apple cider vinegar from the glass measuring cup over the top of the ribs, then cover the baking sheet tightly with a sheet of heavy-duty aluminum foil to trap steam during the initial slow cook phase.
Step 4
step4:Prep Ribs for Slow Cook
5

Slow Cook Until Tender

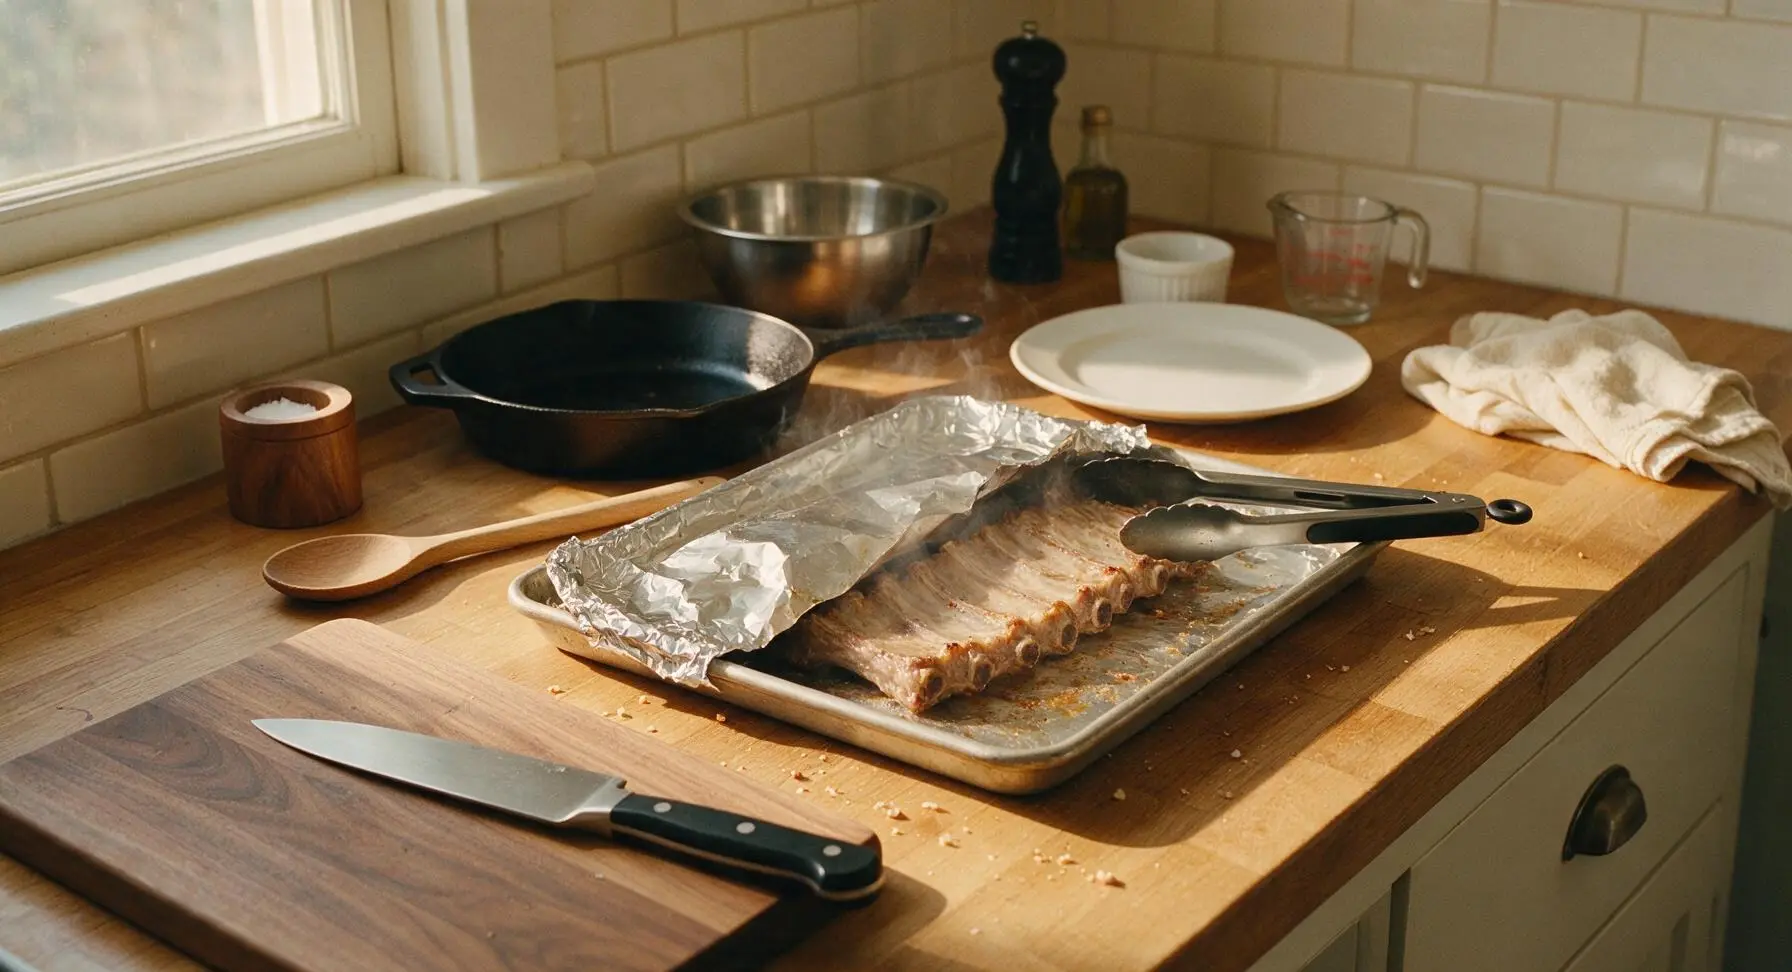
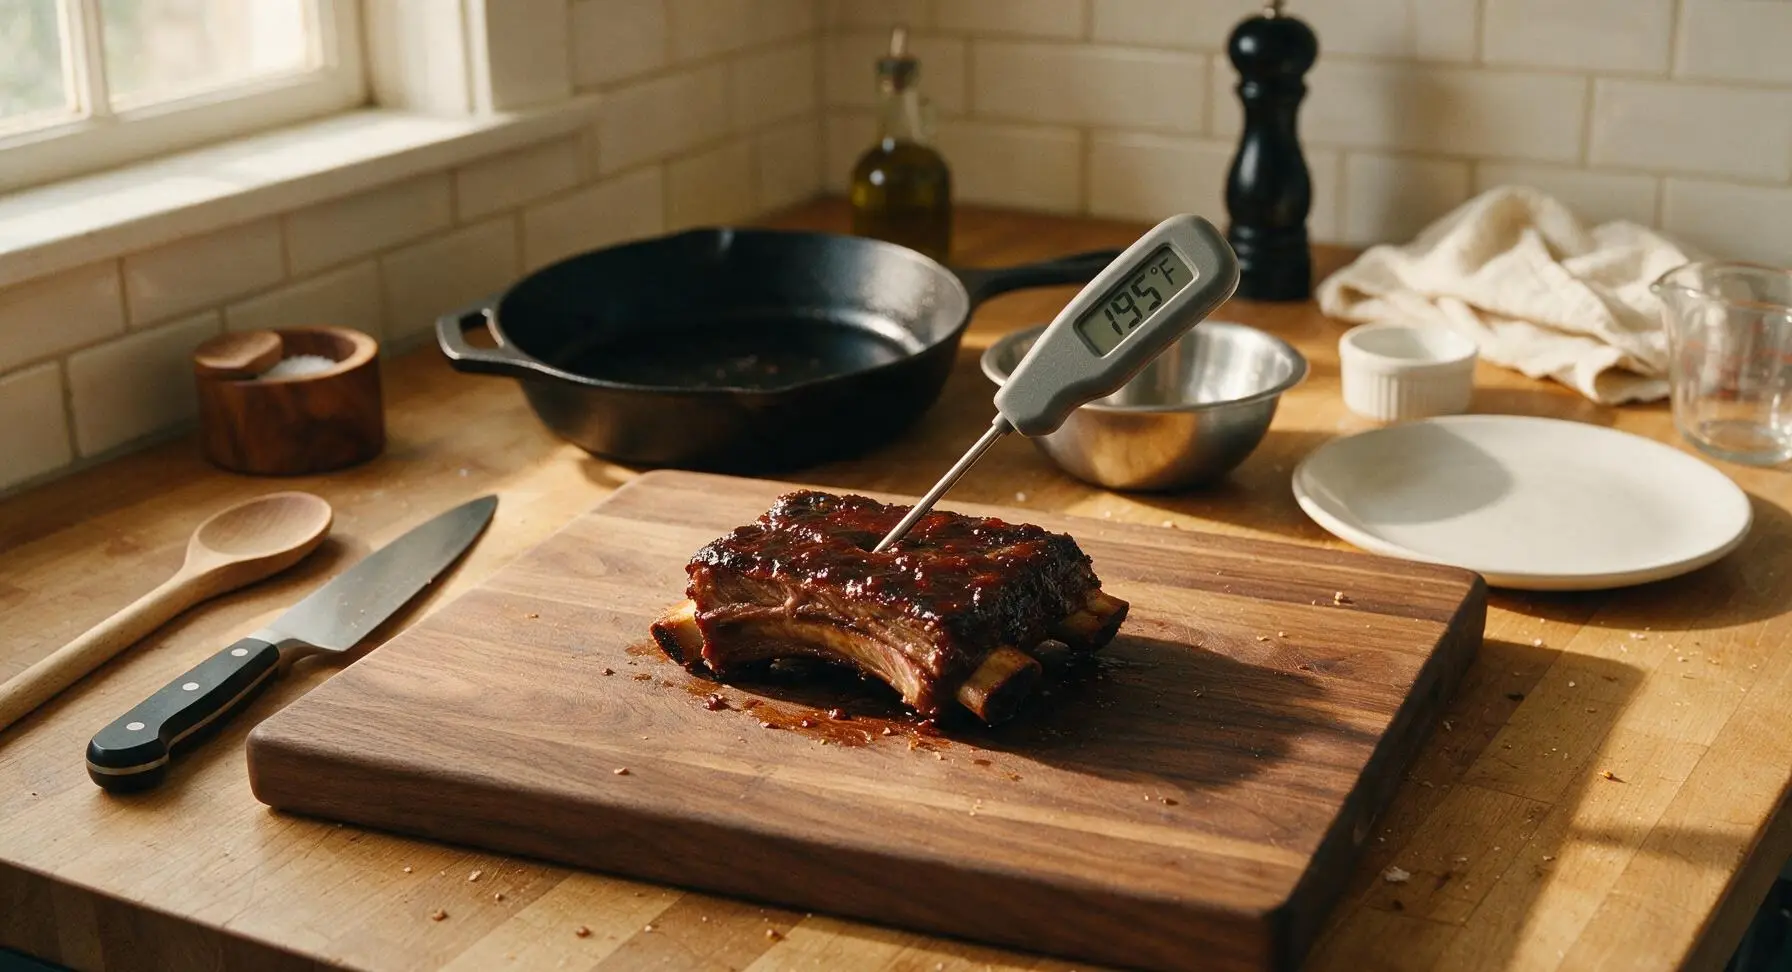
Place the foil-covered baking sheet on the indirect heat side of the grill, close the grill lid, and cook for 2 hours. Avoid opening the grill lid frequently, as this drops internal temperature and extends cook time. After 2 hours, peel back the foil and use the instant-read meat thermometer to check doneness: the internal temperature at the thickest part of the meat (not touching bone) should read 195°F (90°C), and a toothpick should slide into the meat with no resistance, with meat pulling slightly away from the rib bones.
Step 5
step5:Slow Cook Until Tender
Step 5
step5:Slow Cook Until Tender
6

Mix Sticky BBQ Glaze

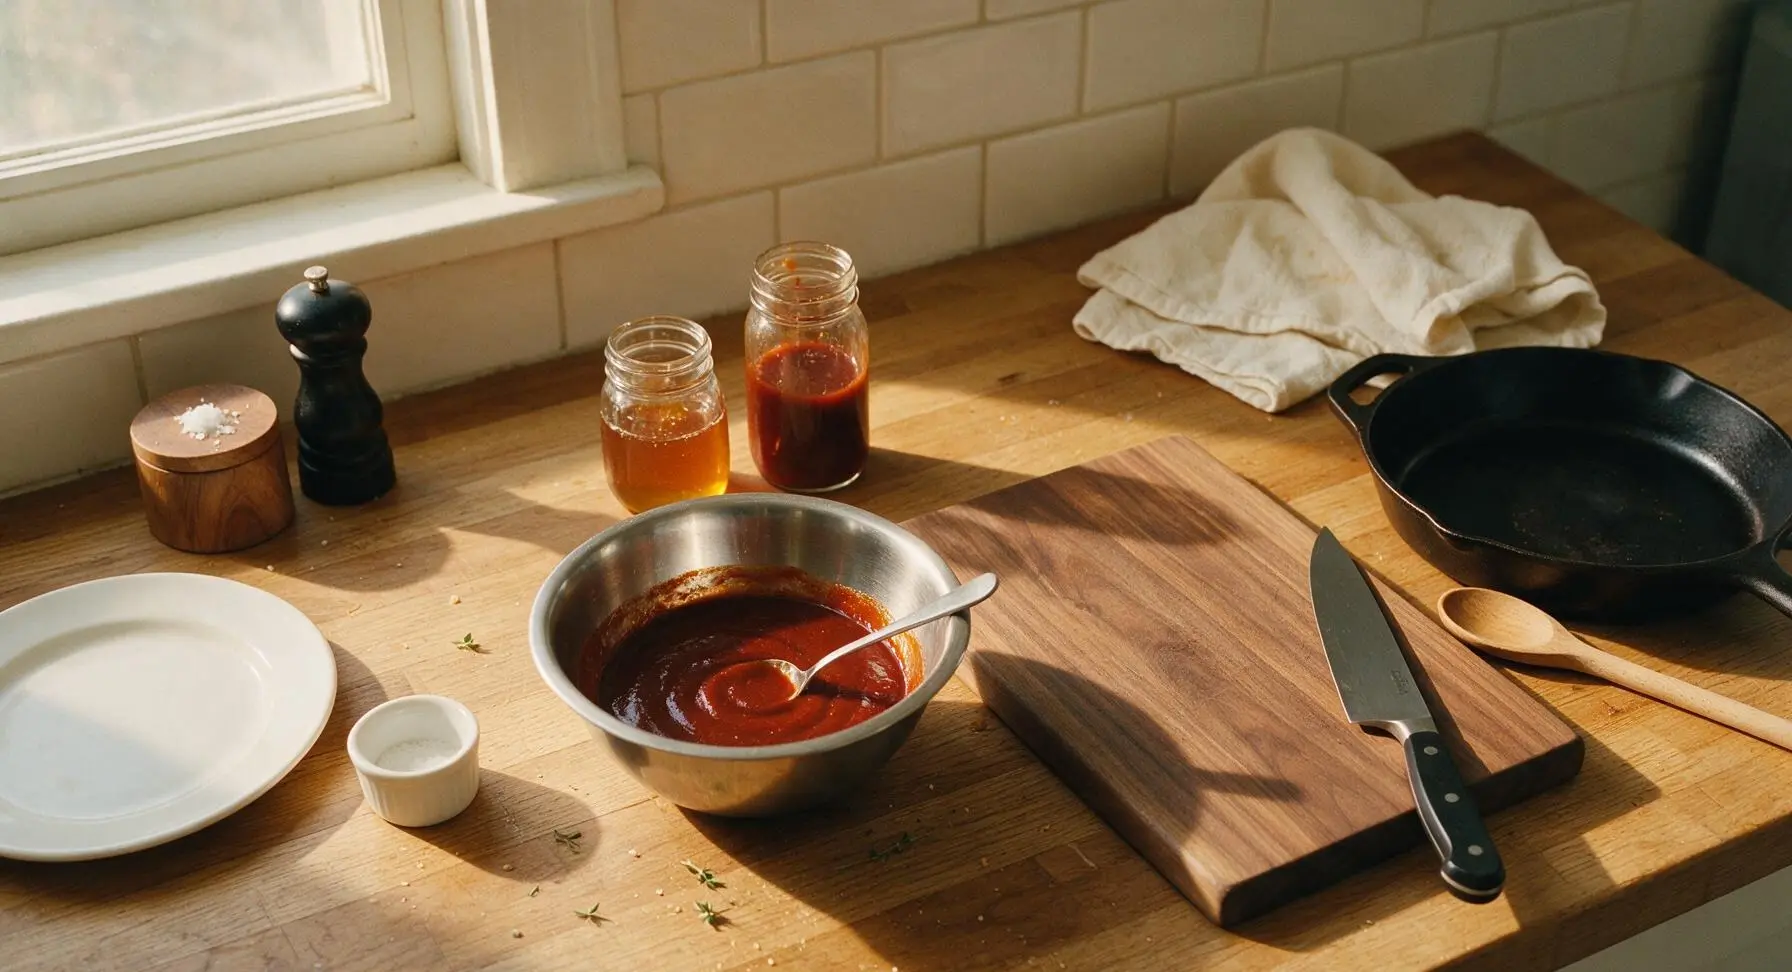
While the ribs finish their initial slow cook, empty any remaining dry rub crumbs from the stainless steel mixing bowl. Combine 180ml tomato-based BBQ sauce, the remaining 1 tbsp apple cider vinegar, 1 tbsp honey, and leaves stripped from 1 fresh thyme sprig in the bowl. Stir with the small stainless steel spoon until the mixture is completely smooth, with no separate pockets of honey remaining.
Step 6
step6:Mix Sticky BBQ Glaze
7

Glaze and Sear Ribs

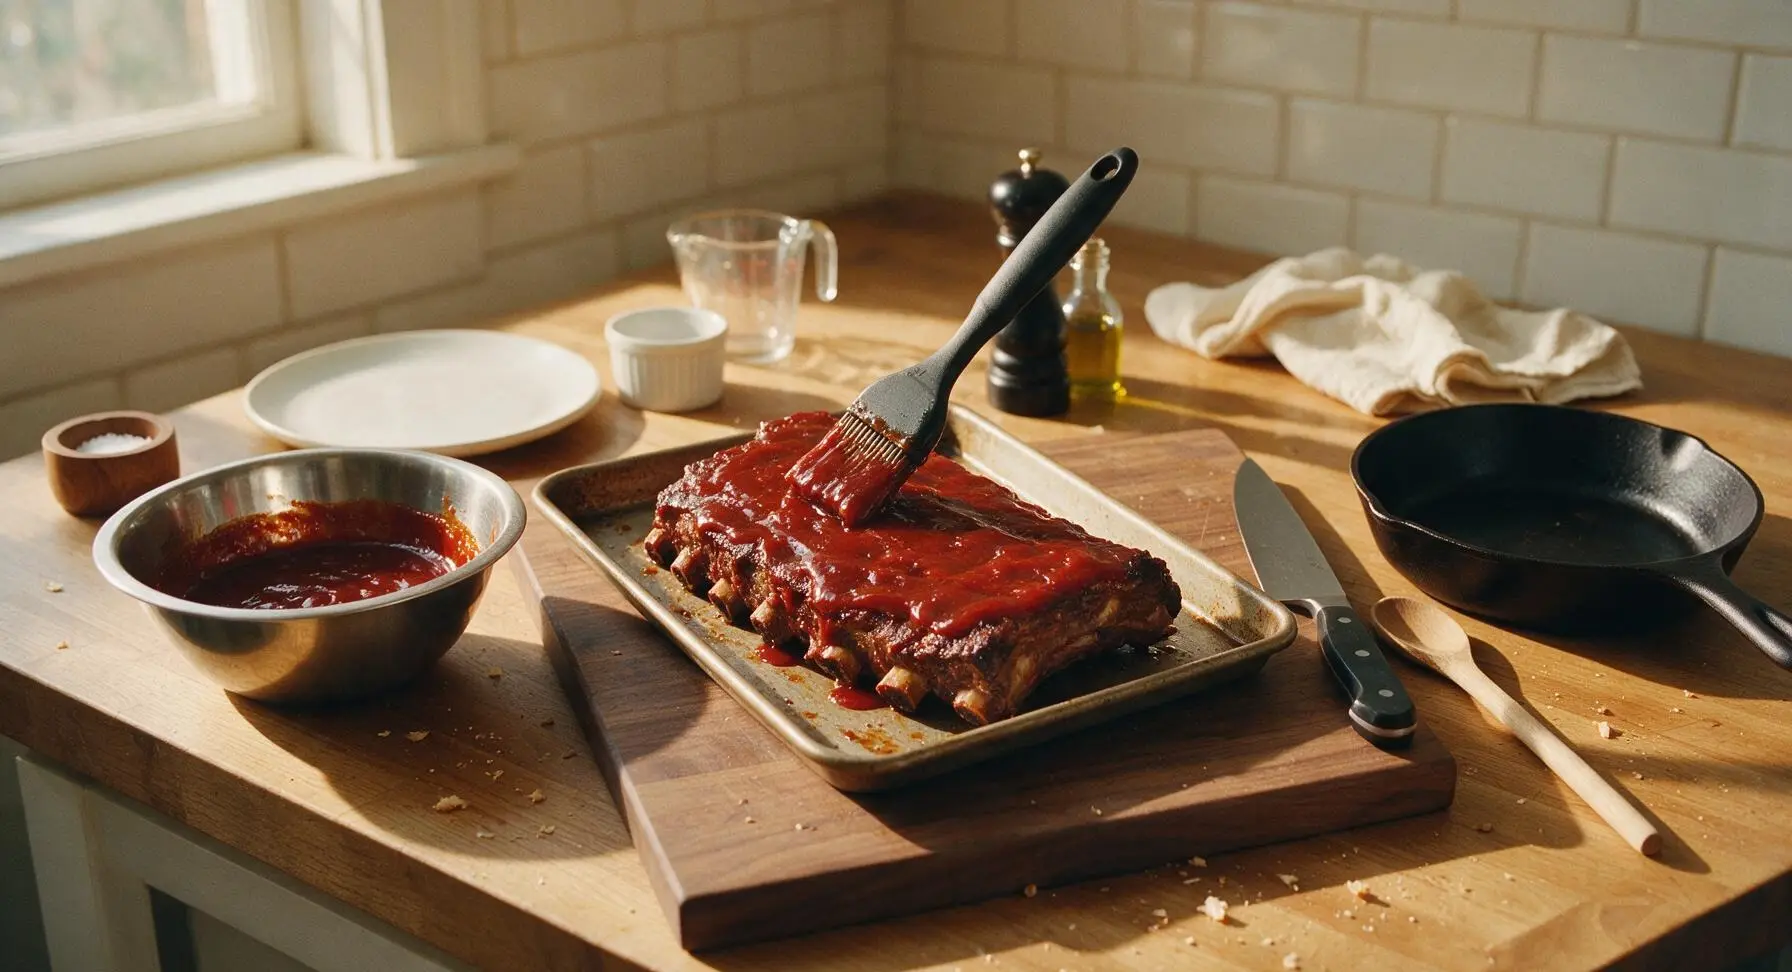
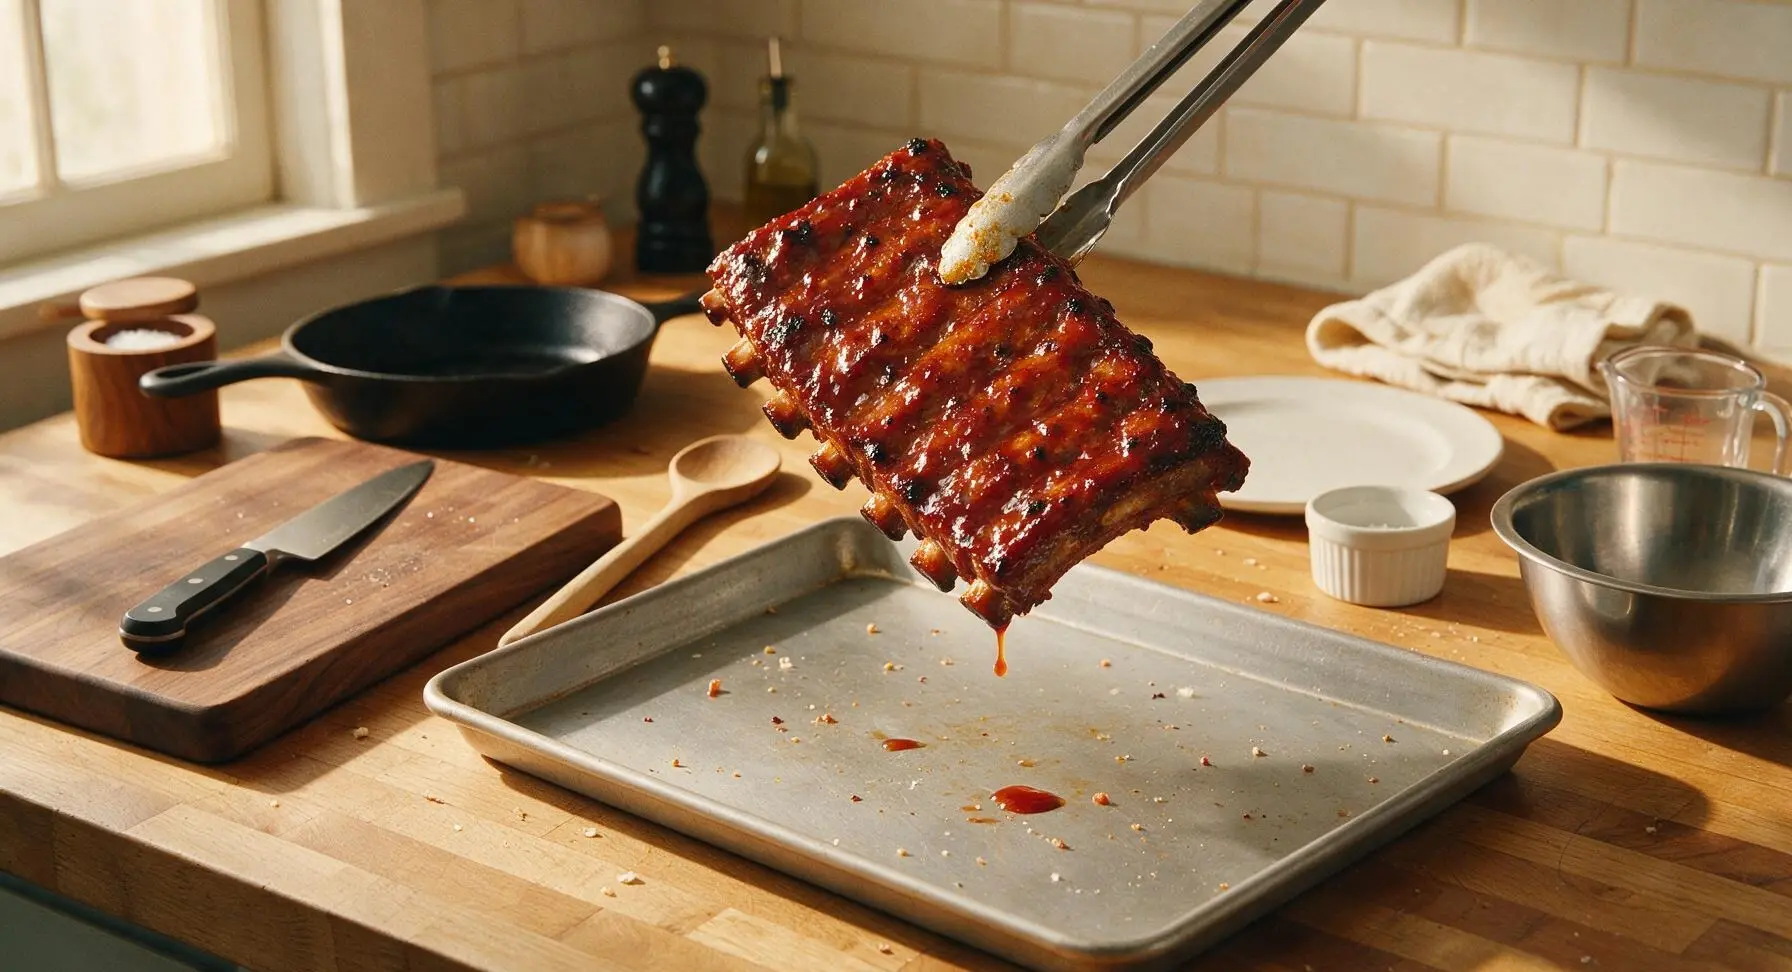
Leave the foil off the baking sheet. Use the silicone basting brush to coat the top and sides of the slow-cooked ribs generously with the BBQ glaze. Move the ribs to the direct heat side of the grill, and cook for 3-4 minutes per side, until the glaze caramelizes into a sticky, glossy coating dotted with faint dark charred spots. Watch closely to avoid burning the sugar in the glaze, which turns bitter if exposed to high heat for too long.
Step 7
step7:Glaze and Sear Ribs
Step 7
step7:Glaze and Sear Ribs
8

Rest and Plate Ribs

Transfer the seared, glazed ribs from the baking sheet to the oval matte cream ceramic serving platter. Let the ribs rest for 10 minutes at room temperature to allow juices to redistribute back into the meat, rather than running out when cut. Garnish with the remaining fresh thyme sprigs before serving.
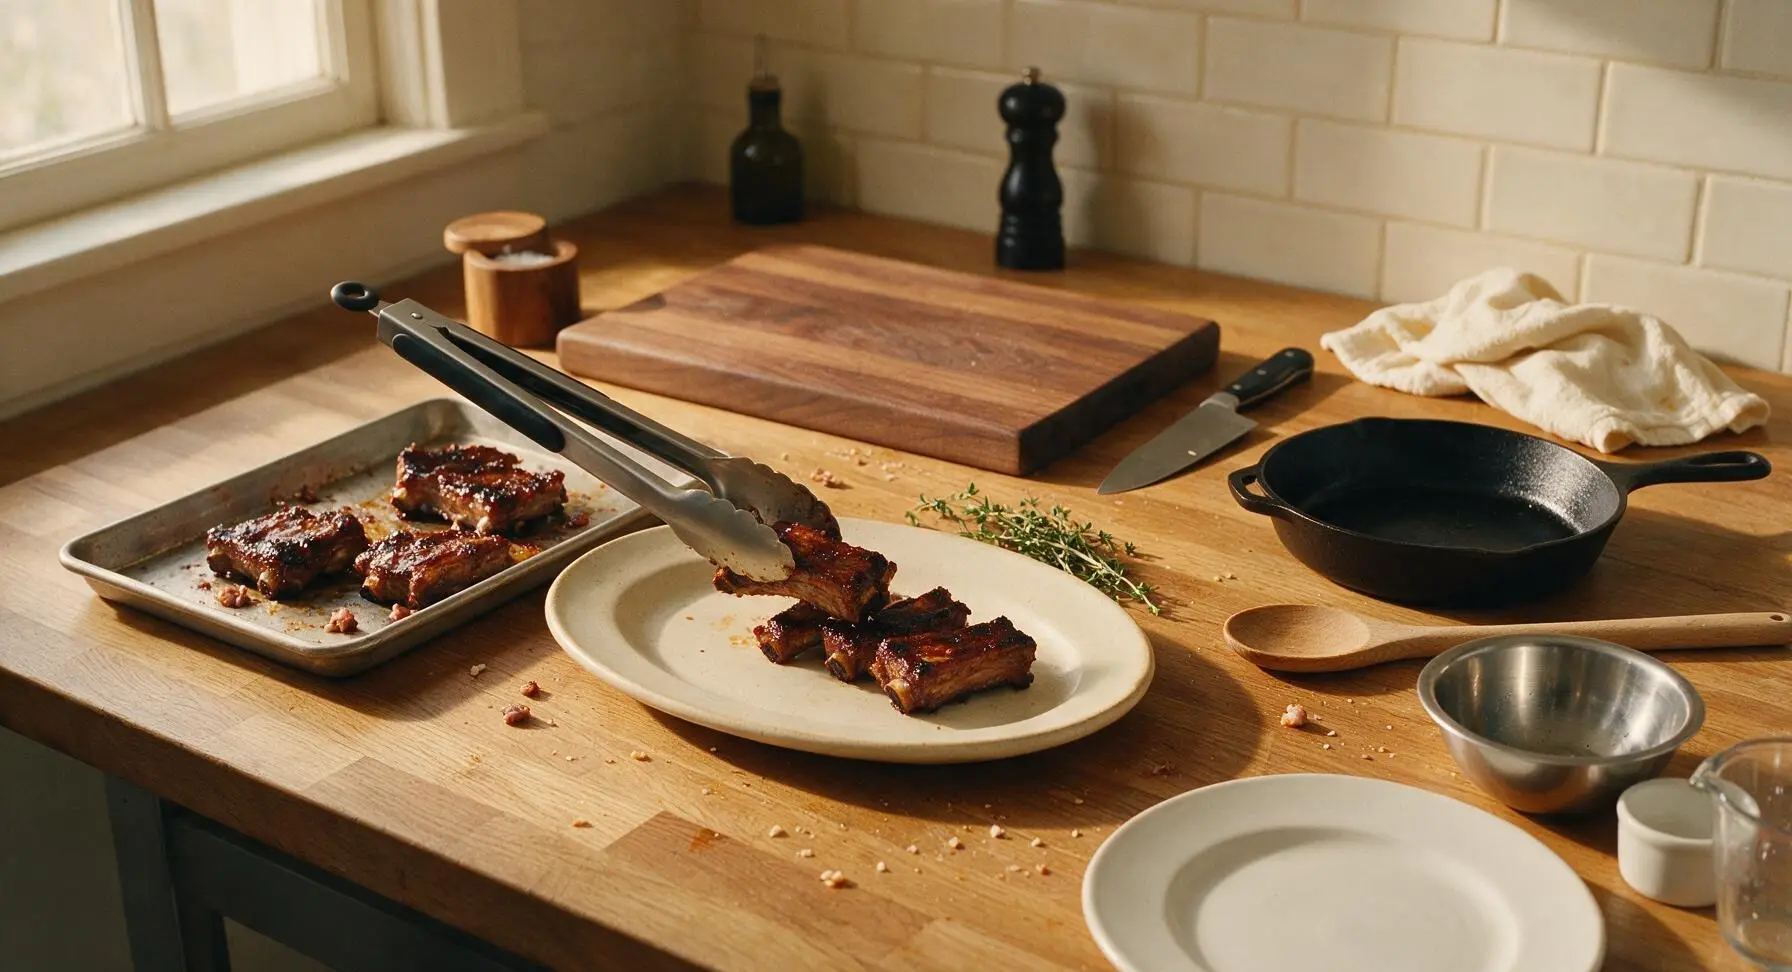
Step 8
step8:Rest and Plate Ribs

Tips

1.Always pat ribs completely dry with paper towels before applying dry rub: any residual surface moisture will prevent the rub from forming a flavorful, slightly crisp bark during cooking, and will cause spices to slide off the meat rather than adhering tightly.
2.Maintain a consistent 275°F cooking temperature for the slow cook phase: high heat will cause the tough connective tissue in short ribs to seize up and become chewy, while steady low heat breaks collagen down into silky gelatin for that signature fall-off-the-bone texture.
3.Let ribs rest for a full 10 minutes after searing: cutting into ribs immediately after cooking causes all the hot, flavorful juices to run out onto the platter, leaving meat dry, while resting lets juices reabsorb for moist, tender bites every time.


✨ You May Also Like

BBQ & Grilling
🍜 United States

Tender, melt-in-your-mouth beef brisket with a crisp, spiced bark, slow-smoked to deep smoky perfection, the iconic centerpiece of Texas backyard barbecue.

⏱️ 12 hours BBQ & Grilling ★ 4.4
BBQ & Grilling
🍜 Korea

Tender, sweet-savory marinated beef short ribs, a beloved Korean BBQ staple with caramelized, slightly charred edges and deep umami flavor, perfect for outdoor summer gatherings.

⏱️ 4 hours 2BBQ & Grilling ★ 4.8
BBQ & Grilling
🍜 United States

Juicy grilled beef patties topped with smoky homemade chili, melted cheddar, and tangy pickles on toasted brioche buns for a hearty, flavor-packed handheld meal.

⏱️ 40 minuteBBQ & Grilling ★ 4.7
BBQ & Grilling
🍜 United States

A sweet, smoky, tangy BBQ sauce brightened with peak-season dark cherries, ideal for glazing grilled ribs, chicken, pork, or summer roasted veggies.

⏱️ 35 minuteBBQ & Grilling ★ 4.7
BBQ & Grilling
🍜 United States

Rich, smoky, slightly sweet homemade bourbon BBQ sauce with deep caramel notes, ideal for glazing grilled ribs, chicken, and burgers at cookouts.

⏱️ 25 minuteBBQ & Grilling ★ 4.7
BBQ & Grilling
🍜 United States

Iconic Alabama-style BBQ featuring tender hickory-smoked chicken slathered in tangy creamy white sauce, a beloved regional Southern cookout staple.

⏱️ 3 hoursBBQ & Grilling ★ 5

Pork Short Ribs:Frequently Asked Questions

1.What cut of pork short ribs is best for this sticky BBQ recipe? ▾
For this recipe, reach for a full rack of St. Louis cut bone-in pork short ribs every time. This cut has even, consistent thickness, generous marbling, and a balanced meat-to-bone ratio that cooks to perfect fall-off-the-bone tenderness without drying out, unlike thinner boneless country-style ribs that can turn tough or rubbery on the grill.
2.How do I get fall-off-the-bone ribs without them turning mushy? ▾
The trick is low-and-slow cooking held steady at 275°F, whether you’re using a grill or smoker. Cook the seasoned ribs for 2.5 to 3 hours before glazing, and test doneness by gently twisting a bone—if it pulls cleanly with light resistance and doesn’t slide completely off on its own, you’ve hit that perfect tender, not mushy, sweet spot.
3.Do I really need to remove the membrane from the back of the rib rack? ▾
Absolutely, always remove that tough, silvery membrane from the bone side of the rack before seasoning. If left on, it won’t break down during cooking, turns chewy and rubbery, and blocks dry rub and glaze from absorbing into the meat. Slide a butter knife under the edge, grip with a paper towel for traction, and pull it off in one smooth sheet.
4.Can I make these ribs ahead of time for a backyard gathering? ▾
You sure can, which makes them ideal for party prep! Cook the ribs fully without the final glaze up to 2 days in advance, store them tightly wrapped in the fridge, then finish them on a medium-heat grill with the BBQ glaze for 8 to 10 minutes right before serving to reheat, build sticky char, and lock in fresh flavor.
5.How do I get that sticky caramelized glaze without burning it? ▾
Wait to brush on your BBQ glaze until the last 10 to 15 minutes of cooking, once the ribs are almost fully tender. The high sugar content in BBQ glaze burns quickly over high heat, so keep the grill at medium during this step, turning the ribs every 2 to 3 minutes as you build thin glaze layers for glossy, charred edges without acrid burnt spots.
6.Can I make these ribs in a regular oven if I don’t have an outdoor grill? ▾
Absolutely, you can make fantastic sticky ribs entirely in the oven. Arrange seasoned ribs on a wire rack set over a rimmed baking sheet, cook at 275°F for 2.5 to 3 hours, then brush on glaze and broil on high for 1 to 2 minutes per side at the end to replicate that caramelized, slightly charred grill-style edge.
7.How far in advance should I apply the dry rub to the ribs? ▾
For the best flavor penetration, apply your salt, pepper, smoked paprika, and garlic powder rub 1 to 2 hours before cooking if you’re short on time, or up to 12 hours ahead (tightly wrapped in the fridge) for deeper, more even seasoning. Avoid rubbing more than 12 hours in advance, as salt will draw out too much moisture and dry the meat out.
8.Why do my ribs always turn out tough and chewy instead of tender? ▾
Tough, chewy ribs almost always come from cooking too hot too fast, or not cooking them long enough. Ribs are full of tough connective tissue that needs low, steady heat over time to break down into silky, tender fat and gelatin. If you crank your grill above 300°F or pull ribs after less than 2 hours, that tissue won’t break down properly.
9.What type of wood works best if I’m smoking these ribs for extra flavor? ▾
For that classic, balanced smoky sweetness that pairs perfectly with BBQ glaze, stick to mild fruit woods like apple or cherry, or a light amount of hickory. Skip heavy, strong woods like mesquite for this recipe, as they can overpower the sweet glaze and make ribs taste bitter instead of warm, rich, and smoky.
10.How long should I let the ribs rest after cooking before slicing? ▾
Let the glazed ribs rest for 10 full minutes, tented loosely with a sheet of aluminum foil, right after you pull them off the heat. This gives hot, rendered juices time to redistribute back through the meat instead of running all over your cutting board, and lets the sticky glaze set so it doesn’t slide off when you serve.
11.Can I freeze leftover cooked ribs for quick future meals? ▾
Yes, cooked glazed ribs freeze beautifully for up to 3 months. Let them cool completely, wrap tightly first in plastic wrap then in a layer of heavy-duty aluminum foil to prevent freezer burn, then thaw in the fridge overnight. Reheat wrapped in foil at 300°F for 20 to 25 minutes, then give them a quick sear to crisp the glaze back up.
12.What sides pair best with these ribs for a summer cookout? ▾
These rich, sweet, smoky ribs pair perfectly with bright, tangy, crisp sides to cut through the richness. Stick to classic cookout picks like creamy coleslaw, tangy dill potato salad, grilled corn on the cob with chili-lime butter, crisp dill pickle spears, or buttery cornbread to round out the meal for your backyard guests.

Comments (7)

1 week ago

Made these on my charcoal grill this weekend for a cookout with the guys, and everyone was raving. The sticky glaze caramelized so nicely over the indirect heat, had that perfect bark on the outside and fall-off-the-bone tender inside. Only note is I added a tiny splash of apple cider vinegar to the sauce for extra tang, would highly recommend that tweak if you like zesty BBQ.

3 days ago

OMG these are SO good! That dry rub base is a total game changer. I was a little intimidated by the medium difficulty rating since I don’t cook ribs super often, but the step-by-step instructions were so easy to follow. I prepped the dry rub the night before to save time on a weeknight, and the ribs came out perfect even in my regular oven. My picky 7 year old asked for seconds, which never happens!

2 days ago

So happy to hear the instructions worked well for you, even as a newer rib cook! Prepping the dry rub ahead is such a smart meal prep hack, it lets the flavor sink in even more too. Hope your kiddo keeps asking for seconds next time you make them!

5 days ago

Wait, has anyone tried making these with a spare rib cut instead of short ribs? I have a pack of spare ribs in the freezer I need to use up, wondering if the cook time needs adjustment? I’m worried they’ll dry out if I leave them in the full 2+ hours.

3 days ago

I actually did this last week! Spare ribs work great, I just added 15 extra minutes of covered cook time and they were fall off the bone. The glaze sticks just as well, no issues with drying out as long as you keep them tightly covered with foil for the first slow cook part.

2 days ago

Great tip from HomeCookKara! Spare ribs are a fantastic swap, just make sure to check for tenderness with a fork before adding the final glaze layer – if the meat pulls easily from the bone, you’re good to go. You might need a touch extra sauce to cover the larger surface area too!

yesterday

The cook time is spot on! I was worried 2 hours 15 minutes would be too long for my oven, but no – the ribs were juicy, not tough at all, and the glaze got that perfect sticky, slightly charred edge under the broiler at the end. I served these with coleslaw and cornbread for my partner’s small family birthday dinner, and he said they’re better than the BBQ joint we go to downtown.

2 hours ago

That makes our day to hear! Nothing beats a home-cooked birthday meal that beats your favorite local spot. The coleslaw and cornbread sides sound like the perfect pairing to cut through that rich, sweet BBQ flavor.

30 minutes ago

Brought these to my office potluck yesterday and the whole pan was gone in 10 minutes flat! Multiple coworkers asked for the recipe, and one person thought I ordered them from a fancy BBQ caterer. Pro tip: line your baking sheet with two layers of foil because the glaze gets super sticky and will be a nightmare to scrub off if you don’t. Trust me on that.

5 minutes ago

I messed up the first batch because I cranked the oven temp too high trying to rush them, oops! Tried again the next day following the temp exactly, and wow – what a difference. The meat was so tender it pulled right off the bone, and the sauce had that perfect sticky texture that coats every bite. Definitely don’t rush the low and slow part, y’all!

just now

Oh I learned that the hard way too! Low and slow is non-negotiable for good ribs, no shortcuts. Glad you gave it a second shot, these are so worth the extra patience!

2 weeks ago

Has anyone frozen these after cooking? I like to make big batches of protein on Sundays for the work week, but I’ve never frozen sauced ribs before and I’m worried the glaze will get weird when I reheat them. Any tips?

1 week ago

I freeze these all the time! Let them cool completely, wrap individual ribs in plastic wrap then stash in a freezer bag, they keep for up to 3 months. Reheat in the oven at 325 covered in foil for 20 minutes, then broil for 2 minutes to crisp the glaze back up – tastes just as good as fresh!

5 days ago

Couldn’t have given better reheating advice ourselves! The only thing we’d add is to save a little extra BBQ sauce to brush on when you reheat if you want that extra sticky top layer. Works like a charm for meal prep!



